Win Accord 35WIFI6229 3.5 Inch Diamond 1(with WIFI) User Manual 1
WIN ACCORD LTD., 3.5 Inch Diamond 1(with WIFI) 1
user manual
Touch
screen
touch your life
3.5
3.5alarm clock
Digital
Picture
Frame with WiFi
Table of Contents
Table of Contents……………………………………………………………………………………. 2
Important Safety Precautions……………………………………………………………………..... 3
Cleaning the LCD Screen……………………………………………………………………... 3
Cleaning the Digital Picture Frame…………………………………………………………... 3
Introduction………………………………………………………………………………………….... 4
What’s In the Box…………………………………………………………………………………….. 5
Setting Up the Digital Alarm Clock..………………………………………………………..... 5
Start Using Digital Alarm Clock……….……………………………………………………………. 5
Go to Main Menu………………………………………………………………………………. 5
Display Photos in Local File…………………………………………………………………... 6
Play Music in Local File……………………………………………………………………...... 6
Playback Videos in Local File……………………………………………………………….... 7
Setup Menu…………………………………………………………………………………………... 8
Date and Time Setup………………………………………………………………………….. 8
Alarm Setup…………………………………………………………………………………...... 8
Music Setup…………………………………………………………………………………...... 9
Photo SlideShow Setup……………………………………………………………………….. 9
Hardware System Setup……………………………………………………………………...10
WiFi Setup…………………………………………………………………………………...…10
Setup from Webpage ………………………………………………………...…………………….10
Frame Channel setup .……………………………………………………………………….11
Picasa setup ………...…………………………………………………...…………………....11
FrameIt Setup …………………………………………………………...…………………....11
Photo Mail Setup………………………………………………………...………………….....12
Network Function…………………………………………………………...…………………….....13
Weather widget……………………………………………………………...………………....13
Photo Album…………………………………………………………………..…………….....13
Photo Mail…………………………………………………………………..……………….....14
Internet Radio……………………………………………………………….………………....15
YouTube…………………………………………………………………….……………….....17
Technical Specification…………………………………………………….…………………….....18
2

Important Safety Precautions
Cleaning the LCD Screen
Cleaning the Digital Picture Frame
Always follow these basic safety precautions when using your Digital Picture Frame. This will
reduce the risk of fire, electric shock, and injury.
Warning: To reduce the risk of fire and shock hazard, do not expose this product to rain or
moisture.
Warning: To prevent the risk of electric shock, do not remove the cover. There are no
user-serviceable parts inside. Refer all servicing to qualified personnel.
The Digital Picture Frame is for indoor use only.
Unplug the Digital Picture Frame before performing care and maintenance.
Do not block the ventilation holes on the back of the Digital Picture Frame at any
time.
Keep your Multimedia Digital Picture Frame out of direct sunlight and heat
sources.
Protect the power cord. Route power cords so that they are not likely to be
walked on or pinched by items placed on or against them. Pay particular attention
to the point where the cord attaches to the Digital Picture Frame.
Only use the AC adapter included with the Digital Picture Frame. Using any other
power adapter will void your warranty.
Unplug the power cord from the outlet when the unit is not in use.
Treat the screen gently. The screen is made of glass and can be scratched or
broken.
To clean fingerprints or dust from the LCD screen, it is recommended to use a
soft, non-abrasive cloth such as a camera lens cloth to clean the LCD screen.
If you use a commercial LCD Cleaning Kit, do not apply the cleaning liquid directly
to the LCD screen. Clean the LCD screen with cleaning cloth moistened with the
liquid.
Clean the outer surface of the Digital Picture Frame (excluding the screen) with a soft cloth
dampened with water.
3
Introduction
Welcome to the Digital Alarm Clock! Now you can display your digital photos directly from
your memory card, no computer is necessary. Simply insert a memory card into the Digital
Picture Frame, and turn on the power. You’ll be treated to a slideshow of your photos. It’s as
easy as that. You can also display individual photos with your slide show.
The Digital Alarm Clock includes these key features:
Displays Time, Calendar, Alarm.
Displays digital photos (JPEG), Play Music and Video without a computer.
WiFi function to connect with your AP router to internet for YouTube, Internet
Radio, and Internet Photo Album, Weather Forecast.
Compatible memory cards includes Secure Digital , MultiMedia Card .
Displays JPEG images on digital cameras.
Supports up to 64 Mega Pixel image files (JPEG format).
Control the main functions on touch screen.
512MB Internal Memroy.
Bright TFT LCD screen.
USB2.0 high-speed connection to connect to your PC.
To learn more about your new Digital Alarm Clock’s Features, and takes full advantage of
them, please take a few minutes to read this User’s Guide.
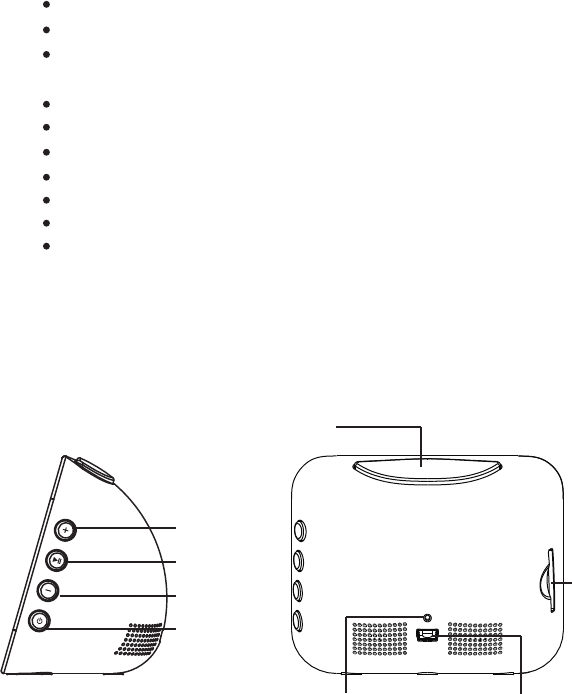
Volume +
Home
Volume -
Play&Pause
Power ON/OFF
Reset hole USB Connector
SD Card slot
4
TM TM
What’s In the Box
Setting Up the Digital Alarm Clock
Start Using Digital Alarm Clock
Digital Alarm Clock
AC Power Adapter (5V, 2A) with USB Cable.
User’s Guide
The Digital Alarm Clock is easy to set up. Just follow these steps:
1.Plug the AC power Adapter into the Digital Alarm Clock and into a wall outlet.
2.Click the Power button to turn on the Digital Alarm Clock.
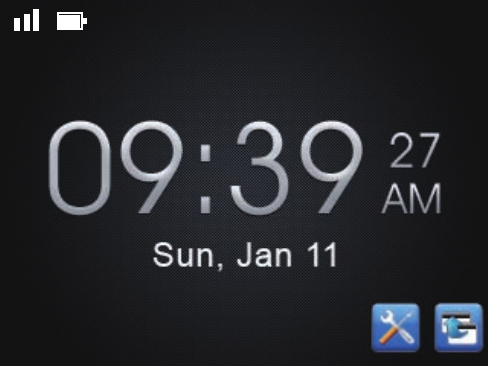
3.Press the Setup icon in the bottom-right of screen. You may start to setup Time and Date.
4.You may press the left / right arrow to adjust Hour, Minute, Year, Month, and Day.
5.You may press the Home icon in the bottom-right corner on the screen or click the Home
button on the top of Digital Alarm Clock.
Go to the Main Menu
1.In time screen, please press “back icon” go to Main Menu or click “Home” button twice.
2.In any function screen, please click “Home” button once back to Main Menu.
5
Display Photos in Local File
Play Music in Local File
1.When you are in Main Menu, please press “Files” icon on screen.
2.It will display Photos, Music, and Videos icon on screen.
3.Press Photos icon on screen, you will see SD Card and Memory icons on screen if
you
insert SD Card into Digital Alarm Clock.
4.Selecting location, it starts to slide show photos with music if you have music file in it.
5.Press anywhere on screen, you will see the functions on screen.
1.When you are in Main Menu, please press “Files” icon on screen.
2.It will display Photos, Music, and Videos icon on screen.
3.Press Music icon on screen, you will see SD Card and Memory icons on screen if you
insert SD Card into Digital Alarm Clock.
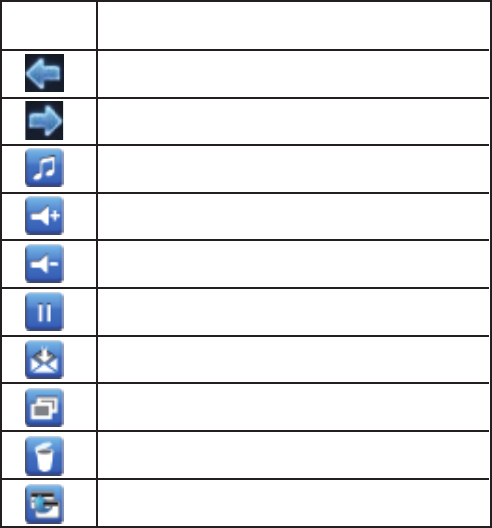
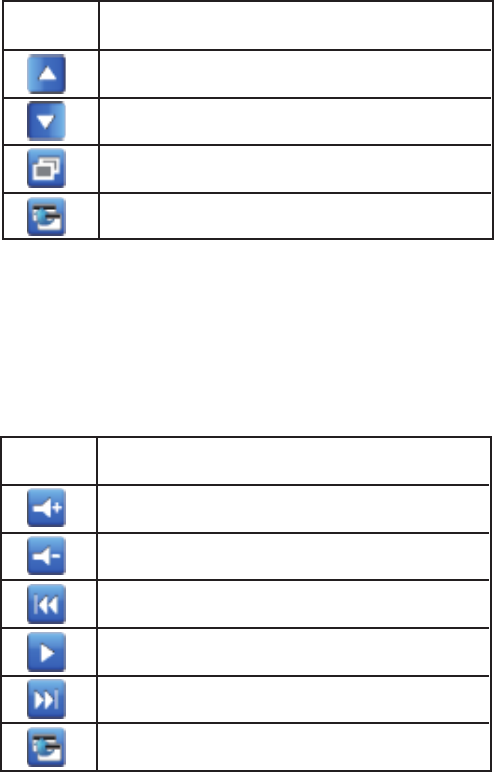
Icon Action
Previous Photo / You may slide left either
Follow Photo / You may slide right either
Music on/off
Volume up
Volume down
Pause
Send Pictures by email
Copy (Only show when you are in SD card location)
Delete (Only show when you are in Memory location)
Back
6
Playback Videos in Local File
4.Selecting location, it will list the Audio file names on screen and playing first song on the
list. Press the audio file name on the screen to play music which you are choosing.
5.Using buttons on the right side of Digital Alarm Clock as below.
1.When you are in Main Menu, please press “Files” icon on screen.
2.It will display Photos, Music, and Videos icon on screen.
3.Press Videos icon on screen, you will see SD Card and Memory icons on screen if you
insert SD Card into Digital Alarm Clock.
4.Selecting location, it will list the Video file names on screen. Press the Video file name on
the screen to play Video which you are choosing.
Icon Action
Previous Song
Next Song
Copy
Back to previous menu
Icon Action
Volume Up
Volume Down
Previous Movie
Play / Pause
Next Movie
Back
7
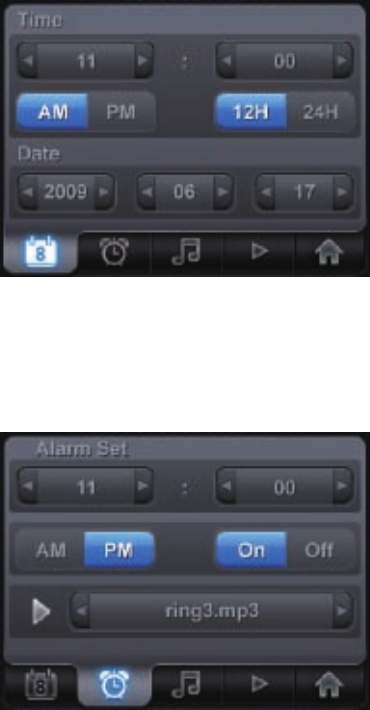
Date & Time Setup
Alarm Setup
Please refer to following Date and Time Setup screen Image.
1.You could press Left / Right arrow beside numbers to adjust Hour, Minute, Year, Month,
and Day.
2.You may press on screen to choose AM/PM and 12H/24H.
Please refer to following Alarm Setup screen Image
1.You may setup Alarm Time by arrows which beside numbers.
2.You need to setup On/Off to active alarm function.
3.You could select Audio file to become your favorite alarm music.
Setup Menu
8
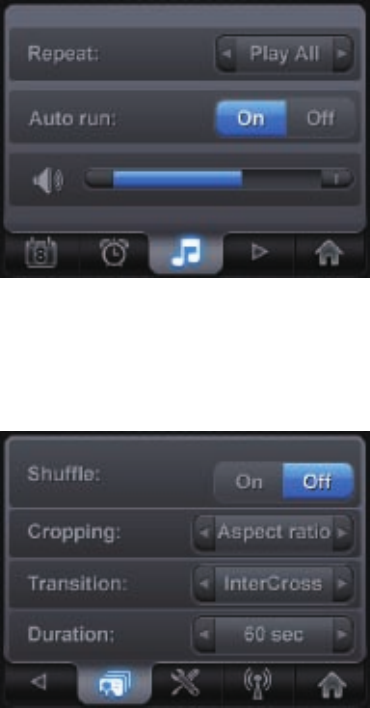
Photo Slideshow Setup
Please refer to following Music Setup screen Image
1.Repeat Function: Repeat / Play All / Shuffle /
2.Auto Run Function: On / Off
3.Audio Volume Setup
Please refer to following Photo Slideshow Setup screen Image
1. Shuffle : On / Off
2. Cropping : Stretch / Aspect Ratio / Smart Crop
3. Transition : None / Random / Left-Right / DoorClose / InterCross /Fade In /
Mosaic / Page Switch / Sepia / Ken Burn /
4. Duration : 3 sec / 5 sec / 15 sec / 60 sec / 5 mins
Music Setup
9
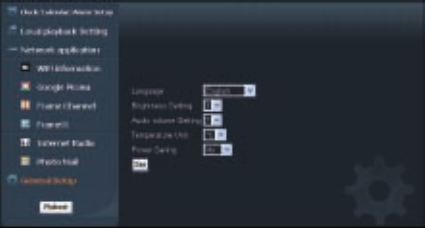
1. Brightness Setting : To adjust panel brightness.
2. Language Setting : English / Spanish / German / Portugal / Italian / Dutch / French
3. Upgrade setting : To upgrade firmware version by SD card.
4. Reset to Default : To setup as original factory settings.
5. Power Saving : Set power saving time in 30 seconds/ 3 minutes/ 10 minutes/
30 minutes/ 1 hour/ No
6.Temperature Unit : Centigrade / Fahrenheit
1.Press the Settings Icon in Main Menu.
2.Press the “Right Arrow” icon in the bottom menu. You can find “WiFi Setup” icon in the
bottom menu line.
3.Press the “WiFi Setup” icon then Digital Alarm Clock will search all available WiFi signals in
your area.
4.Choosing your WiFi signal and Digital Alarm Clock will connect to it.
Note: Digital Alarm Clock will ask you to input SSID key to access if your SSID was secured.
You could setup Digital Alarm Clock throw browser on your PC or Laptop.
1. Enter IP address, which show on Digital Alarm Clock, on the PC browser.
2. Keep your Digital Alarm Clock connecting with WiFi.
3. You can see the Following Page on your PC browser.
4. You can choose your display language.
5. You also can set up Brightness, Audio Volume, Temperature Unit, and Power saving
function in this page.
Hardware System Setup
WiFi Setup
Setup from Webpage
10
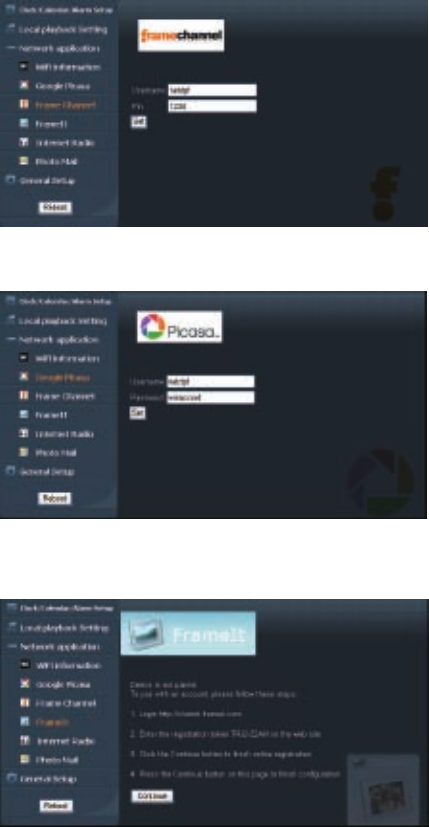
Please enter your Frame Channel Username and Pin code then press set.
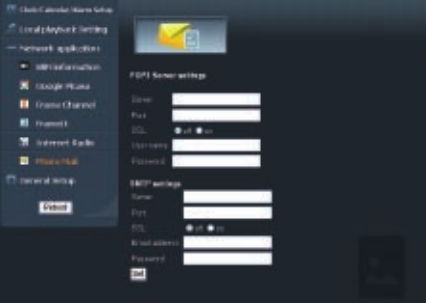
Please enter your Picasa ID and Password then press OK.
Frame Channel
Picasa Setup
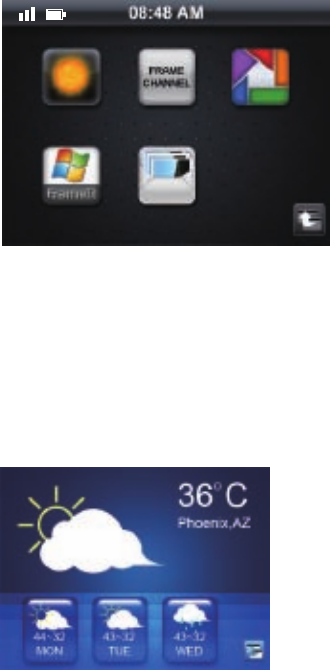
FrameIt Setup
11
1.Login http://claimit.frameit.com
2.Enter the registration token xxxx-xxxx on the web site.
3.Click the continue button to finish on line registration.
4.Press the continue button on this page to finish configuration.
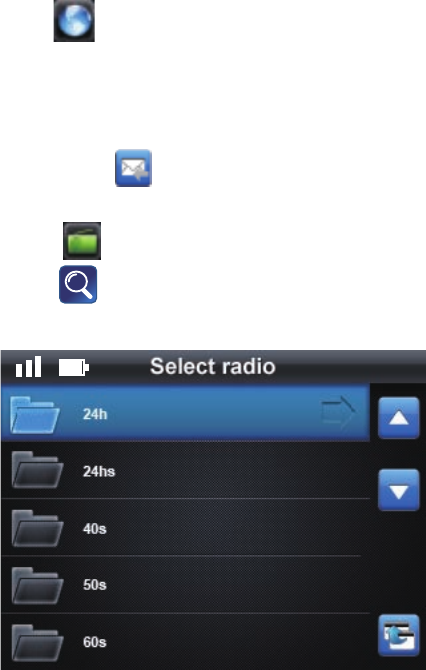
1.Please enter your POP3 and SMTP server setting in this webpage.
Example for Gmail:
POP3 Server Setting
Server : pop.gmail.com
Port : 995
SSL : on
User name: username@gmail.com
Password: your password
SMTP Setting
Server : smtp.gmail.com
Port : 465
SSL : on
User name: username@gmail.com
Password: your password
Then please click “set”
Photo Mail Setup
12
There are 5 functions in Network.
1.Weather
2.Frame Channel
3.Picasa
4.FrameIt
5.Photo Mail
Note: You need to setup Web Photo Album on the Website Setup Page before you use.
1. Digital Alarm Clock can throw internet to get weather information. It doesn’t just show
weather of today, you also could check 3 days after weather forecast in your area.
2. Press screen, you also can check other city weather by typing in city name.
After you setup the Photo Album from setup website page, you can press the icon to watch
your internet photos on Digital Alarm Clock.
Weather Widget
Photo Album
Network Function
13
1. Click icon in main menu.
2. You can see “Photo Mail” icon on the screen and click it.
3. After your Photo Mail setting, please refer to page 12, you can click Mail Receive icon on
the right of screen.
4. You can click icon to receive photo mail.
1. Select icon in the main menu.
2. Press icon to search Radio station List.
3. Press your favorite station on the screen and list to life radio.
Note: you need to keep WiFi connecting with listen internet radio.
Add Internet radio channel from webpage
1.Go www.shoutcast.com , in the down side of the page, choose: Change Default Player
Settings
Internet Radio
Photo Mail
14
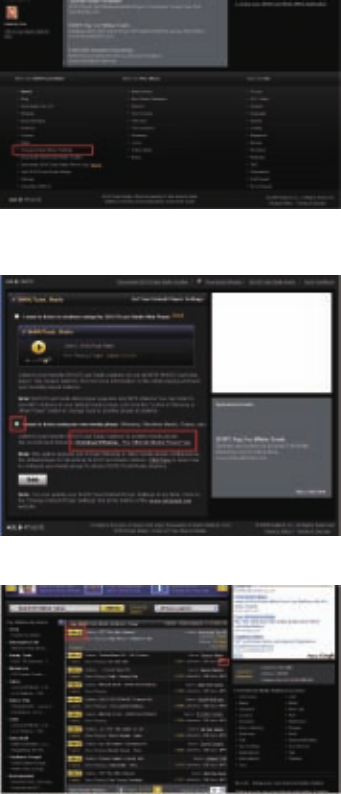
2. Click: I want to listen using my own media player then Save. (Download free Winamp
program if you don’t have.)
3. Go back to www.shoutcast.com. a. Choose the MP3 format station only b. Click TUNE IN
4. The Radio will be played with Winamp automatically. Click the Playing Info area (in red
square)
15
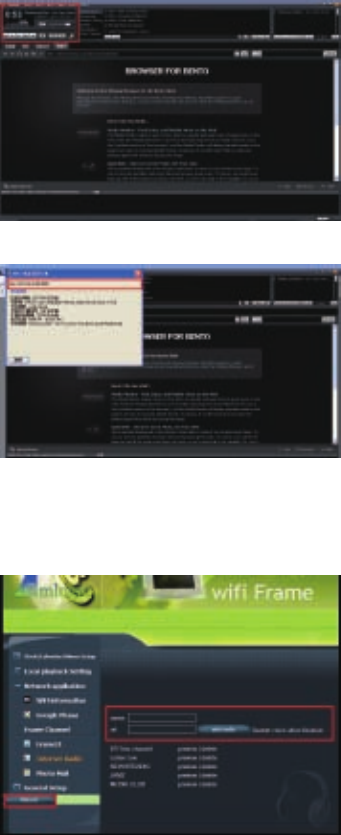
5. It will show the Radio Station Info as below, Please copy the address:
6. Go 3.5” Diamond Set Up page: (please find the info in user manual)
a. Make a Name
b. Copy the address in the url, then click “add radio”
c. Reboot the Unit, if the Unit not reboot automatically, please reboot by hand
7.After Reboot the Unit, you could see the radio station has been added.
16
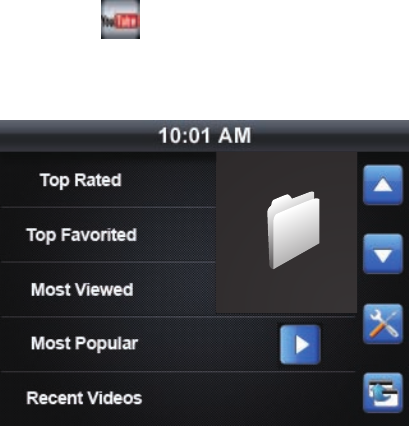
1. Please click in Main Menu page.
2. You can see Youtube list on screen and click your favorite video.
YouTube
17
Products : 3.5” LCD Touch Screen Digital Alarm Clock
Resolution : 320 x 240 Pixel
Memory Card Formats:
Secure Disk , Multi Media Card
File Format: Photo : Standard JPEG
Audio : MP3, AAC*, WMA*
Video : Motion Jpeg, Mpeg I, II*, IV*
* : customer needs to prepare royalty for specific codec
Features: Slide Show Mode
Multiple Transitional Styles for Slide show
Digital Alarm Clock
Internet Weather widget
Internet Photo Album
Internet Photo Mail
Internet Radio
YouTube
USB Ports: USB 2.0
Power Input: 100V-240V AC, 50~60Hz
Output: 5V DC, 2A
Certification: CE/FCC/PSE (Adapter)/RoHS
Internal Speaker: 1W x 1
Technical Specification
TM TM
18
FCC warning statement
This equipment has been tested and found to comply with the limits for a Class B
digital device, pursuant to part 15 of the FCC Rules. These limits are designed to
provide reasonable protection against harmful interference in a residential installation.
This equipment generates, uses and can radiate radio frequency energy and, if not
installed and used in accordance with the instructions, may cause harmful interference
to radio communications. However, there is no guarantee that interference will not
occur in a particular installation. If this equipment does cause harmful interference to
radio or television reception, which can be determined by turning the equipment off
and on, the user is encouraged to try to correct the interference by one or more of the
following measures:
• Reorient or relocate the receiving antenna.
• Increase the separation between the equipment and receiver.
• Connect the equipment into an outlet on a circuit different from that to which the
receiver is connected.
• Consult the dealer or an experienced radio/TV technician for help
This equipment complies with FCC radiation exposure limits set forth for an
uncontrolled environment. This equipment should be installed and operated with
minimum 20 cm between the radiator and your body. This transmitter must not be
collocated or operating in conjunction with any other antenna or transmitter unless
authorized to do so by the FCC.