Wistron NeWeb DCUA WLAN 802.11 a/b/g USB2.0 Adapter User Manual DCUA 81 G Manual Eng V2 0 20050721 Jessy3805
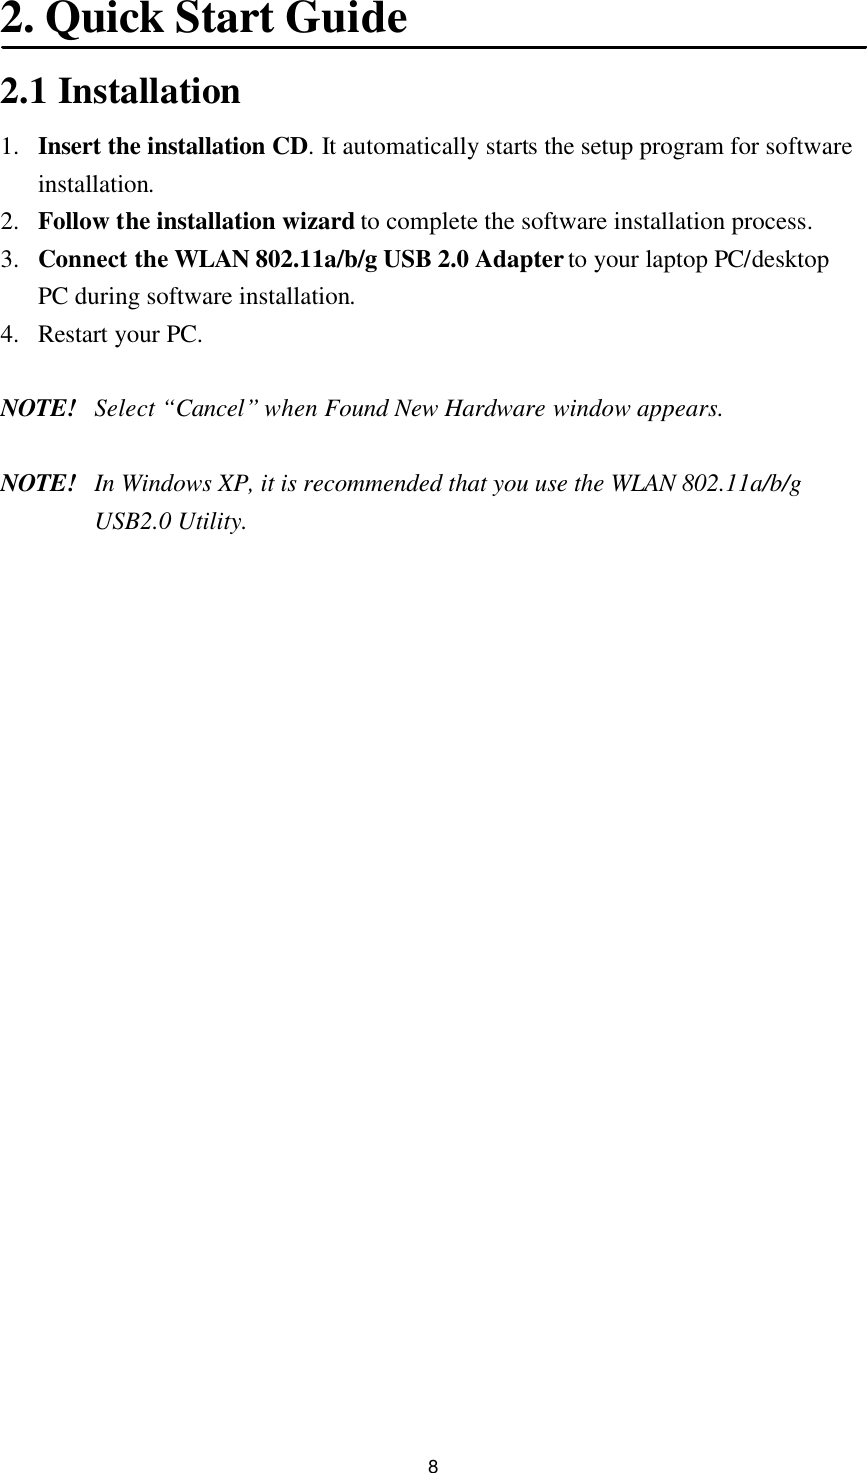
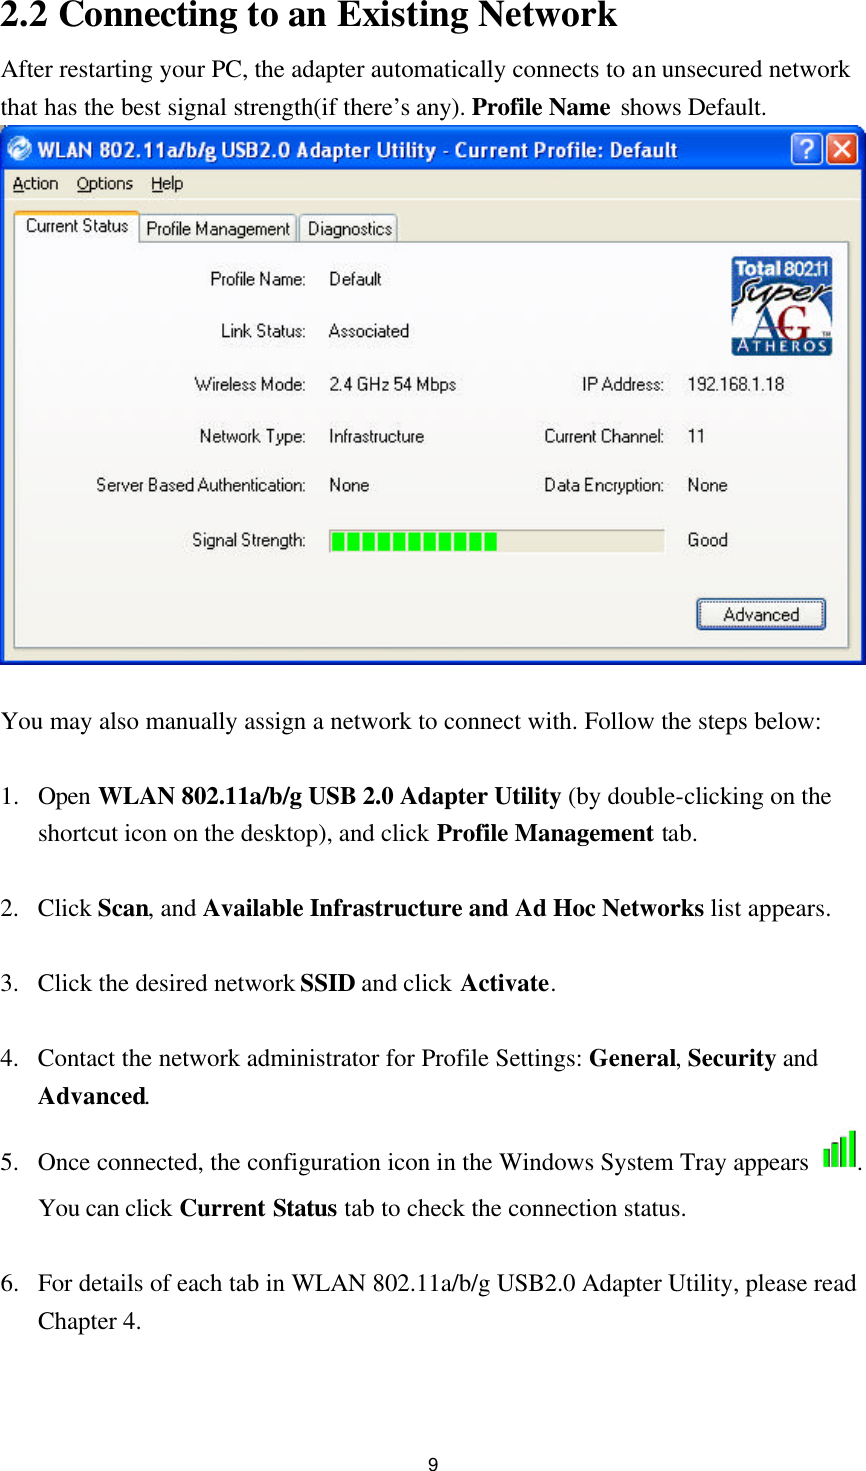
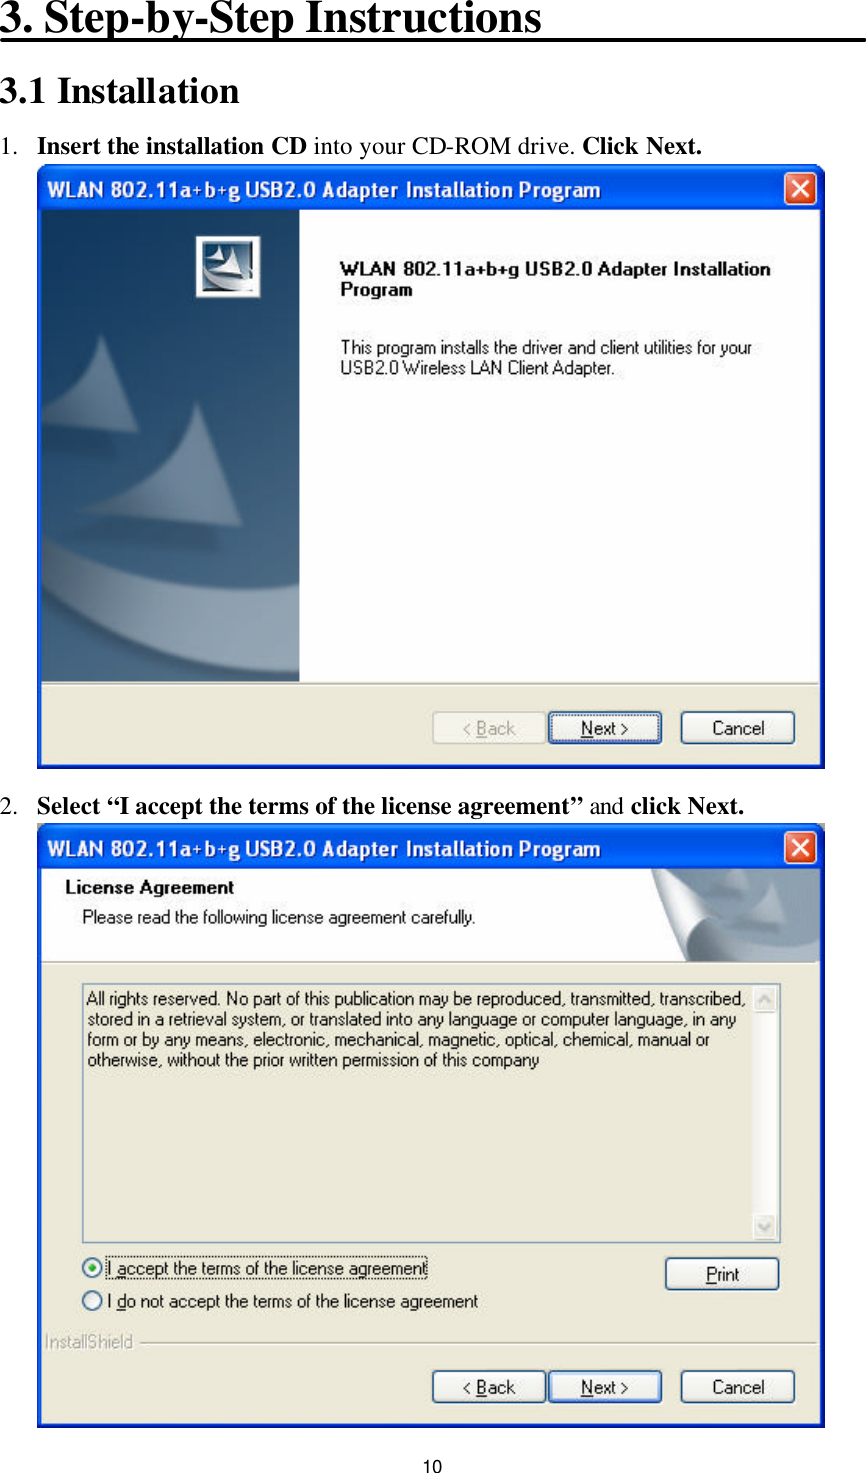
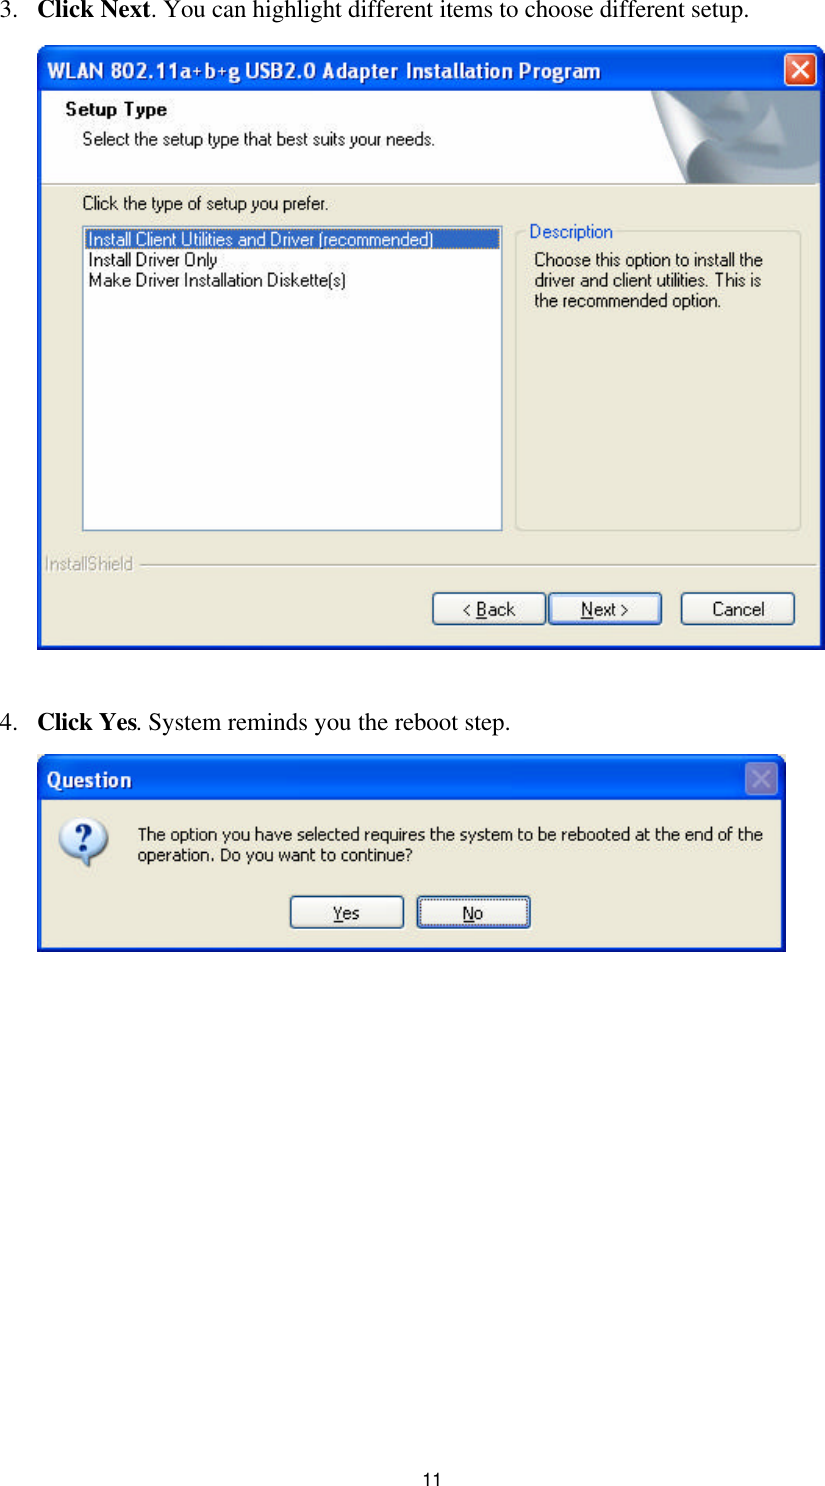
Wistron NeWeb Corporation WLAN 802.11 a/b/g USB2.0 Adapter DCUA 81 G Manual Eng V2 0 20050721 Jessy3805
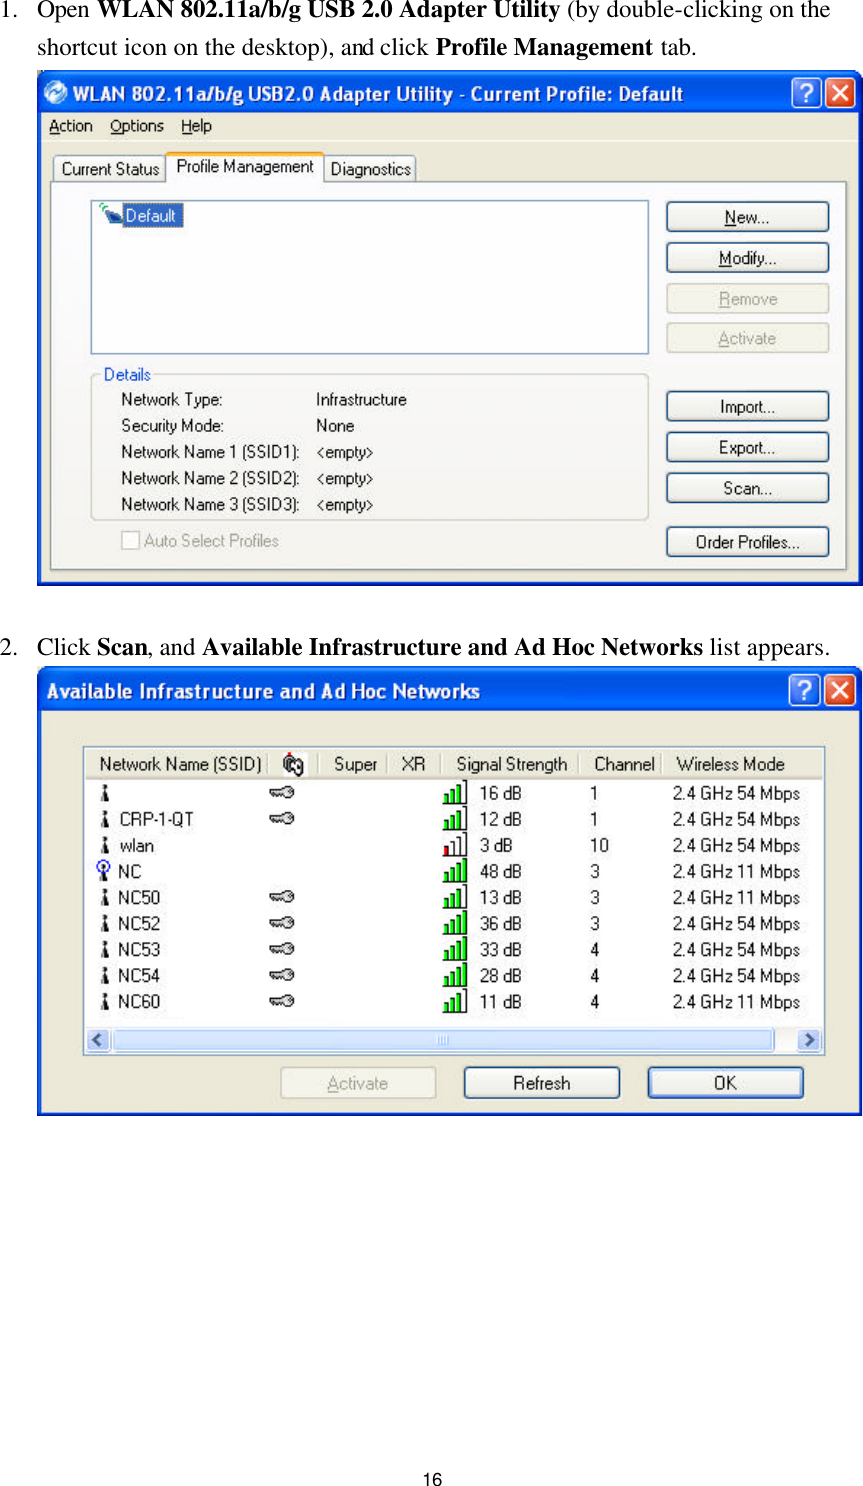
Contents
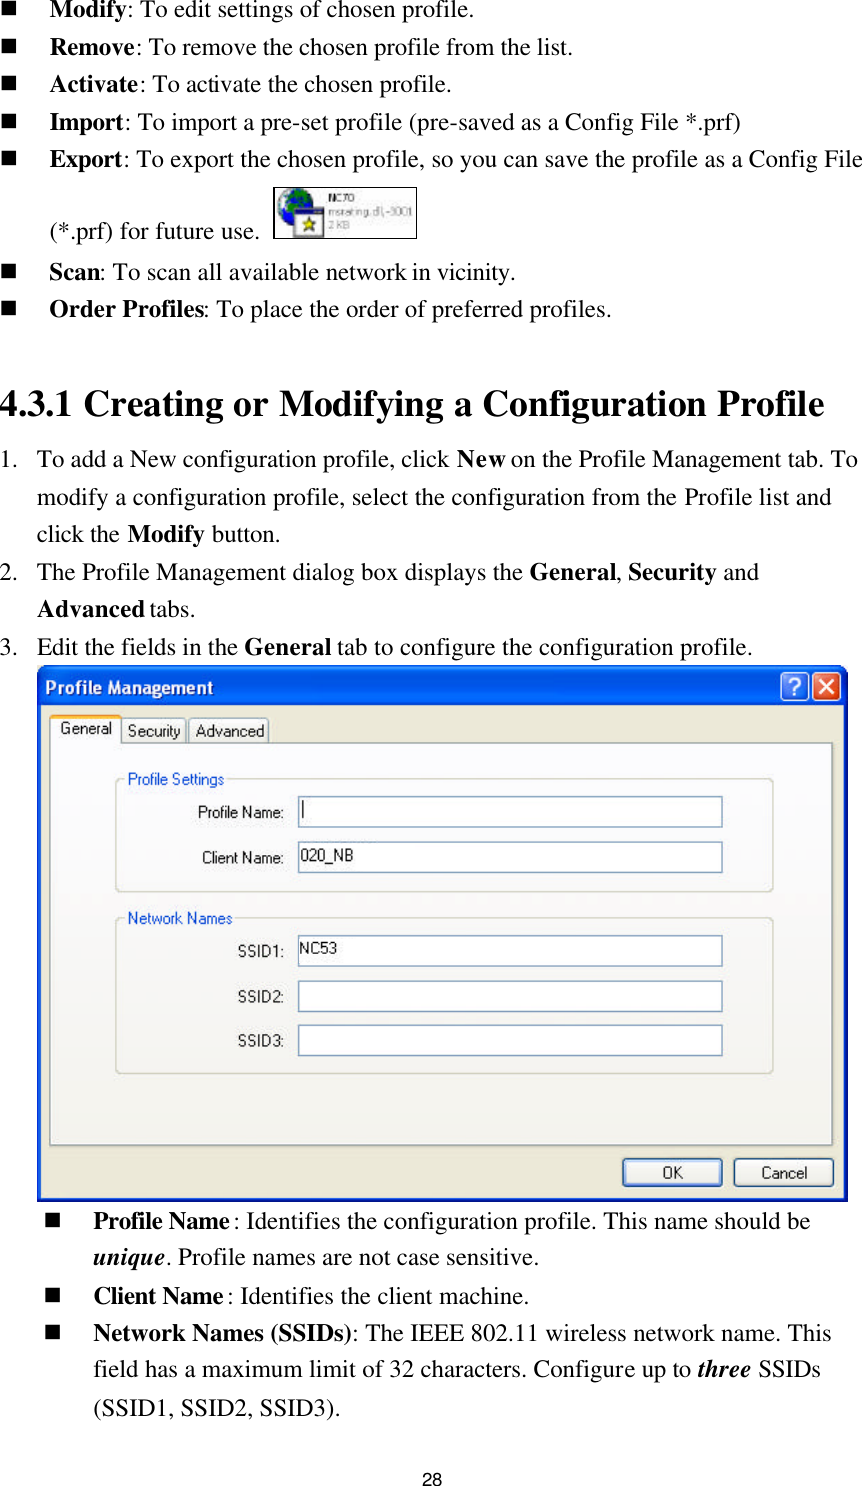
- 1. User manual 1
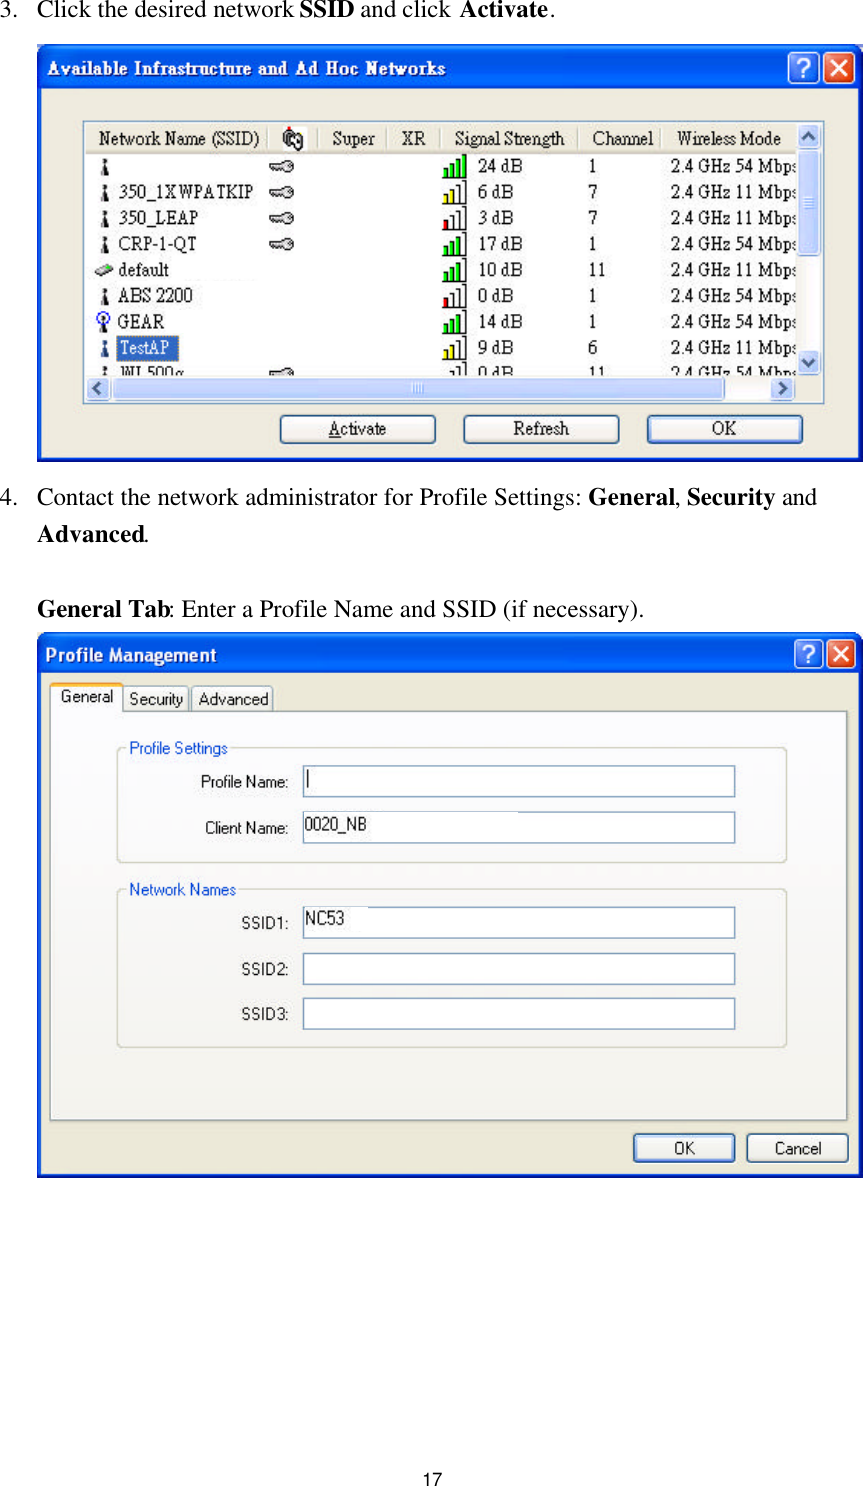
- 2. User manual 2
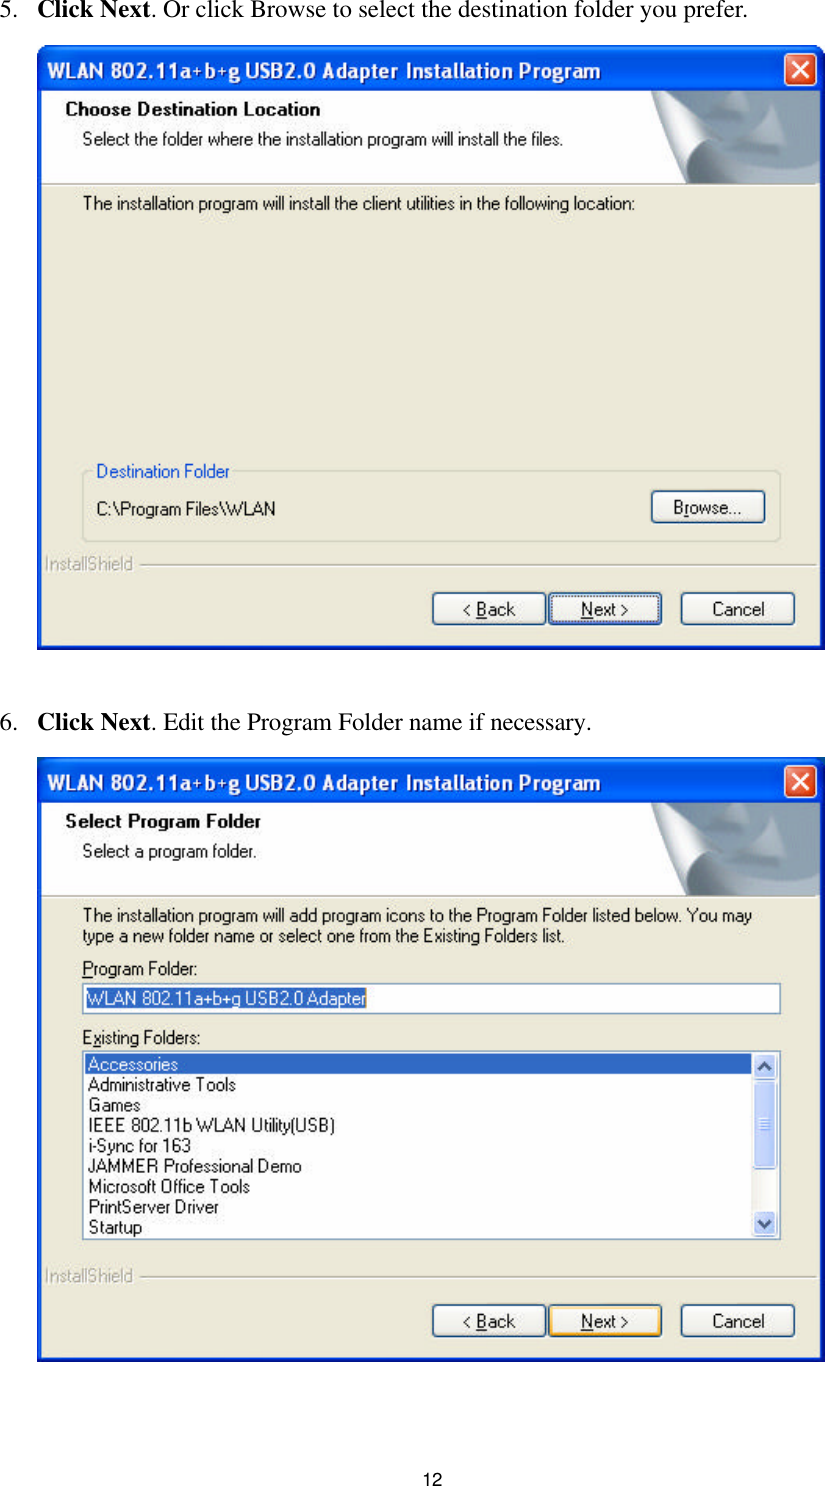
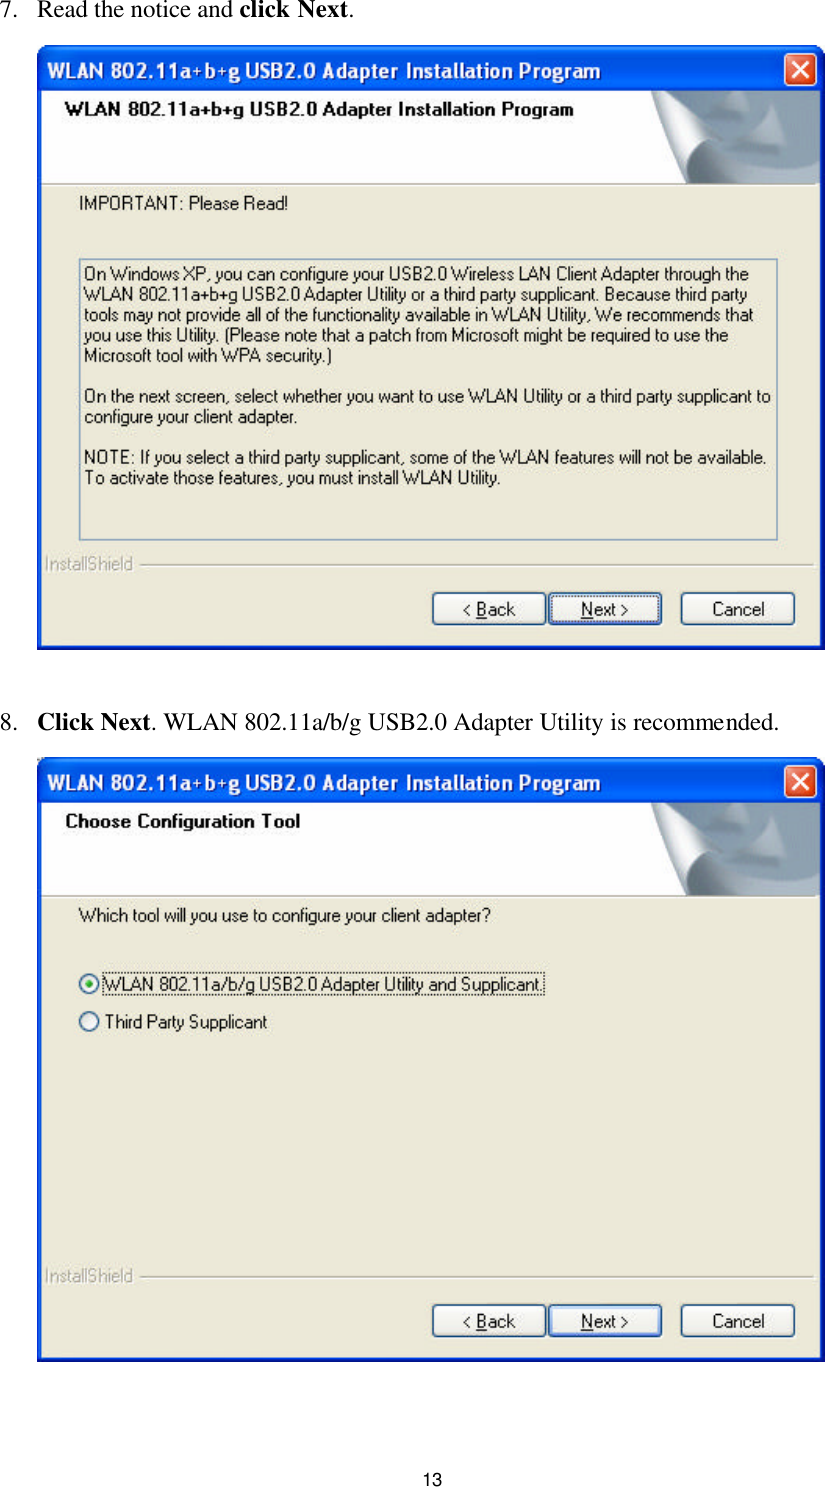
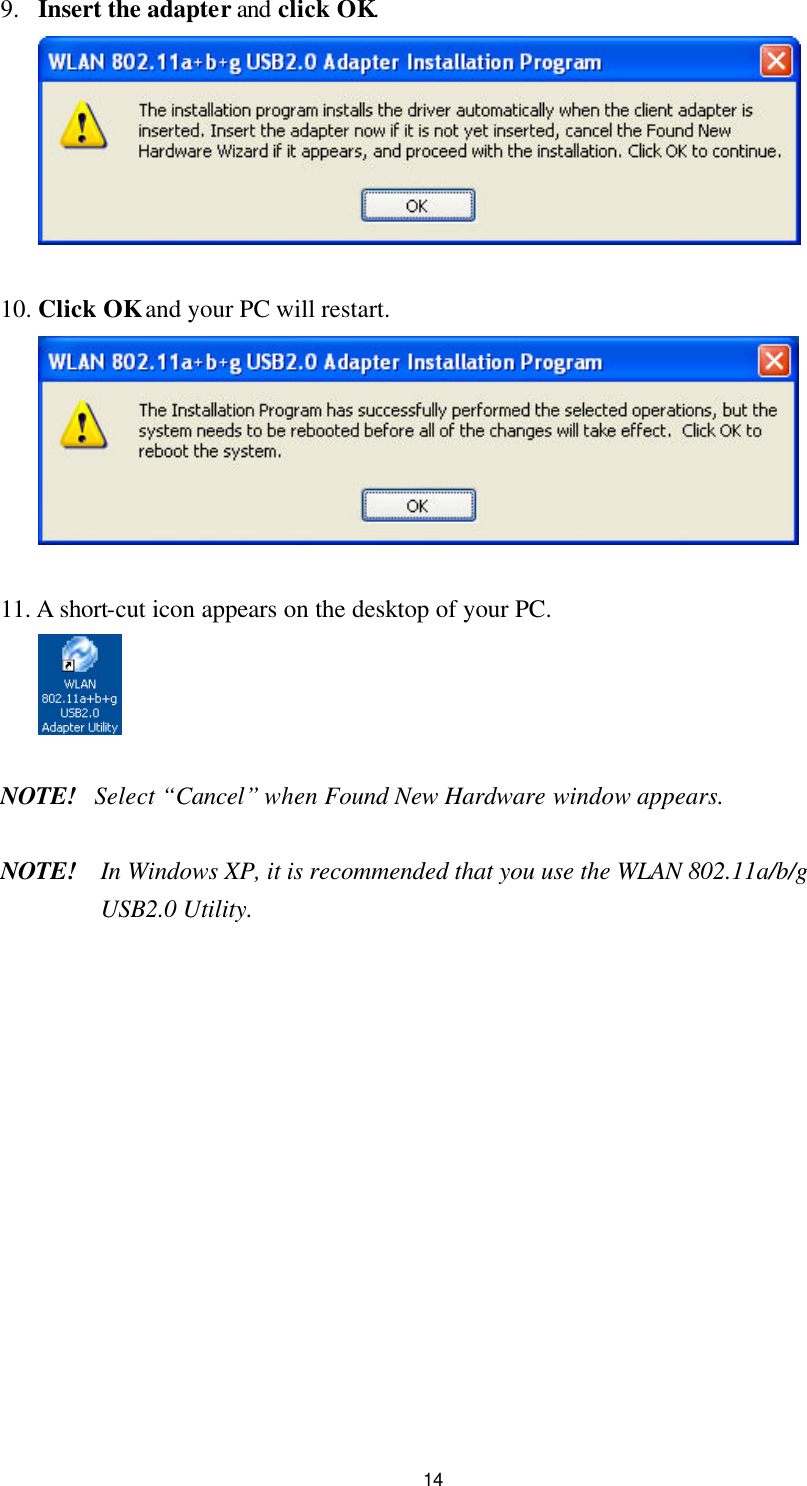
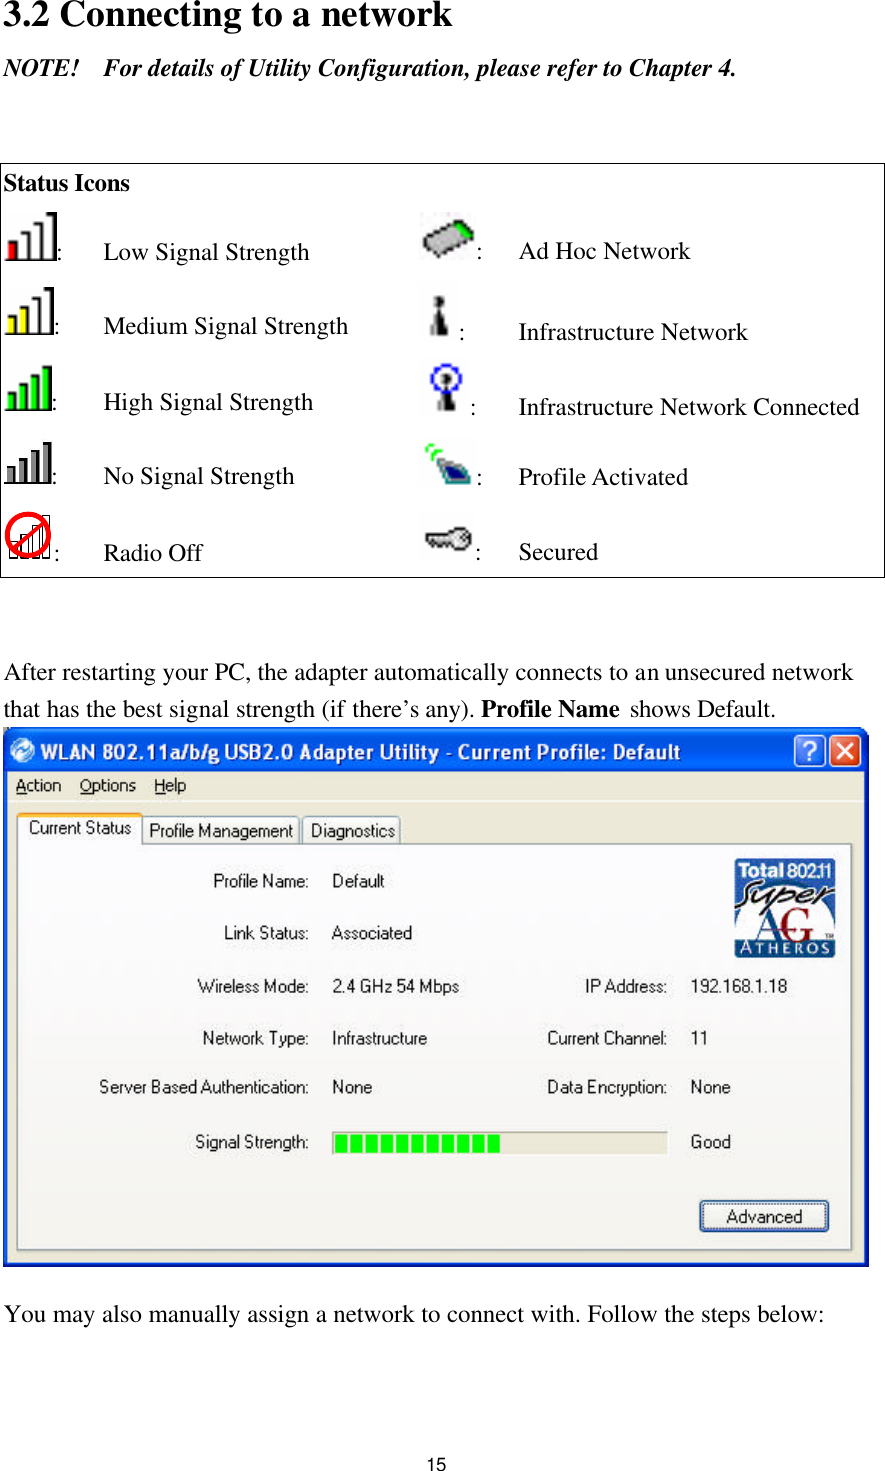
User manual 1