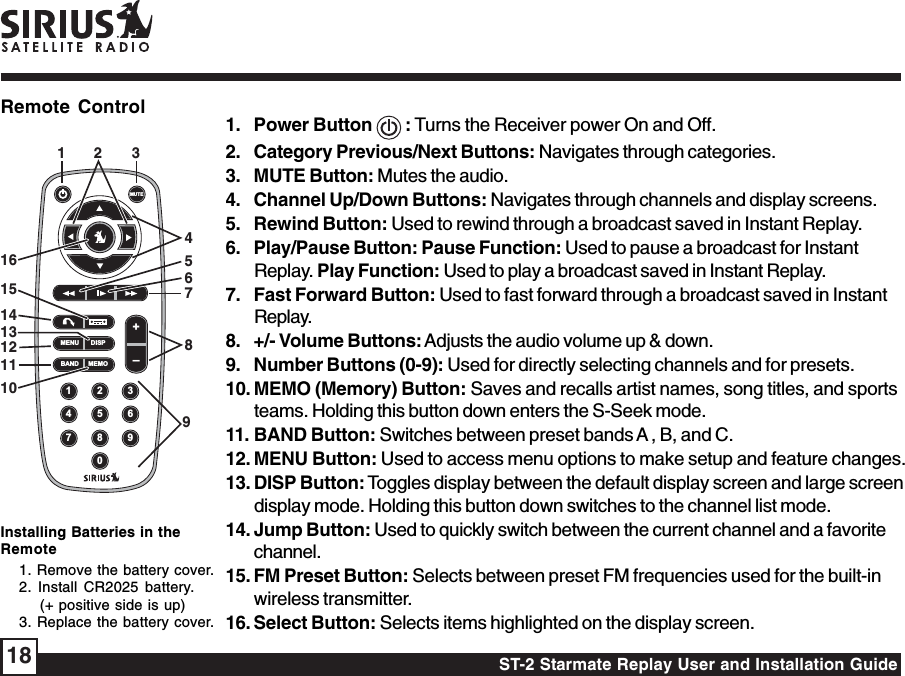
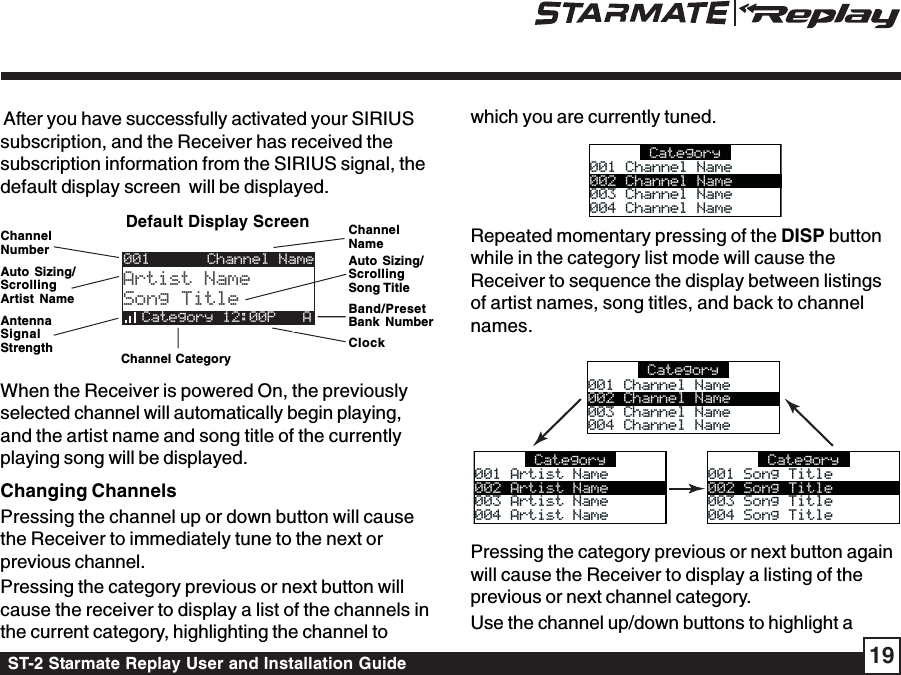
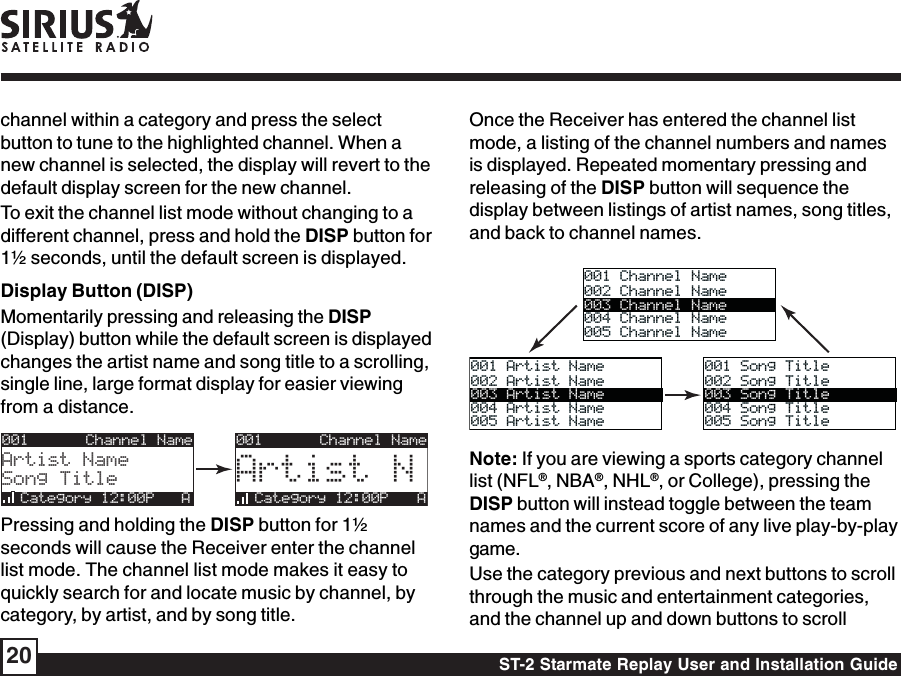
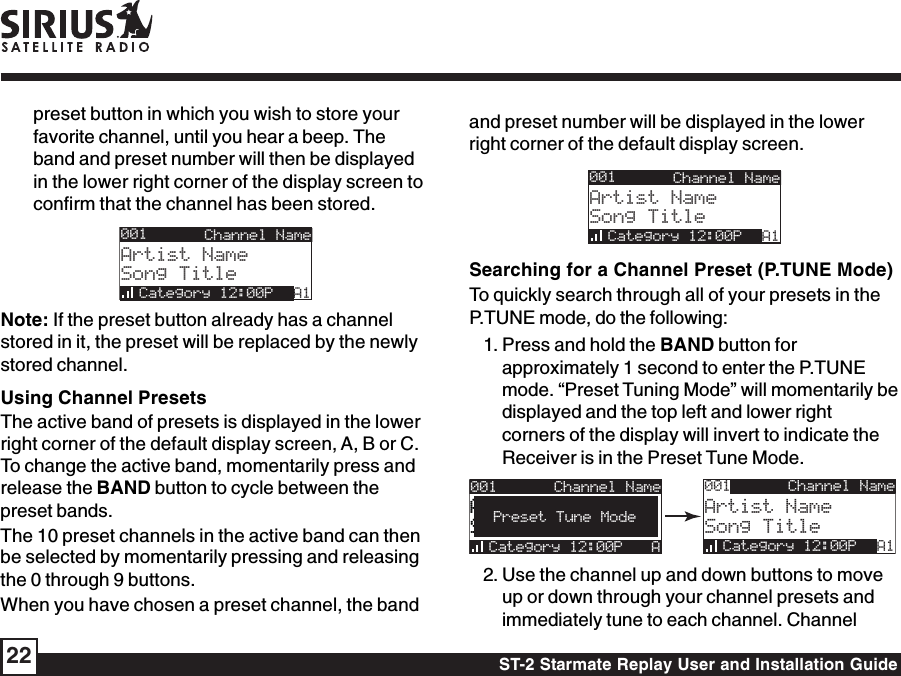
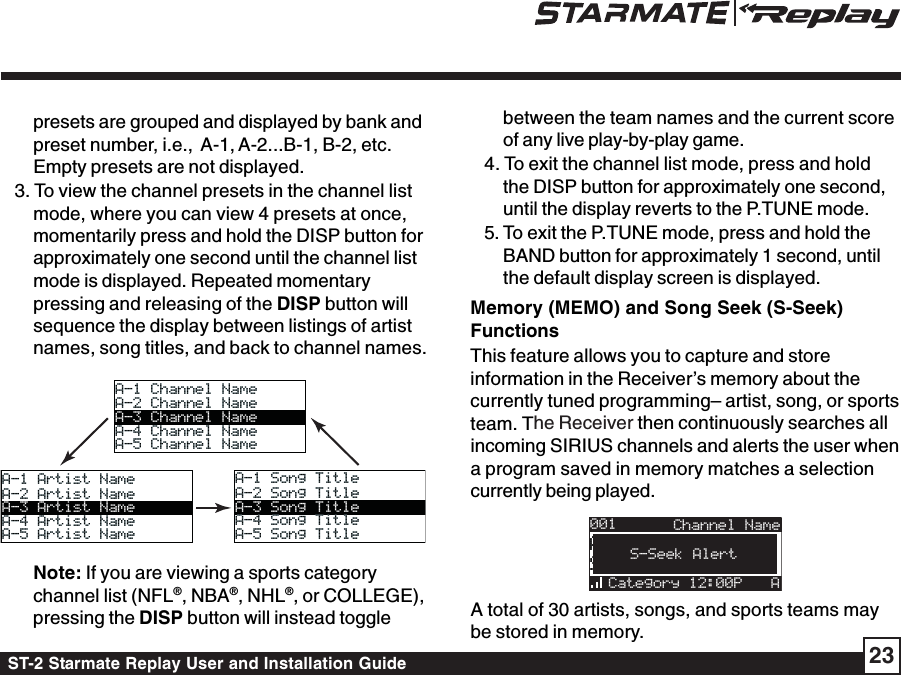
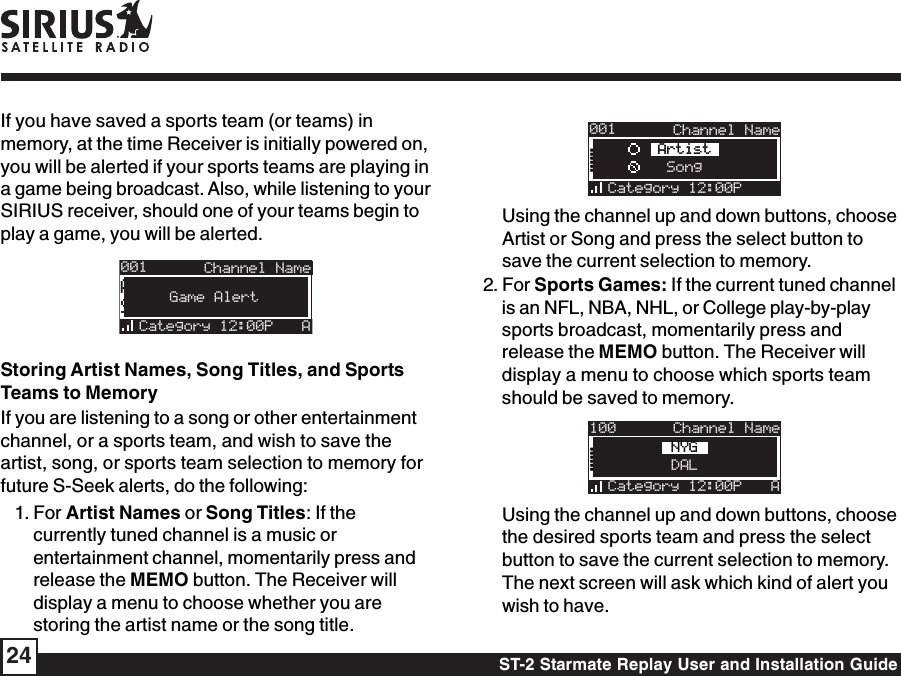
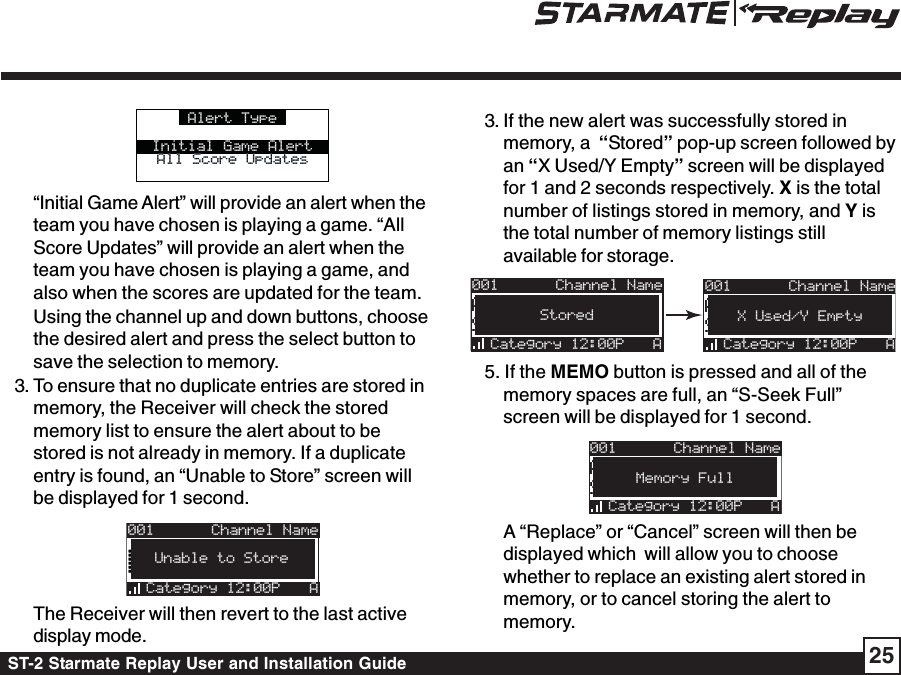
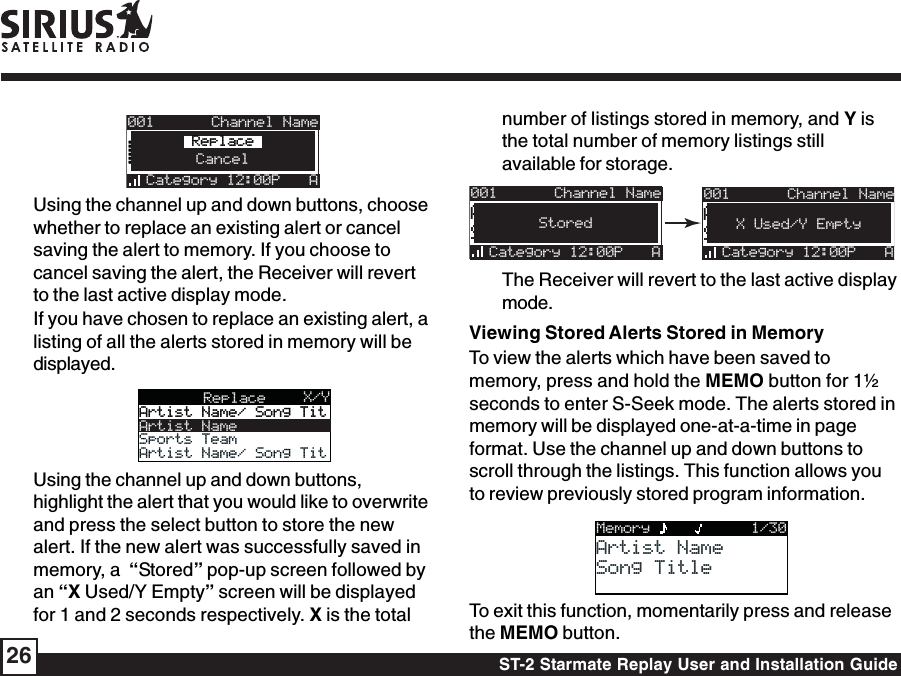
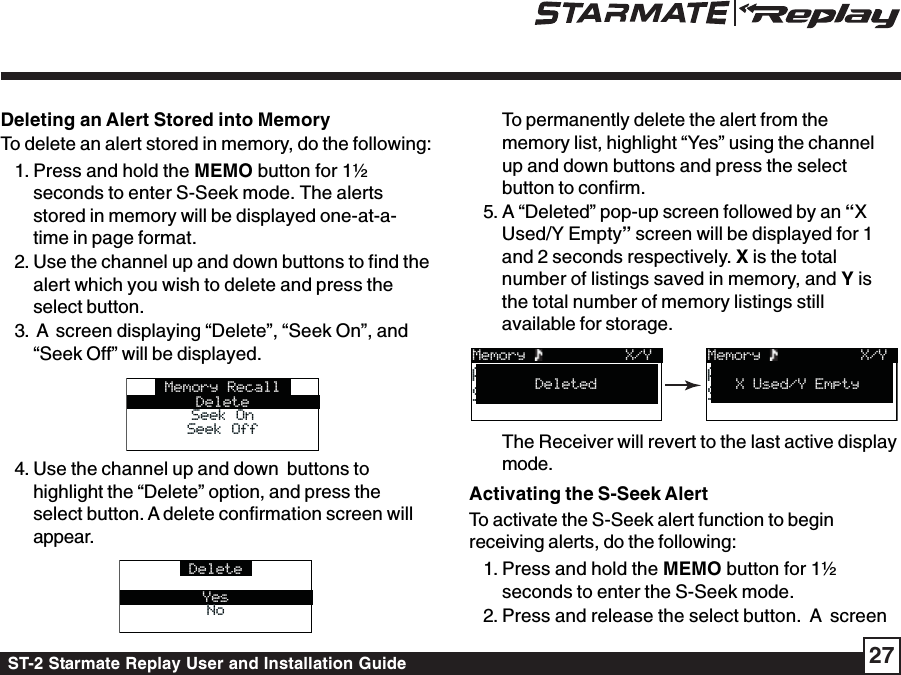
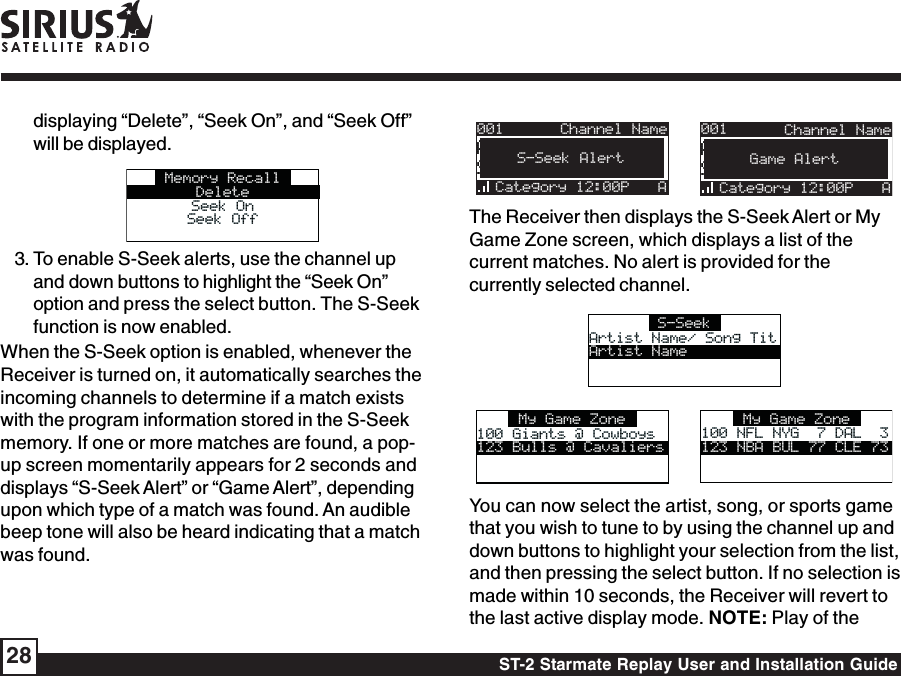
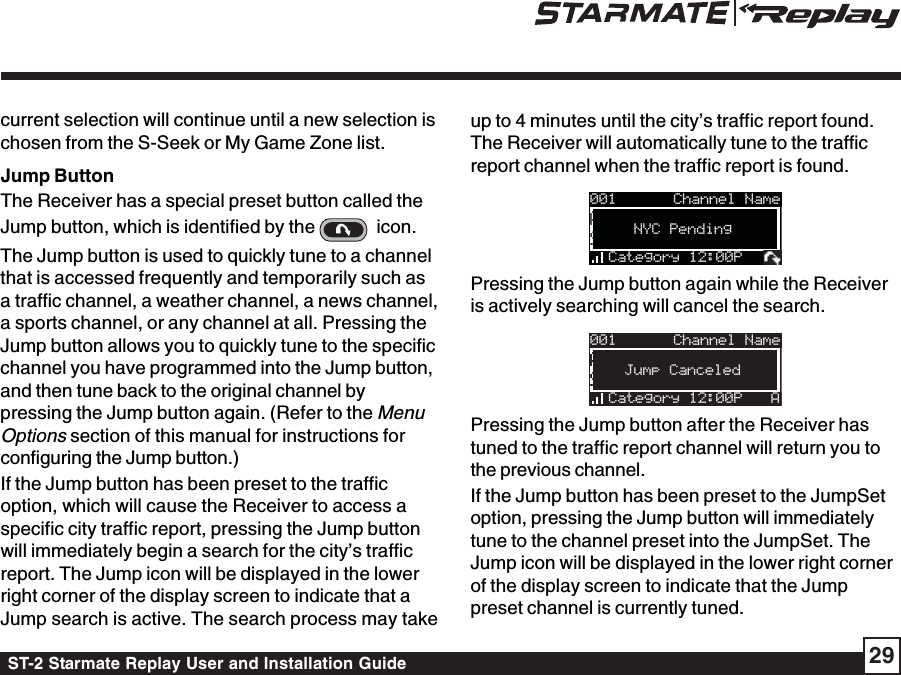
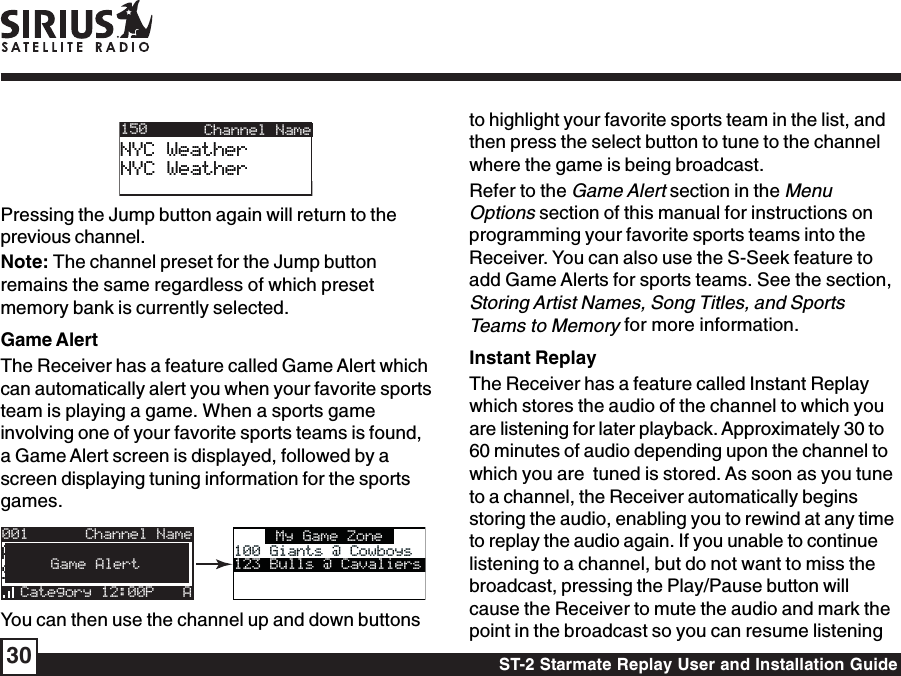
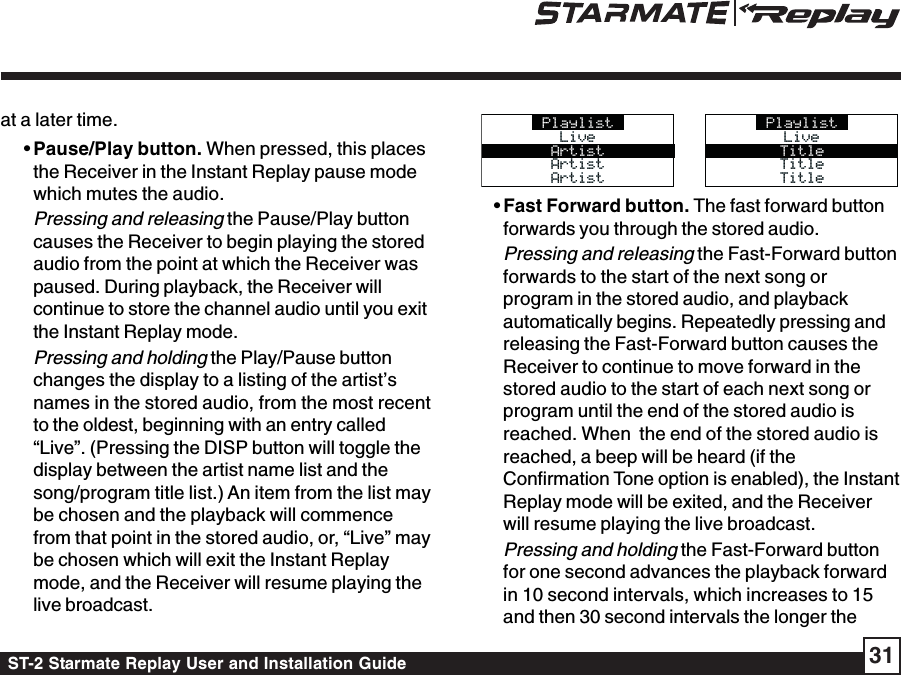
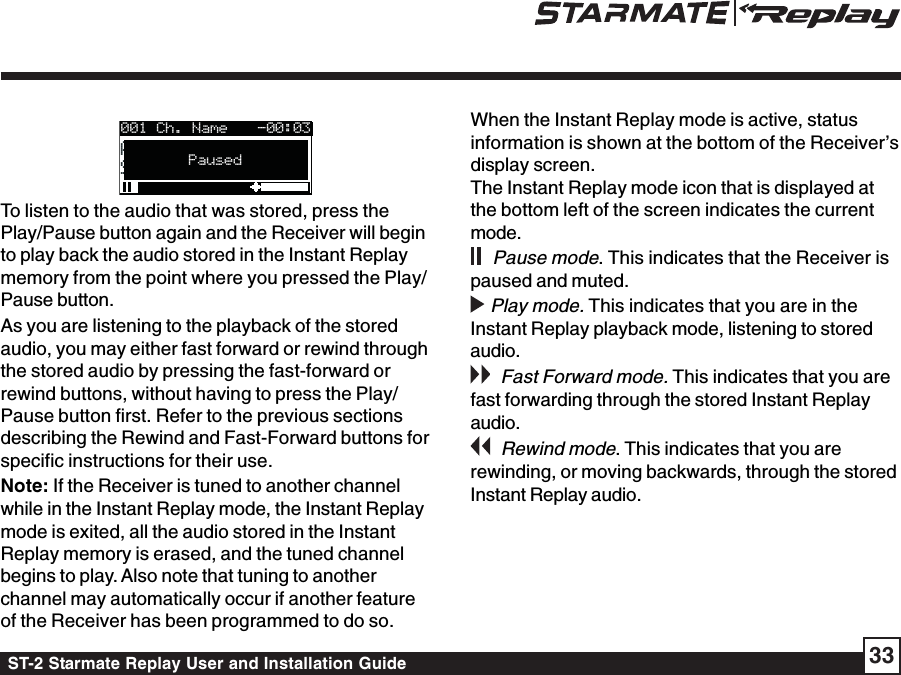
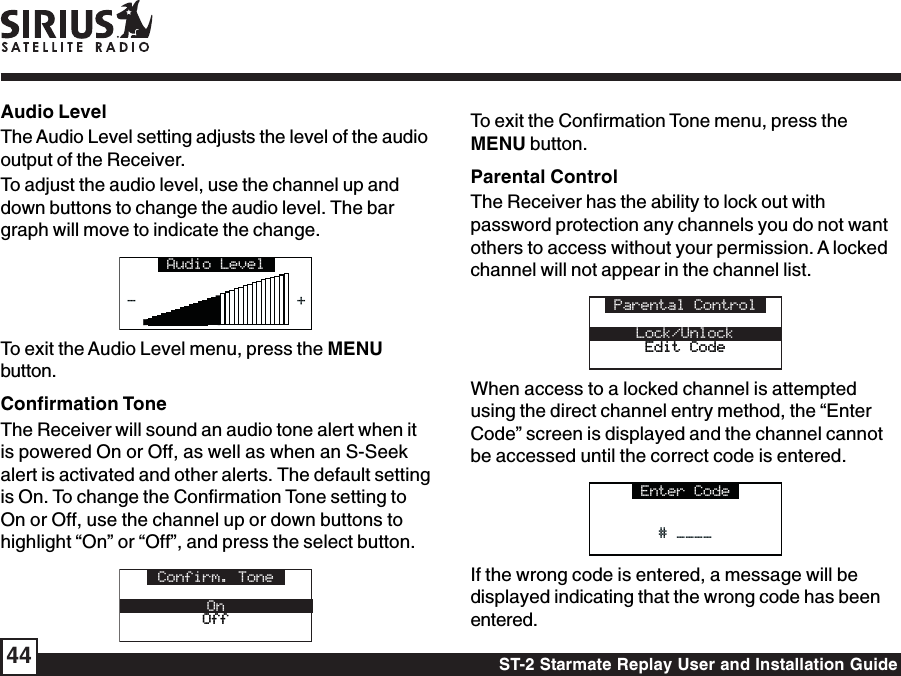
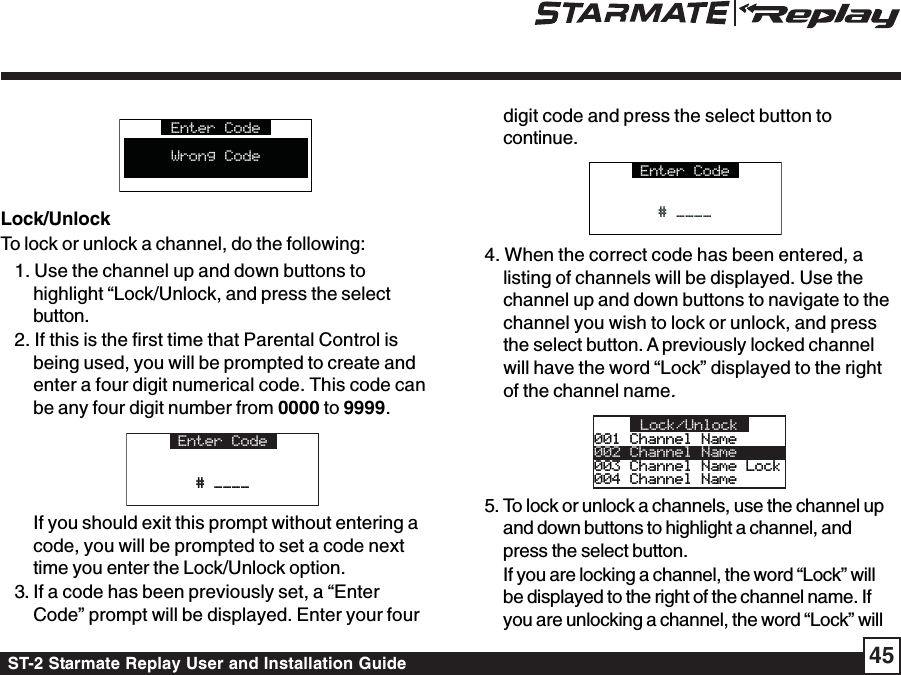
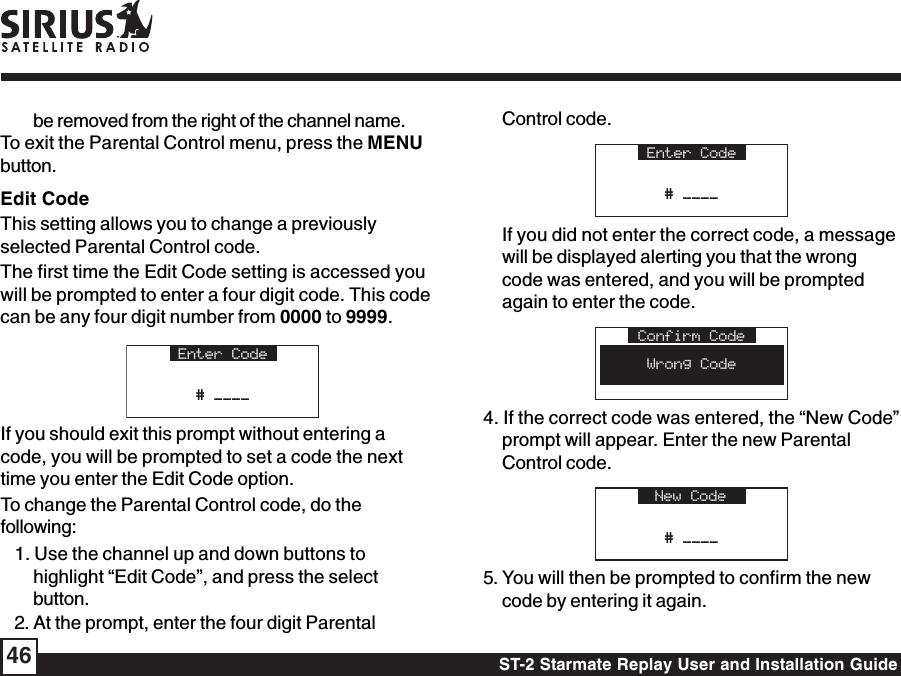
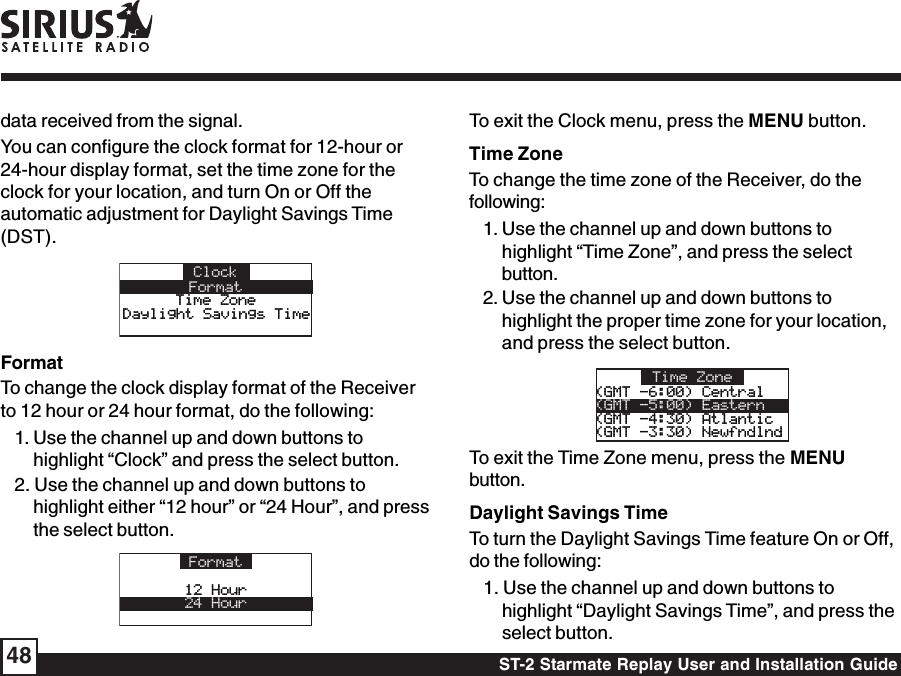
Wistron NeWeb UPAST201 Satellite Radio PnP Receiver with FM Transmitter User Manual SC FM1 User Guide
Wistron NeWeb Corporation Satellite Radio PnP Receiver with FM Transmitter SC FM1 User Guide
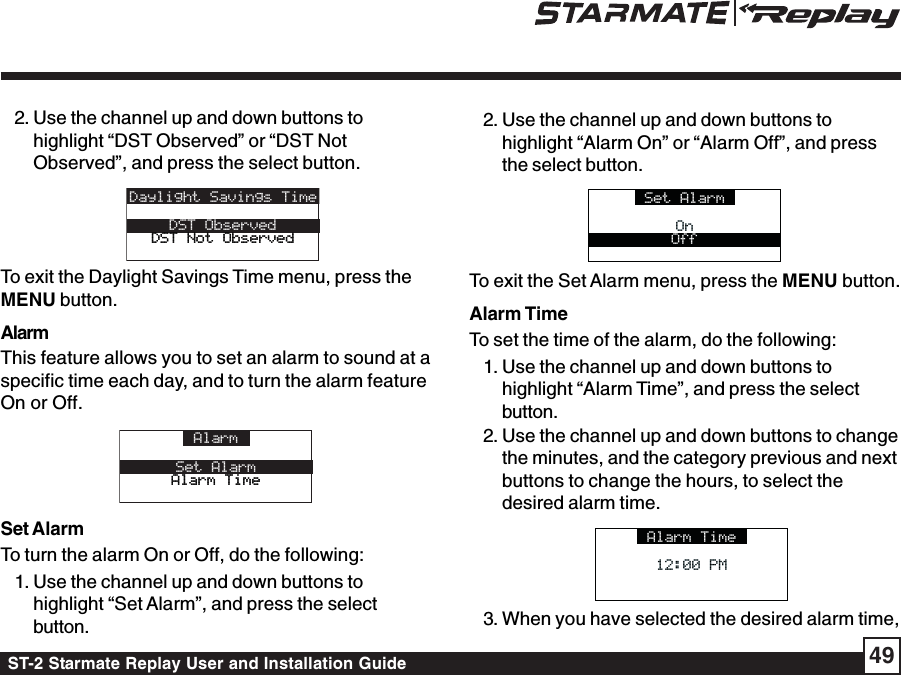
UserManual.wiki
>
Wistron NeWeb
>
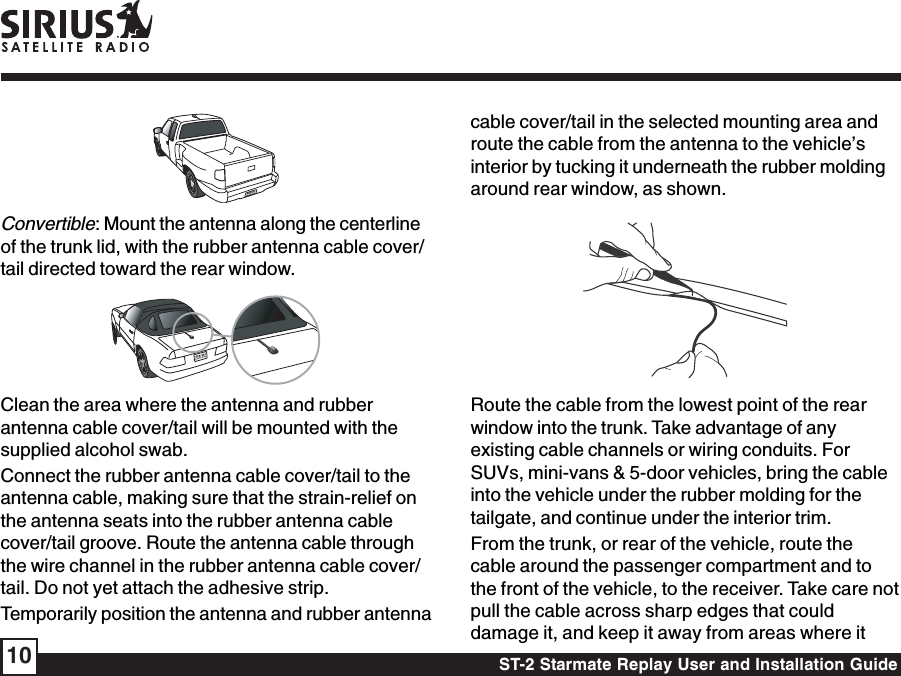
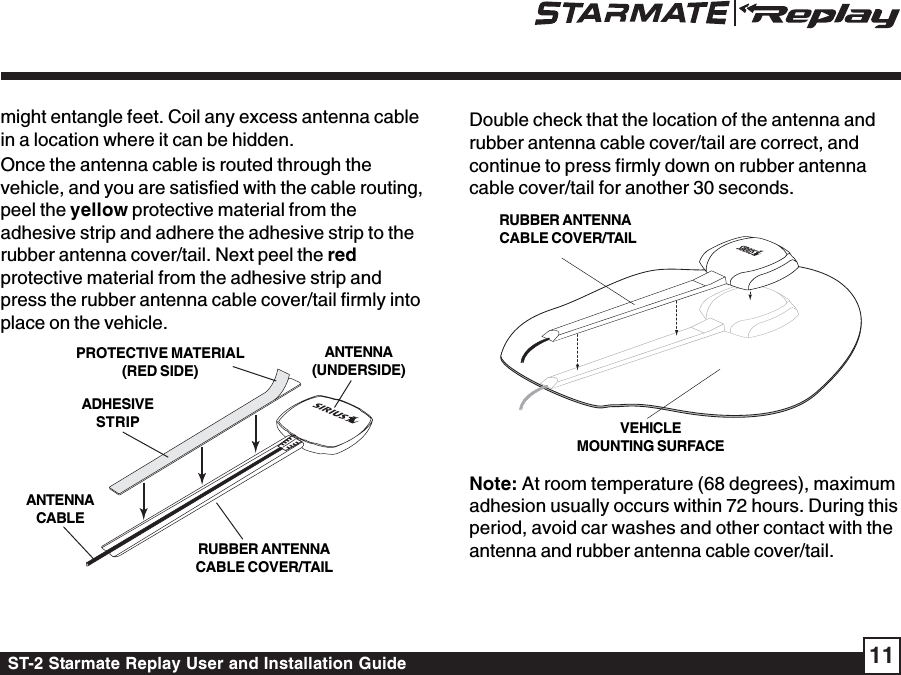
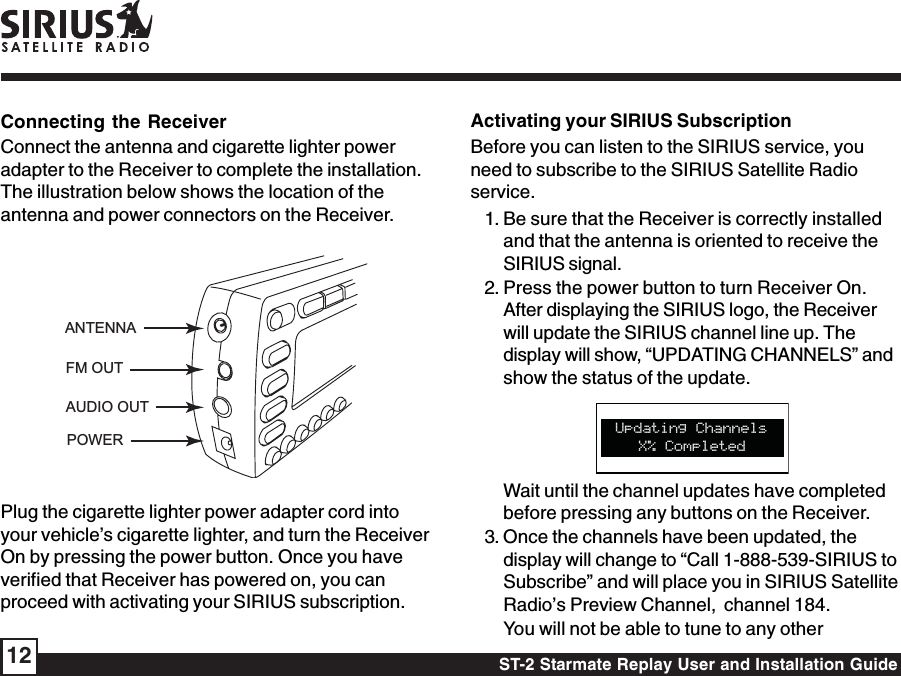
UPAST201 User Manual
User Manual
Navigation menu
Upload a User Manual
Namespaces
Wiki Guide
HTML
PDF
Info
Views
User Manual
Discussion / Help
Navigation