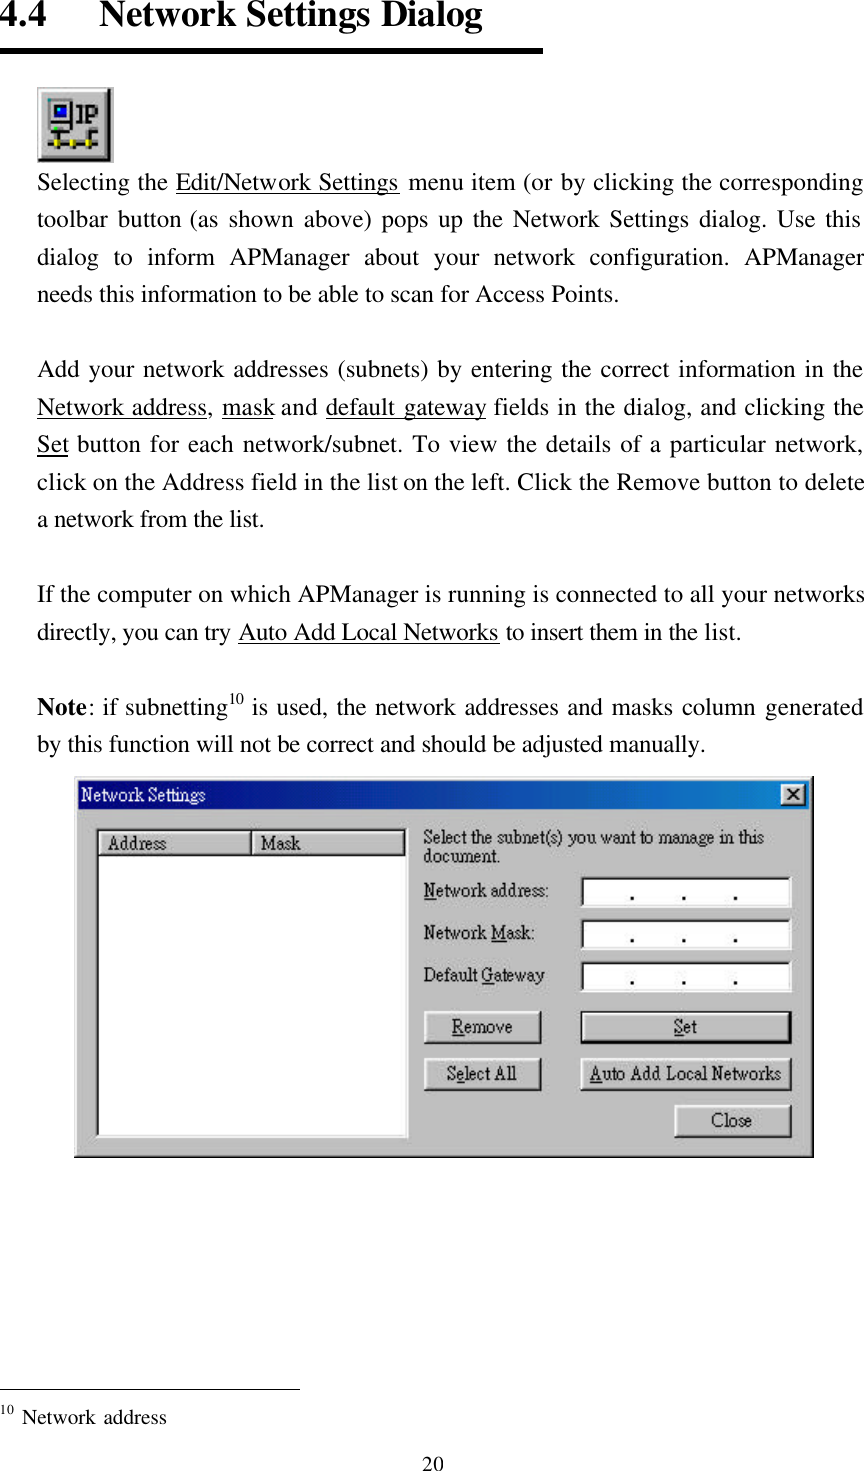
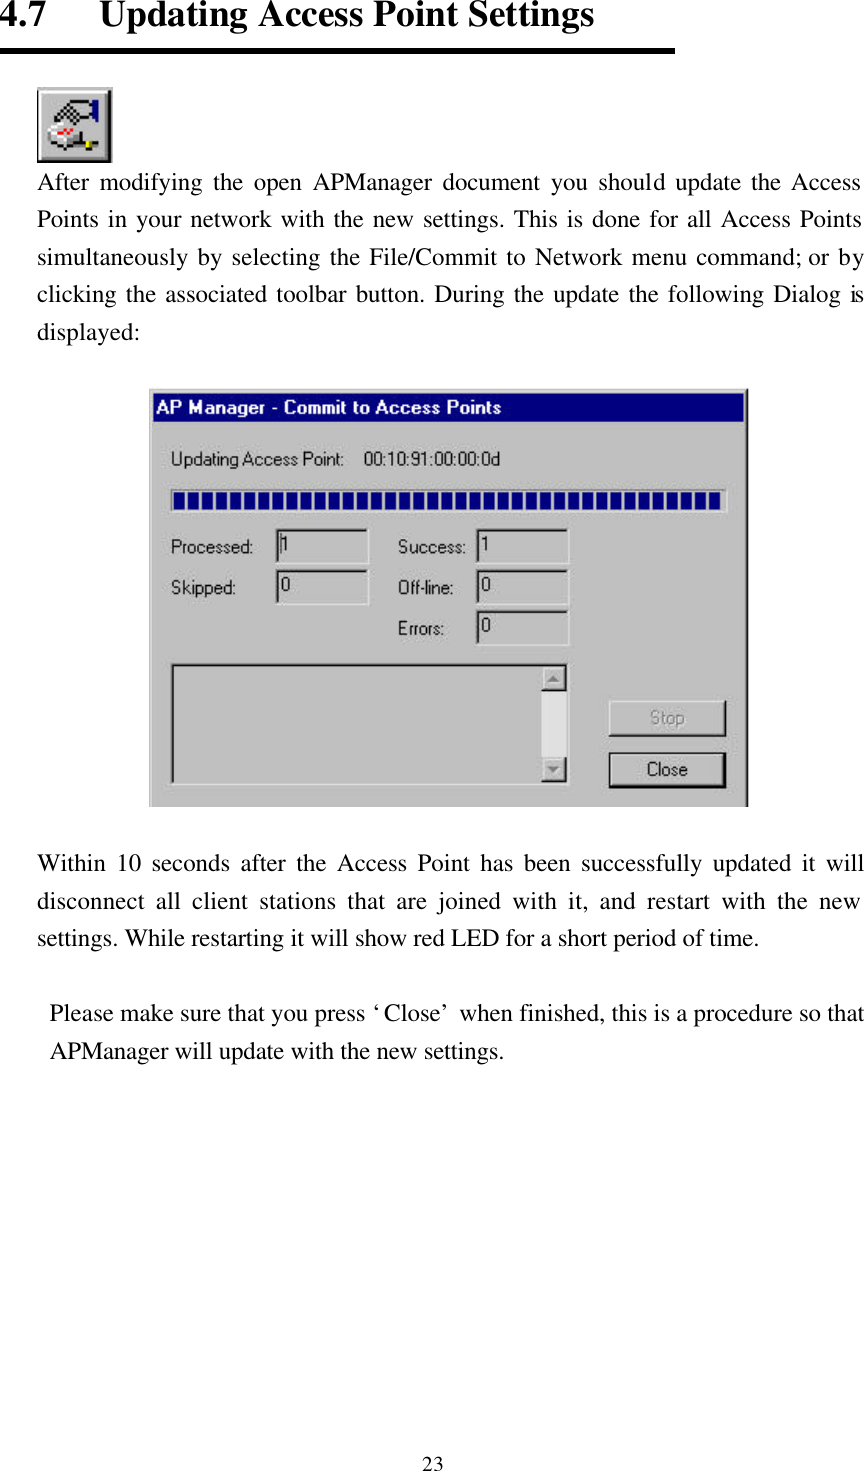
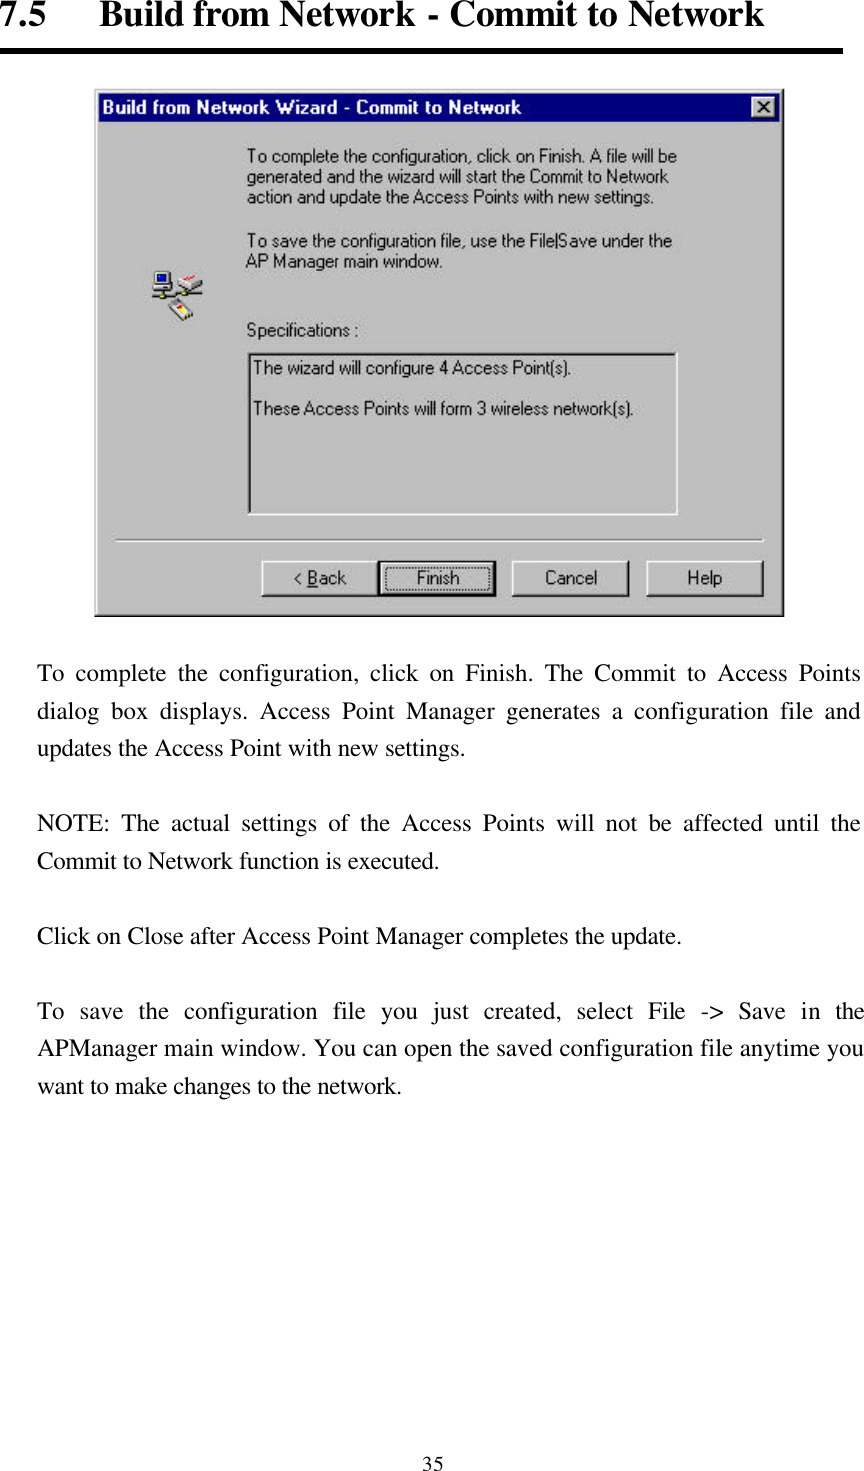
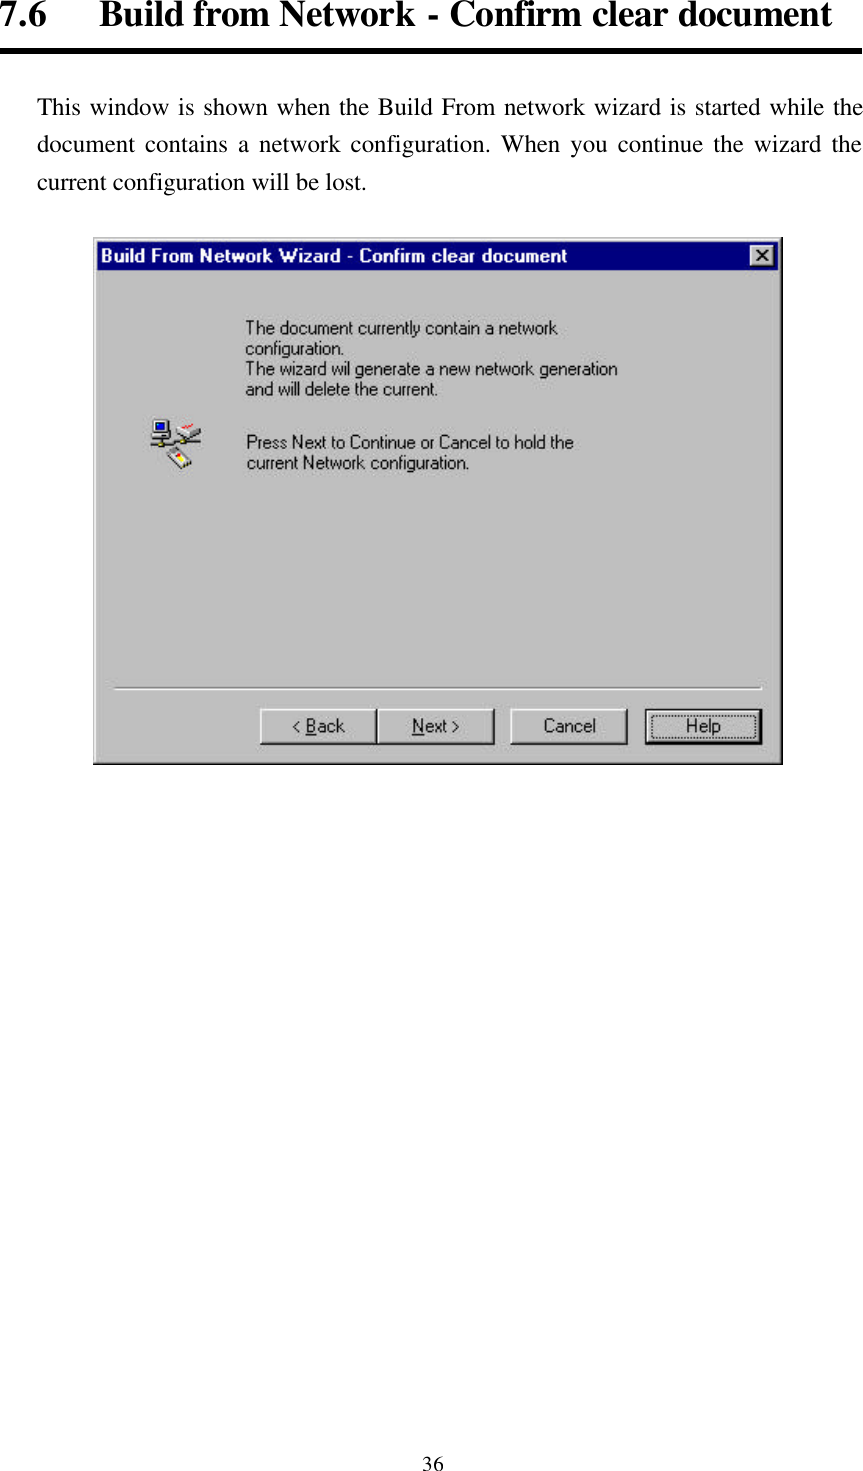
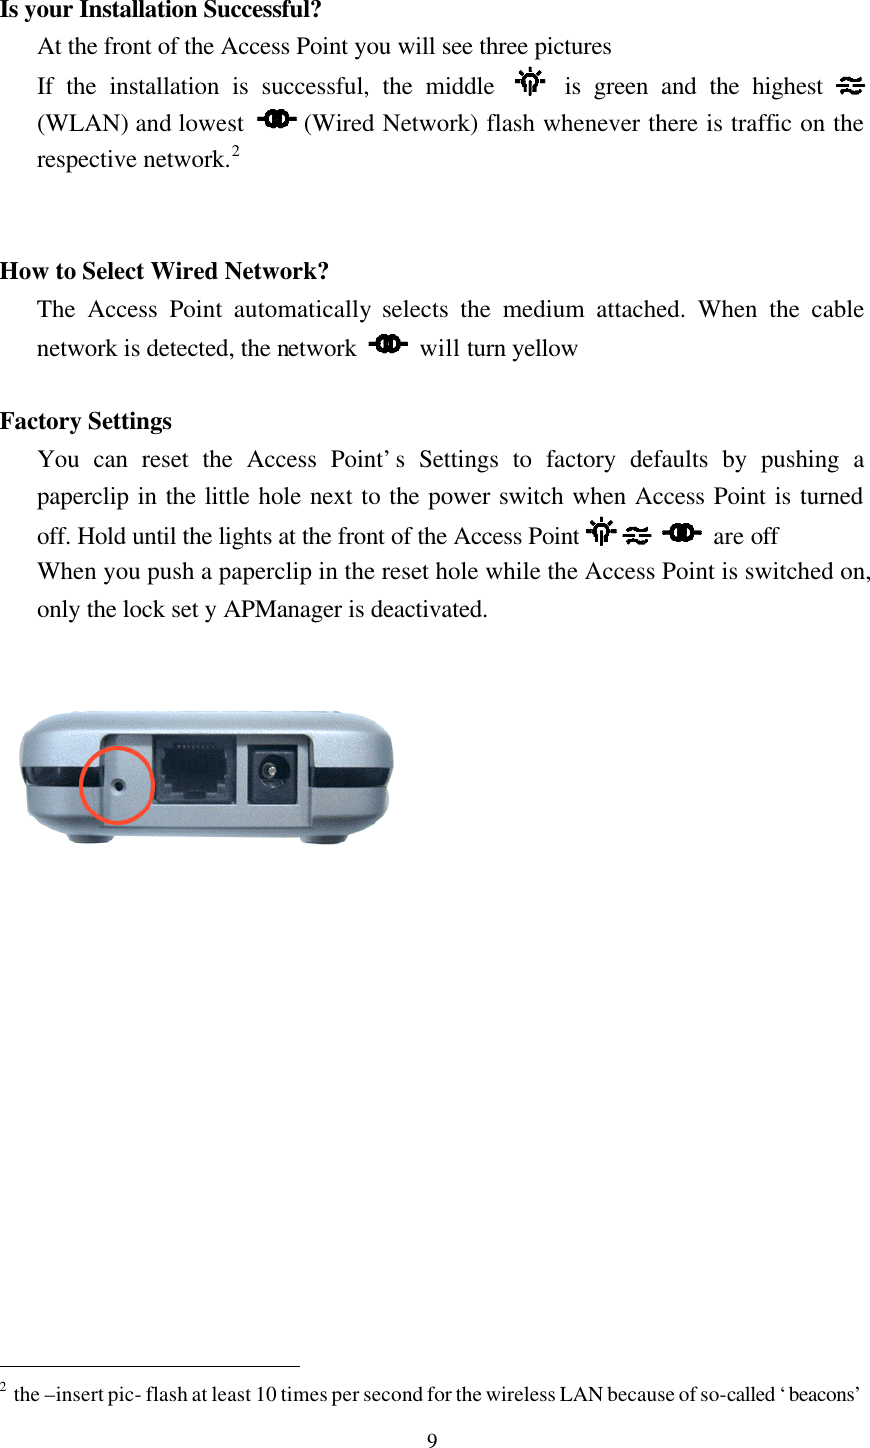
Wistron NeWeb WLANWARPLINKA Direct Sequence Spread Spectrum Transmitter User Manual User Manual 2412
Wistron NeWeb Corporation Direct Sequence Spread Spectrum Transmitter User Manual 2412
UserManual.wiki
>
Wistron NeWeb
>
WLANWARPLINKA User Manual
Updated Users Manual
Navigation menu
Upload a User Manual
Namespaces
Wiki Guide
HTML
PDF
Info
Views
User Manual
Discussion / Help
Navigation


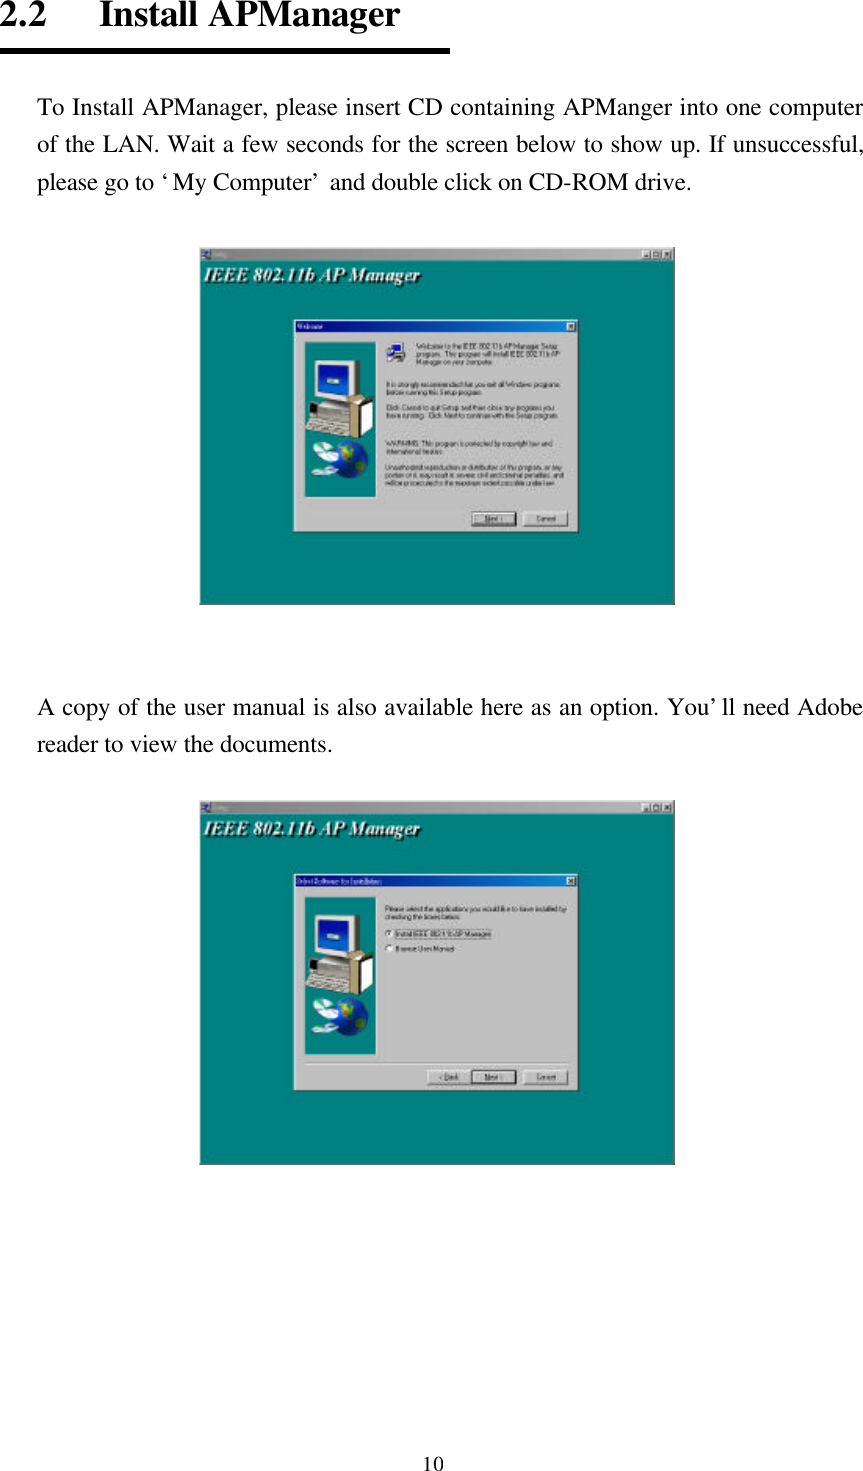
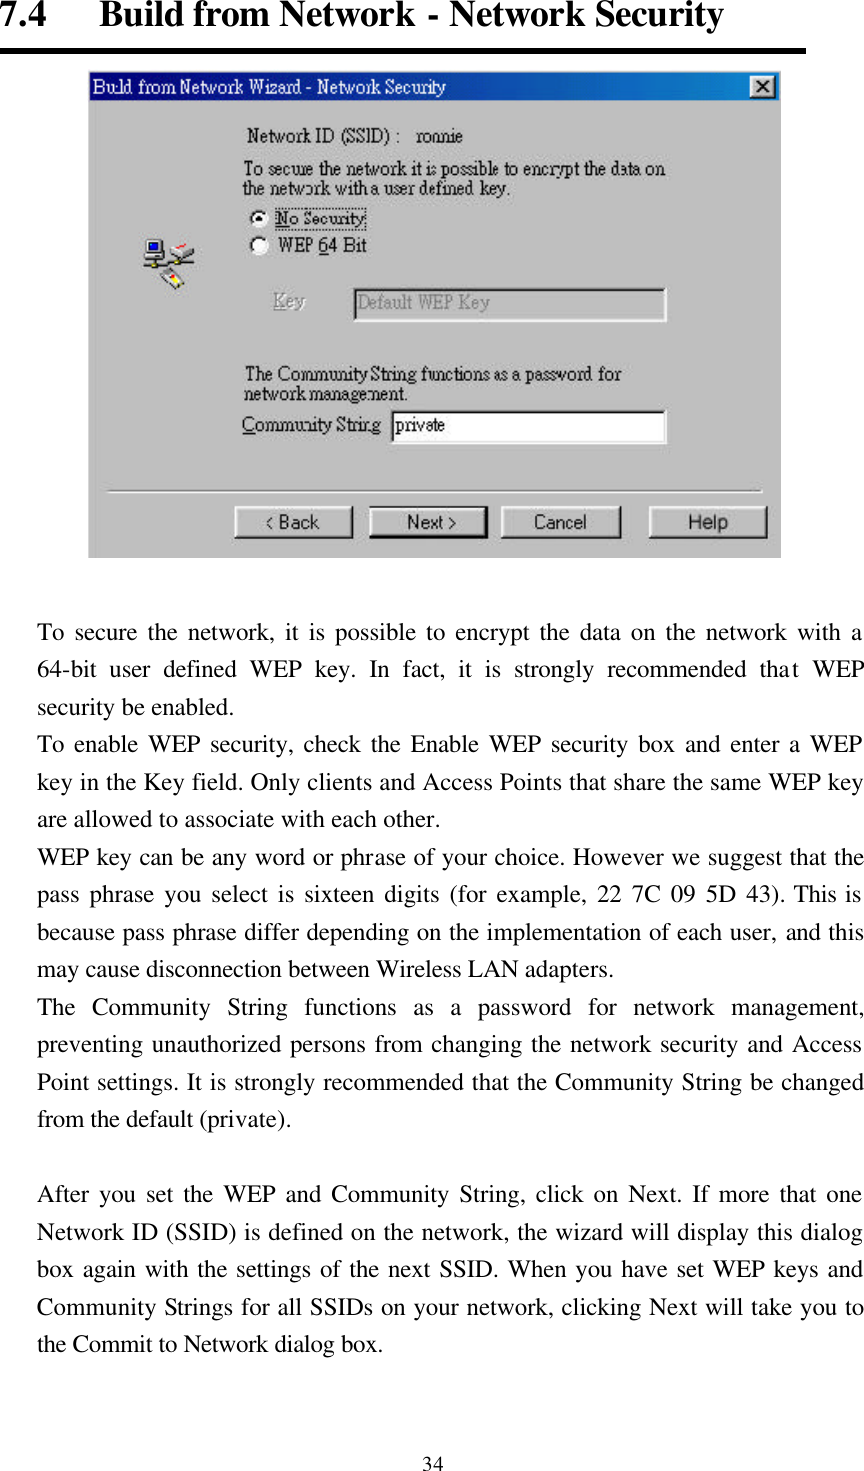
![11 Choose Install IEEE 802.11b APManager and follow through the steps. Installation is successful if screen below show up, tick box [Install IEEE 802.11b APManager] to launch APManager. Congratulations, APManager is successfully installed! Please continue reading to learn how to operate APManager To Launch APManager, tick the box shown on the above screen [Yes launch IEEE 802.11b APManager] and press ‘Select’. Please continue reading to learn how to manage your Wireless LAN using APManager. A quick start guide is available on page 28.](https://usermanual.wiki/Wistron-NeWeb/WLANWARPLINKA/User-Guide-137165-Page-11.png)