Wistron 72XX Bluetooth enabled GPS User Manual NAVIGON 72XX
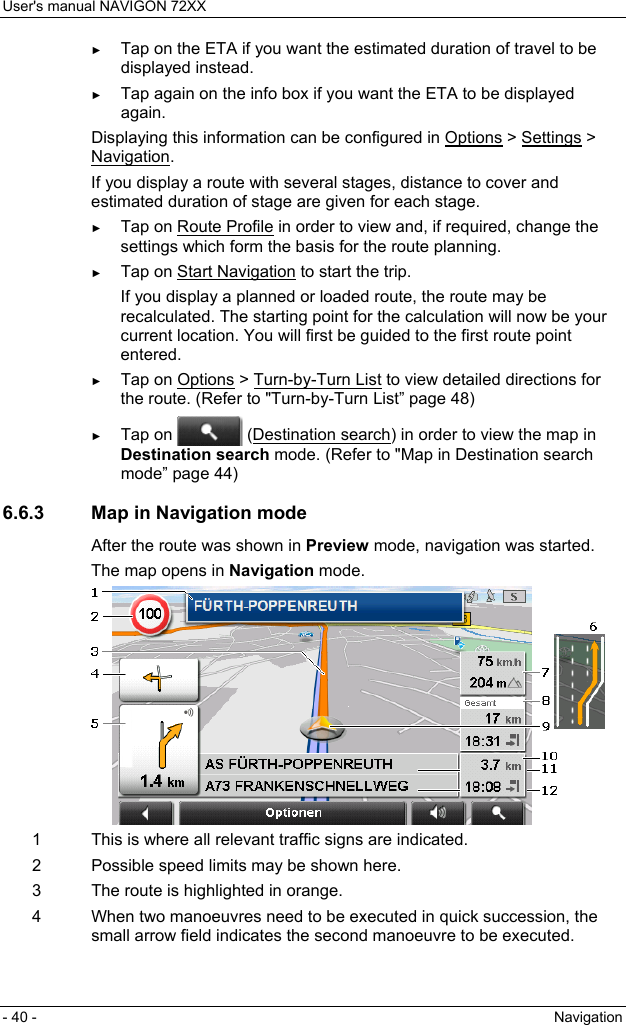
Wistron Corporation Bluetooth enabled GPS NAVIGON 72XX
UserManual.wiki
>
Wistron
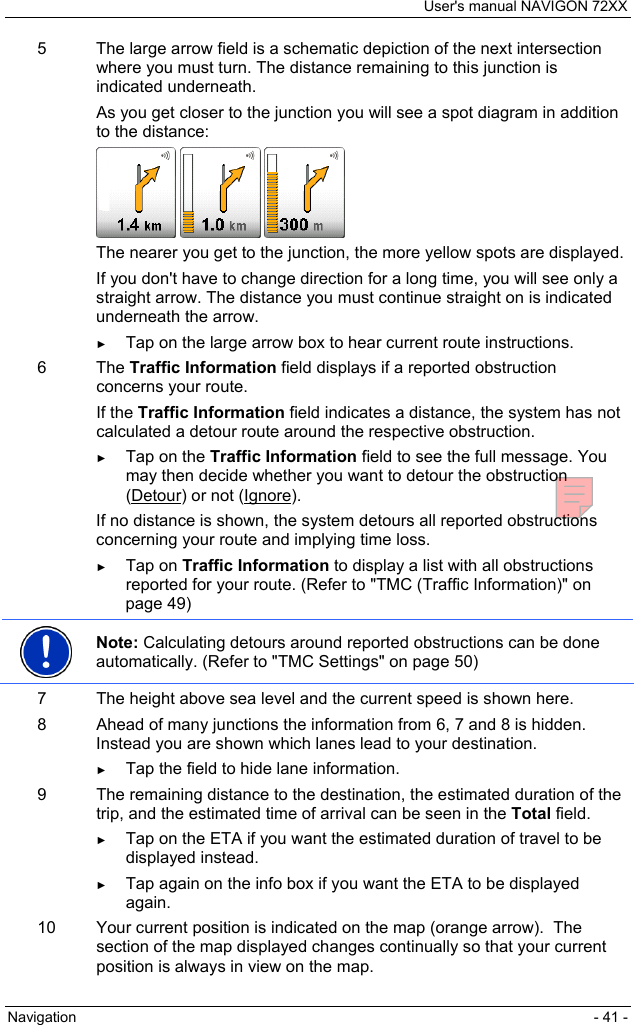
>
72XX User Manual
users manual
Navigation menu
Upload a User Manual
Namespaces
Wiki Guide
HTML
PDF
Info
Views
User Manual
Discussion / Help
Navigation


![User's manual NAVIGON 72XX - 64 - Troubleshooting 9.3.4 Canada C Request Country Code selection feature to be disabled for products marketed to the US/CANADA. Operation is subject to the following two conditions: (1) this device may not cause interference, and (2) this device must accept any interference, including interference that may cause undesired operation of the device. This Class [B] digital apparatus complies with Canadian ICES-003. This Category II radiocommunication device complies with Industry Canada Standard RSS-310. Cet appareil numerique de la classe [B] est conforme à la norme NMB-003 du Canada. Ce dispositif de radiocommunication de categorie II respecte la norme CNR-310 d'Industrie Canada. 10 Troubleshooting In this chapter you will find solutions to problems which may arise during use of the NAVIGON 72XX. This list does not claim to be complete. Answers to many other questions can be found on the NAVIGON AG website. (Refer to "Questions about the product" on page 7) I have connected a charger to the NAVIGON 72XX. A connection to a computer is shown on the display. or I have connected the NAVIGON 72XX to a computer but it is not detected as a removable disc. The USB connector of the charger is not fully inserted in the case. 1. Unplug the connector. The navigation device will carry out a new start. Wait for the navigation software to be reloaded. 2. Without delay, insert the USB connector from the charger into the corresponding socket of the NAVIGON 72XX as far as it will go. (Refer to "Description of the NAVIGON 72XX" on page 8) The USB connector is not connected correctly. See above.](https://usermanual.wiki/Wistron/72XX/User-Guide-982191-Page-64.png)