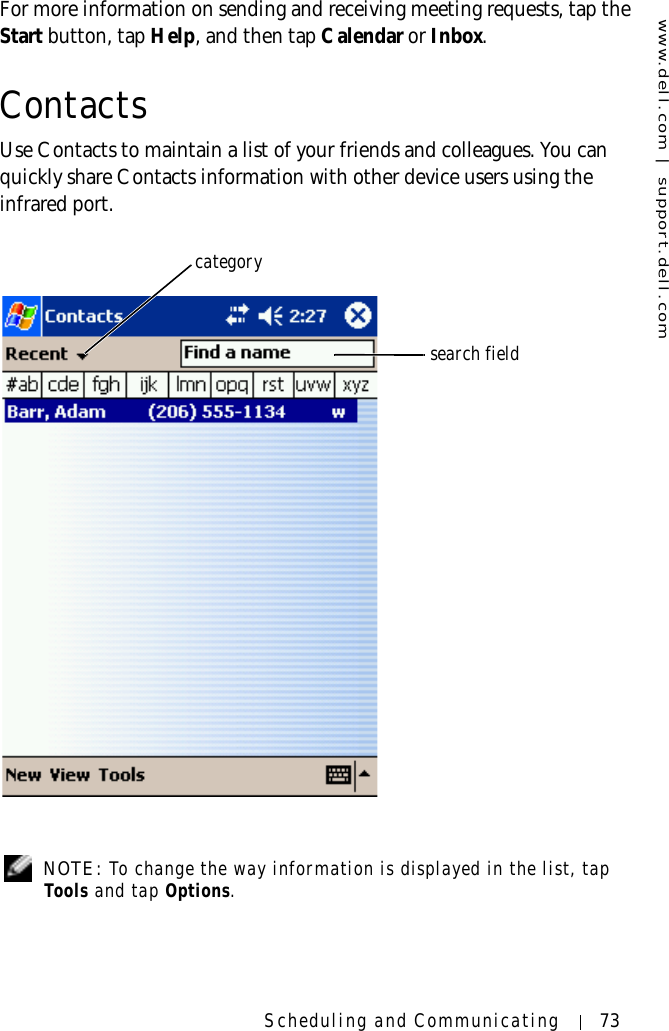
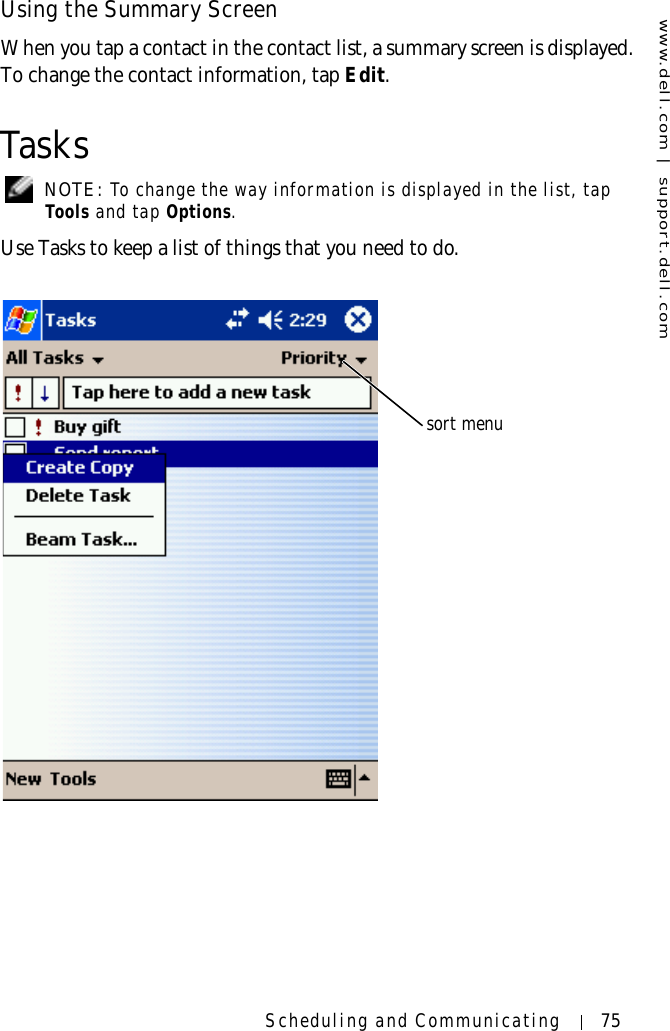
Wistron HC02U PDA with 802.11b Wireless LAN User Manual C2448bk0
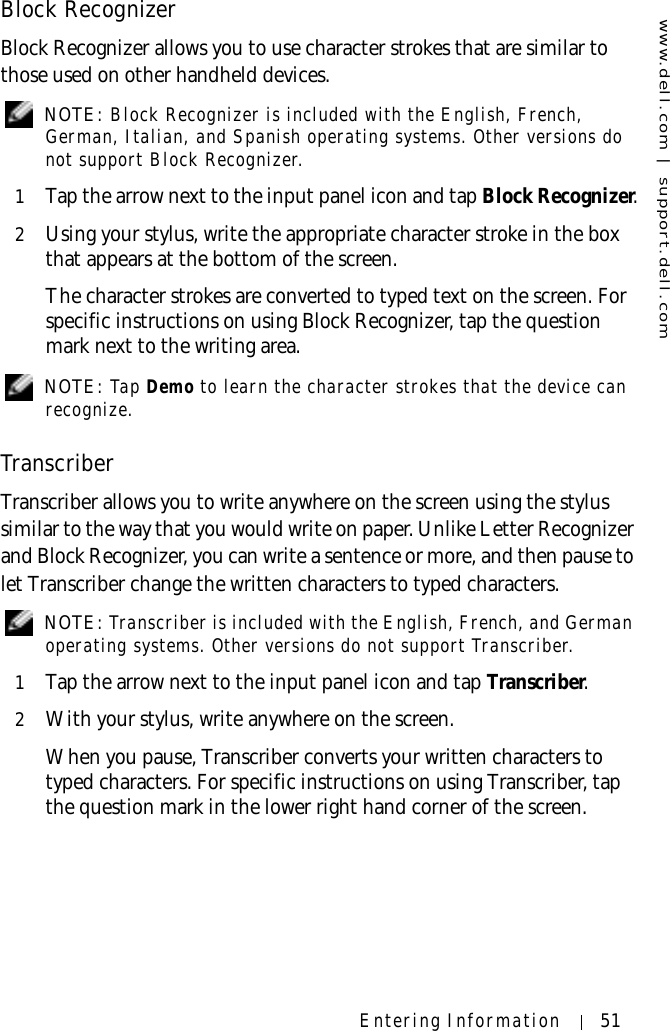
Wistron Corporation PDA with 802.11b Wireless LAN C2448bk0
UserManual.wiki
>
Wistron
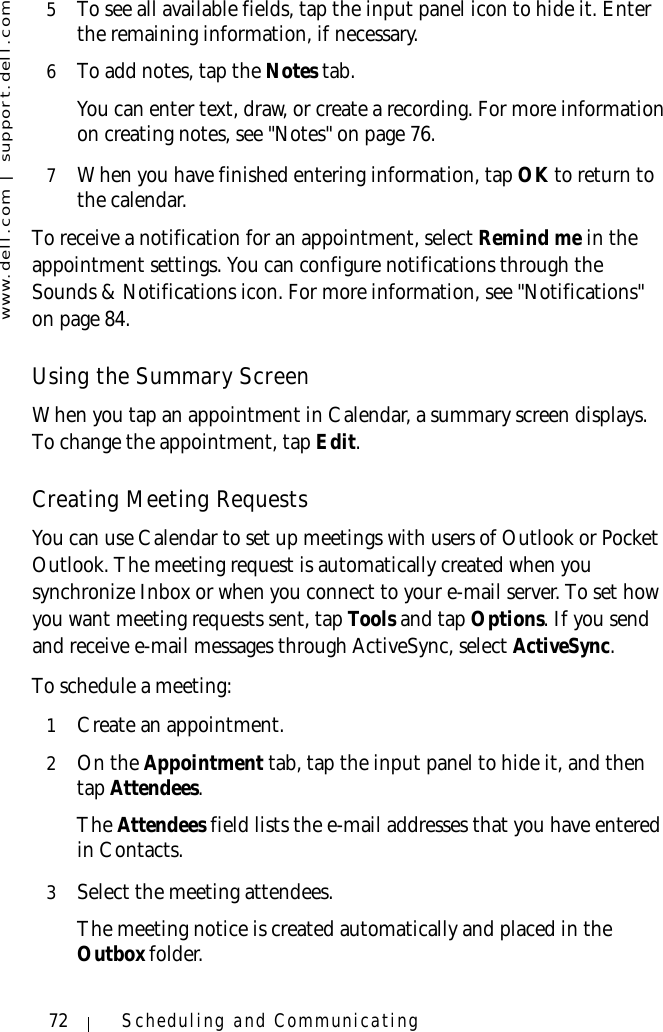
>
HC02U User Manual
>
Users Manual Revised
Contents
1.
DoC Statements
2.
Users Manual Revised
Users Manual Revised
Navigation menu
Upload a User Manual
Namespaces
Wiki Guide
HTML
PDF
Info
Views
User Manual
Discussion / Help
Navigation

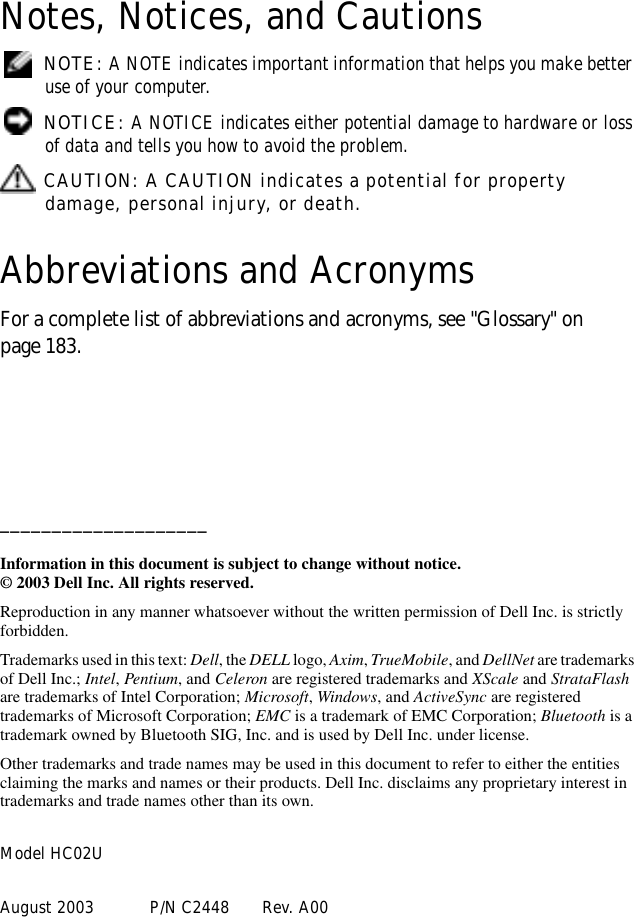


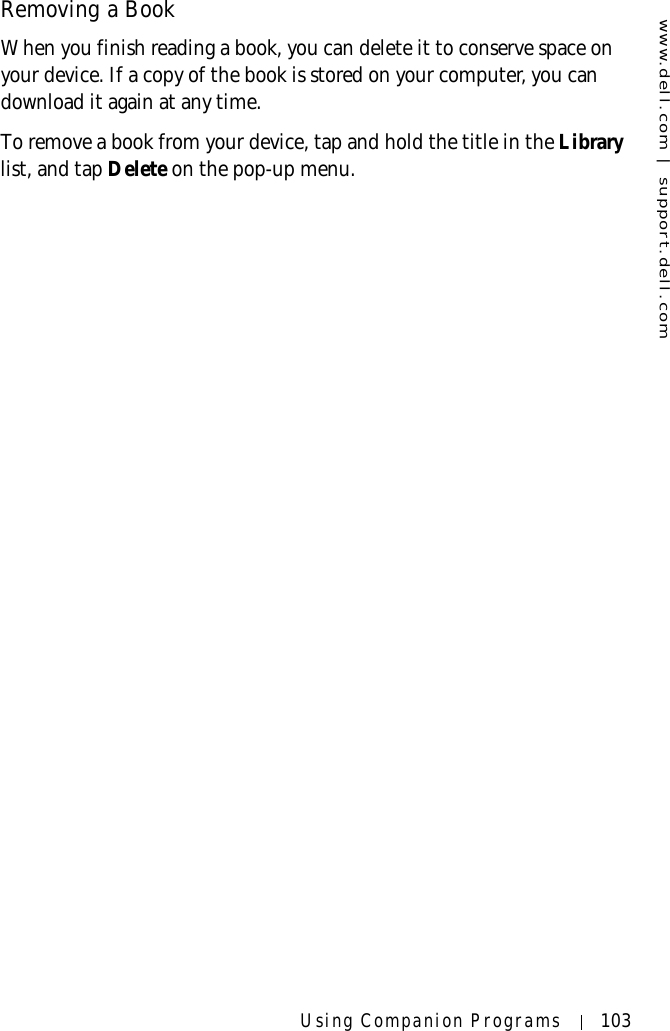


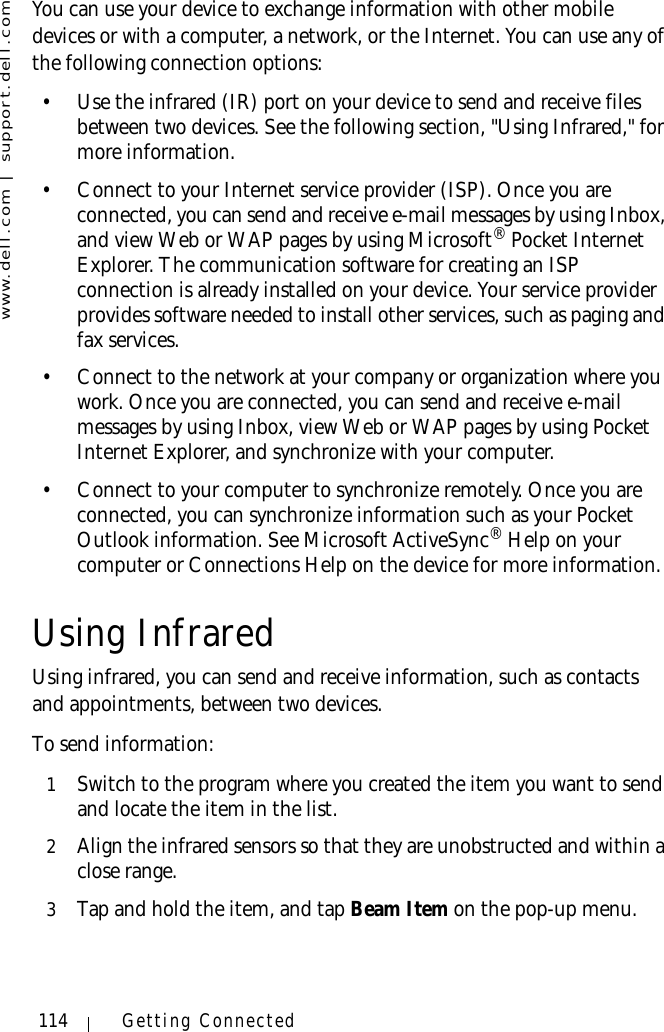
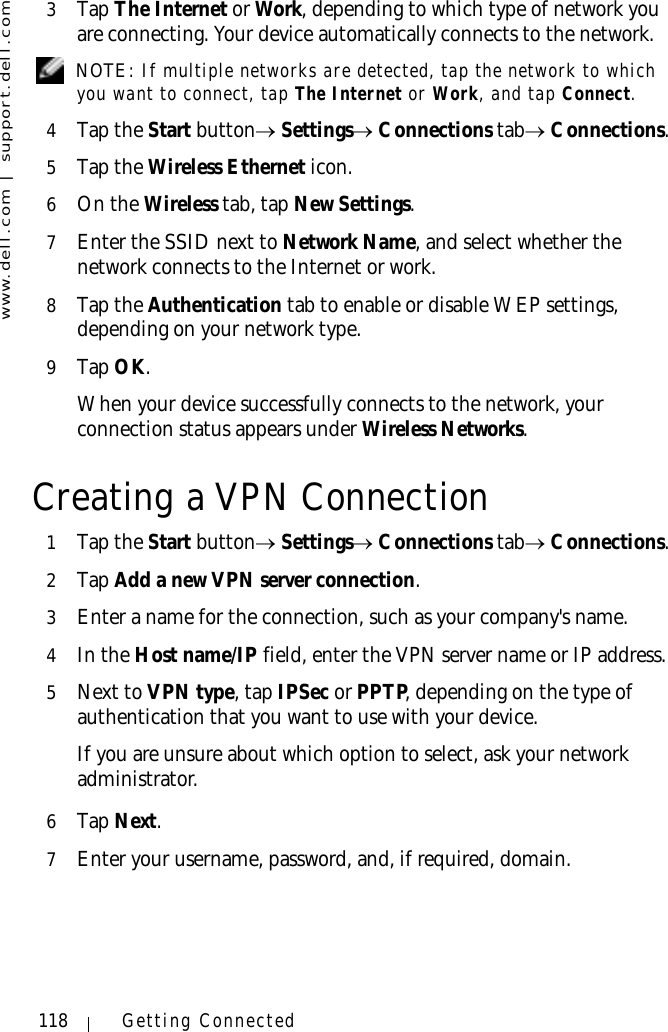

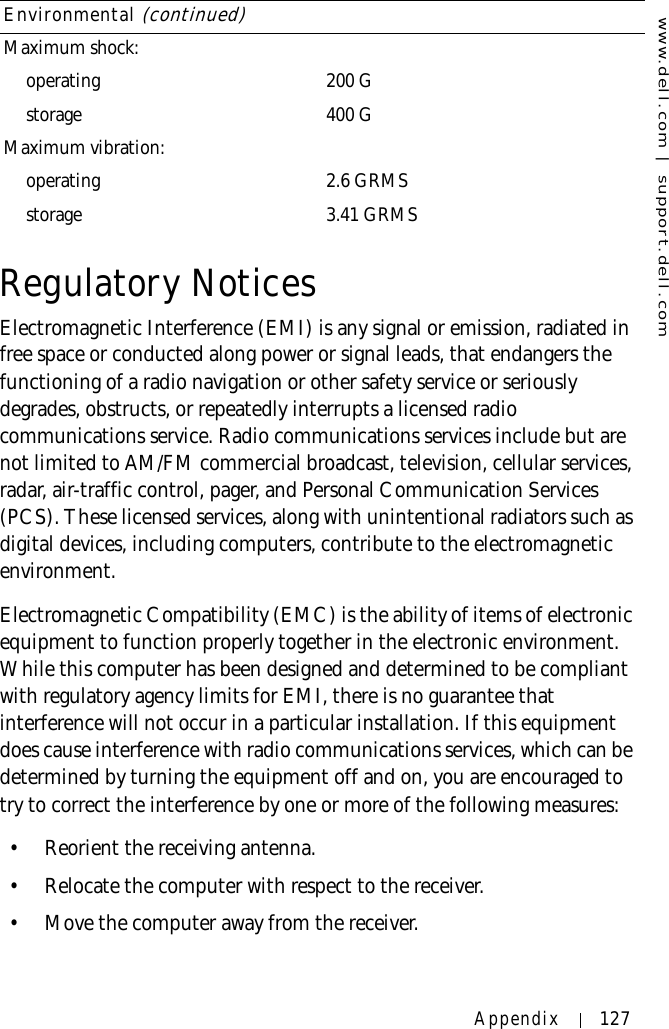


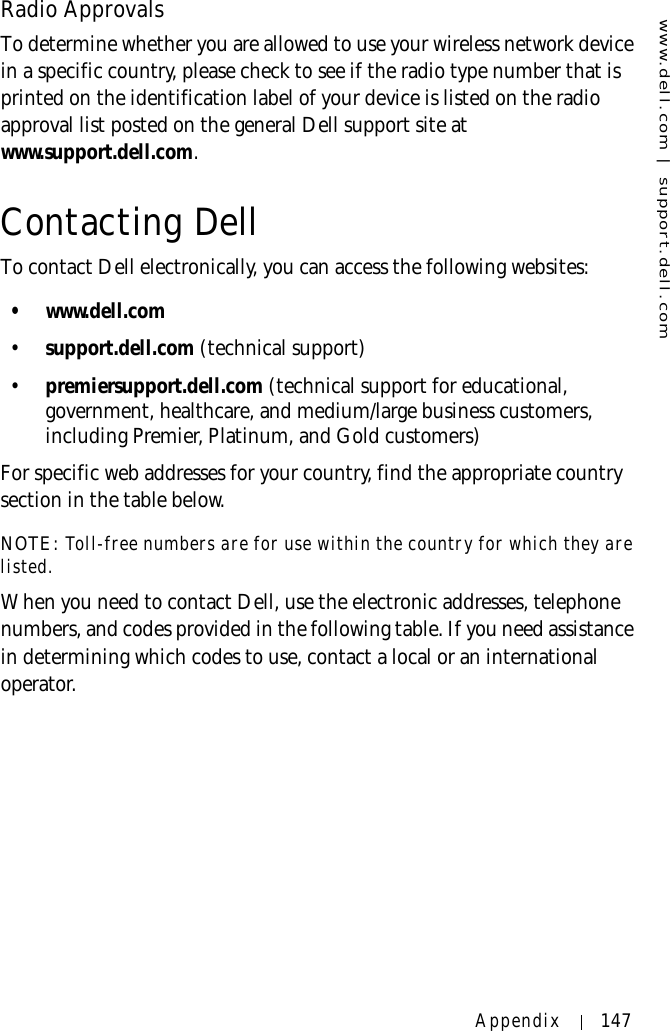
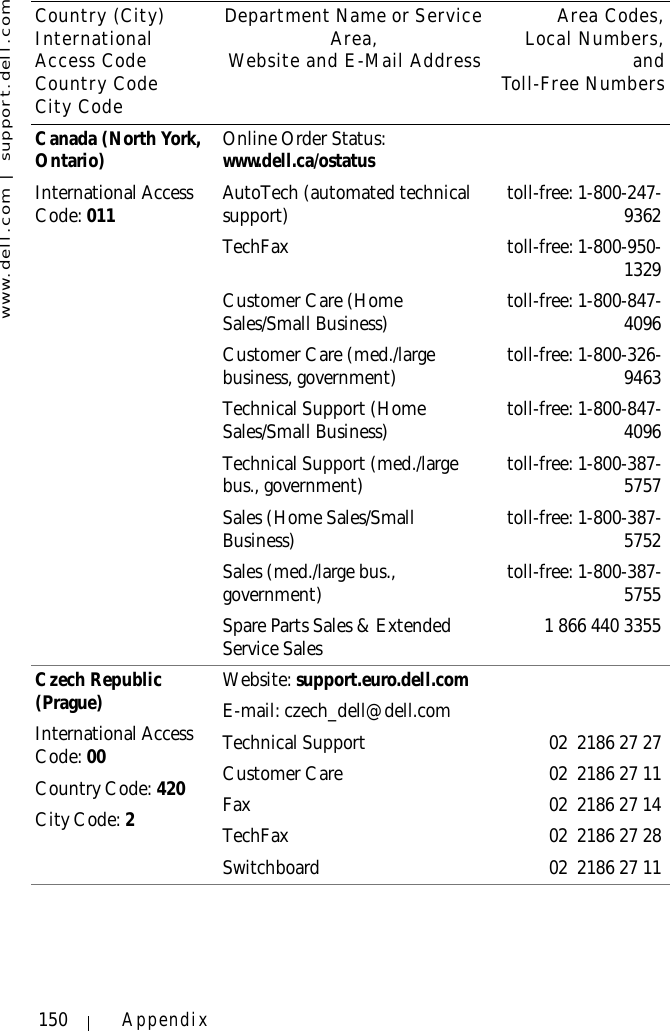
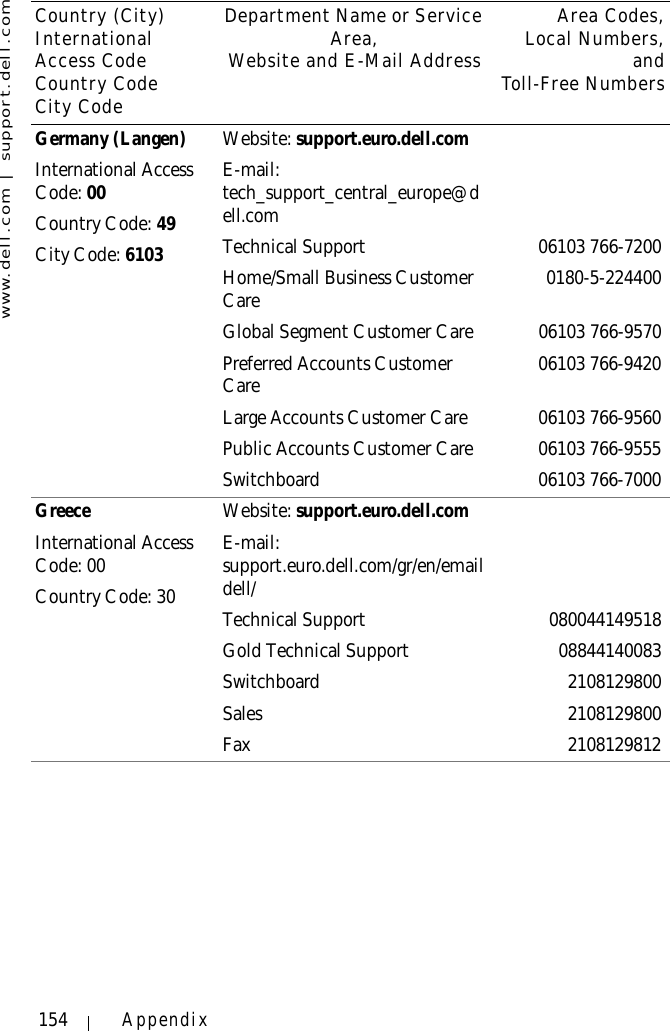
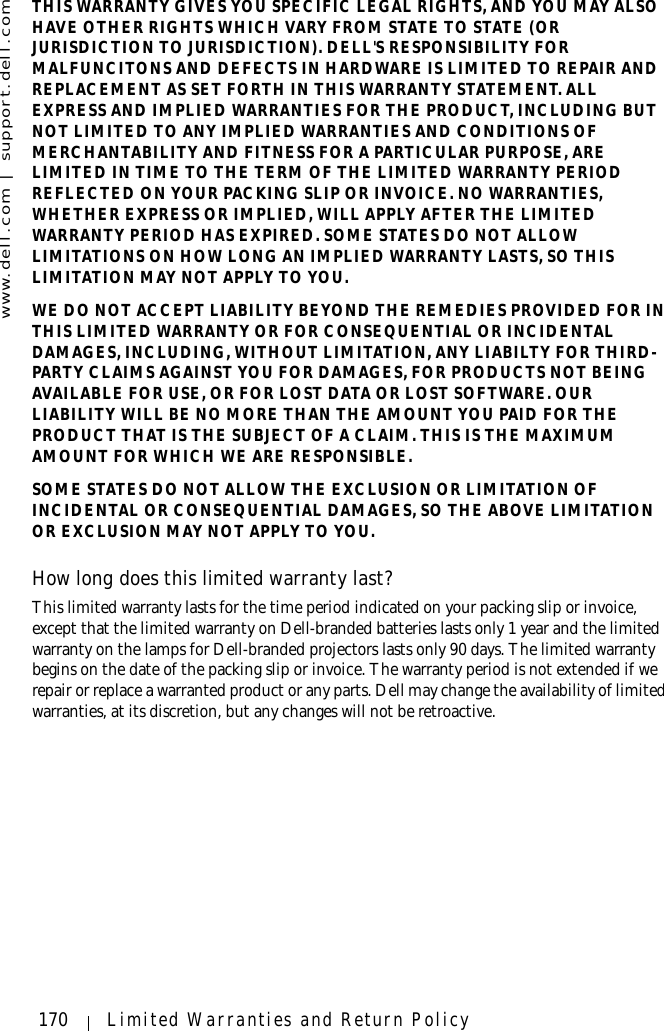
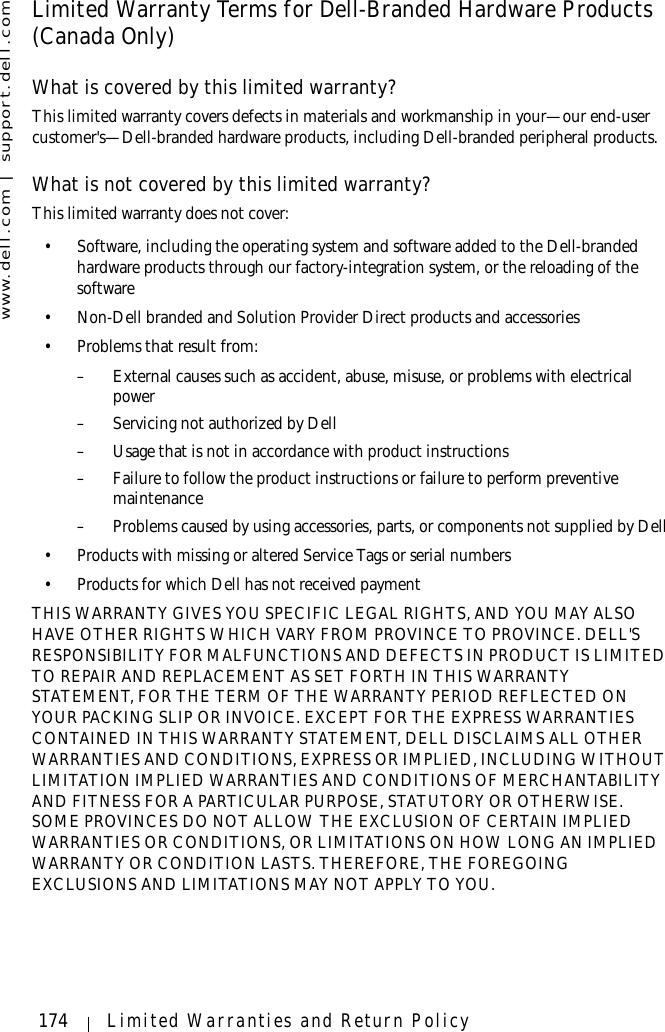
![www.dell.com | support.dell.comAppendix 165U.K. (Bracknell)International Access Code: 00Country Code: 44City Code: 1344Website: support.euro.dell.comCustomer Care website: support.euro.dell.com/uk/en/ECare/Form/Home.aspE-mail: dell_direct_support@dell.comTechnical Support (Corporate/Preferred Accounts/PAD [1000+ employees])0870 908 0500Technical Support (direct/PAD and general) 0870 908 0800Global Accounts Customer Care 01344 373 186Home and Small Business Customer Care 0870 906 0010Corporate Customer Care 01344 373 185Preferred Accounts (500–5000 employees) Customer Care 0870 906 0010Central Government Customer Care 01344 373 193Local Government & Education Customer Care 01344 373 199Health Customer Care 01344 373 194Home and Small Business Sales 0870 907 4000Corporate/Public Sector Sales 01344 860 456Country (City)International Access Code Country CodeCity CodeDepartment Name or Service Area,Website and E-Mail AddressArea Codes,Local Numbers,andToll-Free Numbers](https://usermanual.wiki/Wistron/HC02U.Users-Manual-Revised/User-Guide-363213-Page-165.png)
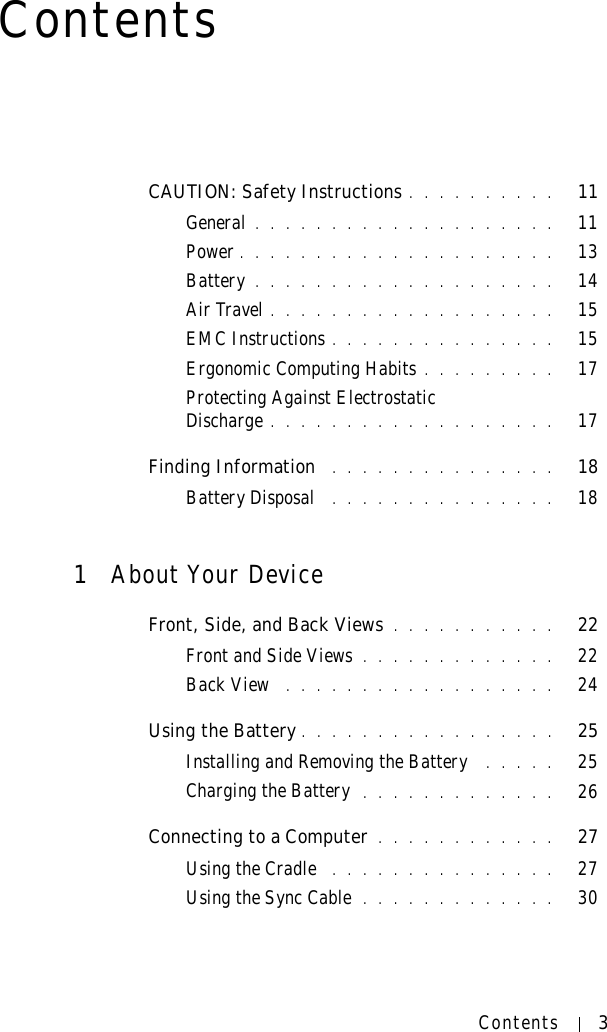
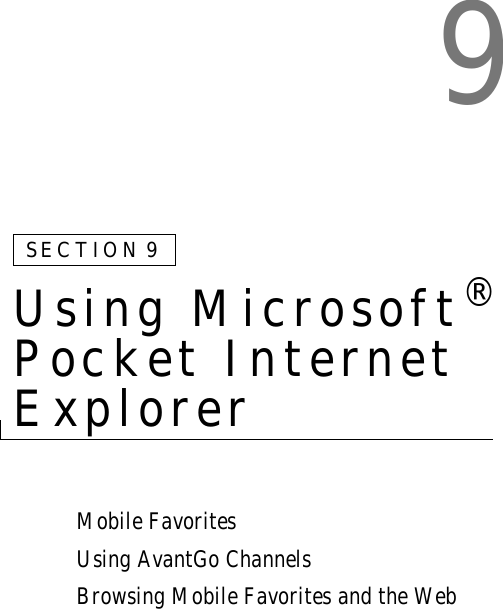
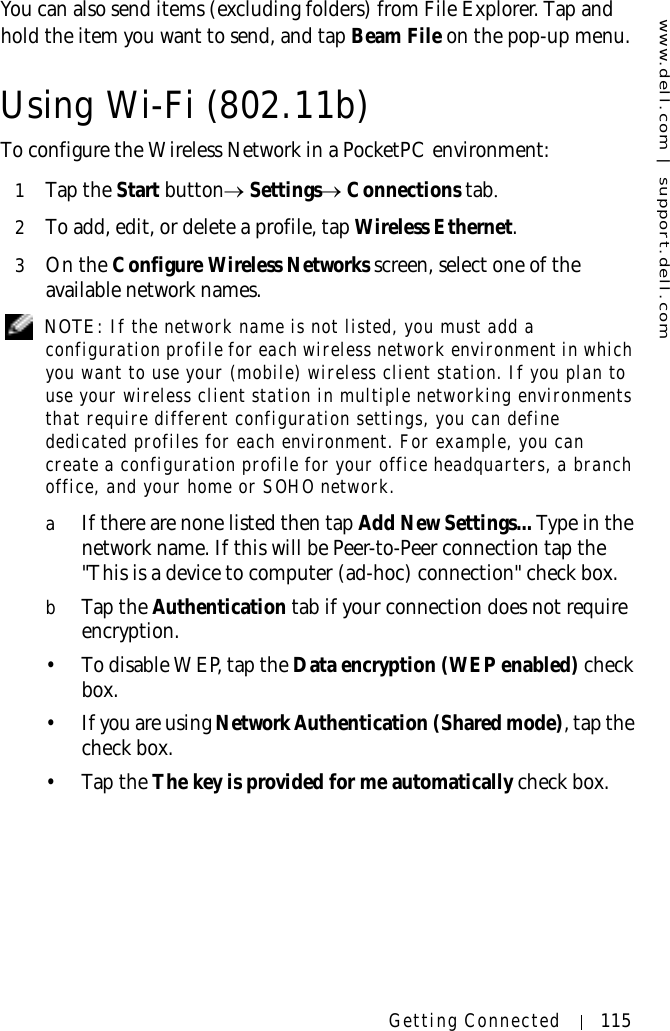
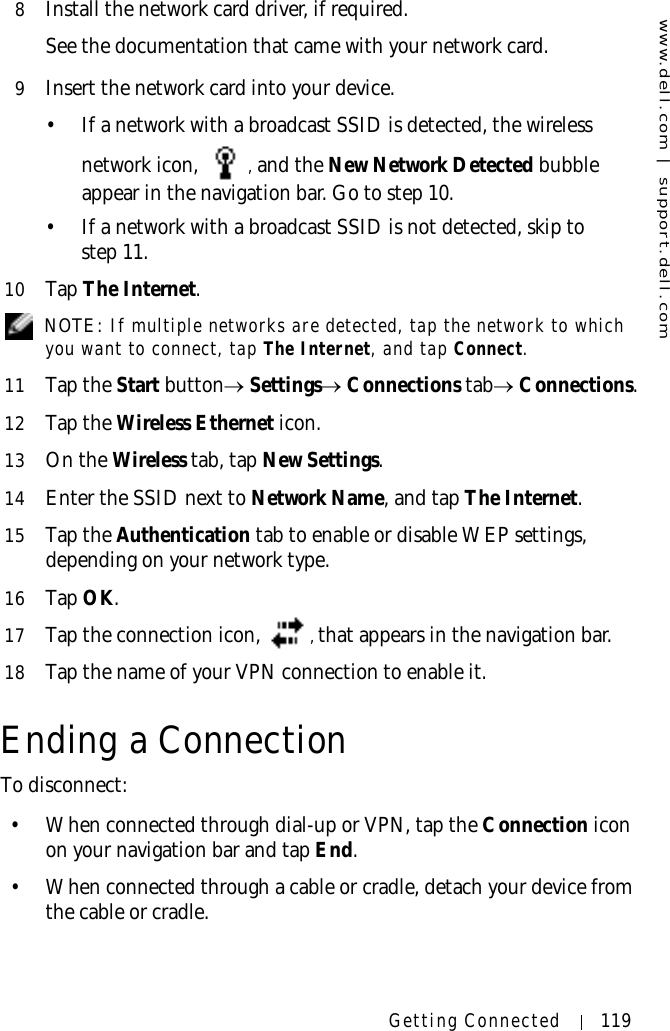
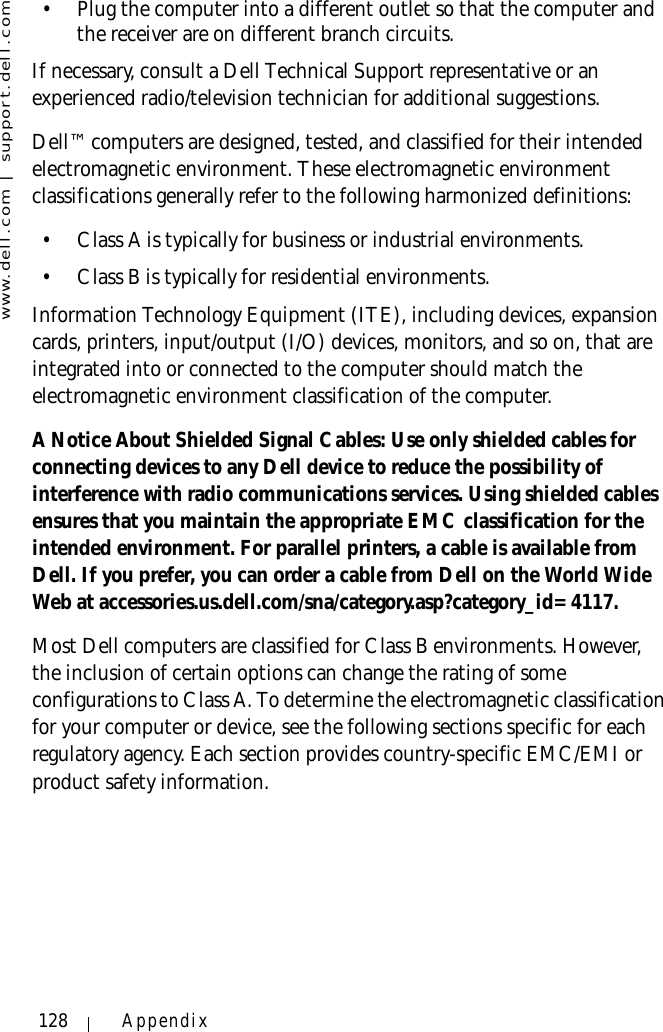
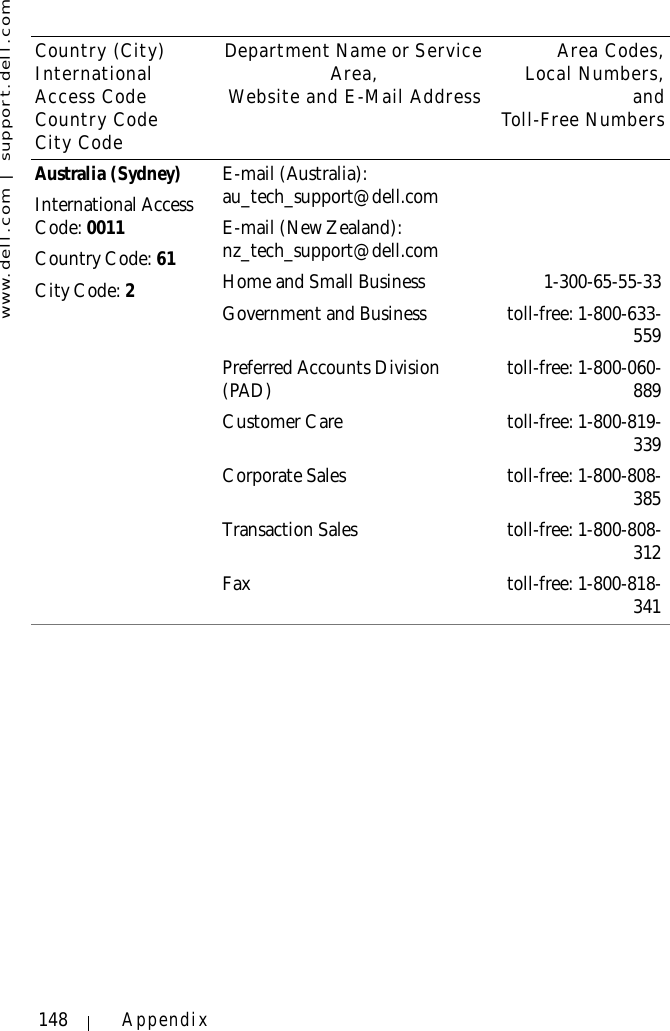
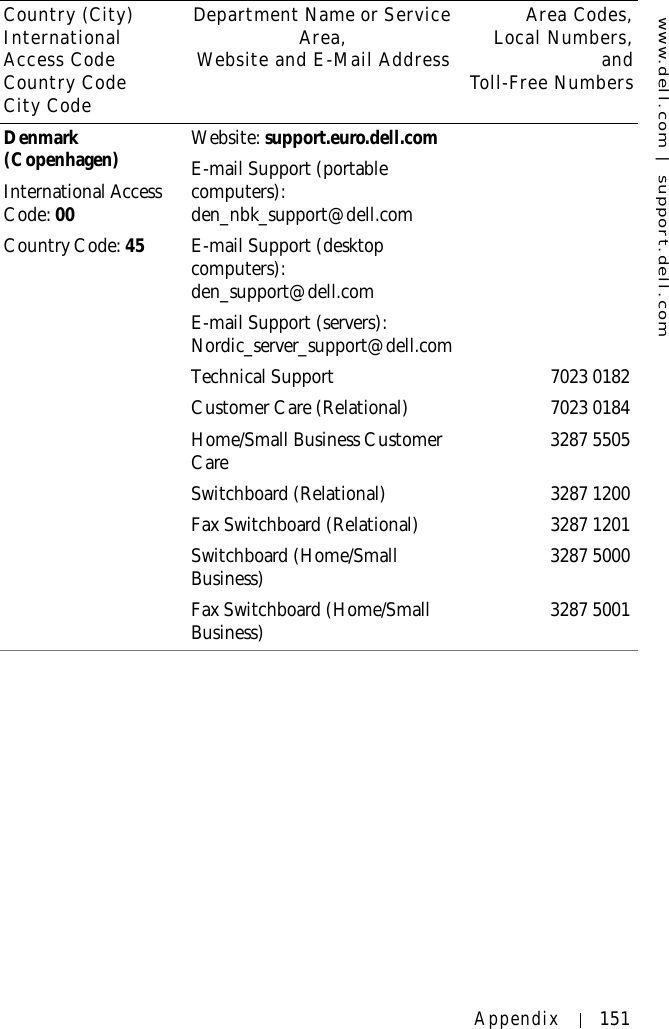
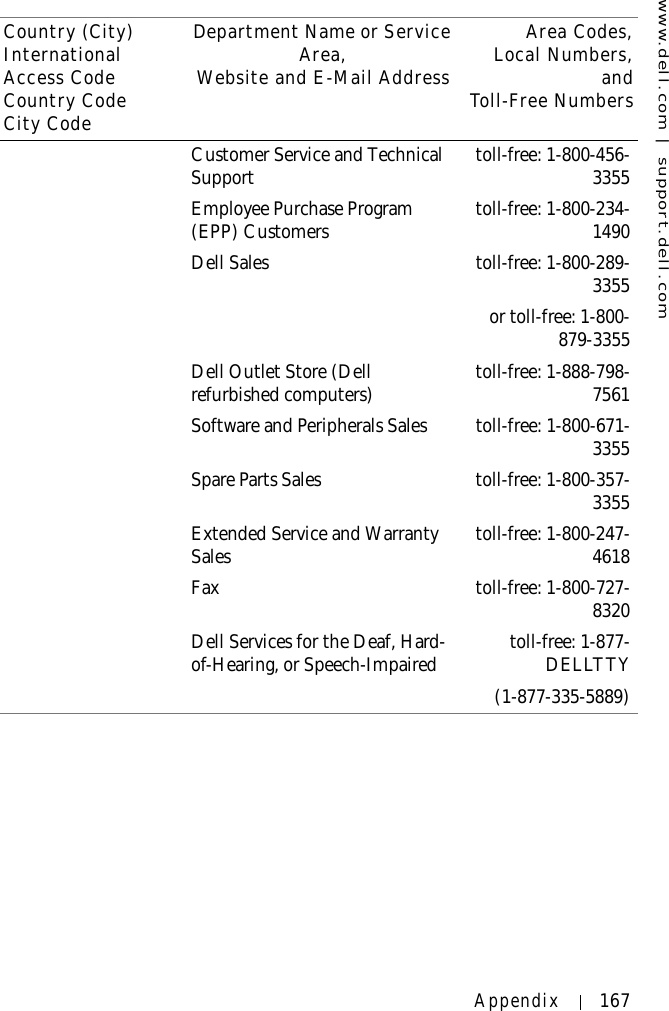
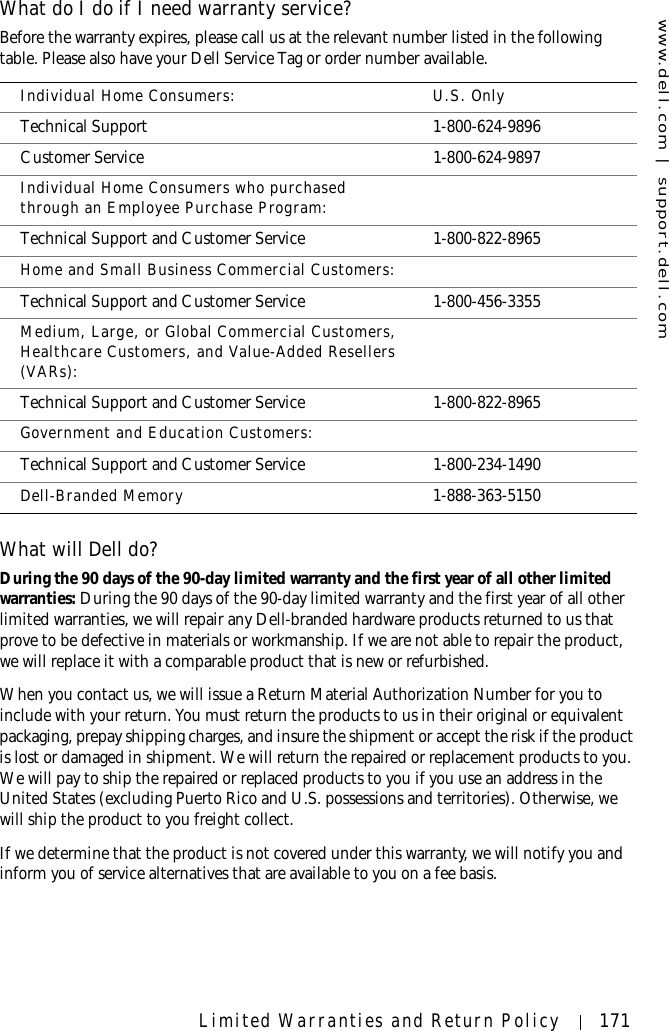
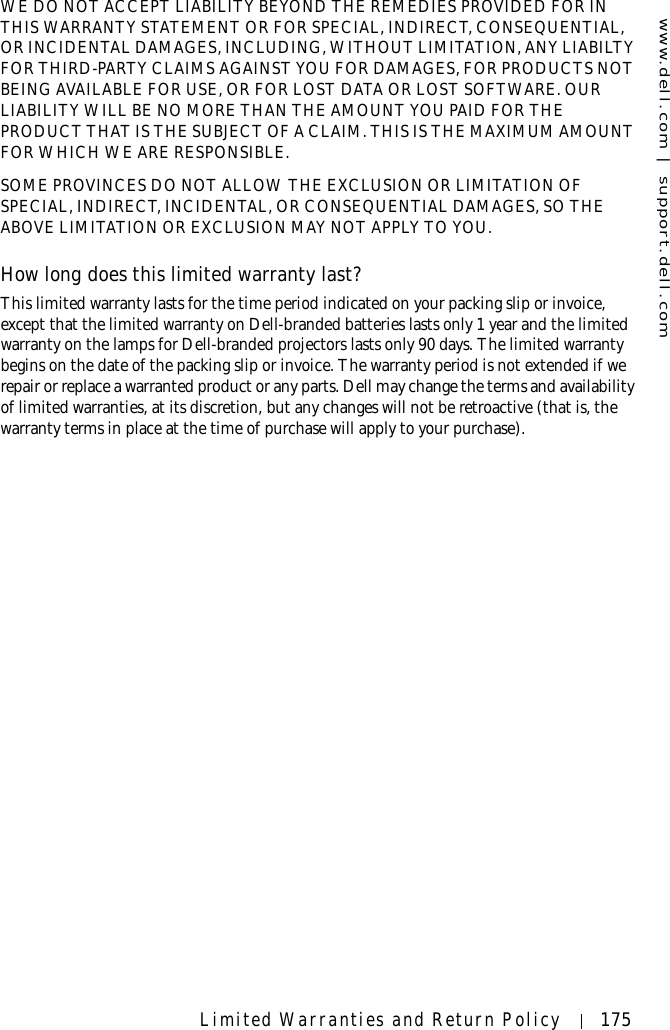
![www.dell.com | support.dell.com166 AppendixU.S.A. (Austin, Texas)International Access Code: 011Country Code: 1Automated Order-Status Service toll-free: 1-800-433-9014AutoTech (portable and desktop computers) toll-free: 1-800-247-9362Consumer (Home and Home Office) Technical Support toll-free: 1-800-624-9896Customer Service toll-free: 1-800-624-9897DellNet™ Service and Support toll-free: 1-877-Dell-net(1-877-335-5638)Employee Purchase Program (EPP) Customers toll-free: 1-800-695-8133Financial Services website: www.dellfinancialservices.comFinancial Services (lease/loans) toll-free: 1-877-577-3355Financial Services (Dell Preferred Accounts [DPA]) toll-free: 1-800-283-2210Business Customer Service and Technical Support toll-free: 1-800-822-8965Employee Purchase Program (EPP) Customers toll-free: 1-800-695-8133Projectors Technical Support toll-free: 1-877-459-7298Public (government, education, and healthcare)Country (City)International Access Code Country CodeCity CodeDepartment Name or Service Area,Website and E-Mail AddressArea Codes,Local Numbers,andToll-Free Numbers](https://usermanual.wiki/Wistron/HC02U.Users-Manual-Revised/User-Guide-363213-Page-166.png)


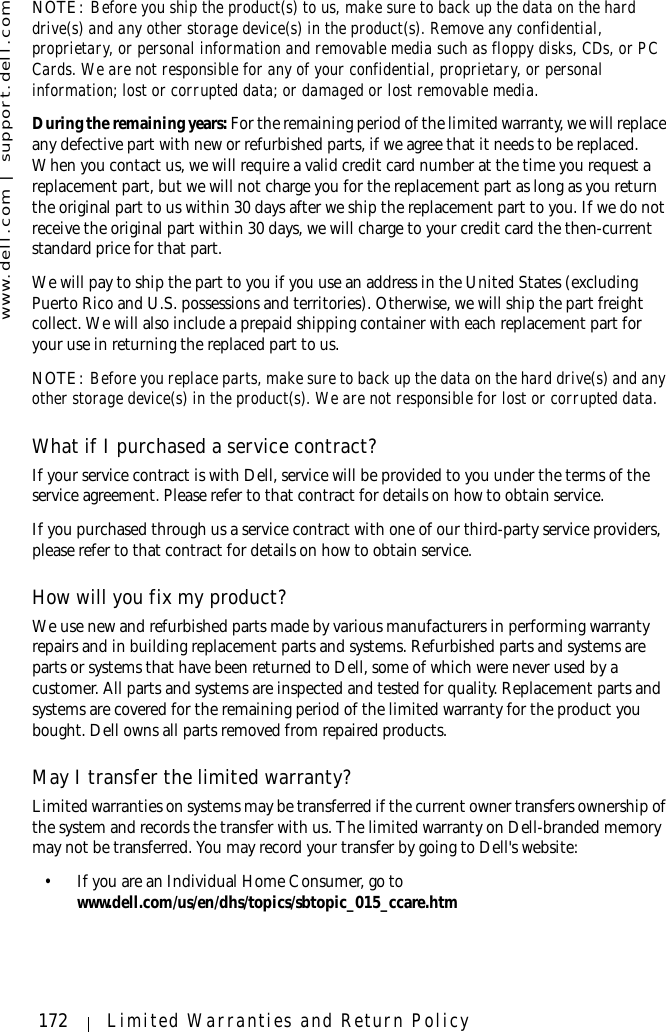
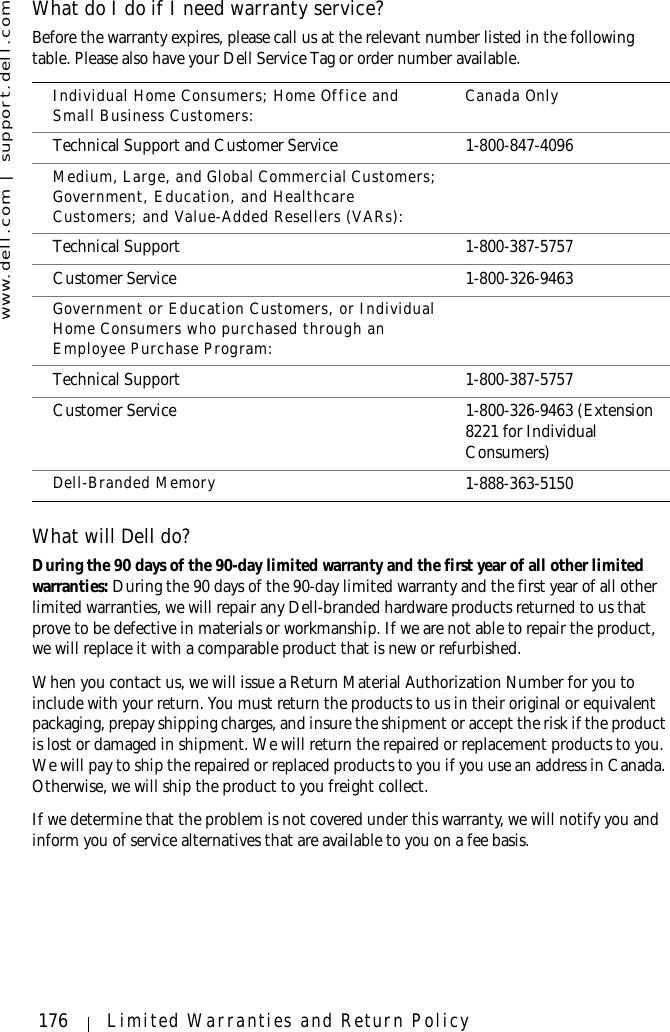

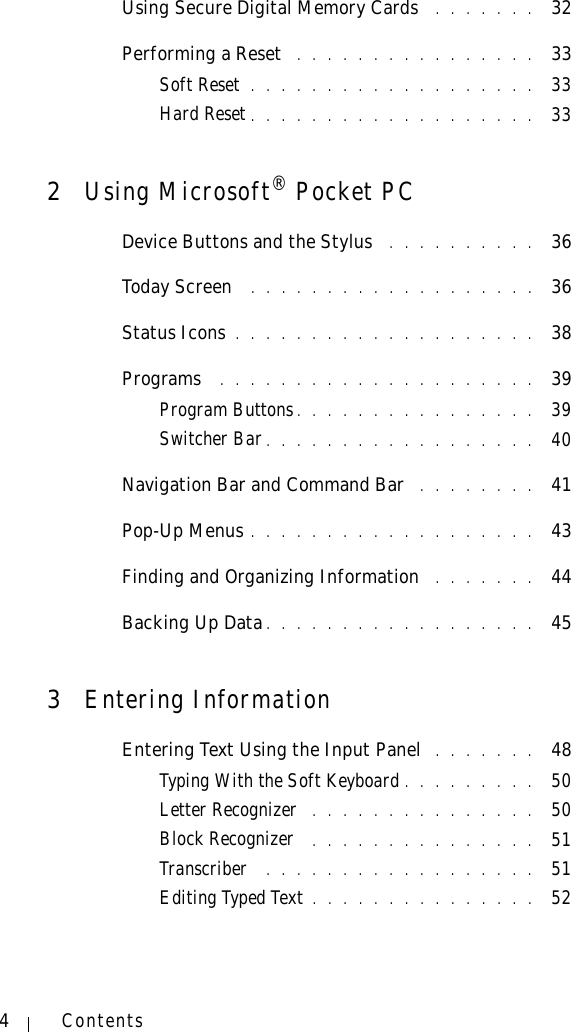
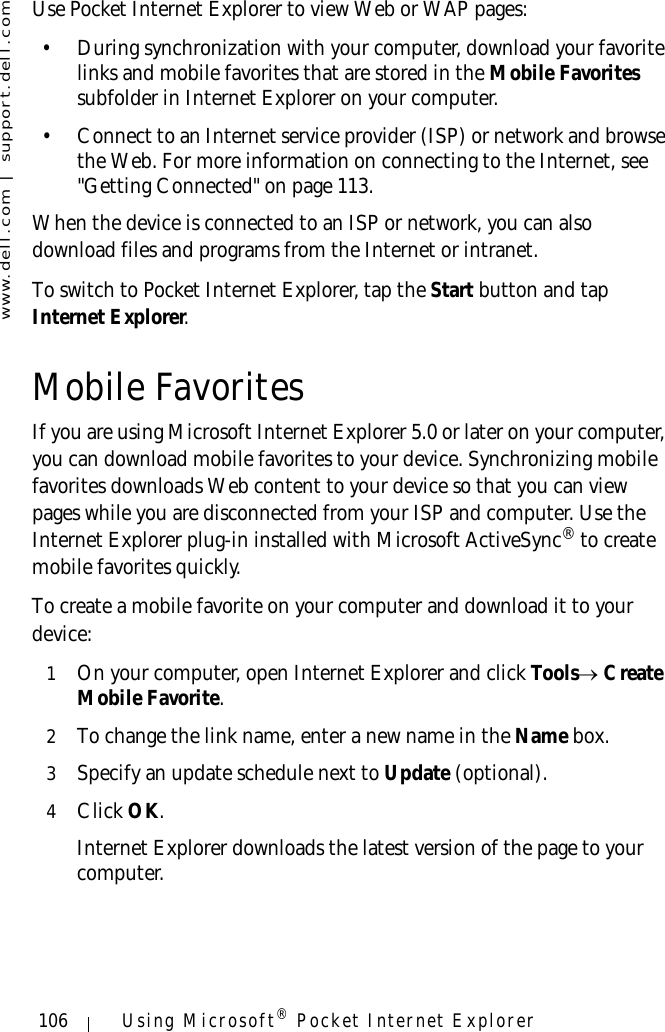
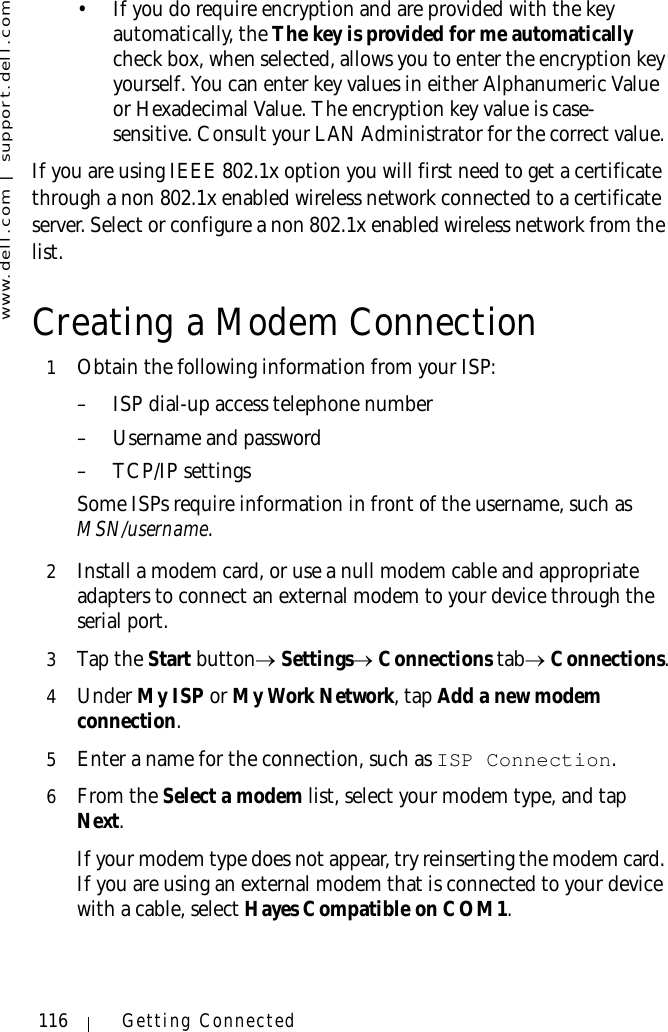
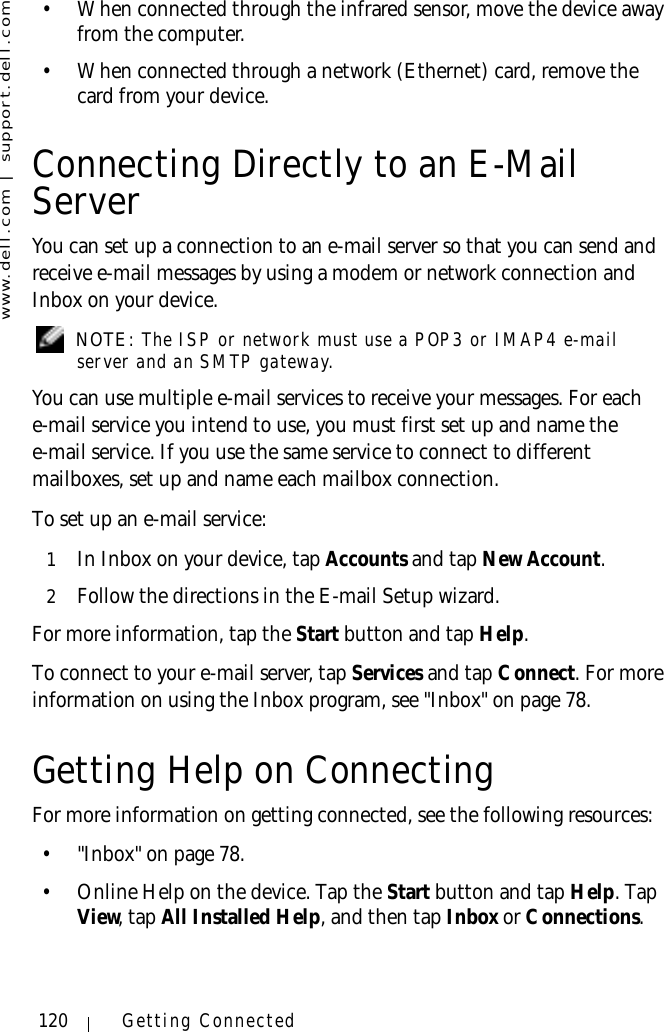
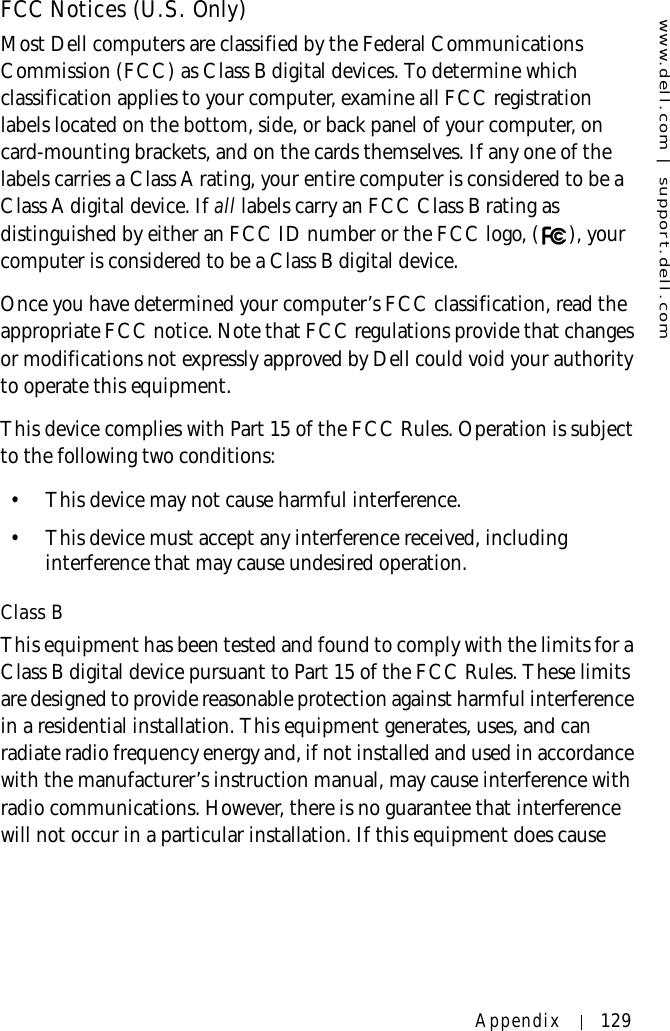
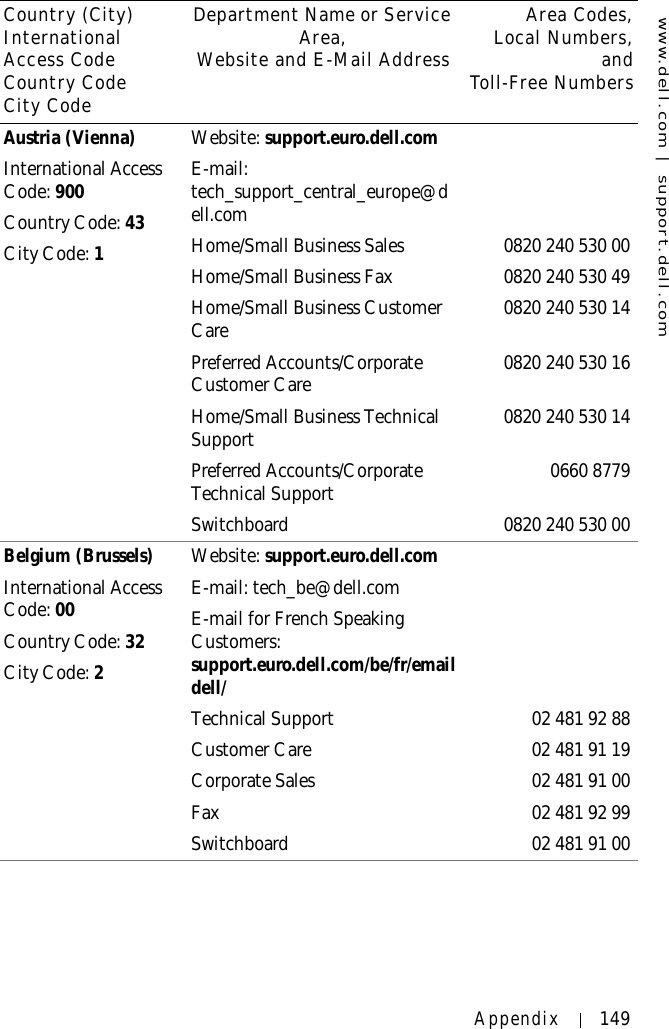
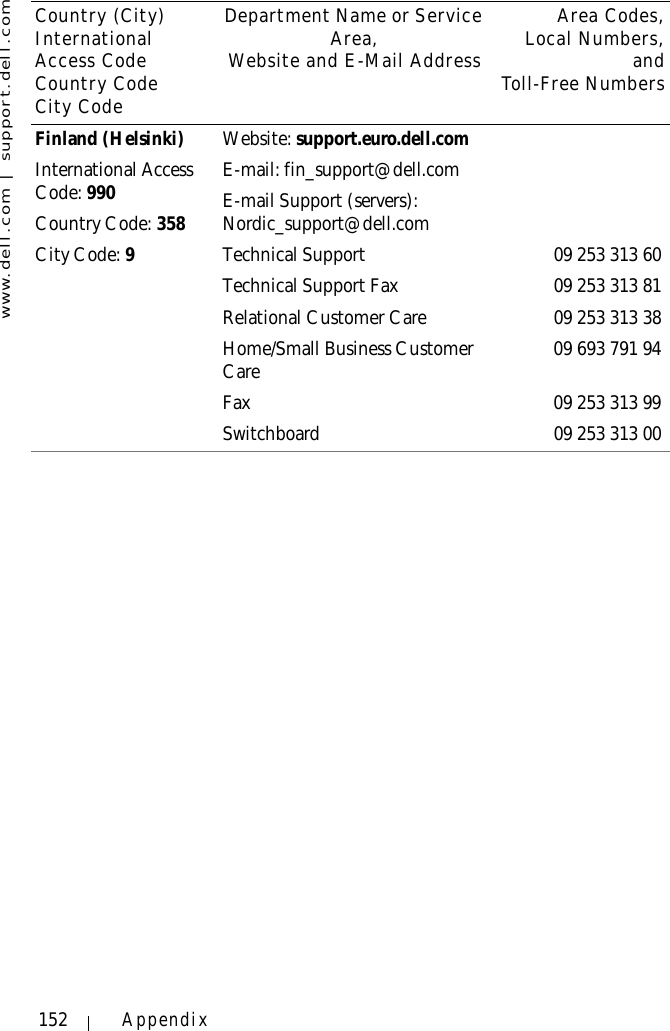
![www.dell.com | support.dell.comGlossary 183Glossary802.11 (WI-FI)—A wireless technology standard for mid-range networking devices that allows for enabled devices to automatically recognize each other.BLUETOOTH™—A wireless technology standard for short-range (10 m [30 ft]) networking devices that allows for enabled devices to automatically recognize each other.COMPACTFLASH CARD —A removable card that is used to expand the capabilities of a device. Common types of CompactFlash cards include memory and wireless cards.CRADLE —A device that allows your handheld device to synchronize with a computer, recharge its battery, and run on AC power.DHCP — dynamic host configuration protocol — A communication protocol that allows network administrators to manage and automate the assignment of Internet Protocol addresses to computers in a network.IMAP — Internet message access protocol — A standard client/server protocol that allows you to access your e-mail from a server. Using IMAP, you can store and browse your e-mail on the server.INFRARED SENSOR —A port that allows you to transfer data between the computer and infrared-compatible devices without using a cable connection.ISP — Internet service provider — A company that allows you to access its host server to connect directly to the Internet, send and receive e-mail, and access websites. The ISP typically provides you with a software package, username, and access phone numbers for a fee.LAN — local area network — A computer network covering a small area. A LAN usually is confined to a building or a few nearby buildings. A LAN can be connected to another LAN over any distance via telephone lines and radio waves to form a wide area network (WAN).PIM — personal information manager — A program that stores and organizes your personal information, such as Calendar, Contacts, Inbox, and Tasks.POP3 — post office protocol 3 — A standard client/server protocol that allows you to access your e-mail from a server. Using POP3, you must download your e-mail to your local system to view and browse your messages.RAM — random-access memory — The primary temporary storage area for program instructions and data. Any information stored in RAM is lost when you perform a reset.](https://usermanual.wiki/Wistron/HC02U.Users-Manual-Revised/User-Guide-363213-Page-183.png)