Wooyoung Telecom C3224 PDA User Manual
Wooyoung Telecom Co., Ltd. PDA
UserManual.wiki
>
Wooyoung Telecom
>
C3224 User Manual
User Manual
Navigation menu
Upload a User Manual
Namespaces
Wiki Guide
HTML
PDF
Info
Views
User Manual
Discussion / Help
Navigation
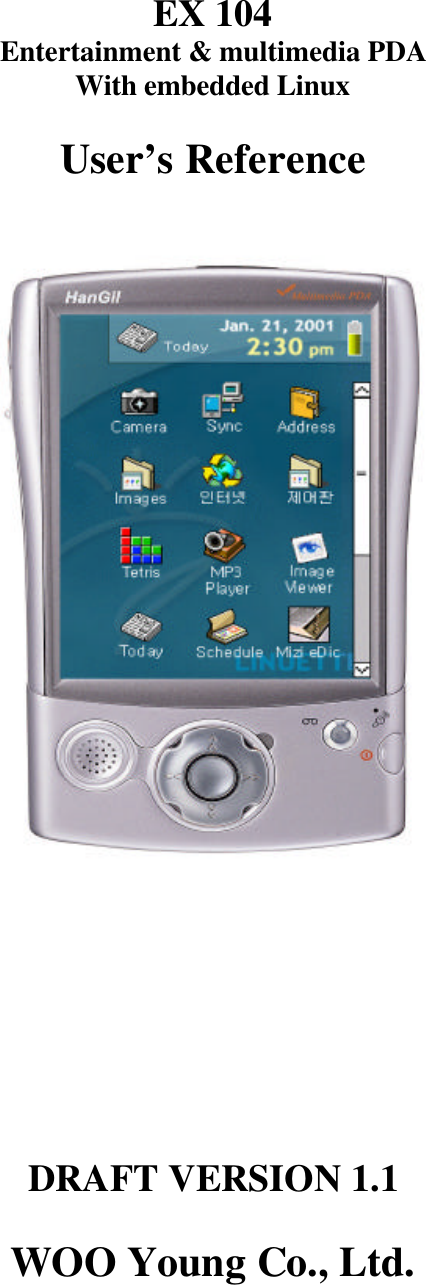


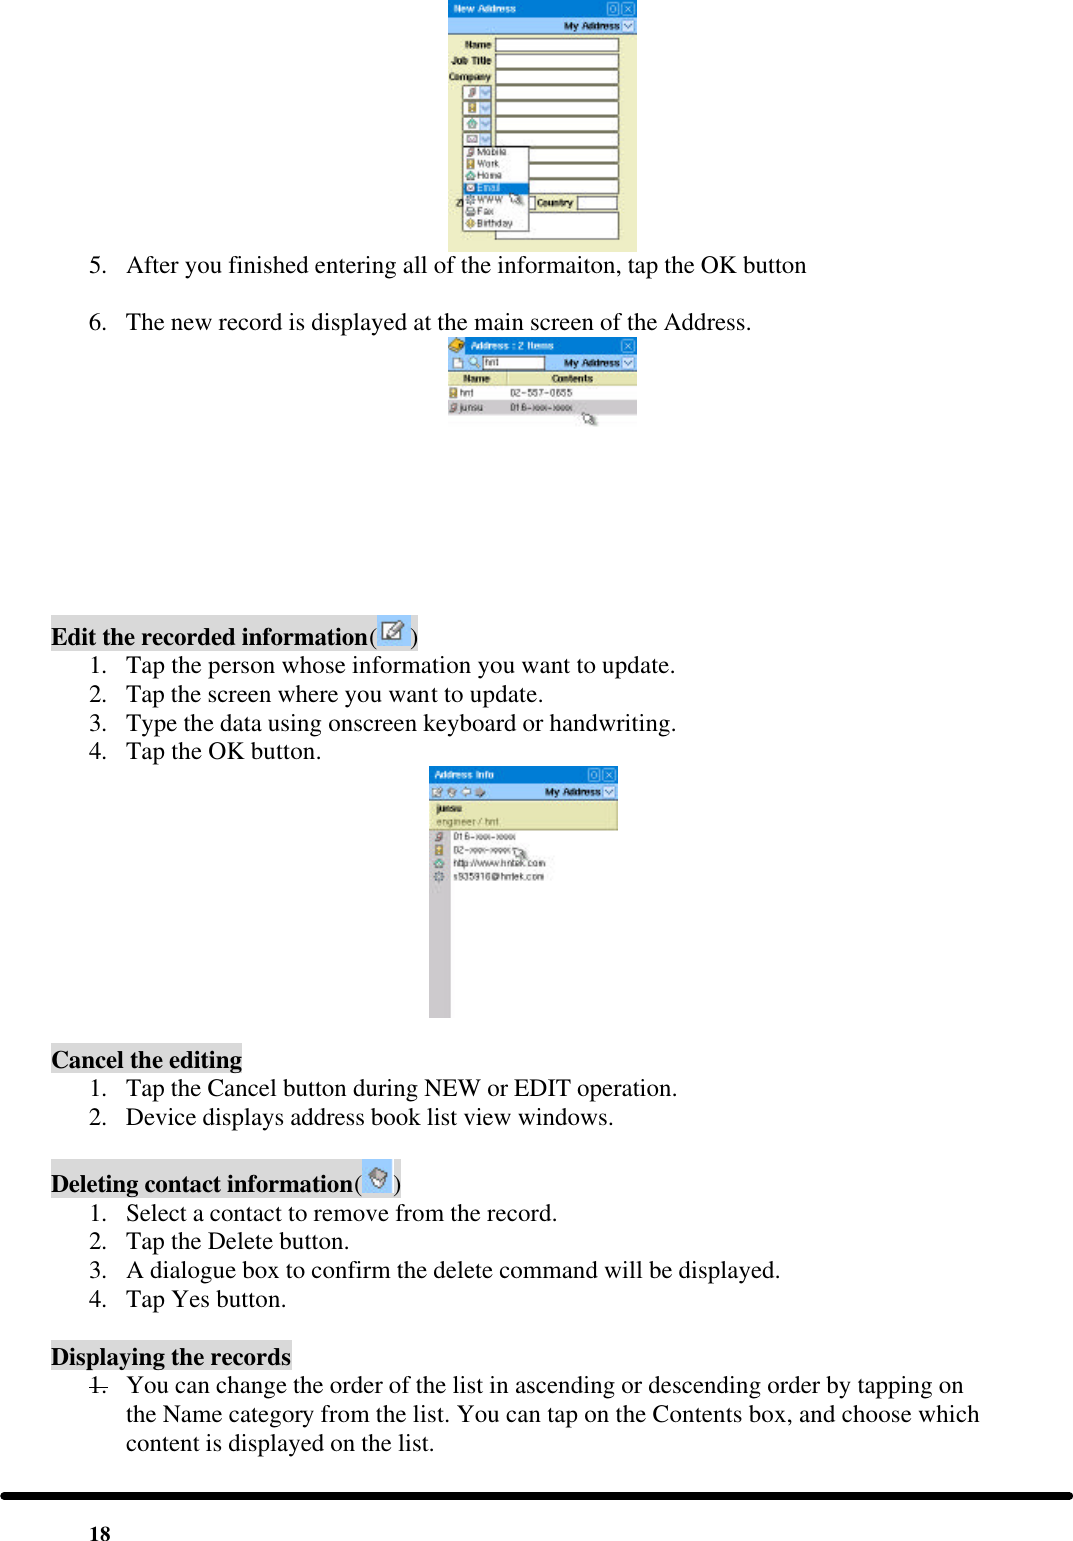
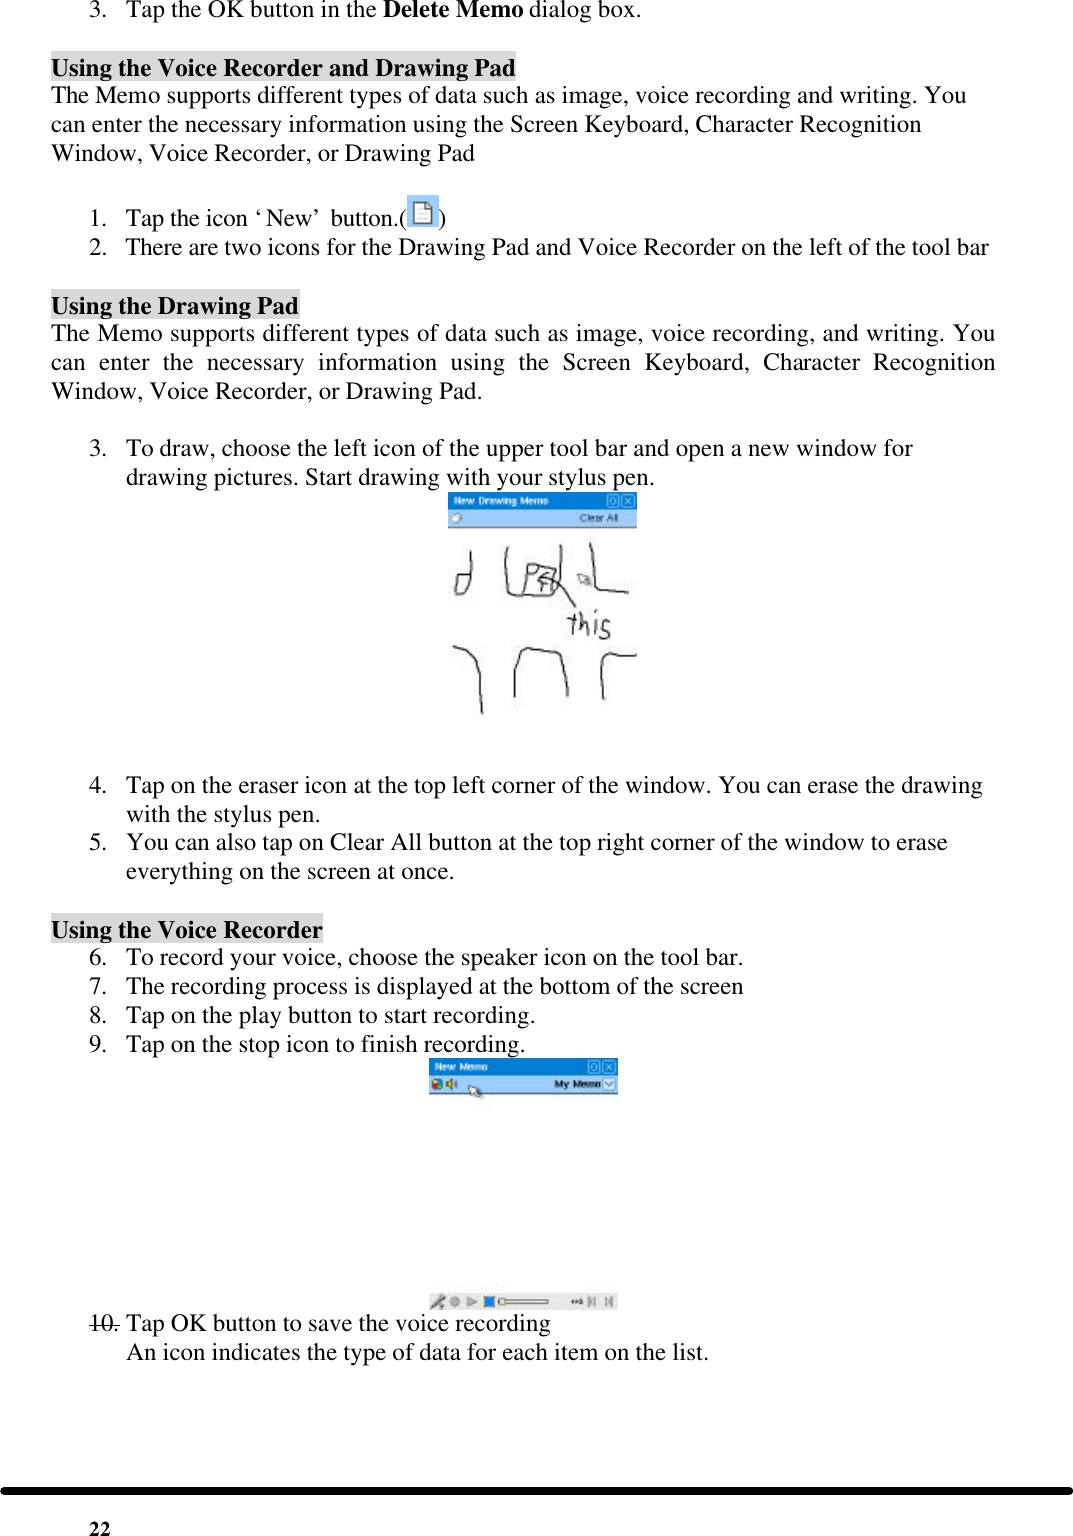
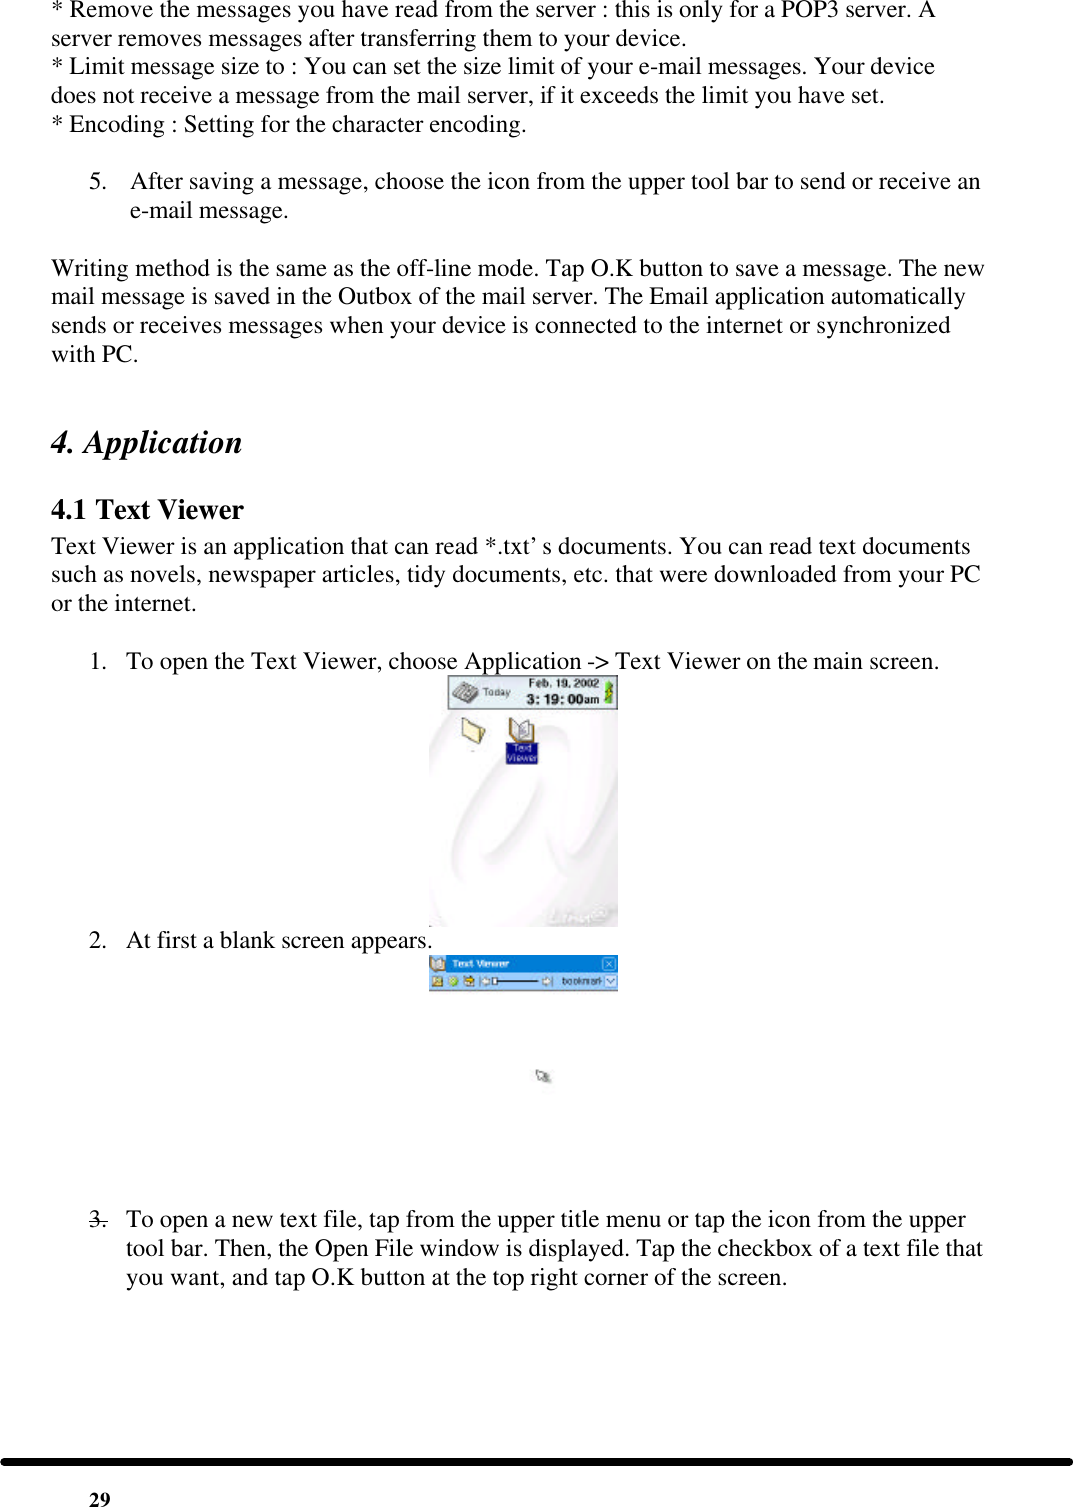
![11 English : 26 characters ( capital and lowercase letters ) numbers : 0 ~ 9 symbols : 32 symbols on keyboards ` ~ ! @ # $ % ^ & * ( ) - _ = + \ | [ ] { } ; : ' " , . < > / ? motion input methods : special characters such as Space, Tab, Backspace, Enter If you want to use the character recognition window, you only need to tap on an area where you want to write on. Then, the character recognition window appears at the bottom of the screen. If the Screen Keyboard appears, shift to the Character Recognition Window by tapping on the Character Recognition Window button at the bottom of the Screen Keyboard, left of the arrow keys. The character recognition window consists the following items : the upscroll and downscroll buttons on top of the keyboard for scrolling the main screen, bottom of which is blocked by the Character Recognition Window, two input panels for you to write on alternately four buttons on the left of the input panels -Space, Backspace, Enter, and Tab buttons. -six buttons on the right of the input panels 1. a button for shifting between Korean and English recognition panels 2. a button for closing the Character Recognition Window 3. a button for shifting to the number recognition panels 4. a button for shifting between the capital and lower case letters 5. a button for shifting to the symbol recognition panels 6. a button for shifting to the Screen Keyboard Writing characters : Choose the input panels for English, Korean, numbers, or special characters, and then, choose between the upper or lower case for English. Write one character at a time and use both of the input panels alternately. Tip : Your device recognizes your handwriting more efficiently if you write in big letters clearly and slowly without scribbling. Use the motion input methods for special characters. Motion input methods Making and editing text selections : You can make a selection from the text by dragging the stylus across where you want to select. You can tap and hold on the text window to open a pull down menu with functions: Undo, Redo, Cut, Copy, Paste, Clear, and Select All. These functions on the pull down menu work exactly the same as the ones on Windows. Drawing Pictures on the Memo application Open the Memo application Tap on the drawing icon on the top left corner of the Memo window Start drawing with your stylus pen. You can tap on the eraser icon at the top left corner of your Memo window, and erase your drawing with the stylus You can also tap on Clear All button at the top right corner of your Memo window to erase everything on the screen at once. 1.9 Backup and Restoration Data Backup and Restoration](https://usermanual.wiki/Wooyoung-Telecom/C3224/User-Guide-256161-Page-14.png)

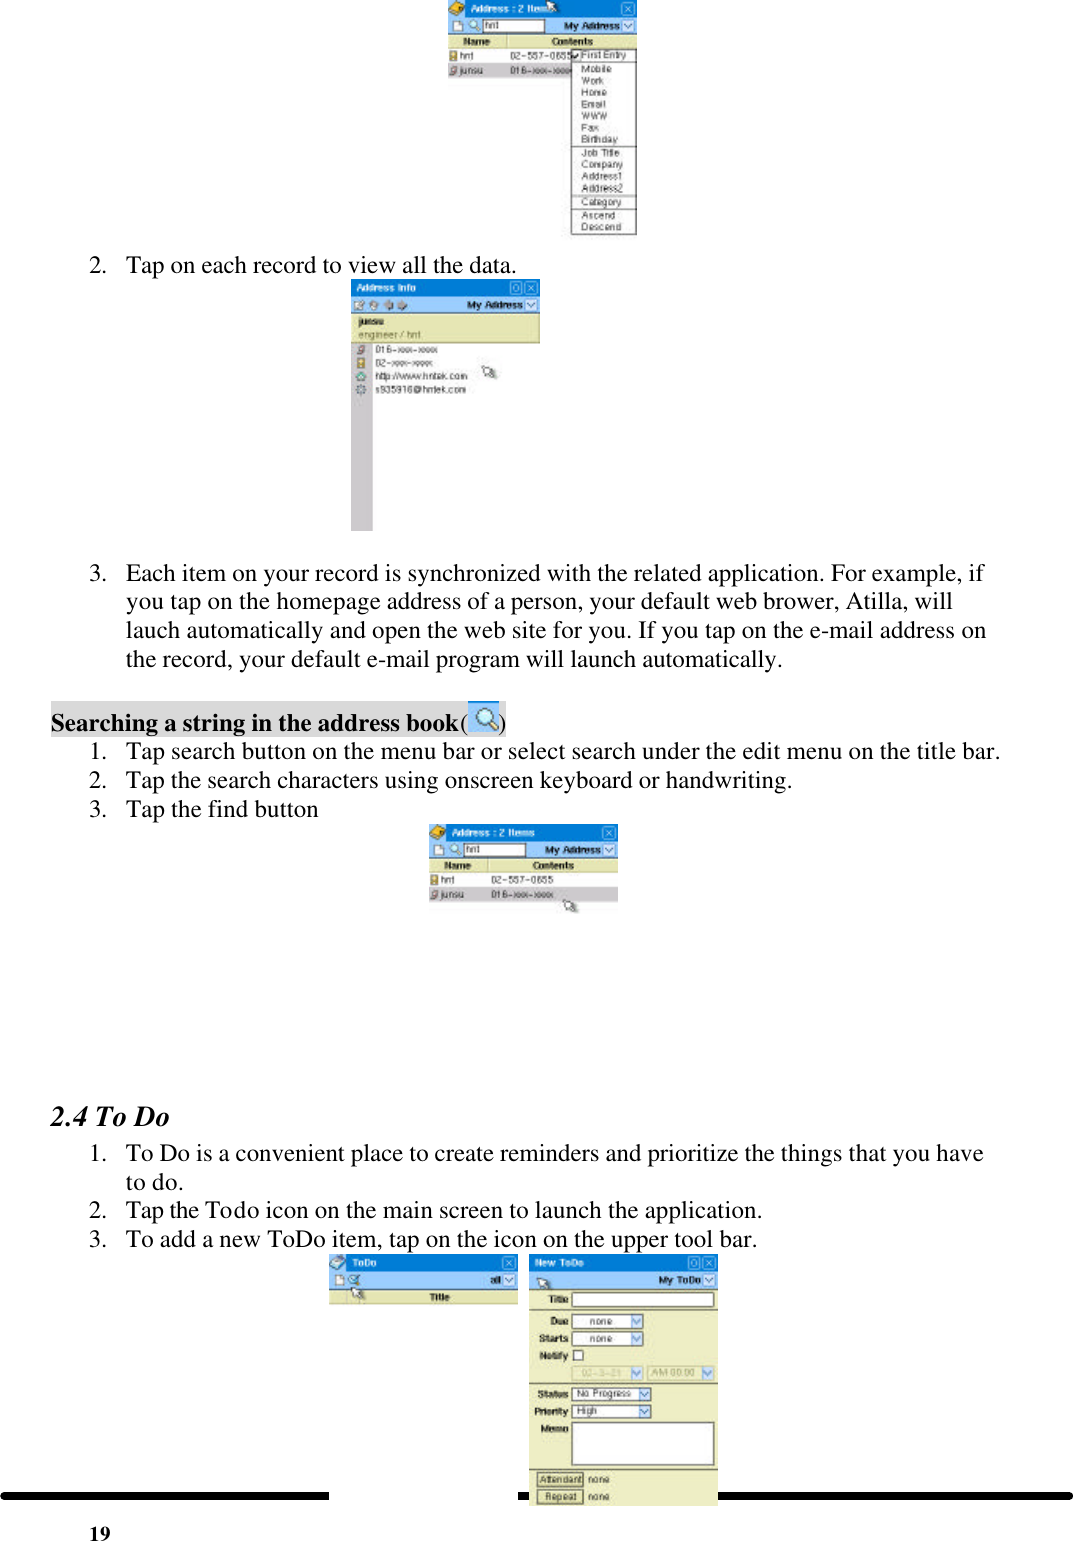
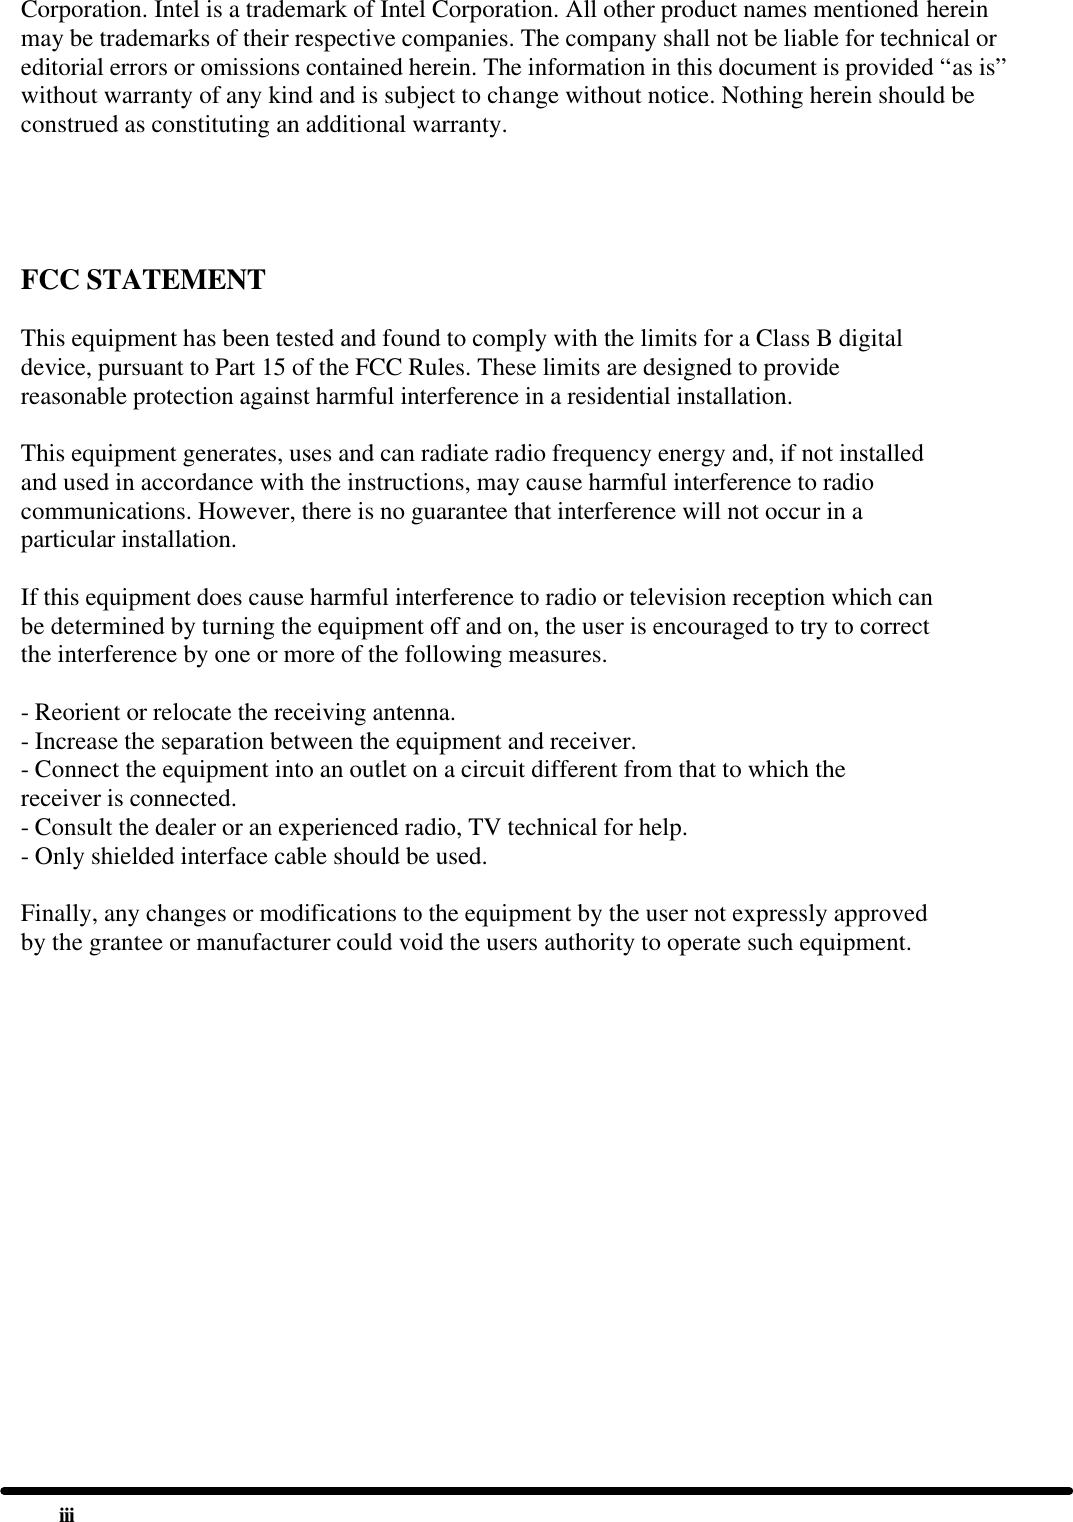
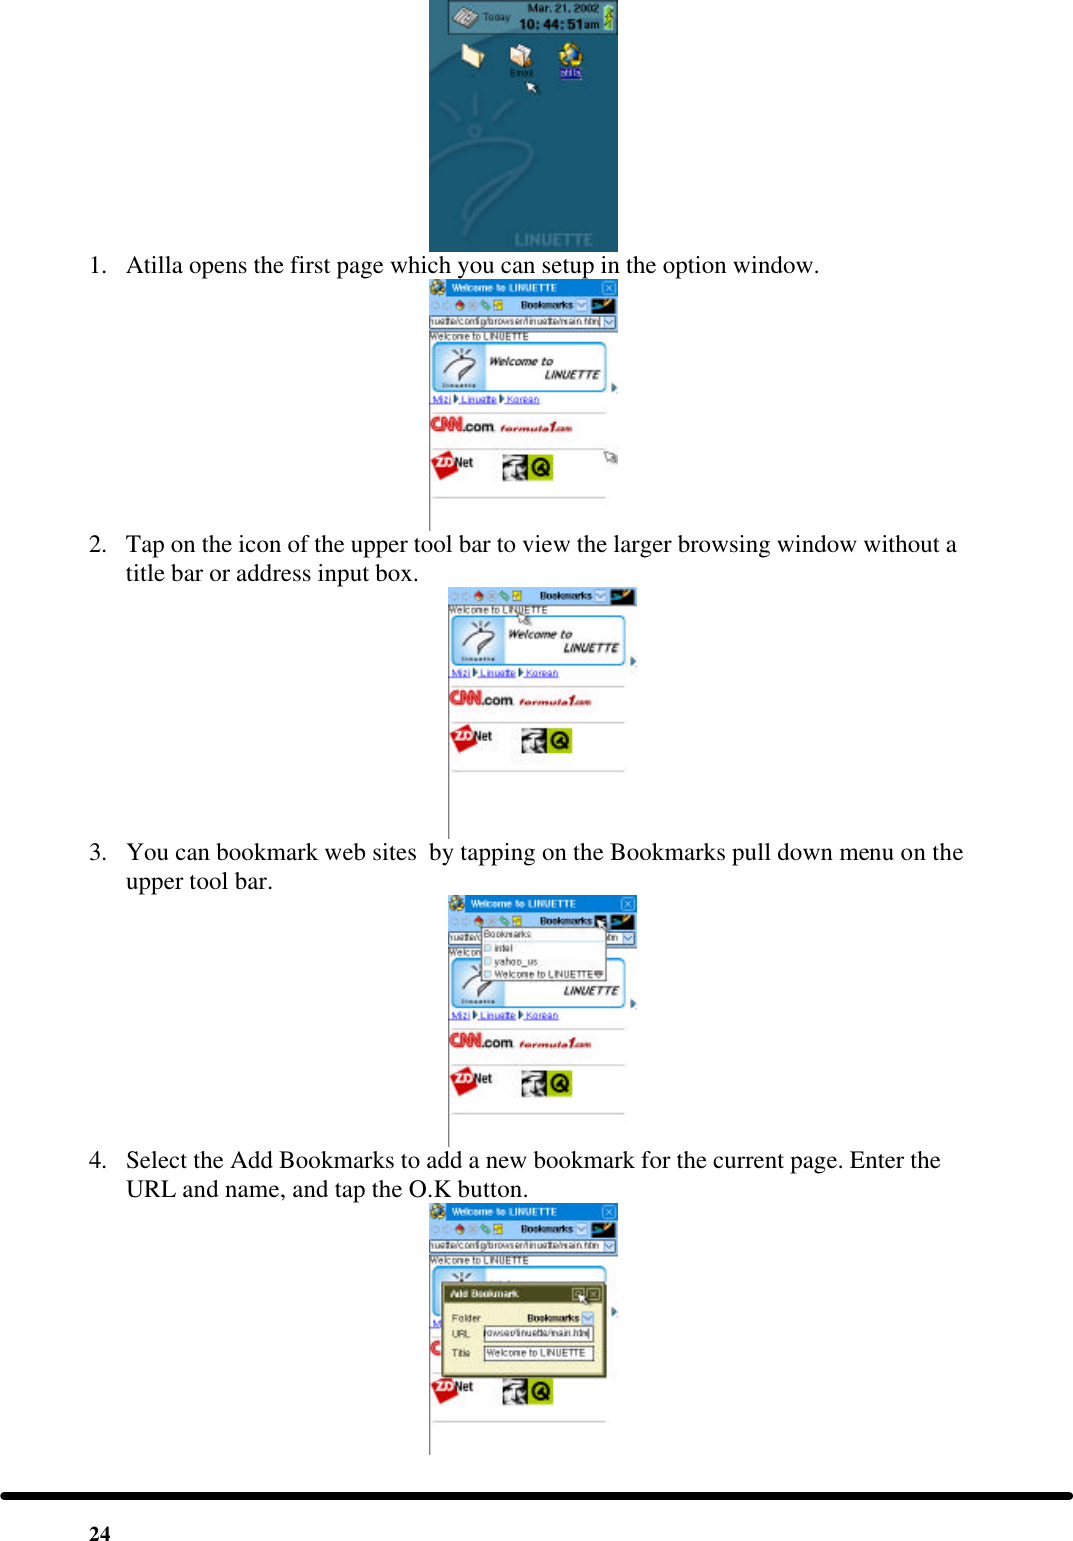
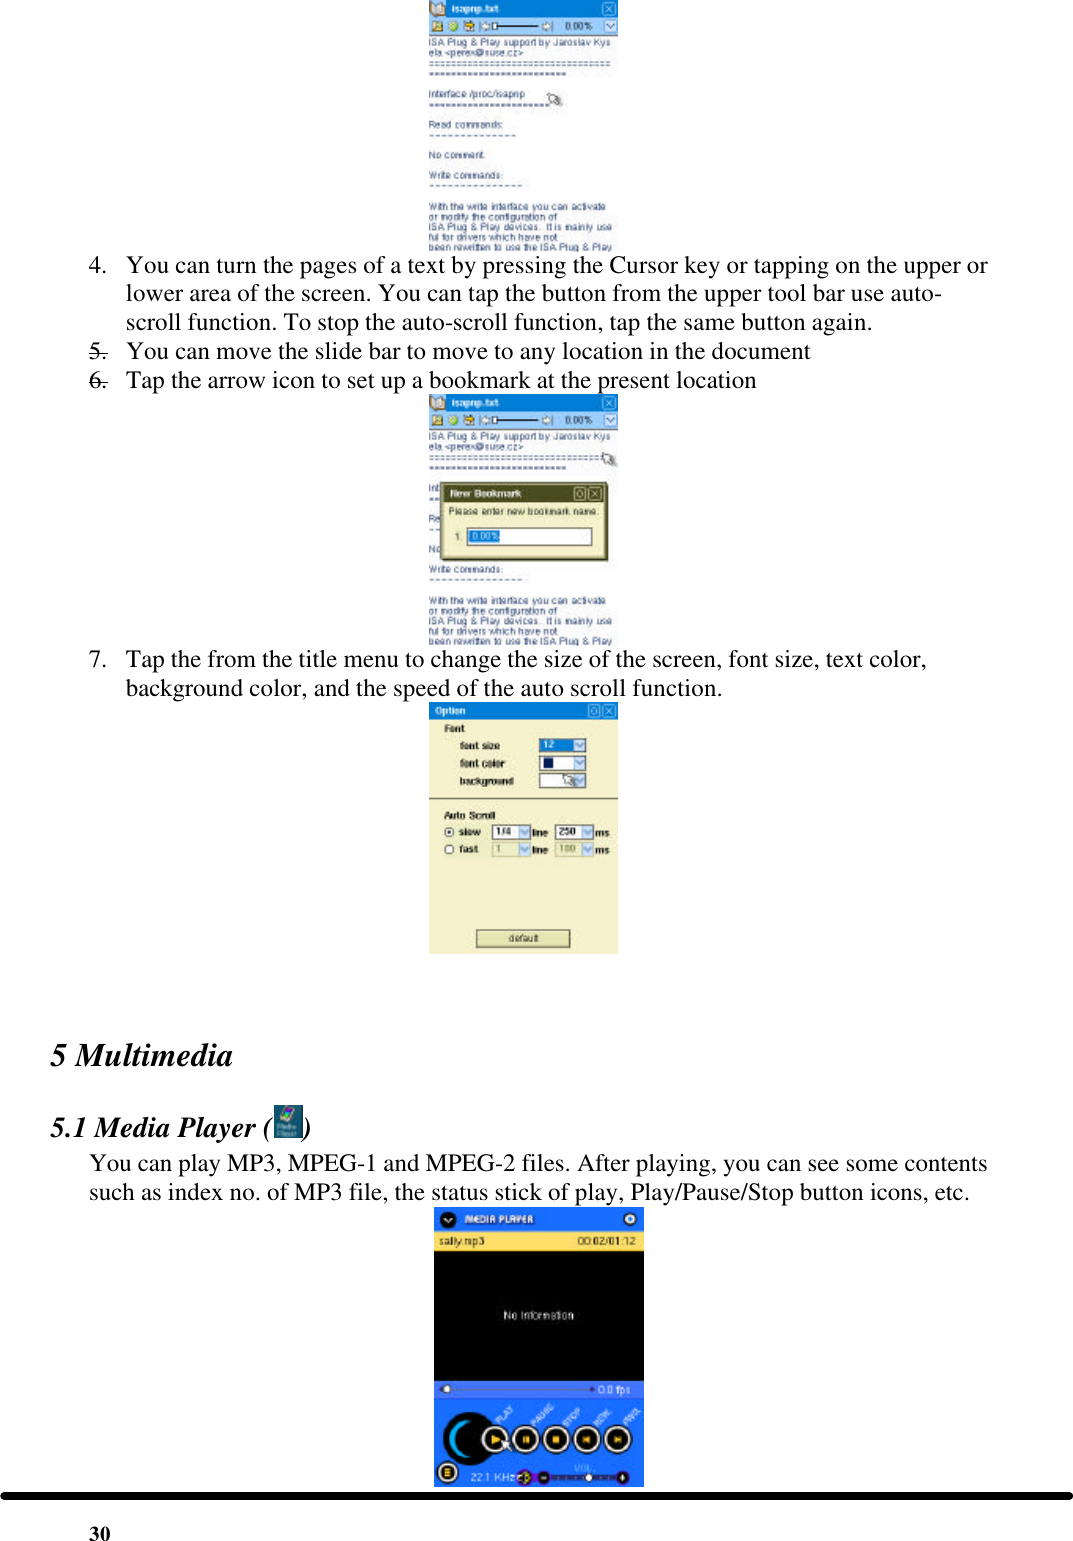
![23 11. Tap on a memo to view in. 12. Tab the clip icon to view the attachments to a memo. 13. Tab the image or speaker icon to view or listen to the attachments. 3 Internet Application 3.1 Web browser Atilla is an internet browser that supports HTTP1.0 protocol and uses HTML4.0 documents. You can surf the internet with Atilla. Atilla also supports Java Script, so you can use this browser as you would with a browser on your PC. To open Atilla, tap on the icon [Internet] -> [atilla] on the main screen.](https://usermanual.wiki/Wooyoung-Telecom/C3224/User-Guide-256161-Page-26.png)
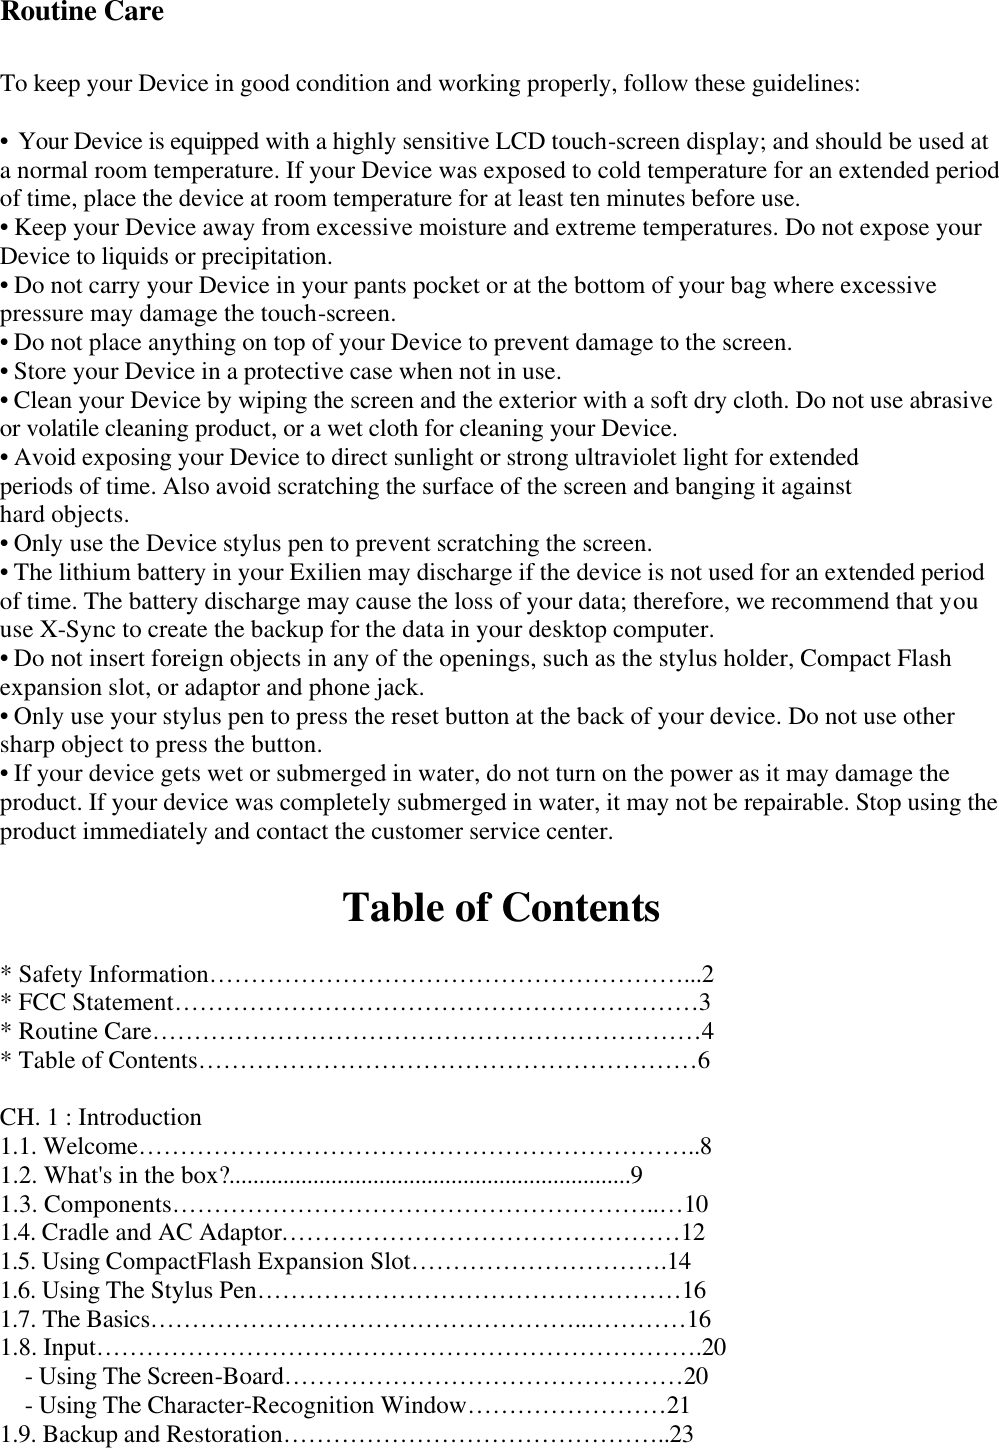
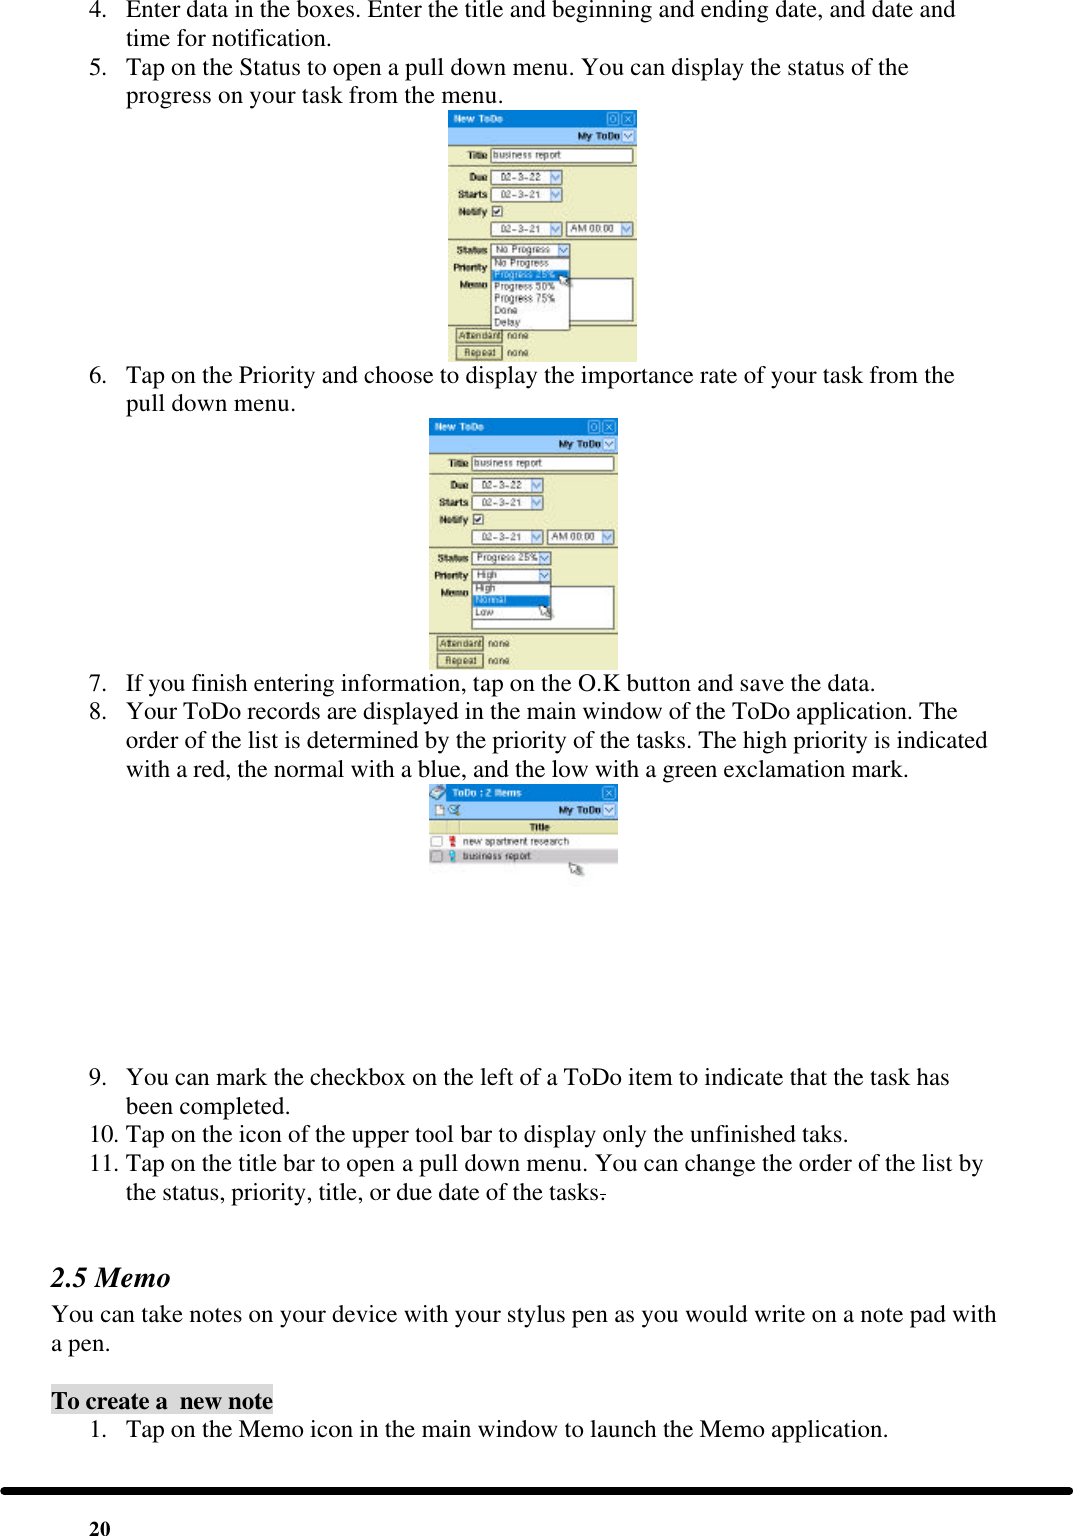
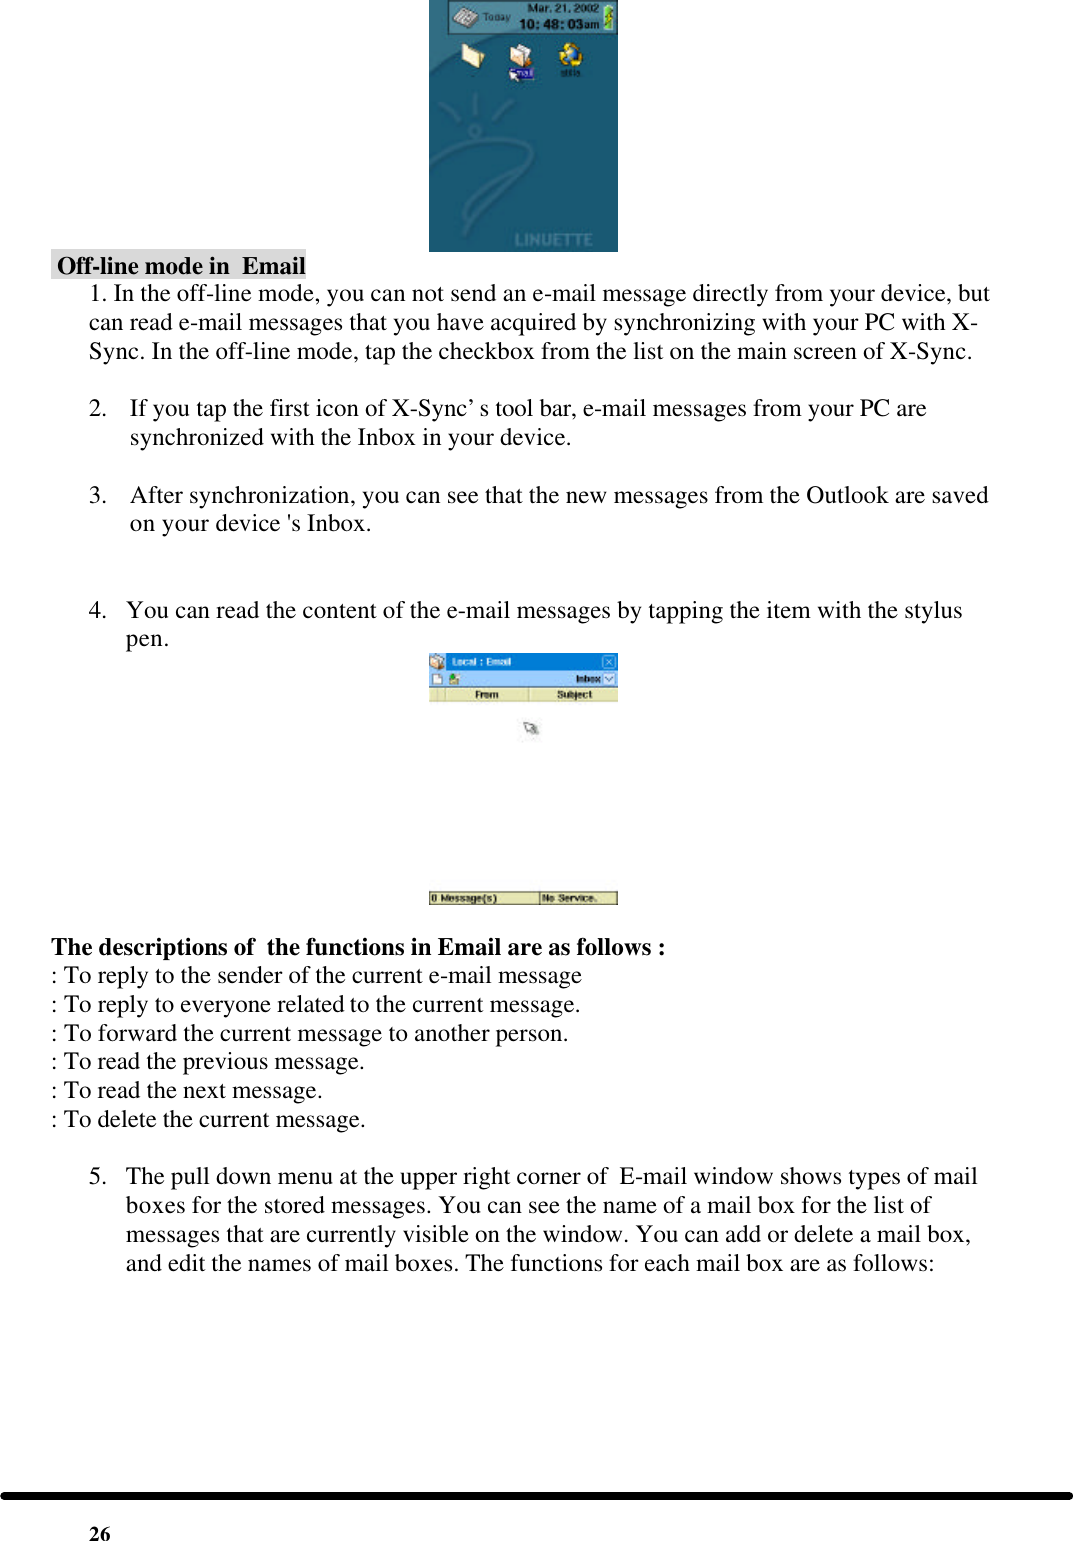
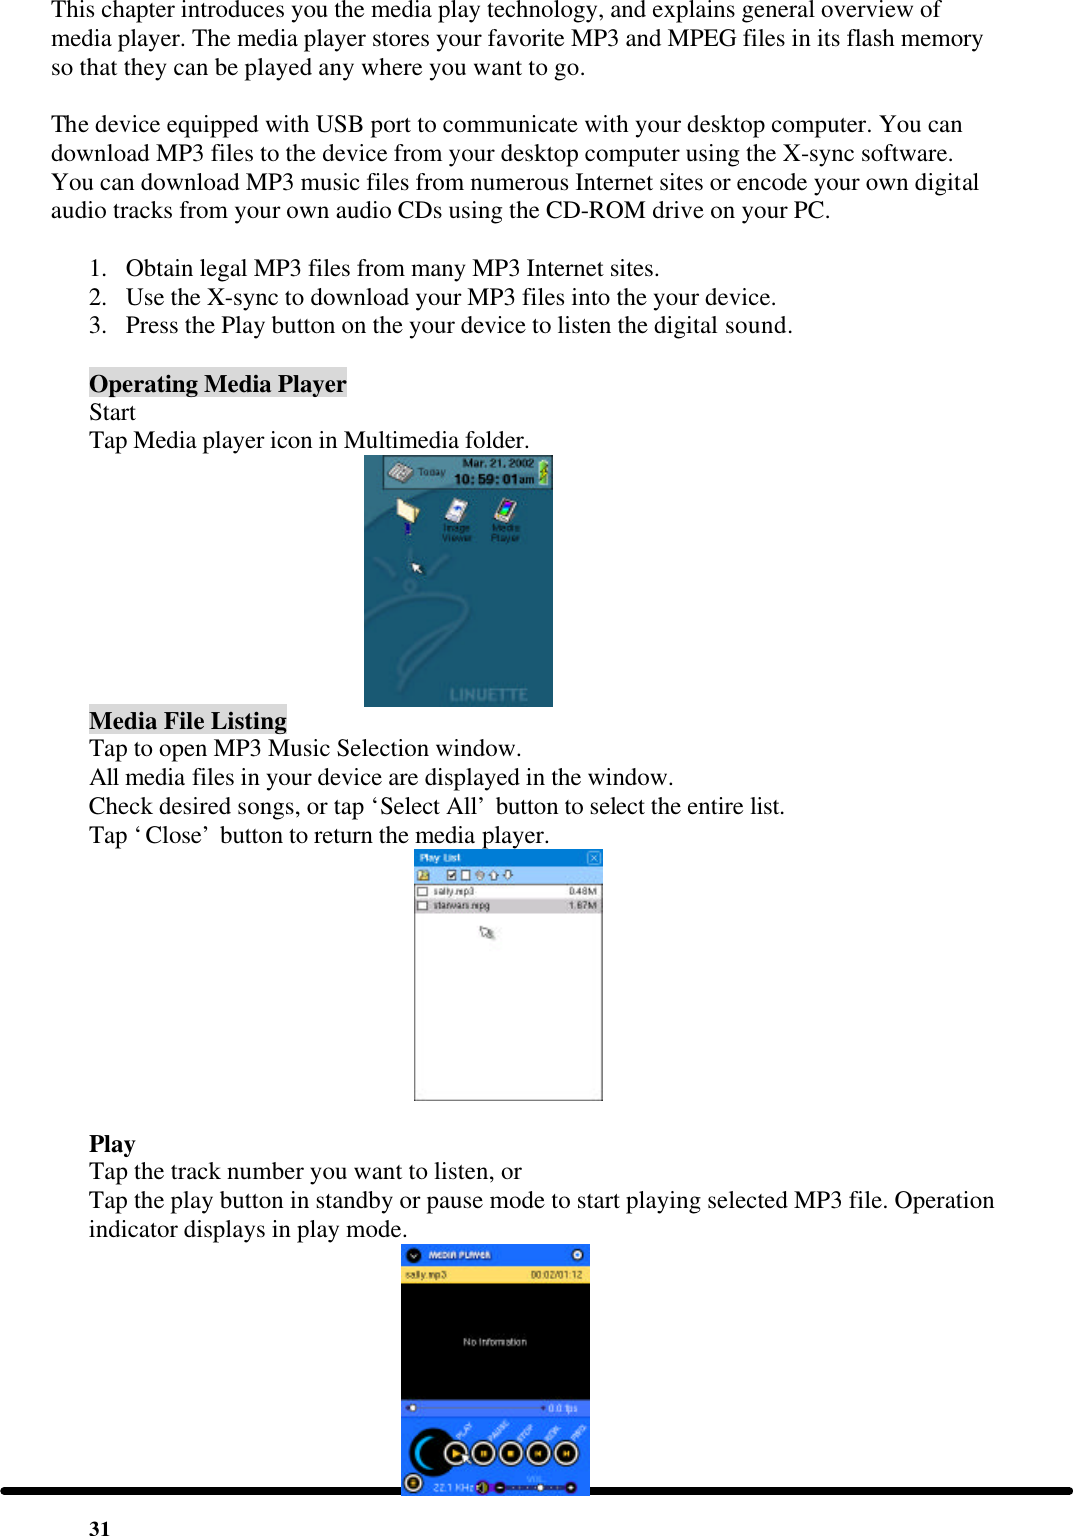
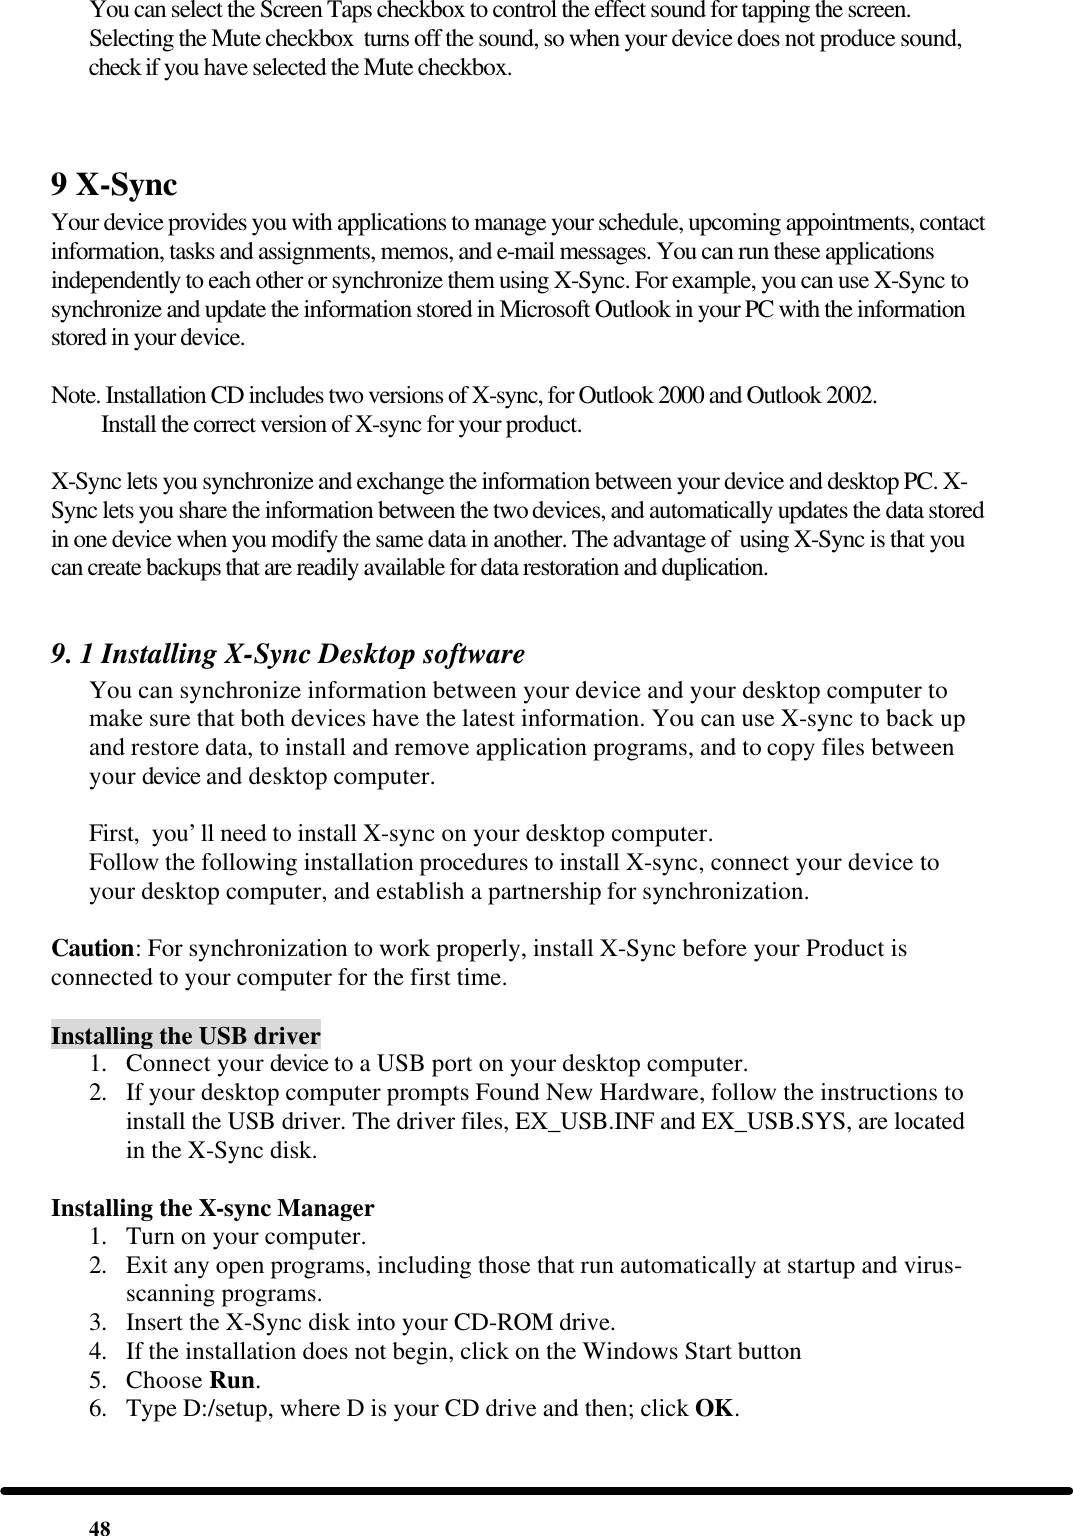
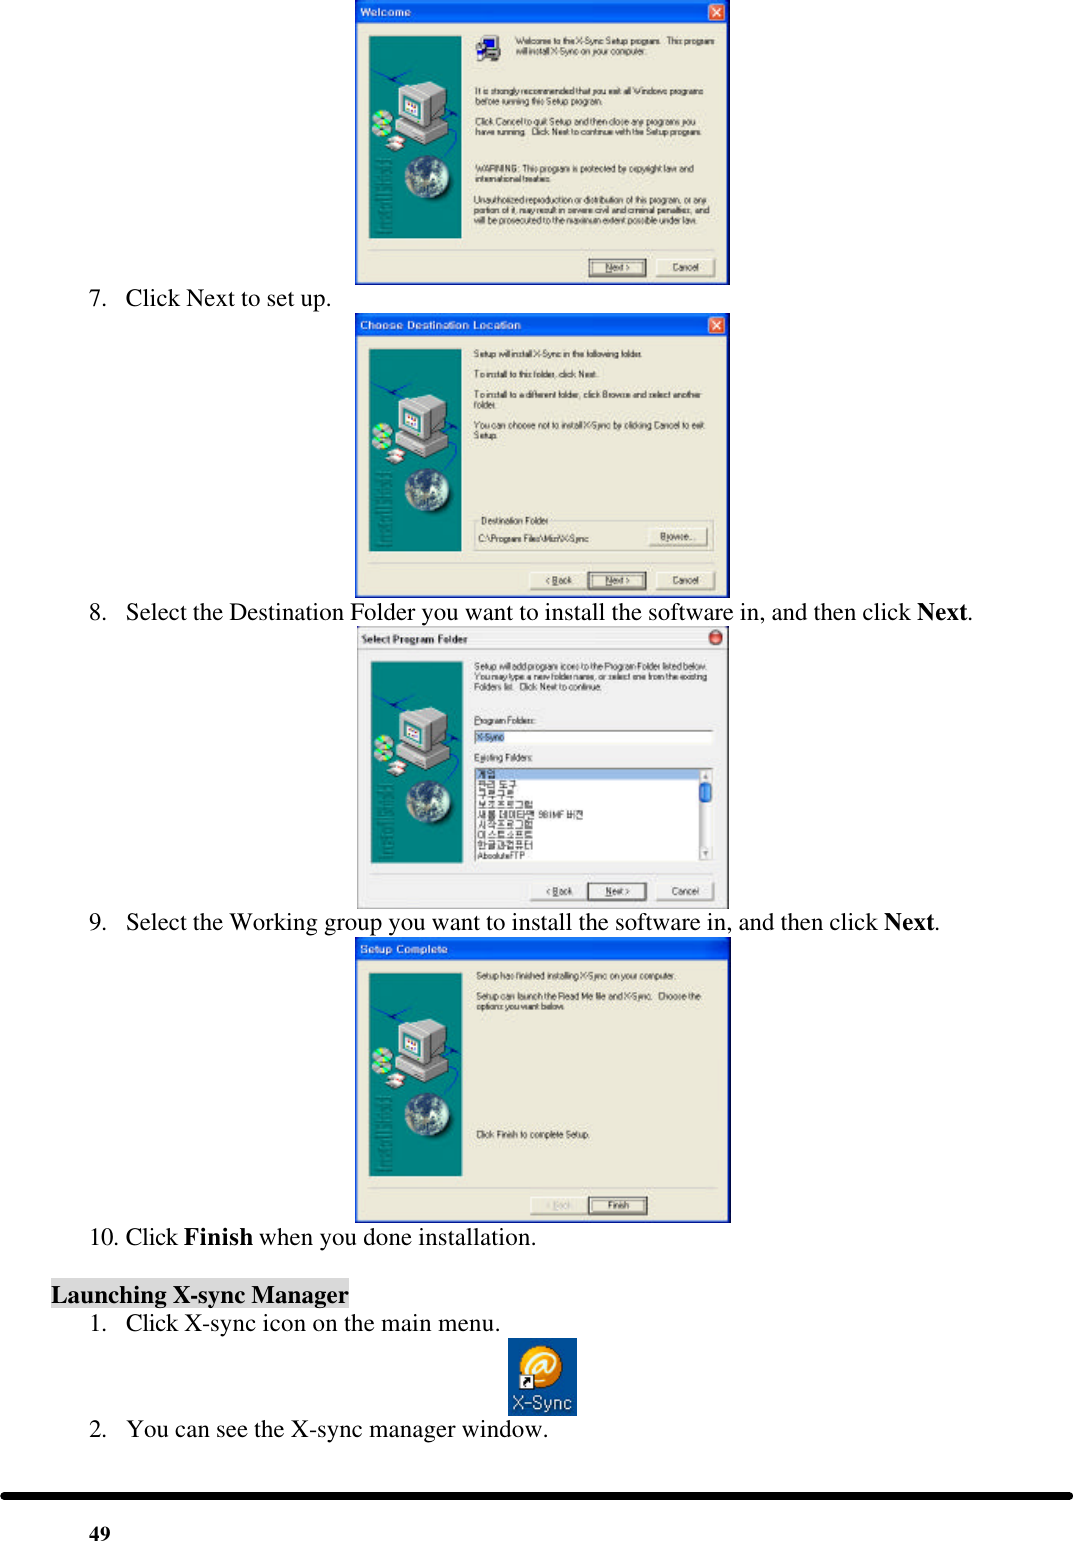
![25 5. Tap on the [Option] button to modify the settings for Atilla. You can change the options such as the default page and language encoding. You can also choose whether to enable JAVA script for Atilla or not. 3.2 Email Email lets you manage the e-mail messages that you send and receive through the e-mail application on your PC. You can compose a new e-mail message, read the messages that are stored in your device. To send and retrieve messages, you need to use X-Sync to synchronize your device. Note: Before using Email, you must set up X-Sync for use with an e-mail application on your PC. First, you’ll need to install X-sync on your desktop computer. Follow the following installation procedures to install X-sync, connect your device to your desktop computer, and establish a partnership for synchronization. If you open Email, you can see a list of messages you have received. Tap each message to read it. If you want to send an e-mail message, touch the send icon on the left of the tool bar You can use Email on and off line. The offline mode is without the connection to the internet. The online mode is with the connection to the internet. In the off-line mode, you can read your e-mail messages that you have saved in your device with X-Sync. In the on-line mode, you can send and receive e-mail as you would with your PC. Tap the icon Internet -> Email to open.](https://usermanual.wiki/Wooyoung-Telecom/C3224/User-Guide-256161-Page-28.png)
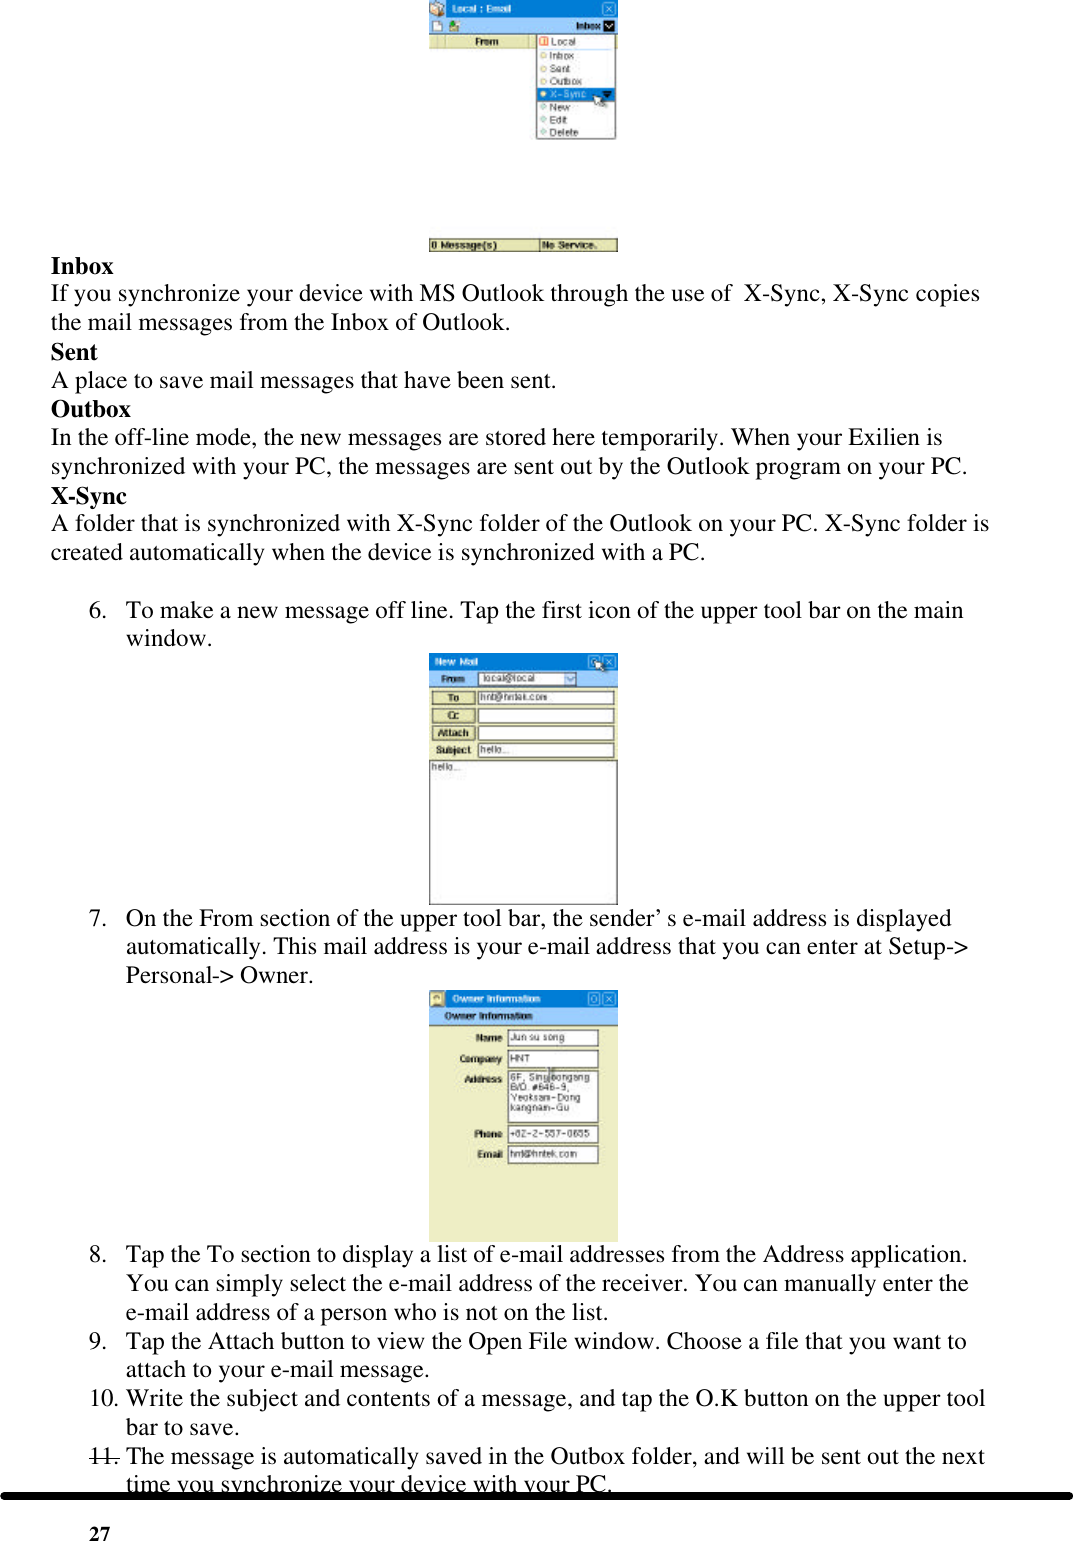
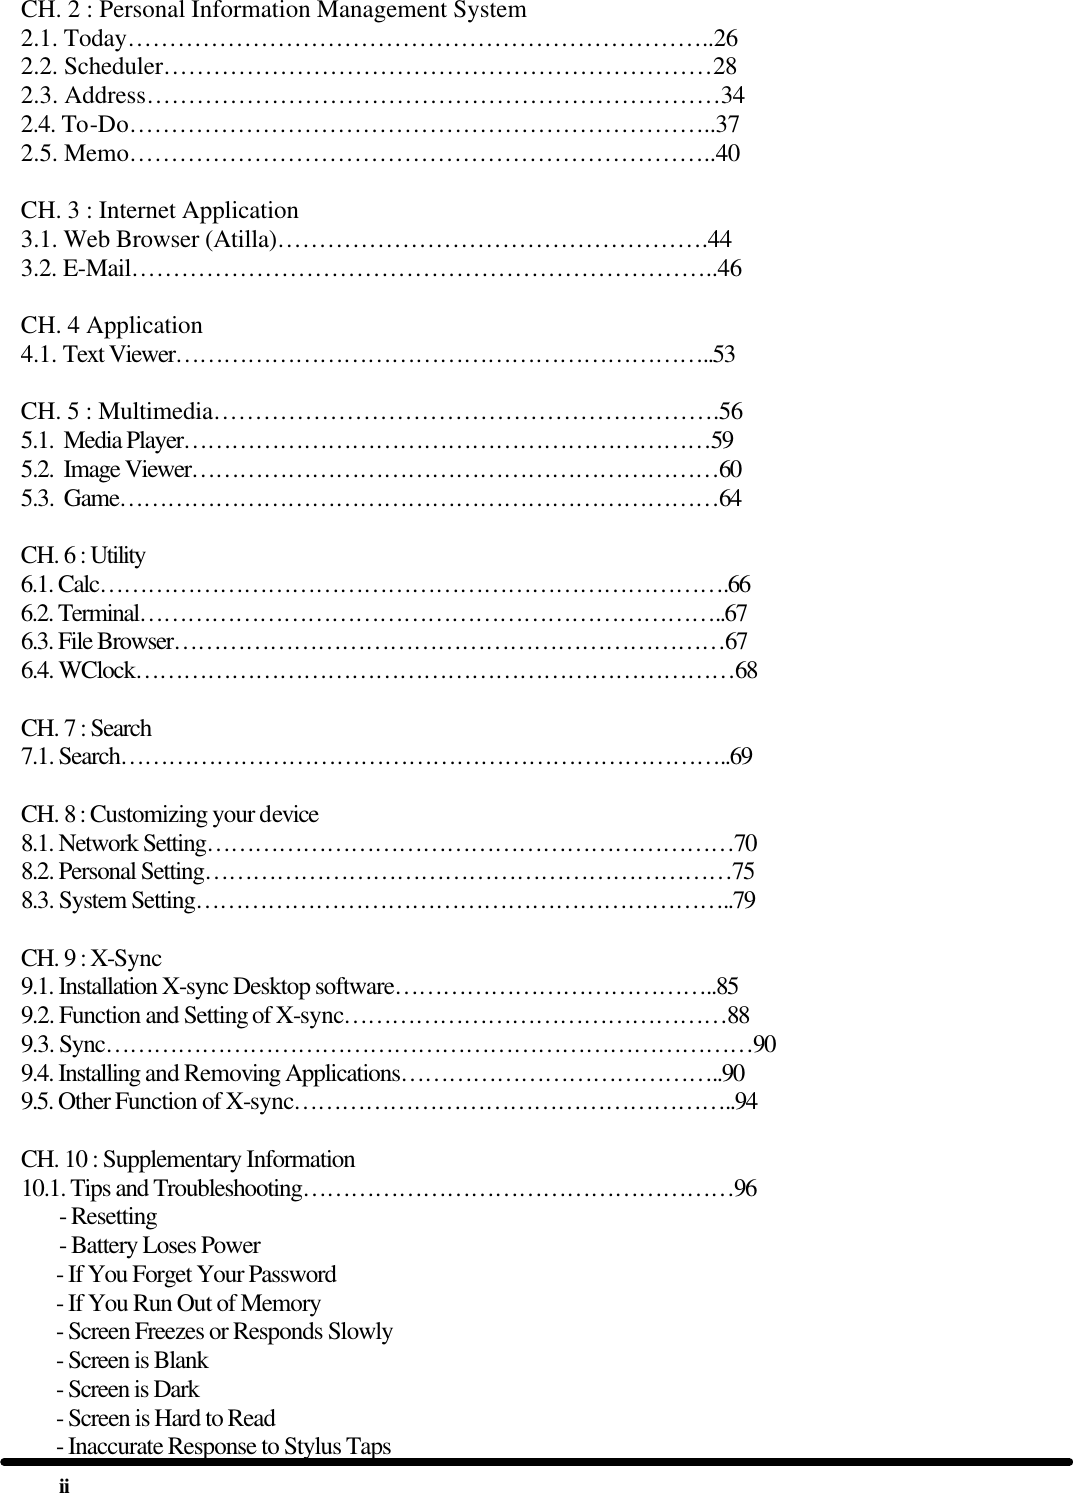
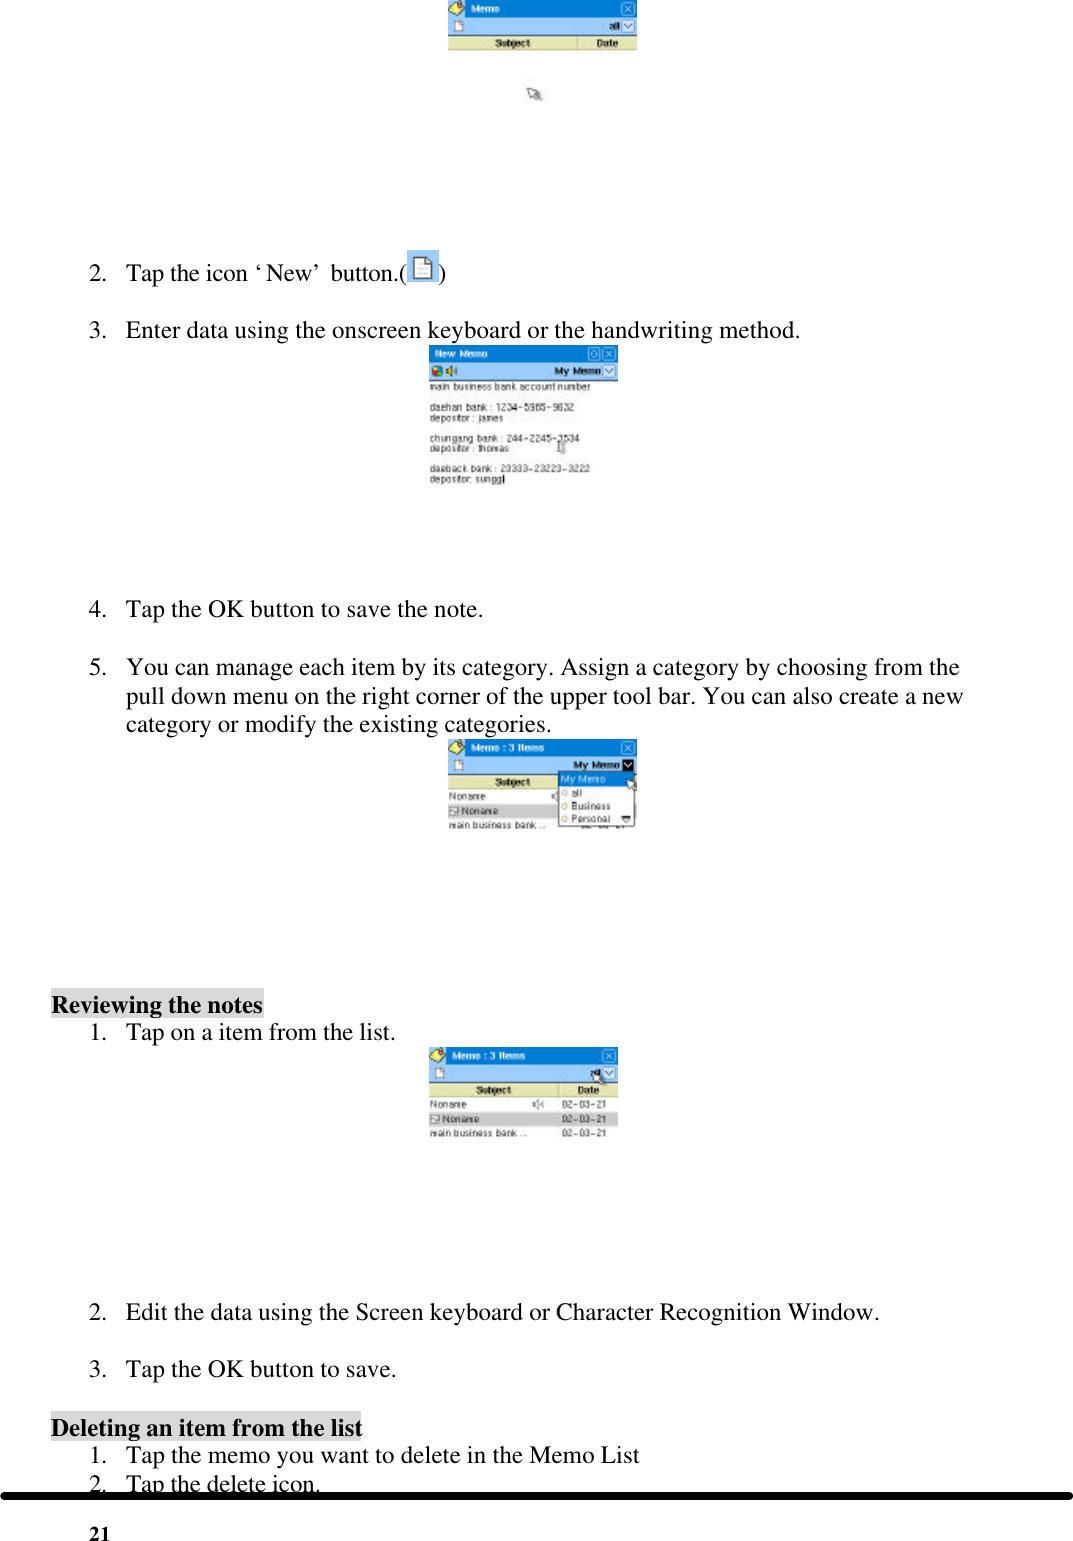
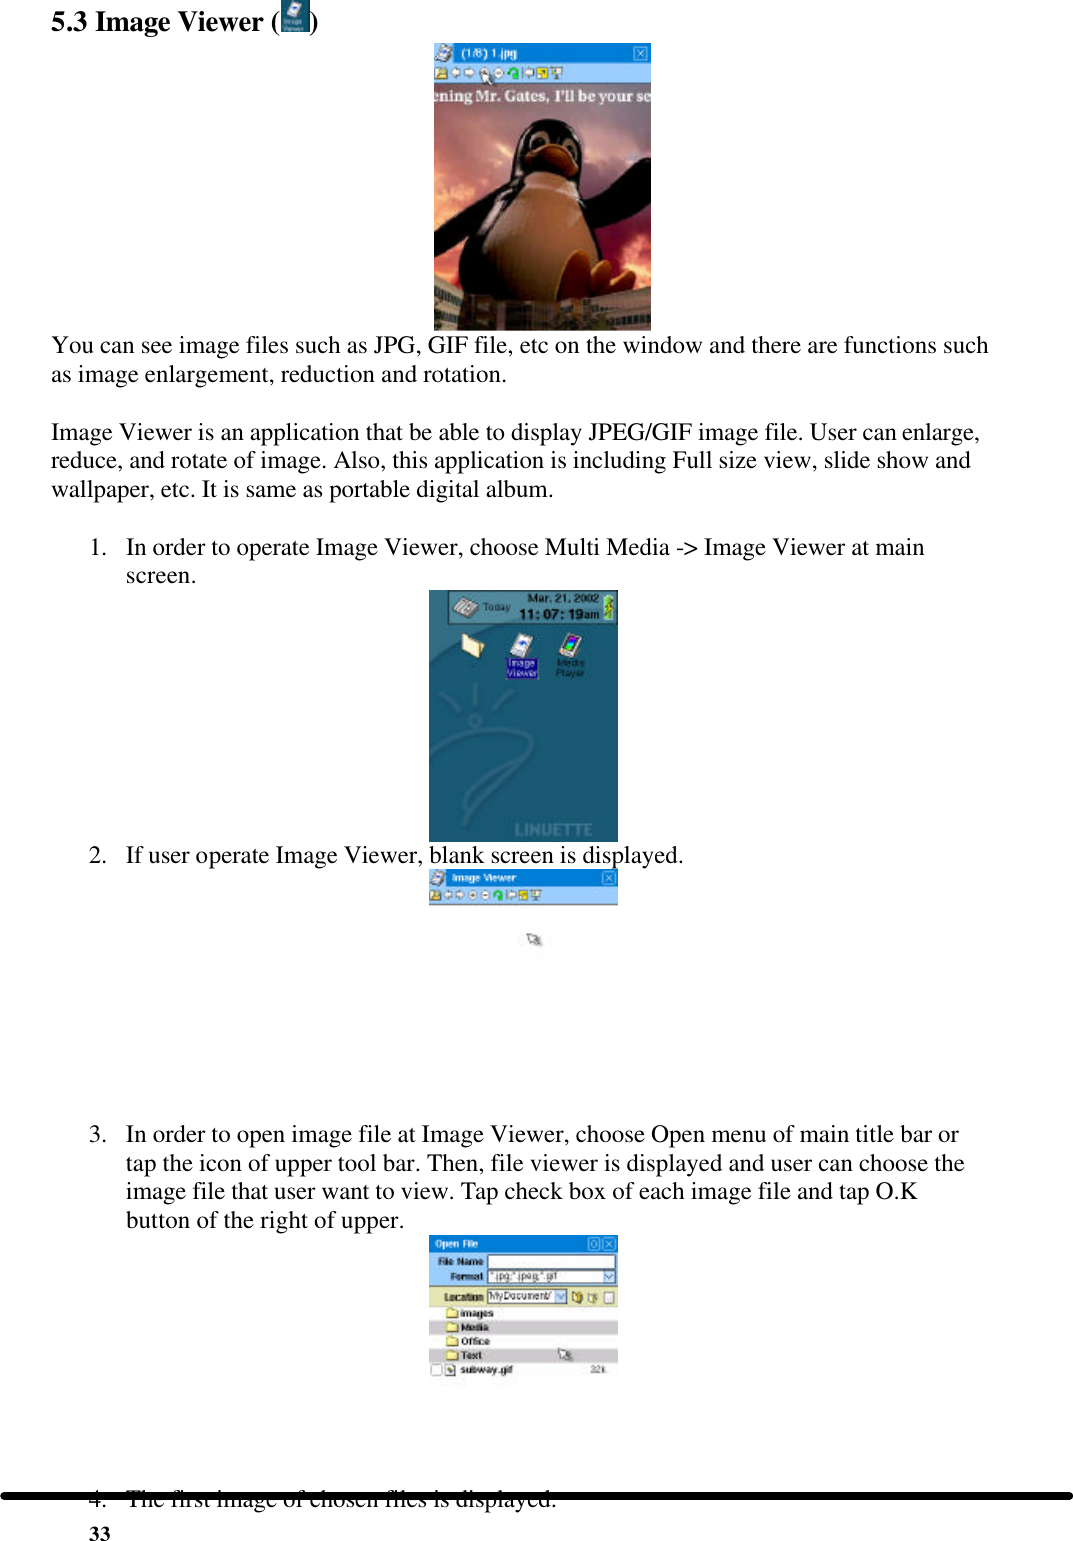
![28 On-line E-Mail 1. When you are on line, you can write and send e-mail messages, and receive new messages as you would with an e-mail program on your PC. To set up an e-mail account, choose [Option] from the main menu at the top left corner of the main window of the program. 2. Tap the New icon of upper tool bar. 3. The setup window for a new e-mail account is displayed. Enter information on the corresponding sections for your e-mail service provider. Your device supports both IMAP4 and POP3 protocols. Tap O.K button to save the data. 4. Tap to open the Configuration Window from the upper tool bar. You can configure your e-mail service to do as follows : * Receive only new messages : receive only new messages from POP3 and IMAP4 server. * Receive only headers : receive only the headers of the messages--this works only for a POP3 server. A message is stored in your POP3server as long as you do not tap on the header and read the message. Once you tap on the header to open the message, the message is transferred from the server to your device. Note : IMAP4 transfers only the headers of e-mail messages.](https://usermanual.wiki/Wooyoung-Telecom/C3224/User-Guide-256161-Page-31.png)

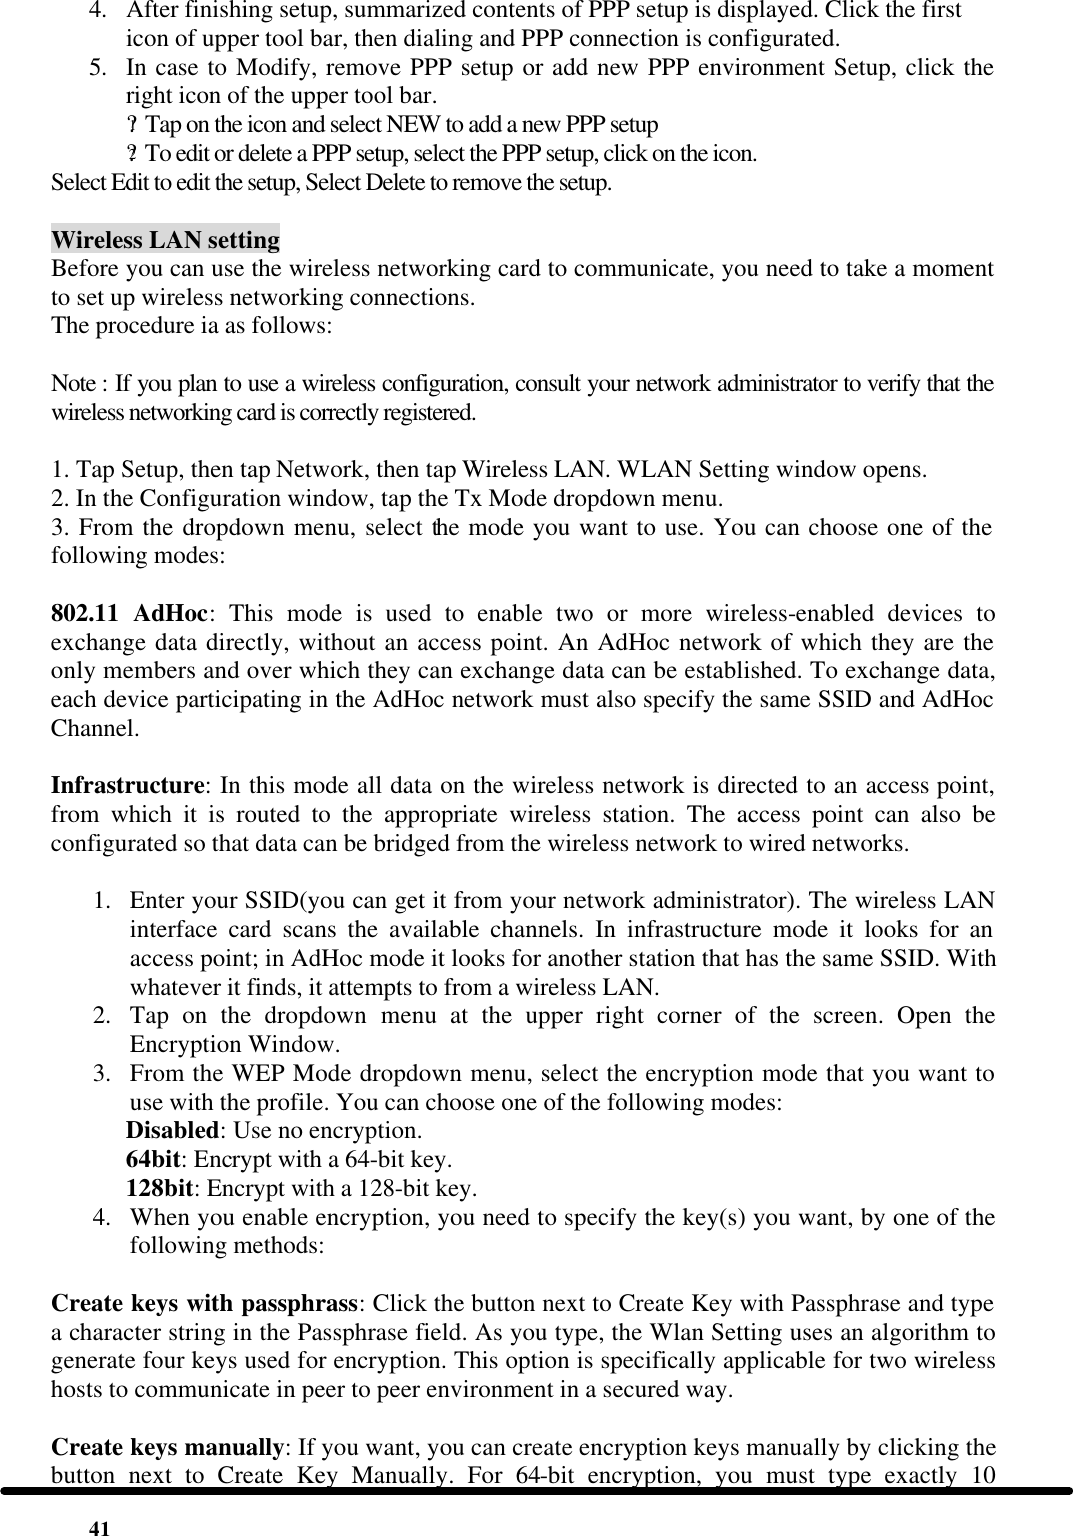
![40 Note: There are a lot of Network devices available for your device. Before attempting to set network, refer to the guide book that accompanies. For more questions and support, please contact the device developer directly. PPP setting 1. In case of user who use Modem, choose PPP and set up PPP environment (network by telephone). There is blank screen when PPP is chose. For the sake of new PPP setup, choose [File] -> [New]. 2. New PPP setup screen appears. Input data to meet ISP at each item. If you do not know input-data, inquire exact data to ISP. After finishing data input, click O.K button and close PPP setup screen. 3. Modem setup installed at device is set up at [File] -> [Option] of PPP Main screen menu or set up to tap the icon of upper tool bar regarding modem install port, modem information, initialization commander, etc. After finishing all data input, click O.K button and close setup screen.](https://usermanual.wiki/Wooyoung-Telecom/C3224/User-Guide-256161-Page-43.png)
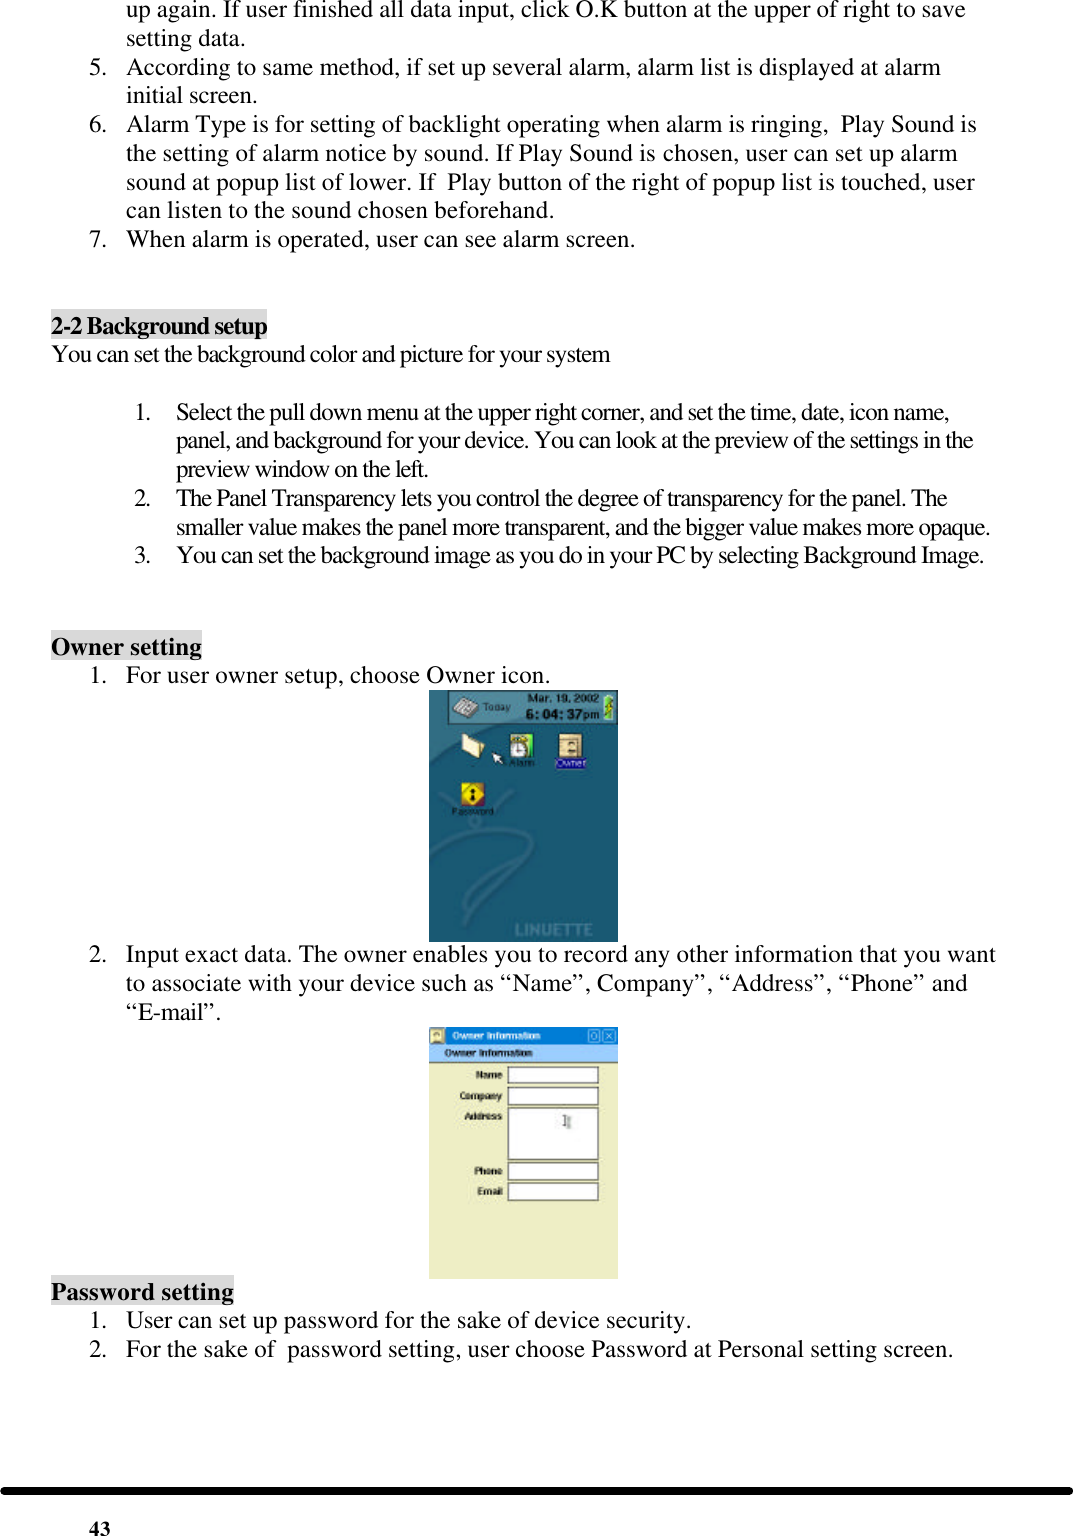
![42 hexadecimal digits in each of the four key fields; for 128-bit encryption, you type exactly 26 hexadecimal digits. Then tap OK button to create your encryption keys. 8. 2 Personal setting Personal setting is to assign user information, user designated alarm, password, etc. In order to set up personal setting of device, tap [Setup] -> [Personal] icon of Main screen. Alarm setting 1. For user alarm setup, choose Setup alarm. 2. If alarm setup is chosen, there is blank screen. In order to setup new alarm, choose the New Alarm icon of upper tool bar. 3. Input exact data at each blank box. When user input alarm title, user can use 5ea of prepared title such as “wake up”, “meeting with”, “lunch time”, “go to”, “deadline”, or can input title manually. 4. Set up repeat option and alarm start and finish date. Alarm repeat could be set up in order of “Every day”, “Every week”, “Every month”, “Every year” and “None” and user can set up to finish alarm after given period or can repeat alarm forever till setting](https://usermanual.wiki/Wooyoung-Telecom/C3224/User-Guide-256161-Page-45.png)
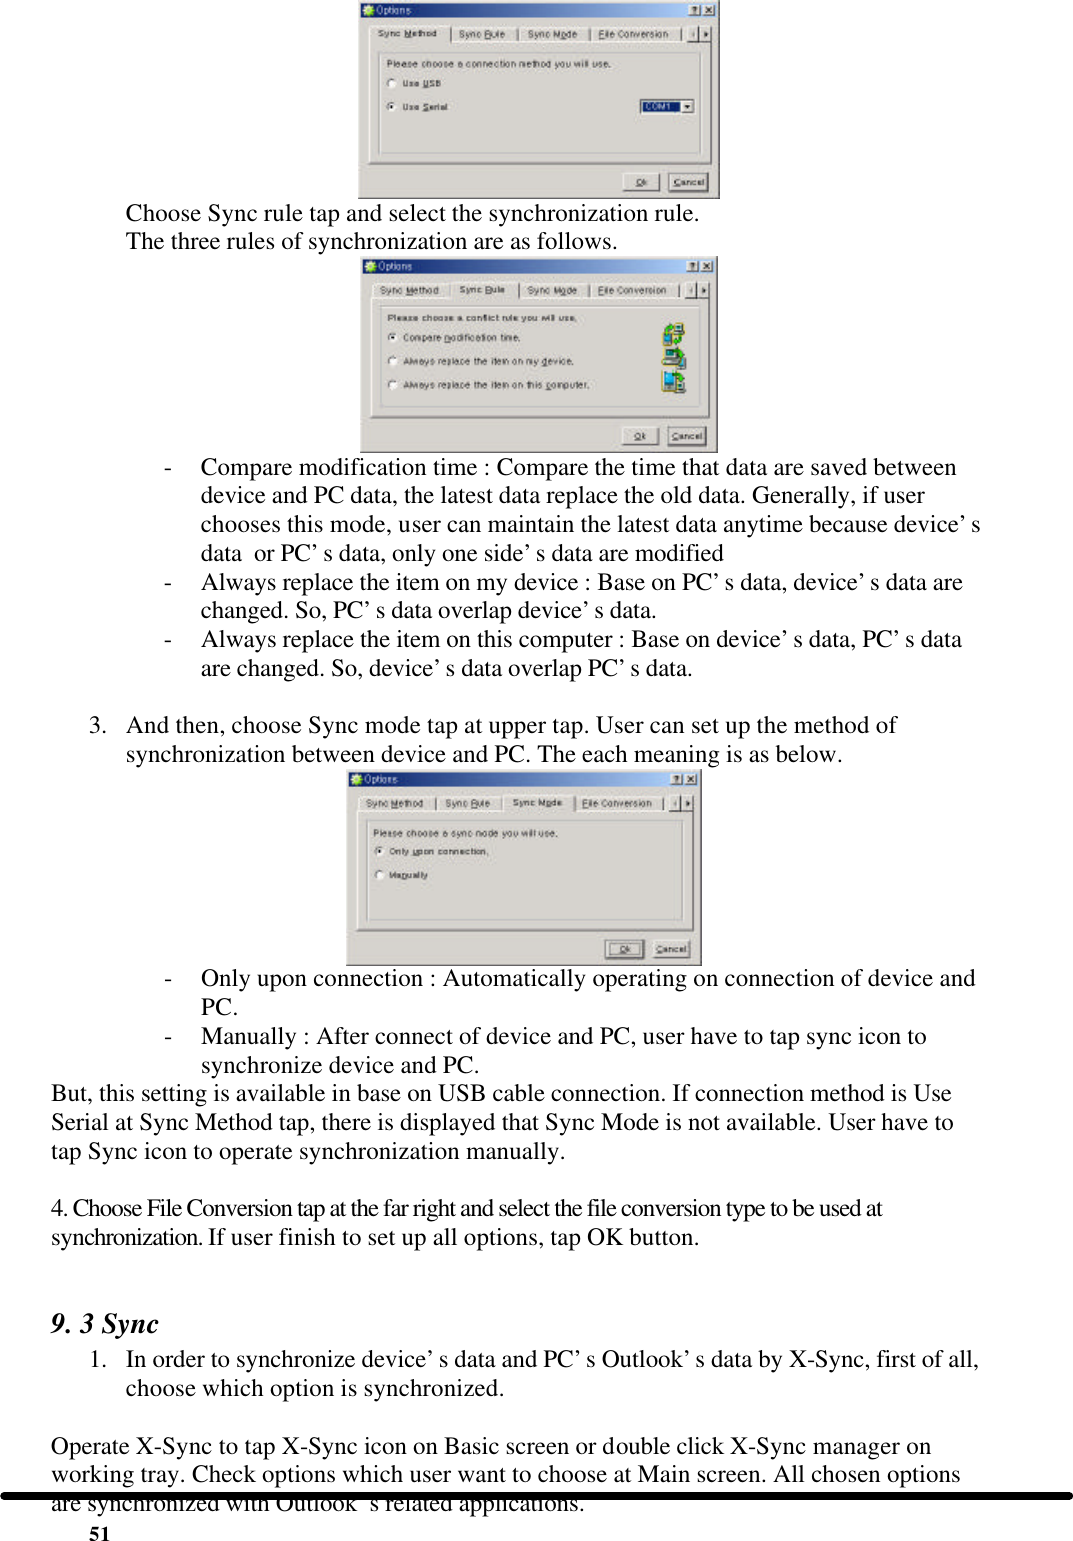
![50 synchronize button①-starts synchronizing your device and PC. stop button②-stops synchronizing. remote file brower button③-opens install manager. install manager button④-opens install manager. synchronize time button⑤-synchronize the time on your device with the clock on your PC. options button⑥-opens the options window. 9.2 Function and setting of X-Sync X-Sync synchronizes information between your device and your PC through a USB or serial cable. PIMS data stored in the Address, schedule, To do, Memo programs can be synchronized with Microsoft Outlook application. You can select which of these PIMS data is synchronized. X-Sync’s configuration is as follows : 1. In order to connect your device with PC, you need to assign a communication port. Tap [Tools] -> [Options] at Memu bar of X-sync or choose the last icon from the upper tool bar. 2. After choosing the first item tap (Sync Method), choose your device’s connection method . In the case of connection by USB cable, choose Use USB, in the case of connection of serial cable, choose Use serial. - If you chose Use Serial, input serial port number of PC. Generally, it is Com1 or Com2. If a modem or another device uses a serial port. choose a different port for the device.](https://usermanual.wiki/Wooyoung-Telecom/C3224/User-Guide-256161-Page-53.png)
![52 The items are as below Device Outlook Address ------------------- Address Book Schedule ------------------- Schedule Memo ------------------- Memo Todo ------------------- Work Mail ------------------- Incoming box 2. If device is connected by USB and Sync Mode is set Only upon connection up, it is connected to PC under the device power turn on, synchronization operate automatically. If device is connected by Serial or Sync mode is set Mutually up in case of USB, user have to tap X-Sync’s [File] -> [Synchronize] or tap the first icon at upper tool bar to start synchronization. 9.4. Installing and removing applications Installing add-on applications Your device comes with the applications installed and ready to use. You can also install additional applications on your device, such as games and other software. Note : Any game or application that you install on your device resides in memory, you can delete them at any time. Use the Install Manager to install an application on your device from your PC. To install add-on software on your device : 1. On your computer, copy or download the application you want to install into the any directory. 2. Double click the X-Sync icon( ) on your desktop. 3. Click install manager. 4. Click install( ). 5. Select the application that you want to install on your device.](https://usermanual.wiki/Wooyoung-Telecom/C3224/User-Guide-256161-Page-55.png)
![53 Note : You can also access the Install Tool Dialog by selecting Install Tool or by double-clicking any file with a MIP file extension. 6. Click open. Note : Review the application you selected in the Install Tool dialog box. If you do not want to install an application, click No. 7. User can see the install status of applications by bar graph. 8. After installation complete, user can see a message “Application install has been succeeded.”. Then Click OK. 9. User can see “Tetris” icon at Install Manager screen and Tetris game is installed in Game folder. Uninstalling applications Use Install Manager of X-sync to uninstall application which is installed in device. 1. Connect device and PC by USB or serial cable. 2. Operate PC X-Sync. 3. Click [Tools] -> [Install Manager] of X-Sync or tap the icon of upper tool bar to operate Install Manager.](https://usermanual.wiki/Wooyoung-Telecom/C3224/User-Guide-256161-Page-56.png)
![54 4. User can see applications’ list installed in device at lower screen of Install Manager. Example, uninstall Tetris game. Choose the application user want to uninstall and check in check box. Click [Tool] -> [Remove] of Install Manager screen or the second icon of upper tool bar. 5. User can see a question message whether user will uninstall the application chosen or not. Then, chick Yes. 6. After a message which uninstall completed successfully, click OK. 7. User can see that Tetris game is uninstalled at Install Manager screen. Note : Other application uninstall method is [Setup] -> [System] -> AppRemover except to use Install Manager. Usage of AppRemover, refer to 0 System setup. 9.5 Other function of X-Sync Remote File Browser Remote File Browser is a function to manage files of device by X-Sync. User can copy, move, remove files by this function and manage folders. 1. Connect device with PC by USB or serial cable. 2. Operate X-Sync of PC. 3. Tap [Tools] -> [Remote File Browser] of X-Sync or the icon of upper tool bar to operate Remote File Browser. 4. Because Remote File Browser’s function is same as general file manager of PC, the usage is same as PC’s. The left screen shows user the current directory structure, the right screen shows the directories’ internal file(s) and directory.](https://usermanual.wiki/Wooyoung-Telecom/C3224/User-Guide-256161-Page-57.png)
![55 5. At Remote File Browser , if user use the right button of mouse, user can works more easily. If the right button is clicked, user can see as below sub-menu and operate the related work. Synchronize Time A function to synchronize device’s time and PC’s time, it is for calculation of the exact time for data synchronization. The synchronization of time is important since synchronization depends on the modification times of data. If a file is modified but the same file stored in another device has the newer modification time, the file will not be updated.. 1. Operate X-Sync of PC. 2. If click [Tools] -> [Synchronize Time] of X-Sync or click the icon of upper tool bar, user can see a message of device time synchronization. Then click O.K. 3. After Sync Time setup, user can see a message of time synchronization success. Then click O.K. Device’s time and PC’s are synchronized.](https://usermanual.wiki/Wooyoung-Telecom/C3224/User-Guide-256161-Page-58.png)