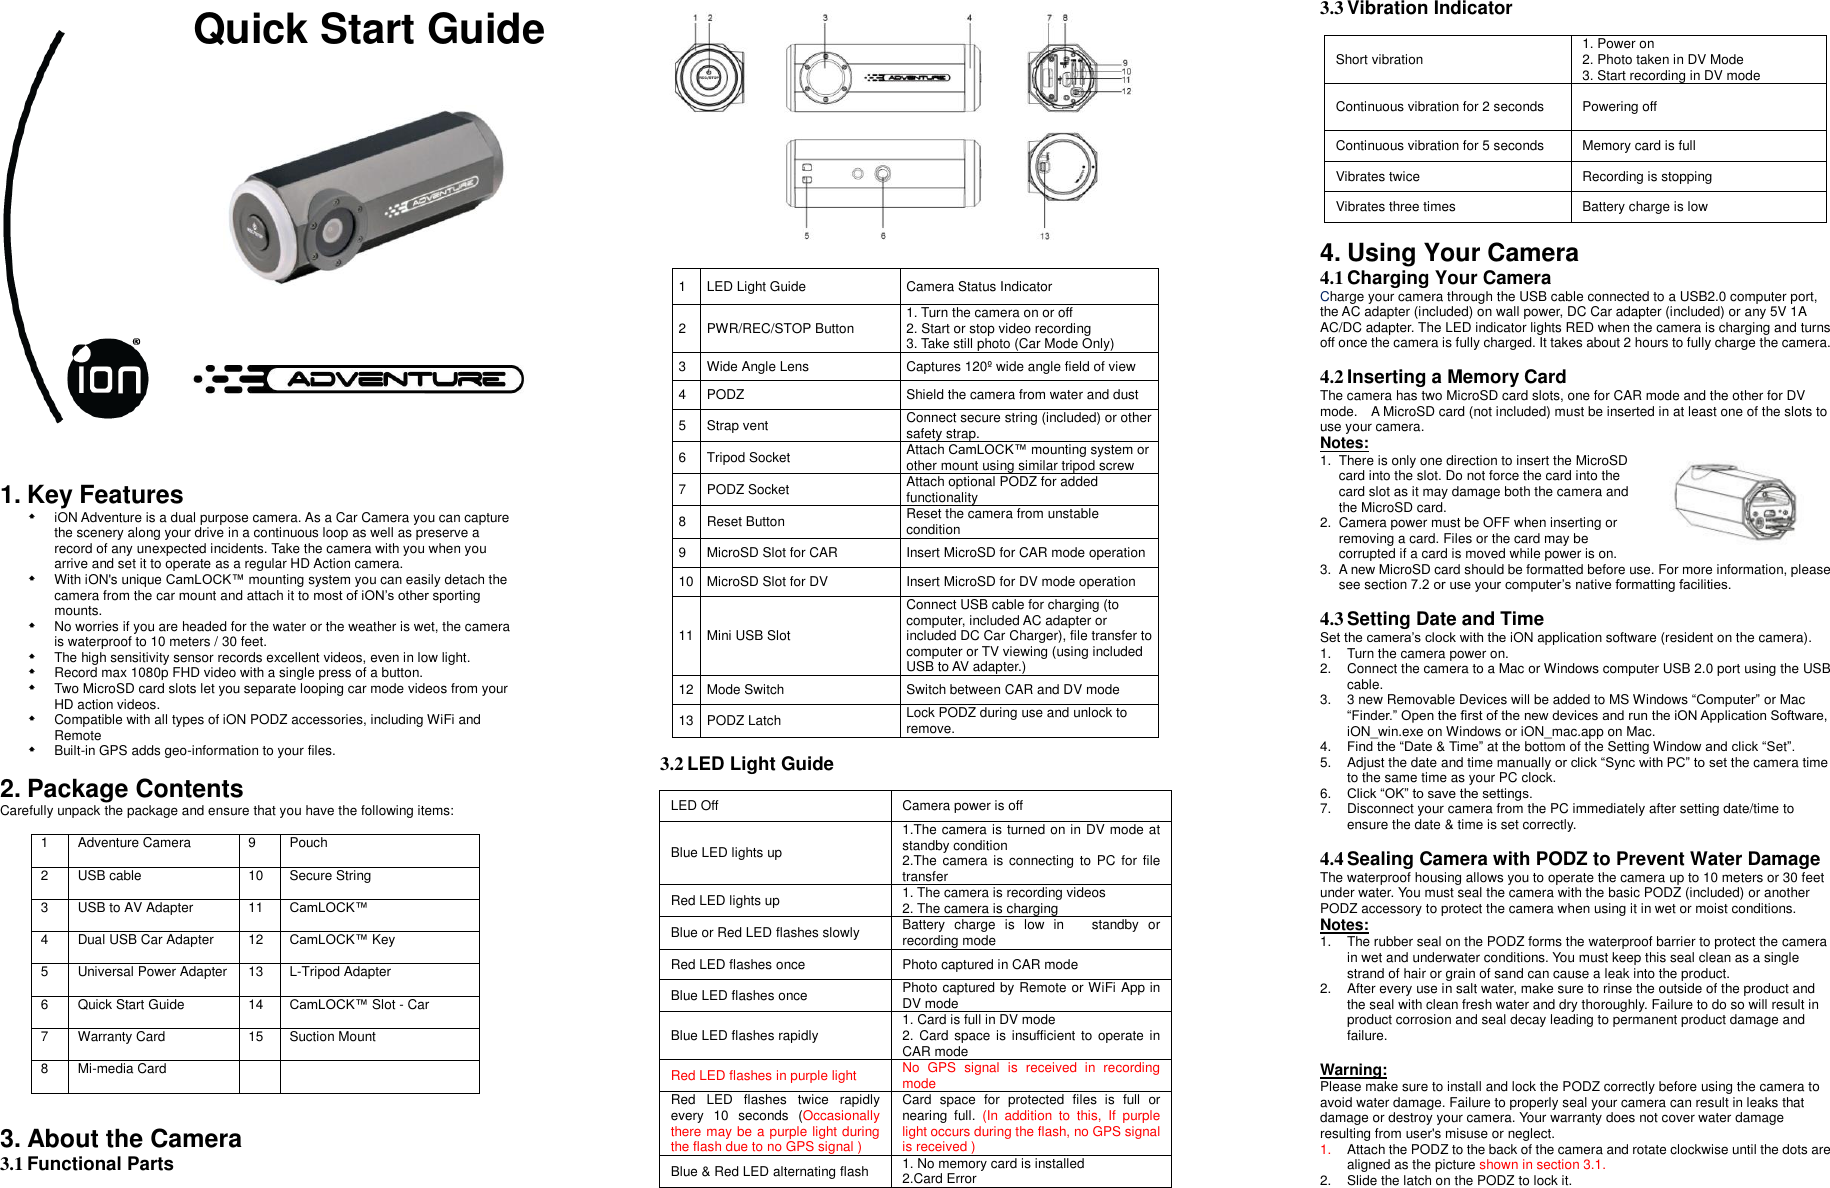
World Wide Licenses 1008 iON Adventure/Adventure/HD Sports Video Camera User Manual iON Adventure Adventure HD Sports Video Camera

World Wide Licenses Ltd. iON Adventure/Adventure/HD Sports Video Camera iON Adventure Adventure HD Sports Video Camera

user manual
iON Adventure/ Adventure/   HD Sports   Video Camera Brand Name: iON Model Name:1008 Fcc ID:NW71008
                               1. Key Features   iON Adventure is a dual purpose camera. As a Car Camera you can capture the scenery along your drive in a continuous loop as well as preserve a record of any unexpected incidents. Take the camera with you when you arrive and set it to operate as a regular HD Action camera.     With iON's unique CamLOCK™ mounting system you can easily detach the camera from the car mount and attach it to most of iON’s other sporting mounts.    No worries if you are headed for the water or the weather is wet, the camera is waterproof to 10 meters / 30 feet.     The high sensitivity sensor records excellent videos, even in low light.     Record max 1080p FHD video with a single press of a button.   Two MicroSD card slots let you separate looping car mode videos from your HD action videos.     Compatible with all types of iON PODZ accessories, including WiFi and Remote     Built-in GPS adds geo-information to your files.    2. Package Contents Carefully unpack the package and ensure that you have the following items:  1 Adventure Camera 9 Pouch 2 USB cable 10 Secure String 3 USB to AV Adapter 11 CamLOCK™   4 Dual USB Car Adapter 12 CamLOCK™ Key 5 Universal Power Adapter 13 L-Tripod Adapter 6 Quick Start Guide 14 CamLOCK™ Slot - Car 7 Warranty Card 15 Suction Mount 8 Mi-media Card        3. About the Camera 3.1 Functional Parts    1 LED Light Guide Camera Status Indicator 2 PWR/REC/STOP Button 1. Turn the camera on or off 2. Start or stop video recording 3. Take still photo (Car Mode Only) 3 Wide Angle Lens Captures 120º  wide angle field of view 4 PODZ Shield the camera from water and dust 5 Strap vent Connect secure string (included) or other safety strap. 6 Tripod Socket Attach CamLOCK™ mounting system or other mount using similar tripod screw 7 PODZ Socket Attach optional PODZ for added functionality 8 Reset Button Reset the camera from unstable condition 9 MicroSD Slot for CAR Insert MicroSD for CAR mode operation 10 MicroSD Slot for DV Insert MicroSD for DV mode operation 11 Mini USB Slot Connect USB cable for charging (to computer, included AC adapter or included DC Car Charger), file transfer to computer or TV viewing (using included USB to AV adapter.) 12 Mode Switch Switch between CAR and DV mode 13 PODZ Latch Lock PODZ during use and unlock to remove.  3.2 LED Light Guide    LED Off Camera power is off Blue LED lights up 1.The camera is turned on in DV mode at standby condition 2.The camera  is connecting to  PC  for file transfer Red LED lights up 1. The camera is recording videos 2. The camera is charging Blue or Red LED flashes slowly Battery  charge  is  low  in    standby  or recording mode Red LED flashes once Photo captured in CAR mode Blue LED flashes once Photo captured by Remote or WiFi App in DV mode   Blue LED flashes rapidly 1. Card is full in DV mode 2. Card  space  is  insufficient to  operate in CAR mode   Red LED flashes in purple light   No  GPS  signal  is  received  in  recording mode Red  LED  flashes  twice  rapidly every  10  seconds  (Occasionally there may be a purple light during the flash due to no GPS signal ) Card  space  for  protected  files  is  full  or nearing  full.  (In  addition  to  this,  If  purple light occurs during the flash, no GPS signal is received ) Blue & Red LED alternating flash   1. No memory card is installed 2.Card Error   3.3 Vibration Indicator    Short vibration 1. Power on   2. Photo taken in DV Mode 3. Start recording in DV mode Continuous vibration for 2 seconds Powering off Continuous vibration for 5 seconds Memory card is full Vibrates twice   Recording is stopping Vibrates three times Battery charge is low  4. Using Your Camera 4.1 Charging Your Camera Charge your camera through the USB cable connected to a USB2.0 computer port, the AC adapter (included) on wall power, DC Car adapter (included) or any 5V 1A AC/DC adapter. The LED indicator lights RED when the camera is charging and turns off once the camera is fully charged. It takes about 2 hours to fully charge the camera.  4.2 Inserting a Memory Card   The camera has two MicroSD card slots, one for CAR mode and the other for DV mode.    A MicroSD card (not included) must be inserted in at least one of the slots to use your camera.   Notes: 1.  There is only one direction to insert the MicroSD card into the slot. Do not force the card into the card slot as it may damage both the camera and the MicroSD card. 2. Camera power must be OFF when inserting or removing a card. Files or the card may be corrupted if a card is moved while power is on. 3.  A new MicroSD card should be formatted before use. For more information, please see section 7.2 or use your computer’s native formatting facilities.  4.3 Setting Date and Time Set the camera’s clock with the iON application software (resident on the camera). 1.  Turn the camera power on. 2. Connect the camera to a Mac or Windows computer USB 2.0 port using the USB cable.   3. 3 new Removable Devices will be added to MS Windows “Computer” or Mac “Finder.” Open the first of the new devices and run the iON Application Software, iON_win.exe on Windows or iON_mac.app on Mac. 4. Find the “Date & Time” at the bottom of the Setting Window and click “Set”. 5.  Adjust the date and time manually or click “Sync with PC” to set the camera time to the same time as your PC clock. 6. Click “OK” to save the settings. 7.  Disconnect your camera from the PC immediately after setting date/time to ensure the date & time is set correctly.  4.4 Sealing Camera with PODZ to Prevent Water Damage The waterproof housing allows you to operate the camera up to 10 meters or 30 feet under water. You must seal the camera with the basic PODZ (included) or another PODZ accessory to protect the camera when using it in wet or moist conditions.   Notes: 1.  The rubber seal on the PODZ forms the waterproof barrier to protect the camera in wet and underwater conditions. You must keep this seal clean as a single strand of hair or grain of sand can cause a leak into the product. 2. After every use in salt water, make sure to rinse the outside of the product and the seal with clean fresh water and dry thoroughly. Failure to do so will result in product corrosion and seal decay leading to permanent product damage and failure.  Warning: Please make sure to install and lock the PODZ correctly before using the camera to avoid water damage. Failure to properly seal your camera can result in leaks that damage or destroy your camera. Your warranty does not cover water damage resulting from user's misuse or neglect.   1. Attach the PODZ to the back of the camera and rotate clockwise until the dots are aligned as the picture shown in section 3.1. 2.  Slide the latch on the PODZ to lock it.  Quick Start Guide
4.5 Auto Rotation  The camera has a built-in G-sensor that detects the camera’s orientation. When Auto Rotation is ON, you can rotate your camera before recording begins to 90o, 180o or 270o from the default position (refer to the table) and the recorded view will be rotated in the same angle. This lets you mount the camera in a different orientation without recording a rotated or inverted view. Video resolution is adjusted when rotated in 90o or 270o.     Video Resolution 0o or 180o 90o or 270o (DV only) 1080P 1920x1080 608x1088 720P 1280x720 416x720  Notes: 1.  The 90o and 270o auto rotation function is available in DV mode only.   2.  Auto Rotation affects video only, not still photos. 3.  Adjust your camera orientation before you start video recording. Orientation detection is not reactivated during recording.  4. Auto Rotation is ON by default. You can turn it OFF through the “General settings” in the iON Application Software (see Section 7.)  4.6 GPS The camera has built-in GPS to capture geo-information in photo and video files. GPS data capture in video/photo files is always on and is not configurable. The first time you use your camera it will take around 30 to 60 seconds to capture the satellite signal. After the initial use it will only take about 10 seconds to locate the satellite signal at power on. Trees, buildings or any high construction may block the GPS reception and affect its accuracy. GPS signal may be completely blocked indoors or in shielded areas.    5. Car Mode CAR mode ( ) lets you capture the scenery along your drive as well as preserve a record of any unexpected incidents. Recording operates in a loop, overwriting the oldest files once the card is full. Files can be manually protected from delete and are automatically protected if the G-Sensor detects a hard brake or collision.  5.1 Attach the Camera to the Suction Mount   1.  Fit the screw of the CamLOCK™ to the tripod socket on the camera.   2.  Tighten the CamLOCK™ screw.   3.  Loosen and remove the top screw from the car mount. 4.  Attach the CamLOCK™ Slot – Car to the top of the car mount and reinstall the screw. 5.  Slip the CamLOCK™ (on the camera) into the CamLOCK™ Slot – Car (on the suction mount.) 6. Press the CamLOCK™ sides to release and slide the camera off the suction mount for on the go use.  5.2 Install the Suction Mount & Camera in a Vehicle  1.  Stop the engine and make sure your car is parked at a safe location. 2. Press the car mount onto the windshield and push the PRESS button to remove the air between the windshield and car mount.   3.  Pull down on the handle of the car mount to tighten the seal. 4.  The camera is designed to mount behind or under the rear view mirror. The lens of camera should be positioned at the center of the front windshield. Take care not to block the driver’s visibility. 5. Connect the camera to DC Power jack in your car with included USB cable and USB car adapter. Secure the cable if it is too loose so it will not interfere with driver motion. 6. Loosen and retighten the screws on the car mount to adjust the camera’s orientation.  Caution When Installing the Camera  Installing or operating the product while you are driving may cause an accident. Stop your car at a safe location to install or operate the product.  Dust in the cigarette jack may cause excessive heat or fire. Clean it periodically.  Frequently check whether the camera and mount are installed securely. The camera or mount may fall due to vibrations and result in personal injury or damage to the product.  The manufacturer is not liable for any product damage or personal injuries that occurred due to an accident or carelessness.  5.3 Recording in CAR Mode (Power on/off) 1. Slide the Mode Switch to the Car    position to set it to CAR mode.  2. Make sure a MicroSD card has been installed into the CAR slot. The memory card is required to have at least 8GB free space. A 32GB or above card is recommended for the car recording features. Note: Please check your computer to make sure a card larger than 32GB can be read.   3. Press and hold the PWR/REC/STOP   button until the LED lights up to turn the camera on and start recording.   4.  When connected to the car’s power supply, the camera will detect the movement of your car to power on and start recording automatically.   Note: You can turn on the camera manually by pressing and holding   in case it cannot be powered on automatically. 5.  When the camera is not connected to any power supply or if you want to start recording before driving, press and hold PWR/REC/STOP    to power on and start recording.     6.  The camera is always recording when ON in CAR mode. 7.  A short vibration indicates recording has started. The LED indicator illuminates in RED throughout recording.   8.  To take a still shot, press    once.    The camera will take either a 1MP or 2MP still photo depending on the current video resolution setting.    Still photos are saved in the folder 100EMERG.    Video Resolution Setting Corresponding Photo Resolution 1080p 2MP 720p 1MP  10. Press and hold    to stop recording and turn the camera off.  5.4 Car Mode Files and Recording Details Video file recording in CAR mode operates in a loop, creating successive files of 5 minutes in 720p and 3 minutes in 1080p. When the camera detects a memory full situation ,with only enough space for protected files remaining, the next file will overwrite the oldest file to make sure the recording function is always functioning.      1.  The default video resolution for CAR Mode is 720p. You can change the resolution through the iON Application Software.   2.  Files recorded in CAR Mode are saved in the DCMI\101MOTOR folder on the memory card.   3.  The files are named with the format YYYYMMDD_XXXX.MP4 or JPG. YYYY, MM, DD represent the year, month and day of the recording. XXXX is 4 successive numeric digits. 4.  You can playback video with GPS information using the Kinomap software (to be downloaded separately) Note: Please visit http://ion.kinomap.com/ to download the Kinomap software.  5.5 Car Mode File Protection Files will be protected from the looping delete if the G-sensor detects a hard brake or collision. You can adjust the sensitivity of the G-sensor through the software. The current recording file can be protected manually by pressing    twice quickly.  1. Protected files are saved in the 100EMERG folder.   2. Protected files are also named as YYYYMMDD_XXXX.MP4 or JPG. YYYY, MM, DD represent the year, month and day of the recording. XXXX is 4 successive numeric digits. 3.  The maximum space for storing protected videos and photos is 4GB. When the upper limit is reached, file protection and the still photo function are disabled unless some or all files are cleared from the 100EMERG folder.   4. If the file protection function is triggered, the camera is able to preserve at least 3GB of space for protected files when recording regular Car Mode looping video files. 5.  The camera will flash twice every 10 seconds to indicate the space for protected files is about to full. Clear or back up files immediately to make space for new files.   6. If you notice unexpected protected files, adjust the G-Sensor sensitivity using the iON Application Software.  6. Video Camera (DV) Mode   In DV mode ( ) your camera operates as a regular HD action camera. With iON’s unique CamLOCK™ system, optional attachments and waterproof casing it is ready for all your sports activities. Unlike Car mode, Video file recording in DV mode does not operate in a loop. DV mode has a Standby ON state and video recording does not start as soon as the camera is turned on.  6.1 Power on and off in DV Mode 1.  Slide the mode switch to the camera    position to set the camera to DV mode.   2.  Make sure a MicroSD card has been installed into the DV slot. You will need a minimum Class 6 MicroSD card for HD recording 3.  Press and hold the PWR/REC/STOP    button until the camera vibrates and the Blue LED lights up. 4.  To turn the camera off, press and hold the PWR/REC/STOP    button. The camera will vibrate for two seconds and the Blue LED will turn off.  6.2 Recording Videos in DV Mode 1.  Press and hold    button to turn the camera on. The LED indicator illuminates in BLUE to show the camera is on and in standby mode   2. Press   button once quickly to start recording. The camera will vibrate once and the LED indicator illuminates RED throughout the recording.   3. Press   button during recording to stop the recording. Or, press and hold  button to stop the recording and turn the camera off.   4.  The default video resolution is 1080p. You can change the resolution through the software.    Notes: 1. There will be around 1-2 seconds delay before the camera starts recording. 2. You can playback the video with GPS information using the Kinomap software (download separately). Note: Please visit http://ion.kinomap.com/ to download the Kinomap software.  6.3 Still Photos in DV Mode Still Photo capture when the camera is in DV mode is only possible when the camera is under the control of the iON Remote & Remote PODZ or a WiFi connected iON App & WiFi PODZ.    The Remote PODZ Kit and WiFiPODZ Connect Kit are sold separately.  Please refer to the User Guides for these products for detailed operation instructions or visit www.iontheaction.com    Notes: 1.  The Still Photo function is disabled during video recording. 2.  The default photo mode is “single shot”. Burst mode gives you a continuous 10 photo shots to capture that “can’t miss” moment. Time Lapse mode takes a series of photos at 5, 10, 30 or 60-second intervals. To change the still photo mode, please refer to Settings in section 7.2    6.4 Mounting Your Camera Use the included L-Tripod Adapter to change the tripod socket direction to suit your mounting purpose.    The camera is also compatible with most other iON CamLOCK™ mounts for individual sports activities. View the full line of kits and review their User Guides for complete information at www.iontheaction.com.      7. Connecting Your Camera 7.1 Connecting Your Camera to a Computer The camera is Plug & Play compatible with Windows & Mac for connection as a mass storage device, allowing you to easily transfer photo/video files to the computer.  Run the on board iON Application Software to change the camera’s settings. 1.  Turn the Camera on. 2. Connect the camera to a Mac or Windows computer USB 2.0 port using the USB cable.   3. 3 new Removable Devices will be added to MS Windows “Computer” or Mac “Finder.” Their names will depend upon what other devices are already attached to your computer but they will be named consecutively.     1st Drive: used for camera operations and configuration.     2nd Drive: CAR Mode storage   3rd Drive: DV Mode storage  Note: If you cannot find the mass storage locations on your PC, try unplugging the cable from the computer, turn the camera on and off once and reconnect to computer. Most Windows computers will activate an auto play wizard. Mac Computers may cause Finder to bounce.
7.1.1  Transferring Files to the PC 1. Connect your camera to your computer as described in 7.1.   2.  Open the 2nd Drive for CAR mode files or 3rd Drive for DV mode files. 3.  Folders in these drives are like the other folders on your computer. Open (view), copy (transfer) and delete the files within the folders as you would files in any other folder. Pasting other files in the camera drive folders is not recommended.  7.1.2  Changing Camera Settings 1. Connect your camera to your computer as described in 7.1.   2.  Open the 1st drive and locate iON_win.exe and iON_mac.app.   3.  Windows users should double click and run the .exe. Mac users should click and run the .app.   Use the Application to: 1.  Change CAR settings – video and photo resolution, video length and GPS sensor sensitivity. 2.  Change DV setting – video and photo resolution, photo mode. 3.  Change the camera’s general settings – TV type, language, auto power off, auto rotation, date and time.   4. Update camera firmware.  7.2 Connecting to a TV You can connect your camera to a TV via the USB-to-AV adapter (included) and an AV cable (not included). Once you have connected, you can: 1.  Take videos by using your TV as a viewfinder. (only under DV mode)   2.  Playback any photo or video files saved in the camera. (only under DV mode) 3.  Delete any file saved in the camera. (only under DV mode) 4. Format the MicroSD Card. (only under DV mode) Notes: 1.  When the camera is connected to the TV under CAR mode, it will enter the preview mode, showing the contents being recorded. The camera will start recording as normal condition.     2. When operating the camera under CAR mode, the camera status will not be affected when it is connected to or disconnected from the TV.  7.3 Connecting Remotely The camera is compatible with other iON PODZ attachments and remote access applications including the Remote PODZ and WiFi PODZ. View the full line and review their User Guides for complete information at www.iontheaction.com.  7.4 Sign Up for Free iONCloud Storage You can sign up for 8GB of free Cloud storage for storing and sharing of video/photo content. Visit www.iontheaction.com to activate  8. Troubleshooting  Problems Causes Solutions 1. LED flashes and camera turns off 2. Cannot turn on the camera Battery is depleted Recharge the camera Red LED flashes during recording Low battery Recharge the camera Cannot take photos or video (Blue LED flashes rapidly) 1. The memory is full in DV mode 2. The memory is insufficient to operate in CAR mode Delete unnecessary photos or videos on the current memory card or replace it with a new one Cannot take photos or video (Blue and Red LED flashes alternatively) 1. MicroSD card is not inserted 2. MicroSD card has a card error. 1. Insert a MicroSD card 2. Format the MicroSD card at PC or on TV. Cannot find the removable disk after connecting the camera to the computer. Connection failure. 1. Make sure all cable connections are secured and restart the computer if necessary. 2. Make sure the computer port is USB 2.0 3. Try a different USB port. Avoid Hub and Keyboard USB ports.  9. Specifications  Sensor   3.0 Mega pixel CMOS sensor Lens 120º  wide angle field of view Focus range 0.5m - ∞ Video Resolution in DV mode 1080P: 1920x1080 pixels ,30fps 720P: 1280x720 pixels ,30 fps 720P: 1280x720 pixels,60 fps Resolution in CAR mode 1080P: 1920x1080 pixels,30 fps 720P: 1280x720 pixels,30 fps Format: H.264 compression, saved as MPEG4 (.mp4) file Photo Resolution in DV mode 8MP(3264 x2448) 3MP (2048x1536) Resolution in CAR mode 2MP (1920x1080) on 1080p 1MP (1280x720) on 720p Format: JPG Capture Modes: Single, Burst-shot, Time lapse Audio Built-in high quality microphone ADPCM Compression, Automatic Gain Control Storage MicroSD/MicroSDHC with minimum Class 6   A 32GB or above memory size of card is recommended for car recording function Average Recording Times: about 4 hours (using 32GB MicroSD card in 1080p30/720p60) Other features GPS, G-sensor, Vibration status indication Memory slot MicroSD card × 2 Connection USB2.0 port for data transfer,battery charging and AV-output Power Built-in 1200 mAh Rechargeable Li-Polymer Battery Battery Life: Approx. 2 hours Waterproof   Durable plastic housing Depth up to 30 feet / 10 meters Language English, German, French, Italian, Spanish, Japanese, Korean, S. Chinese & T. Chinese Dimension 38.0x38.0x109.0mm Weight 139.0g(w/ PODZ)  10. System Requirements  Operating system Windows® XPSP3/Vista/7/8 and Mac 10.5 or above CPU Pentium III or above RAM At least 64MB   Interface USB 2.0 port  11. Trademark Information  Microsoft® and Windows® are U.S. registered trademarks of Microsoft Corporation.  Pentium® is a registered trademark of Intel Corporation.  iPhone, iPad, Macintosh is a trademark of Apple Inc.  MicroSDTM is a trademark.  Other names and products may be trademarks or registered trademarks of their respective owners.  IMPORTANT Keep the lens clean. Dirt and fingerprints will affect the quality of the picture. Close the PODZ properly for best water sealing. Do not open it under water. Rinse the camera with clean water after used and keep it dry for storage. You can refer to the detail operation instruction at the user manual   FCC Statement Caution Statement “Modifications not approved by the party responsible for compliance could void the user’s authority to operate the equipment.” Instruction Statement NOTE: This equipment has been tested and found to comply with the limits for a Class B digital device, pursuant to Part 15 of the FCC Rules. These limits are designed to provide reasonable protection against harmful interference in a   residential installation. This equipment generates, uses and can radiate radio frequency energy and, if not installed and used in accordance with the instructions, may cause harmful interference to radio or television reception, which can be determined by turning the equipment off and on, the user is encouraged to try to correct the interference by one or more of the following measures: • Reorient or relocate the receiving antenna. • Increase the separation between the equipment and receiver. • Connect the equipment into an outlet on a circuit different from that to which the receiver is connected. • Consult the dealer or an experienced radio/ TV technician for help. WARNING: THE MANUFACTURER IS NOT RESPONSIBLE FOR ANY RADIO OR TV INTERFERENCE CAUSED BY UNAUTHORIZED MODIFICATIONS TO THE DEVICE. ANY SUCH MODIFICATIONS COULD VOID THE USER’S AUTHORITY TO OPERATE THE EQUIPMENT. This device complies with part 15 of the FCC rules. Operation is subject to the following two conditions: (1) this device may not cause harmful interference, and (2) this device must accept any interference received, including interference that may cause undesired operation. changes or modifications to this unit not expressly approved by the party responsible for compliance could void the user’s authority to operate the equipment.      For EU only Questions? Need Some Help? This manual should help you understand your new product. If you still have questions, visit our website: www.iontheaction.com Like Us: www.facebook.com/iontheaction    Tweet Us: www.twitter.com/iontheaction

Navigation menu