WowWee Group 8033 Rovio User Manual
WowWee Group Limited Rovio
UserManual.wiki
>
WowWee Group
>
8033 User Manual
User Manual
Navigation menu
Upload a User Manual
Namespaces
Wiki Guide
HTML
PDF
Info
Views
User Manual
Discussion / Help
Navigation


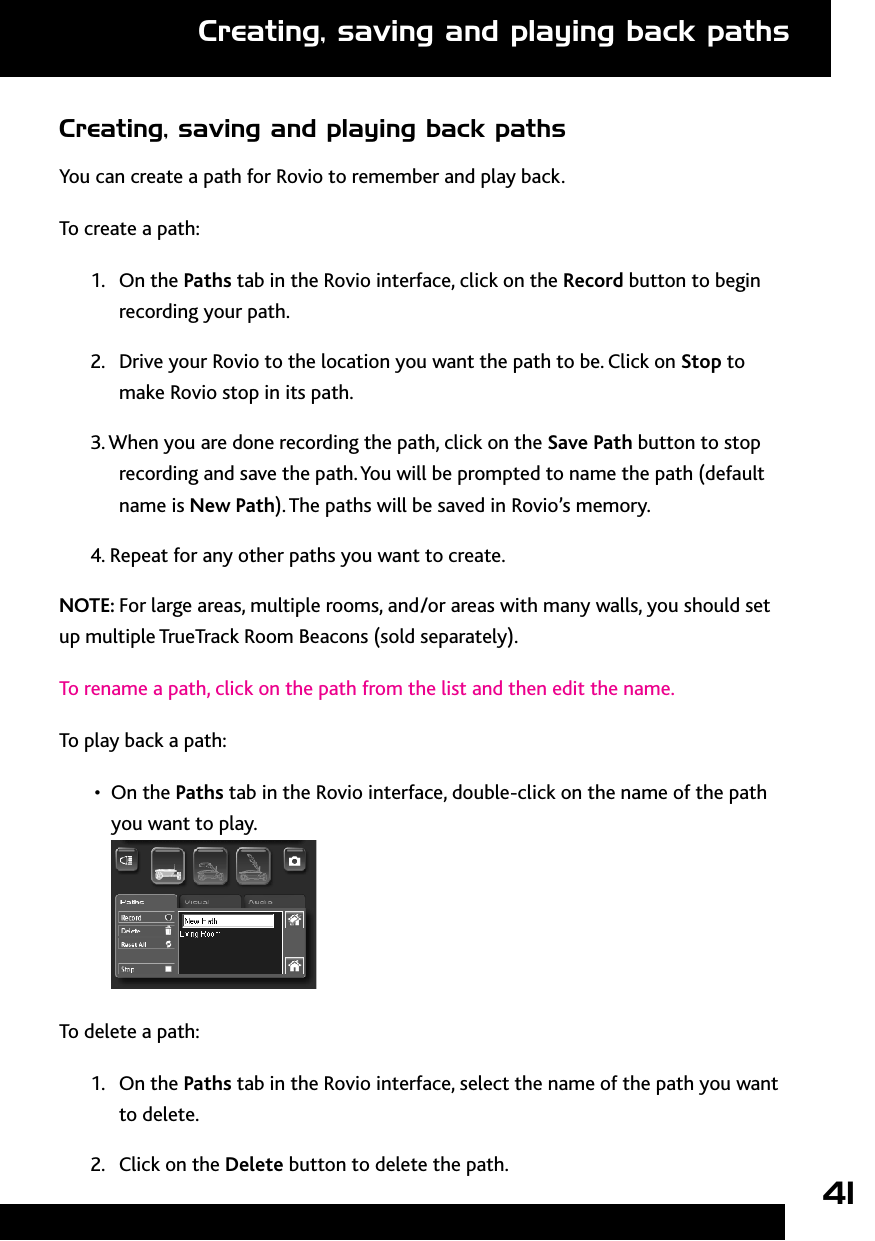
![29Overview of Rovio’s interfaceDescription of interface - IndicatorsIndicatorsIndicator DescriptionNav Indicates the strength of the navigation signal received from the charging dock or a TrueTrack Room Beacon.Full bars indicate a strong signal. 0-9 Indicates the room ID number assigned to a room. as set on the TrueTrack Room Beacon (sold separately). 0 is always assigned to the charging dock.Note that the room ID numbers only appear when the Beacon is in range.Battery Indicates the strength of Rovio’s battery. Full bars indicate a fully charged battery.Status Indicates Rovio’s current driving status.Options: Roaming, Saving Home, Home Saved, Going Home, Docked, Recording Path, Following a [name of a path], Low navigation signal, No navigation signal.Wi-Fi Indicates the strength of the wireless Internet connection (Wi-Fi signal). Full bars indicate a strong signal.](https://usermanual.wiki/WowWee-Group/8033/User-Guide-1006416-Page-29.png)


![38Using Rovio from an external networkTo be able to use Rovio outside your internal network, you will need to set up port forwarding on your wireless router to be able to communicate with Rovio. Setting up port forwardingTo be able to access Rovio over the internet from any internet access point, you will need to open up the required ports on your router (port forwarding). Refer to your router’s user manual on how to set up port forwarding. If you do not have a user manual for your router, you will need to refer to external sources to set up your router for port forwarding.To do so:1. Determine and note the make and model of your wireless router. 2. Refer to the WowWee Support site (www.wowweesupport.com) for information on locating port forwarding information for your router. You will need this information to set the port forwarding details in Rovio’s settings.For Rovio, you will need to open up 2 ports: port 80 and port 554. Port 80 is for the M-JPEG stream and control over the Rovio; port 554 is for the MPEG4 and audio stream. Congure your ports with the following options:Port 80 Port 554Protocol TCP TCPExternal TCP/IP Port 80 554IP Address [Rovio’s internal IP address]* [Rovio’s internal IP address]*Internal TCP/IP Port 80 554*Refer to the description of the Network tab in the section Overview of Rovio’s interface to determine your Rovio’s internal IP adress.Using Rovio from an external networkSetting up port forwarding](https://usermanual.wiki/WowWee-Group/8033/User-Guide-1006416-Page-38.png)