Xplore Technologies of America IHW62230ANH INTEL CENTRINO ADVANCED-N 6230 User Manual C5v F5v Tablet PC User s Guide
Xplore Technologies Corp of America INTEL CENTRINO ADVANCED-N 6230 C5v F5v Tablet PC User s Guide
Contents
- 1. Users Manual 1
- 2. Users Manual 2
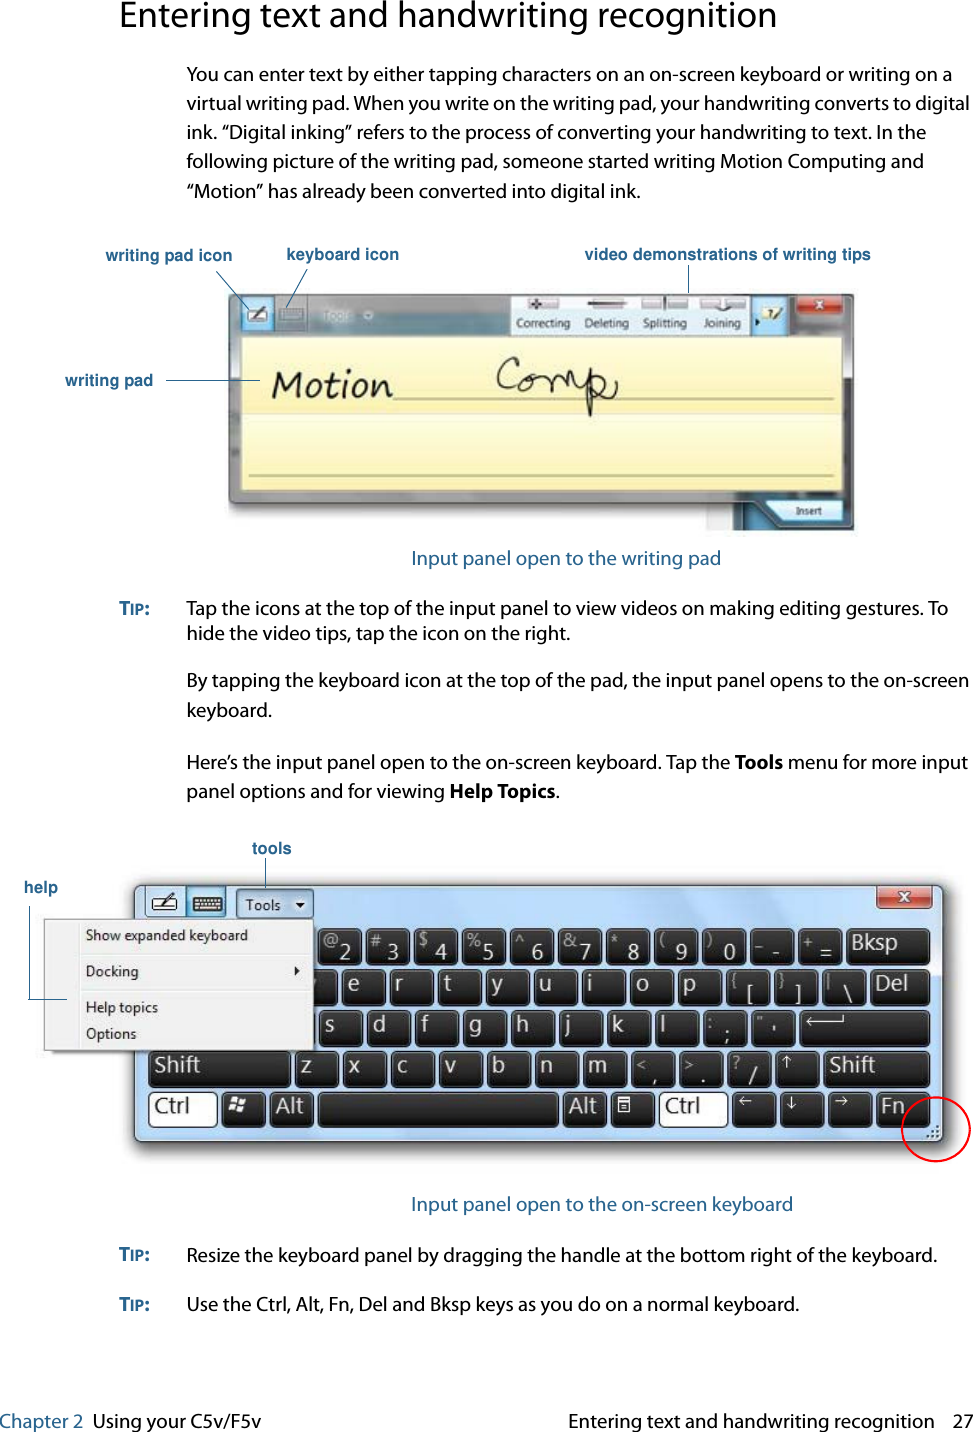
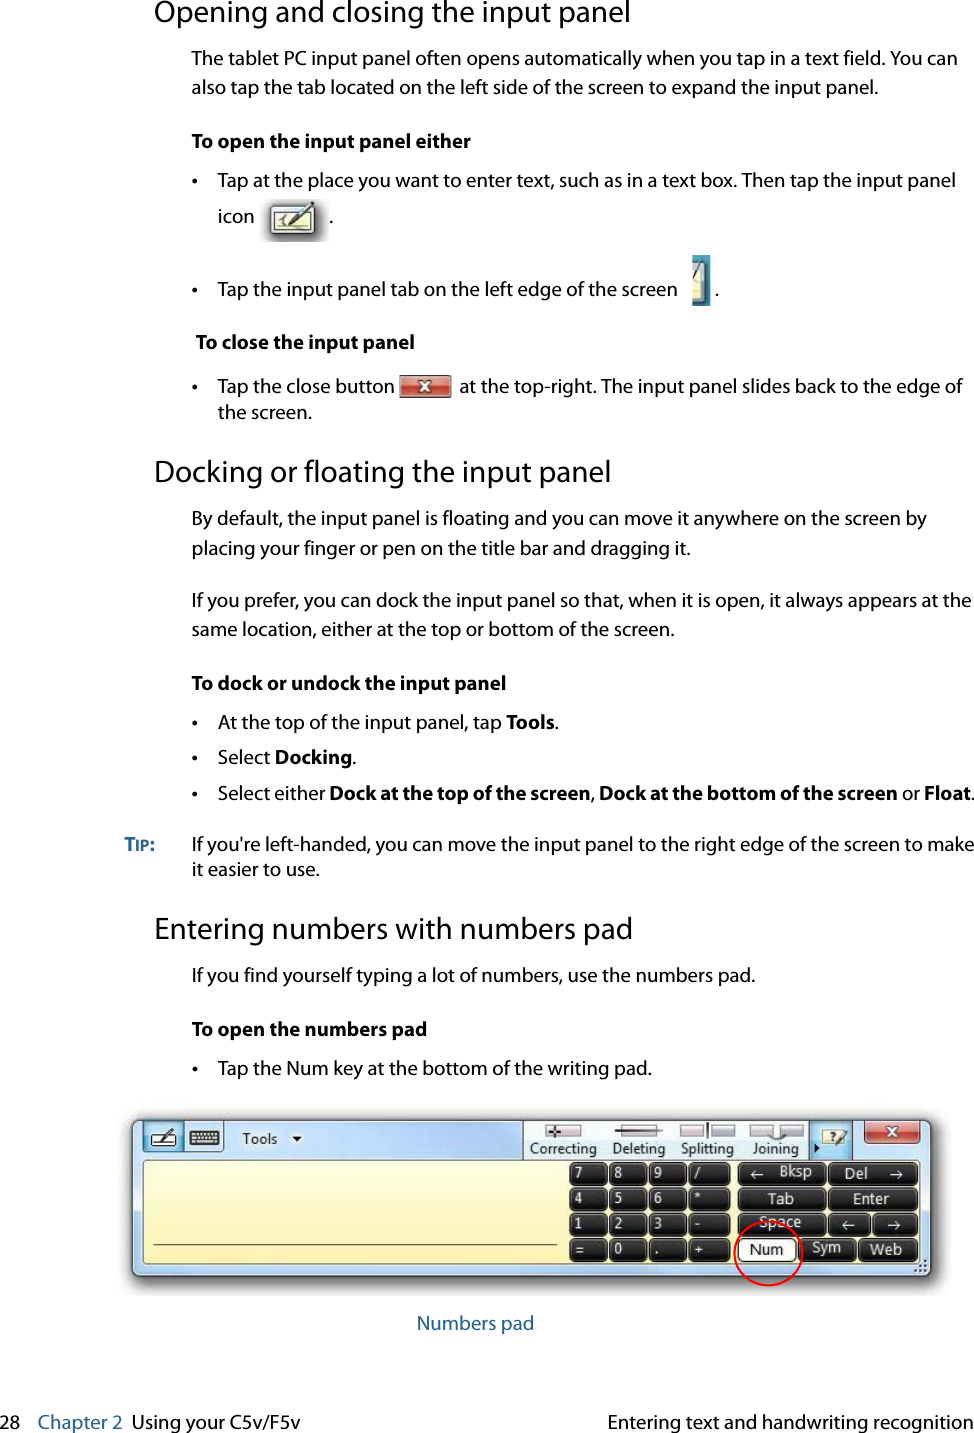
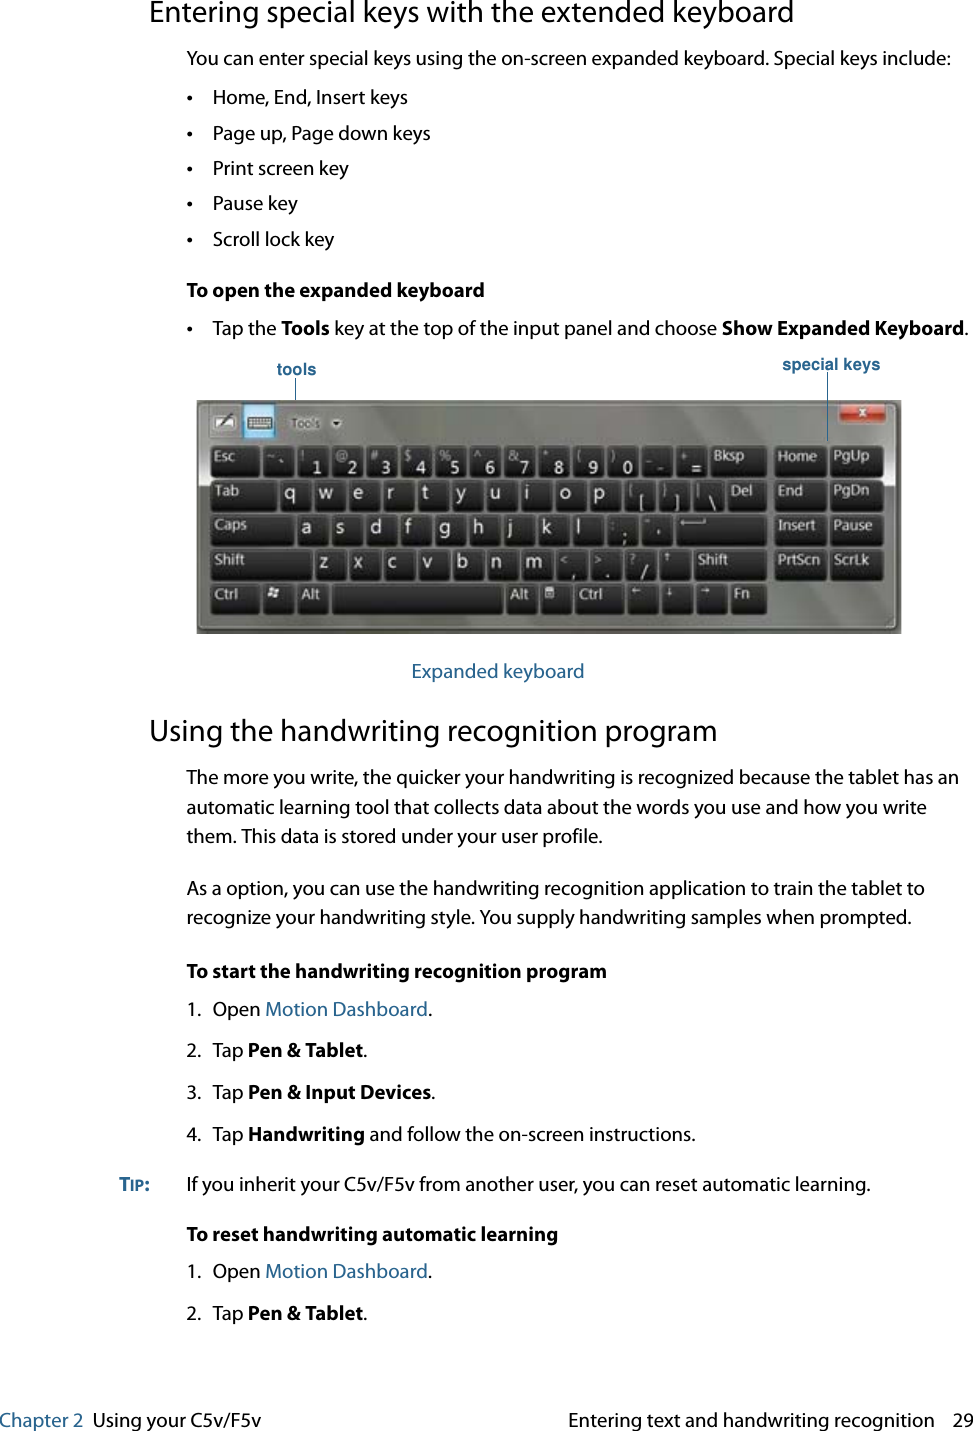
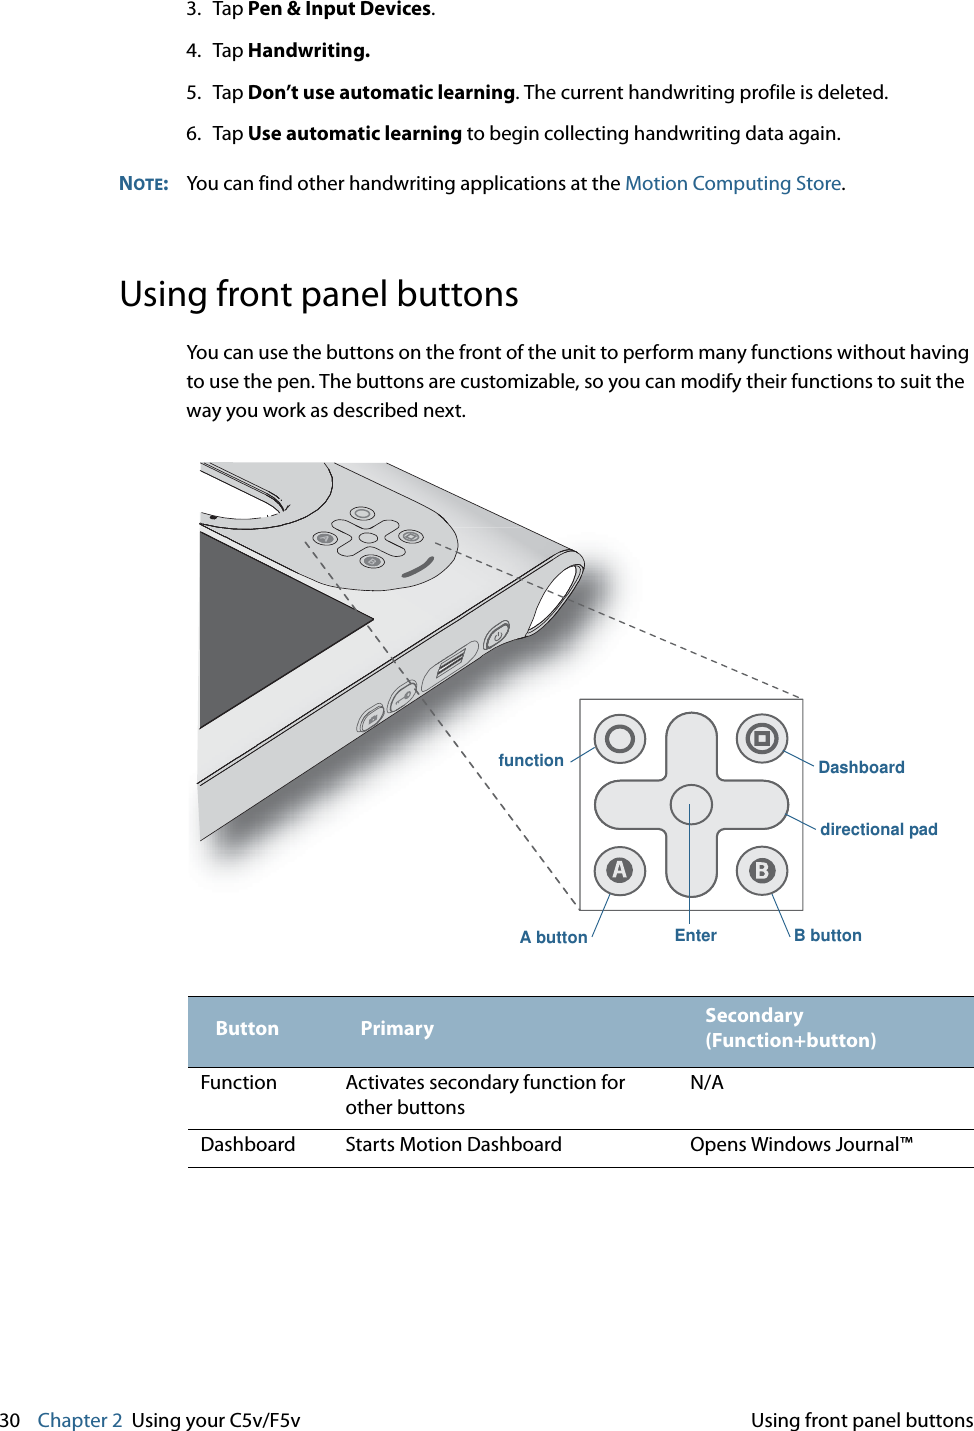
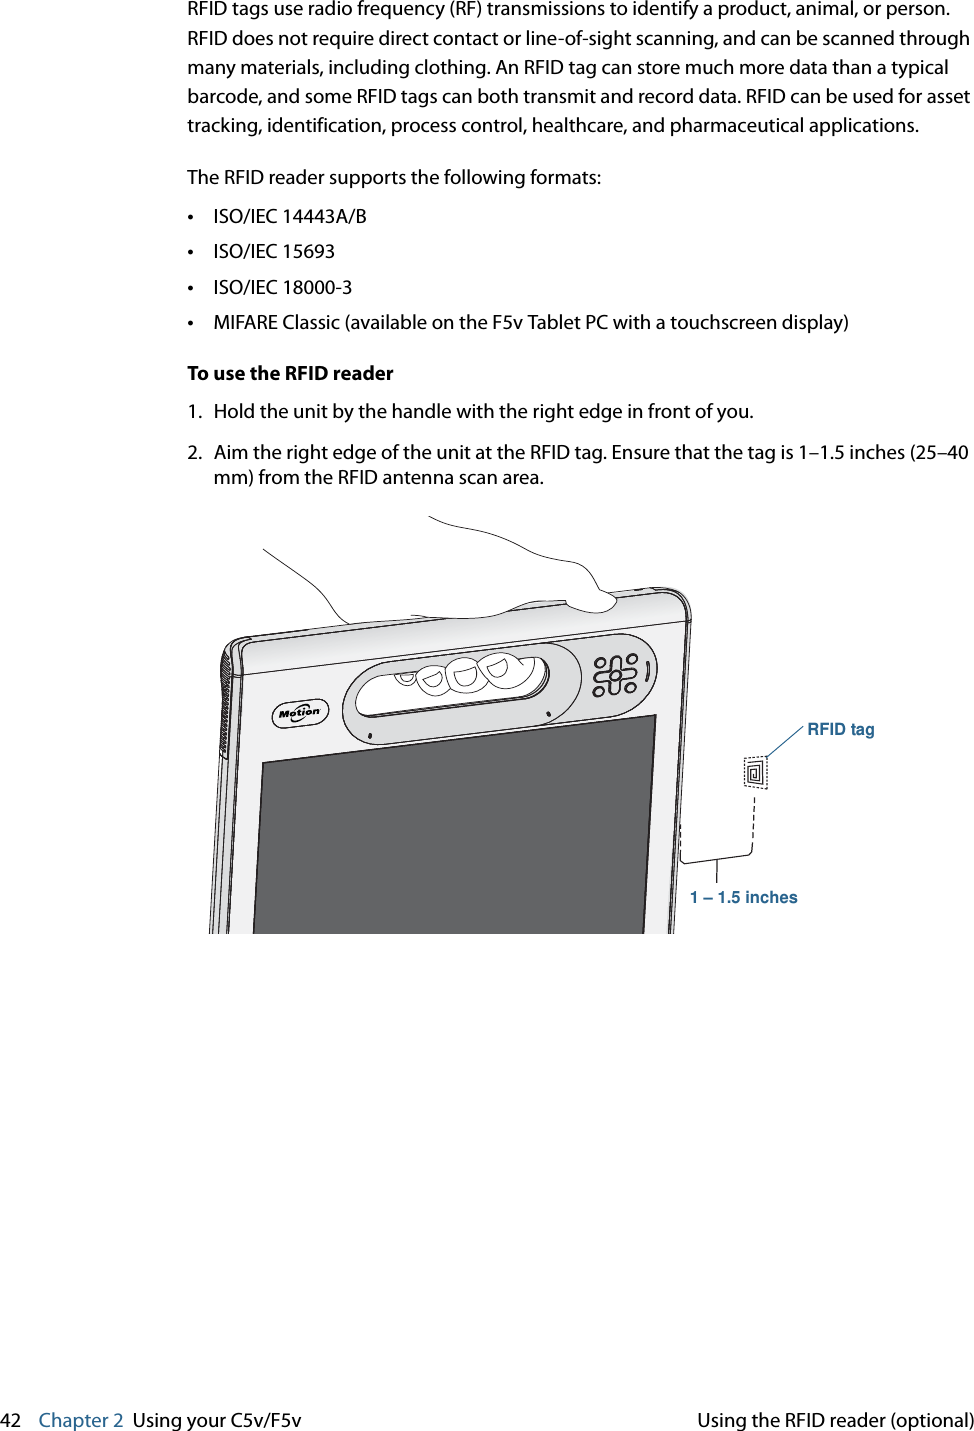
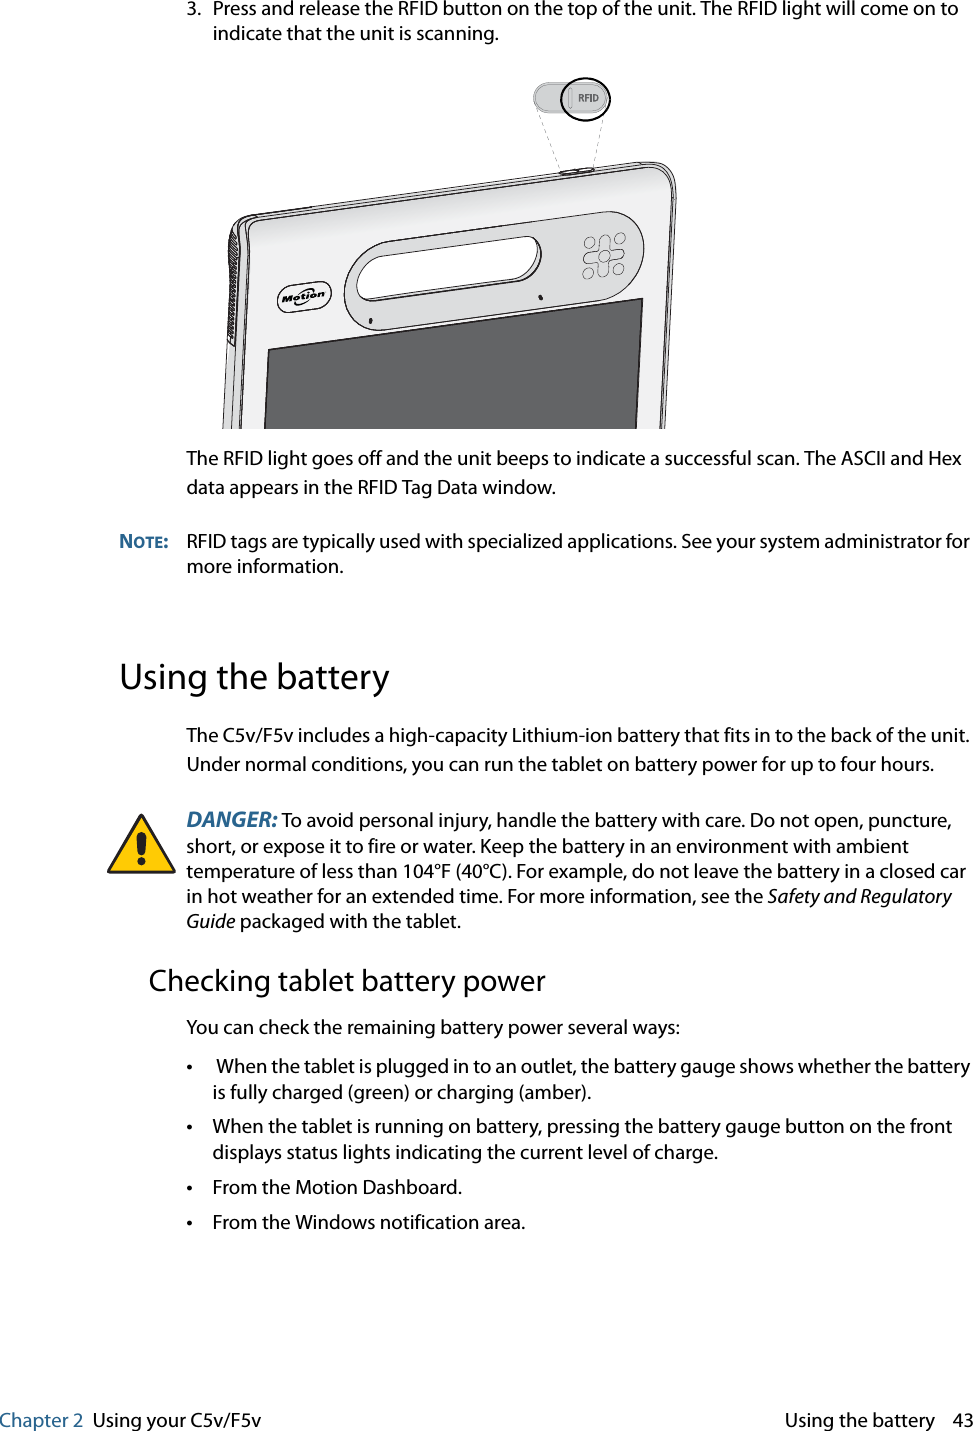
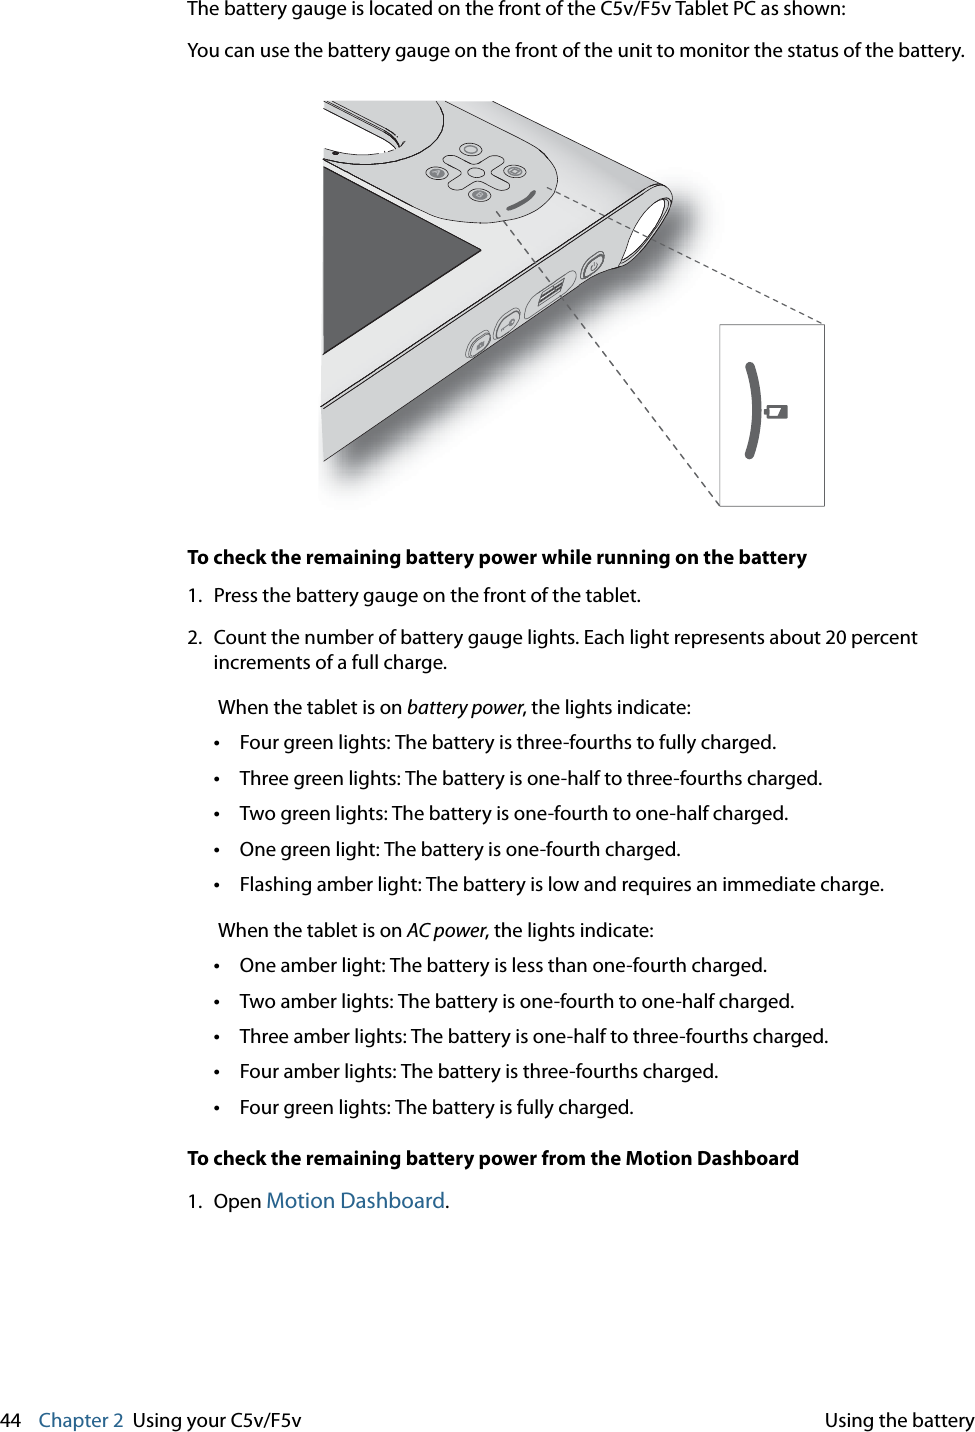
Users Manual 1