Xplore Technologies IX104-112 Tablet PC with GSM and WLAN radios User Manual ix104 handbook for pdf
Xplore Technologies Tablet PC with GSM and WLAN radios ix104 handbook for pdf
UserManual.wiki
>
Xplore Technologies
>
IX104-112 User Manual
>
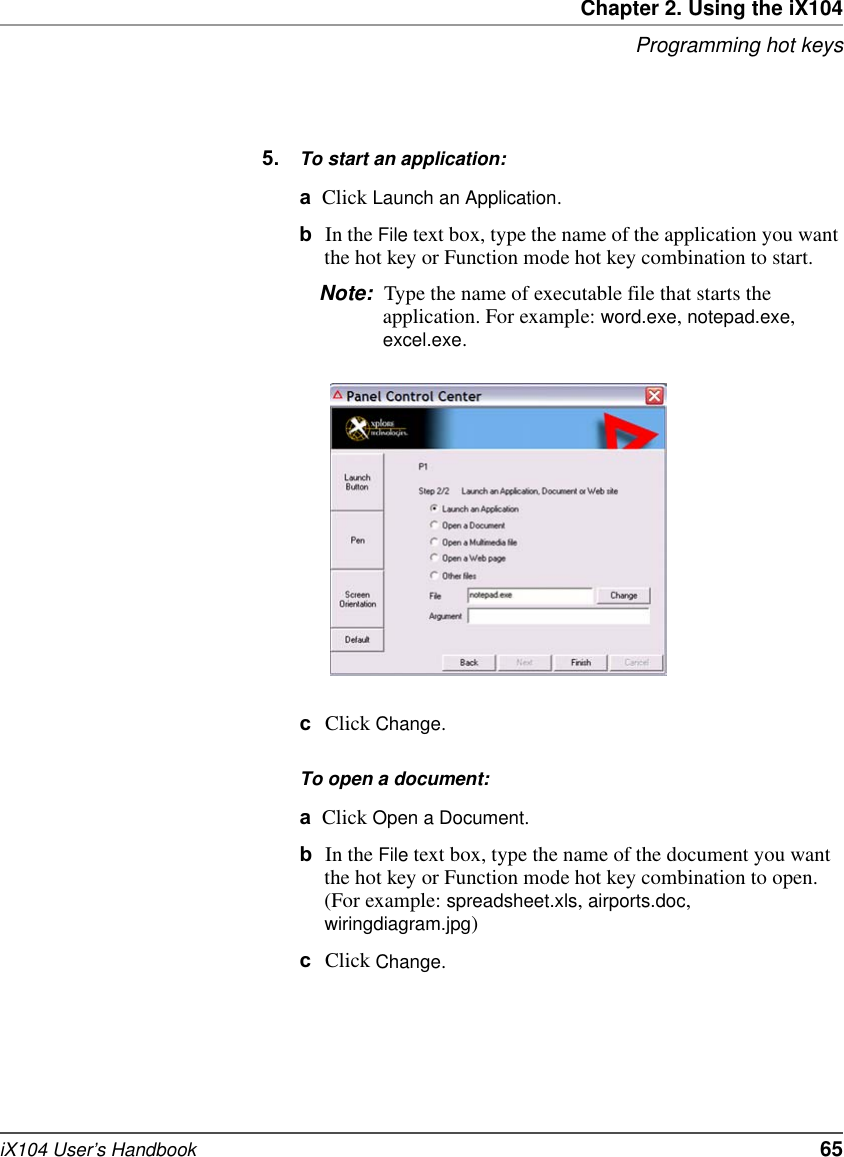
Users manual
Contents
1.
Users manual
2.
users manual
3.
Manual GSM GPRS
4.
WLAN Manual
5.
Modified Manual
6.
Reivsed user manual
7.
User manual GSM
8.
User manual WLAN
Users manual
Navigation menu
Upload a User Manual
Namespaces
Wiki Guide
HTML
PDF
Info
Views
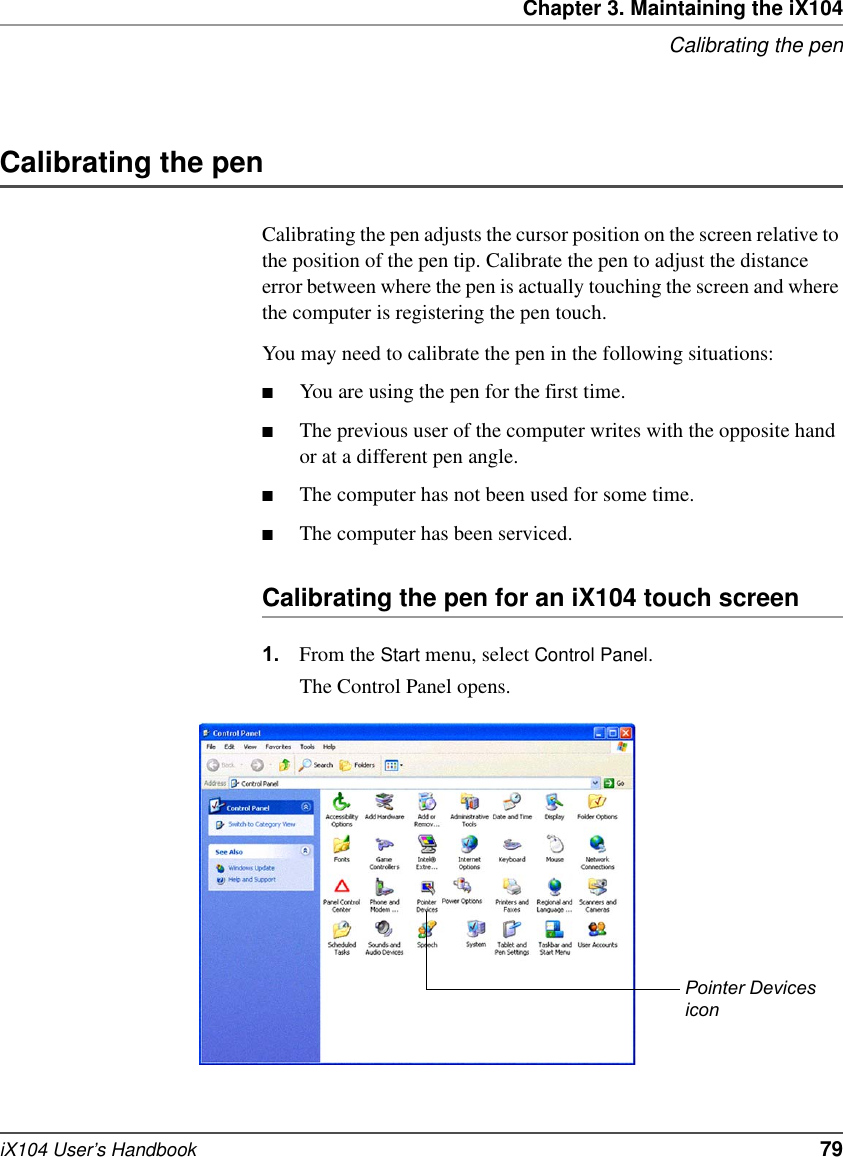
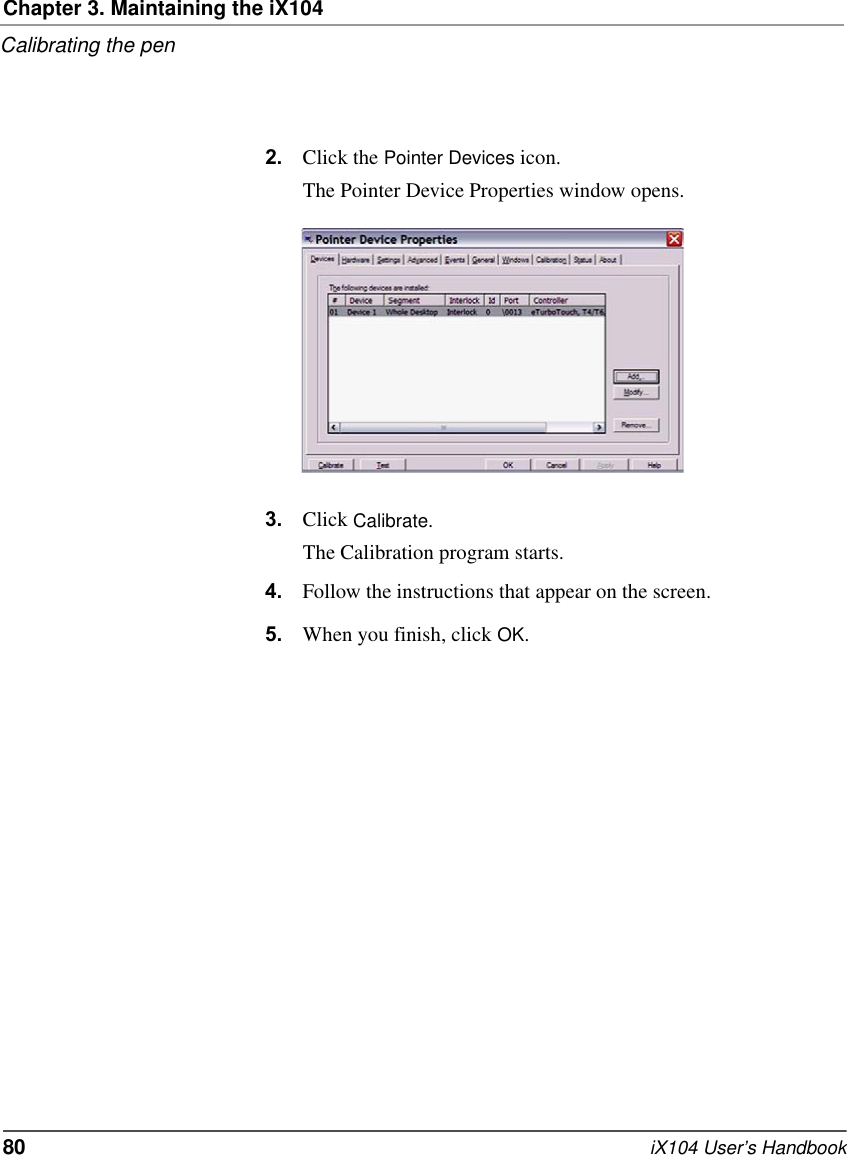
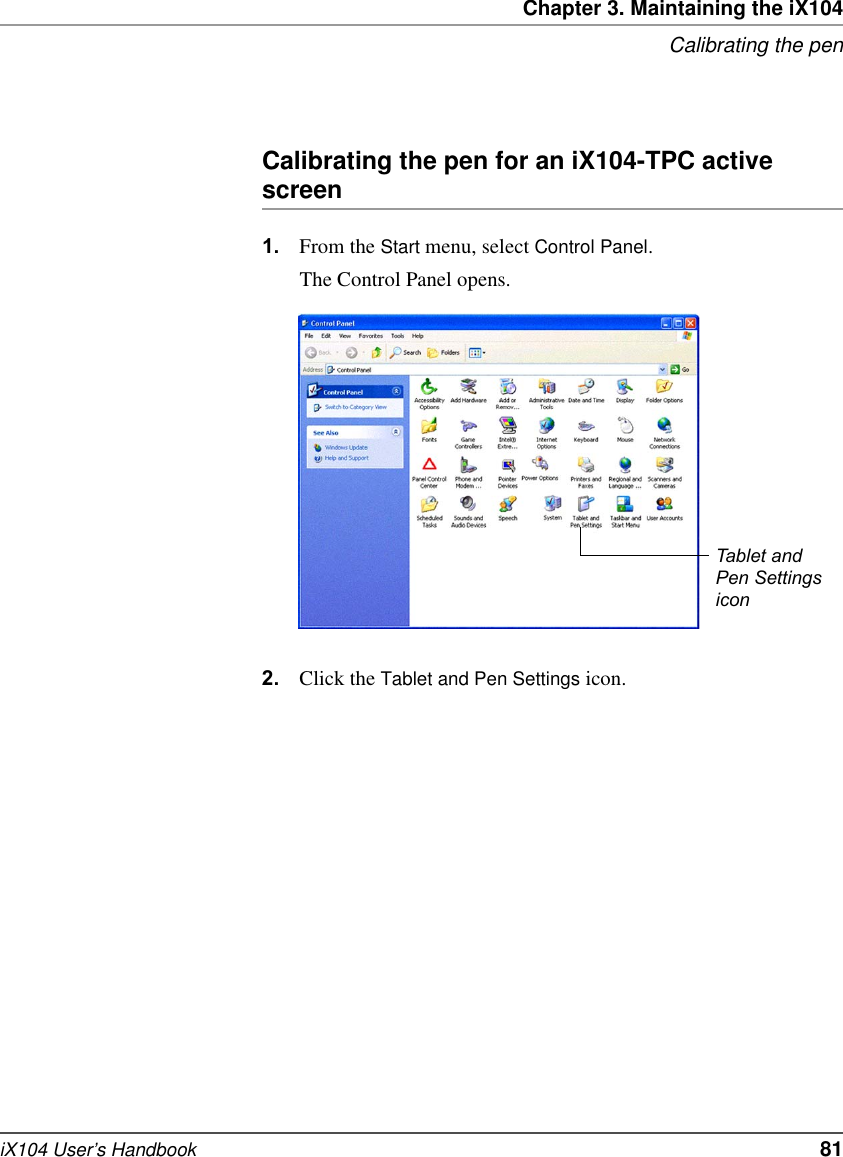
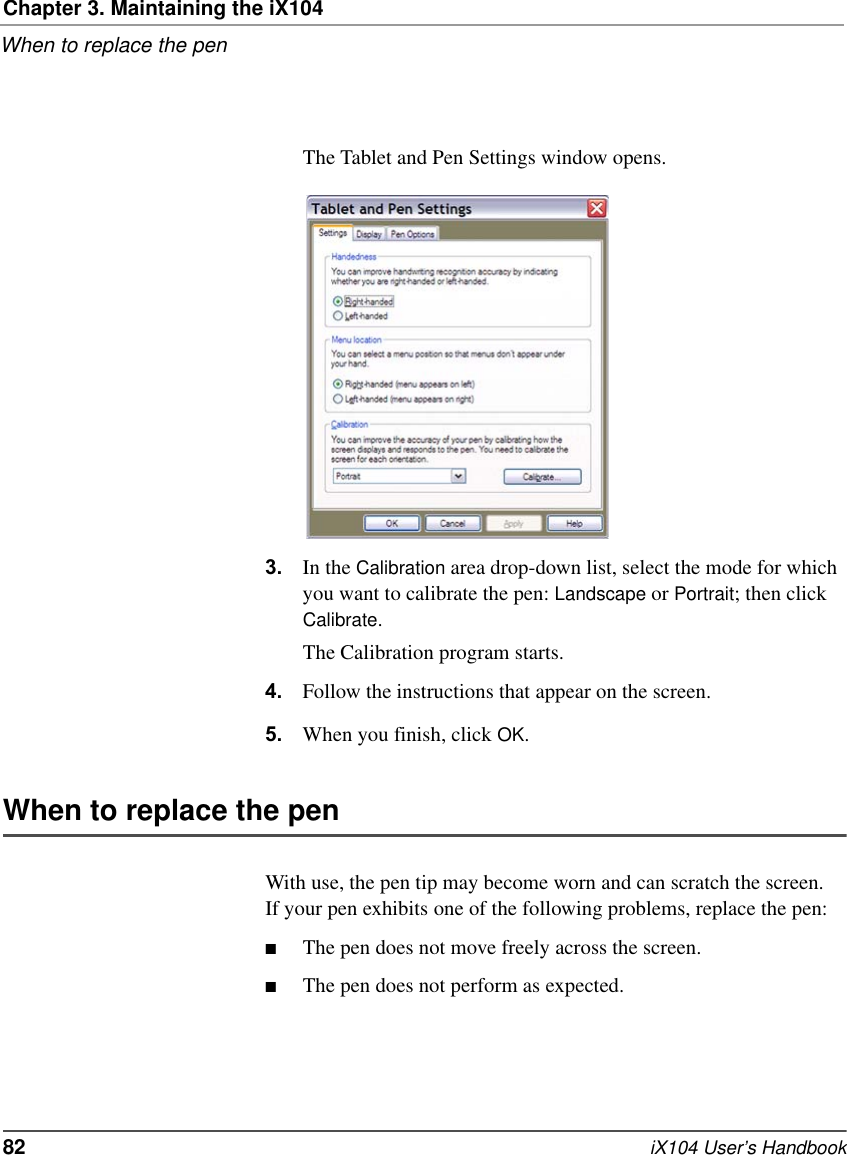
User Manual
Discussion / Help
Navigation