YIDONG Technology RCT6691W3 Tablet PC User Manual
Shenzhen YIDONG Technology Co., Ltd. Tablet PC Users Manual
UserManual.wiki
>
YIDONG Technology
>
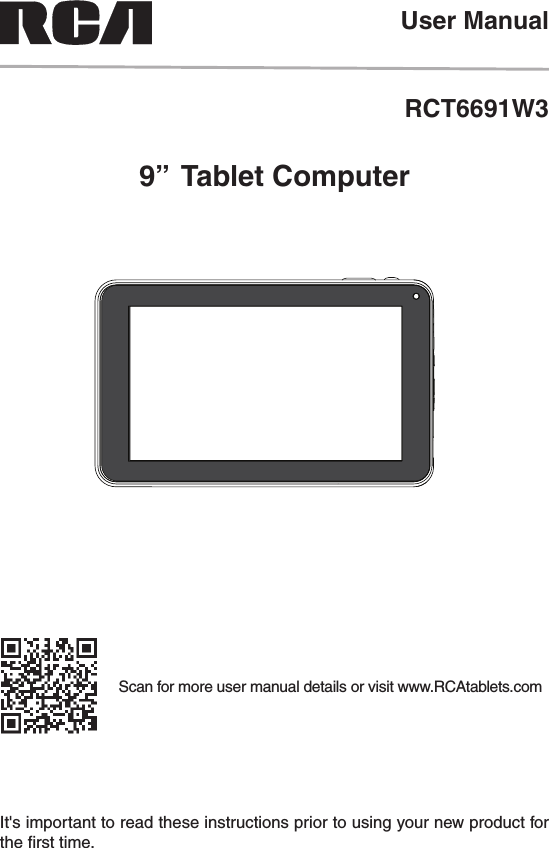
RCT6691W3 User Manual
Users Manual
Navigation menu
Upload a User Manual
Namespaces
Wiki Guide
HTML
PDF
Info
Views
User Manual
Discussion / Help
Navigation
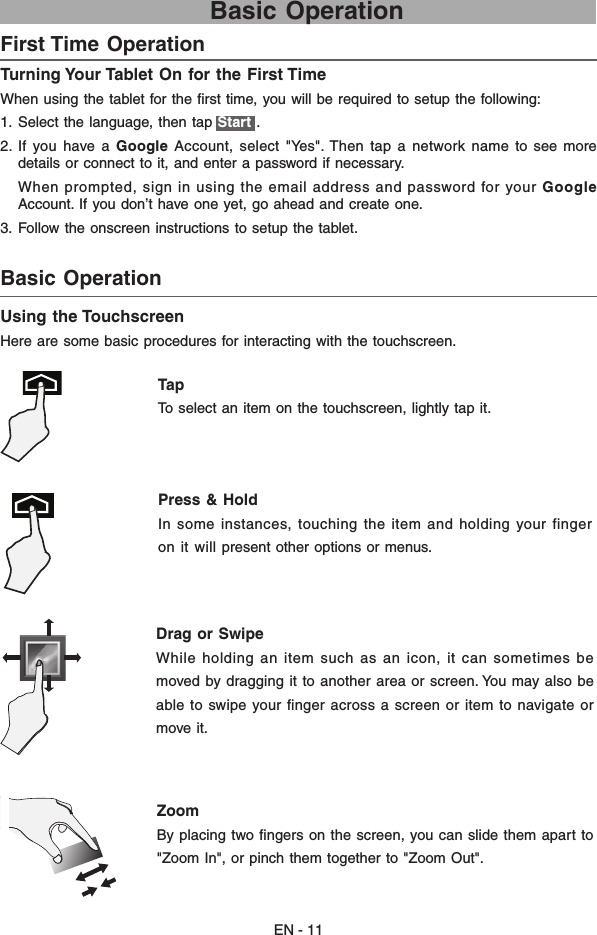
![EN - 8 ConnectionsBattery Management and Charging The tablet has a built-in rechargeable battery.Battery IconThe battery icon in the upper-right corner shows the battery level or charging status.Charging the BatteryNote: In order to keep the battery working in best condition, please pay attention to the following:• The included AC adapter is for use with this unit only. Do not use it with other equipment.• Please do not charge the battery in high temperatures. • Do not wait for the battery to be fully depleted before charging again. Keep the battery charged as needed.• If tablet has not been used for a long period of time, the battery might be in over discharge protection mode and may take longer to charge. Prolong the Battery Life Here are some tips for how to prolong the life of the battery:• If you aren’t using Wi-Fi, go to Settings > WIRELESS & NETWORKS > Wi-Fi, turn it off. • Don’t leave the Maps or Navigation apps open on the screen when you’re not using them. • Turn down screen brightness and set a shorter screen timeout: Settings >DEVICE>Display.• If you don’t need it, turn off automatic syncing for all apps: Settings > ACCOUNTS >[Google account-name]. This means you need to sync manually to collect messages, email, and other recent information, and won’t receive notifications when updates occur. Full battery Low battery Need to be chargedCharging AC Adapter To Wall OutletTo DC Jack](https://usermanual.wiki/YIDONG-Technology/RCT6691W3/User-Guide-2067890-Page-9.png)

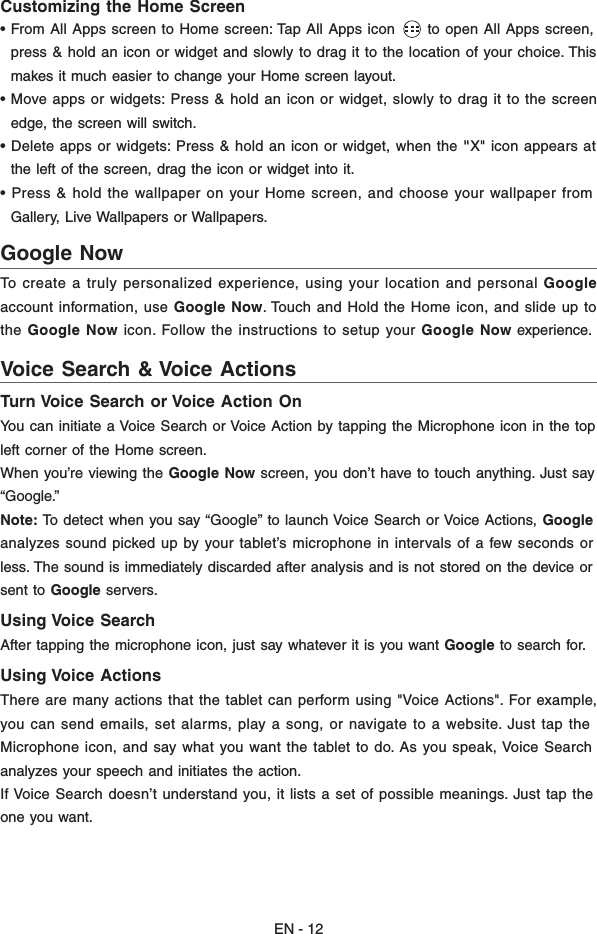
![EN - 14A Google Account lets you organize and access your personal information from any computer or mobile device. Add an AccountYou can use multiple Google Accounts and Microsoft Exchange ActiveSync accounts on your tablet. You may also be able to add other kinds of accounts, depending on your apps. To add some accounts, you may need to obtain details from your system administrator about the service to which the account connects. For example, you may need to know the account’s domain or server address.1. Go to Settings > ACCOUNTS > Add account.2. Tap the kind of account to add. And then follow the on-screen instructions.3. To remove a Google account, go to Settings > ACCOUNTS > Google > [account- name] Menu icon > Remove account.Google Account Preinstalled AppsYour tablet comes with many apps preinstalled to allow you to browse the web, send and receive email, and access entertainment. Spend some time exploring these apps to learn how your tablet can be most useful for you.SYSTEMDate & time—Enable or disable Automatic date & time, and select preferences for date, time, time zone, time format, and date format.Accessibility—Select preferences for SERVICES and SYSTEM.Developer options—Enable or disable various Developer options.WARNING: It is highly recommended that the Developer options remain turned OFF. Adjusting these settings can cause the device and applications on it to break or misbehave.About tablet Check System updates, Status, Legal information etc.](https://usermanual.wiki/YIDONG-Technology/RCT6691W3/User-Guide-2067890-Page-15.png)