Yaesu Musen 10584720 HANDHELD TRANSCEIVER User Manual USERS MANUAL
Yaesu Musen Co., Ltd. HANDHELD TRANSCEIVER USERS MANUAL
UserManual.wiki
>
Yaesu Musen
>
10584720 User Manual
USERS MANUAL
Navigation menu
Upload a User Manual
Namespaces
Wiki Guide
HTML
PDF
Info
Views
User Manual
Discussion / Help
Navigation
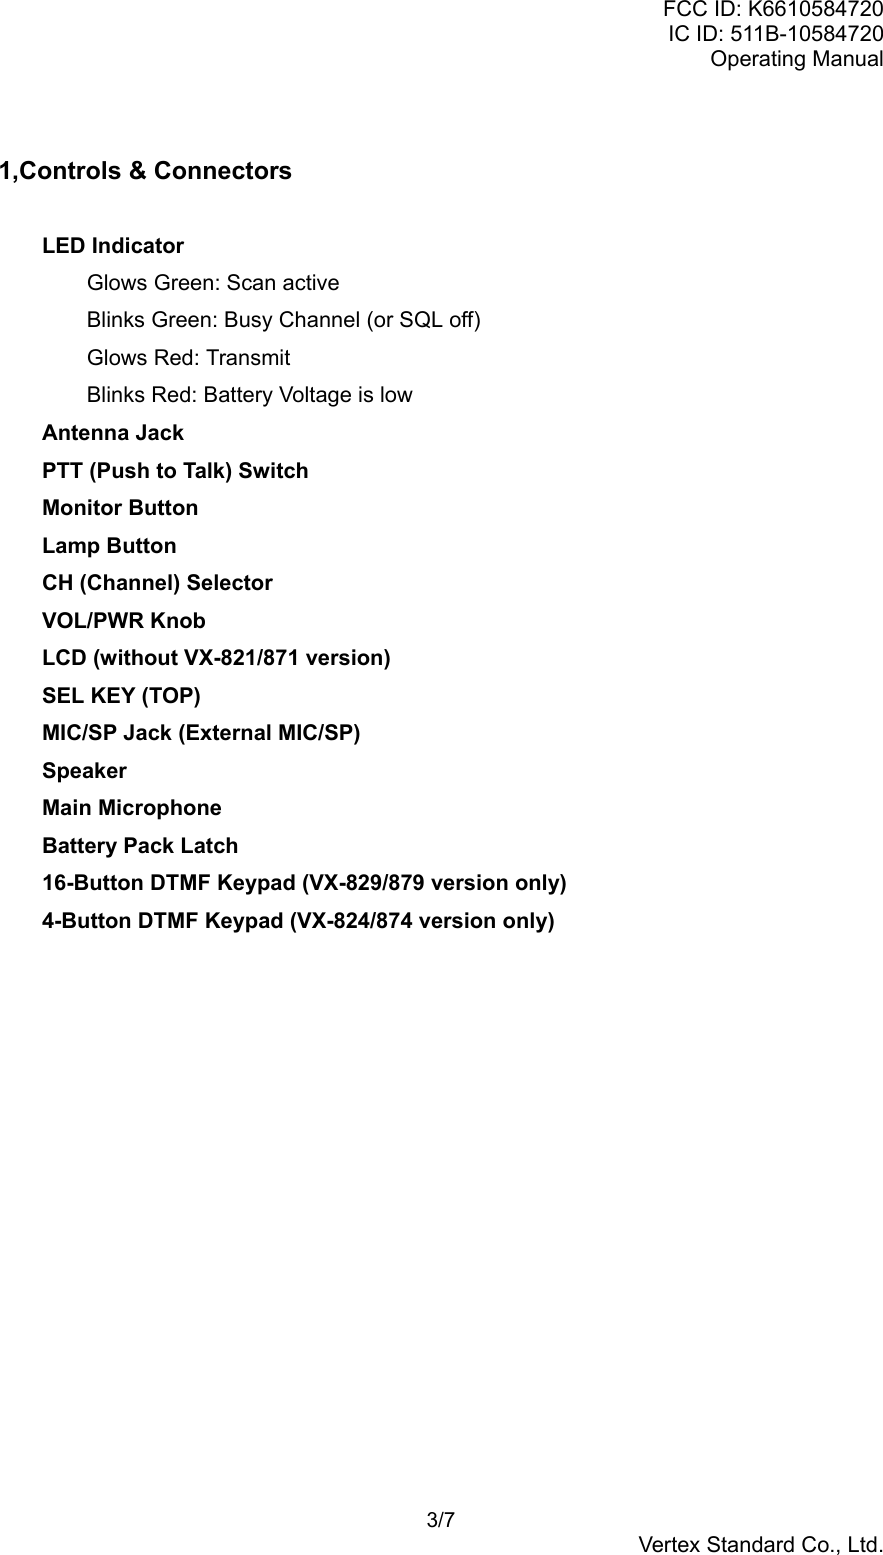
![FCC ID: K6610584720IC ID: 511B-10584720Operating Manual 6/7Vertex Standard Co., Ltd.4,KEY and TOGGLE FunctionsVX-820/870 have the [SEL], [MON], [LAMP] Key, ([A], [B], [C], [D] Key: VX-824/829/874/879 version only). The Key function can be customized, viaprogrammed by Vertex Standard dealer, to meet your communicationsrequirements. Some features may require the purchase and installation of optionalinternal accessories. The possible KEY programming features are illustratedbelow.[SEL], [MON], [LAMP],[A], [B], [C] and [D] KeyMonitor (Generally, it sets to MON Key)Lamp (Generally, it sets to LAMP Key)Channel ScanDual WatchHigh/Low PowerTalk AroundTX Save DisableEncryption Disable (only, when using DTMF/Encryption Unit)Follow-Me DWGroup UpGroup DownChannel UpChannel DownSET ModeCall/Reset (only, when using DTMF/Encryption Unit)Speed Dial (only, when using DTMP/Encryption Unit)Emergency (only, when using DTMF/Encryption Unit)](https://usermanual.wiki/Yaesu-Musen/10584720/User-Guide-501397-Page-6.png)