Yifang Digital Technology NXW101QC232 nextbook User Manual NXW101QC232 20150207
Shenzhen Yifang Digital Technology Co., Ltd. nextbook NXW101QC232 20150207
UserManual.wiki
>
Yifang Digital Technology
>
NXW101QC232 User Manual
User Manual
Navigation menu
Upload a User Manual
Namespaces
Wiki Guide
HTML
PDF
Info
Views
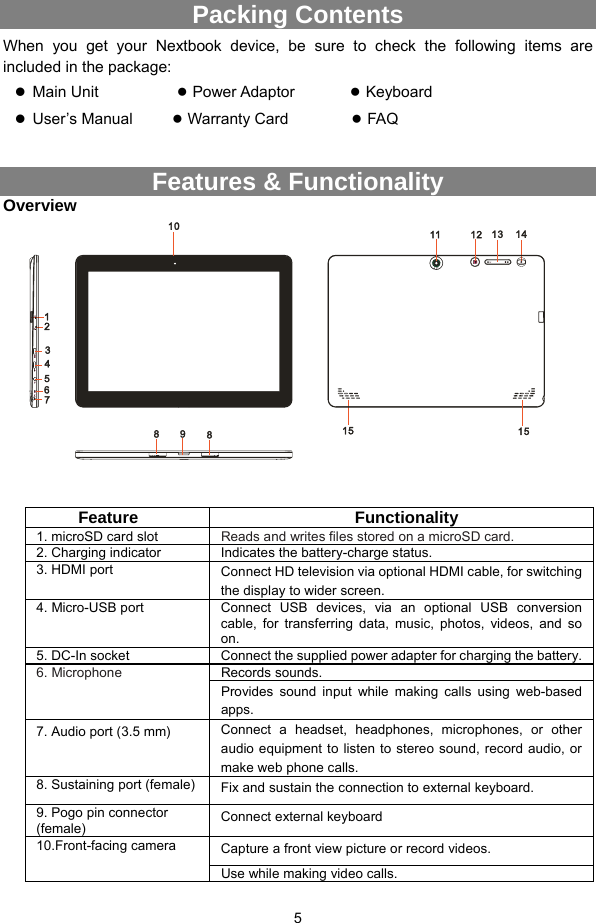
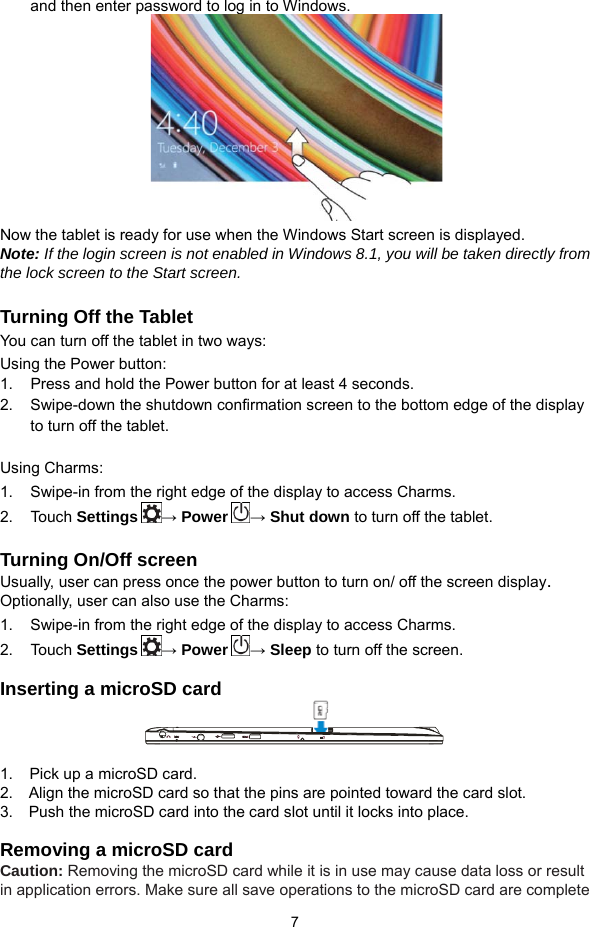
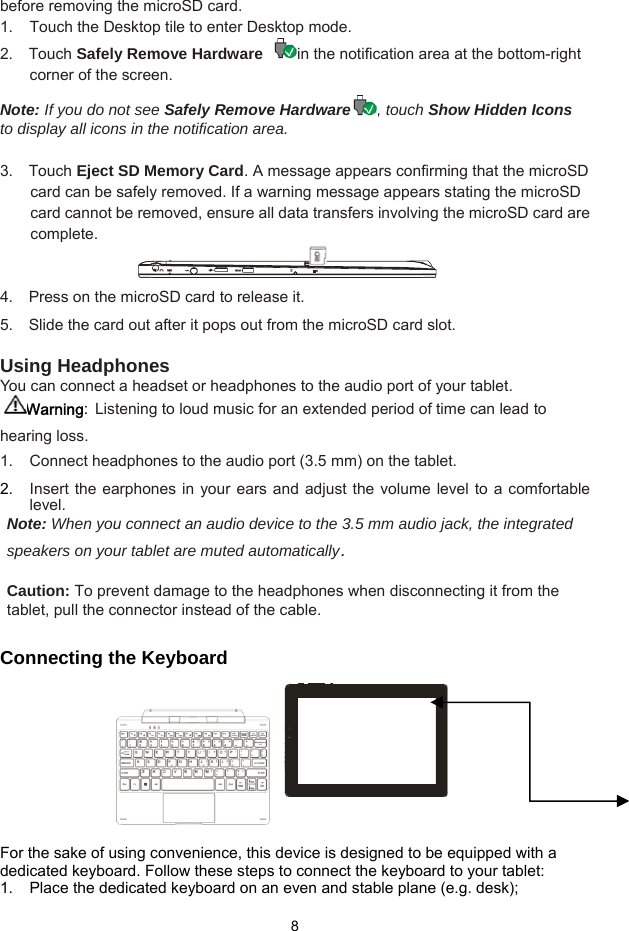
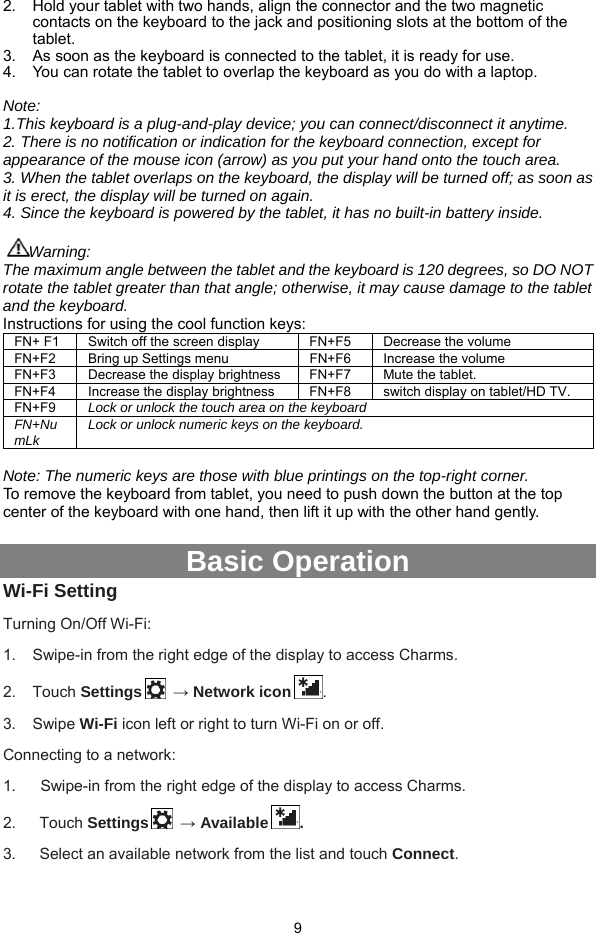
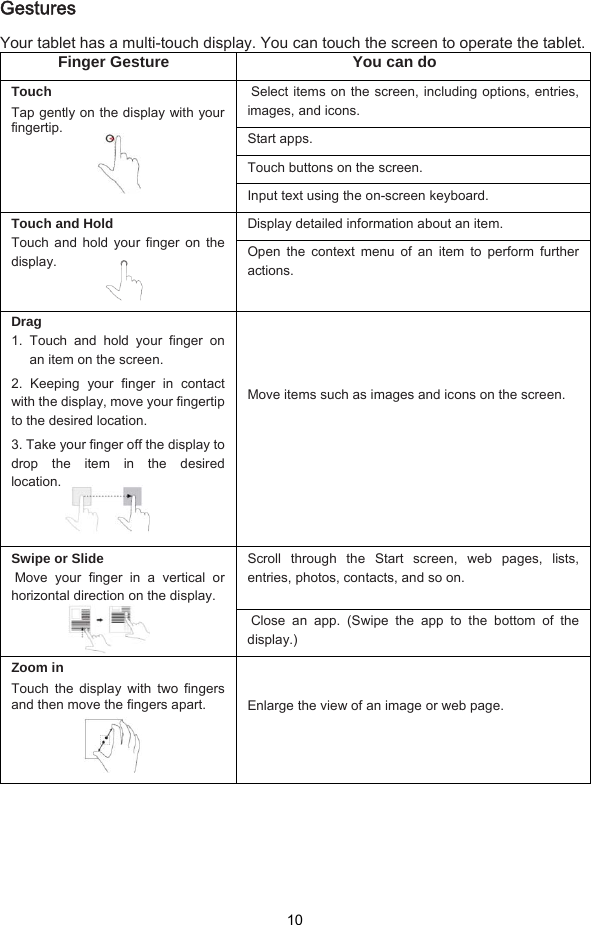
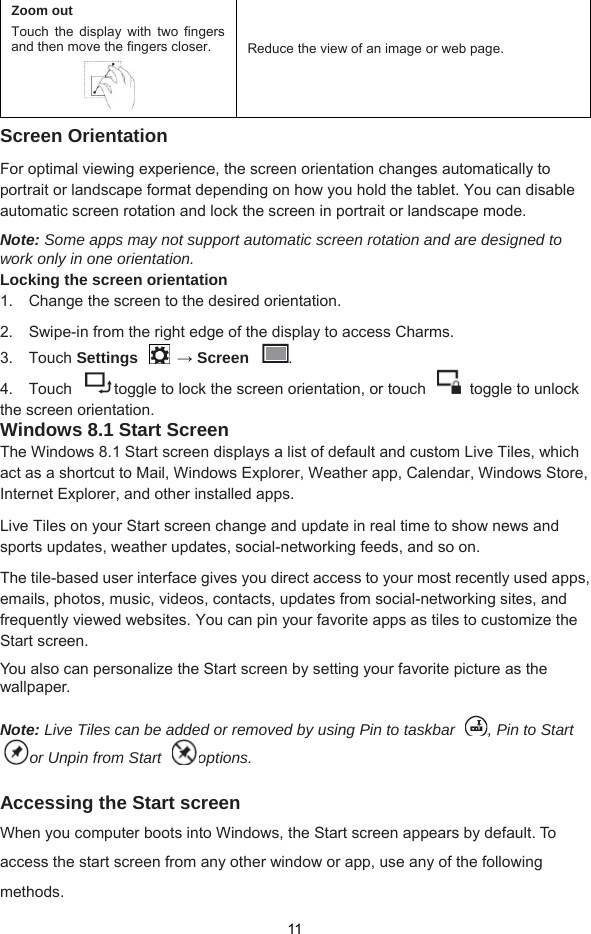
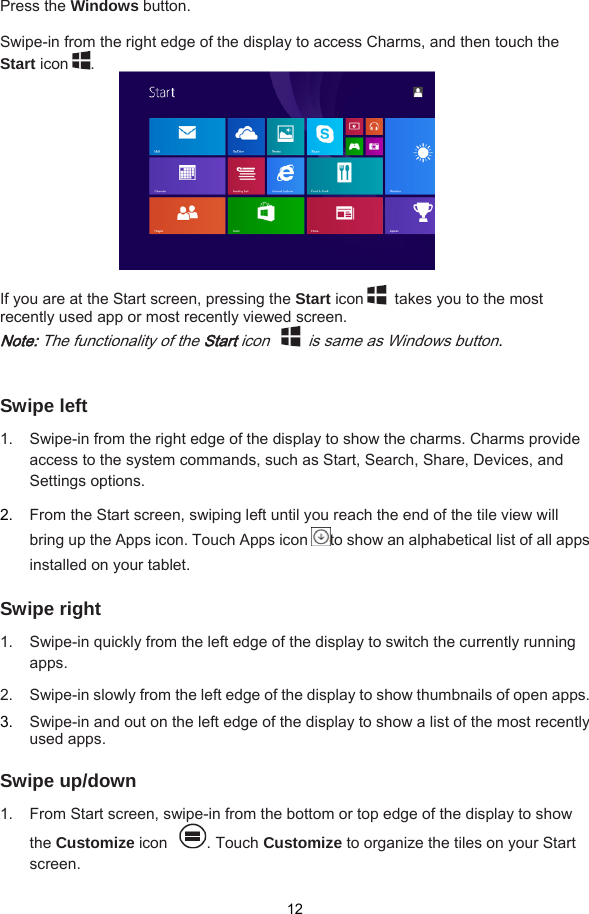
User Manual
Discussion / Help
Navigation