Z Com 03500 Wireless LAN PCMCIA Card User Manual XI 350 QIG
Z Com Inc Wireless LAN PCMCIA Card XI 350 QIG
UserManual.wiki
>
Z Com
>
03500 User Manual
>
User Manual
Contents
1.
User Manual
2.
CRN 4791 Question 4 revised user manual
User Manual
Navigation menu
Upload a User Manual
Namespaces
Wiki Guide
HTML
PDF
Info
Views
User Manual
Discussion / Help
Navigation

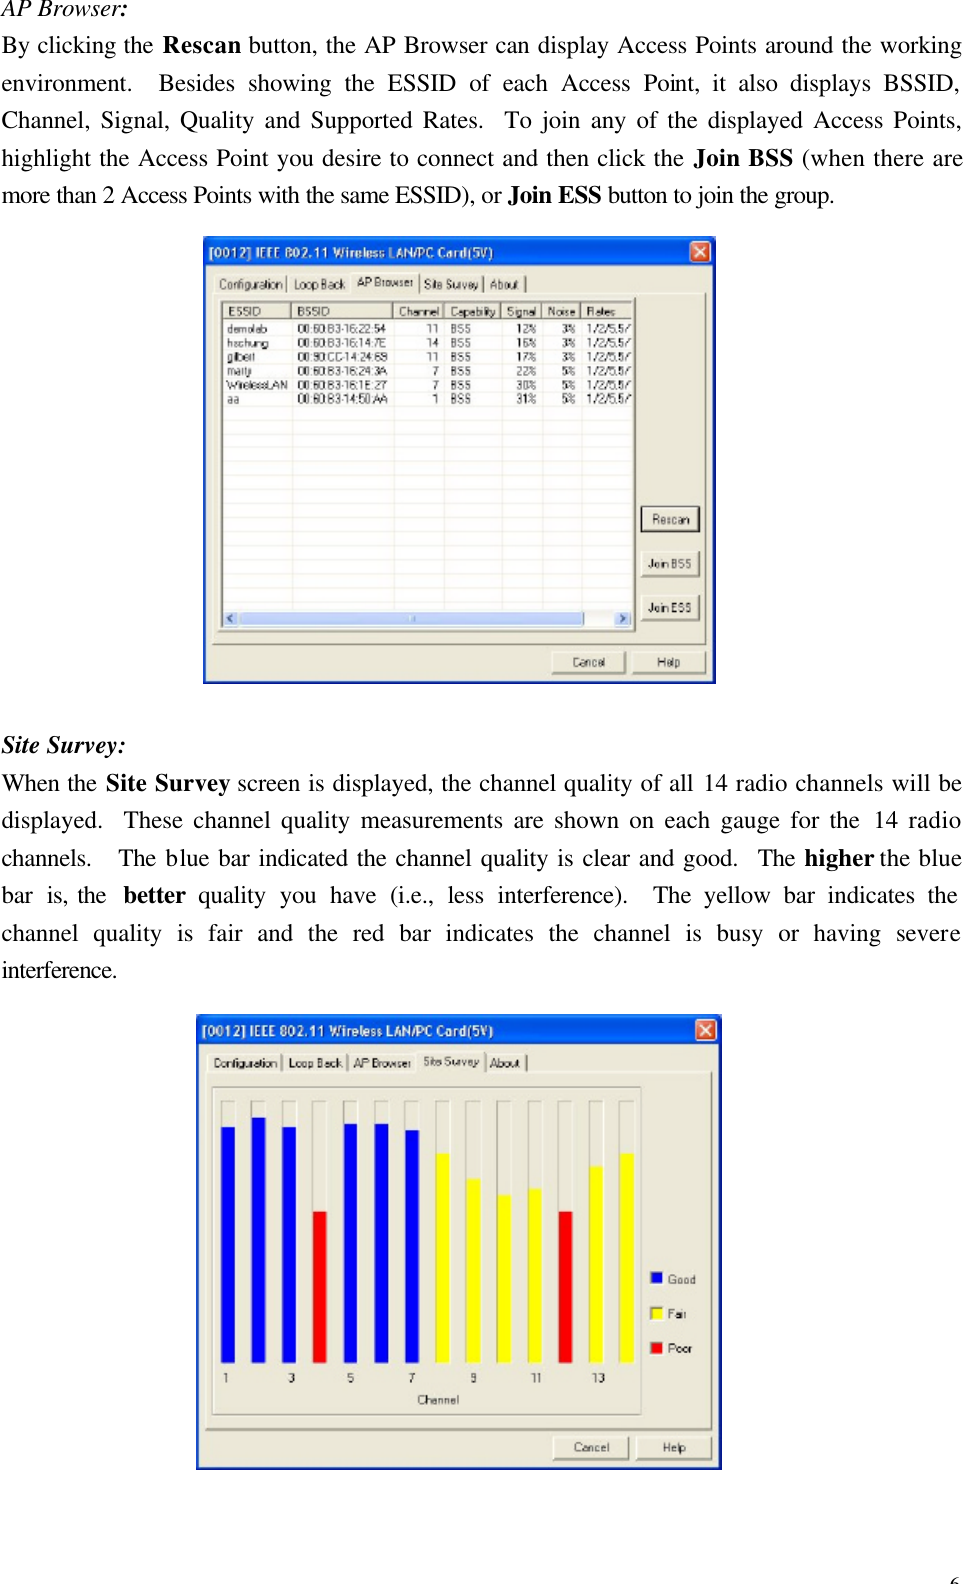
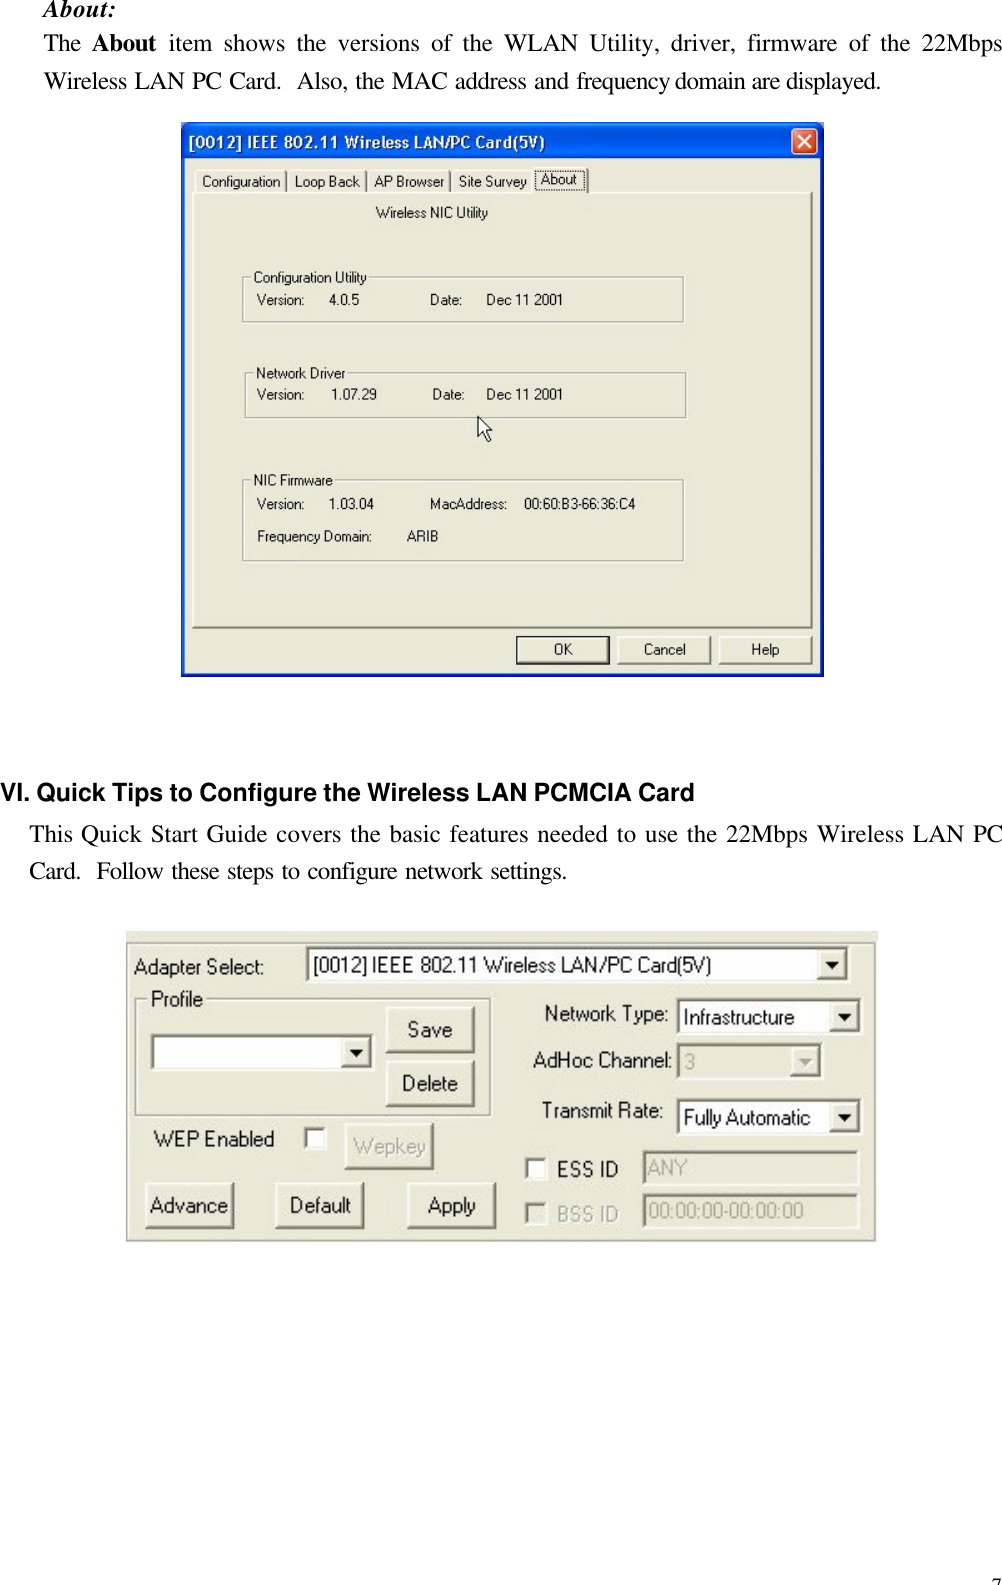
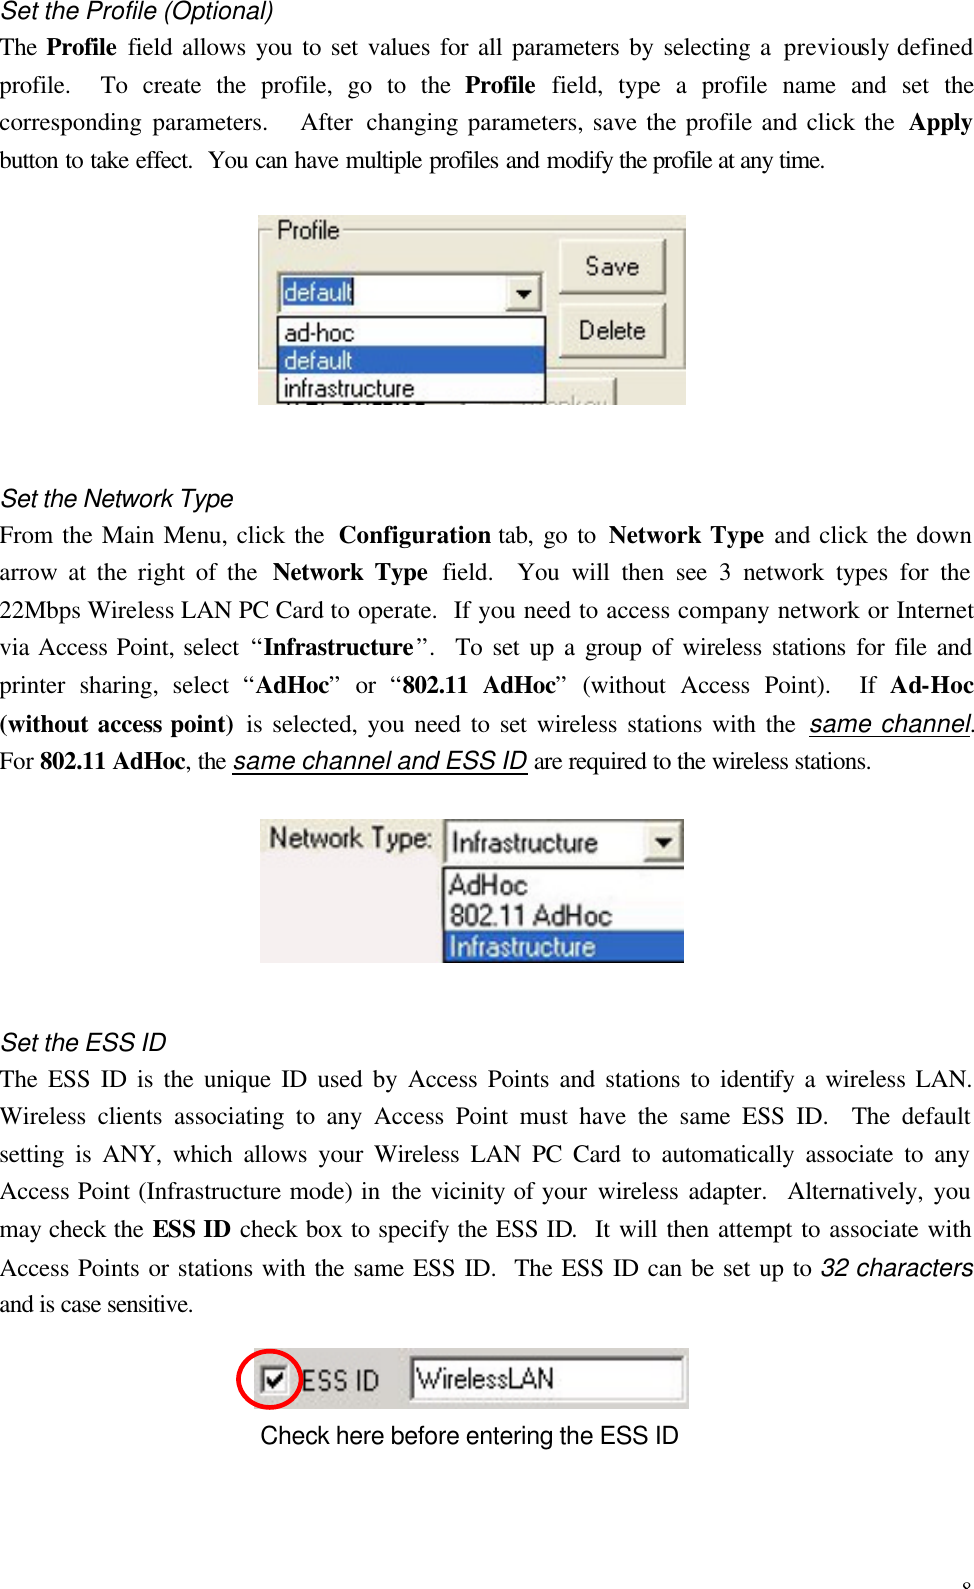
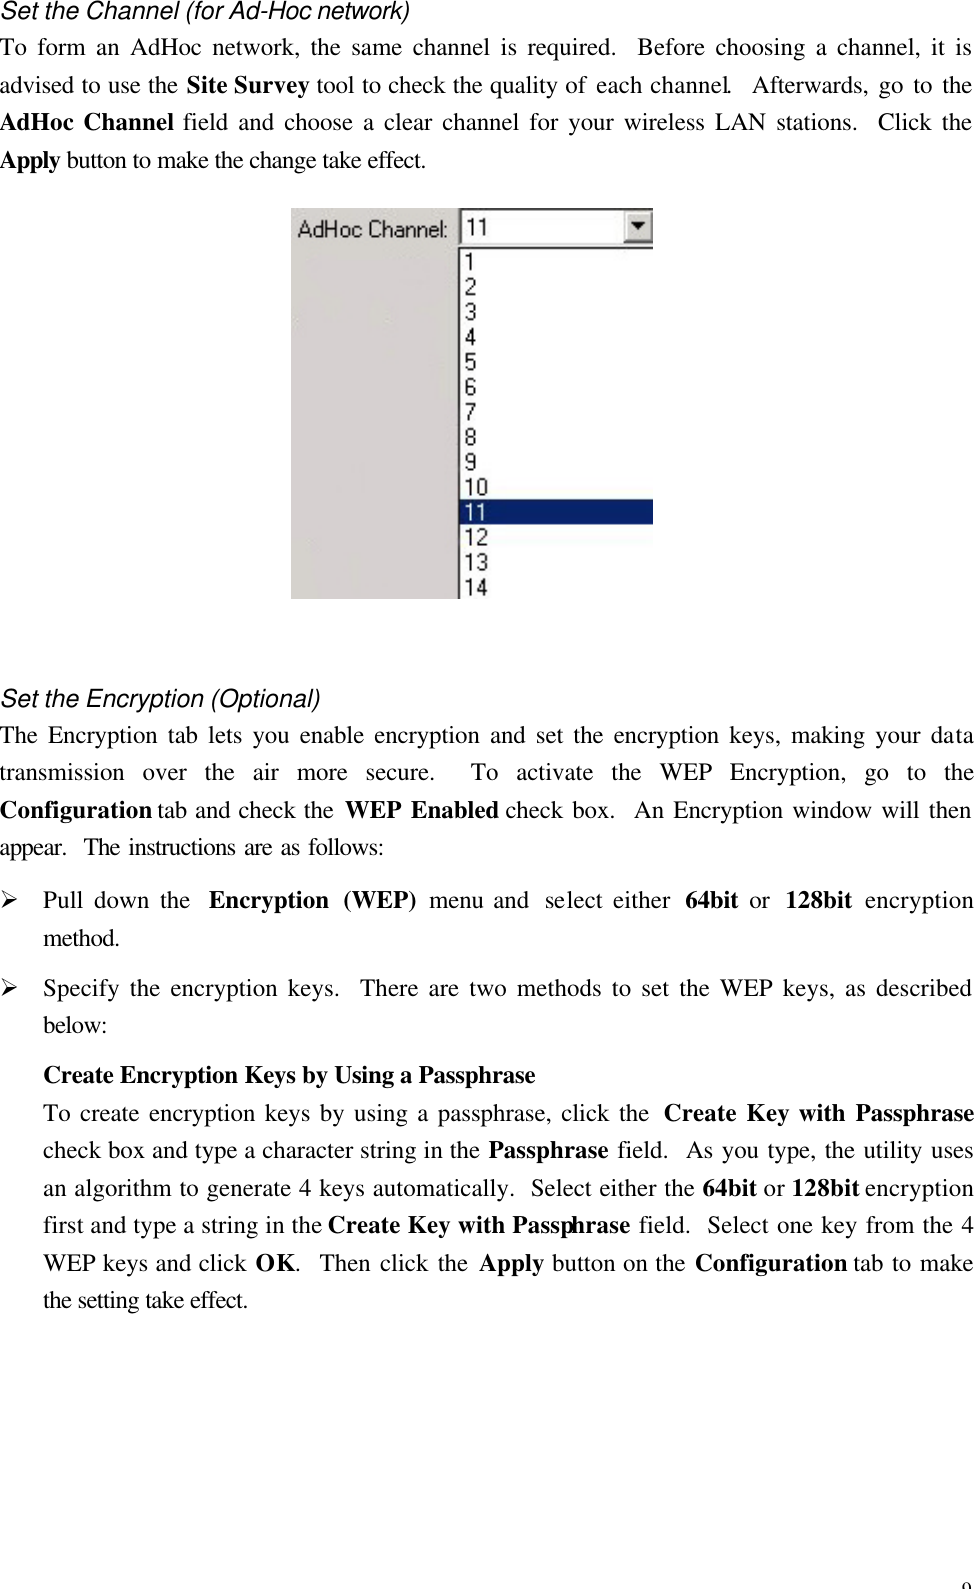
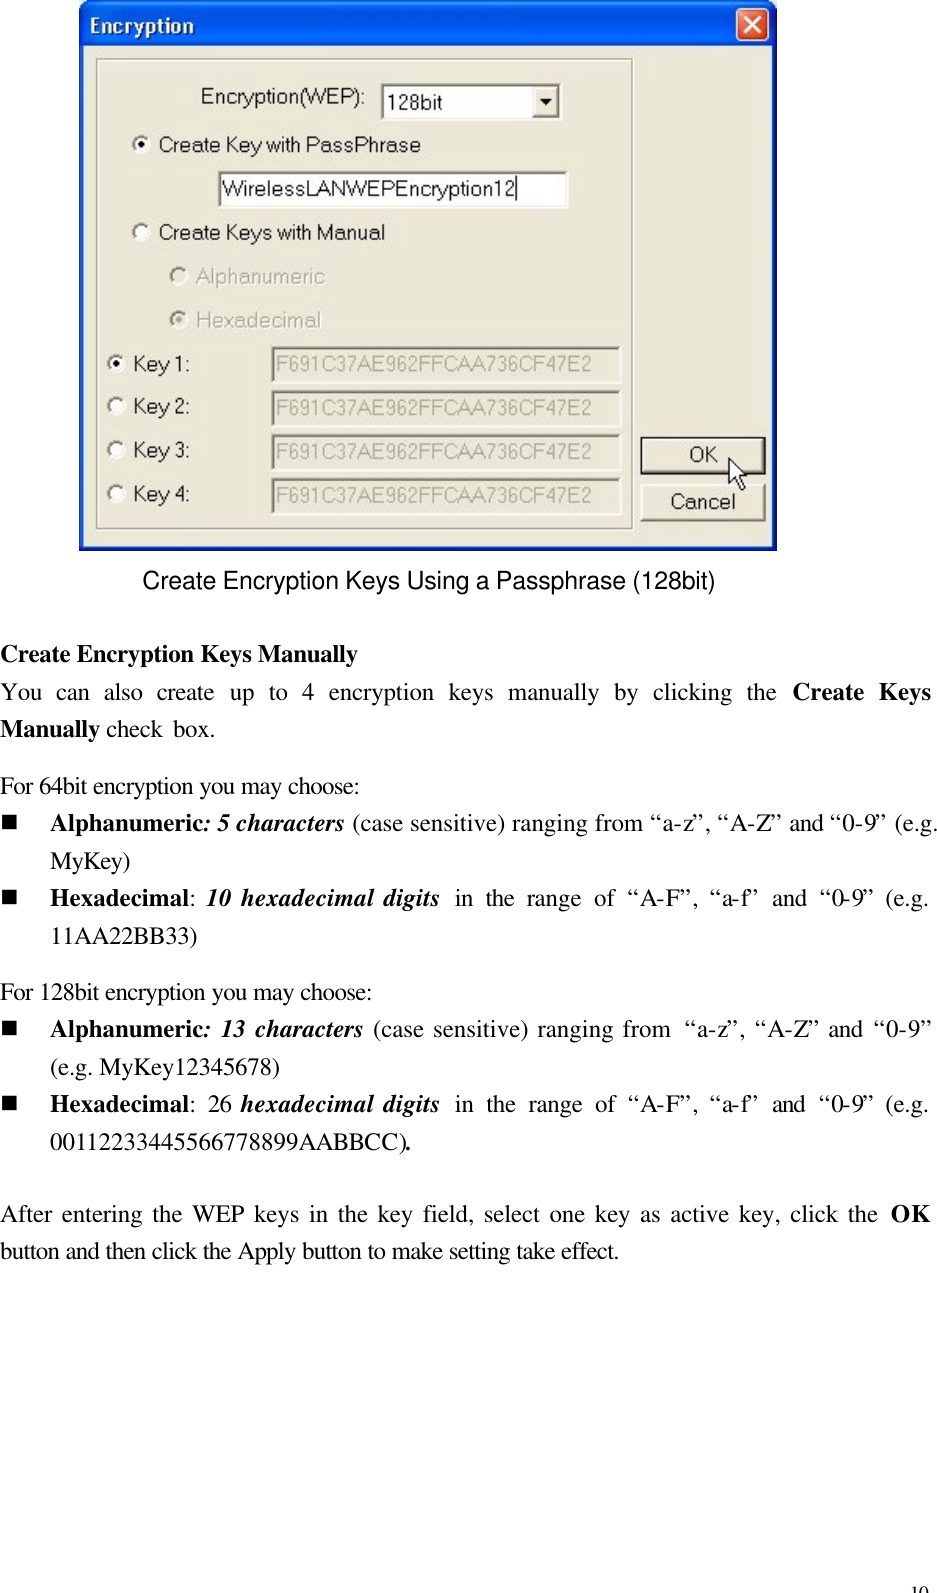
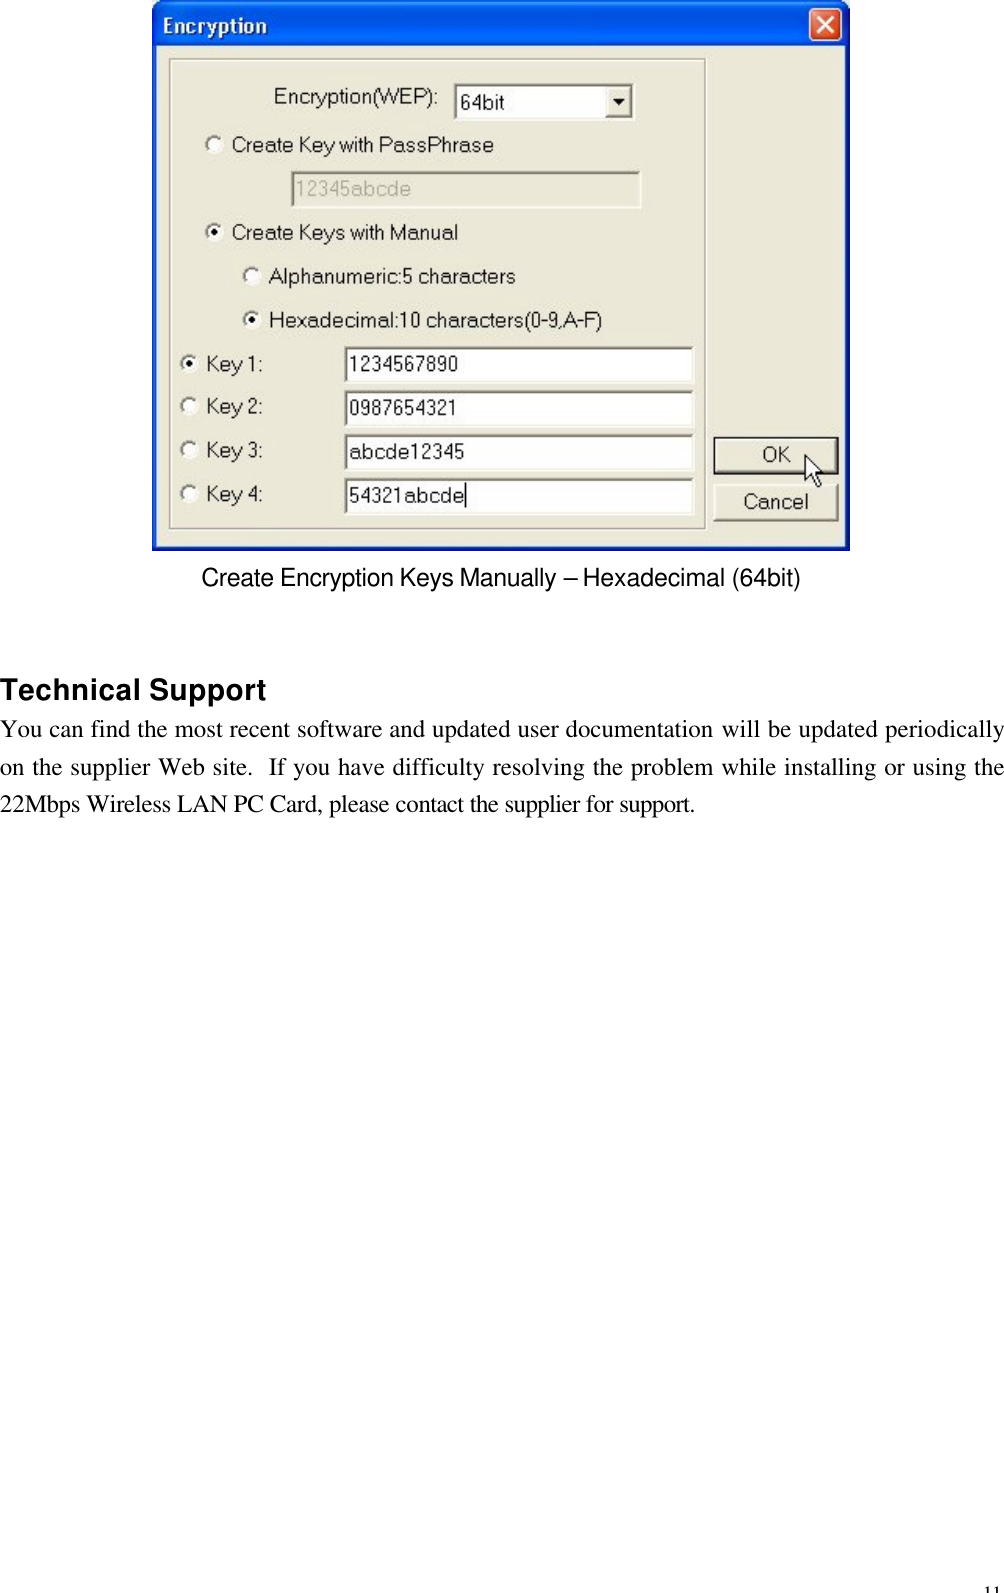
![4 Installaton of the 22Mbps Wireless LAN PCMCIA Card under Windows 98/ME 1. Insert the 22Mbps Wireless LAN PCMCIA Card into the PCMCIA slot on your notebook and start Windows. Windows will auto-detect new hardware and will display an “Add New Hardware Wizard” window. 2. Select “Search for the best driver for your device (recommended)”. Insert the Product CD-ROM into the CD-ROM drive. Specify the location where the driver is placed. Click on Next to install the driver. 3. The Windows will find “22Mbps Wireless LAN PCMCIA Card”. Click on Next to continue. 4. Once the [Please insert the disk labeled “Windows 98/ME CD-ROM”, and then click OK] window appears, enter the path corresponding to the appropriate drives and click OK. Usually these files can be found at C:Windows or C:Windows\system. 5. Click Finish to complete the installation. Restart Windows. IV. Installation of the WLAN Utility 1. Insert the Product CD-ROM again. 2. Go to the utility folder and run setup.exe. 3. Follow the on-screen instructions to install the WLAN Utility. 4. Upon completion, go to Program Files and run the WLAN Utility. The utility interface will then appear and at the same time its icon appears in the System Tray in the bottom right corner of your task bar. V. Usage of the WLAN Utility The WLAN Utility consists of window with 5 items for you to monitor and configure the 22Mbps Wireless LAN PC Card: Configuration, Loop Back, AP Browser, Site Survey and About. Configuration: The Configuration item allows you to modify the configuration parameters for the 22Mbps Wireless LAN PC Card such as Profile, Network Type, Channel, Transmit Rate, ESSID, WEP, RTS/CTS, Fragment Threshold, and Power Save mode. Furthermore, you may monitor the current status of the Wireless LAN PC Card such as State, Current Channel, Current Tx Rate, Throughput, Link Quality and Signal Strength.](https://usermanual.wiki/Z-Com/03500.User-Manual/User-Guide-252151-Page-4.png)