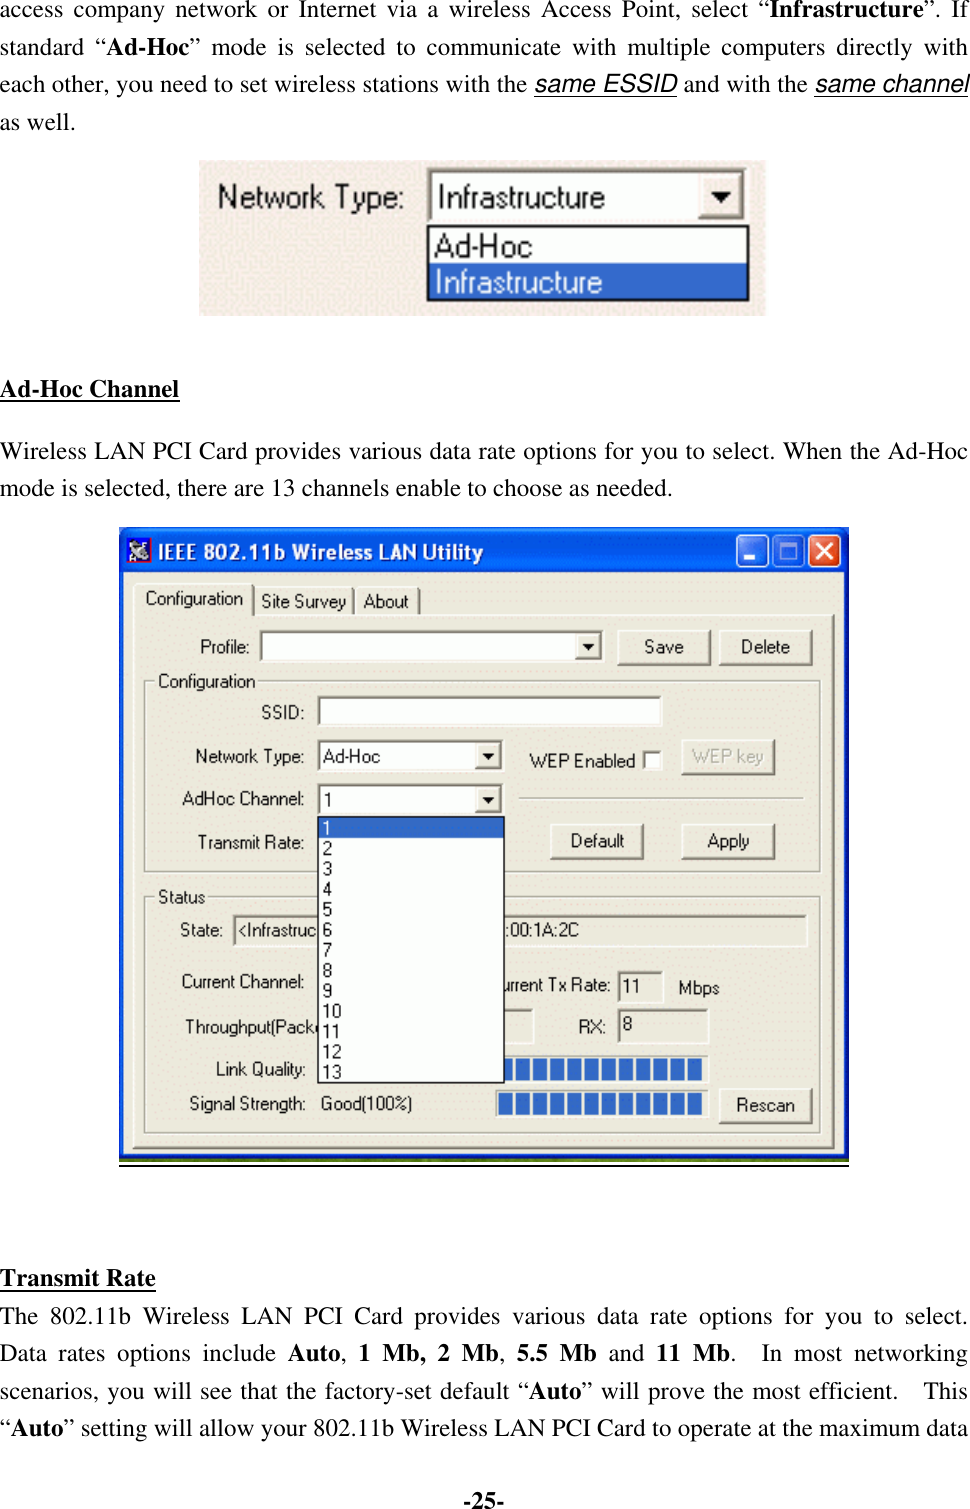
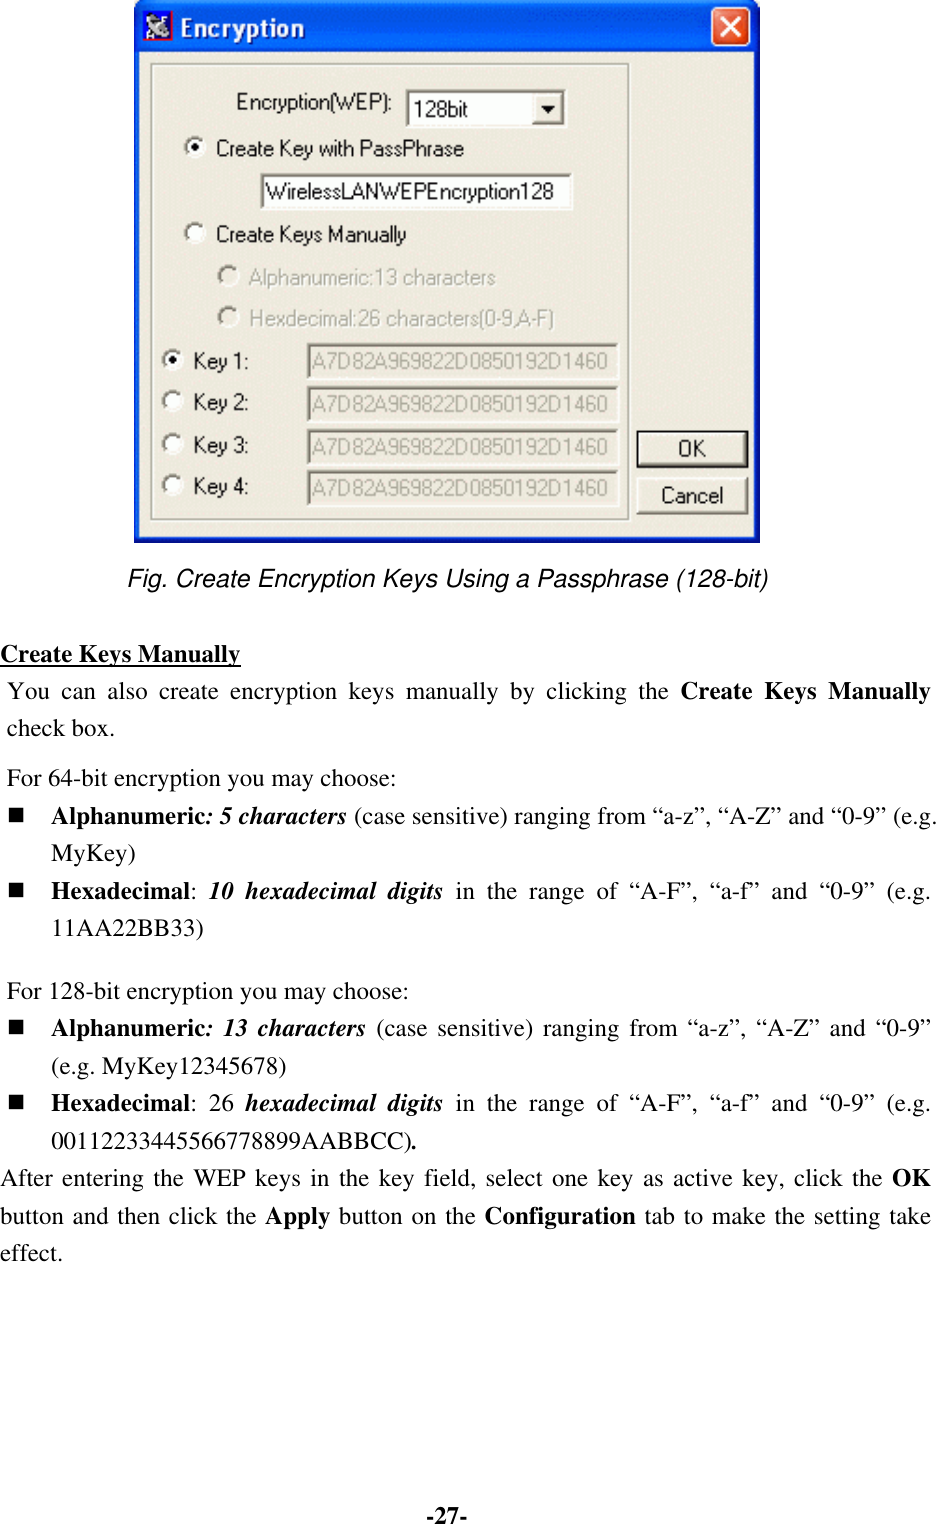
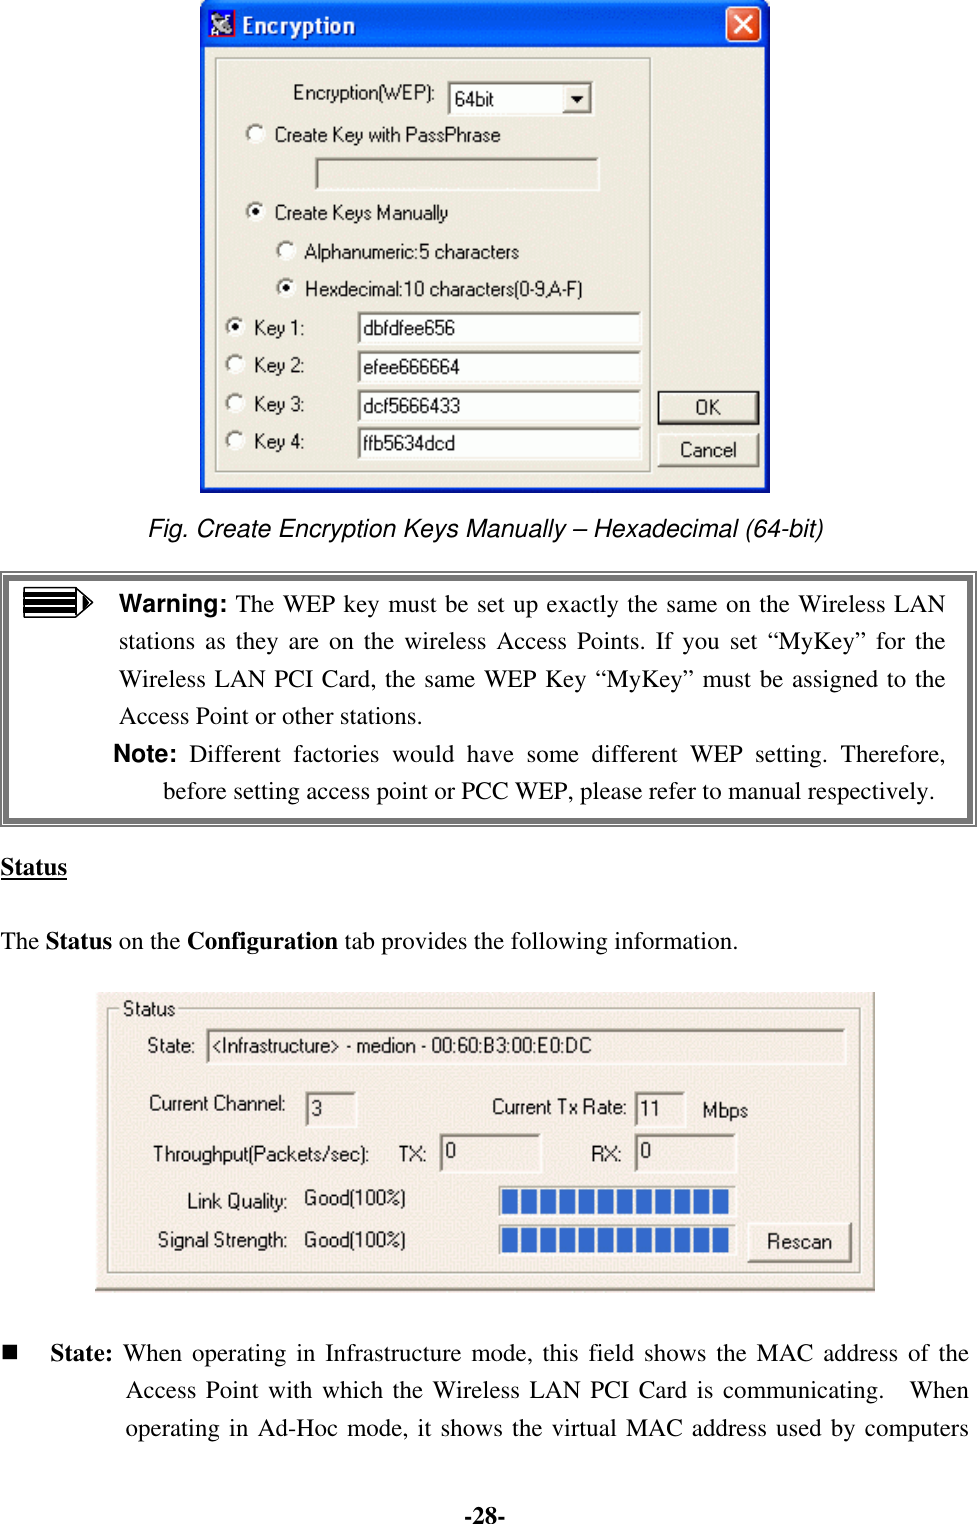
Z Com 0X1960 11 Mbps Wireless LAN PCI Adapter User Manual
Z Com Inc 11 Mbps Wireless LAN PCI Adapter Users Manual
UserManual.wiki
>
Z Com
>
0X1960 User Manual
Users Manual
Navigation menu
Upload a User Manual
Namespaces
Wiki Guide
HTML
PDF
Info
Views
User Manual
Discussion / Help
Navigation


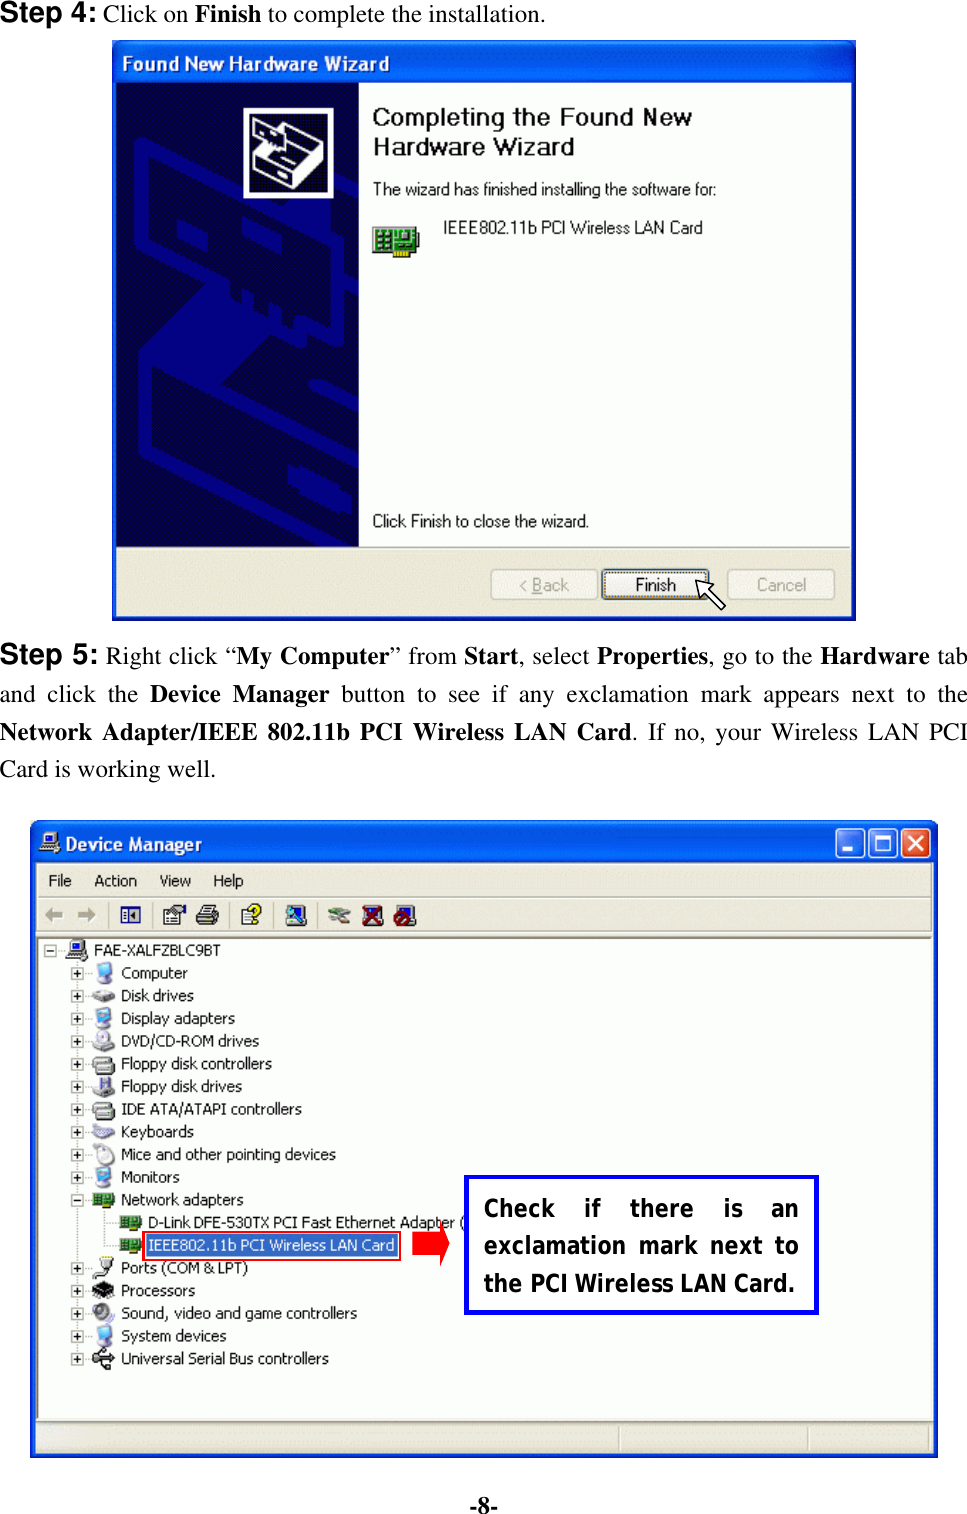
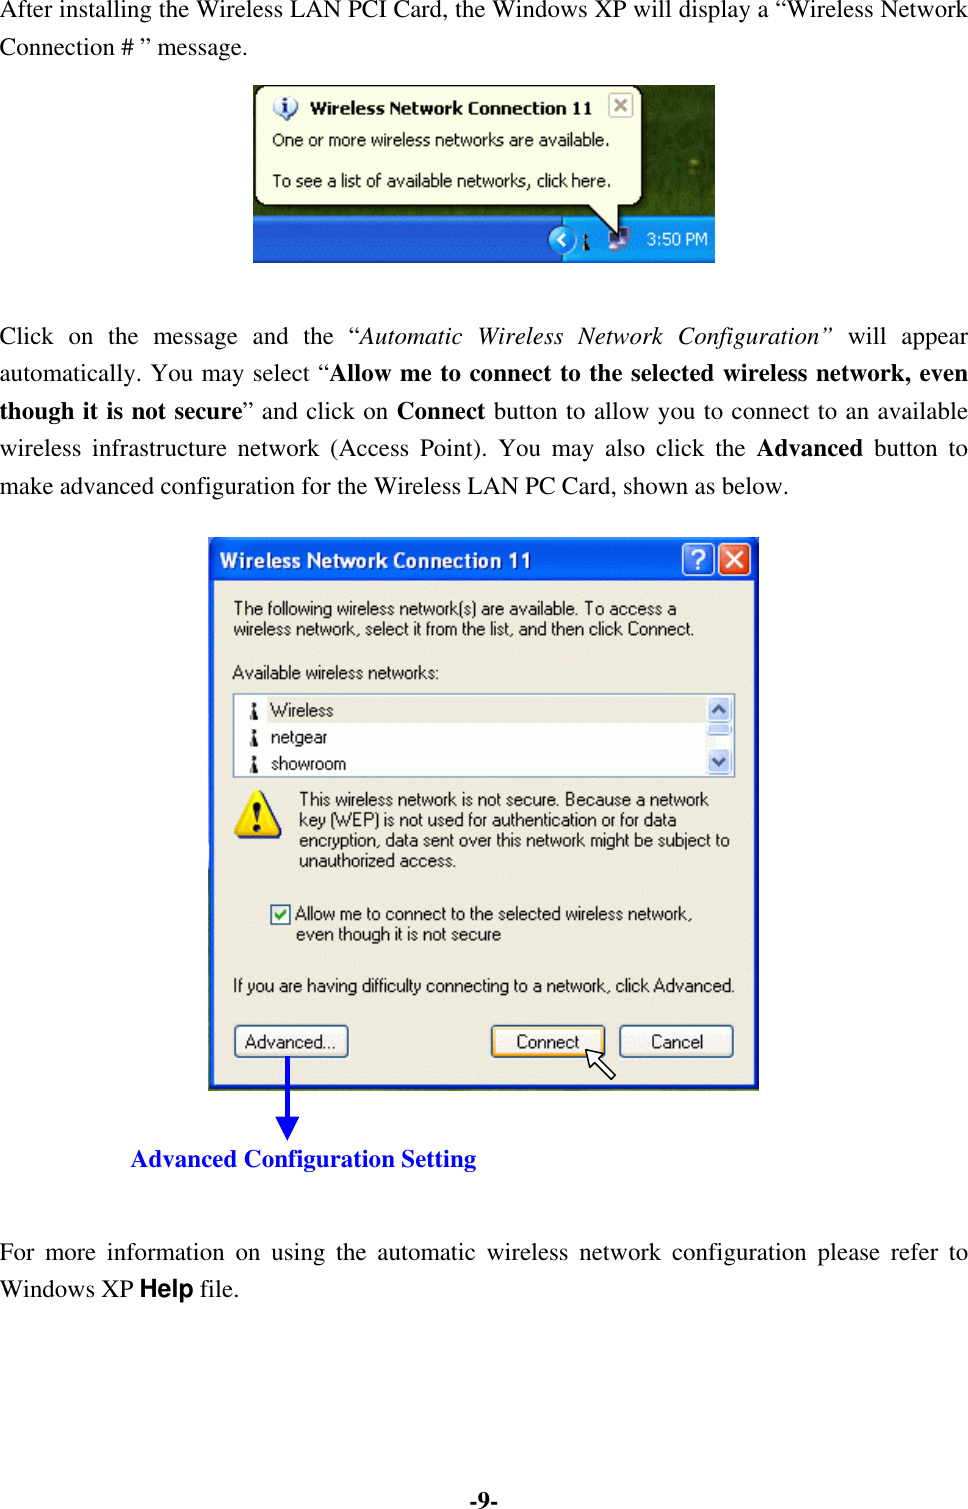


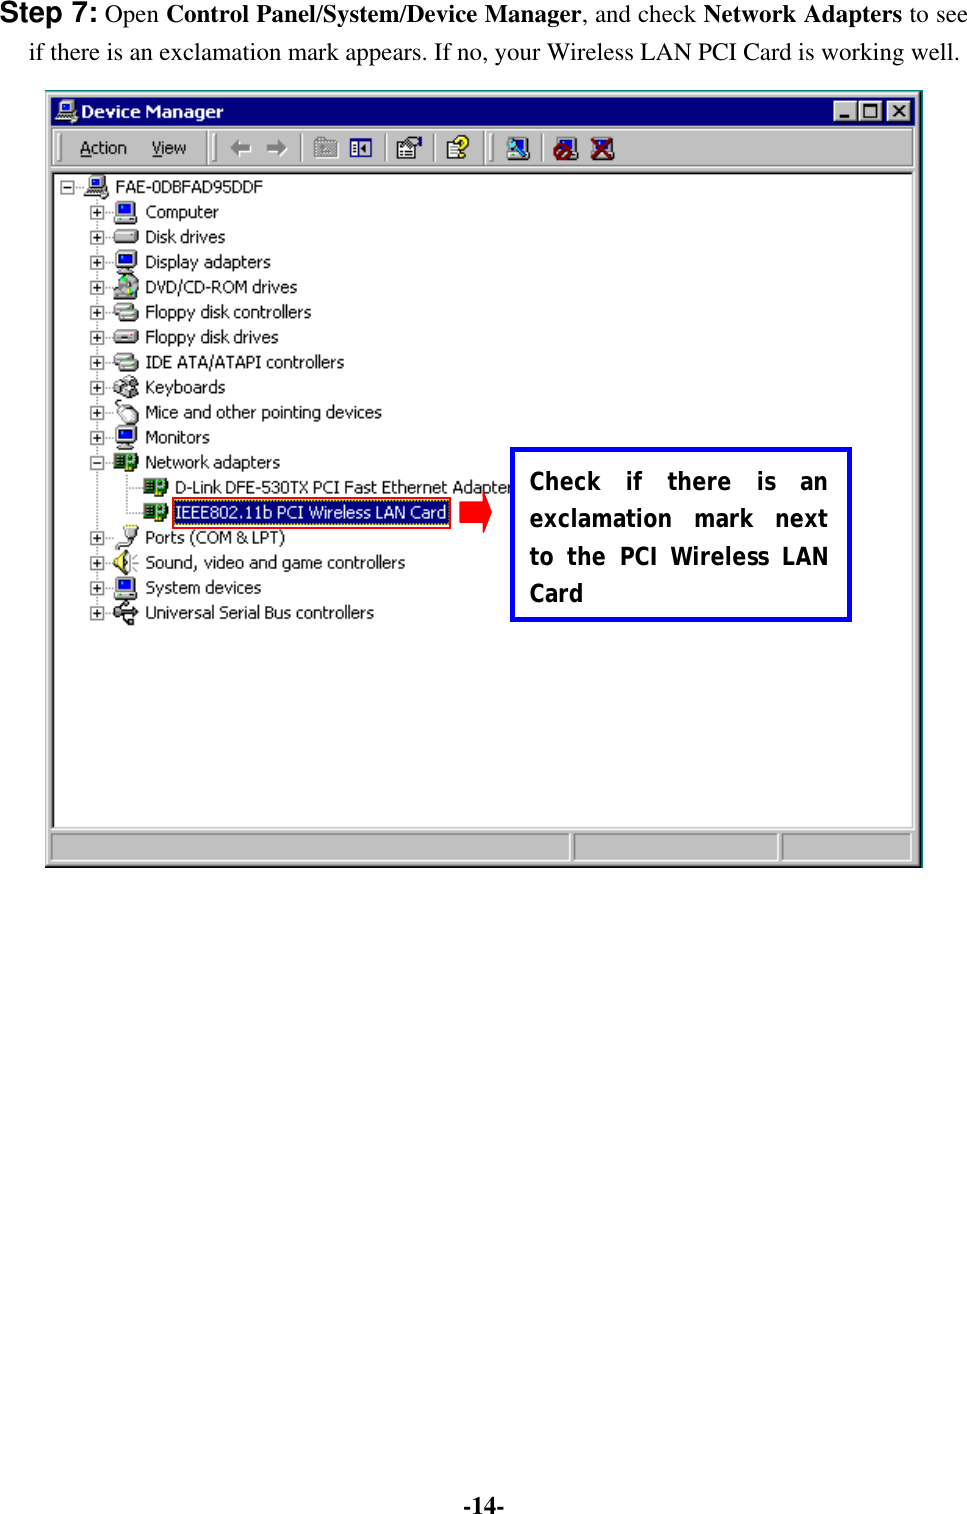

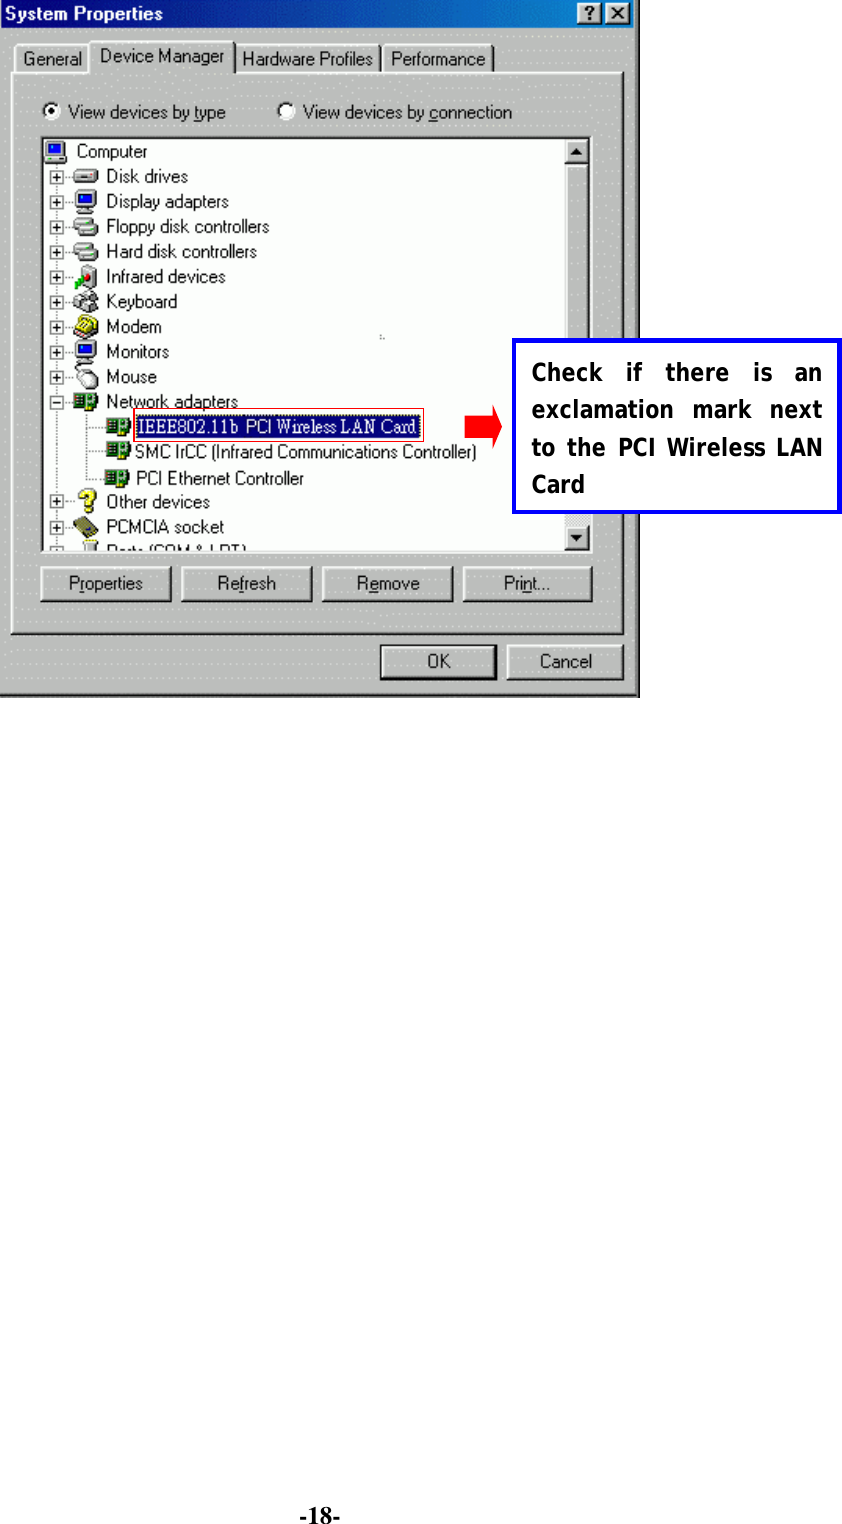
![-17-Step 5: Once the [Please insert the disk labeled “Windows 98SE/ME CD-ROM”, and then click OK] window pops up, enter the path corresponding to the appropriate drives and click on OK to proceed. Usually these files can be found at C:\Windows or C:\Windows\system. Step 6: Click on Finish to complete the driver installation. Step 7: Click on Yes to reboot the computer. Step 8: Open Control Panel/System/Device Manager, and check Network Adapters to see if exclamation mark appears next to the IEEE 802.11b Wireless LAN PCI Card. If no, your 802.11b Wireless LAN PCI Card is working well.](https://usermanual.wiki/Z-Com/0X1960/User-Guide-353835-Page-21.png)