Z Com XI-300 A WIRELESS LAN CARD User Manual 1
Z Com Inc A WIRELESS LAN CARD 1
UserManual.wiki
>
Z Com
>
XI-300 User Manual
>
USER MANUAL 1
Contents
1.
USER MANUAL 1
2.
USER MANUAL 2
3.
USER MANUAL 3
4.
User Manual
USER MANUAL 1
Navigation menu
Upload a User Manual
Namespaces
Wiki Guide
HTML
PDF
Info
Views
User Manual
Discussion / Help
Navigation


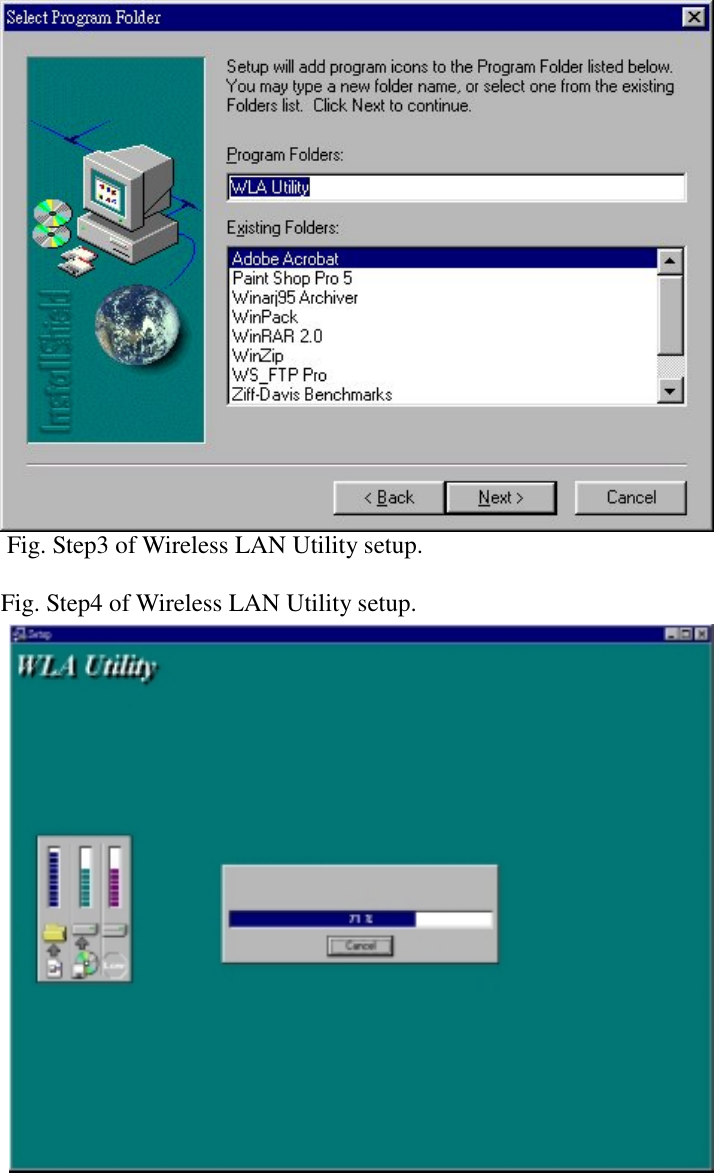
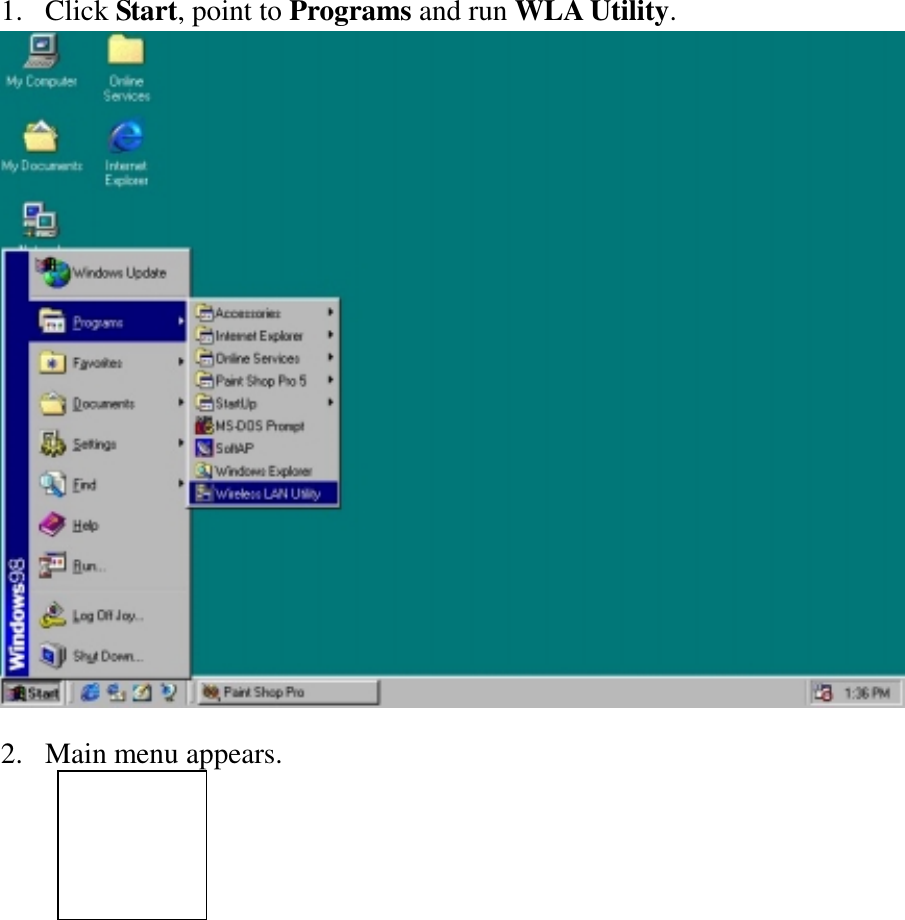
![Fig. Step5 of Wireless LAN Utility setup.Navigating The LANEscape UtilityTo set up your wireless network environment, please follow these steps:Step : Configure the adapter - Select “Network Configuration” in the main menuscreen and follow the instructions.A. Main MenuA LANEscape wireless LAN adapter hardware information window will showon the top of the screen (Fig 5.2) while Main Menu screen is displayed. In thiswindow, you will see current adapter configuration information, that is, the MACaddress, firmware version, frequency domain, BSS joined, current channel andESS ID of the adapter that you installed in your notebook.The Main Menu screen shows all main functions of the LANEscape Utility: [Network Configuration] - LANEscape Utility provides a screen for you toconfigure parameters of the LANEscape wireless LAN adapter for yourwireless network environment. upgrading the firmware in the wirelessadapter. [Exit] - End the execution of LANEscape Utility.](https://usermanual.wiki/Z-Com/XI-300.USER-MANUAL-1/User-Guide-84658-Page-11.png)