ZKTECO AL10B Digital Lock User Manual Fingerprint
ZKTECO CO., LTD. Digital Lock Fingerprint
ZKTECO >
Users Manual
1
USER MANUAL
AL10B digital lock with voice guide
Version: 1.0
Date: December, 2017

Table of Contents
Read Before Use ............................................................................................................ 1
Safety Precautions ....................................................................................................................... 1
Structure ............................................................................................................................................. 2
Basic Function ............................................................................................................... 3
User Introduction ......................................................................................................................... 3
Initialization ...................................................................................................................................... 4
Random Password ....................................................................................................................... 4
Voice Guide ...................................................................................................................................... 5
Volume setting ............................................................................................................................... 5
Language setting ......................................................................................................................... 5
Lockout mode ................................................................................................................................ 5
Normal Open .................................................................................................................................. 6
Low Battery Warning ................................................................................................................. 6
9V External Battery ...................................................................................................................... 7

How to change handle direction ...................................................................................... 8
Emergency Mechanical Key ................................................................................................. 9
How to Use .................................................................................................................. 10
Register First Administrator ................................................................................................ 10
Register Other Administrator ............................................................................................ 12
Register Normal User .............................................................................................................. 13
Delete Admin ............................................................................................................................... 14
Delete Normal User ................................................................................................................. 15
Back up enroll .............................................................................................................................. 16
Volume setting ............................................................................................................................ 17
Language setting ...................................................................................................................... 18
Lockout mode ............................................................................................................................. 19
Normal open mode ................................................................................................................. 20

Page | 1
Safety Precautions
1. The factory setting of all new locks will allow ANY verification to open them.
2. Please register at least one administrator for the newly installed lock. The lock cannot
register any normal users without an administrator.
3. The lock is equipped with mechanical keys for manual unlocking. Please keep the
mechanical keys at a safe place.
4. To power ON the lock, four alkaline AA batteries (not included) are required.
Non-alkaline and rechargeable batteries ARE NOT RECOMMENDED.
5. Do not remove batteries when the lock is in working state.
6. Please replace the battery soon when the lock prompts of low battery.
7. If the lock does not have any activity for seven seconds it will go into sleep mode and
prompts of time expired.
Read Before Use
Page | 2
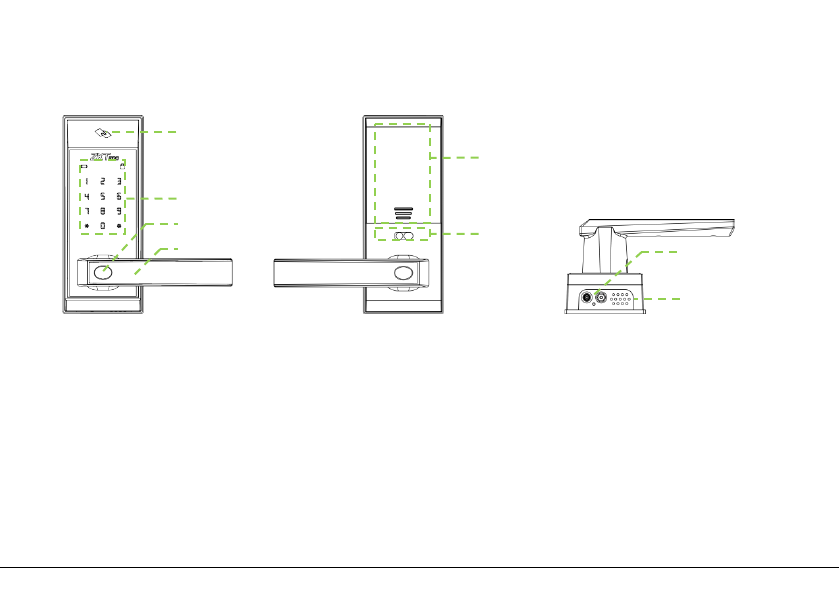
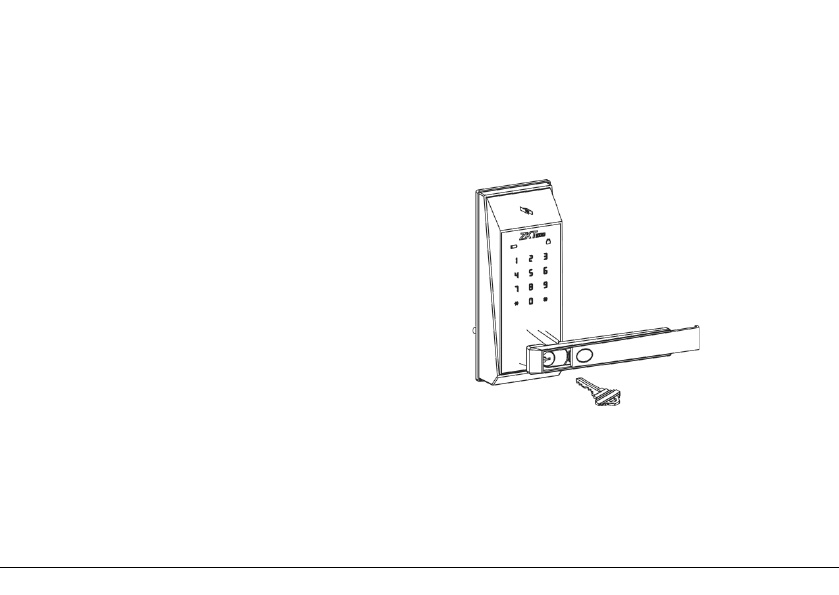
Structure
1
. Card Area
2
. Keypad & Card Detection Area
3
. Mechanical Key Hole
4
. Handle
1
2
3
4
7
8
5
6
5. Battery Area
6. Louckout Switch
7. 9V Battery Interface
8. Speaker
Page | 3
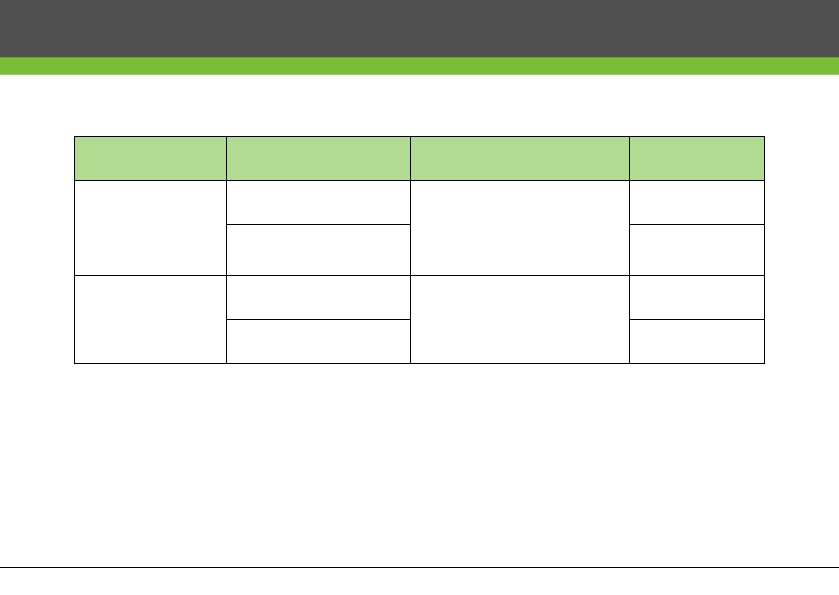
User Introduction
Group Verification Mode Function Capacity
Administrator
Card Register / Delete User,
Open The Door,
Access in menu
Max.100
Password Max.100
Normal User
Card
Open the door
Max.100
Password Max.100
Note:
1. The maximum card/password capacity is 100 for all groups.
2. The length of password is six digits.
Basic Function

Page | 4
Initialization
Initializing the lock means all data will be delete and restore to factory default setting.
Operation steps: Press the reset button on the back body of the lock, then touch the
keypad to power on the lock holding the reset button for 5 seconds until the lock
prompts the voice of “Restore to default settings, wait a moment”. After around 30
seconds, the lock prompts the voice of “completed”, and then the initialization is finished
completely.
Random Password
Random password = Users may enter any number of random digits before or after the
correct six digit password as long as the maximum number of digits entered is 32 or less.
For example: If the correct password is 123456, the random password can be
89123456807, 1234562363, 389123456, etc.

Page | 5
Voice Guide
After accessing the menu, the lock provides voice prompts before and after each
operation for easy configuration.
Volume Setting
The lock volume can be set, which has three modes, high volume mode, low volume
mode and silent mode.
Language Setting
Supports English / Spanish.or English / Portuguese.
Lockout Mode
When the lock set as lockout mode, only administrator can open the door, and also can
use the Lockout Switch to enable or disable the mode.

Page | 6
Normal Open
Normal open mode is to keep door always unlocked, which is fit for meeting room and
some places free to in or out.
Low Battery Warning
When the lock has a low battery a short beep and voice prompt of "Battery is low, please
replace" will be prompted".
Note: Access to menu steps is not allowed in low battery status.
Page | 7
9V External Battery
9V external battery is used to open doors in emergency.
Note: The above battery must be 9V alkaline battery (6LR61).
Page | 8
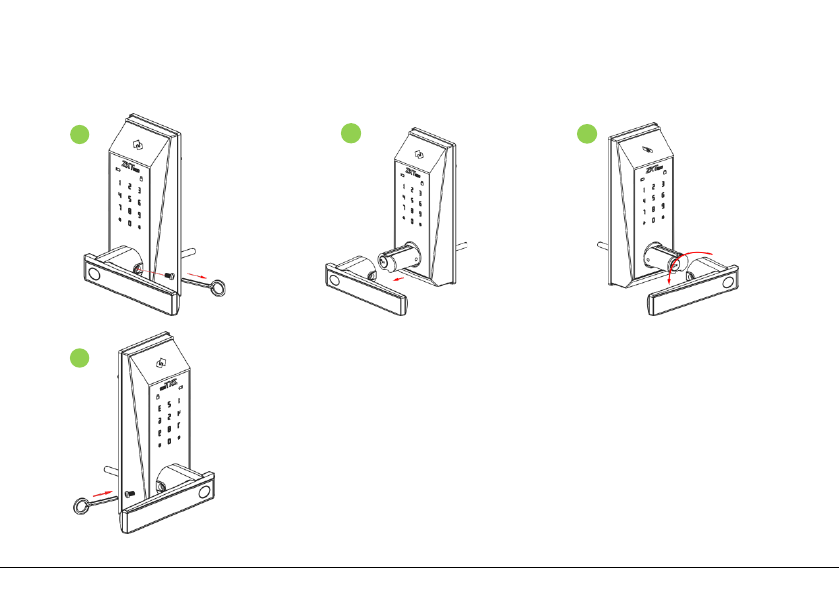
How To Change Handle Direction
1
2
3
4
Step:
1. Remove the screws with a screwdriver.
2. Take out the lock handle.
3. Turn the handle in the opposite direction.
4. Replace the screws.
Page | 9
Emergency Mechanical Key
The mechanical key is used to open door when the lock has electronic malfunction.
Note: Keep the mechanical key at a safe place.
Page | 10
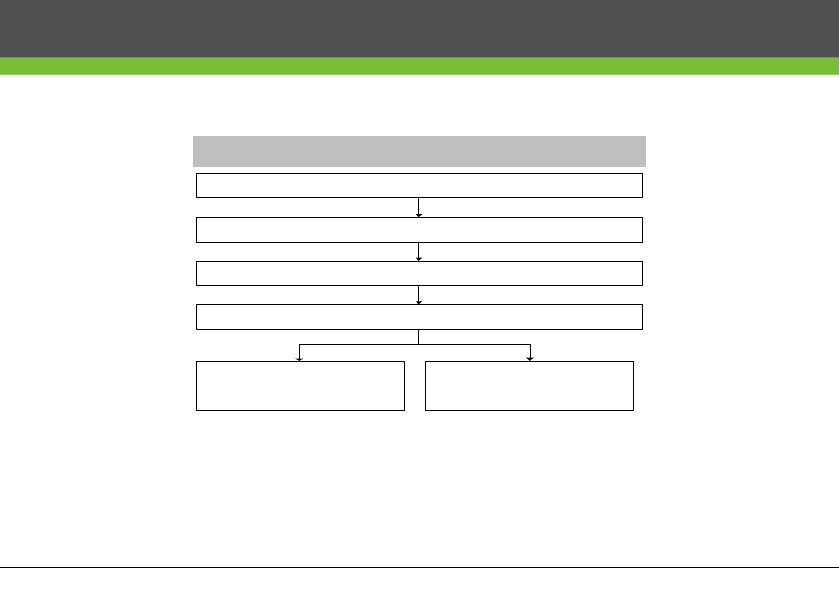
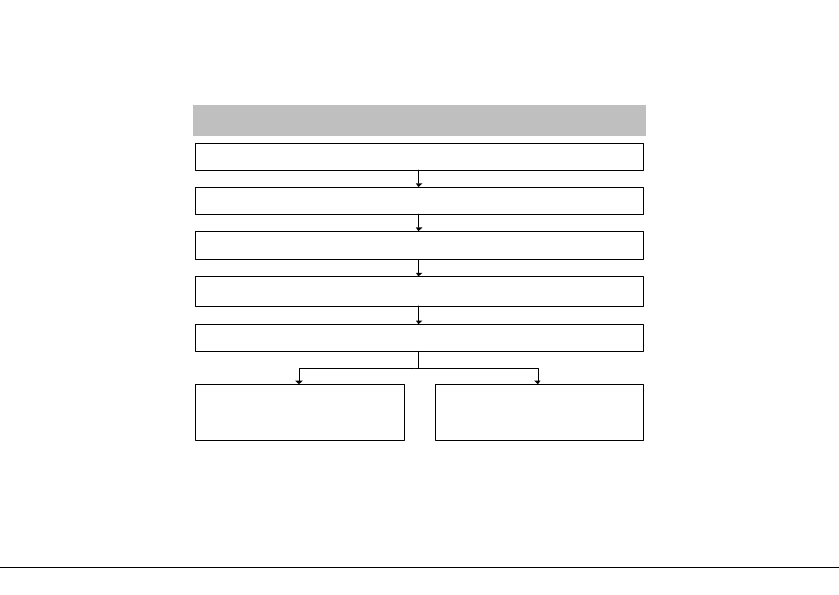
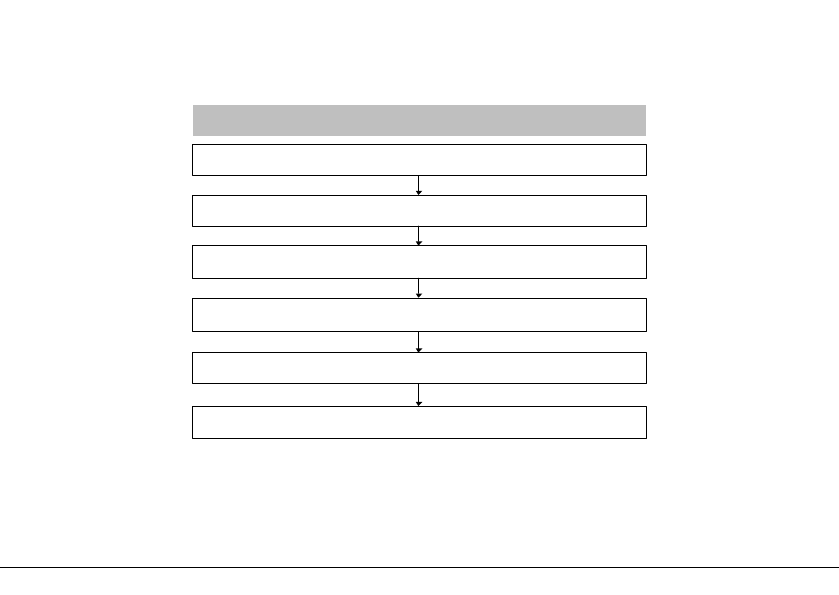
Register First Administrator
Operating Steps
Touch the keypad to power ON the lock
Press 0 and # to access into menu
Enter 3 digit user number
Press # to continue
registering another user
Press * to complete
Enter password or swipe card
How to Use

Page | 11
Note:
1. Put the card on the card area.
2. The length of password should be of six digits.
3. Default user number length is three digits, but one or two digit user numbers
are accepted by pressing the # key.
4. Press * to cancel registration before the registration is complete.
Page | 12
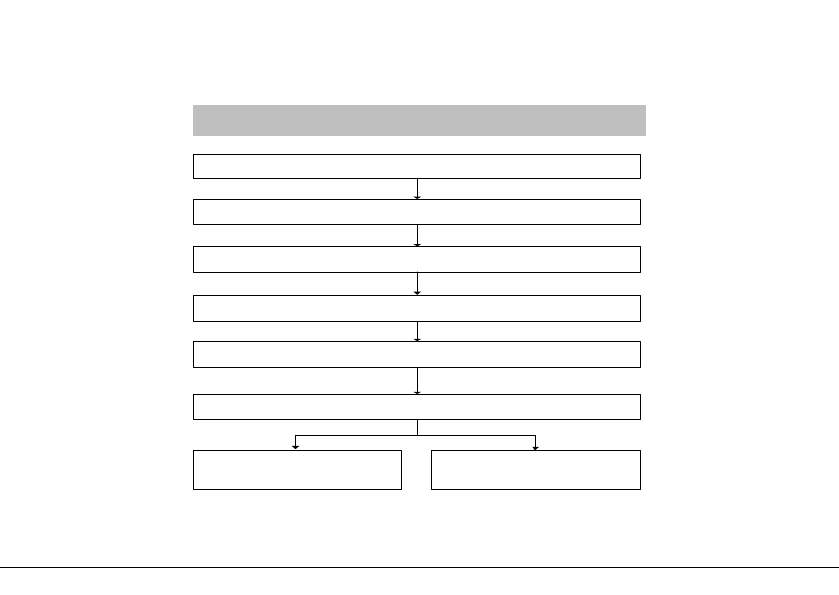
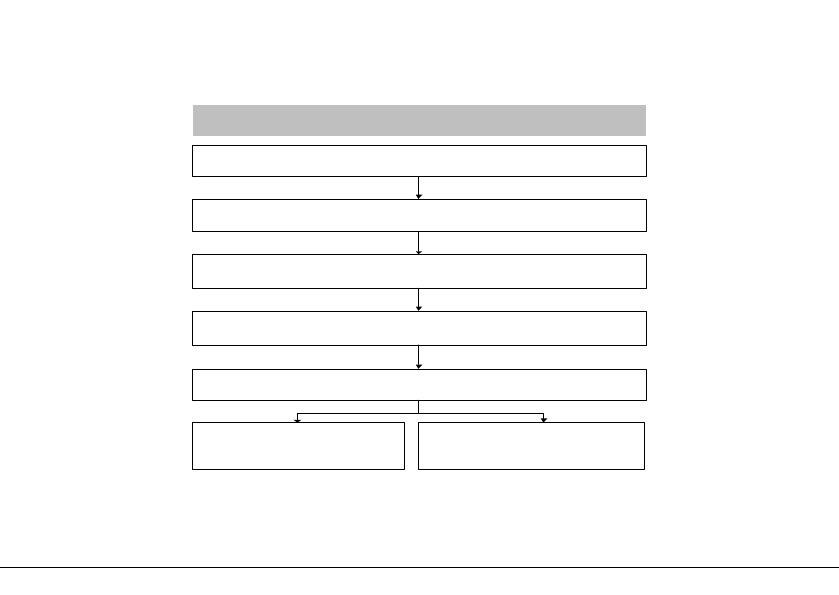
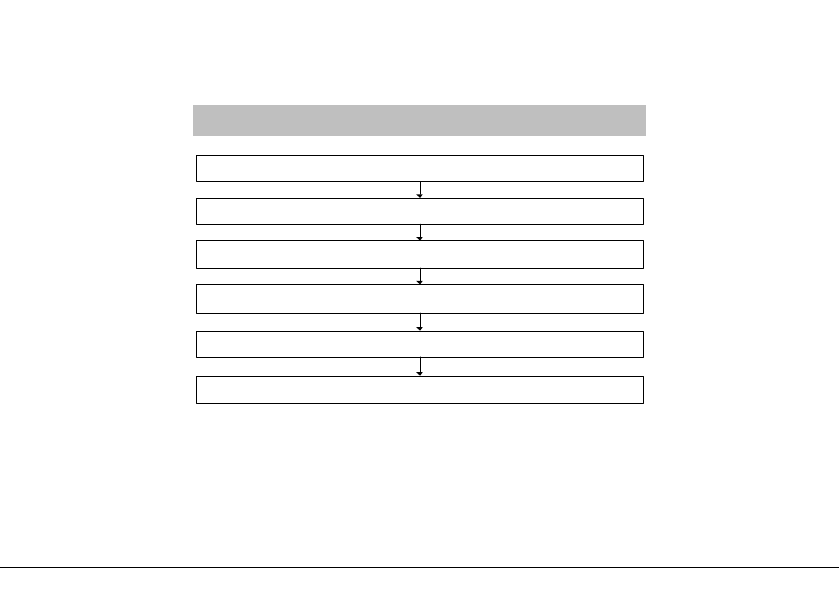
Register Other Administrator
Operating Steps
Touch the keypad to power ON the lock
Press 0 and # to access into menu
Verify administrator by card or password
Enter 3 digit user number
Press 1 to register user, and press # to continue
Enter # to continue
registering another admin
Enter * to complete
Enter password or swipe card
Note:
If you verify administrator by password, please end with button #.
Page | 13
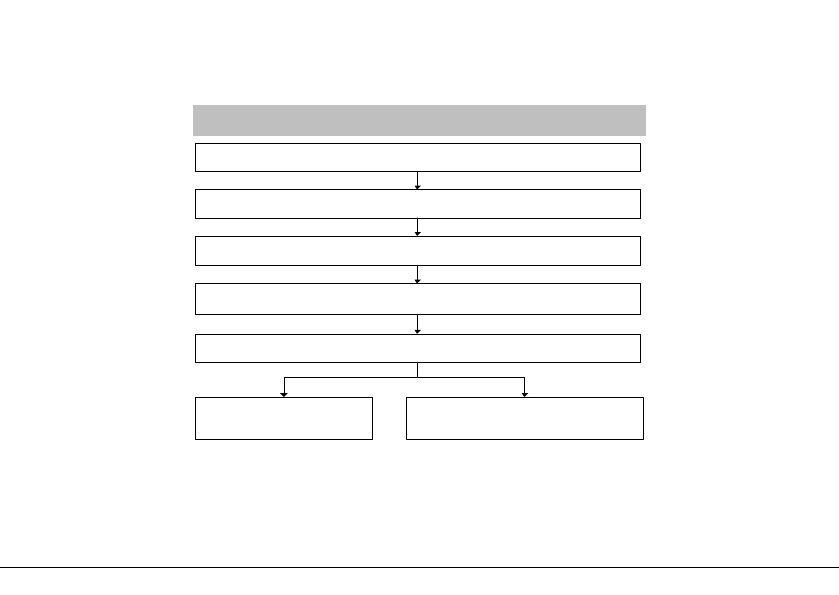
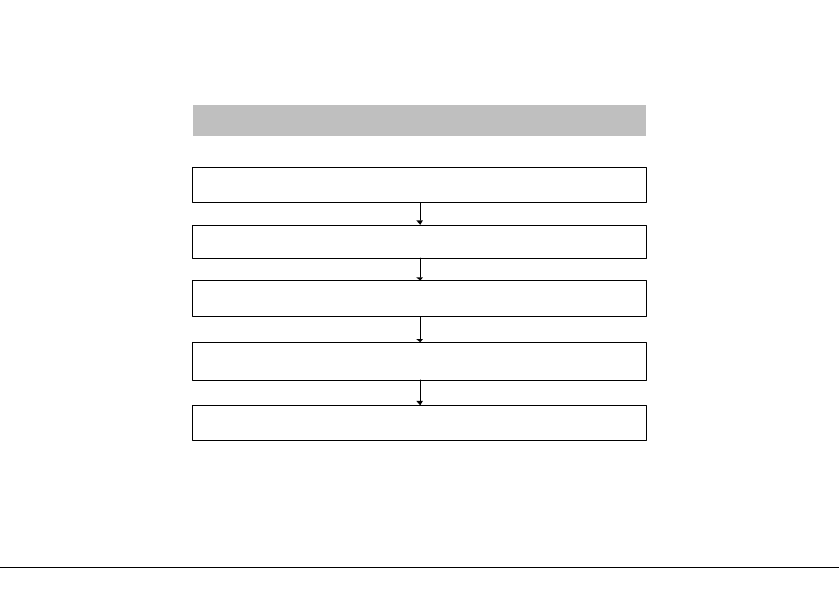
Register Normal User
Operating Steps
Touch the keypad to power on the lock
Press 0 and # to access into menu
Enter password or swipe card
Verify administrator by card or password
Press 2 to register user, and press # to continue
Enter # to continue
registering another normal
user
Enter * to complete
Page | 14
Delete Admin
Operating Steps
Touch the keypad to power on the lock
Press 0 and # to access into menu
Enter 3 digit user number
Verify administrator by card or password
Press 3 to delete admin, and press # to continue
Enter * to complete Enter # to continue deleting
another admin
Page | 15
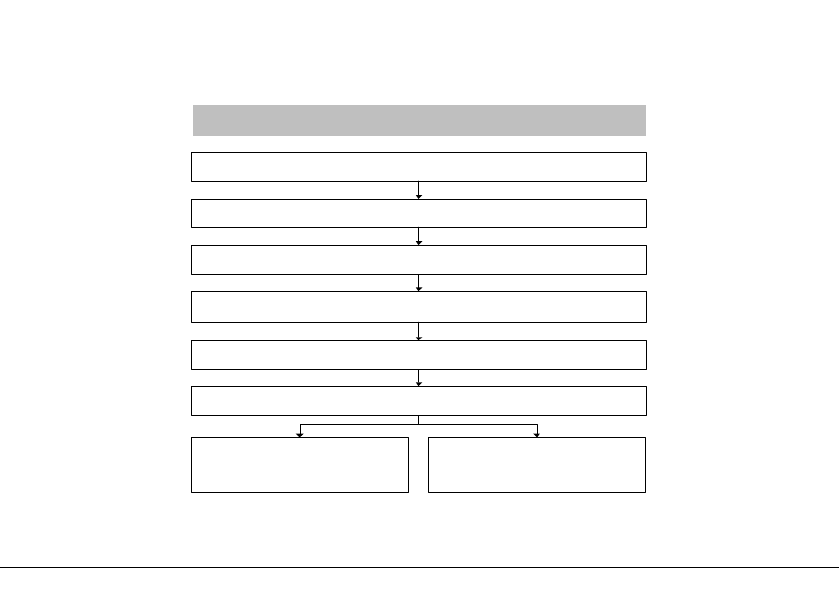
Delete Normal User
Operating Steps
Touch the keypad to power on the lock
Press 0 and # to access into menu
Enter 3 digit user number
Verify administrator by card or password
Press 4 to delete user, and press # to continue
Enter * to complete Enter # to continue deleting
another normal user
Page | 16
Back Up Enroll
Operating Steps
Touch the keypad to power on the lock
Press 0 and # to access into menu
Enter 3 digit user number
Verify administrator by card or password
Press 5 to back up enroll, and press # to continue
Enter password or swipe card
Enter * to complete Enter # to continue backup
another information
Page | 17
Volume Setting
Operating Steps
Touch the keypad to power on the lock
Press 0 and # to access into menu
1. High volume 2. Low volume 3. Silent mode
Verify administrator by card or password
Press 6 to set volume, and press # to continue
Enter # to confirm
Page | 18
Language Setting
Operating Steps
Touch the keypad to power on the lock
Press 0 and # to access into menu
1. English 2. Spanish 3. Portuguese
Verify administrator by card or password
Press 7 to set language, and press # to continue
Enter # to confirm
Note:
There are only two language mode, English/Spanish, or English/Portuguese. F
or
example, if the lock is equipped with English/Spanish, selecting "3" (Portuguese)
,
will still show Spanish mode.
Page | 19
Lockout mode
Operating Steps
Verify administrator by card or password
Enter # to confirm
Press 8 to set lockout mode, and press # to continue
1. Enable 2. Disable
Press 0 and # to access into menu

Page | 20
Normal open mode
Operating Steps
Touch the keypad to power on the lock
Press 0 and # to access into menu
1. Enable 2. Disable
Verify administrator by card or password
Press 9 to set normal open mode, and press # to continue
Enter # to confirm
Warning: Changes or modifications to this unit not expressly approved by the party responsible for
compliance could void the user’s authority to operate the equipment
Note: This equipment has been tested and found to comply with the?limits for a Class B digital device,
pursuant to Part 15 of the FCC Rules.These limits are designed to provide reasonable protection against
harmful interference in a residential installation. This equipment generates,uses and can radiate radio
frequency energy and, if not installed and used in accordance with the instructions, may cause harmful
interference to radio communications. However, there is no guarantee that interference will not occur in a
particular installation. If this equipment does cause harmful interference to radio or television reception,
which can be determined by turning the equipment off and on, the user is encouraged to try to correct the
interference by one or more?of the following measures:
Reorient or relocate the receiving antenna
Increase the separation between the equipment and receiver
Connect the equipment into an outlet on a circuit different from that to which the receiver is connected
Consult the dealer or an experienced radio/TV technician for help
“This equipment complies with FCC RF radiation exposure limits set forth for an uncontrolled environment.
This equipment should be installed and operated with a minimum distance of 20 centimeters between the
radiator and your body.”

Page | 21
ZK Building, Wuhe Road, Gangtou, Bantian, Buji Town,
Longgang District, Shenzhen China 518129
Tel: +86 755-89602345
Fax: +86 755-89602394
www.zkteco.com
© Copyright 2014. ZKTeco Inc. ZKTeco Logo is a registered trademark of ZKTeco or a related company. All other product and company
names mentioned are used for