ZONDA de C V ZMTN835 GSM Mobile Phone User Manual
ZONDA Corporation, S.A. de C.V. GSM Mobile Phone
UserManual.wiki
>
ZONDA de C V
>
ZMTN835 User Manual
Users Manual
Navigation menu
Upload a User Manual
Namespaces
Wiki Guide
HTML
PDF
Info
Views
User Manual
Discussion / Help
Navigation

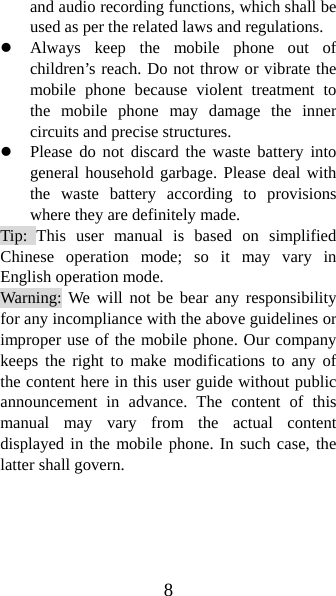

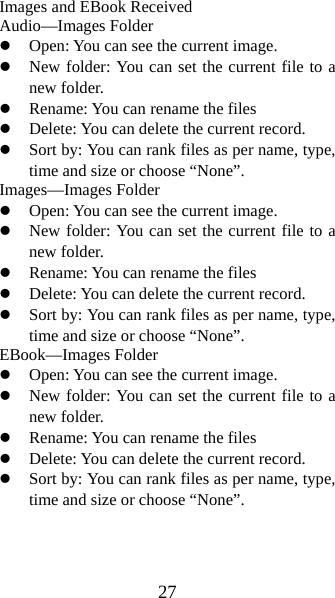
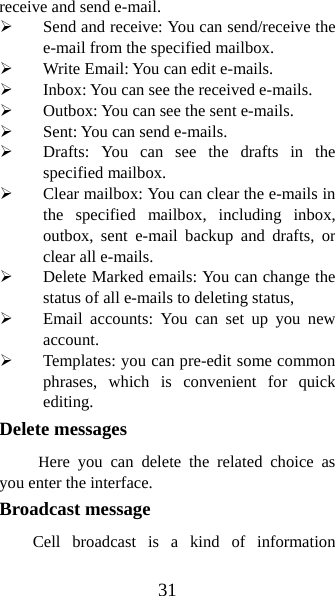
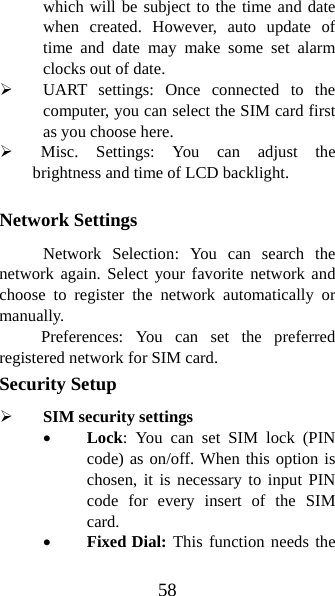
![23 traffic of all links. z Reset Counter: You can clear all link traffic. Call settings [SIM Card settings] Caller ID: Including set by Network, hides ID and send ID. Set by Network: While having a call conversation, you can send my caller ID in the form preset by the system. Hide ID: While having a call conversation, you will not send my caller ID. If the system does not support such function, call may fail. Send ID: While having a call conversation, you can send my caller ID to the system. Note: This function needs network support. Call Waiting: You can set this function On or Off. The call hold and multi-party call cannot be active unless this function is activated. This needs network support. Call Divert: This is a kind of network function, which cannot be used unless you apply to the network operator for it. With this function, you can divert calls meeting he conditions to another](https://usermanual.wiki/ZONDA-de-C-V/ZMTN835/User-Guide-1384044-Page-23.png)
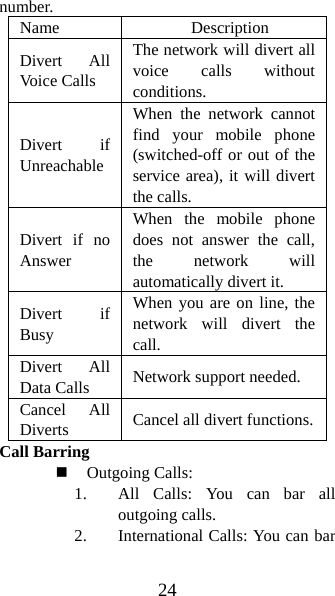
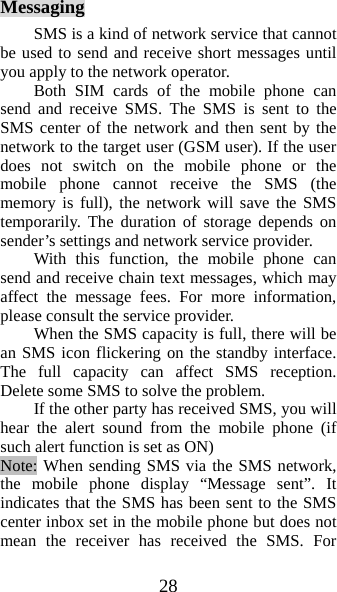
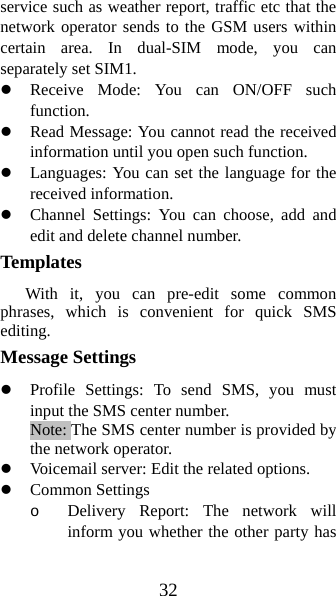
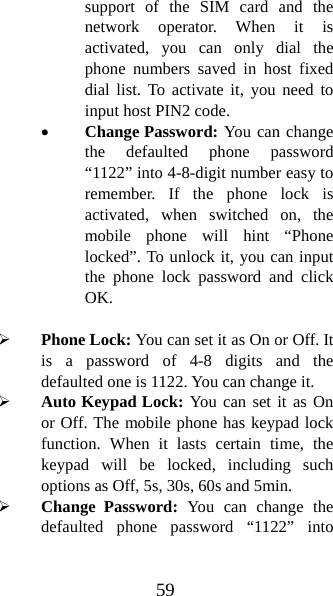
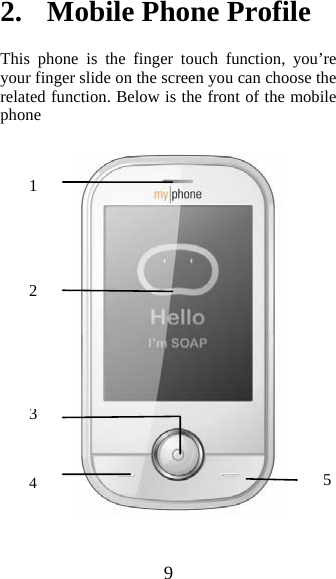
![25 international calls. 3. International Calls Except To Home PLMN: When abroad, you can dial the calls of the current country and the original country (the service providers allows to do so). ¾ Incoming Calls: 1. All Calls: You can bar all incoming calls. 2. When Roaming: You can bar all calls except the calls of the local service area. Cancel All: You can cancel call barring settings and dial/receive calls normally. Change Barring Password: You can apply to the network to change the password for call barring. Line Switching: You can choose Line 1 or Line 2. Closed User Group: This function needs network support. Please consult the local operator for details. [Advance settings] Blacklist: You can set the blacklist as the phone](https://usermanual.wiki/ZONDA-de-C-V/ZMTN835/User-Guide-1384044-Page-25.png)
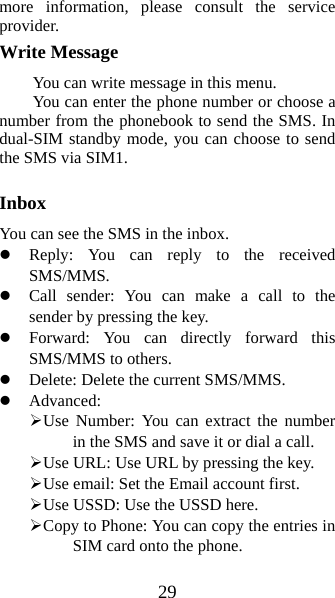
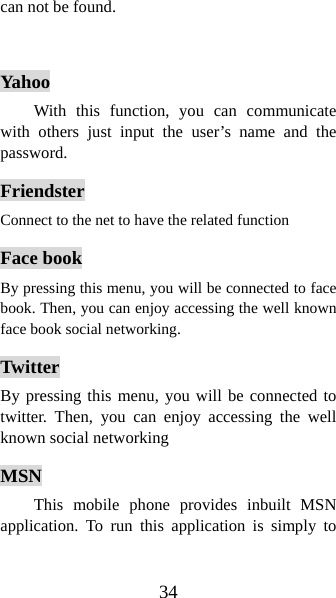
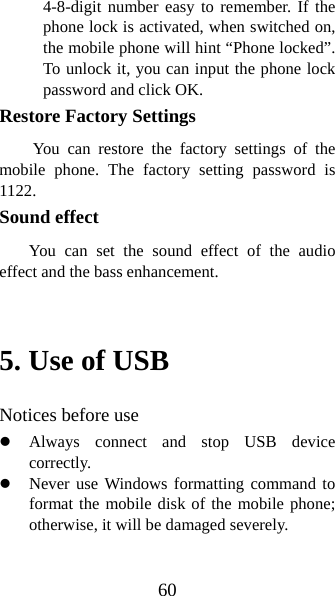
![26 guides. Auto Redial: You can set it as On or Off. After the first automatic redial fails, you can have at most ten times to connect a phone number. Background sound: Set the background sound here. Call time Display: You can set whether to display call duration during call conversation. Call Time Reminder: You can set one alert tone or periodic alert tone for several round minutes during call conversation so that you can understand call time. You can turn off the alert tone. Auto quick end: You can set call duration. After the set time expires, the mobile phone will automatically end the call. Reject by SMS: You can have this function as choose it On/Off. Note: Some settings need network support. For example, call barring can not be used unless the local network and SIM card open it. File manager You can manage Audio, Images and EBook. [Phone]-- The storage body is phone. [Open]: You can click the screen to have Audio,](https://usermanual.wiki/ZONDA-de-C-V/ZMTN835/User-Guide-1384044-Page-26.png)