ZTE AC682 CDMA 1x-EVDO Wireless data terminal User Manual
ZTE Corporation CDMA 1x-EVDO Wireless data terminal
ZTE >
User Manual
AC682 Modem User Guide
Cautions for Users
Use of AC682 EV-DO Modem (hereinafter referred as “modem”), while running a notebook PC with a battery, may
cause earlier exhaustion of the battery than usual due to additional consumption of electric currents.
Be cautious when you touch a modem with a bare hand after long use, it may cause a burn due to its high temperature.
Pick it out with the antenna after separation.
Do not allow children or pets to approach or touch the modem when separated from a notebook PC or PDA.
Do not give impact to the modem or throw it away.
Use the leather case provided along with the modem when you carry the modem.
When the modem is lost or stolen, immediately report it to the corresponding telecommunication operator.
Do not recklessly lend your own modem to anybody else.
Do not attach an additional device which may cause alteration in performance of the product registered for the type
approval.
This modem sends and receives the radiofrequency (RF) energy in status of power-on. The radiofrequency (RF)
energy may affect a human body.
Use the modem in the manner you use a notebook PC in general.
Be noticed that most of electronic devices are designed to be free from the RF energy but there are some products
that may be out of order due to the RF energy.
Medical Devices Industry Association recommends the patients using a pacemaker not to use RF using devices such
as cell phones, wireless modems and so on because using those devices in the range of 15cm from the pacemaker
may affect the pacemaker. In an inevitable situation, make it sure to keep the distance of more than 15cm between the
modem and the pacemaker. To minimize the possible interference, use the modem on the opposite side of the
pacemaker. Do not use it if possible.
If you use a medical device, ask the manufacturer if the device is free from the RF energy. Some hospitals use RF
medical devices. Separate the modem from a notebook PC or a PDA when entering a hospital.
The modem may affect the functions of a hearing-aid.
The places banning use of cell phones may require prohibit use of modems.
Separate the modem from a notebook PC or PDA we you get on an airplane.
Separate the modem from a notebook PC or PDA to avoid interference with explosive operations at a blasting area or
a place posted “Turn off a walkie-talkie”.
And follow all the instructions shown in the area:
Hold yourself in installing or using the modem at the places such as danger areas of gas leakage, chemical storage
facilities, decks of a vessel and so on.
AC682 Modem Install
Setup
Insert AC682 to the USB ports of your laptop or PC. The installation procedures are the Windows 2000 and
Windows XP.
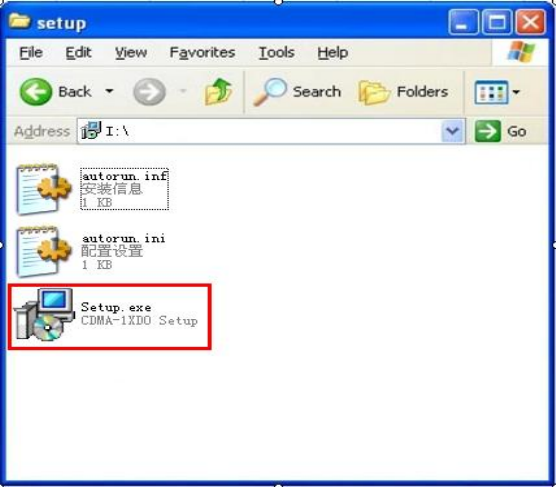
Start setup
If the auto run does not start after inserting the CD, please double-click on “Setup.exe” file on
CD-ROM to start the installation.If you have already inserted your Modem into your PC, remove the Modem
and double-click “Setup.exe”
Start Auto Run
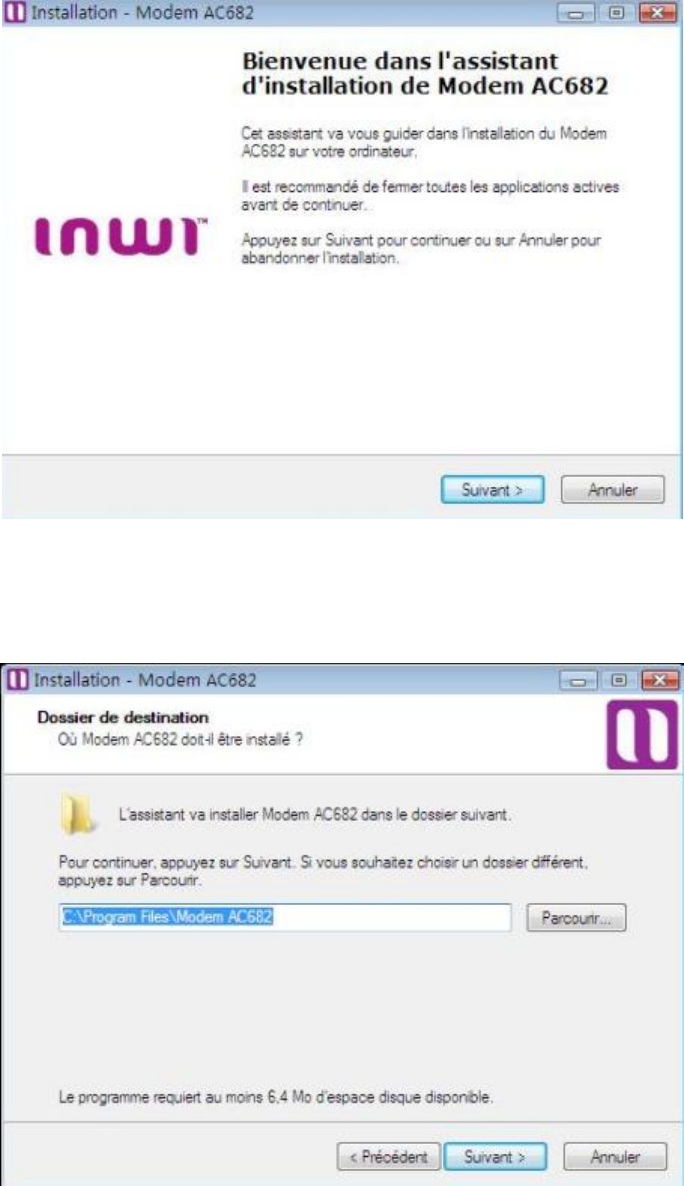
Install Shield Wizard... click 'next' Choose the installation directory and click "Next" to continue.
Click "Install" to continue.
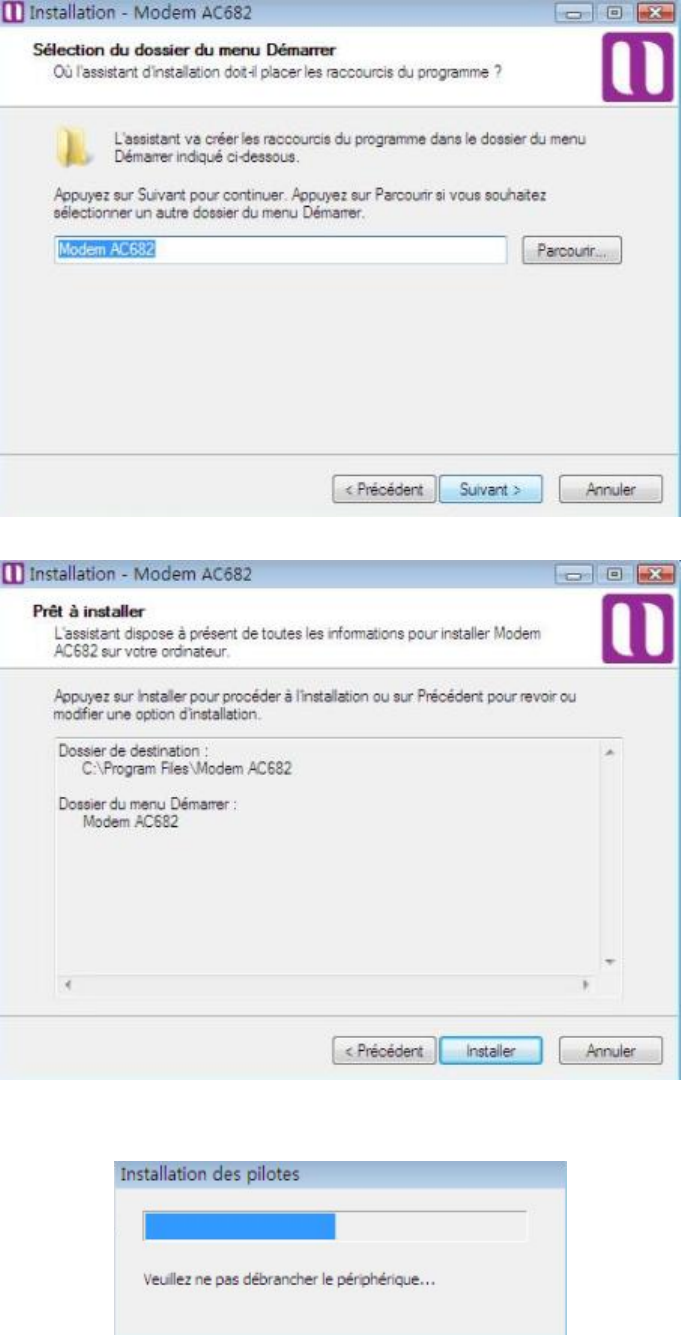
AC682 Modem is configuring your new software installation.
Check device
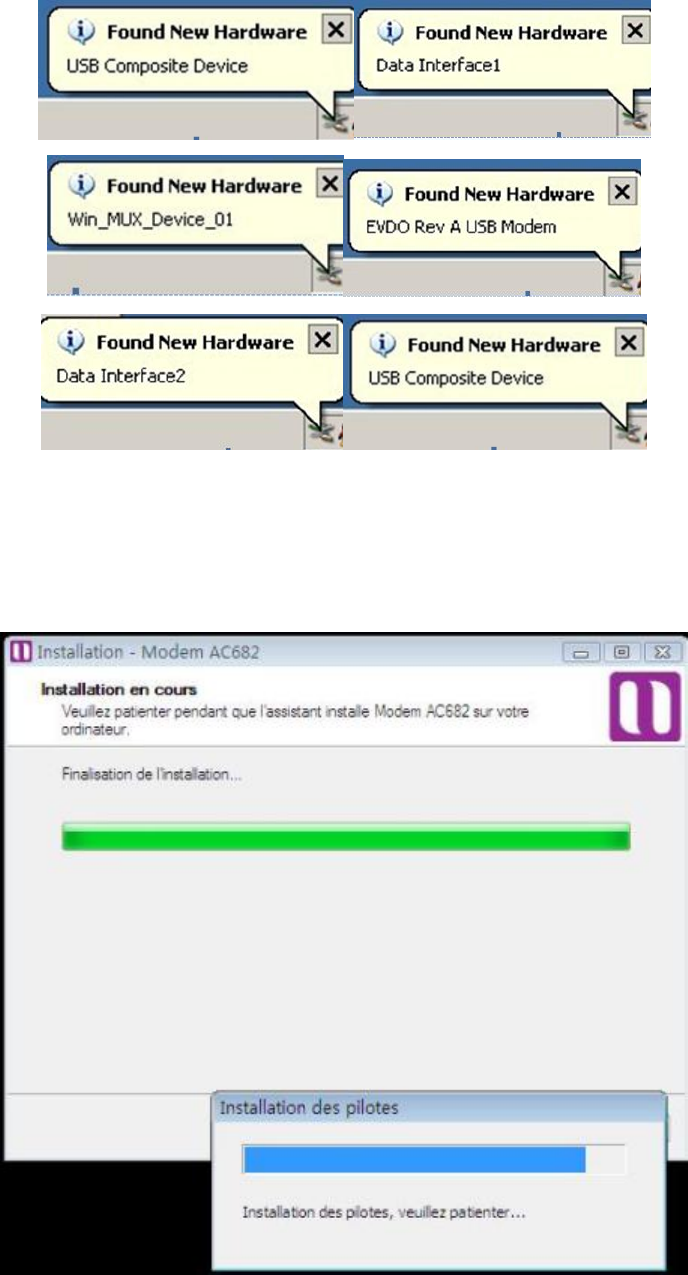
Ports installation.
You will be shown to these prompts listed above.
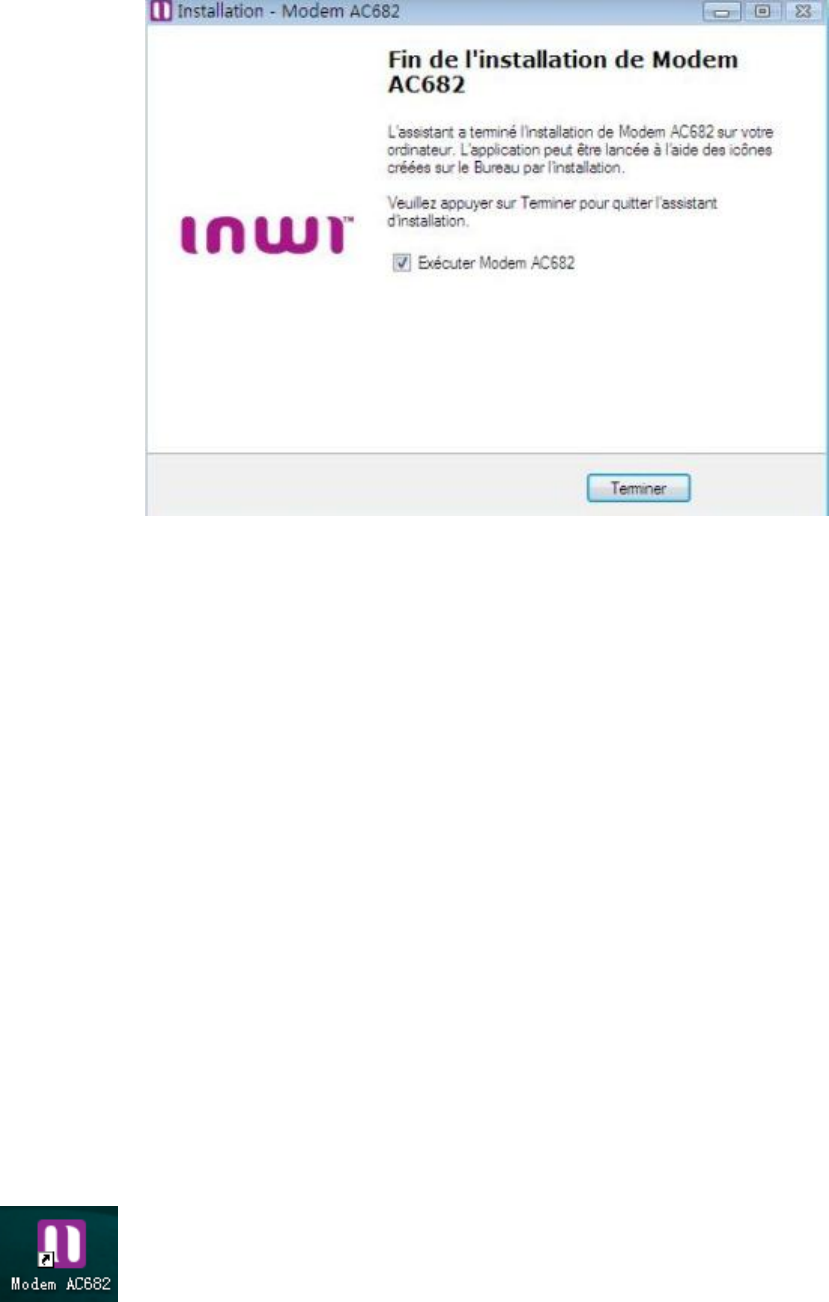
Installation Complete. Click “Finish” to launch the software.
Using AC682 Modem Application Software
During this installation a Shortcut will have been placed on your desktop for the AC682 EVDO Modem
Application software.
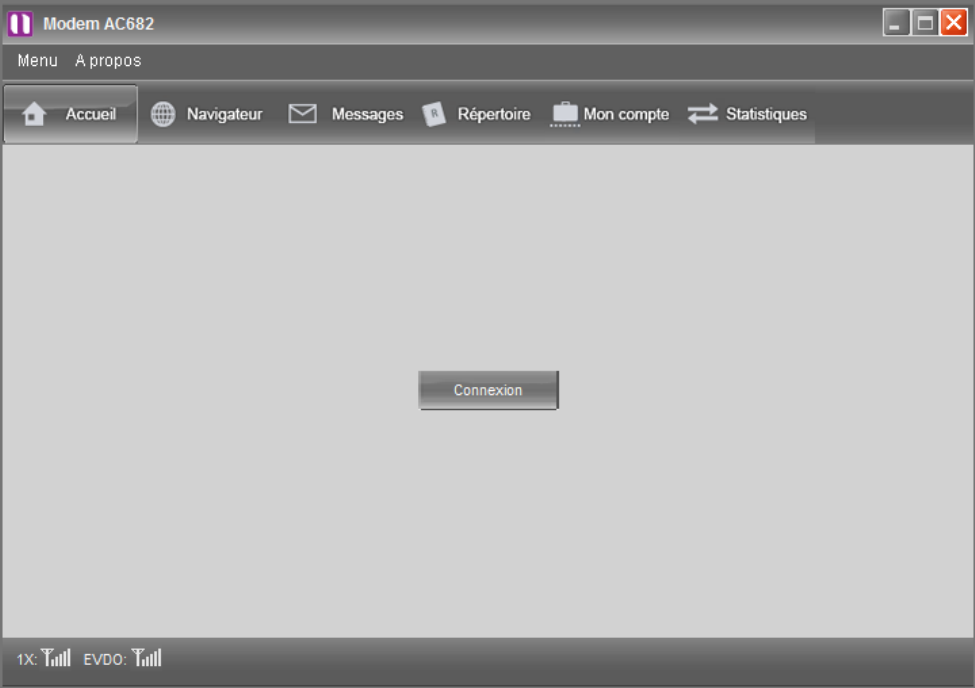
On auto start of the Application Software, the first screen you will see Main window.
Main Indicator state Icons

Dial up Network
Press button to connect internet with CDMA 1X or CDMA 1X EVDO. It will if it connects
successfully as follows:
Main Function buttons
Data connection
in EVDO or 1X
RF signals strength indicator
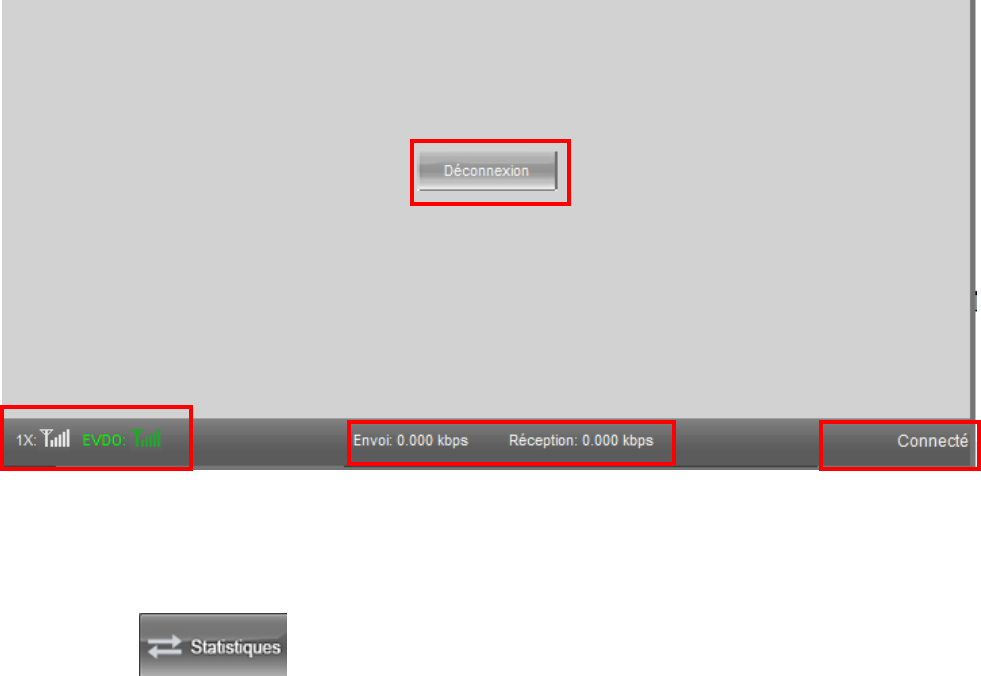
Data flow check
Click the button , you will check all download and upload data through AC682.

To Disconnect
Clicking the disconnect button on the Main window will disconnect the dialup connection and the modem will
switch to idle mode.
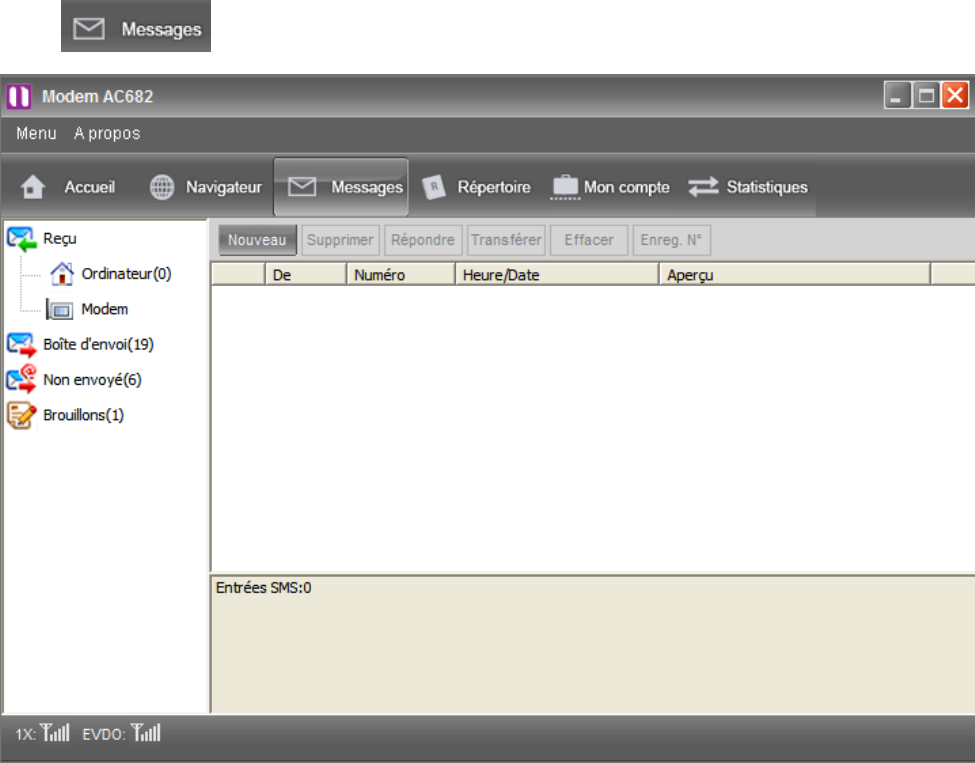
SMS
Click button and enter into the "sms" interface, the interface is as follows:
Message Mailbox
Click any one mailbox in the tree-node to see its messages .
Inbox: There're Modem ,Computer, to store messages transferred from the inbox of the modem ,and
received messages when using the software.
Sendbox: It is used to store messages that have been sent succussfully.
Unsent: It is used to store messages that have been sent unsuccussfully.
DraftsBox: Store messages edited with the software and ready to send. (Stored in the PC)
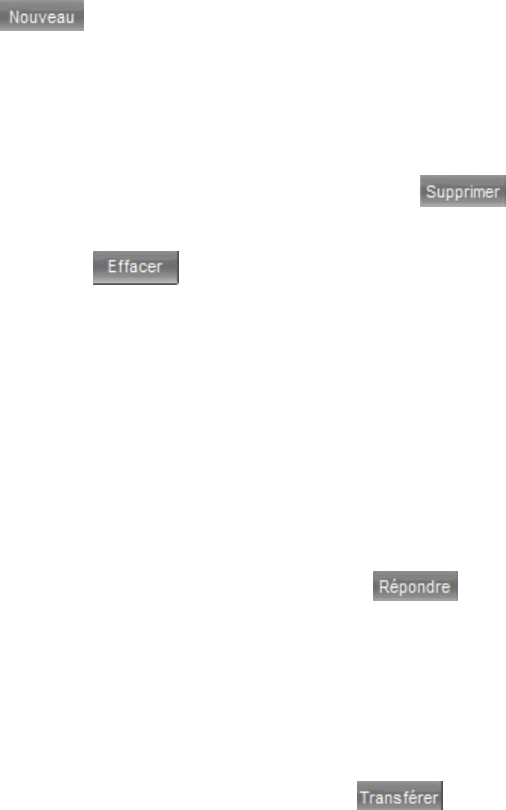
New, Delete Message
You can new or delete messages
New:
Click button then the normal mode of" Write SMS " will pop-up, You can new messages .For
details please refer to" Write SMS ".
Delete:
Select the messages you want to delete then click button.
You can select button to delete all messages in current mailbox.
Reply, Forward Message
Here, you can reply and forward the selected messages.
Reply:
Select messages you want to reply,then click button, the normal mode of "Write SMS" will
pop-up. In the " Write SMS", the phone number of address has been inputed into "Recipient", just input
the message content and send it.
Forward:
Select messages you want to forward, click button, the normal mode of " Write SMS " will
pop-up. In the " Write SMS", just input phone number into Send to and send out the message. You can
also edit the message content before send.
For details, please refer to: " Write SMS ".
Write SMS
We will introduce the normal mode of "Write SMS", with which you can edit and send messages easily.
Recipient: Input phone number here. You can click to enter into "Select Contacts" window to
select contacts saved in computer, in Modem. After click OK, the selected phone number and their names
will be shown in the input field next to "Send ". If there are several phone numbers, they would be
separated by ";"
SMS Content: input the content of message that will be sent
Save: You can save the edited messages.
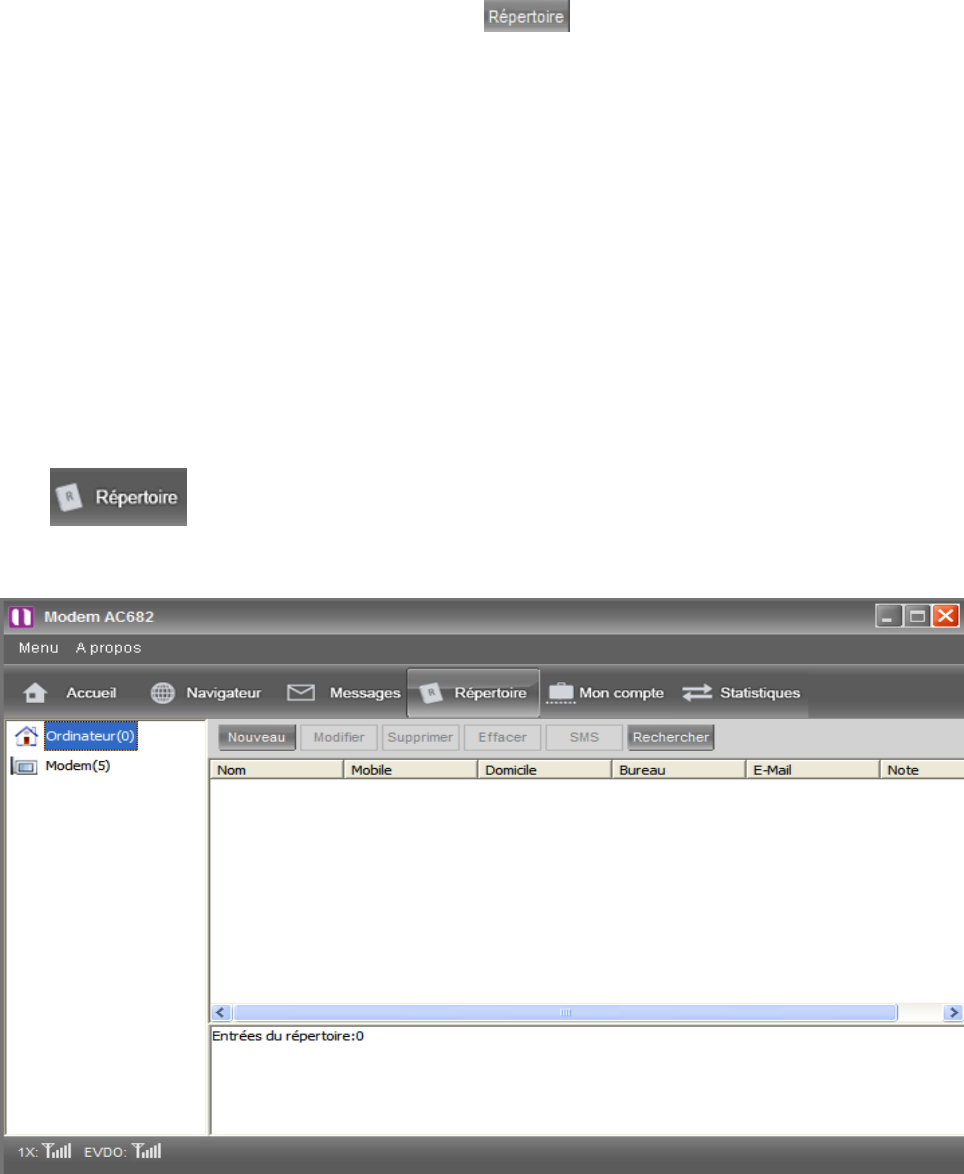
Phonebook
Click button to enter "Phonebook" interface. There are"Modem" and "Computer" as
follows
New, Delete Contacts
You can new or delete contacts with function button..
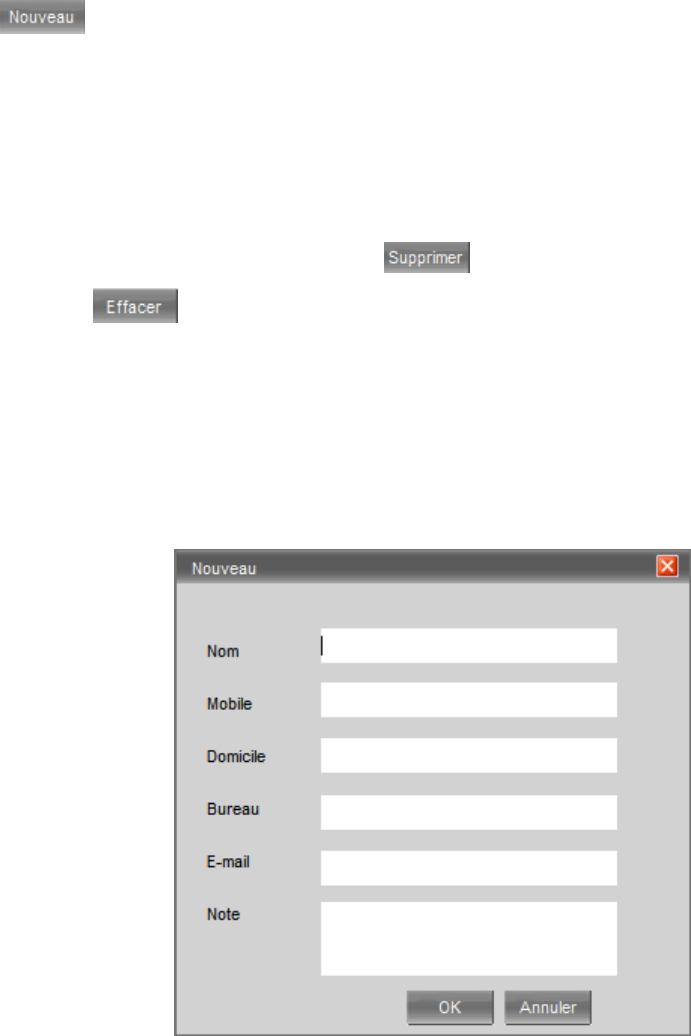
New:
Click button to enter Contact editor.
Input the correct information in the editor and press “OK” button.
For details, please refer to: “Contact editor ”.
Delete:
Choose the contacts to be deleted, then press button.
You can select button to delete all contacts in current mailbox.
Contact Editor
New or edit contacts will enter "Contact editor" interface, with which you can new or edit the contact
stored in the Computer contact
Please input corresponding information in each field.
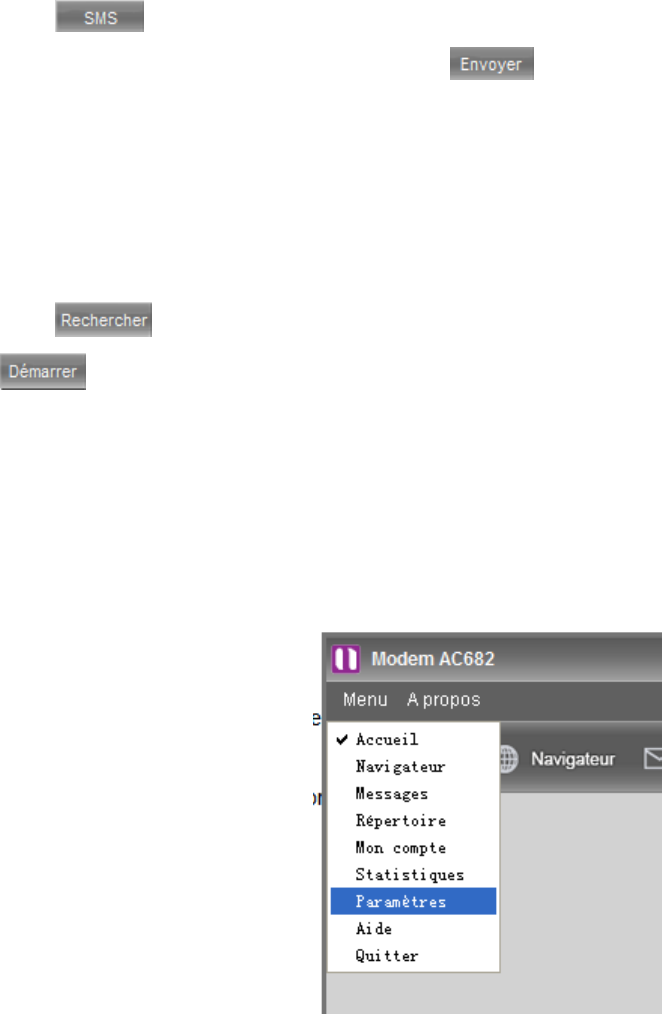
Send Message
You can send messages to the select contacts or the whole group.
Click button to enter "SMS Editor" after contacts are selected.
You can send the message directly by pressing after finish editing it in "Write SMS".
Search
You can search the items with special condition.
Click button, then input the search condition into the dialog of editor and press
button..
Settings
You can enter into "Settings" window by clicking button shown as below:
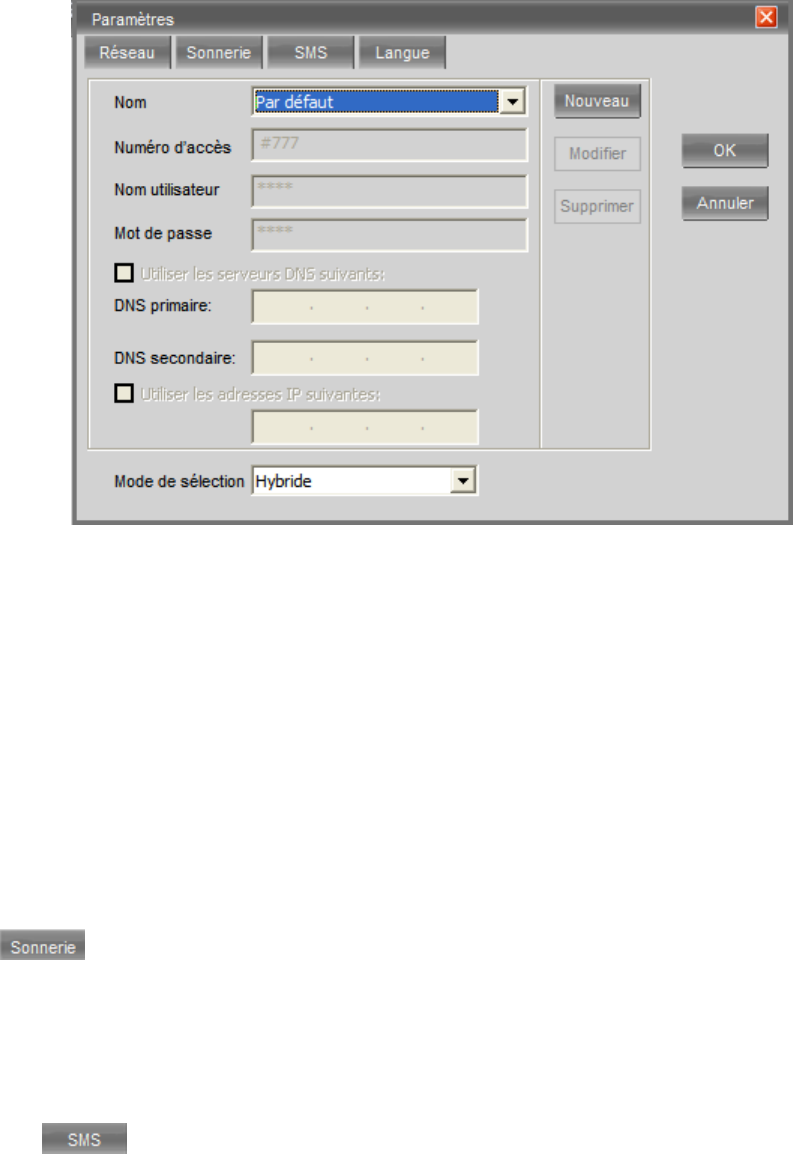
Mode Selection: you can set the mode when connecting the net.
EVDO: Select it, you will access network in a higher rate.
CDMA1X: Select it, you will access network with the mode of CDMA1X.
Hybrid (EVDO & CDMA 1X): Select it, you will access network with the mode mixed with EVDO
and CDMA1X.
Ring Setting
Click button to enter Ring setting interface
SMS: Set the ring of incoming message.
SMS Setting
Click button to enter Ring setting interface .
Priority: set the Priority of message. You can set one of four statuses. Normal, Interactive, Urgent
and Emergency.
Storage: set the place where the message will be restored. Message can restore in pc and Modem
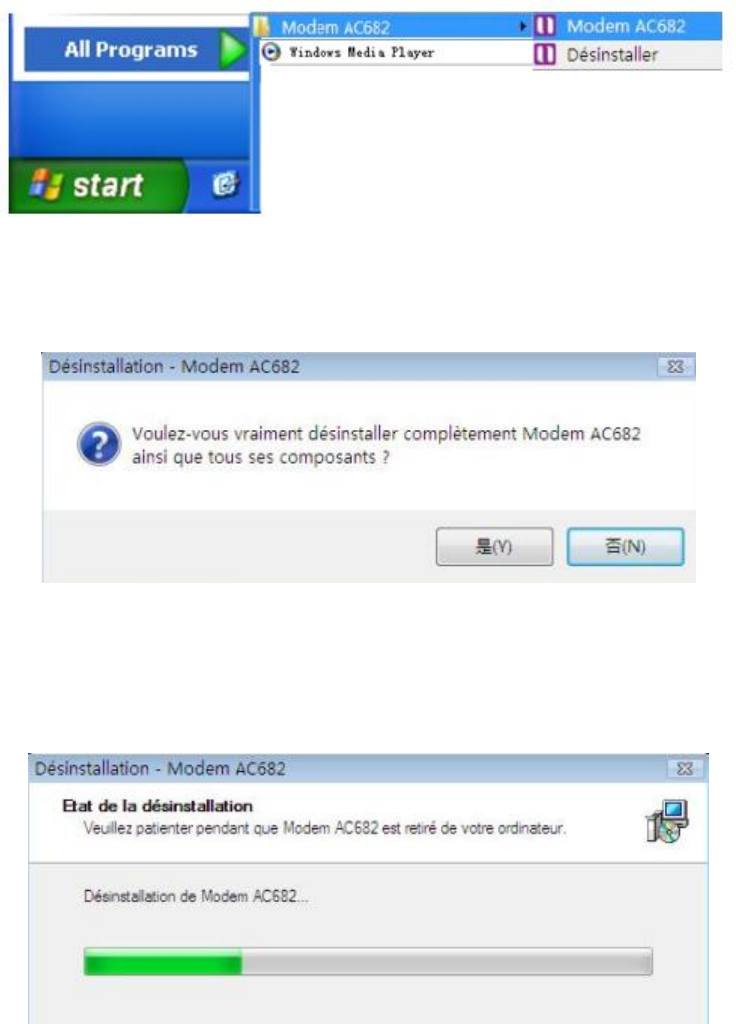
Uninstall
Start uninstall
Execute the Uninstall program shown as below:
Press button
As clicking Uninstall icon, you can see a dialog below. Click yes button.
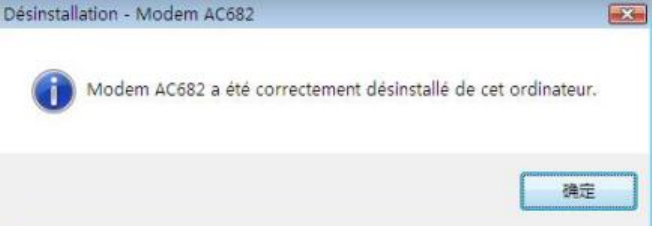
Uninstall continue.
Uninstall program remove file in your PC. (Uninstall Program deletes Drivers, Modem and
Modem Application Program.)
Uninstall Complete. Click „Finish‟ button.
FCC Regulations:
This device complies with part 15 of the FCC Rules. Operation is subject to the following two conditions: (1) This
device may not cause harmful interference, and (2) this device must accept any interference received, including
interference that may cause undesired operation.
This product has been tested and found to comply with the limits for a Class B digital device, pursuant to Part 15
of the FCC Rules. These limits are designed to provide reasonable protection against harmful interference in a
residential installation. This equipment generates, uses and can radiated radio frequency energy and, if not
installed and used in accordance with the instructions, may cause harmful interference to radio communications.
However, there is no guarantee that interference will not occur in a particular installation If this equipment does
cause harmful interference to radio or television reception, which can be determined by turning the equipment
off and on, the user is encouraged to try to correct the interference by one or more of the following measures:
-Reorient or relocate the receiving antenna.
-Increase the separation between the equipment and receiver.
-Connect the equipment into an outlet on a circuit different from that to which the receiver is connected.
-Consult the dealer or an experienced radio/TV technician for help.
Changes or modifications not expressly approved by the party responsible for compliance could void the user‘s
authority to operate the equipment.
The antenna(s) used for this transmitter must not be co-located or operating in conjunction with any other
antenna or transmitter.

RF Exposure Information (SAR)
This product meets the government’s requirements for exposure to radio waves.
This product is designed and manufactured not to exceed the emission limits for exposure to radio frequency (RF)
energy set by the Federal Communications Commission of the U.S. Government.
The exposure standard for this product employs a unit of measurement known as the Specific Absorption Rate, or
SAR. The SAR limit set by the FCC is 1.6W/kg. *Tests for SAR are conducted using standard operating positions
accepted by the FCC with the device transmitting at its highest certified power level in all tested frequency bands.
Although the SAR is determined at the highest certified power level, the actual SAR level of the device while
operating can be well below the maximum value. This is because the product is designed to operate at multiple
power levels so as to use only the poser required to reach the network. In general, the closer you are to a
wireless base station antenna, the lower the power output.
The highest SAR value for the model product as reported to the FCC when worn on the body, as described in this
user guide, is 0.868 W/kg (Body-worn measurements differ among devices, depending upon available accessories
and FCC requirements.)
While there may be differences between the SAR levels of various products and at various positions, they all meet
the government requirement.
The FCC has granted an Equipment Authorization for this model product with all reported SAR levels evaluated as
in compliance with the FCC RF exposure guidelines. SAR information on this model product is on file with the
FCC and can be found under the Display Grant section of www.fcc.gov/oet/ea/fccid after searching on FCC ID:
Q78-AC682
For body worn operation, this product has been tested and meets the FCC RF exposure guidelines for use with an
accessory that contains no metal and the positions the handset a minimum of 0.5cm from the body. Use of
other accessories may not ensure compliance with FCC RF exposure guidelines. If you do no t use a body-worn
accessory and are not holding the product at the ear, position the handset a minimum of 0.5 cm from your body
when the product is switched on.