ZTE G650 800 MHz CDMA2000 1X Mobile Phone User Manual
ZTE Corporation 800 MHz CDMA2000 1X Mobile Phone
UserManual.wiki
>
ZTE
>
G650 User Manual
User Manual
Navigation menu
Upload a User Manual
Namespaces
Wiki Guide
HTML
PDF
Info
Views
User Manual
Discussion / Help
Navigation

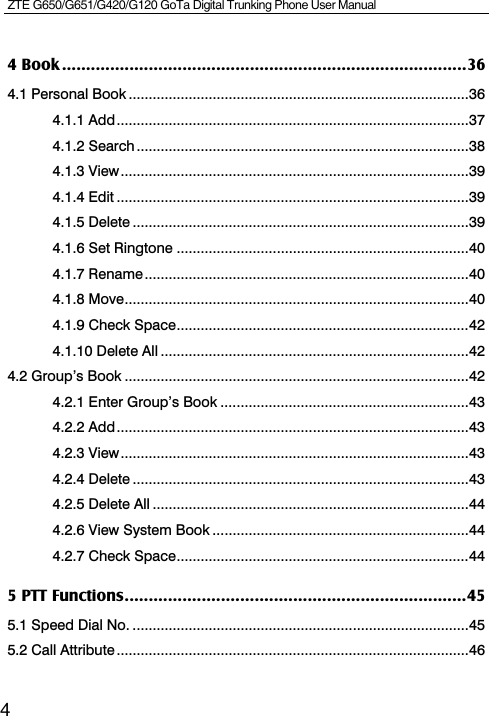
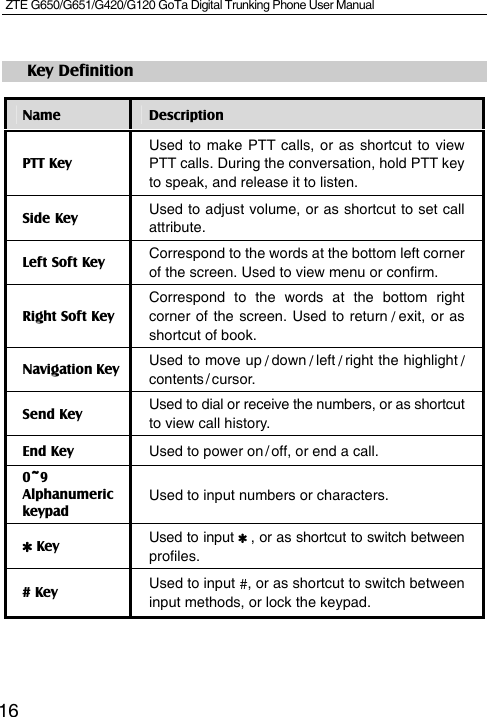

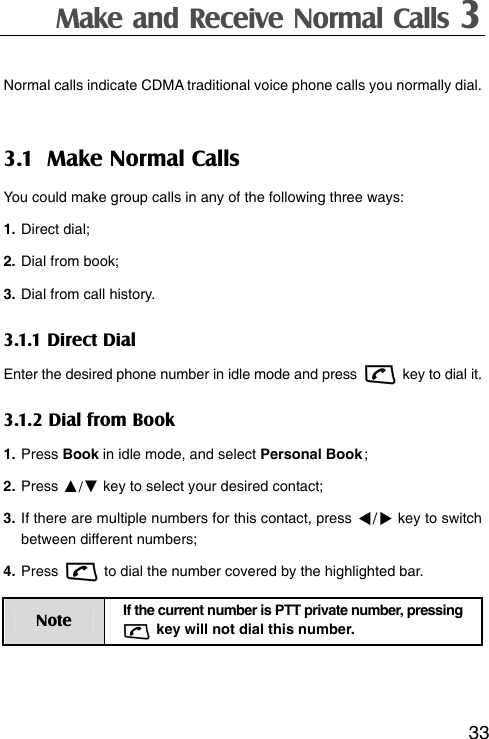
![23Descriptions Input Capital Letters /Lowercases 1. Select “ABC”/ “abc” input method; 2. Each alphanumeric key corresponds to multiple letters. Press the appropriate alphanumeric key once to input the first letter that appears on the key, twice for the second letter, and on the analogy of this. Continuously Press: After you press a key, firstly a black block appears at the cursor, and then an upright line. “Continuously Press” means pressing the key before the upright line appears. e.g.: To enter letter “a”, press key once; To enter letter “c”, press three times continuously; To enter letter “aa”, press once, and press again after the upright line appears at the cursor. Input Symbols 1. Press key to input symbols; 2. Press the appropriate alphanumeric key to input the symbol that appears on the key. Input Numbers Press the appropriate alphanumeric key to input, or press the appropriate alphanumeric key to input after selecting number input method; Input Space Press to input Pinyin Input Method 1. Press key to select Pinyin Input Method; 2. Press the appropriate alphanumeric key to input Pinyin; 3. Use key to select Pinyin; 4. Use ▲▼ key to view the characters; 5. Press [OK] and the appropriate alphanumeric key to input Chinese character. Stroke Input Method 1. Select Stroke Input Method; 2. Press the appropriate alphanumeric key to input strokes; 3. Use ▲▼ key to view the characters; 4. Press [OK] and the appropriate alphanumeric key to input Chinese character.](https://usermanual.wiki/ZTE/G650/User-Guide-679313-Page-23.png)
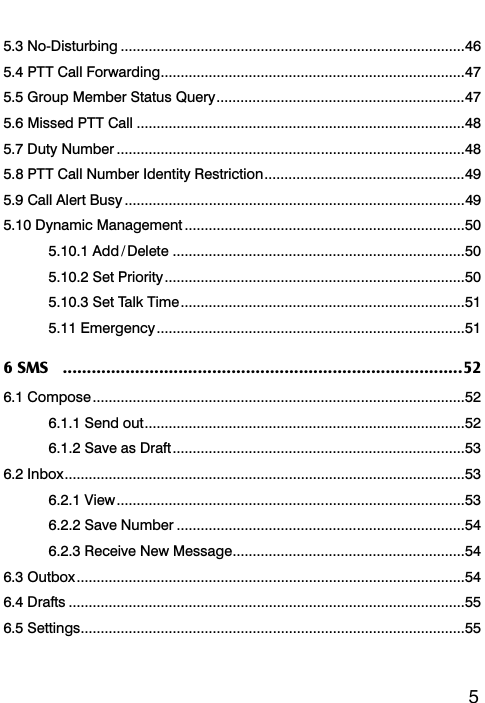
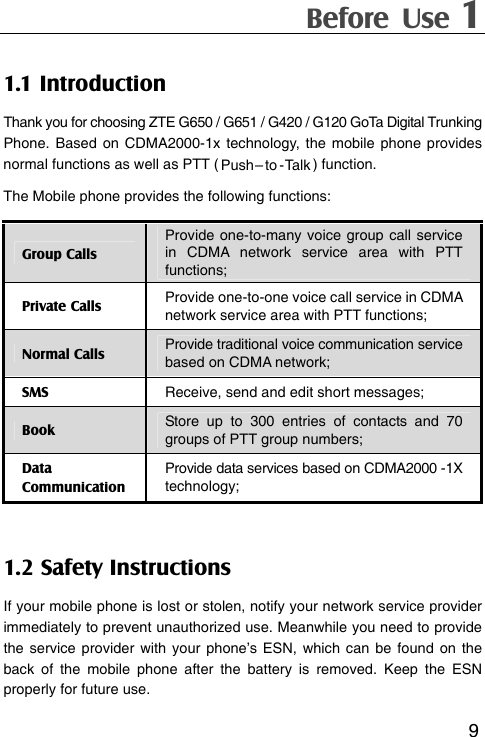
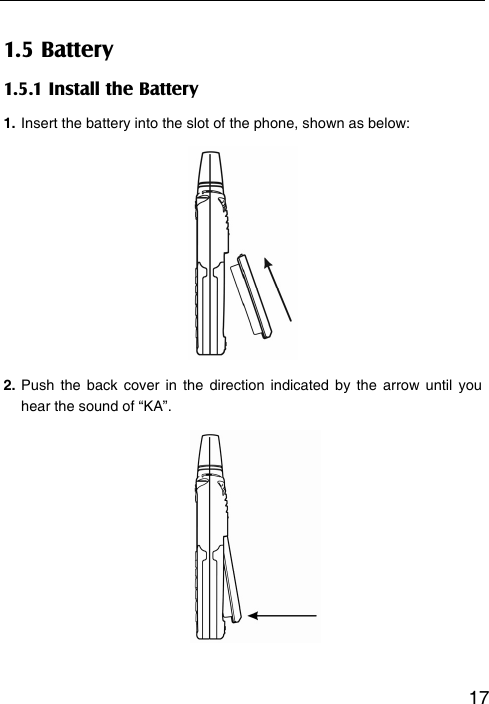
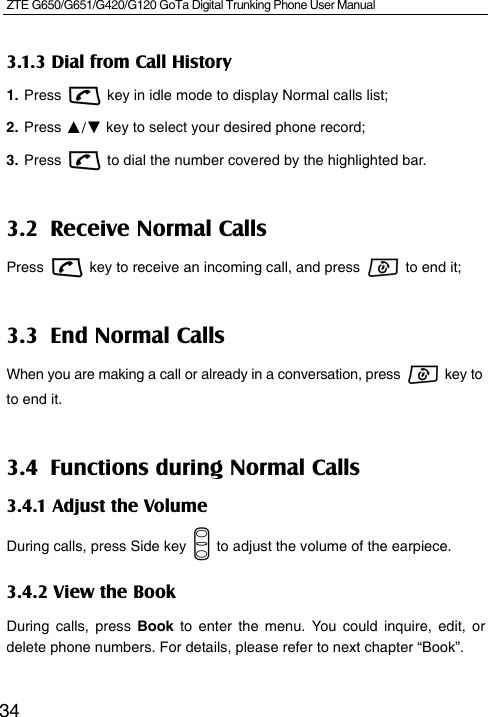
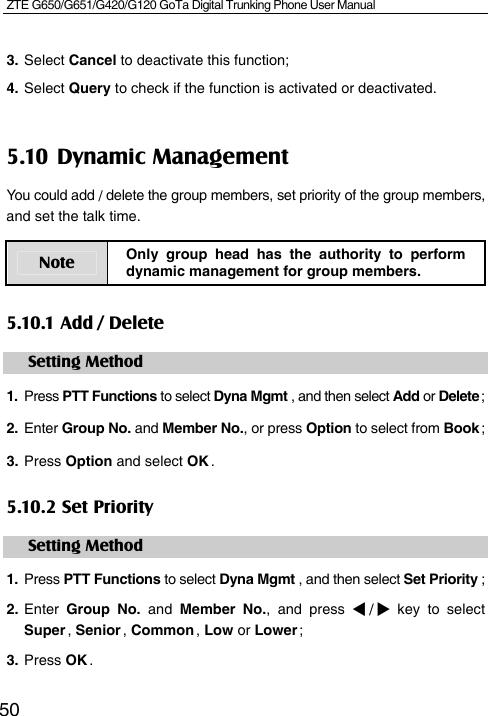
![ZTE G650/G651/G420/G120 GoTa Digital Trunking Phone User Manual 241.9 Interface Introduction Descriptions of Status Bar Icons Descriptions Network Signal Strength GoTa Service is available; Ordinary PTT Call Status GoTa Service is available; Pre-emptive PTT Call Status; GoTa Service is unavailable In PTT No-disturbing Sound comes out from earpiece Sound comes out from speaker In Roaming New Short Message Flicker means that inbox is full, and un -useful short messages should be deleted Incoming Call Vibration Status Incoming Call Flash Status Alarm Clock is set Battery Capacity ZTE 5月17 日[一] 15:44 Menu Book Left Soft Key Right Soft Key Status Bar: displays the status of mobile phone.See the following descriptions. Operation Bar: displays the operation instructionsof “Left Soft Key” and “Right SoftKey”.](https://usermanual.wiki/ZTE/G650/User-Guide-679313-Page-24.png)
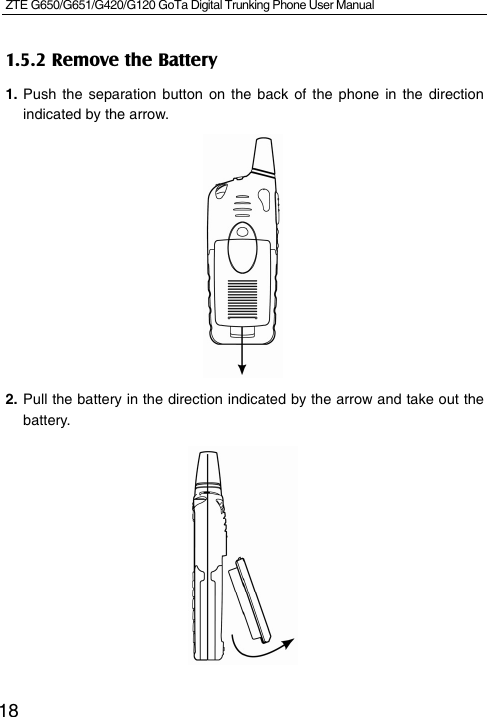
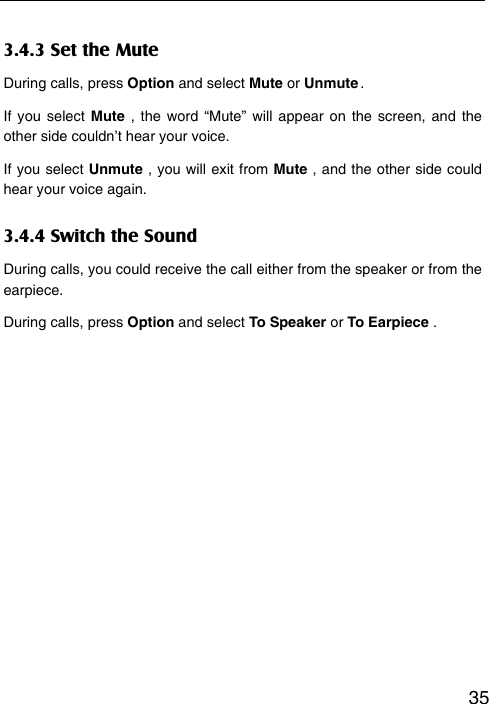
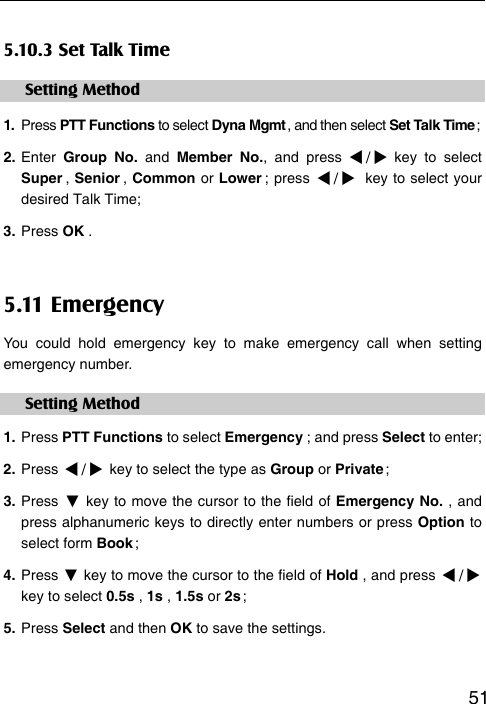
![272. Press ▲/▼ key to select your desired private call record; 3. Hold PTT key to start dialing, and talk after hearing a beep sound; 4. Release PTT key to release the floor. Listen to the other side to speak at this point. Note If you select [ PRESS ] as the status of [ Speed Dial No.] in [PTT Functions],press PTT key in idle mode to directly dial PTT Speed Dial number, instead of displaying PTT calls list. 2.2 Make Group Calls You could make group calls in any of the following three ways: 1. Direct dial; 2. Dial from book; 3. Dial from call history. 2.2.1 Direct Dial 1. Enter “#” firstly, and then the desired group numbers in idle mode; 2. Hold PTT key and talk after hearing a beep sound; 3. Release PTT key to release the floor. Listen to the other members to speak at this point.](https://usermanual.wiki/ZTE/G650/User-Guide-679313-Page-27.png)
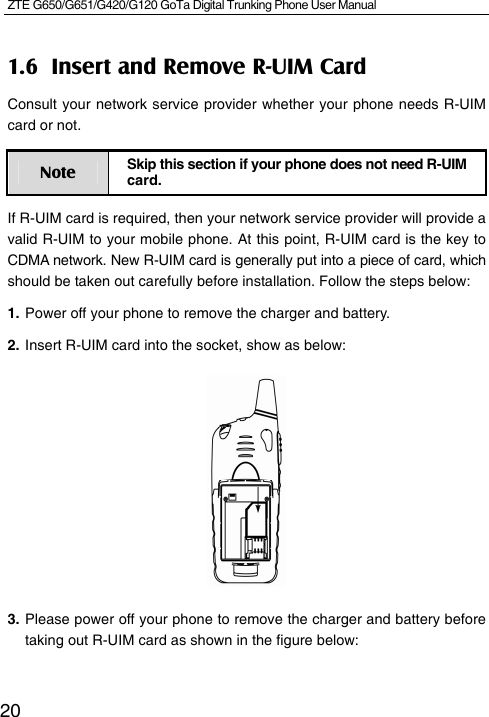
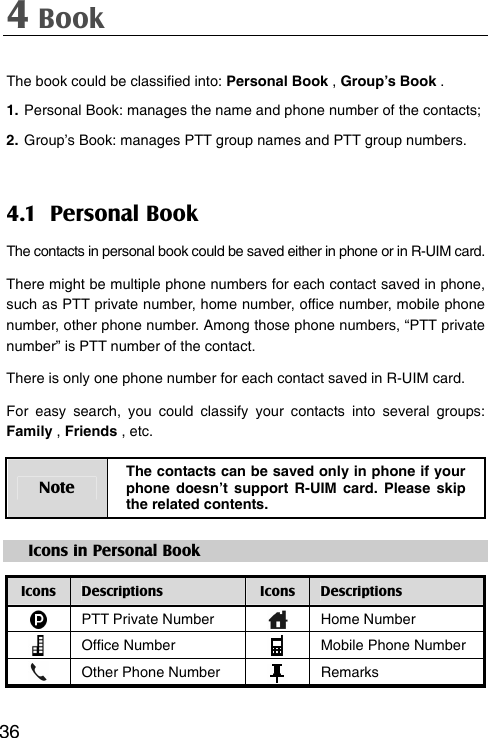
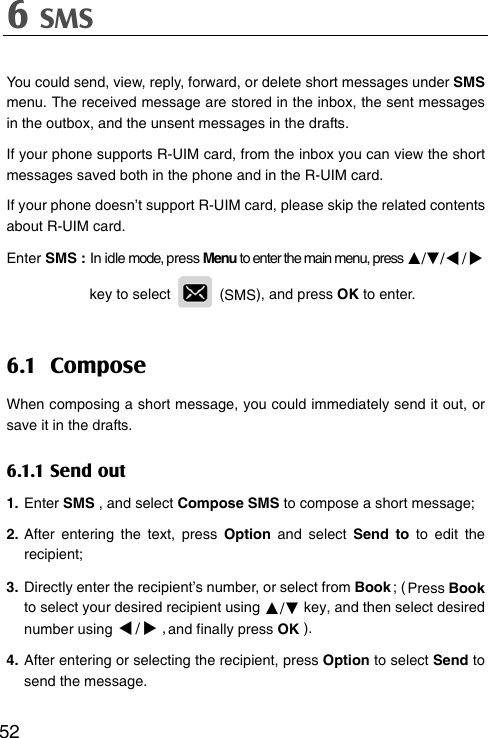
![ZTE G650/G651/G420/G120 GoTa Digital Trunking Phone User Manual 282.2.2 Dial from Book 1. Press Book in idle mode, and select Group’s Book ; 2. Press ▲/▼ key to select User Book / System Book , and then press select to enter; press ▲/▼ key to select the desired group; 3. Hold PTT key and talk after hearing a beep sound; 4. Release PTT key to release the floor. Listen to the other members to speak at this point. 2.2.3 Dial from Call History 1. Press PTT key in idle mode to display PTT calls list; 2. Press ▲/▼ key to select your desired group call record; 3. Hold PTT key to start dialing, and talk after hearing a beep sound; 4. Release PTT key to release the floor. Listen to the other members to speak at this point. Note If you select [PRESS] as the status of [Speed Dial No.] in [PTT Functions], press PTT key in idle mode to directly dial PTT Speed Dial number, instead of displaying PTT calls list.](https://usermanual.wiki/ZTE/G650/User-Guide-679313-Page-28.png)
![ZTE G650/G651/G420/G120 GoTa Digital Trunking Phone User Manual 382. Press Save to save the contents. Note Under the editing status, press [Clear] key to clear the inputs on the screen one by one, and hold [Clear] key to clear all the inputs on the screen. In UIM 1. Press ▲/▼ key to scroll the highlight between Name and , and edit the highlighted item; Name: enter contact’s name. : enter the number. 2. Press Save to save the contents. 4.1.2 Search The phone provides three methods of searching for contacts: direct search, search by name and search by group. Direct search 1. Press Book and select Personal Book in idle mode; 2. All contacts in Personal Book will be listed; ress ▲/▼ key to search for your desired contact. Search by name 1. In idle mode, press Book to select Personal Book and then press Option to select Srch by Name ;](https://usermanual.wiki/ZTE/G650/User-Guide-679313-Page-38.png)
![ZTE G650/G651/G420/G120 GoTa Digital Trunking Phone User Manual 402. Press Option to select Delete ; 3. Press Yes to confirm the deletion. 4.1.6 Set Ringtone 1. In idle mode, press Book to select Personal Book and then press Option to select Srch by Group ; 2. Press ▲/▼ key to select the group you want to set ring tone for; 3. Press Option to select Set Ringtone ; 4. Press ▲/▼ key to select your desired group ringtone, and press Select to confirm. Note If the incoming call number is saved in [Personal Book], the incoming call ringtone will be the group ringtone here, rather than the ringtone you set in [Profiles]. 4.1.7 Rename 1. In idle mode, press Book to select Personal Book , and then press Option to select Srch by Group ; 2. Press ▲/▼ key to select the group you want to edit; 3. Press Option to select Rename ; 4. Enter the new name and press Ok . 4.1.8 Move Move the record from phone to R-UIM card 1. In idle mode, press Book to select Personal Book ;](https://usermanual.wiki/ZTE/G650/User-Guide-679313-Page-40.png)

![PTT Functions 5 45Users could operate all PTT functions and perform corresponding settings in PTT Functions . Enter PTT Functions : In idle mode, press Menu to enter, press ▲/▼// key to select , and press OK to enter. 5.1 Speed Dial No. PTT Speed Dial No. is the number, which you could dial directly by holding PTT key in idle mode. Setting Method 1. Select PTT Functions , press OK to enter, and then select Speed Dial No. to enter; 2. Press ▲/▼ key to scroll the highlight and edit the highlighted item; Status: PRESS / HOLD / OFF ; press / to select; Type: Group / Private ; press / to select; Dial number: enter a number or press Option to select from Book ; 3. Press OK . Note If you select [ PRESS ] as the status of [Speed Dial No.] in [PTT Functions], press PTT key in idle mode to directly dial PTT Speed Dial number, instead of displaying PTT calls list.](https://usermanual.wiki/ZTE/G650/User-Guide-679313-Page-45.png)
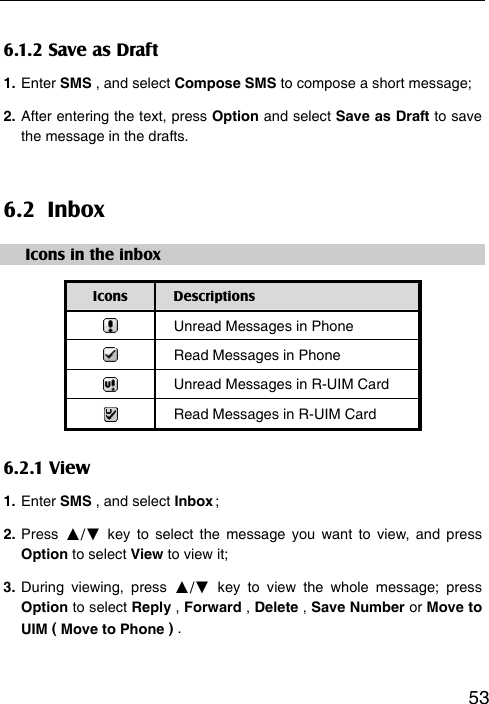
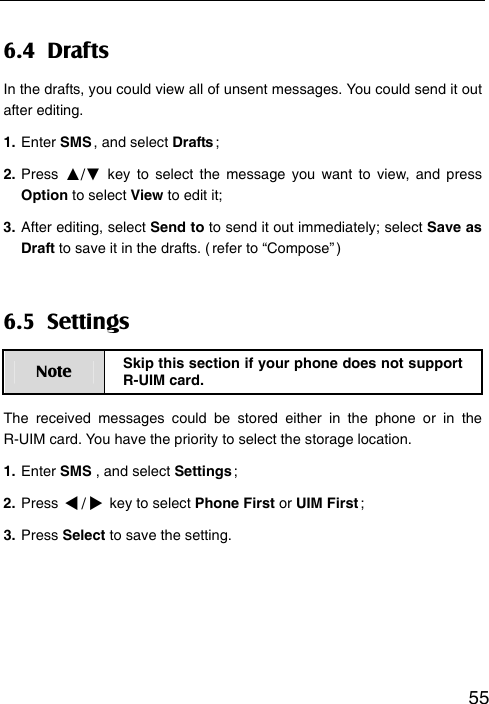
![ZTE G650/G651/G420/G120 GoTa Digital Trunking Phone User Manual 54 Note [Move to UIM (Move to Phone)] is available only for the phones supporting R-UIM card. 6.2.2 Save Number You could save the recipient’s phone number or the numbers in the message text into the phone book. 1. Enter SMS , and select Inbox ; 2. Press ▲/▼ key to select the desired message, and press Option to select Save Number ; 3. Save into the phone book after selecting the number. For detailed operation, please refer to the following chapter “Book”. 6.2.3 Receive New Message 1. The system will alert upon receipt of a new message. Select View to go into the inbox directly; 2. If there are unread messages in the inbox, “” will display in the status bar of the standby screen. 6.3 Outbox In the outbox, you could view all of sent messages. 1. Enter SMS , and select Outbox ; 2. Press ▲/▼ key to select the message you want to view, and press Option to select View to view it; 3. During viewing, press ▲/▼ key to view the whole message; press Option to select Forward or Delete .](https://usermanual.wiki/ZTE/G650/User-Guide-679313-Page-54.png)
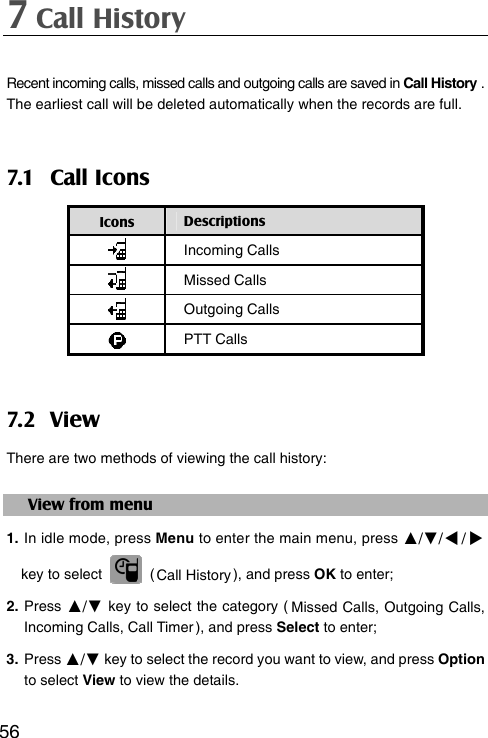
![57 Quick view 1. In idle mode, press key to view the list of normal calls; press PTT key to view the list of PTT calls; 2. Press ▲/▼ key to select the record you want to view, and press Option to select View to view the details. Note If you select [PRESS] as the status of [Speed Dial No.] in [PTT Functions], press PTT key in idle mode to directly dial PTT Speed Dial number, instead of displaying PTT calls list. 7.3 Delete 1. Enter the list of call records ( refer to section 7.2 “View” ); 2. Press ▲/▼ key to select the record you want to delete, press Option to select Delete to delete it. 7.4 Delete All 1. Enter the list of call records ( refer to section 7.2 “View” ); 2. Press Option to select Delete All ; 3. Press OK to delete all call records in the current category.](https://usermanual.wiki/ZTE/G650/User-Guide-679313-Page-57.png)

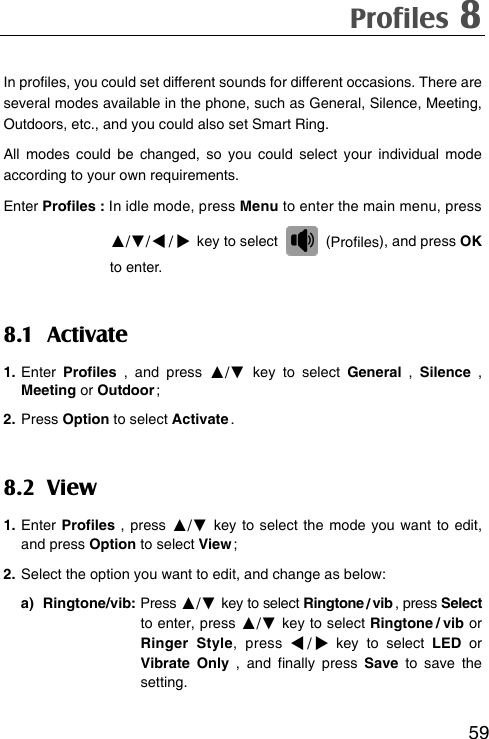
![ZTE G650/G651/G420/G120 GoTa Digital Trunking Phone User Manual 60b) SMS Alert: Press ▲/▼ key to select SMS Alert . The operation is the same as Ringtone / vib . c) PTT Voice: Press ▲/▼ key to select PTT Voice , press Select to enter, press / key to select PTT voice from Speaker or Earpiece , and finally press Save to save the setting. d) Volume: Press ▲/▼ key to select Volume , press Select to enter, press ▲/▼ key to select the type Ringer , Earpiece , Key tone or SMS alert , press / key to adjust the volume, and finally press Save to save the setting. e) Alert: Press ▲/▼ key to select Alert , press Select to enter, press ▲/▼ key to select Call Connected , Call Ended , or 1 minute , press / key to select On / Off, and finally press Save to save the setting. Note If you select PTT voice from [Earpiece], the phone will prompt with vibration when receiving PTT calls. The incoming call ringtone is just for ordinary numbers. For those numbers in the groups of the phone book, the incoming call ringtone is the group ringtone you set in [Book]. 8.3 Smart Ring You could set smart ring for up to five special incoming call numbers. 1. Enter Profiles , and press ▲/▼ key to select Smart Ring ;](https://usermanual.wiki/ZTE/G650/User-Guide-679313-Page-60.png)