ZTE MF279T WCDMA/LTE CPE User Manual
ZTE Corporation WCDMA/LTE CPE
UserManual.wiki
>
ZTE
>
MF279T User Manual
User manual
Navigation menu
Upload a User Manual
Namespaces
Wiki Guide
HTML
PDF
Info
Views
User Manual
Discussion / Help
Navigation

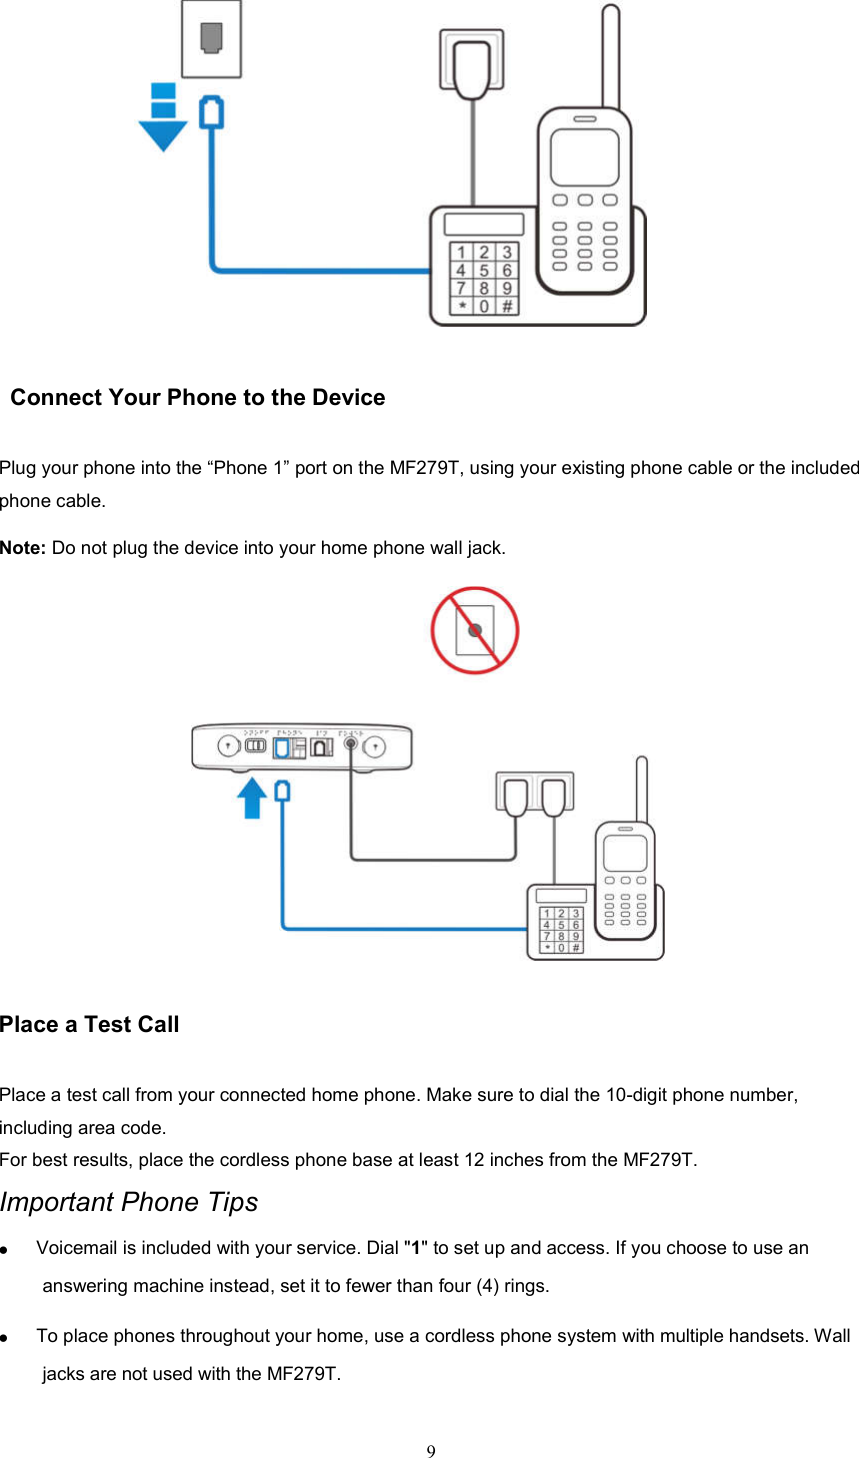
![13 Note: If you change the operation mode, the device will be restarted automatically. 3. Set the detail parameters for the operation mode. 4. Begin to enjoy your Internet service. Using Your Device Calling Making Calls Using a phone connected to your MF279T, place and receive calls as you normally would. The MF279T supports both cordless and corded phone dialing methods. Note: Make sure to dial the 10-digit phone number, including area code. Three-Way Calling While on an existing call, press the Flash (or Phone/Talk) key on your phone to put the first party on hold. When you hear a dial tone, dial the second party's number (wait up to four [4] seconds). When the second party answers, press the Flash (or Phone/Talk) key again to complete the three-way connection. If the second party does not answer, press the Flash (or Phone/Talk) key to end the connection and return to the first party. Note: If your phone does not have a Flash (or Phone/Talk) key, use the off-hook mechanism supported by your phone instead.](https://usermanual.wiki/ZTE/MF279T/User-Guide-3649318-Page-13.png)