ZTE OPENC WCDMA/GSM(GPRS) Dual-Mode Digital Mobile Phone User Manual ZTE Open draft
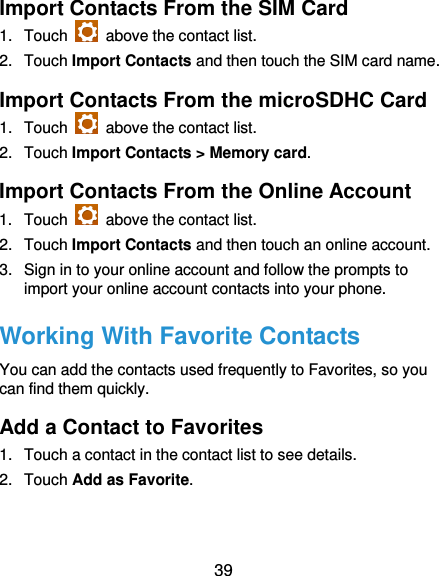
ZTE Corporation WCDMA/GSM(GPRS) Dual-Mode Digital Mobile Phone ZTE Open draft
UserManual.wiki
>
ZTE
>
OPENC User Manual
User manual
Navigation menu
Upload a User Manual
Namespaces
Wiki Guide
HTML
PDF
Info
Views
User Manual
Discussion / Help
Navigation
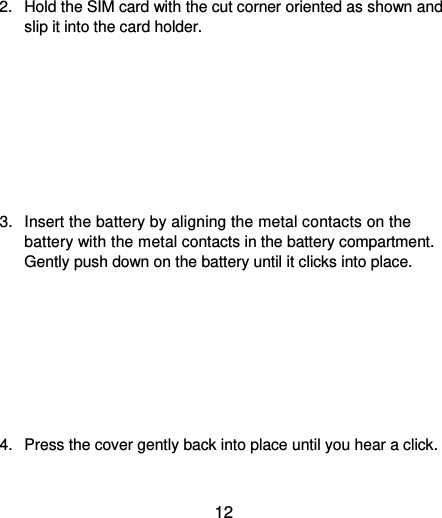

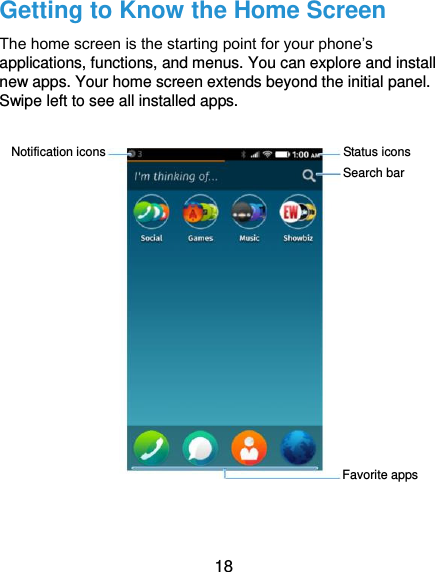


![84 operations or lower image quality. Clean the device and its accessories with a soft material such as cleaning cloth for eyeglass lenses. Do not use alcohol or other corrosive substances for cleaning or allow them to get inside. Do not expose your phone or its accessories to open flames or lit tobacco products. Do not expose your phone or its accessories to liquid, moisture or high humidity. Do not drop, throw or try to bend your phone or its accessories. Do not paint your phone or its accessories. Do not attempt to disassemble your phone or its accessories. Only authorized personnel can do so. Do not expose or use your phone or its accessories in a environment with or that can reach extreme temperatures, minimum - [5] and maximum + [50] degrees Celsius. Do not place your phone inside or near heating equipments or high pressure containers, such as water heaters, microwave ovens, or hot cooking utensils. Otherwise, your phone may be damaged. Please check local regulations for disposal of electronic products. Do not carry your phone in your back pocket as it could break](https://usermanual.wiki/ZTE/OPENC/User-Guide-2217032-Page-84.png)