ZTE X790 GSM DUAL-BAND GPRS DIGITAL MOBILE PHONE (850/1900) User Manual X790
ZTE Corporation GSM DUAL-BAND GPRS DIGITAL MOBILE PHONE (850/1900) X790
UserManual.wiki
>
ZTE
>
X790 User Manual
Users Manual
Navigation menu
Upload a User Manual
Namespaces
Wiki Guide
HTML
PDF
Info
Views
User Manual
Discussion / Help
Navigation

![錯誤! 使用 [常用] 索引標籤將 标题 1 套用到您想要在此處顯示的文字。 1 Before Use Introduction Thank you for choosing ZTE Corporation’s ZTE-G X790 GSM Dual-Band GPRS Digital Mobile Phone. To guarantee your mobile phone always in its best condition, please read this manual carefully and keep it for future use. The pictures in this user manual are only used to demonstrate the mobile phone’s functions, so they are maybe different from what you see on your mobile phone. Please refer to your mobile phone if there are any differences. Safety Instructions If your mobile phone is lost or stolen, notify your service provider immediately to prevent others from abusing it. Meanwhile you need provide your service provider with your mobile phone’s ESN, which is printed on the label on the back of your mobile phone (appears after the battery is taken out). Keep the ESN properly for future use. To protect your mobile phone against abuse, take the following precautions: – Set PIN code (as your phone needs SIM card) and modify it from time to time. – Take your mobile phone along as much as possible.](https://usermanual.wiki/ZTE/X790/User-Guide-1110013-Page-9.png)
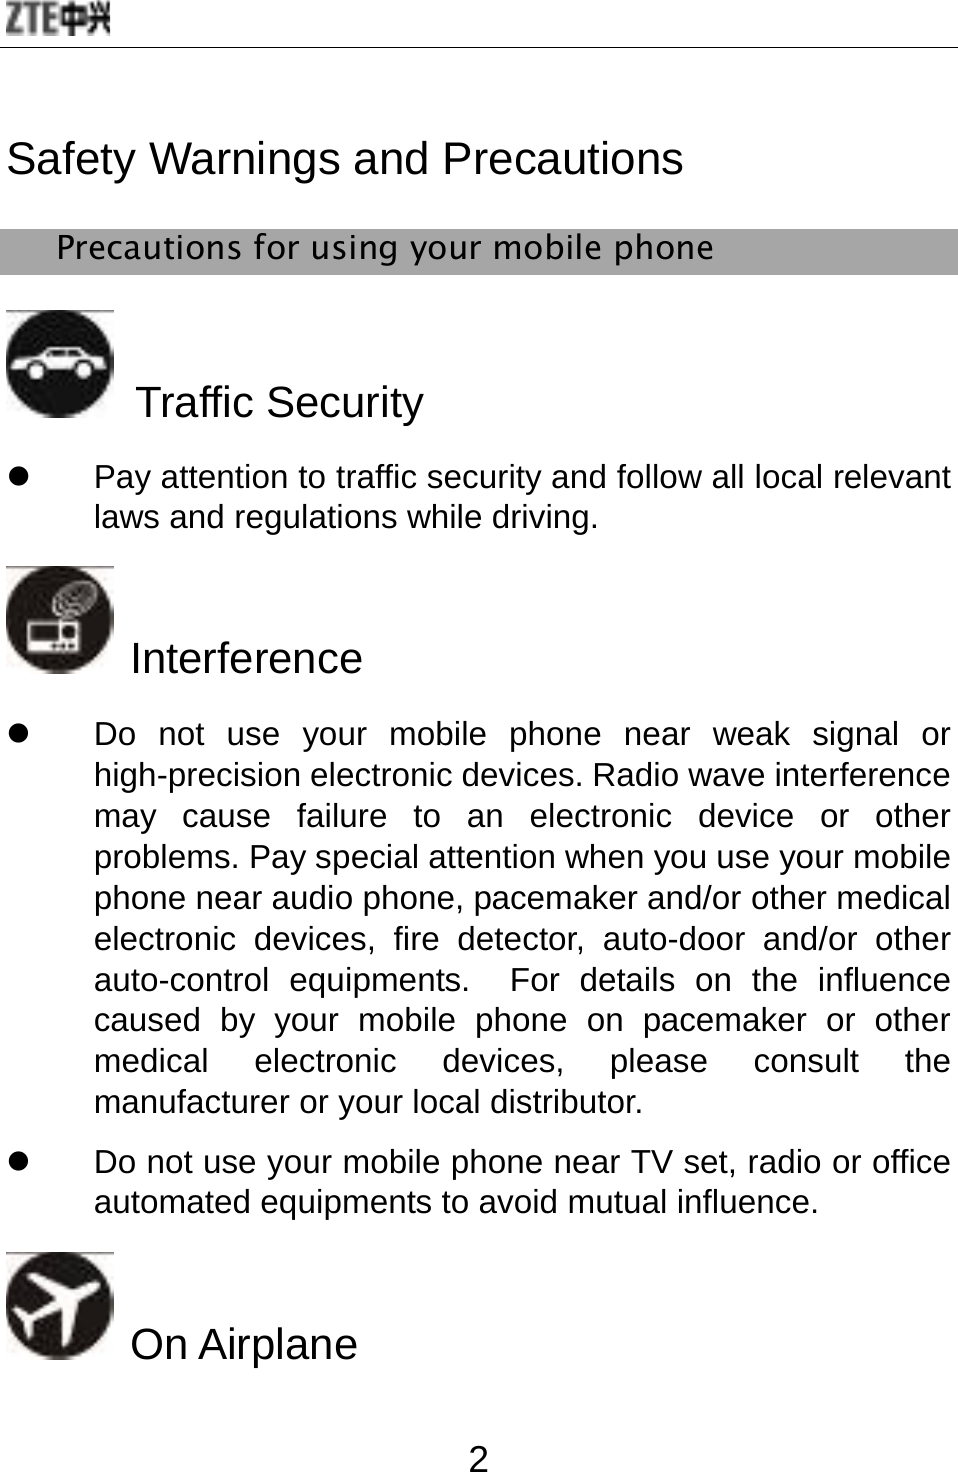
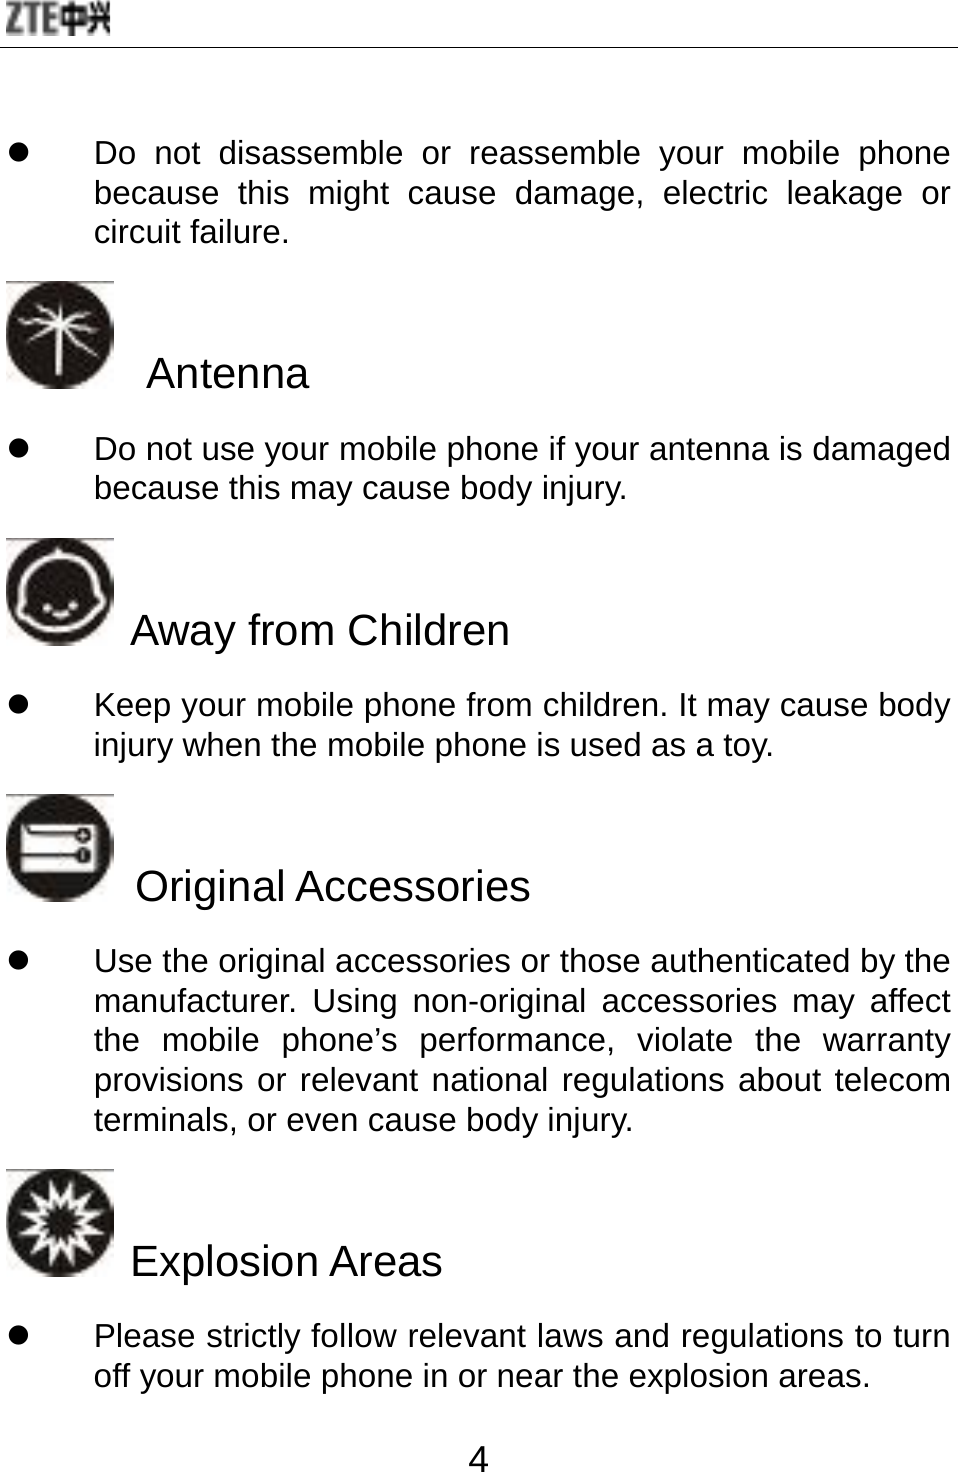
![錯誤! 使用 [常用] 索引標籤將 标题 1 套用到您想要在此處顯示的文字。 3 z Turn off your mobile phone on airplane where it’s forbidden to use it. The mobile phone may affect the normal operation of electronic devices, therefore please follow the relevant regulations when using your mobile phone on airplane. In Hospital z Turn off your mobile phone in hospital where it’s forbidden to use it. The mobile phone may affect the normal operation of medical apparatus, therefore please follow the relevant regulations when using your mobile phone in hospital. In Gas Station z Do not use your mobile phone in gas station. Turn off your mobile phone near fuels or chemicals. Waterproof z Keep your mobile phone away from water. This may cause overheating, electric leakage or failure if water or any other kind of liquid enters your mobile phone. Disassemble](https://usermanual.wiki/ZTE/X790/User-Guide-1110013-Page-11.png)
![錯誤! 使用 [常用] 索引標籤將 标题 1 套用到您想要在此處顯示的文字。 5 Emergency Calls z Make sure your mobile phone is turned on and in the service area. Input the emergency number and press “Send” key to dial. Let others know where you are and do not hang up without permission. Precautions for using the battery z Put the battery in a cool and ventilated place where there is no direct sunshine. z The battery life is usually limited, and it becomes shorter and shorter after the battery is charged over and over again. If the charging fails several times, this indicates that the battery is worn out and the replacement is advised. z Dispose the worn-out batteries in designated places according to specified regulations rather than throw them into residential garbage. z Do not throw the worn-out batteries into fire because this might cause fire or explosion. z Do not press with great force when installing the battery because this may result in leakage, overheating, explosion or fire. z Do not disassemble or reassemble the battery because this may result in leakage, overheating, explosion or fire. z If the battery becomes hot, changes in color or gets deformed during the course of use, charging or storage,](https://usermanual.wiki/ZTE/X790/User-Guide-1110013-Page-13.png)
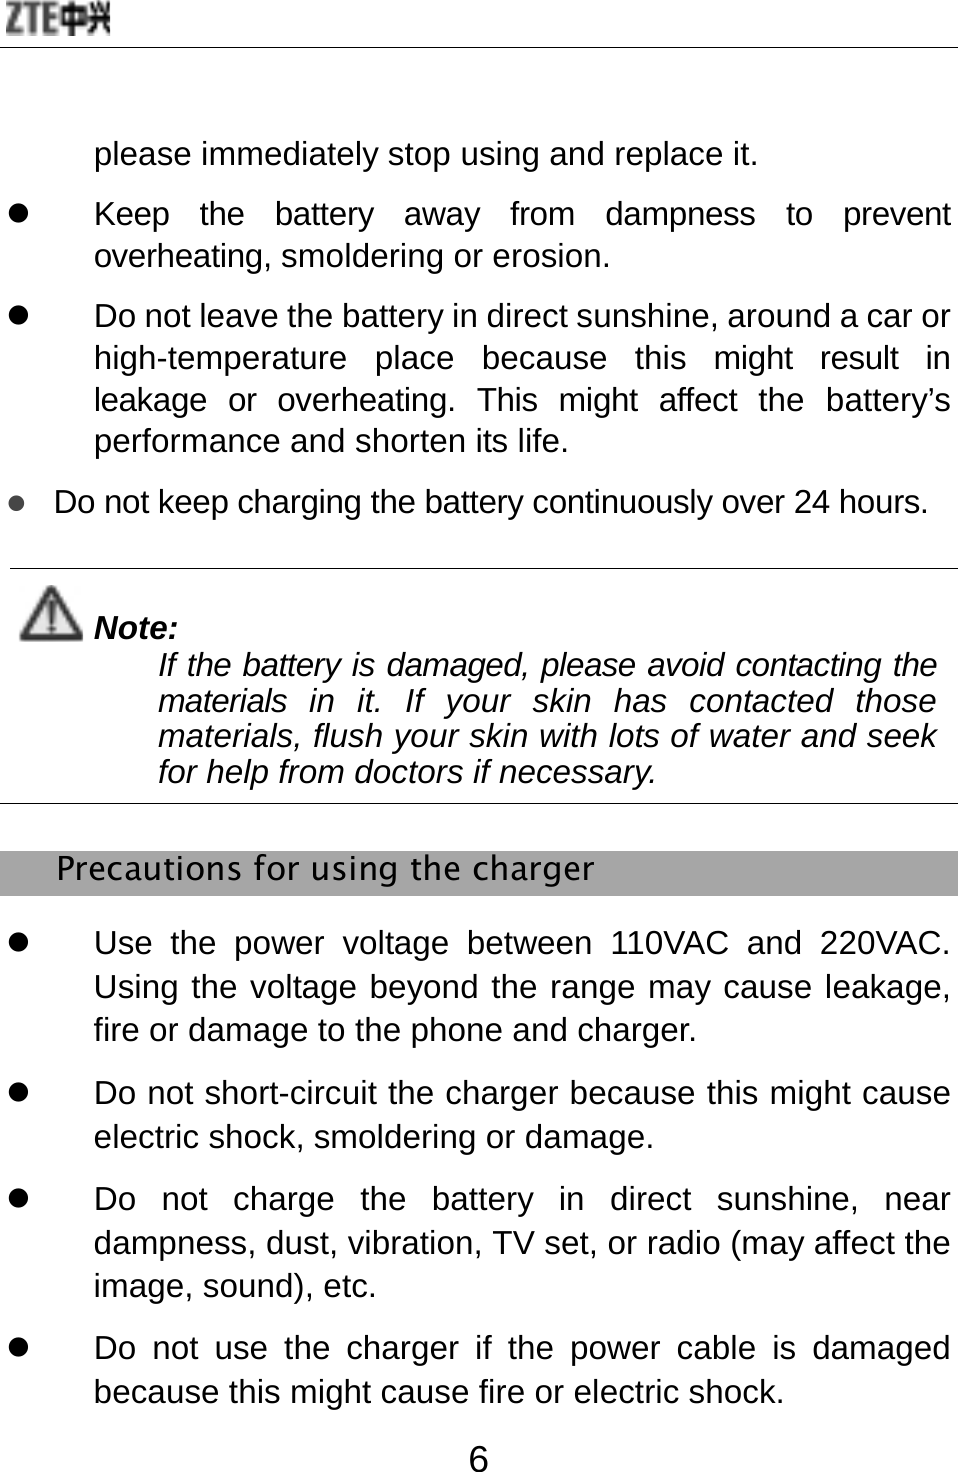
![錯誤! 使用 [常用] 索引標籤將 标题 1 套用到您想要在此處顯示的文字。 7 z Do not place water containers near the charger to avoid water splashing. If water or any other kind of liquid splashes on the charger, immediately remove the charger from the power socket to avoid overheating, fire, electric shock or failure. z Do not disassemble or reassemble the charger because this might cause body injury, electric shock, fire or damage. z Do not touch any charger, power cable or power socket with wet hands to avoid electric shock. z Do not place heavy objects onto power cables or refit power cable because this might cause electric shock or fire. z Remove power plug from the socket before cleaning and maintenance. z Hold the charger rather than pull the power cable while removing the plug from the socket because this might cause damage, electric shock or fire.](https://usermanual.wiki/ZTE/X790/User-Guide-1110013-Page-15.png)

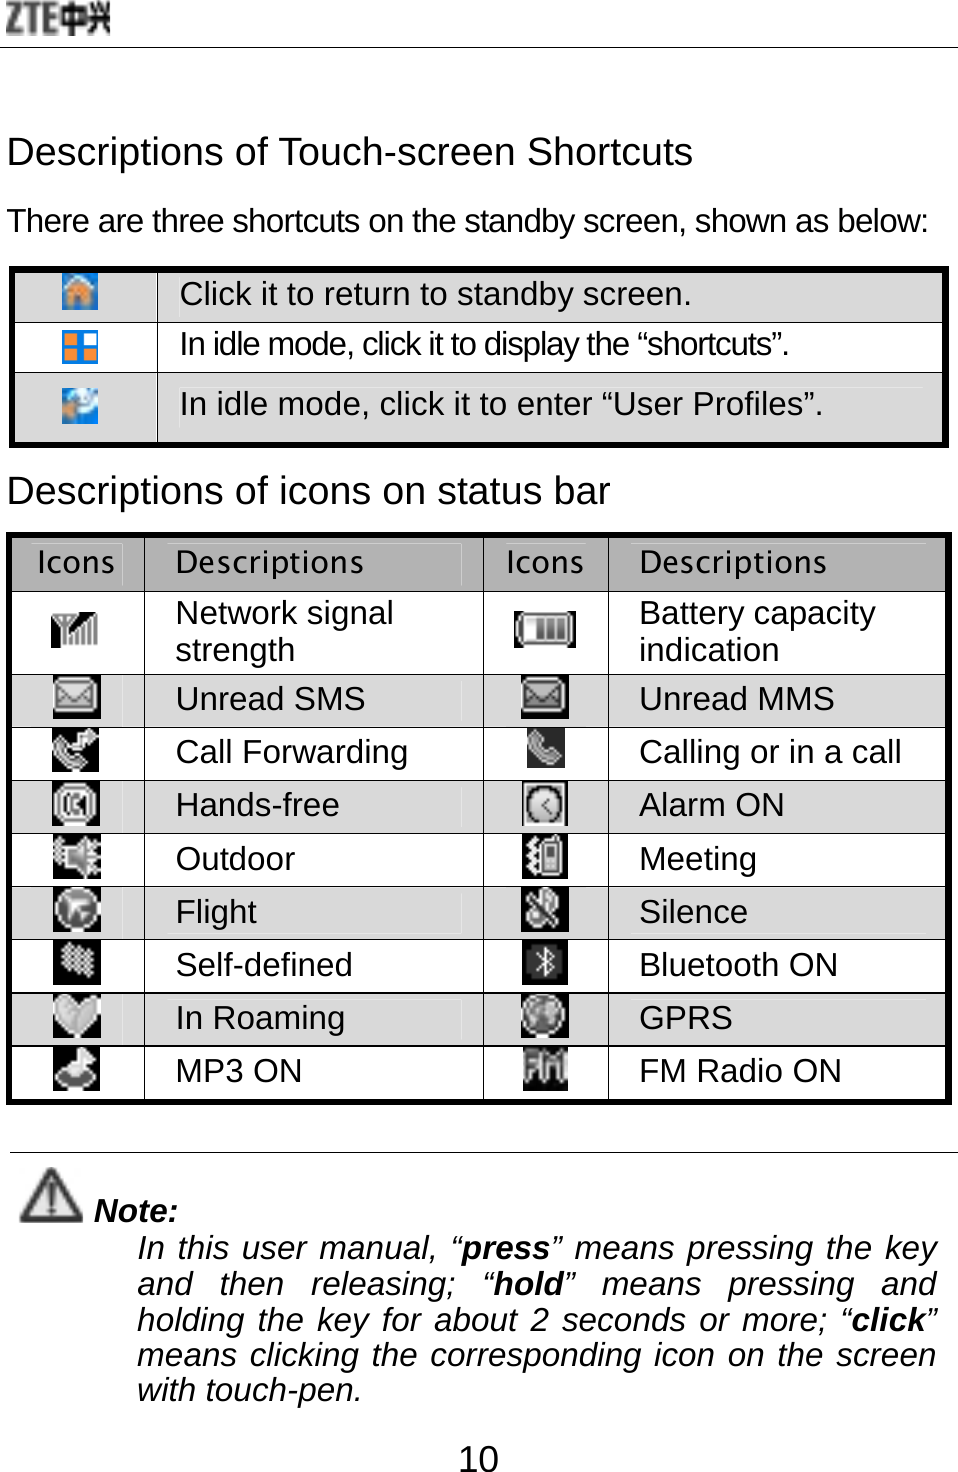
![錯誤! 使用 [常用] 索引標籤將 标题 1 套用到您想要在此處顯示的文字。 9 Profiles”. You could change the default settings; Left soft keyIn idle mode, press this key to view calendar; and press & hold this key to lock the keypad;Press this key to switch 3D interface; Execute the operations at the left-down corner of the screen. Right soft key Execute the operations at the right-down corner of the screen. In idle mode, press this key to view the list of contacts. Send key Dial a number or receive incoming calls; In idle mode, press this key to view all call history. End key Hang up a call or reject an incoming call; Hold this key to power on/off; In idle mode, press this key to turn off background music. In other mode, press this key to return to idle mode. OK key In idle mode, press OK key to enter “Audio Player”; In most case, OK key functions the same as left soft key. Numeric keys Input numbers or symbols. Quickly select the menu option during menu operation. # key Press & hold this key to switch between Meeting and Silence mode.](https://usermanual.wiki/ZTE/X790/User-Guide-1110013-Page-17.png)
![錯誤! 使用 [常用] 索引標籤將 标题 1 套用到您想要在此處顯示的文字。 11 Insert and Remove SIM Card Insert a valid SIM card into your mobile phone before use. All information regarding network connection and SIM phone book is saved in SIM card. In order to avoid the loss and damage of information saved in SIM card, please don’t touch the metal surface and put SIM card far away from electricity or magnetism. 1. Turn off your mobile phone, remove the battery and disconnect the external power. 2. Put SIM card into the socket as shown in the figure. 3. Turn off your mobile phone and remove the battery before taking out SIM card. 4. Follow the converse steps to remove SIM card. Insert and Remove Memory Card 1. Turn off your mobile phone, remove the battery and disconnect the external power. 2. Insert the memory card into the slot in the direction of arrow shown in the figure below:](https://usermanual.wiki/ZTE/X790/User-Guide-1110013-Page-19.png)
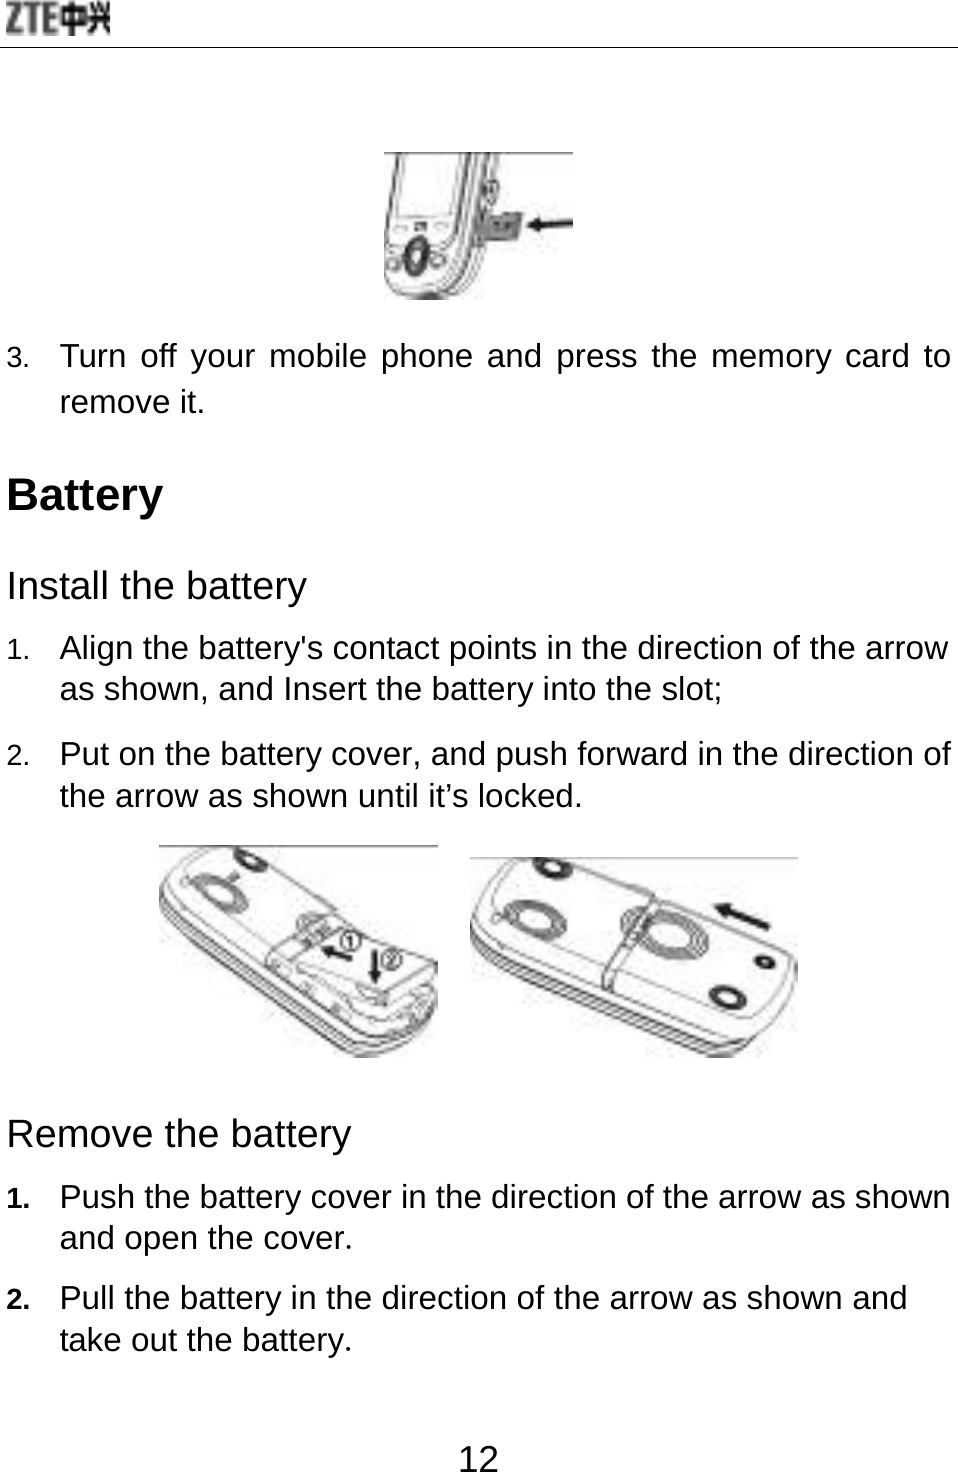
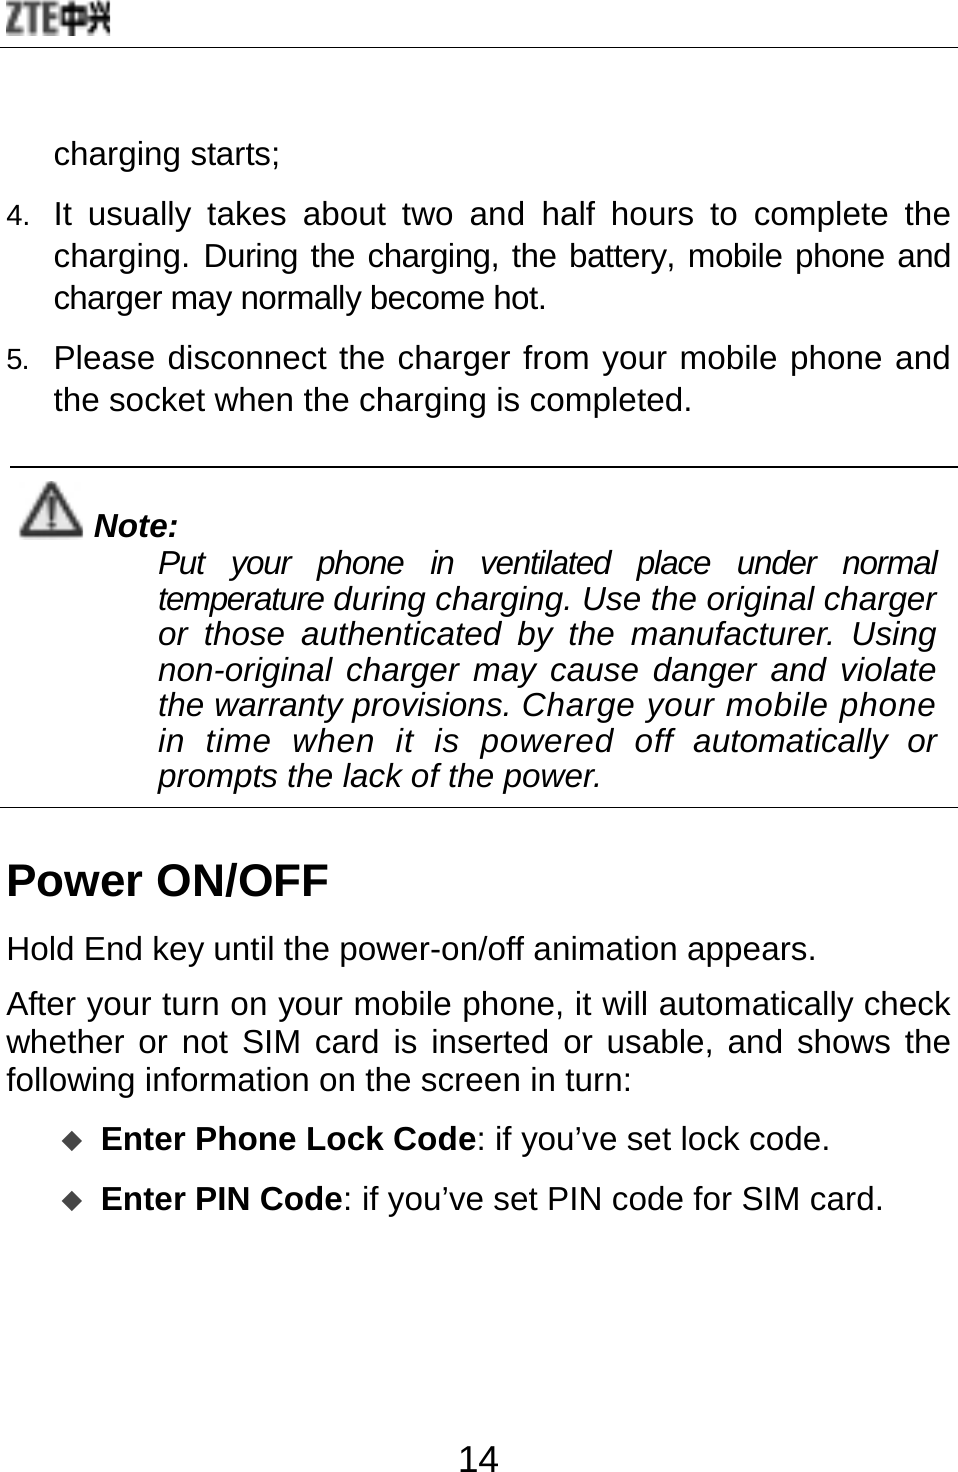
![錯誤! 使用 [常用] 索引標籤將 标题 1 套用到您想要在此處顯示的文字。 13 Note: Please turn off your mobile phone before taking out the battery, otherwise your mobile phone might be damaged. Charge the battery 1. Open USB interface cover at the right side of the phone, and insert the plug; 2. Connect the charger to AC power socket. When the phone is powered on, the battery capacity bar on up-right corner of the screen keeps scrolling during charging; when the phone is powered off, there will be charging indication on the screen during charging. 3. If the phone is used excessively without enough capability, the charging indication will not immediately appear on the screen of the phone when charging starts,and the phone might not be powered on within a few minutes after the](https://usermanual.wiki/ZTE/X790/User-Guide-1110013-Page-21.png)
![錯誤! 使用 [常用] 索引標籤將 标题 1 套用到您想要在此處顯示的文字。 15 Note: SIM card will be locked if you enter wrong PIN code three times. Then you need PUK code to unlock SIM card. The PIN code may be provided to you together with SIM card. If not, contact your network service provider. The default PIN code is normally 1234. Please replace it with your own PIN code as soon as possible. Search: The mobile phone will search for the available network.](https://usermanual.wiki/ZTE/X790/User-Guide-1110013-Page-23.png)
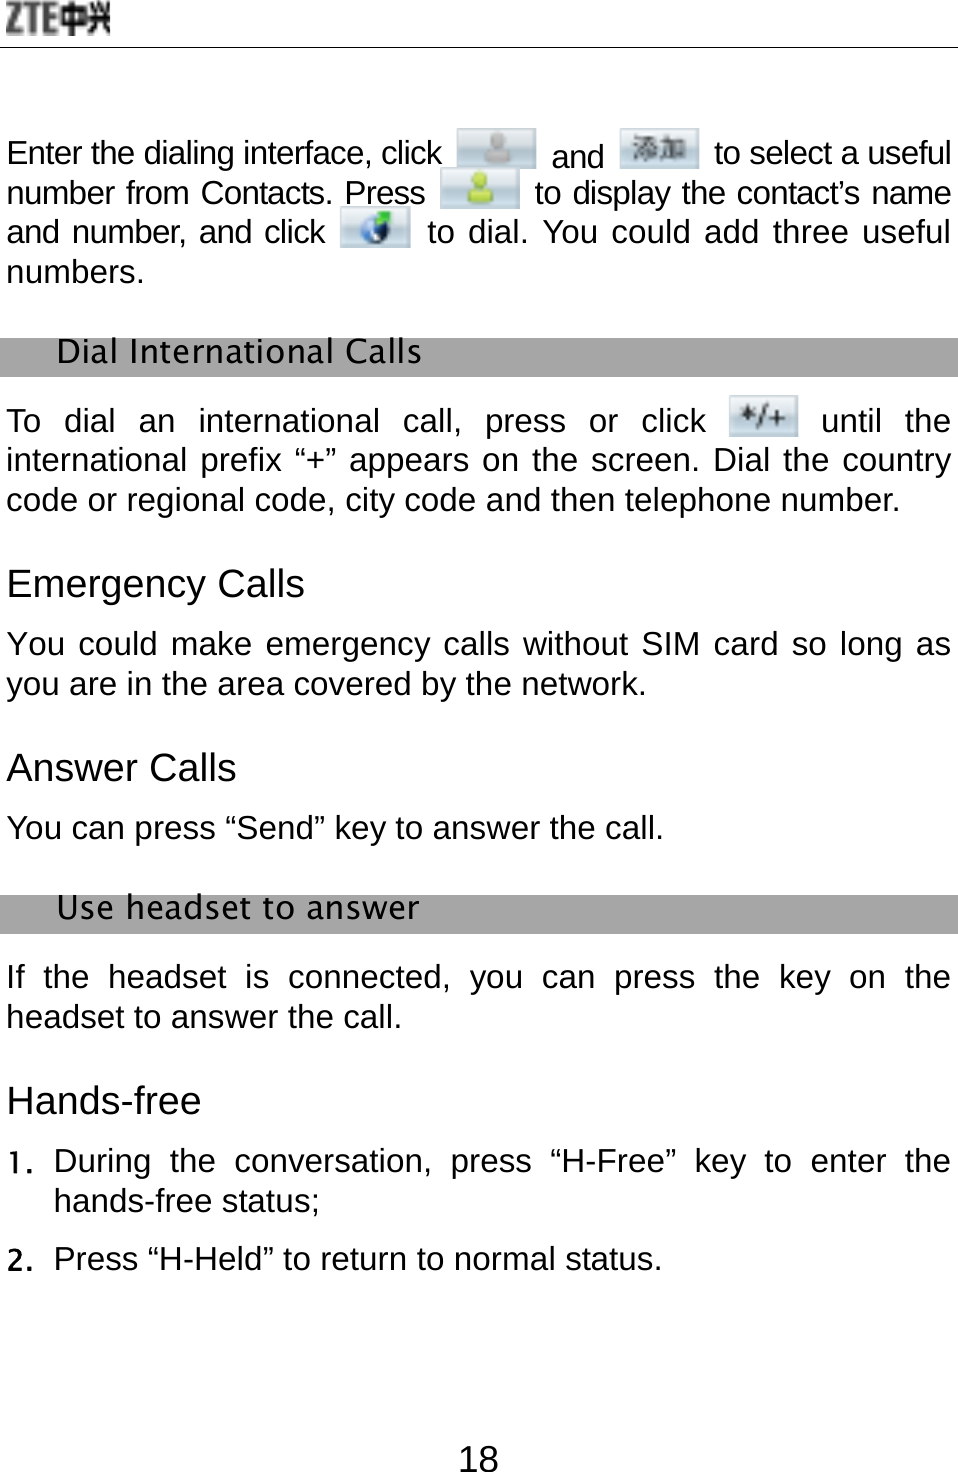
![錯誤! 使用 [常用] 索引標籤將 标题 1 套用到您想要在此處顯示的文字。 17 Communication Call Make a Call Direct Dial Using keyboard In idle mode, press numeric keys to input the phone number and press “Send” key to dial; Using touch pen In idle mode, use touch-pen to click any blank space on the screen to display the dialing keyboard, click the numeric keys to input the number, and click to dial. Dial from Contacts Using keyboard In idle mode, press right soft key to enter “Contacts” to select the contact you want to dial, and press “Send” key to dial; Using touch pen 1. In idle mode, use touch-pen to click any blank space on the screen to display the dialing keyboard; 2. Click to enter the list of “Contacts” to select the contact you want to dial, and click Key to dial. Add Useful Number](https://usermanual.wiki/ZTE/X790/User-Guide-1110013-Page-25.png)
![錯誤! 使用 [常用] 索引標籤將 标题 1 套用到您想要在此處顯示的文字。 19 Call Options During the conversation, press “Option” to enter the menu. You could perform the following operations: Hold: hold the current conversation. End: end the current conversation. New Call: enter new dialing interface. Phone Book: enter the contacts. Messages: enter “Message”. MMS function will be disabled during the conversation due to the restriction of network occupancy. Sound Recorder: record the current conversation. Mute: as “Mute” is on, the other party can’t hear your voice. DTMF: turn on or off. Conference*: Swap: keep switching between different parties. Conference: have a conference phone call. Transfer: transfer current call to other phone. End Single: end current call. End All: end all active calls Note: The menu option marked with “*” appears only under specific conditions. Conference function requires network support.](https://usermanual.wiki/ZTE/X790/User-Guide-1110013-Page-27.png)
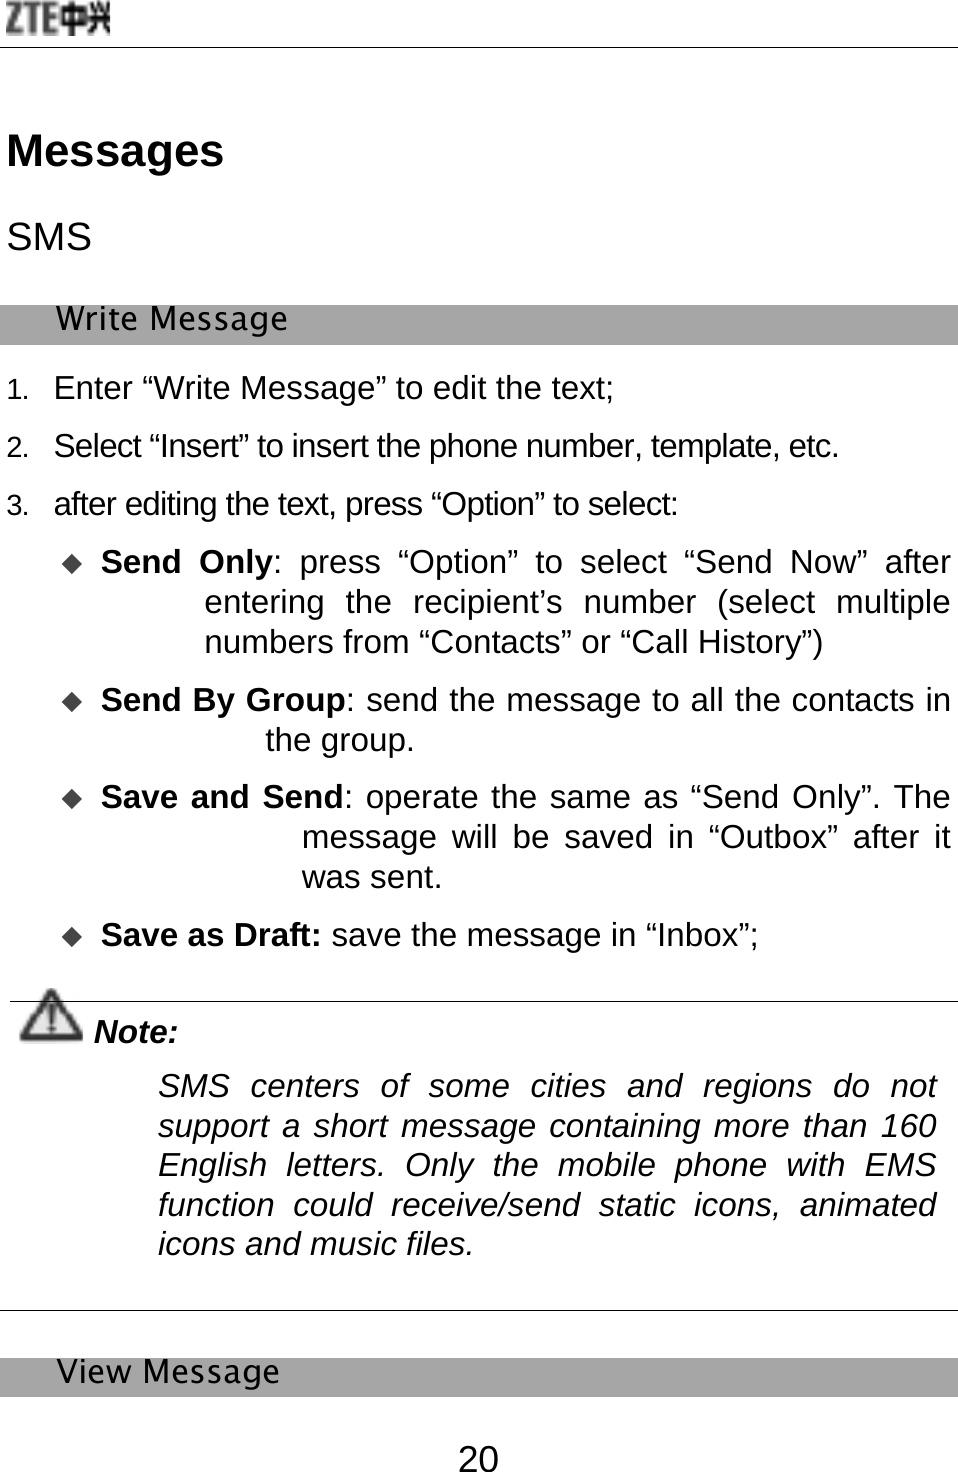
![錯誤! 使用 [常用] 索引標籤將 标题 1 套用到您想要在此處顯示的文字。 21 Select “Inbox” to view the received messages. Select “Outbox” to view the sent and saved messages. Select “Drafts” to view the saved but not yet sent messages. Settings Before using Messages, you need perform relevant settings: Profile Settings: Please contact your local network provider to obtain the service center number. Enter “Profile Settings” and select one profile. Select “Edit” to set “Profile Name”, “SC Address”, “Valid Period” and “Message Type”. Note: “Valid Period”, “Fax” and “Page” need network support. Common Setting: select ON/OFF for “Deliver Report” and “Reply Path”. When “Delivery Report” is set on, the SMS center will return status report to you no matter whether or not the other party could receive your message. In this way, you could conveniently know whether or not the other party has received your message. Memory Status: display the memory space for SMS in SIM card and Phone; Preferred Storage: select “SIM” or “Phone” as the default storage media for SMS.](https://usermanual.wiki/ZTE/X790/User-Guide-1110013-Page-29.png)
![錯誤! 使用 [常用] 索引標籤將 标题 1 套用到您想要在此處顯示的文字。 23 View Message Select “Inbox” to view the received messages. Select “Outbox” to view the sent and saved messages. Select “Drafts” to view the saved but not yet sent messages. Settings Compose: set “Creation Mode”, “Image Resizing” and “Auto Signature”. Send: set “Validity period”, “Delivery report”, “Read report”, “Priority”, “Slide Timing” and “Delivery time”. Retrieve: set “Home network”, “Roaming”, “Read Report” and “Delivery Report”. Filter: set “Anonymous” and “Advertisement”. Server Profile: Generally, the default setting will be CHINA MOBILE MMS in China. Memory Status: check the memory status. Note: The use of “Delivery Report” and “Anonymous” depends on your network service provided by your provider. For more details, please consult your network provider. Your mobile phone has reserved some usable space to save MMS. It may fully occupy the space if you store a lot of multimedia messages. If your phone prompts with “storage full”, you must delete some redundant messages to make sure there is enough](https://usermanual.wiki/ZTE/X790/User-Guide-1110013-Page-31.png)
![錯誤! 使用 [常用] 索引標籤將 标题 1 套用到您想要在此處顯示的文字。 25 Contacts You could save the contact’s name, telephone number, mobile phone number, etc. The numbers could be saved either in Phone or SIM card. Quick Search Input the first letter of your desired contact’s name on the screen to quickly search for the contact, and press left/right key to switch between the groups. Search by Name Input the name, and press “Search” to find the matching entries. Add New Entry You could add new entry “To SIM” or “To Phone”. If you want to add new entry to SIM, you need input “Name” and “Number” only. If you want to add new entry to Phone, besides “Name”, “Number”, “Home Number”, “Office Number”, “Other Number”, “Email Address”, “Memo”, and you need edit the following Caller Group: Add the phone number into different caller groups. Associate Picture: Set your personalized caller picture for the current number. Select the proper picture from “Phone” or “Card”, which could be previewed. Associate Sound: Select the proper ring tone from “Phone” or “Card”.](https://usermanual.wiki/ZTE/X790/User-Guide-1110013-Page-33.png)
![錯誤! 使用 [常用] 索引標籤將 标题 1 套用到您想要在此處顯示的文字。 27 Memory Status Owner Number: set two numbers for Owner Number. Note: Any changes arising from the use of this function will not affect the actual numbers saved in SIM card. Memory Status: You could check the memory status of both phone and SIM.](https://usermanual.wiki/ZTE/X790/User-Guide-1110013-Page-35.png)
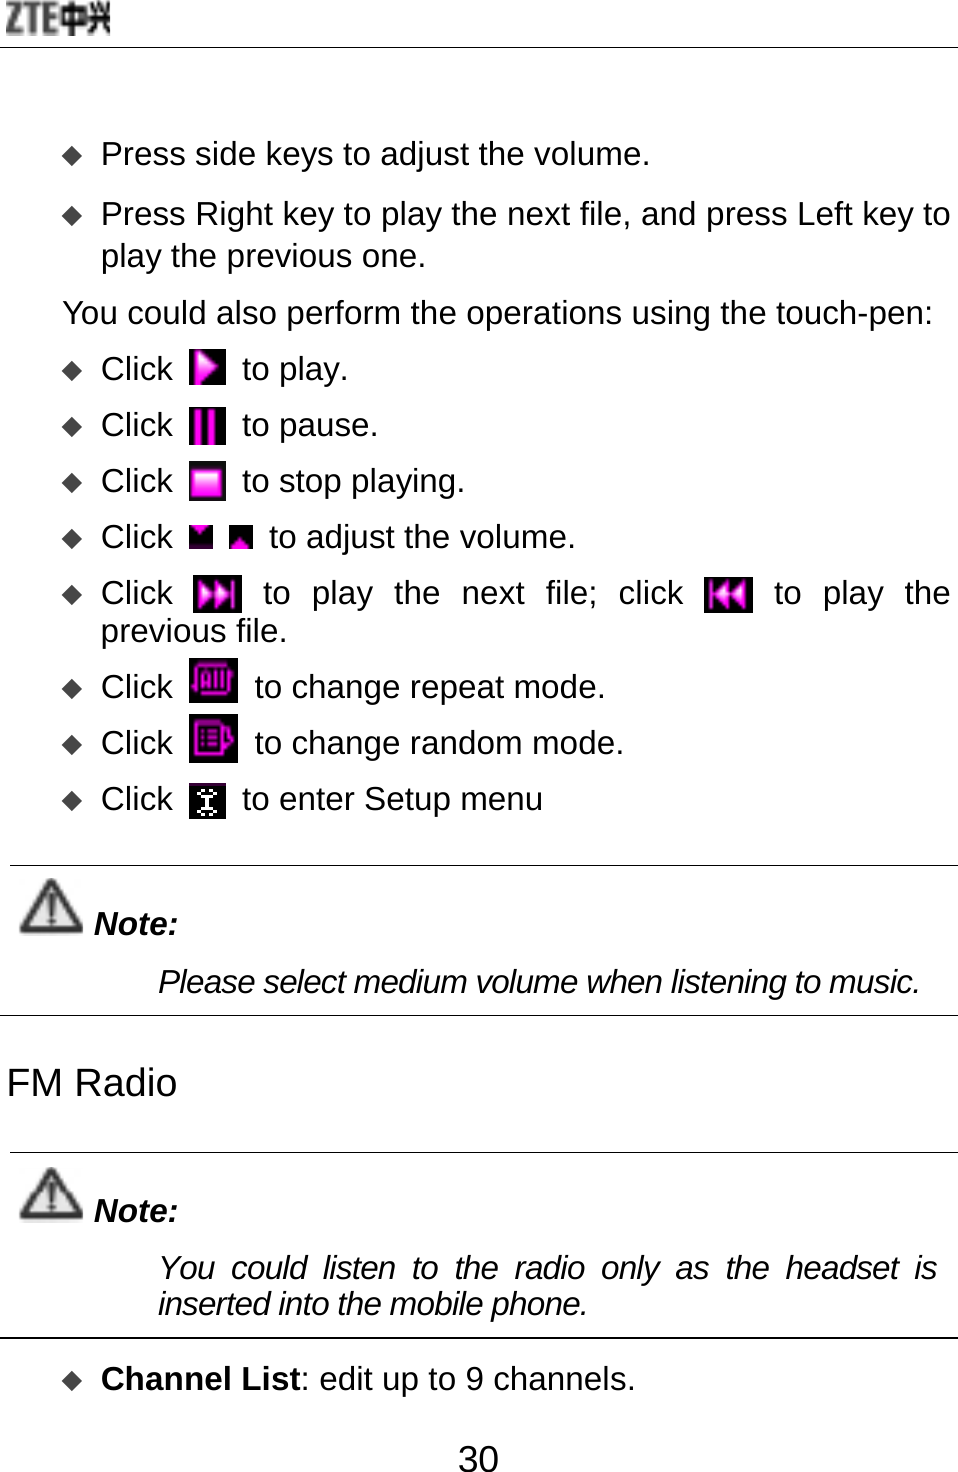
![錯誤! 使用 [常用] 索引標籤將 标题 1 套用到您想要在此處顯示的文字。 29 Entertainment Music Audio Player 1. Select “Audio Player” to enter the interface, and press “Option” and select “Settings” to set “Background Play”, “Repeat”: Storage Location: select “Phone” or “Memory Card”. BT Stereo Headset: if your BT stereo headset has matched with your mobile phone, and “BT Stereo Headset” has been set ON, you could select “BT Stereo Headset” to listen to music. 2. Press “Option” “Playlist” to check the list of audio files in phone or memory card. 3. Press “Option” ”Play” to play the audio files in the list. Note: The audio files must be saved in “My Music” folder of the phone or memory card. Select an audio file, press “Option” “Play”: Press Up key to enter “Player Settings”, and press OK key to pause/resume.](https://usermanual.wiki/ZTE/X790/User-Guide-1110013-Page-37.png)
![錯誤! 使用 [常用] 索引標籤將 标题 1 套用到您想要在此處顯示的文字。 31 Manual Input: manually input a channel. Preset Auto Search: automatically search for channels. Settings: after you turn on “Background Play”, “Loud Speaker”, “Record Format” and “Record Storage”. Record: record the current channel. Append: continue to record amr files on the current file. File List: display the list of files. Sound Recorder The recorded files will be saved in this menu. Press “Option” to select: Record: start recording. Settings: set “Pre. Storage” and “File Format”. List: view all the recorded files in the list. Select a recorded file and press “Options” to select: “Play”, “Append”, “Rename”, “Delete” and “Delete All”. Games Your mobile phone provides 3D Game and Classical Games. Enter the menu and view the operation descriptions.](https://usermanual.wiki/ZTE/X790/User-Guide-1110013-Page-39.png)
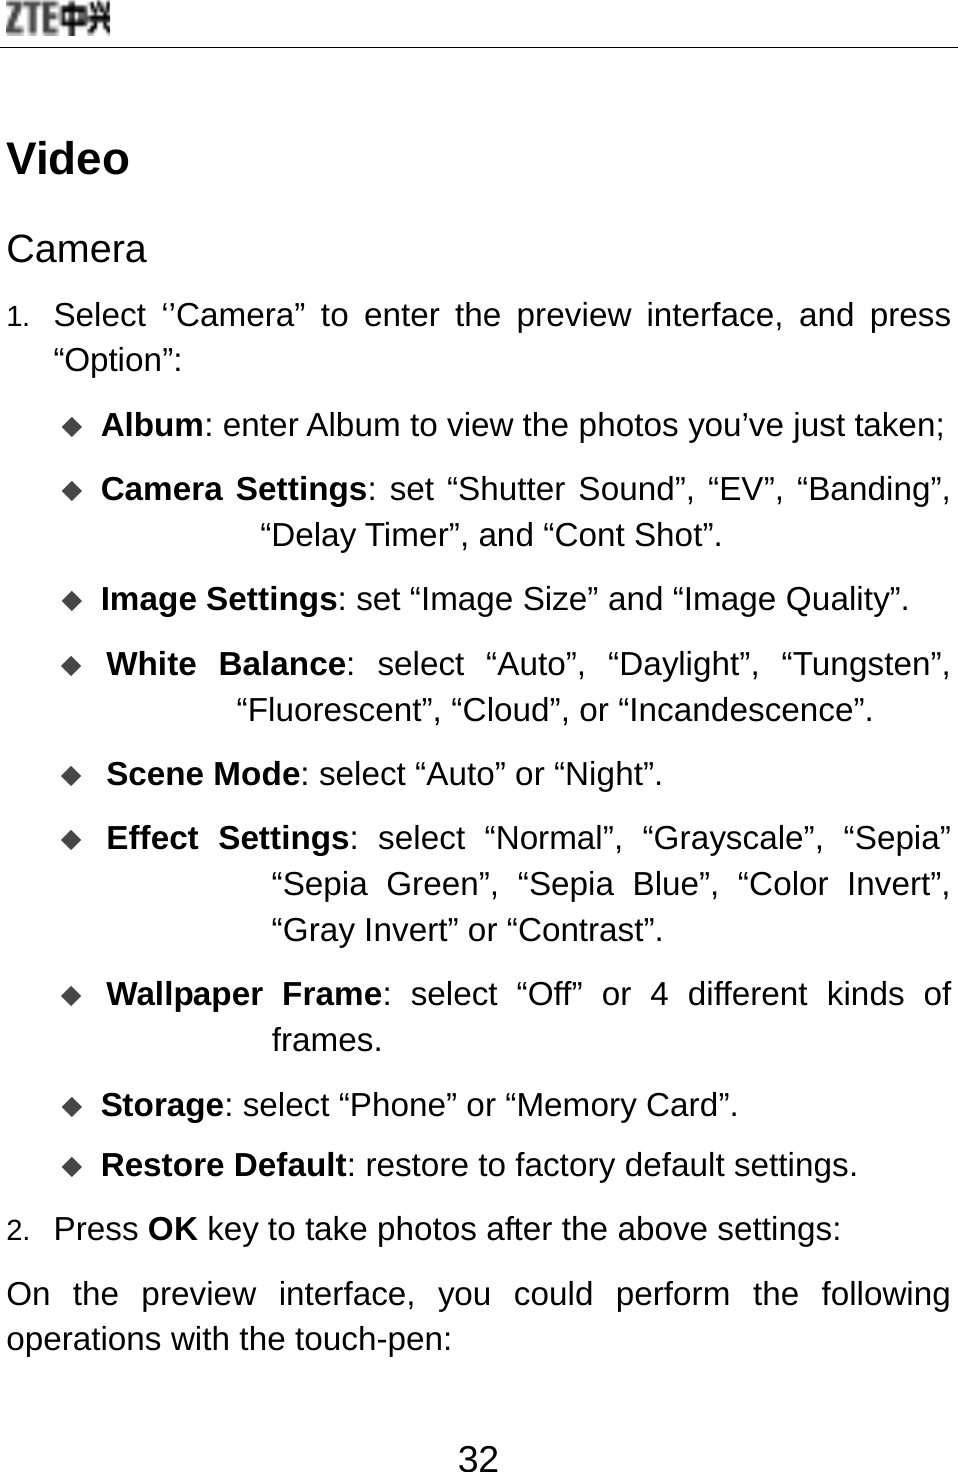
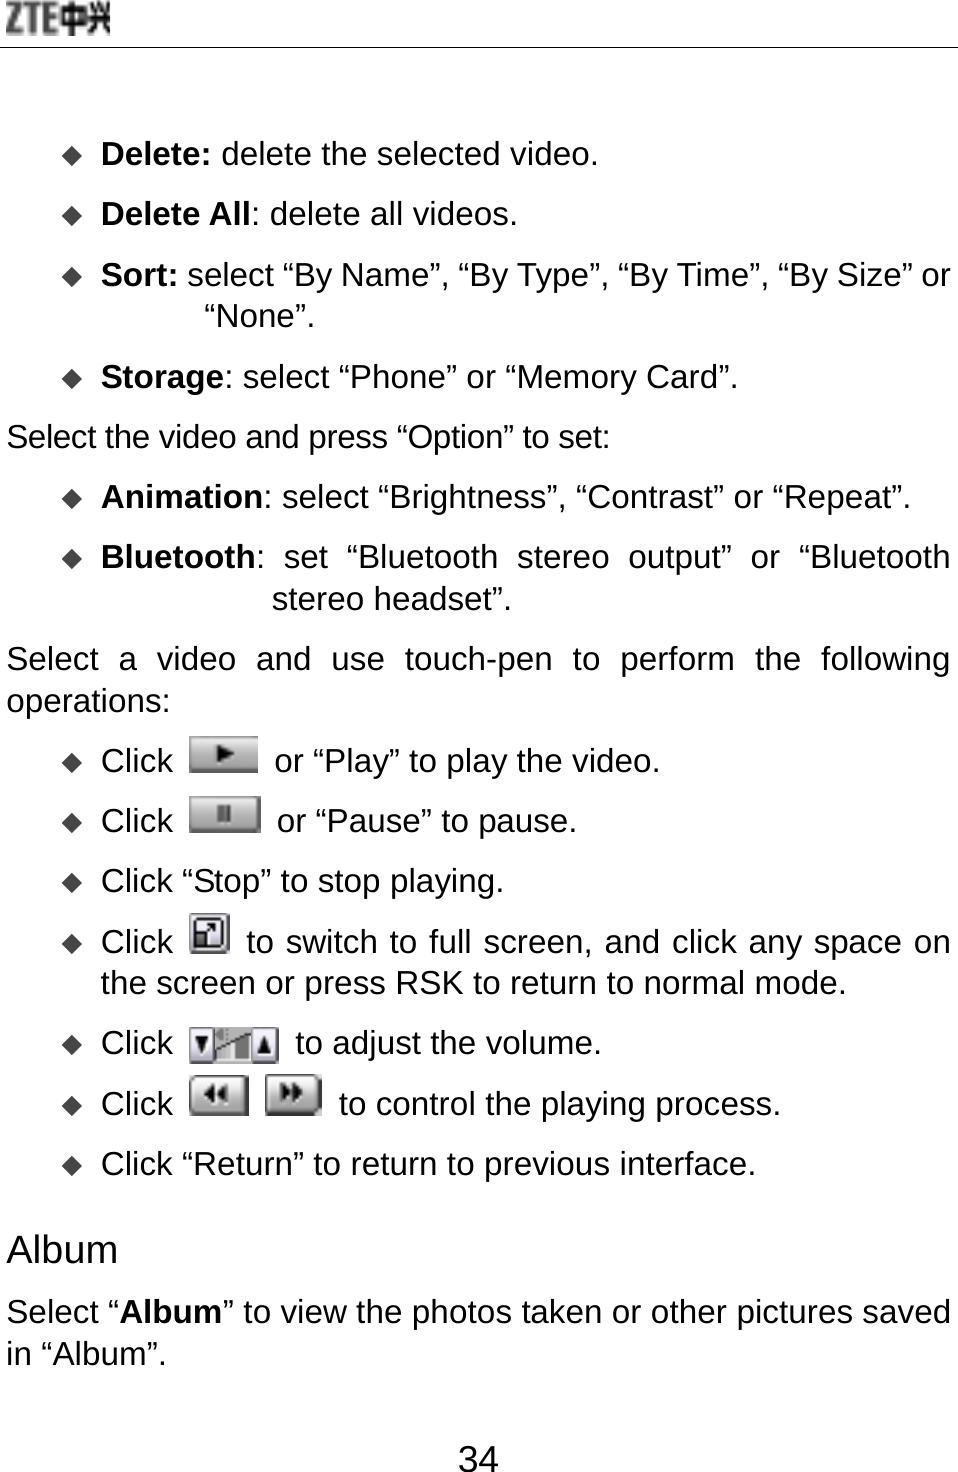
![錯誤! 使用 [常用] 索引標籤將 标题 1 套用到您想要在此處顯示的文字。 33 Click to adjust EV parameters; Click to adjust the camera focus; Click FX to change effect settings; Click to delay the time; Click to set “Cont Shot”; Click to set “Image Quality”; Click to set “image size”; Click to complete “Capturing” and ask “Save Image?”. Note: The camera focus can not be adjusted when the image size is set maximum. Video Player The mobile phone provides video playing function. Select “Video Player” to enter the list of video files. Press Up/down key to select the file to play, press “Option” or directly use touch-pen to select the video. You could perform the following operations: Play: play the select video. Forward: select “MMS” or “Bluetooth” to receive your video. Rename: change the name of selected video.](https://usermanual.wiki/ZTE/X790/User-Guide-1110013-Page-41.png)
![錯誤! 使用 [常用] 索引標籤將 标题 1 套用到您想要在此處顯示的文字。 35 Note: You could view the photos in “Album” only when they are saved in “Photos” folder of Phone or Memory Card. Video Recorder 1. Select “Video Recorder” to enter the preview interface, and press “Option” to perform the following operations: To Player: enter “Video Player” to view the recorded videos. Camcorder Setting: set “White Balance”, “EV”, “Night Mode” and “Banding”. Video Setting: set “Video Quality”, “File Size Limit”, “Rec Time Limit”, “Record Audio” and “Encode Format”. Effect Setting: select “Normal”, “Grayscale”, “Sepia”, “Sepia Green”, “Sepia Blue”, “Color Invert”, “Gray Invert” or “Contrast”. Restore Default: restore to factory default settings. 2. After the above settings, press OK key to record videos. Under the record preview interface, you could use touch-pen to perform the following operations: Click to record a new video.](https://usermanual.wiki/ZTE/X790/User-Guide-1110013-Page-43.png)
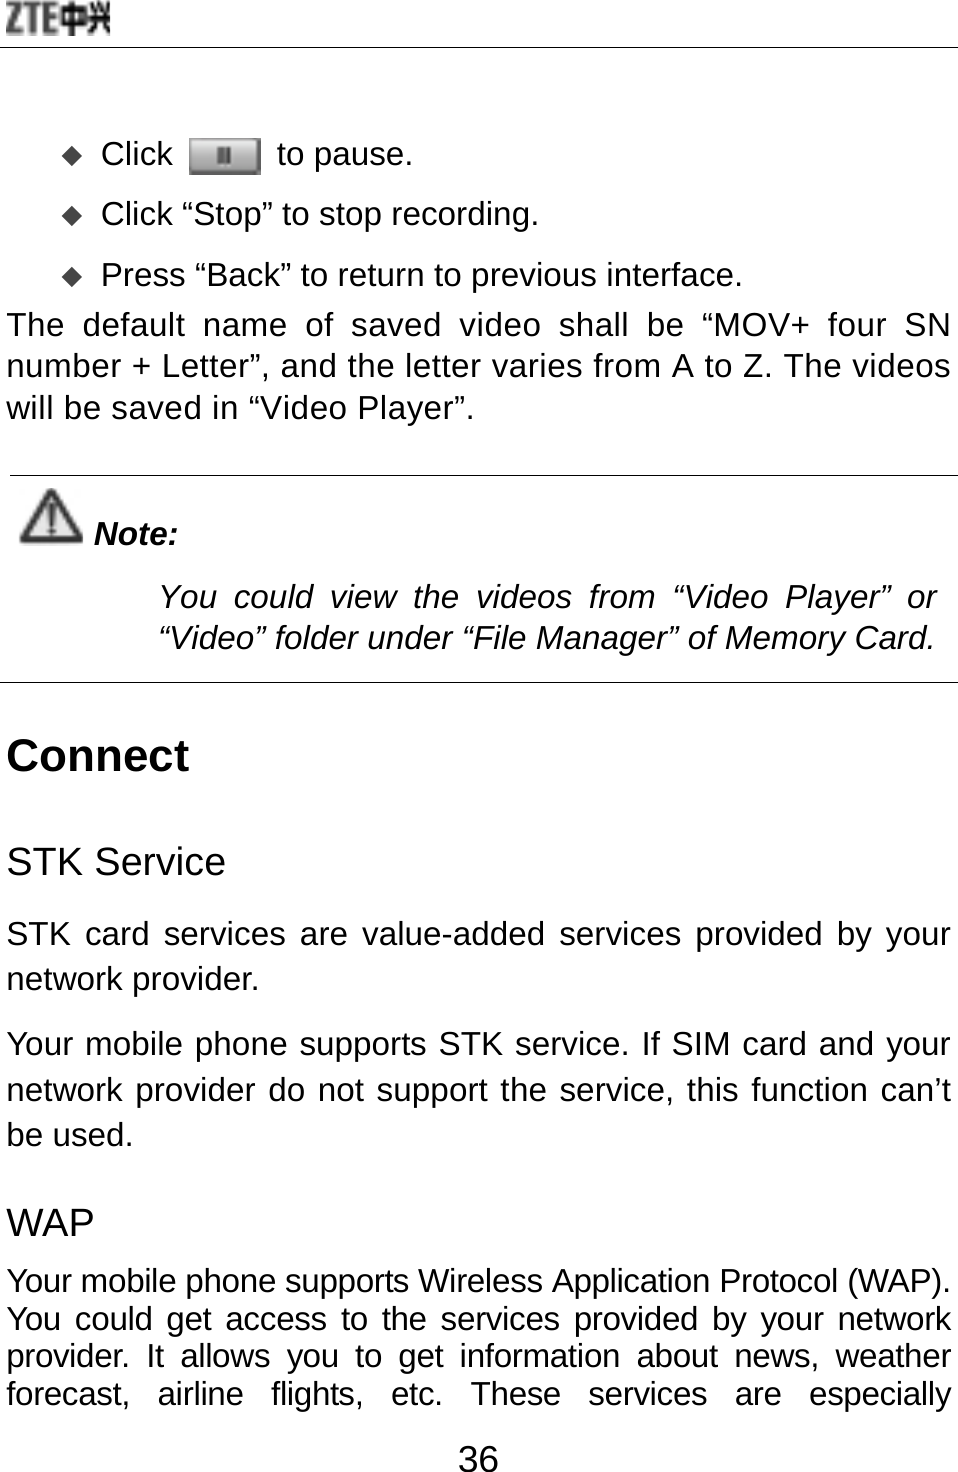
![錯誤! 使用 [常用] 索引標籤將 标题 1 套用到您想要在此處顯示的文字。 37 designed for the mobile phone, and they are maintained by WAP provider. Note: WAP service requires network support. Please consult your network operator or service provider for details on usability, quotation, and tax of WAP service. Your service provider will give you instructions on how to use this service. You could use the value-added services provided by network operator. The menu mainly includes the following options: “Homepage”, “Bookmarks”, “Recent Pages”, “Enter Address”, “Service Inbox” or “Settings”. Homepage: You could visit the homepage. Homepage is WAP site you set in “Settings”. If you do not set WAP site, the factory preset site will be used. Bookmarks: Select a bookmark to display the bookmarks such as “yahoo”, “sina”, etc, press “Option” to select “Goto”, “Edit”, “Send”, “Delete”, “Delete All” or “Add Bookmark”. Note: Before use, please make sure your bookmark list is not empty. In order to avoid this, a few common websites have been preset to you in your mobile phone. Recent Pages: Display the recent pages you’ve visited. If you have select the history, simply select](https://usermanual.wiki/ZTE/X790/User-Guide-1110013-Page-45.png)
![錯誤! 使用 [常用] 索引標籤將 标题 1 套用到您想要在此處顯示的文字。 39 My Device In “My Device”, you could view the Bluetooth devices you searched for last time. If there is no Bluetooth device, then “Empty” will be displayed. 1. Press “Option” ”Inquiry New Device” to search for new devices; 2. Select a device after the phone searched for Bluetooth devices, and press “Connect” to connect the phone with the device. 3. During the course of connection, enter the same password to successfully connect between the phone and the device. 4. After successful connection, you could communicate with the device. Note: Some devices such as Bluetooth headsets, might have fixed password “0000”. You need input this password if your phone needs to connect some devices. Activate Device Under “Active Device”, you could view the Bluetooth devices connected successfully. Setting Perform the following settings for Bluetooth function:](https://usermanual.wiki/ZTE/X790/User-Guide-1110013-Page-47.png)
![錯誤! 使用 [常用] 索引標籤將 标题 1 套用到您想要在此處顯示的文字。 41 Data Account GSM Data Under “GSM Data”, the list of data accounts is displayed. Select one account, press “Edit” to edit “Account Name”, “Number”, “User Name”, “Password”, “Line Type”, “Speed”, “DNS”, etc. GPRS In “GSM Data”, press “OK” to display the list of data accounts. Select one account, press “Edit” to edit “Account Name”, “APN”, “User Name”, “Password”, “Auth. Type”, etc. GPRS Counter Check the data flow under GPRS network. You could view “Last Sent”, “Last Received”, “All Sent”, “All Received” or “Reset Counter”.](https://usermanual.wiki/ZTE/X790/User-Guide-1110013-Page-49.png)
![錯誤! 使用 [常用] 索引標籤將 标题 1 套用到您想要在此處顯示的文字。 43 include “General”, “Silent”, “Meeting”, “Outdoor”, “Flight”, and you could also customize the profiles. Phone Setup Vibrate Feedback You could turn “On” or “Off” this function. When it is “ON”, your mobile phone will slightly vibrate when you press the keys or click the icons. Scheduled Power On/Off You could edit up to 4 groups of power on/off time. Press “Edit” to set “Status”, “Type” and “Time”. Note: The time should be set different y to avoid conflict. Auto Lock Keypad You could prevent inadvertent operations resulting from improper key press. Press left soft key and # key to unlock the keypad, or flip your finger or touch pen on the screen from left to right to unlock the keypad.](https://usermanual.wiki/ZTE/X790/User-Guide-1110013-Page-51.png)
![錯誤! 使用 [常用] 索引標籤將 标题 1 套用到您想要在此處顯示的文字。 45 Enable Speed Dial: turn on/off speed dial. Set Number: You could edit 8 phone numbers for numeric keys 2~9. In idle mode, hold numeric keys 2~9 to dial the corresponding number. Answer Key You could set “Send Key” or “Any Key” to answer the incoming call. Black List You could edit the Black List. After you select “On” under Mode, the incoming call from the numbers in the Black List will be rejected. Auto Redial You could turn on/off this function. If the other party doesn’t answer the call as you select “On”, your mobile phone will automatically redial after a while. It will auto redial up to 10 times. Network Setup Network Selection There are three modes under Network Selection: “New Search”, “Select Network” and “Selection Mode”. Under “Selection Mode”, you could select “Automatic” or “Manual”. GPRS Connection](https://usermanual.wiki/ZTE/X790/User-Guide-1110013-Page-53.png)
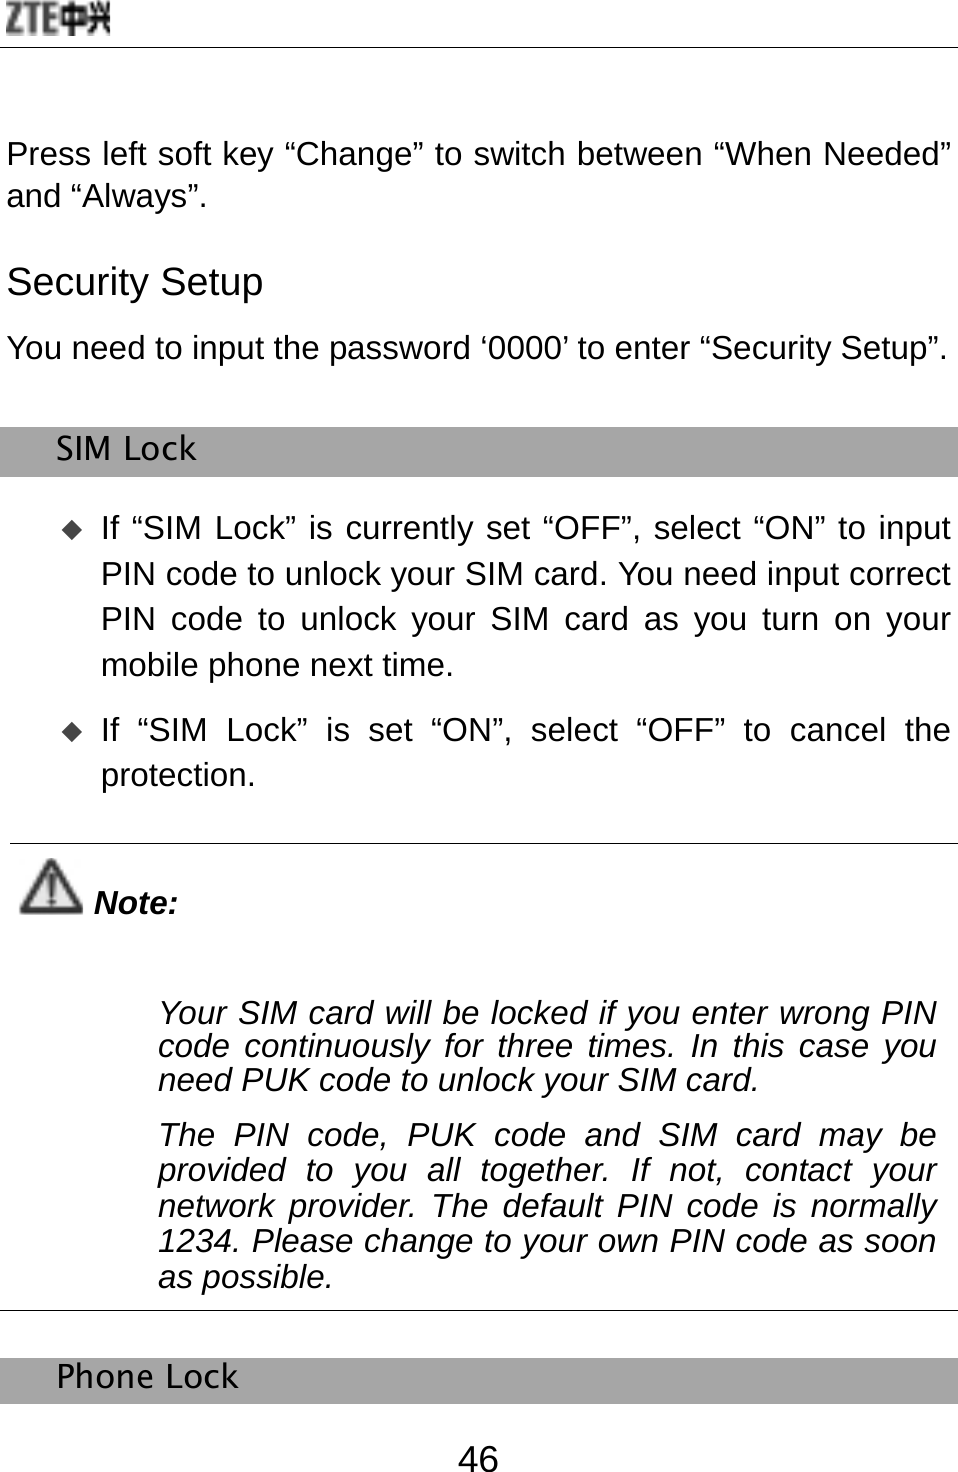
![錯誤! 使用 [常用] 索引標籤將 标题 1 套用到您想要在此處顯示的文字。 47 Phone Lock could prevent your mobile phone against illegal use. Select “Power On” to input the password. You need input correct password to unlock your mobile phone as you turn on your mobile phone next time. Select “Changing SIM” to input the password. You need input correct password to unlock your mobile phone as you change your SIM card next time. Select “OFF” to cancel the protection. Note: The default password is 0000. Please change to your own password as soon as possible. Call Barring Note: Please contact your network provider for details since some providers might not provide call barring service. When applying for this service, you will get a four-digit password provided by your provider to activate call barring. Press “Call Barring” to select: All Outgoing Calls: select “Activate”, “Deactivate” or “Query Status”.](https://usermanual.wiki/ZTE/X790/User-Guide-1110013-Page-55.png)
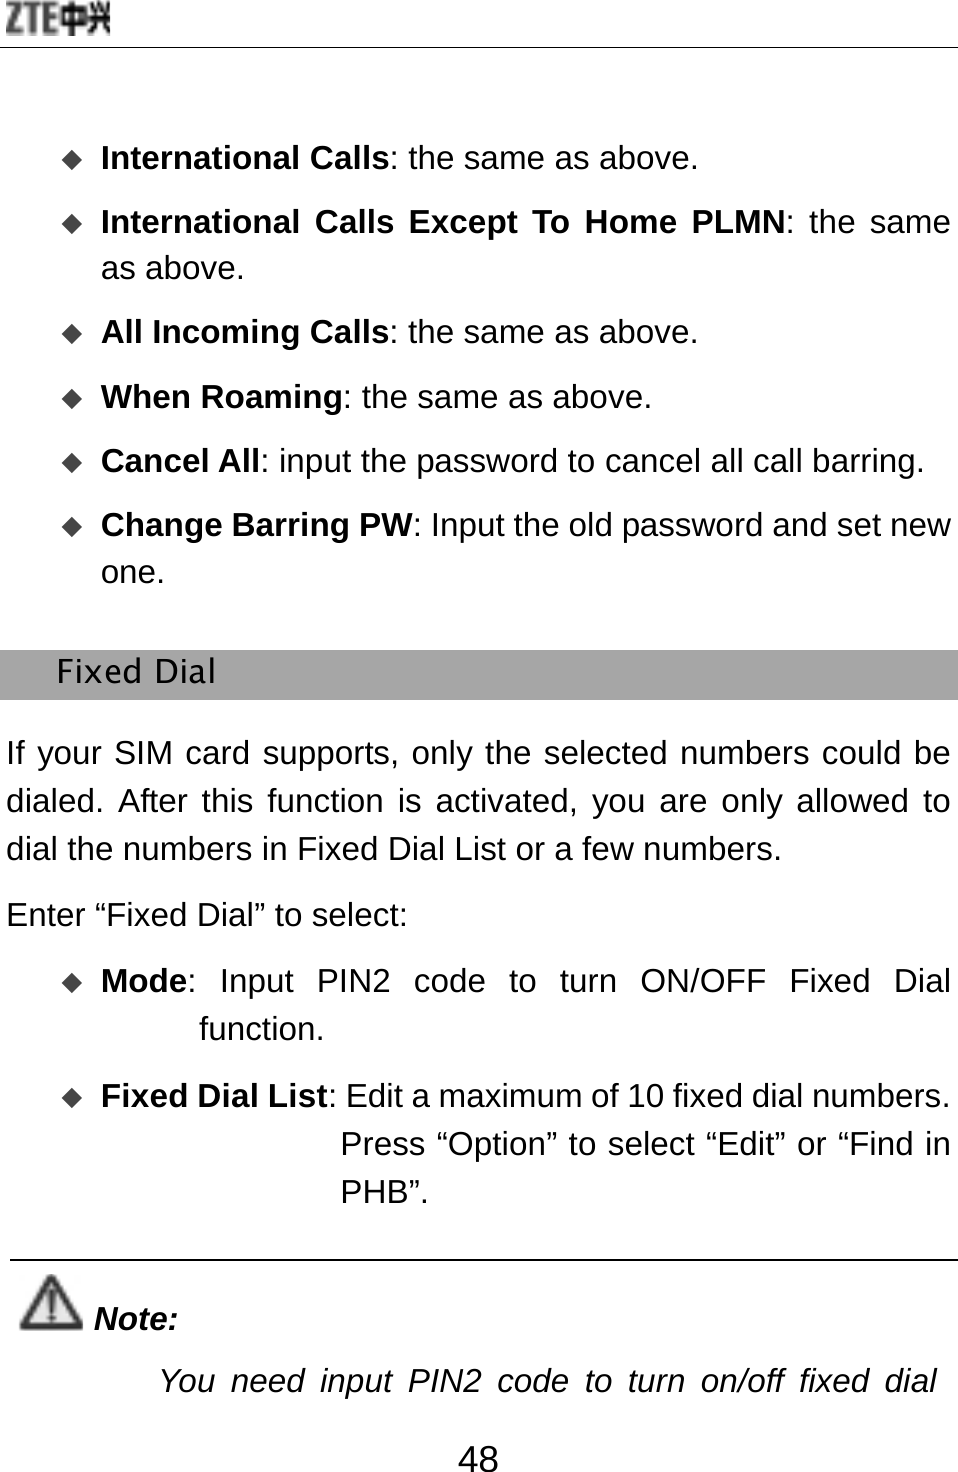
![錯誤! 使用 [常用] 索引標籤將 标题 1 套用到您想要在此處顯示的文字。 49 function. Please contact your network provider to get PIN2 code. After fixed dial is activated, only the entries you set in Fixed Dial List will be displayed in phone book. Change Password You could change “PIN”, “PIN2” and “Phone Lock Password”. Note: The length of password must be more than 4 digits and less than 8 digits. Pen Calibration As you feel your mobile phone doesn’t react properly after you use the touch-pen to click relevant option or icon, you need calibrate the touch screen. Click with the touch-pen until the calibration is completed. If the calibration is still not accurate as you make sure to click the center every time, you should refer to Restore Factory Settings. Restore Factory Settings Enter “Restore Factory Settings”. You need input the correct phone lock password, and press “OK” to restore factory settings.](https://usermanual.wiki/ZTE/X790/User-Guide-1110013-Page-57.png)
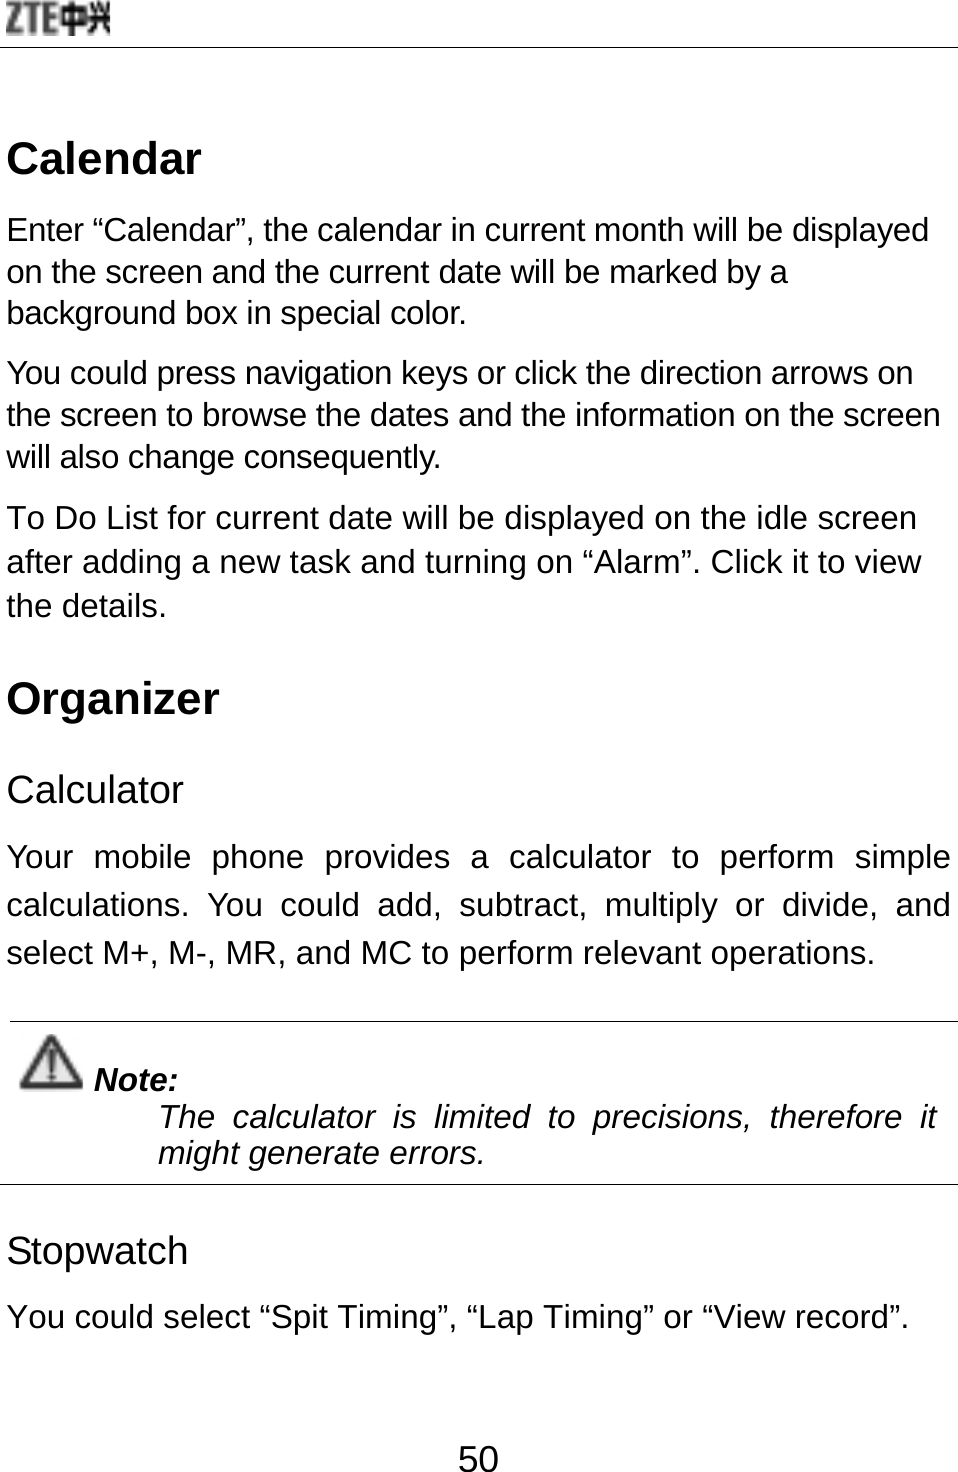
![錯誤! 使用 [常用] 索引標籤將 标题 1 套用到您想要在此處顯示的文字。 51 nWay Stopwatch Press 4 different navigation keys to record the different timing respectively. Note: Press LSK to stop time measuring, and hold left soft key to clear up all the records. Unit Converter Your mobile phone provides you with unit converter to convert the weight and length. Input the value to perform the conversions, such as from Kg to Pound, from Kg to Ounce, from Km to Mile, and from M to Yard. Currency Converter Your mobile phone provides you with basic functions regarding currency conversion. World Clock Press left/right navigation key to view the time of different cities. Bookshelf Enter “Bookshelf” and press “Option” to select:: Open E-Book: open E-Book, and press “Option” to select “Find”, “Jump To”, “Go To Bookmark”, “Add Bookmark”, “Remove Bookmark”, “Book Info”,](https://usermanual.wiki/ZTE/X790/User-Guide-1110013-Page-59.png)

![錯誤! 使用 [常用] 索引標籤將 标题 1 套用到您想要在此處顯示的文字。 53 PC Connection Mass Storage Your mobile phone supports mass storage—U disk function. As the phone is turned off, connect your mobile phone with PC through USB data cable. In this case, your mobile phone can be used as U disk. As the phone is turned on, connect your mobile phone with PC through USB data cable. If the memory card is inserted, you could select Mass Storage. Webcam Your mobile phone supports webcam, which can be operated simply like USB webcams. As the phone is turned on, connect your mobile phone with PC through USB data cable. In this case, your mobile phone will display “USB Config”. Select “Webcam”, press “OK”, and a full-screen camera interface will appear. This indicates your mobile phone could be used as webcam now. Your computer will detect new video devices. Up to now, you could use the camera like other USB webcams. Press End key or directly pull out the data cable to exit camera mode.](https://usermanual.wiki/ZTE/X790/User-Guide-1110013-Page-61.png)
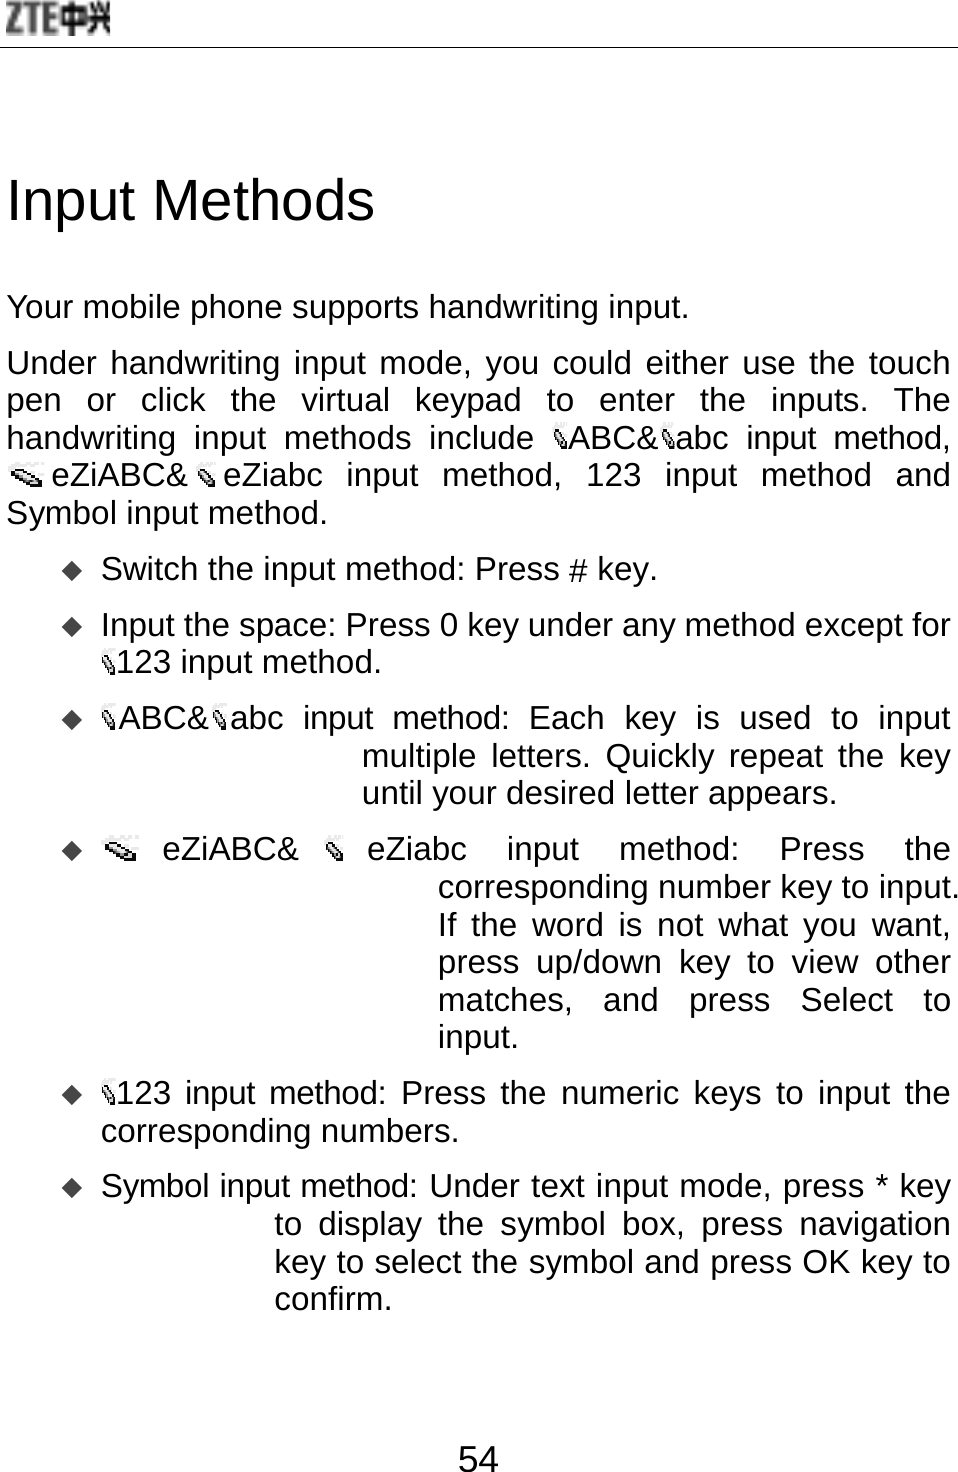
![錯誤! 使用 [常用] 索引標籤將 标题 1 套用到您想要在此處顯示的文字。 55 Appendix Shortcuts Lock the keypad: In idle mode, hold LSK to quickly lock the keypad. Unlock the keypad: In idle mode, press LSK and # key, or flip your finger or touch pen on the screen from left to right to unlock the keypad. End key: press it to quickly return to idle screen. Capture key: press it to quickly enter the camera interface. # key: hold it to switch between Meeting and Silence. Idle Shortcut Idle Setting: You could set 5 icons on the idle screen such as “Message”, “Calendar”, “Calculator”, “Bluetooth”, “Audio Player” etc. User Profiles: in idle mode, you could set the user profiles such as “General”, “Silent”, “Meeting”, “Outdoor” and “Flight”. Navigation keys: In idle mode, press up key to enter “Audio Player”, press down key to enter “User Profiles”, press left key to enter “Write Message”, and press right key to enter “Inbox”, you could define as other shortcuts based on your requirements.](https://usermanual.wiki/ZTE/X790/User-Guide-1110013-Page-63.png)
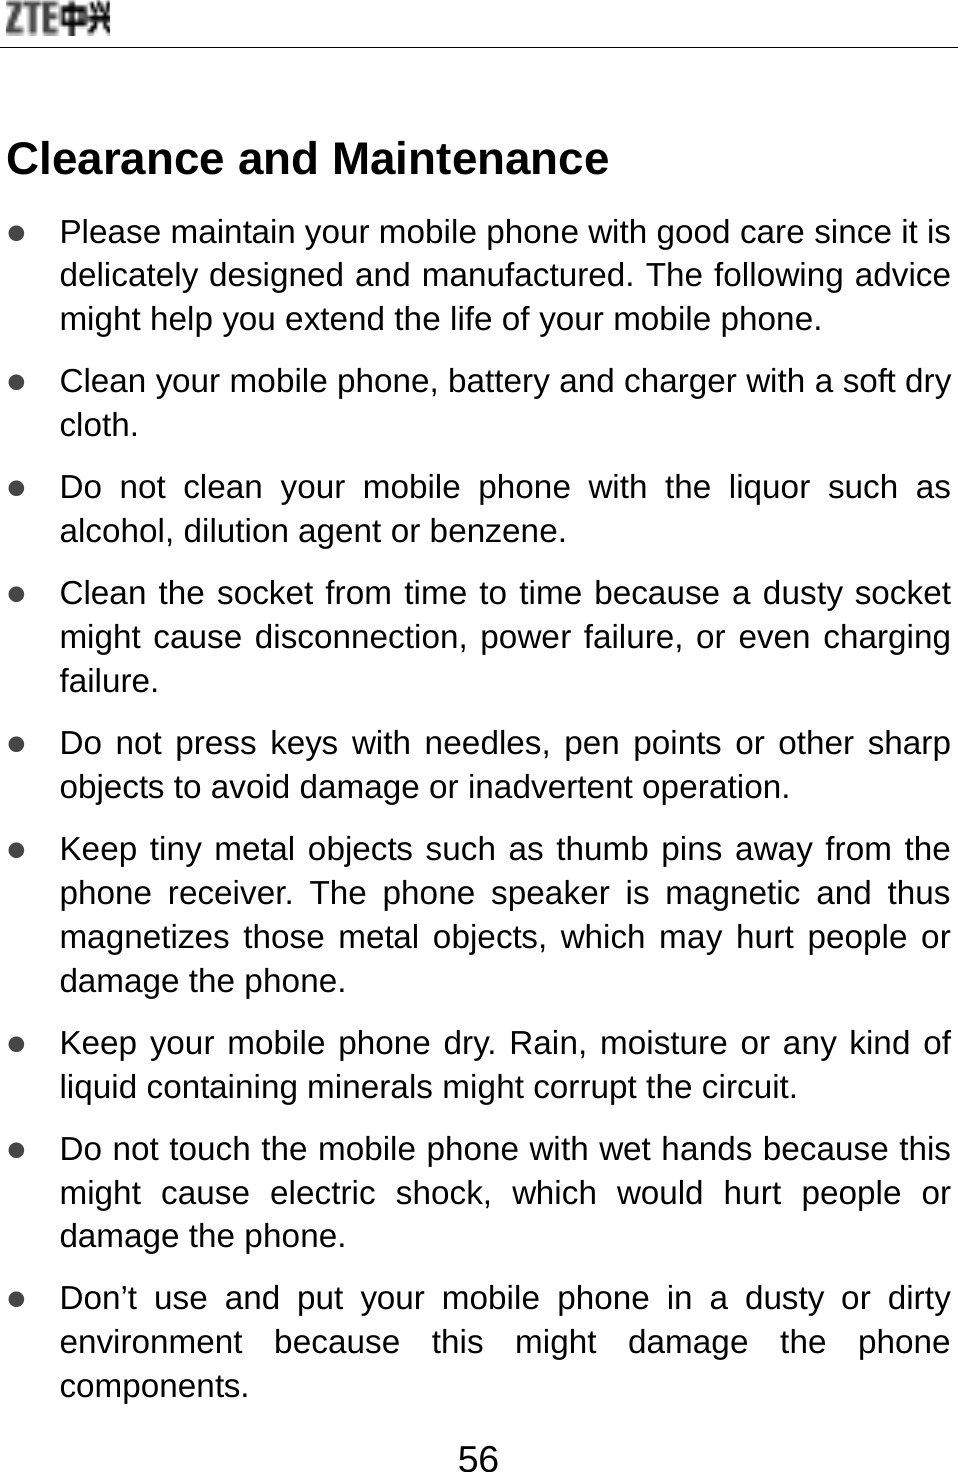
![錯誤! 使用 [常用] 索引標籤將 标题 1 套用到您想要在此處顯示的文字。 57 z Don’t keep your mobile phone near high-temperature because it might shorten the life of electronic devices, damage the battery, twist or melt some plastic parts. z Don’t keep your mobile phone in a place where the temperature is too low, otherwise the water vapor would form inside the phone when the temperature rises up to normal degree, which would damage PCB of the phone. z Don’t put your mobile phone in or on the heating devices (microwave oven, toaster oven or radiator) because overheating might result in explosion. z The color of the waterproof label in the phone will be changed if the phone or battery gets wet. In this case, the warranty provisions will become void even if the warranty period doesn’t expire. z Please send your mobile phone to the nearest service center for inspection if there is anything wrong with your mobile phone, battery, charger or accessories. The service center staff will provide you help.](https://usermanual.wiki/ZTE/X790/User-Guide-1110013-Page-65.png)
![錯誤! 使用 [常用] 索引標籤將 标题 1 套用到您想要在此處顯示的文字。 59 FCC Regulations: zThis mobile phone complies with part 15 of the FCC Rules. Operation is subject to the following two conditions: (1) This device may not cause harmful interference, and (2) this device must accept any interference received, including interference that may cause undesired operation. zThis mobile phone has been tested and found to comply with the limits for a Class B digital device, pursuant to Part 15 of the FCC Rules. These limits are designed to provide reasonable protection against harmful interference in a residential installation. This equipment generates, uses and can radiated radio frequency energy and, if not installed and used in accordance with the instructions, may cause harmful interference to radio communications. However, there is no guarantee that interference will not occur in a particular installation If this equipment does cause harmful interference to radio or television reception, which can be determined by turning the equipment off and on, the user is encouraged to try to](https://usermanual.wiki/ZTE/X790/User-Guide-1110013-Page-67.png)
![錯誤! 使用 [常用] 索引標籤將 标题 1 套用到您想要在此處顯示的文字。 61 4RF Exposure Information (SAR) This mobile phone meets the government’s requirements for exposure to radio waves. This phone is designed and manufactured not to exceed the emission limits for exposure to radio frequency (RF) energy set by the Federal Communications Commission of the U.S. Government. The exposure standard for wireless mobile phones employs a unit of measurement known as the Specific Absorption Rate, or SAR. The SAR limit set by the FCC is 1.6W/kg. *Tests for SAR are conducted using standard operating positions accepted by the FCC with the phone transmitting at its highest certified power level in all tested frequency bands. Although the SAR is determined at the highest certified power level, the actual SAR level of the phone while operating can be well below the maximum value. This is because the phone is designed to operate at multiple power levels so as to use only the poser required to reach the network. In general, the closer you are to a wireless base station antenna, the lower the power output. The highest SAR value for the model phone as reported to the FCC when tested for use at the ear is 0.187 W/kg and when worn on the body, as described in this user guide, is 1.45 W/kg](https://usermanual.wiki/ZTE/X790/User-Guide-1110013-Page-69.png)
![錯誤! 使用 [常用] 索引標籤將 标题 1 套用到您想要在此處顯示的文字。 63 ensure compliance with FCC RF exposure guidelines. If you do no t use a body-worn accessory and are not holding the phone at the ear, position the handset a minimum of 1.5 cm from your body when the phone is switched on.](https://usermanual.wiki/ZTE/X790/User-Guide-1110013-Page-71.png)