ZTE Z665C CDMA 1X-EVDO DIGITAL MOBILE PHONE User Manual
ZTE Corporation CDMA 1X-EVDO DIGITAL MOBILE PHONE
UserManual.wiki
>
ZTE
>
Z665C User Manual
User Manual
Navigation menu
Upload a User Manual
Namespaces
Wiki Guide
HTML
PDF
Info
Views
User Manual
Discussion / Help
Navigation
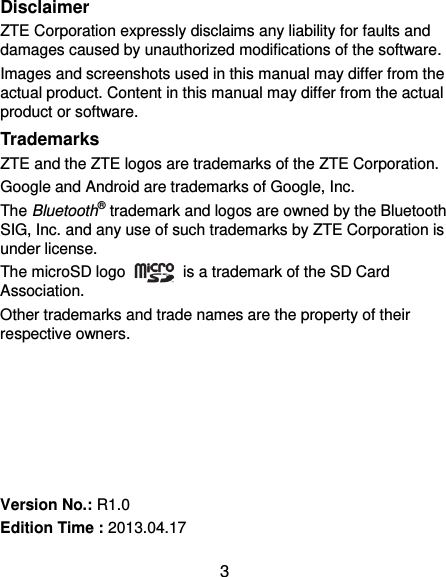

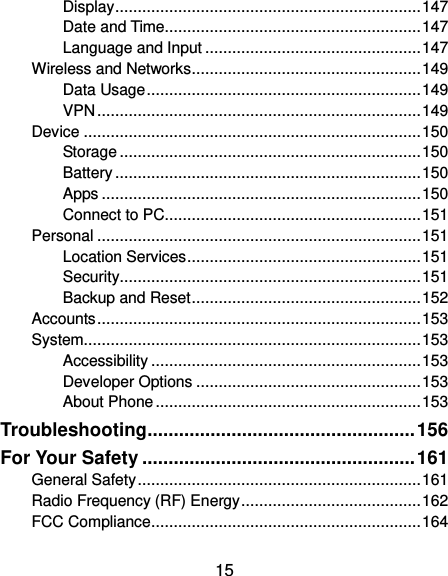


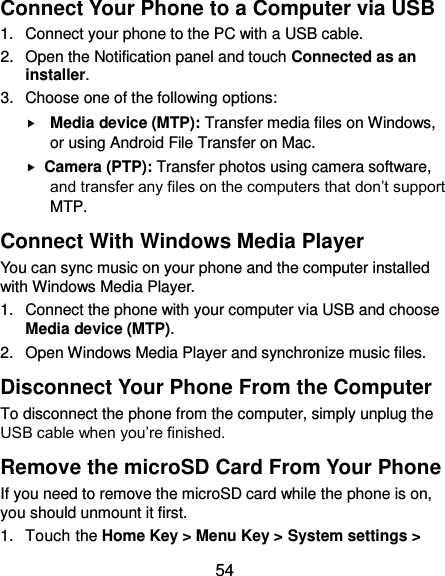
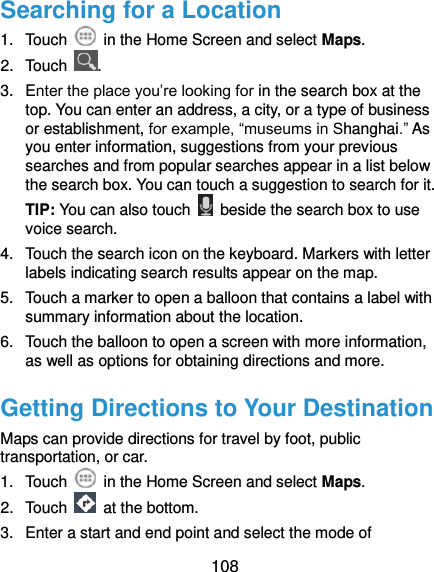
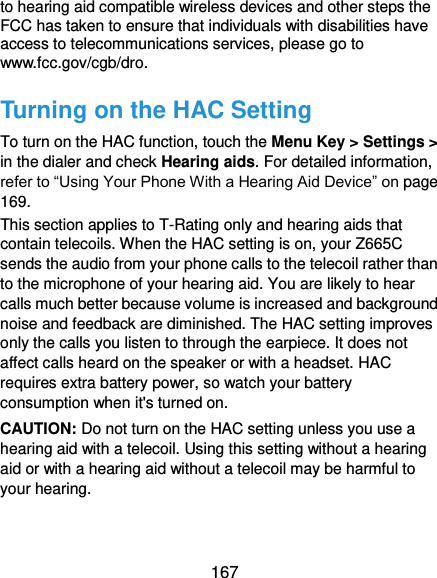
![53 2. Select the option for sharing via Bluetooth. The method may vary by application and data type. 3. Touch a Bluetooth device the phone has paired with or wait for it to search for new devices and touch one of them. Receive Data via Bluetooth 1. Turn Bluetooth on before trying to receive data via Bluetooth. NOTE: If the phone has not been paired with the sending device, you may need to touch Bluetooth > [your phone’s name] in Settings to keep the phone detectable through Bluetooth. 2. Flick down the status bar and touch . 3. Touch Accept to start receiving the data. Received files are stored automatically in a dedicated folder (Bluetooth, for instance). You can access them with the File Manager app. Received contacts (vCard files) are automatically imported to your contact list. Connecting to Your Computer via USB You can connect your phone to a computer with a USB cable and transfer music, pictures, and other files in both directions. Your phone stores these files in internal storage or on a removable microSD card. If you are using USB tethering, you must turn that off before you can use USB to transfer files between your phone and computer.](https://usermanual.wiki/ZTE/Z665C/User-Guide-1961001-Page-53.png)
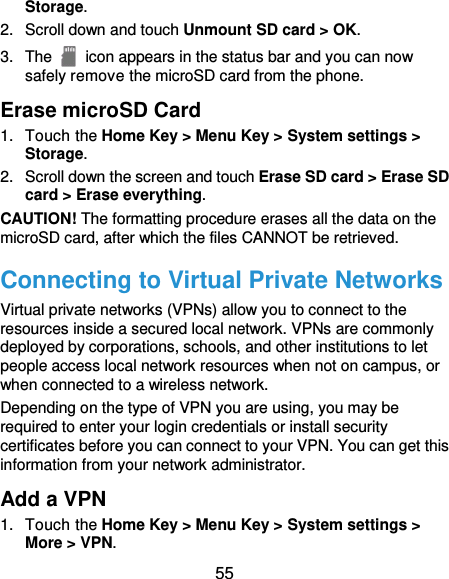


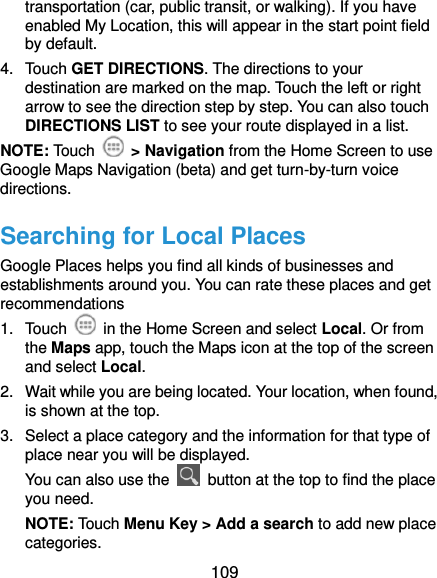


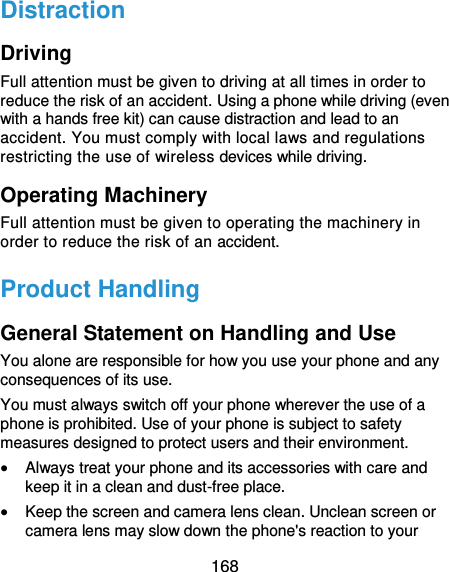
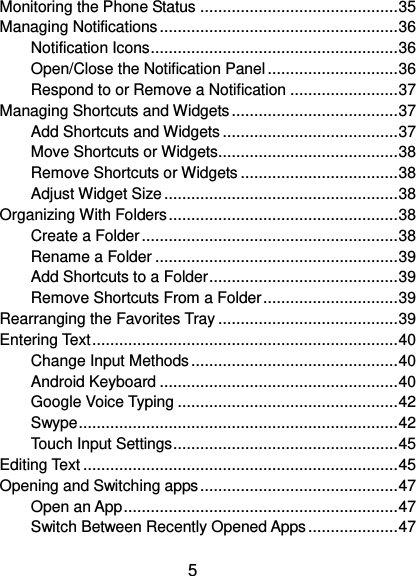
![169 operations or lower image quality. Clean your phone and its accessories with a soft material such as cleaning cloth for eyeglass lenses. Do not use alcohol or other corrosive substances for cleaning or allow them to get inside. Do not expose your phone or its accessories to open flames or lit tobacco products. Do not expose your phone or its accessories to liquid, moisture or high humidity. Do not drop, throw or try to bend your phone or its accessories. Do not paint your phone or its accessories. Do not attempt to disassemble your phone or its accessories, only authorized personnel must do so. Do not expose or use your phone or its accessories in an environment with or that can reach extreme temperatures, minimum - [5] and maximum + [50] degrees Celsius. Do not place your phone inside or near heating equipments or high pressure containers, such as water heaters, microwave ovens, or hot cooking utensils. Otherwise, your phone may be damaged. Please check local regulations for disposal of electronic products. Do not carry your phone in your back pocket as it could break when you sit down.](https://usermanual.wiki/ZTE/Z665C/User-Guide-1961001-Page-169.png)