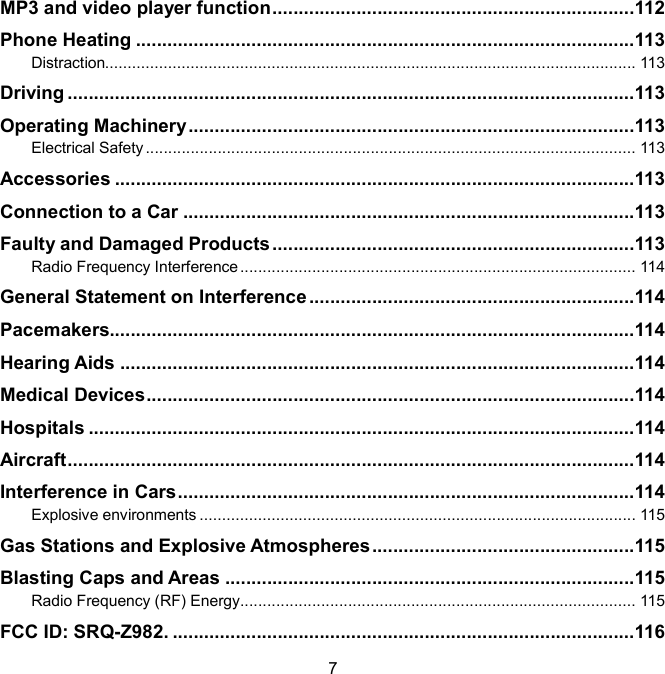
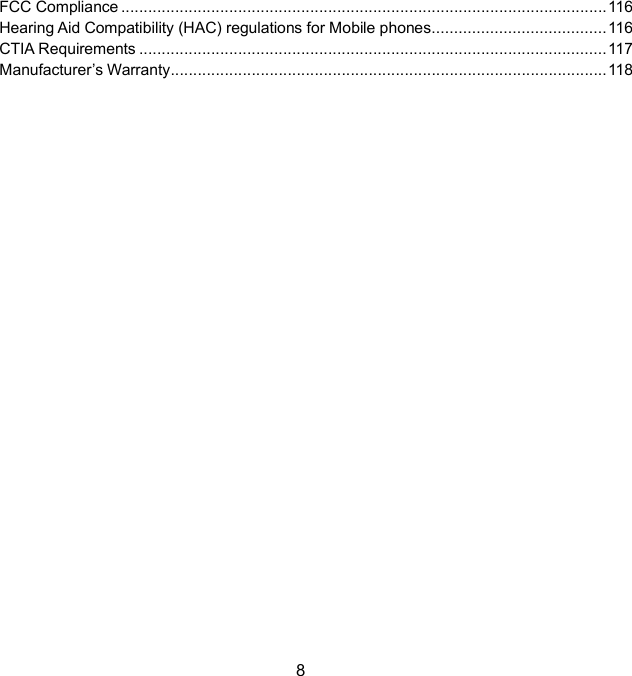
ZTE Z982 WCDMA/ LTE Multi-Mode Digital Mobile Phone User Manual
ZTE Corporation WCDMA/ LTE Multi-Mode Digital Mobile Phone
UserManual.wiki
>
ZTE
>
Z982 User Manual
User manual
Navigation menu
Upload a User Manual
Namespaces
Wiki Guide
HTML
PDF
Info
Views
User Manual
Discussion / Help
Navigation


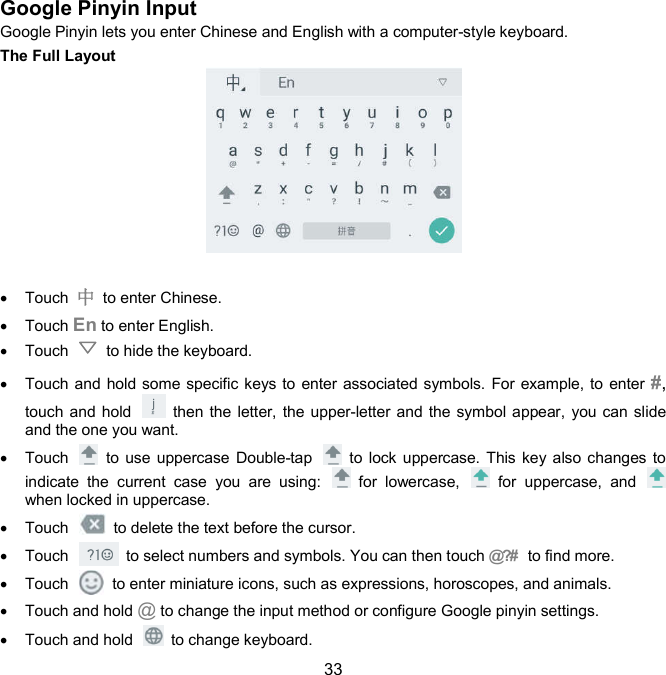


![50 Phone Calls You can place calls from the Phone app, the Contacts app, or other apps or widgets that display contact information. Wherever you see a phone number, you can usually touch it to dial. Placing and Ending Calls Place a Call by Dialing 1. Touch the Home key > . 2. Touch and enter the phone number or the contact name with the dialpad. Touch to delete incorrect digits. NOTE: As you enter the phone number or the contact name, your phone searches for matching information in your contacts. If you see the number and contact you want to call, touch it to place the call immediately. 3. Touch below the keypad to dial. 4. You can also touch the search box at the top of the Phone app screen and enter the phone number or contact name you want to call. Touch the matching contact or Call [number] to place the call. NOTE: To make an international call, touch and hold the 0 key to enter the plus (+) symbol. Next, enter the country code, followed by the city/area code and then the phone number. NOTE: To redial the last call you made, just touch the Home key > > > and touch again.](https://usermanual.wiki/ZTE/Z982/User-Guide-3441571-Page-52.png)