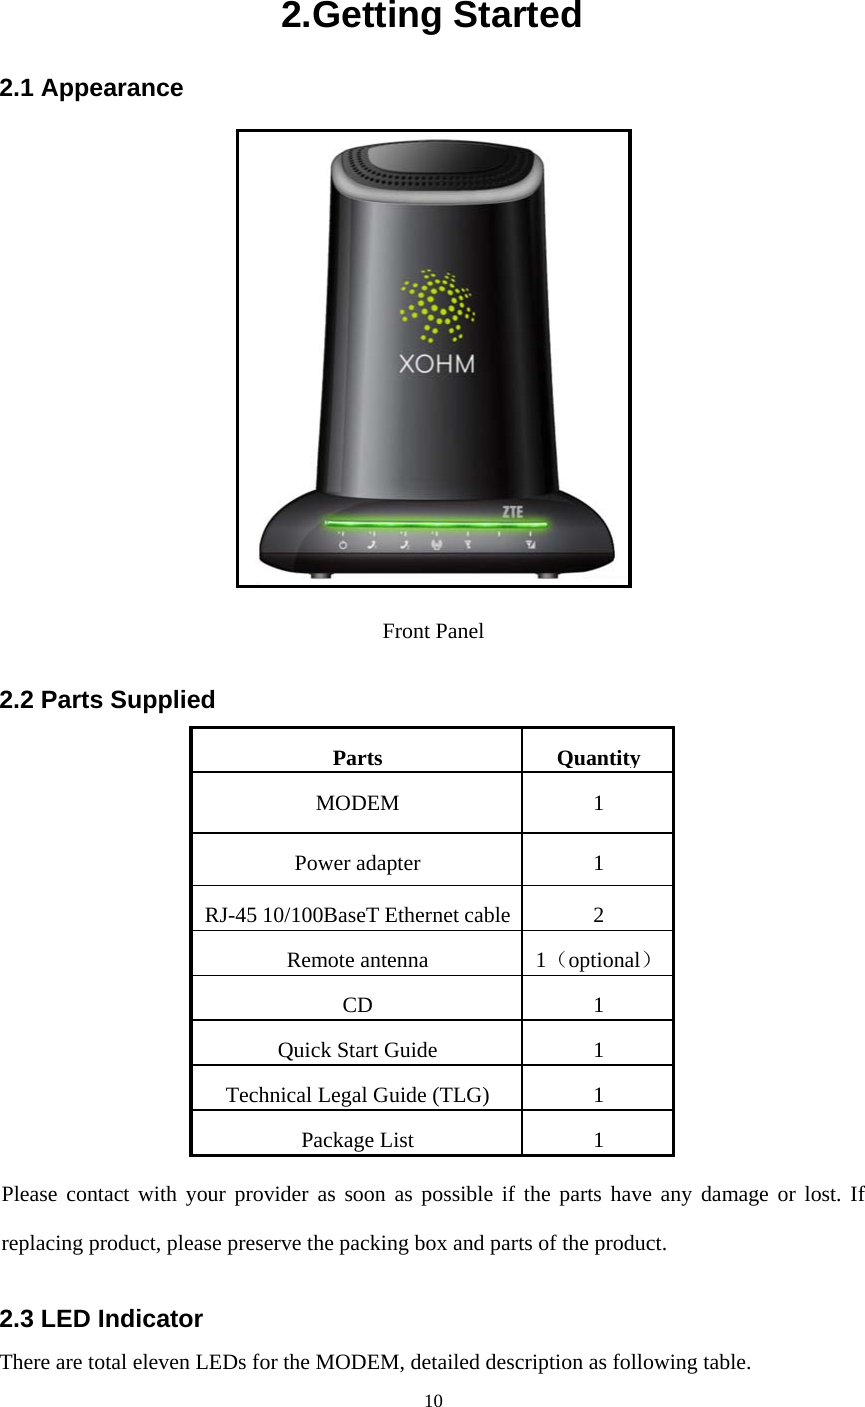
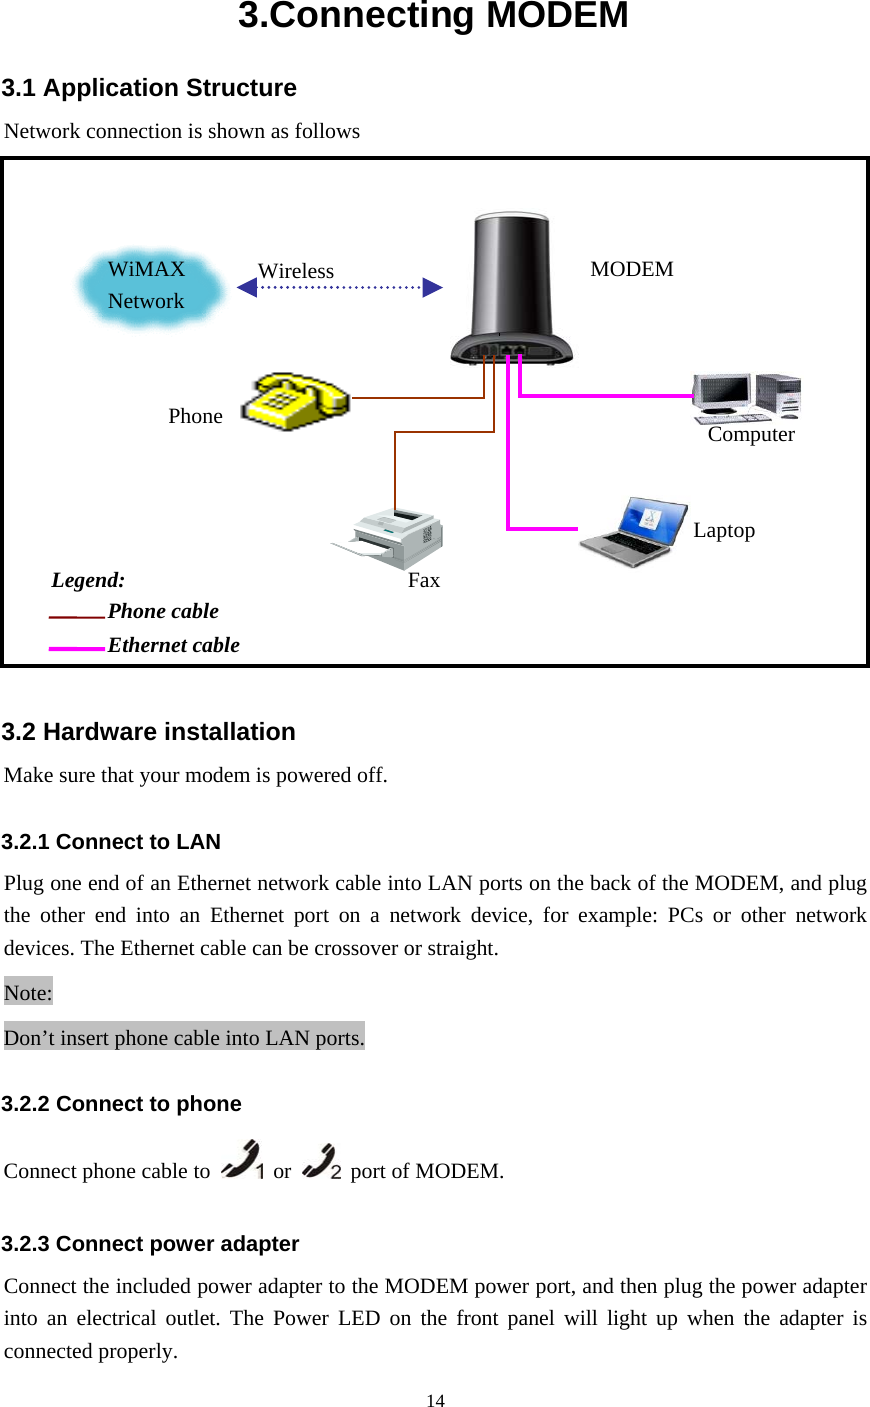
ZTE ZTE-I600 I600 WiMAX MODEM User Manual
ZTE Corporation I600 WiMAX MODEM
UserManual.wiki
>
ZTE
>
ZTE I600 User Manual
User Manual
Navigation menu
Upload a User Manual
Namespaces
Wiki Guide
HTML
PDF
Info
Views
User Manual
Discussion / Help
Navigation
![7 This device has been tested for compliance with FCC RF Exposure (SAR) limits in the typical laptop computer configuration. This device cannot be used with handheld PDAs (personal digital assistants). This device and its antenna must not be co-located or operated in conjunction with any other antenna or transmitter. 1.3 Cleaning and Maintaining Use an antistatic cloth to clean the MODEM. Do not use chemical or abrasive cleanser as these could damage the plastic case. Turn off your MODEM before you clean it. Use the MODEM within the temperature range of 0°C ~55°C[32°F ~ 131°F] and the humidity range of 10%~85%. Do not use your MODEM during a thunderstorm. Remove the mains power pack from the wall socket. Please do not touch the antenna with your hand during conversation. Covering the antenna may affects call quality, may cause the MODEM to operate at higher power level than needed. 1.4 Limited Warranty This warranty does not apply to defects or errors in the Product caused by: (a) Reasonable MODEM Appearance Disfiguration. (b) End User’s failure to follow ZTE’s installation, operation or maintenance instructions or procedures. (c) End User’s mishandling, misuse, negligence, or improper installation, disassemble, storage, servicing or operation of the Product. (d) Modifications or repairs not made by ZTE or a ZTE-certified individual. (e) Power failures, surges, fire, flood, accident, actions of third parties or other events outside ZTE’s reasonable control. (f) Usage of products of third Parties, or usage in conjunction with third party products provided that such defects is due to the combined usage. (g) Any other cause beyond the range of normal usage for Products. End User shall have no right to reject, return, or receive a refund for any Product from ZTE under the above-mentioned situations. This warranty is end user’s sole remedy and ZTE’s sole liability for defective or nonconforming items, and is in lieu of all other warranties, expressed, implied or statutory, including but not limited to the implied warranties of merchantability and fitness for a particular purpose, unless otherwise required under the mandatory provisions of the law.](https://usermanual.wiki/ZTE/ZTE-I600/User-Guide-1034960-Page-7.png)

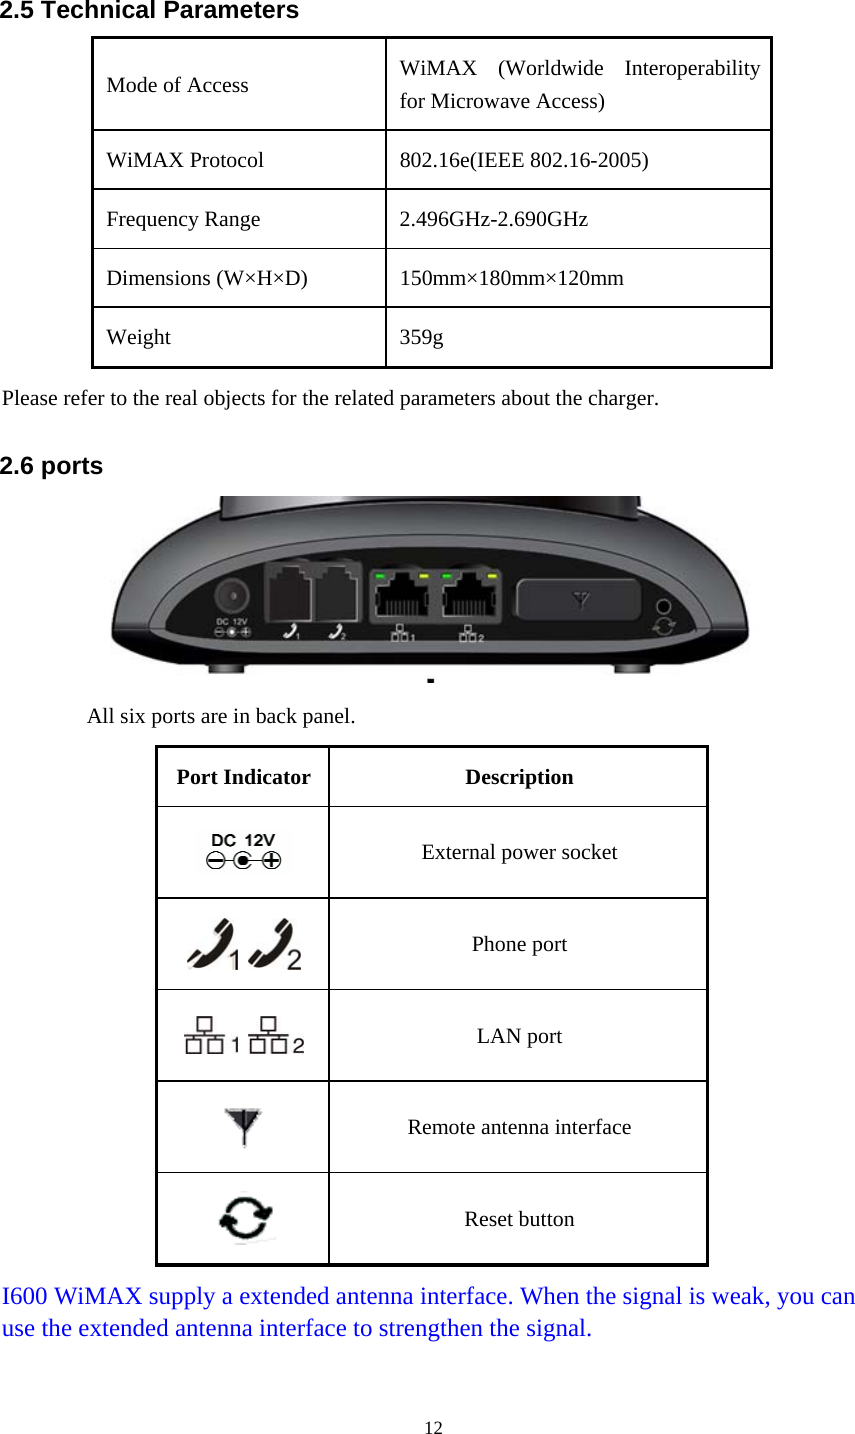
![11 LED Marker Status Description WiMAX RSSI Solid Green or Off Use 3 LEDs to indicate signal strength. : No signal : Signal is weak : Signal is medium : Signal is strong Solid Green Register Success WiMAX Status Slow Flashing Register Process/Device StartupOff Hook on/Out of Service Solid Green Hook off Phone1/Phone2 Flashing Green Message waiting Indicator Solid Green Power Supply Power Solid Red Power Supply Failure Off Out of Connection Solid Green Connection Top left corner LED Flashing Green Data Service Process Off 10M Interface LAN1/LAN2 Top right corner LED Solid Yellow 100M Interface 2.4 Working Condition Working Condition for Host Working temperature: 0°C ~ +55°C [32°F ~ 131°F] Working humidity: 10% ~ 85% Storage temperature: -30°C ~ +70°C [-22°F ~ 158°F] Storage humidity: 5% ~ 90%](https://usermanual.wiki/ZTE/ZTE-I600/User-Guide-1034960-Page-11.png)
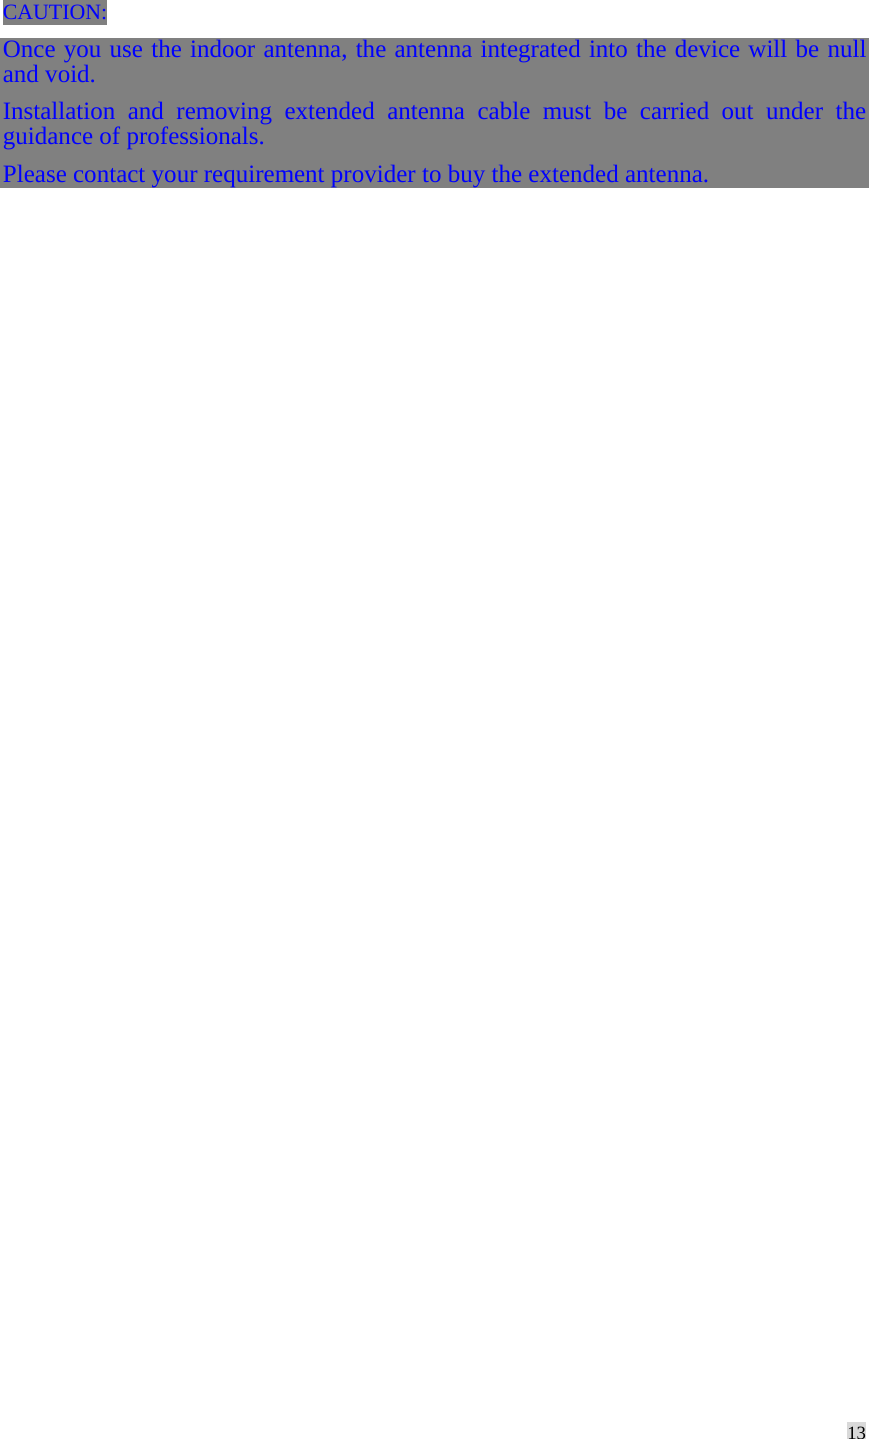
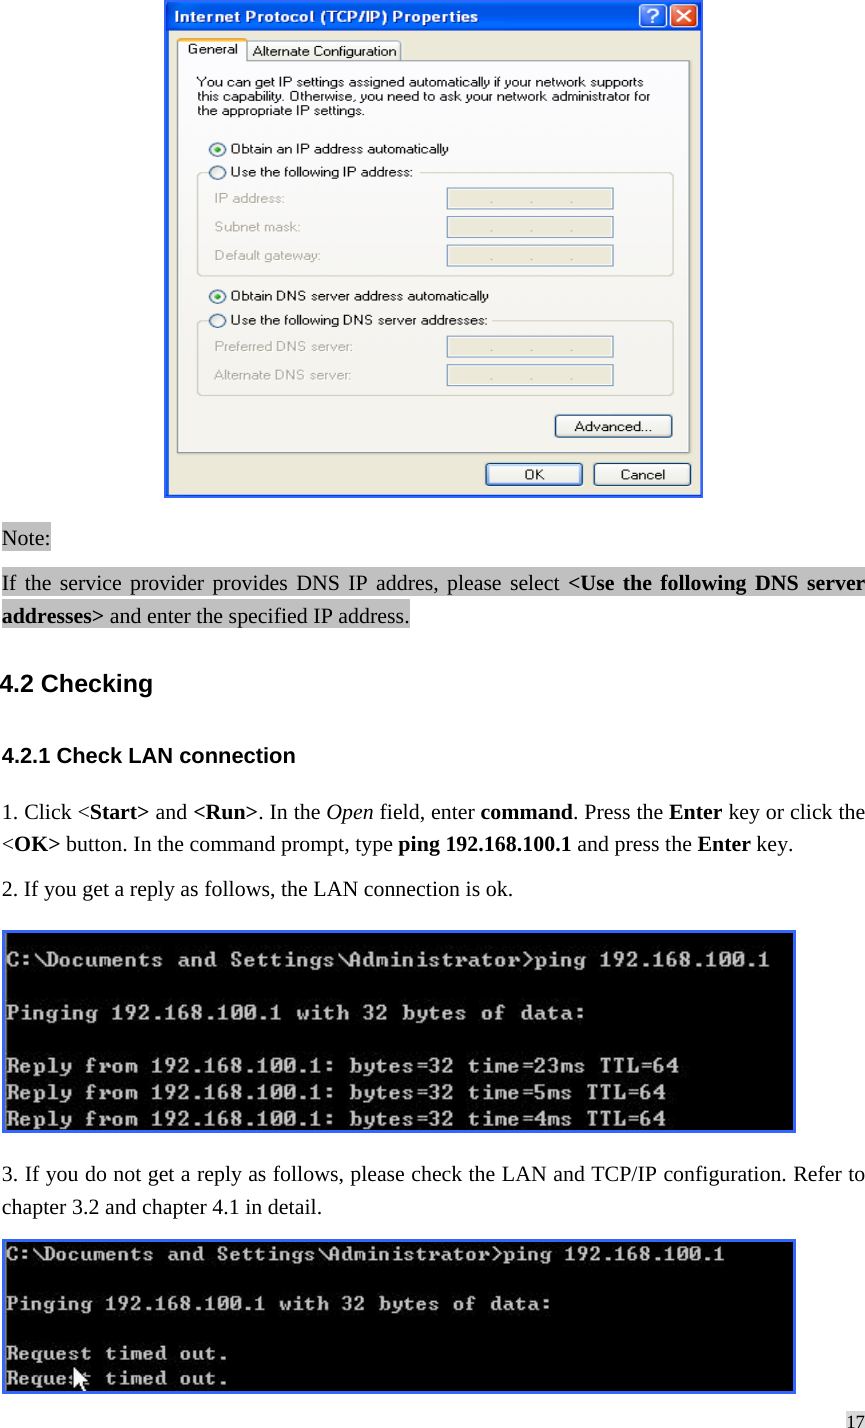
![16 4.Preparation for configuring MODEM Usually, MODEM has been configured by service provider and you can use it directly. But in some instance, you need configure MODEM by yourself. 4.1 TCP/IP installation and configuration Installation If TCP/IP protocol is not installed, please install it first. Please refer to installation steps in WinXp as follows(For classic start menu):. 1. Click <Start> and select [Settings] then click <Network Connections>. 2. Double-click <Local Area Connection> and click <Properties>. 3. Click <Install...> and double-click <Protocol>. 4. Select <Internet Protocol (TCP/IP)> and click <OK>. Configuration (For classic start menu) 1. Click <Start> and select [Settings], then click <Network Connections>. 2. Double-click <Local Area Connection> and click <Properties>. 3. Double-click <Internet Protocol(TCP/IP)> and select <Obtain an IP address automatically>, <Obtian DNS server address automatically>.](https://usermanual.wiki/ZTE/ZTE-I600/User-Guide-1034960-Page-16.png)