ZTE ZTEGRANDS WCDMA/GSM (GPRS) Dual-Mode Digital Mobile Phone User Manual ZTE Grand S
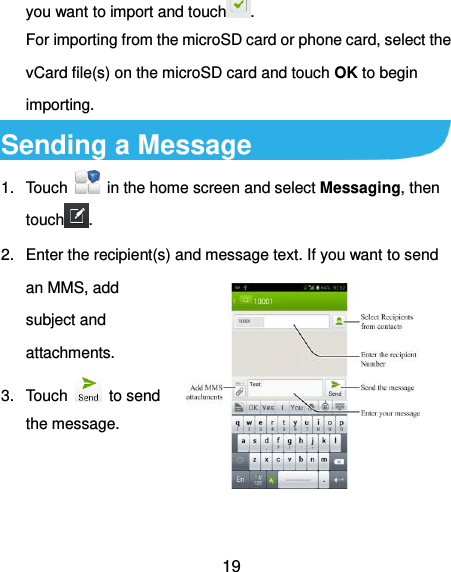
ZTE Corporation WCDMA/GSM (GPRS) Dual-Mode Digital Mobile Phone ZTE Grand S
UserManual.wiki
>
ZTE
>
ZTEGRANDS User Manual
UserMan
Navigation menu
Upload a User Manual
Namespaces
Wiki Guide
HTML
PDF
Info
Views
User Manual
Discussion / Help
Navigation
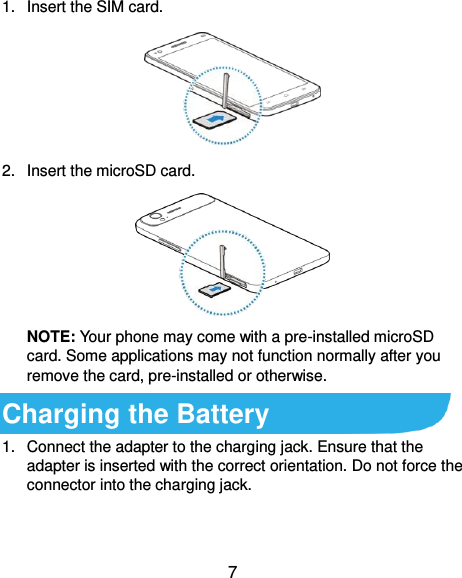
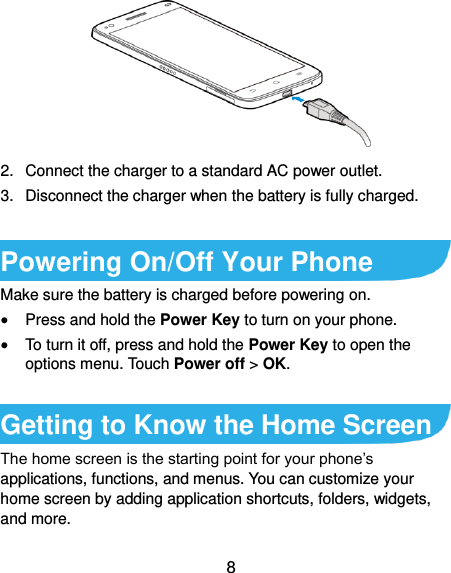
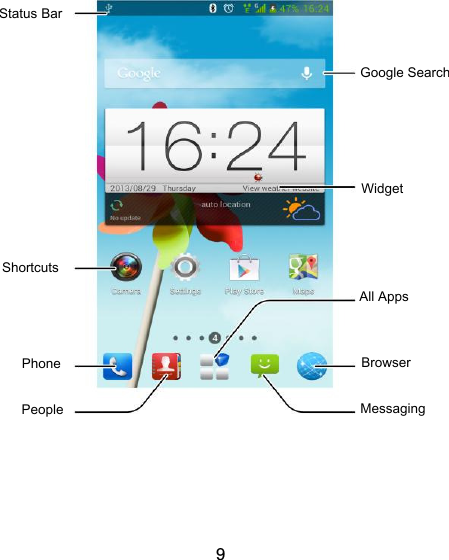

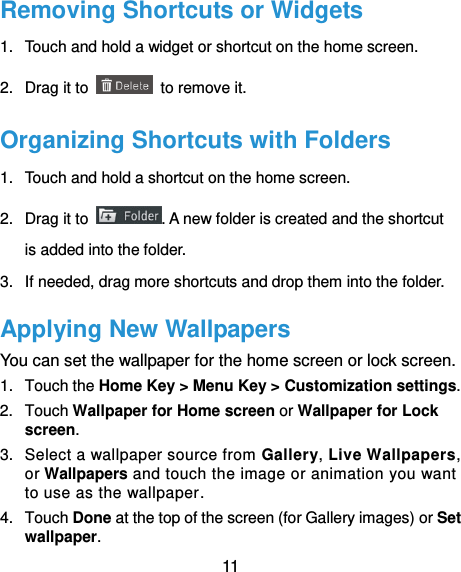
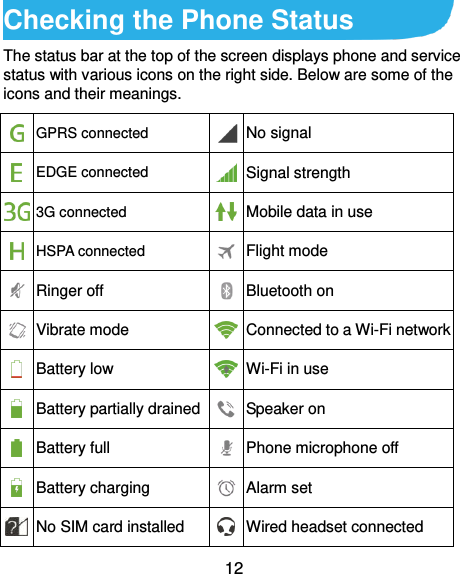
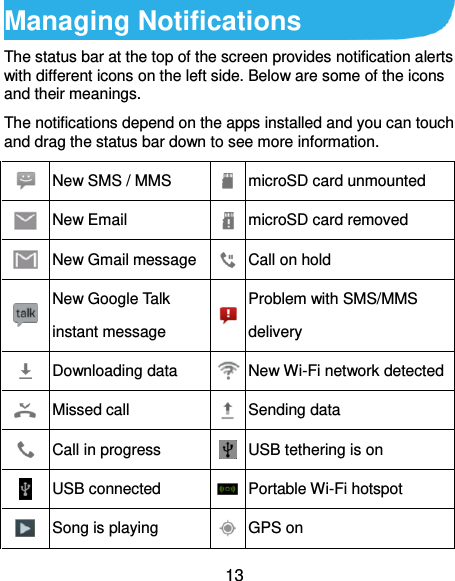


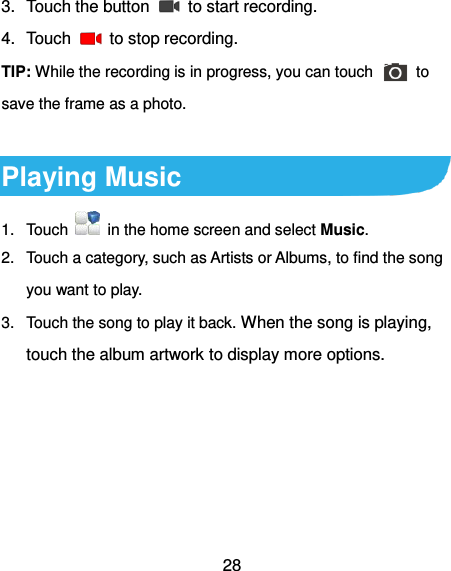
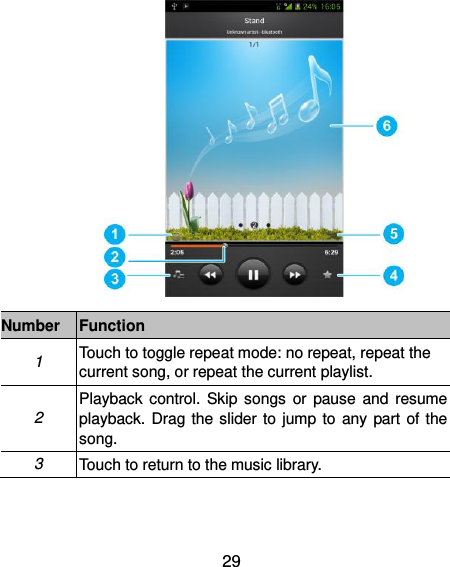
![30 4 Touch to add the song to or remove it from favorites. Your favorite songs can be found in the Favorite playlist in the Playlists tab. 5 Touch to play the current playlist in shuffle mode, where tracks are played in random order. 6 Album artwork. Swipe left or right to see lyrics (if available) or the current playlist. Connecting to PC You can connect your phone to a computer with a USB cable and transfer music, pictures, and other files in either direction. Your device stores these files in internal storage or on a removable microSD card. 1. Touch and hold the status bar across the top of the screen and flick down. 2. Touch (Connected as [current connection mode]). 3. Choose one of the following options: Charger only: Charge your phone via USB. USB Mass Storage: Use the tablet as a USB modem. Install driver: Install the driver of the tablet on a PC. Connect to PC software: Sync the tablet with a PC. Media device (MTP): Transfer media files in Windows,](https://usermanual.wiki/ZTE/ZTEGRANDS/User-Guide-2075946-Page-30.png)