ZTE ZTEGV821 GSM Quad-Mode Digital Mobile Phone User Manual San Francisco
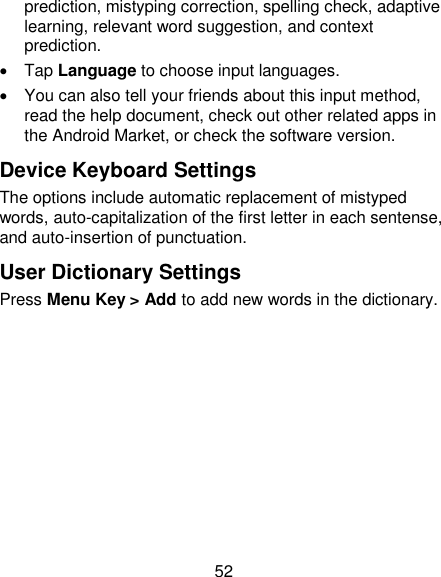
ZTE Corporation GSM Quad-Mode Digital Mobile Phone San Francisco
UserManual.wiki
>
ZTE
>
ZTEGV821 User Manual
V821 User Manual
Navigation menu
Upload a User Manual
Namespaces
Wiki Guide
HTML
PDF
Info
Views
User Manual
Discussion / Help
Navigation
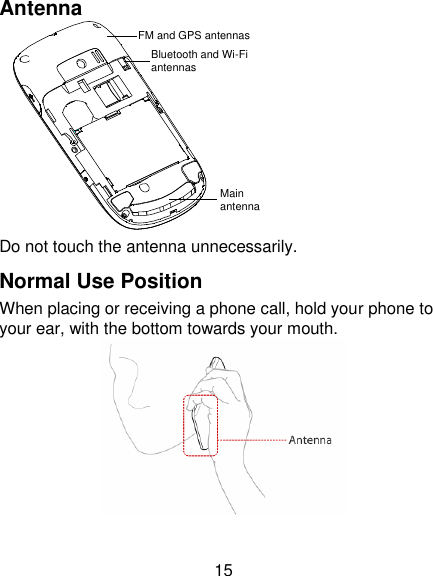
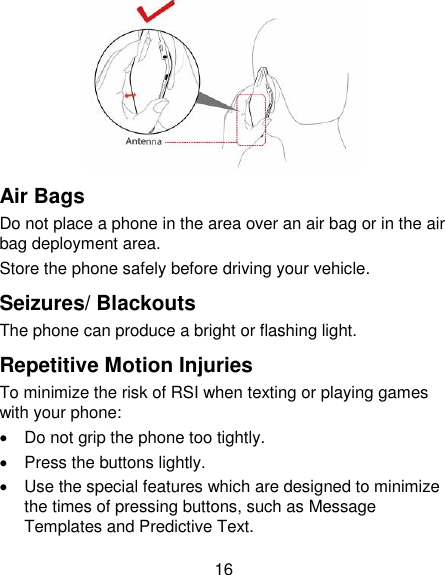
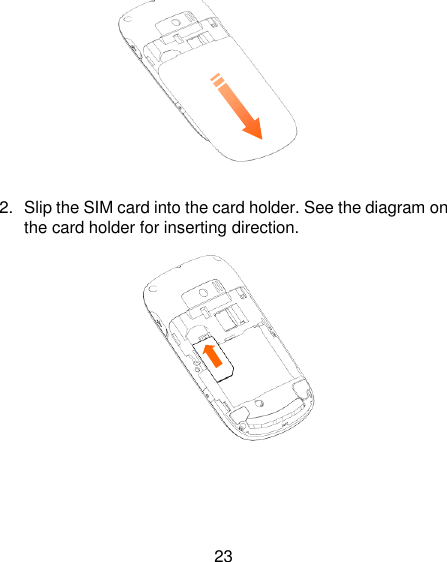
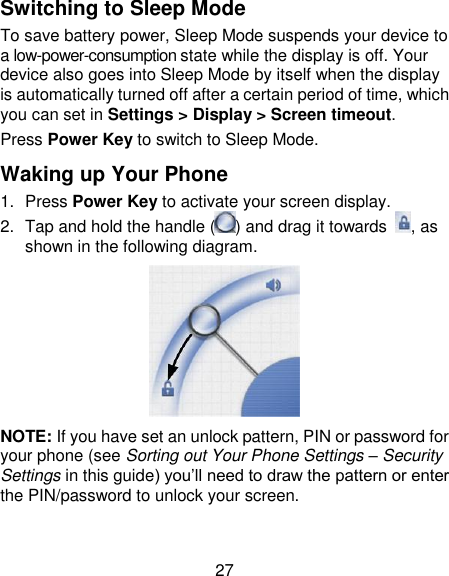
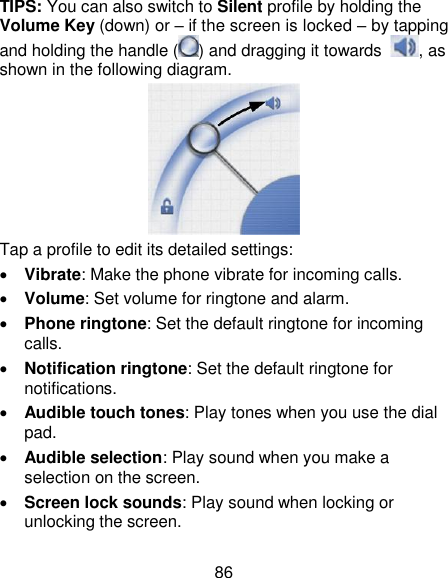
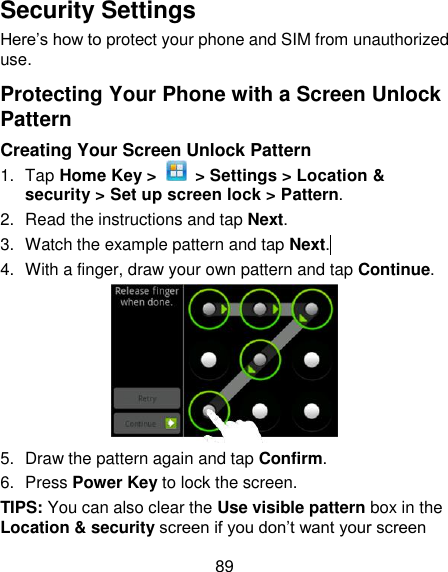
![13 You must always switch off your phone wherever the use of a phone is prohibited. Use of your phone is subject to safety measures designed to protect users and their environment. Always treat your phone and its accessories with care and keep it in a clean and dust-free place. Do not expose your phone or its accessories to open flames or lit tobacco products. Do not expose your phone or its accessories to liquid, moisture or high humidity. Do not drop, throw or try to bend your phone or its accessories. Do not use harsh chemicals, cleaning solvents, or aerosols to clean the device or its accessories. Do not paint your phone or its accessories. Do not attempt to disassemble your phone or its accessories, only authorized personnel can do so. Do not expose your phone or its accessories to extreme temperatures, minimum - [5] and maximum + [50] degrees Celsius. Please check local regulations for disposal of electronic products. Do not carry your phone in your back pocket as it could break when you sit down.](https://usermanual.wiki/ZTE/ZTEGV821/User-Guide-1488576-Page-13.png)