ZTE ZTEN9516 CDMA LTE multi-mode Digital Mobile Phone User Manual
ZTE Corporation CDMA LTE multi-mode Digital Mobile Phone
UserManual.wiki
>
ZTE
>
ZTEN9516 User Manual
User manual
Navigation menu
Upload a User Manual
Namespaces
Wiki Guide
HTML
PDF
Info
Views
User Manual
Discussion / Help
Navigation

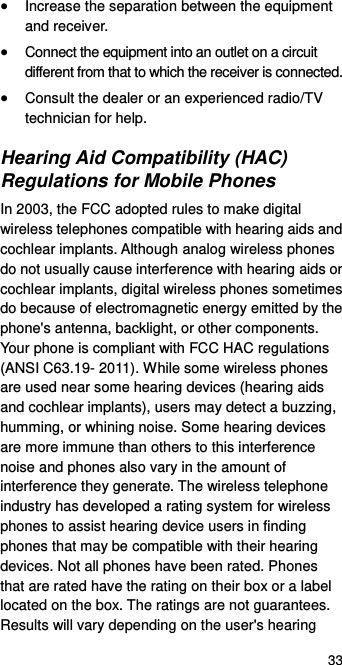
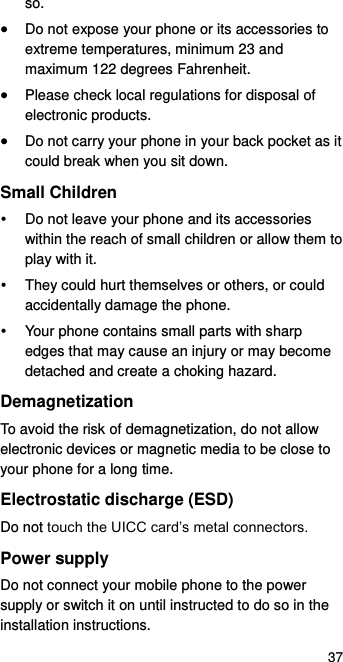
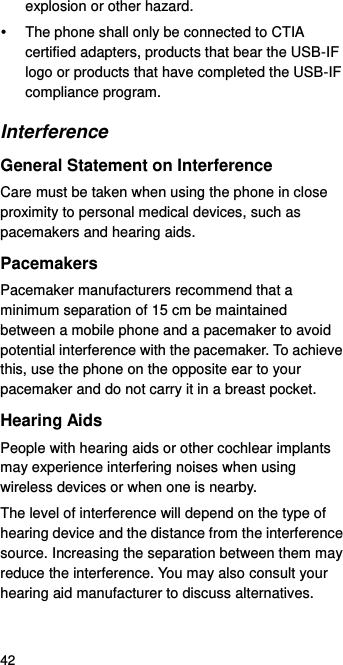
![17 the screen by touching and holding the display. Touch Face Unlock to let the phone capture your face. You can unlock the screen by looking at the phone. You also need to set a pattern or PIN in case the phone cannot recognize your face. Touch Pattern to create a pattern that you must draw to unlock the screen. Touch PIN or Password to set a numeric PIN or a password you must enter to unlock your screen. Making a Call 1. Touch the Home Key > . 2. Touch the search box at the top and enter the phone number or the contact name. The phone will display matching information from your contact list. 3. Touch the matching contact or Call [number] to call the contact or the number you have entered. NOTE: Touch and then touch and hold to retrieve your voicemail.](https://usermanual.wiki/ZTE/ZTEN9516/User-Guide-2351343-Page-19.png)
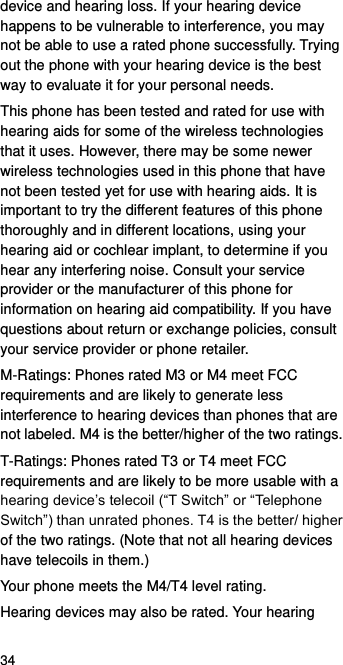
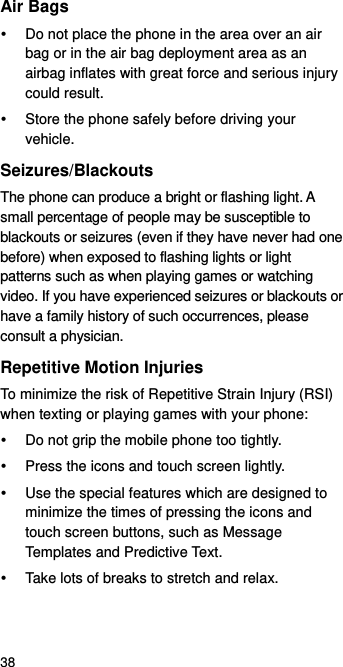
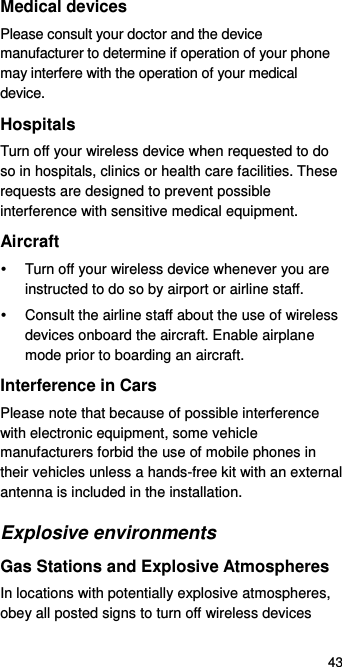
![25 NOTE: Swipe left or right in the Album artwork and lyrics area to see the whole lyrics or the current playlist. NOTE: Save a lyrics file (*.lrc) with the same name as the music file to see the lyrics on the screen when the song is being played. Connecting to PC You can connect your phone to a computer with a USB cable and transfer music, pictures, and other files in either direction. Your device stores these files in its internal USB storage (internal SD card) or on a removable microSDHC card. 1. Connect your phone to the PC with a USB cable. 2. Touch and hold the status bar across the top of the screen and flick down. 3. Touch (Connected as [current connection mode]). 4. Choose one of the following options: Charge only: Charge your phone via USB. Install driver: Install the driver needed for connecting your phone to your PC. Media device (MTP): Transfer media files on Windows® or Mac®. Camera (PTP): Transfer photos using camera software. To disconnect the device from the computer, simply unplug the USB cable when you’re finished.](https://usermanual.wiki/ZTE/ZTEN9516/User-Guide-2351343-Page-27.png)