ZTE ZTEN9521 CDMA/LTE Multi-mode Digital Mobile Phone User Manual
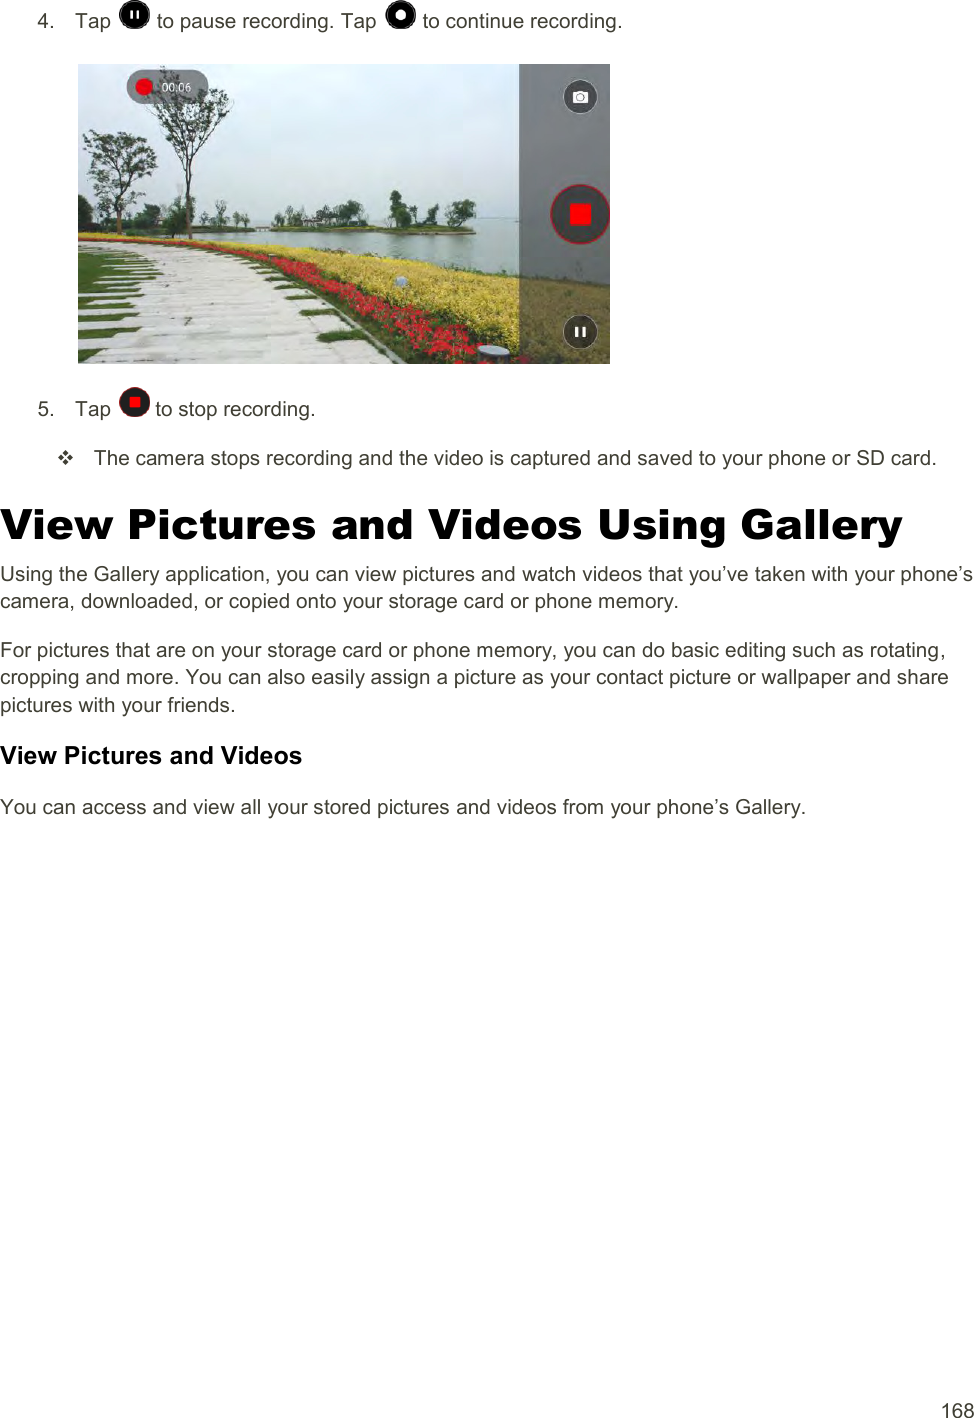
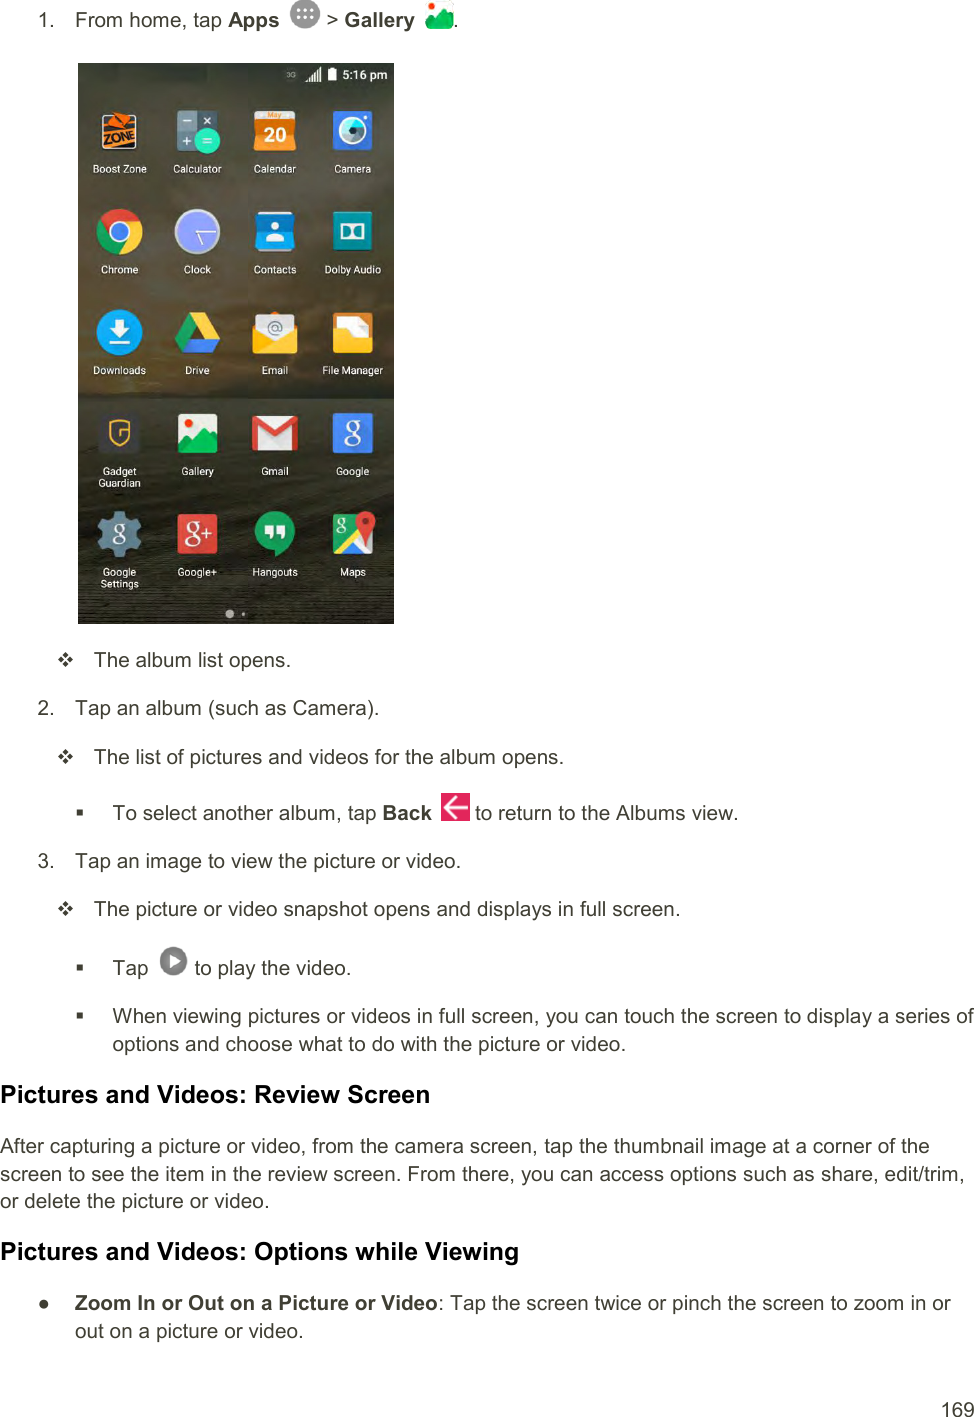
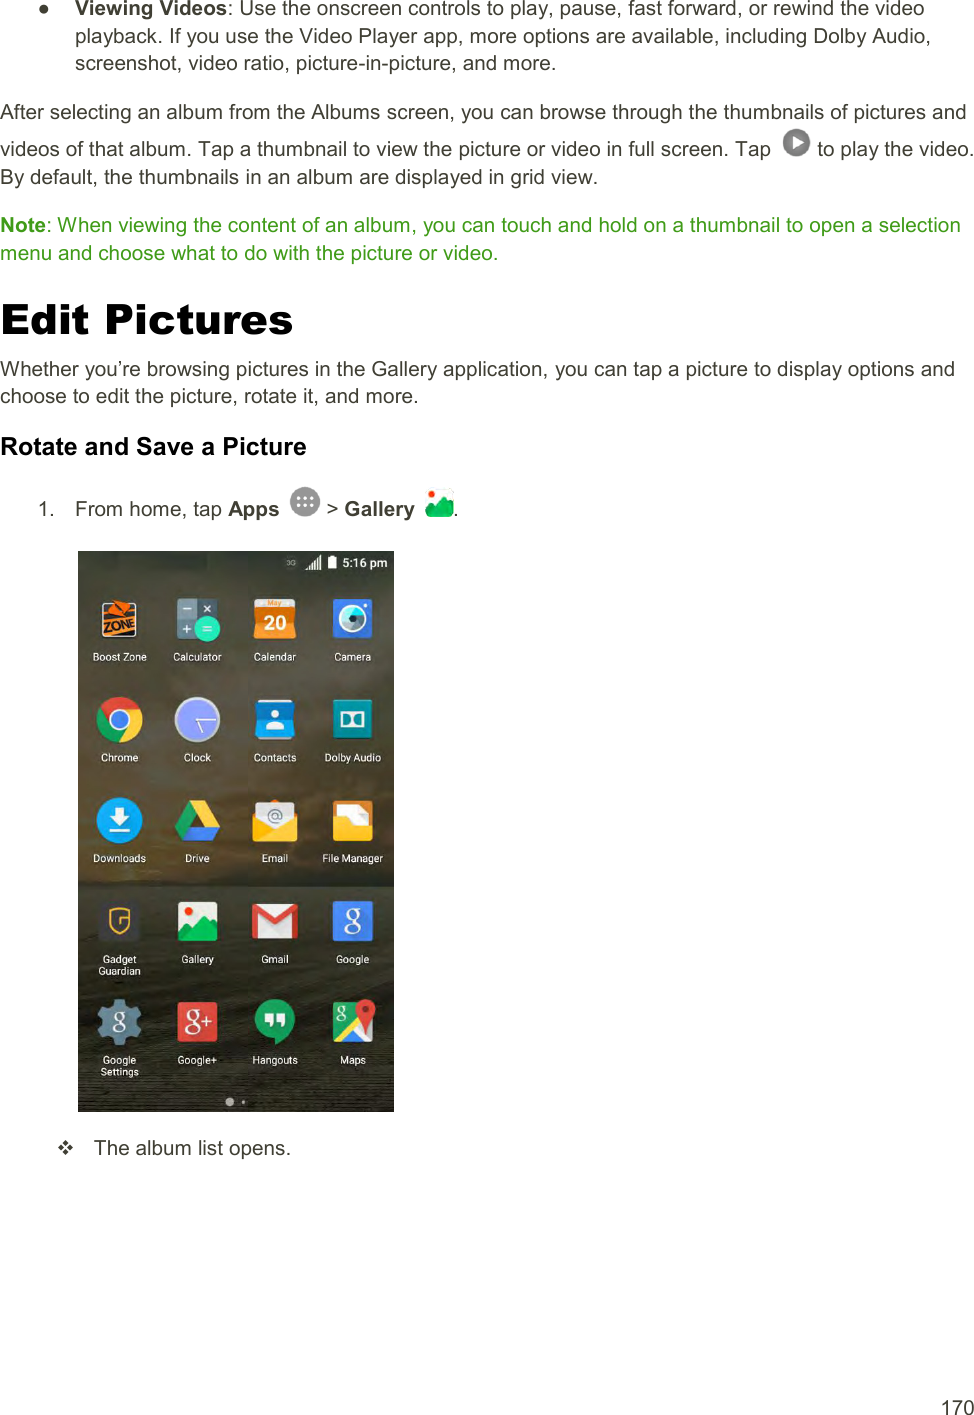
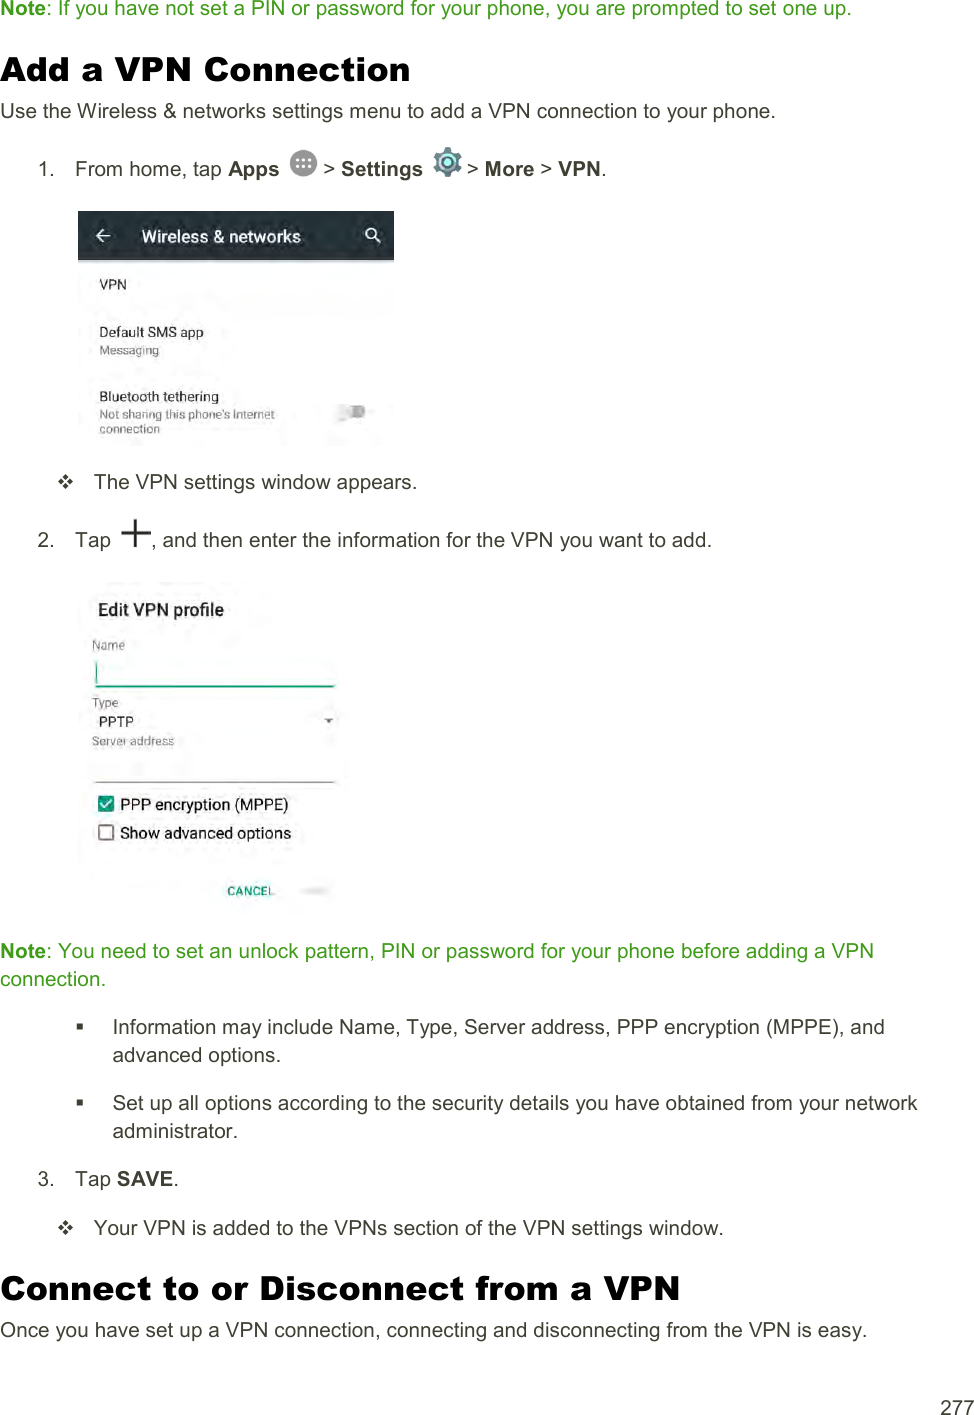
ZTE Corporation CDMA/LTE Multi-mode Digital Mobile Phone
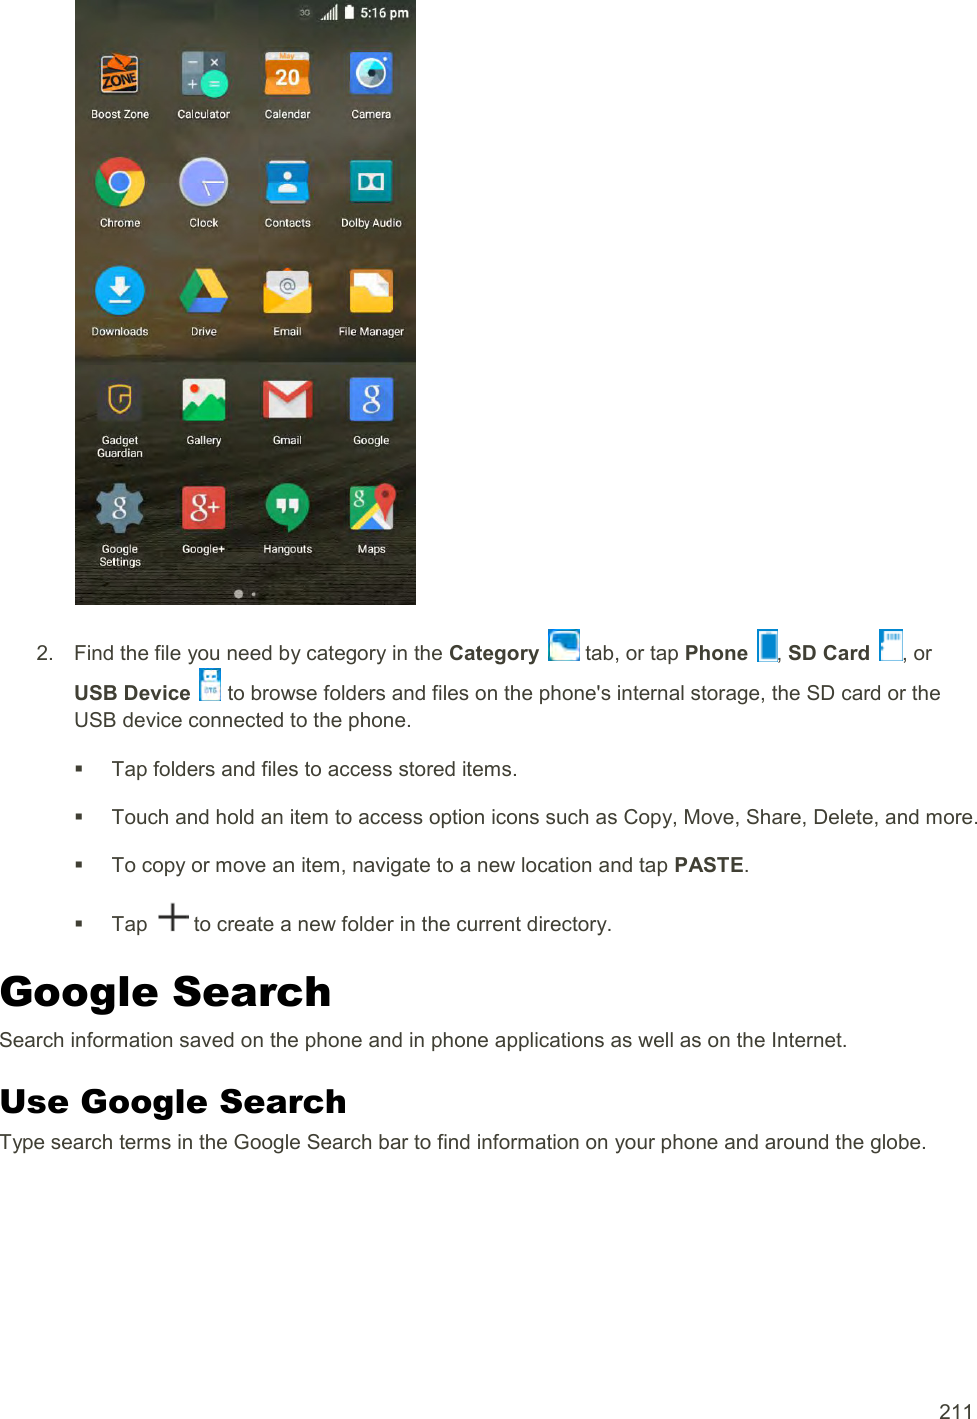
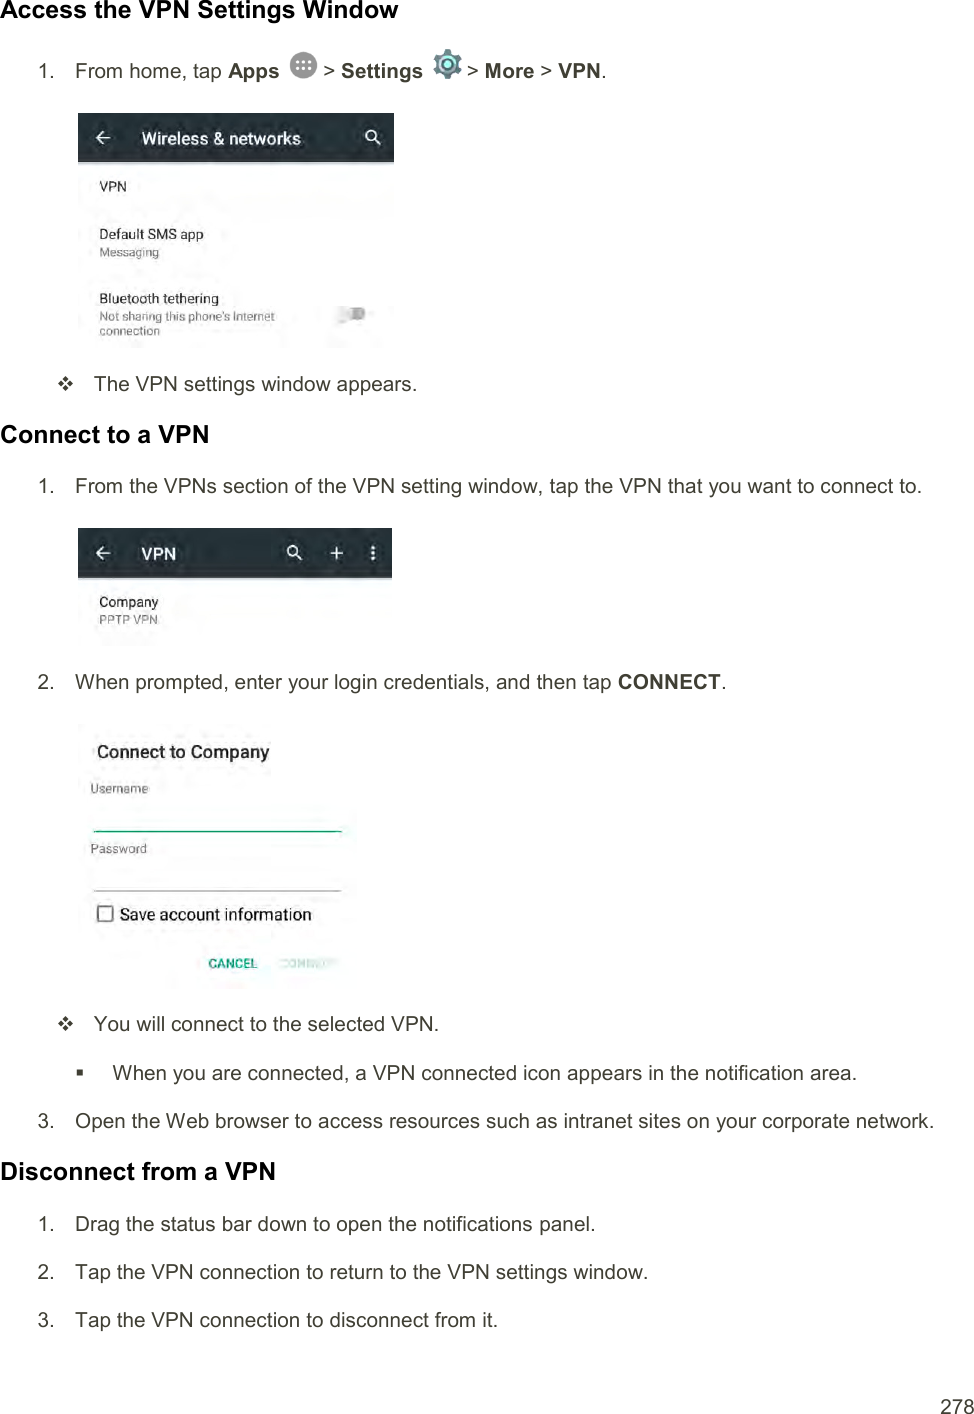
UserManual.wiki
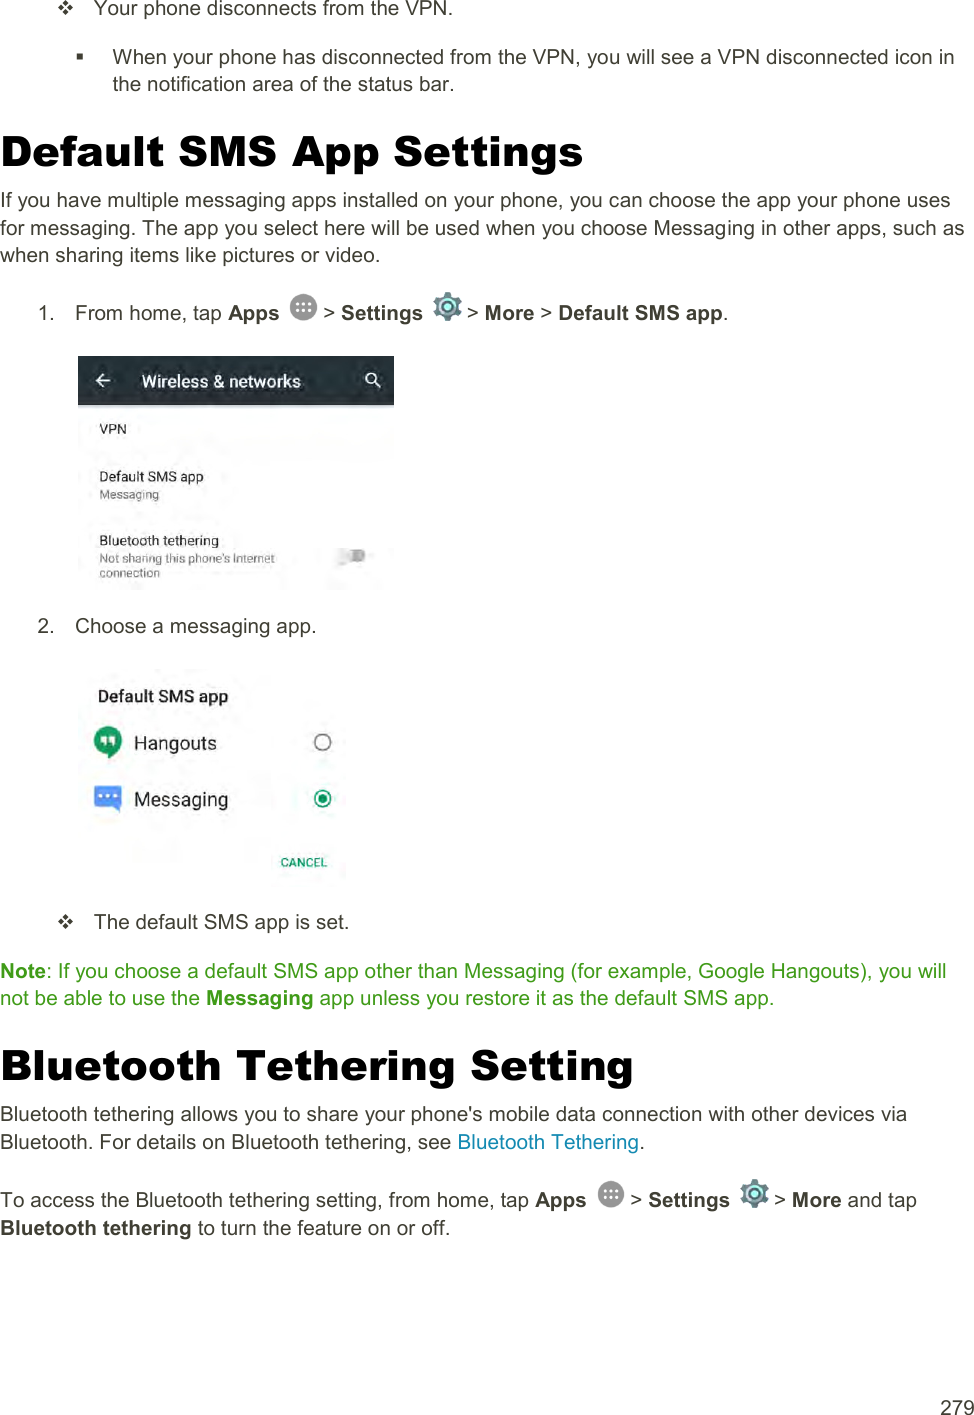
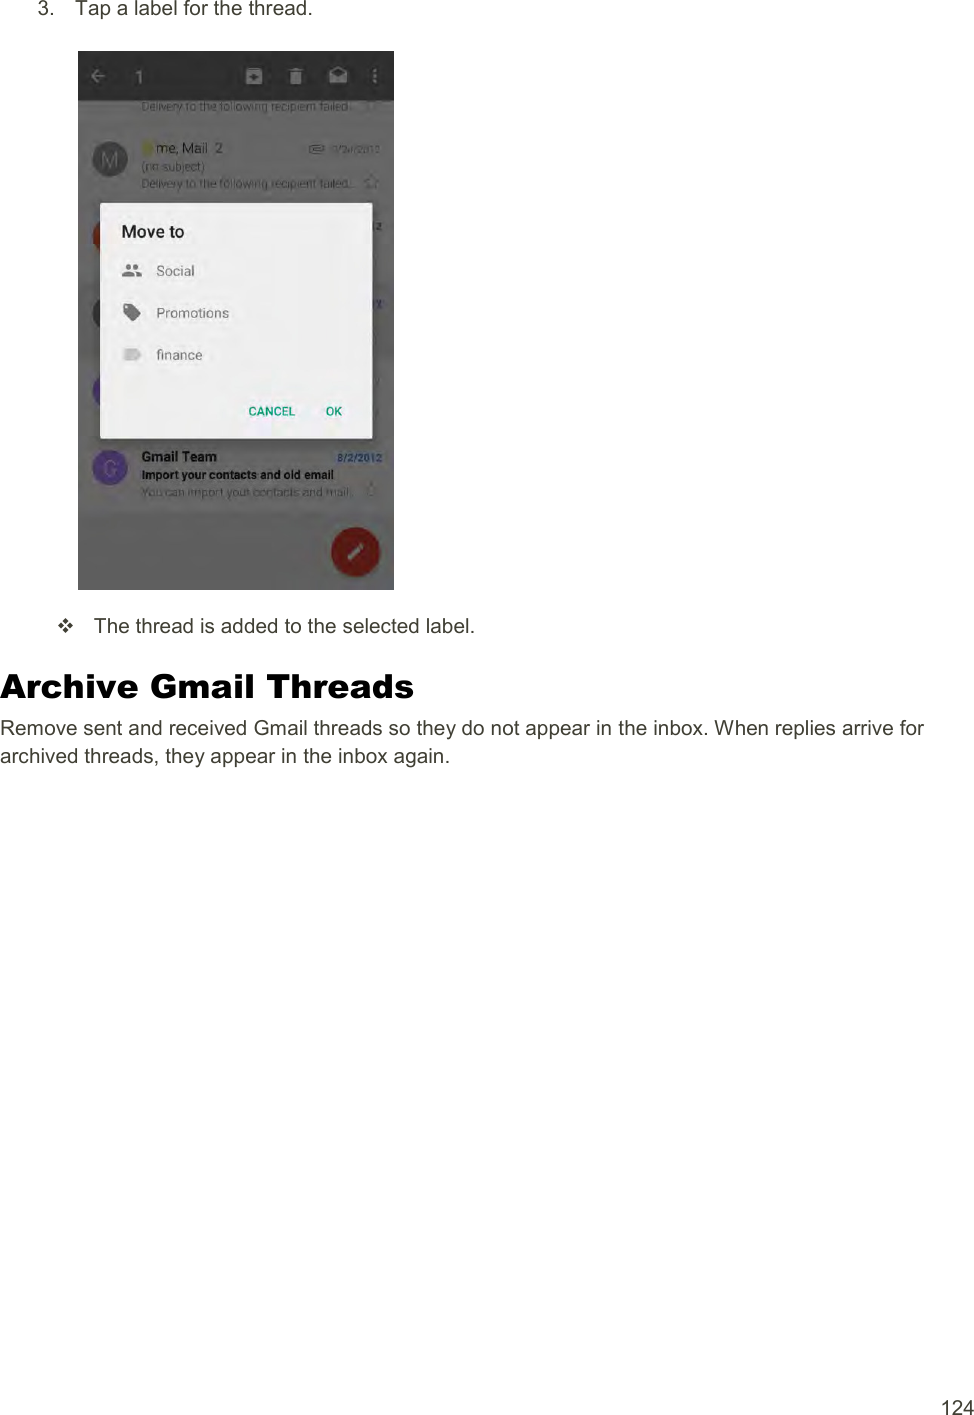
>
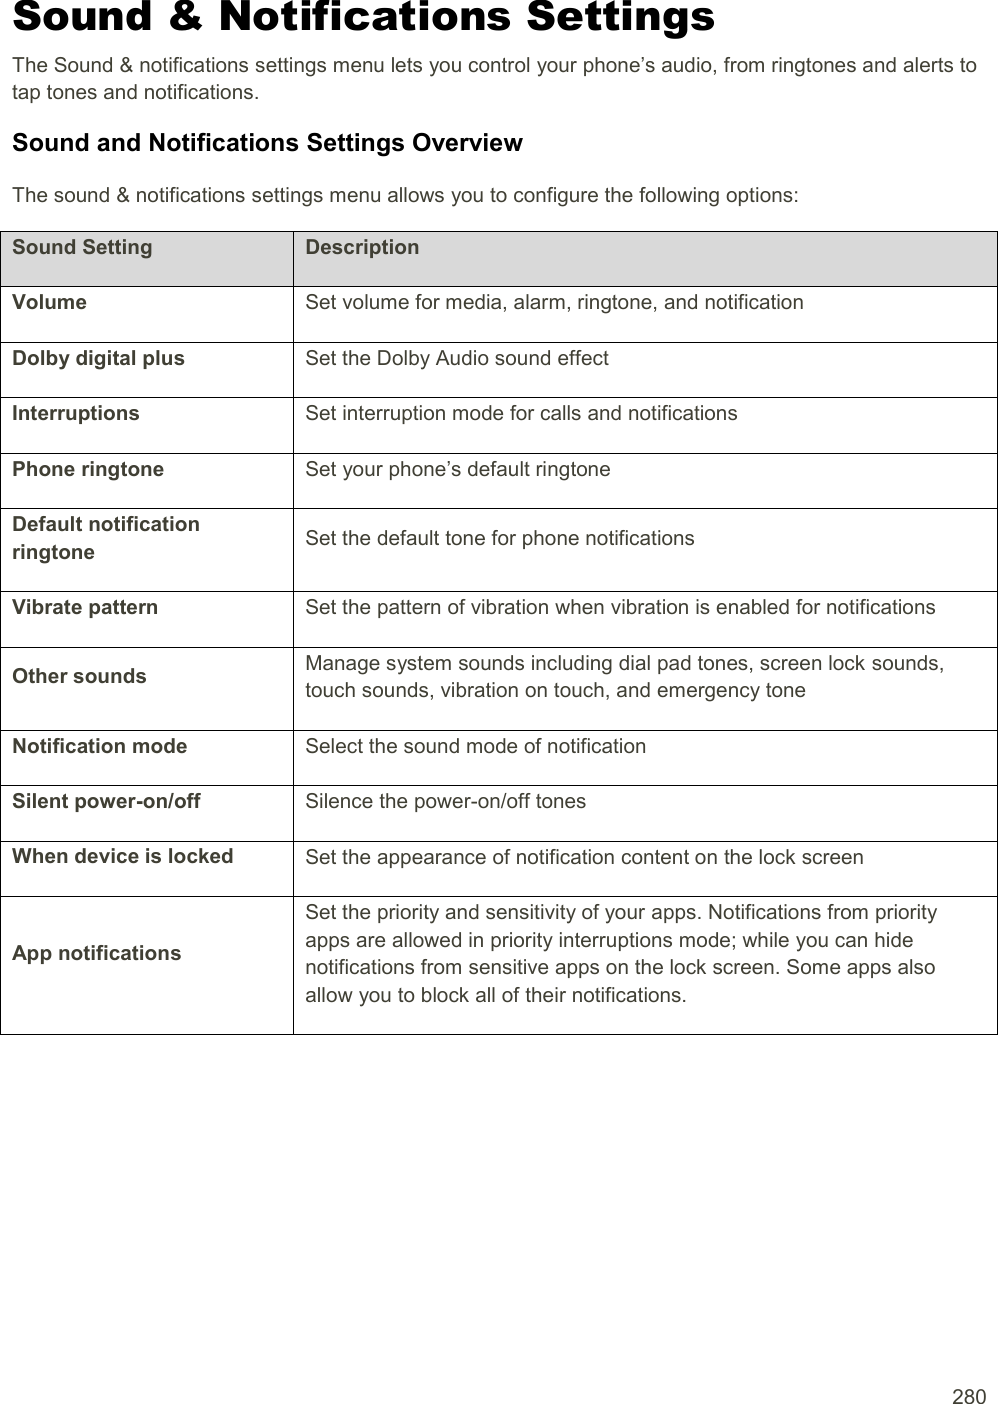
ZTE
>
ZTEN9521 User Manual
>
User manual
Contents
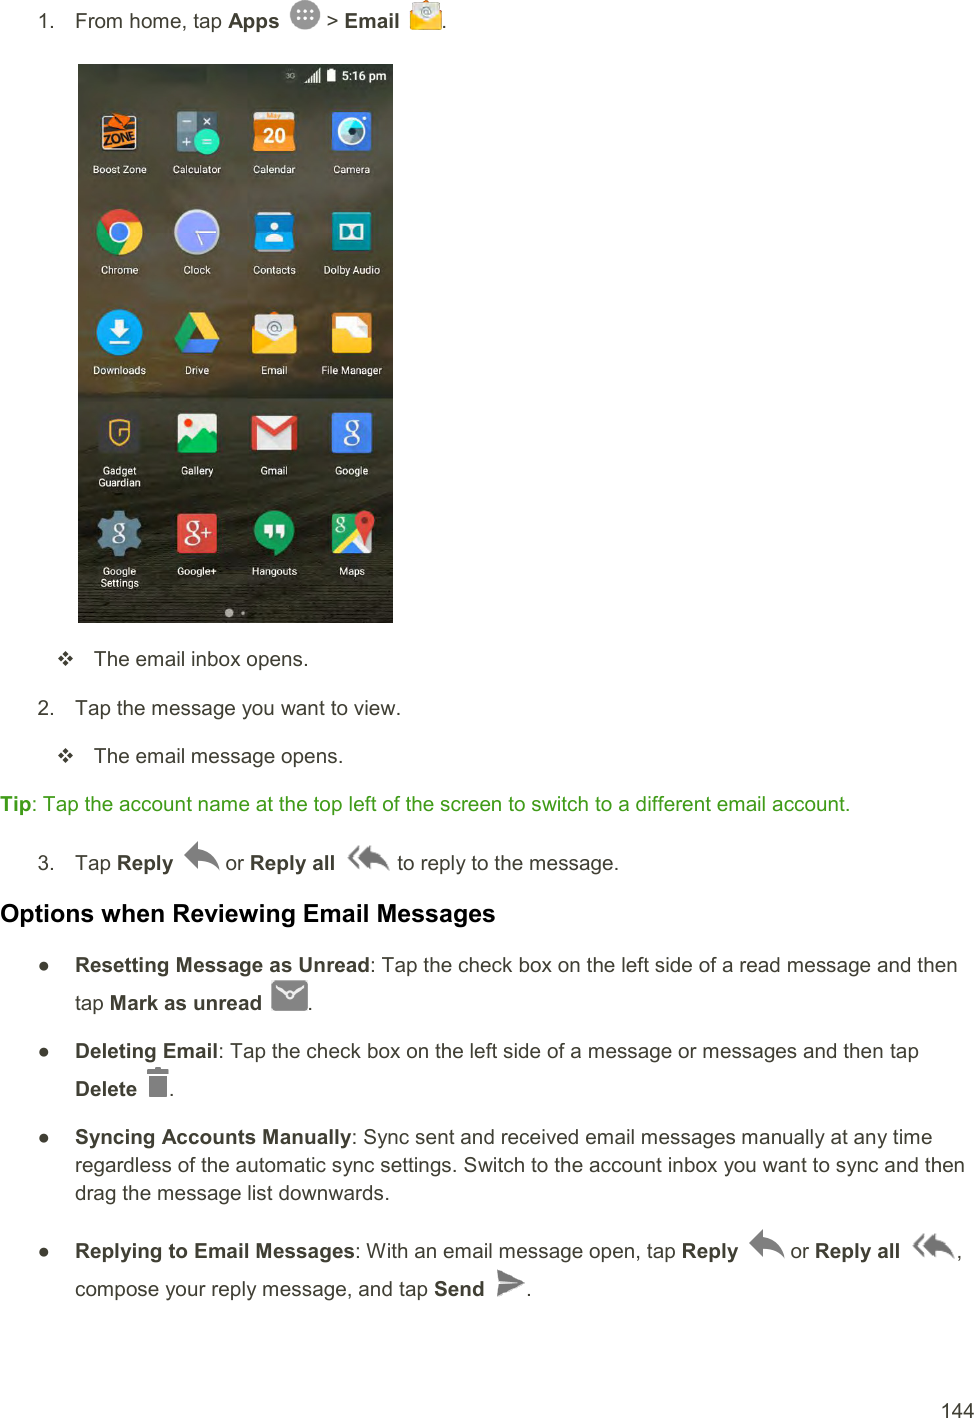
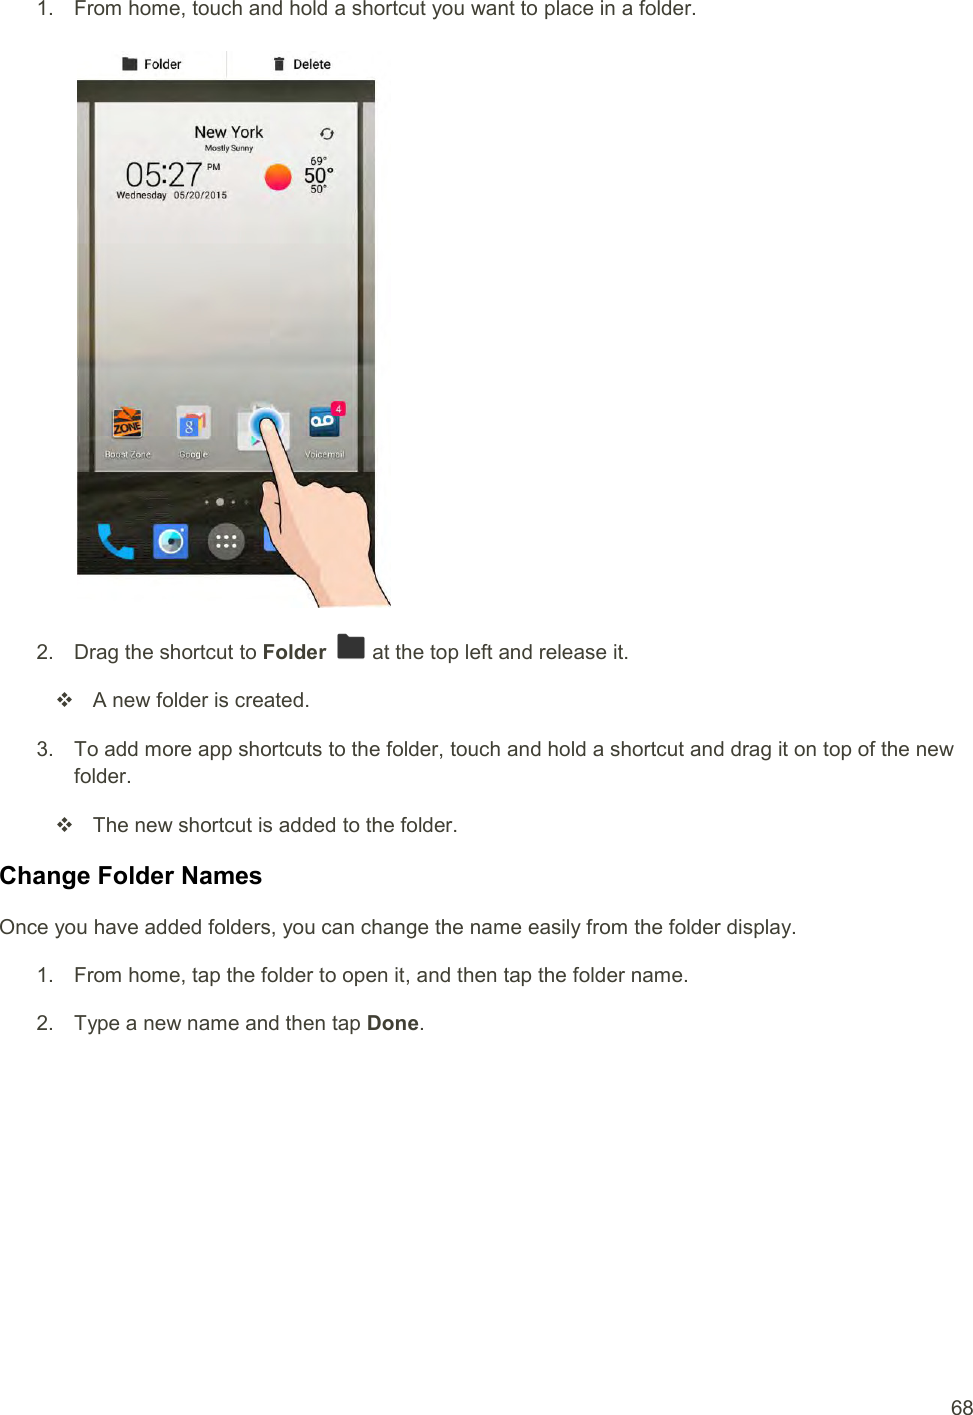
1.
User manual_Important Information
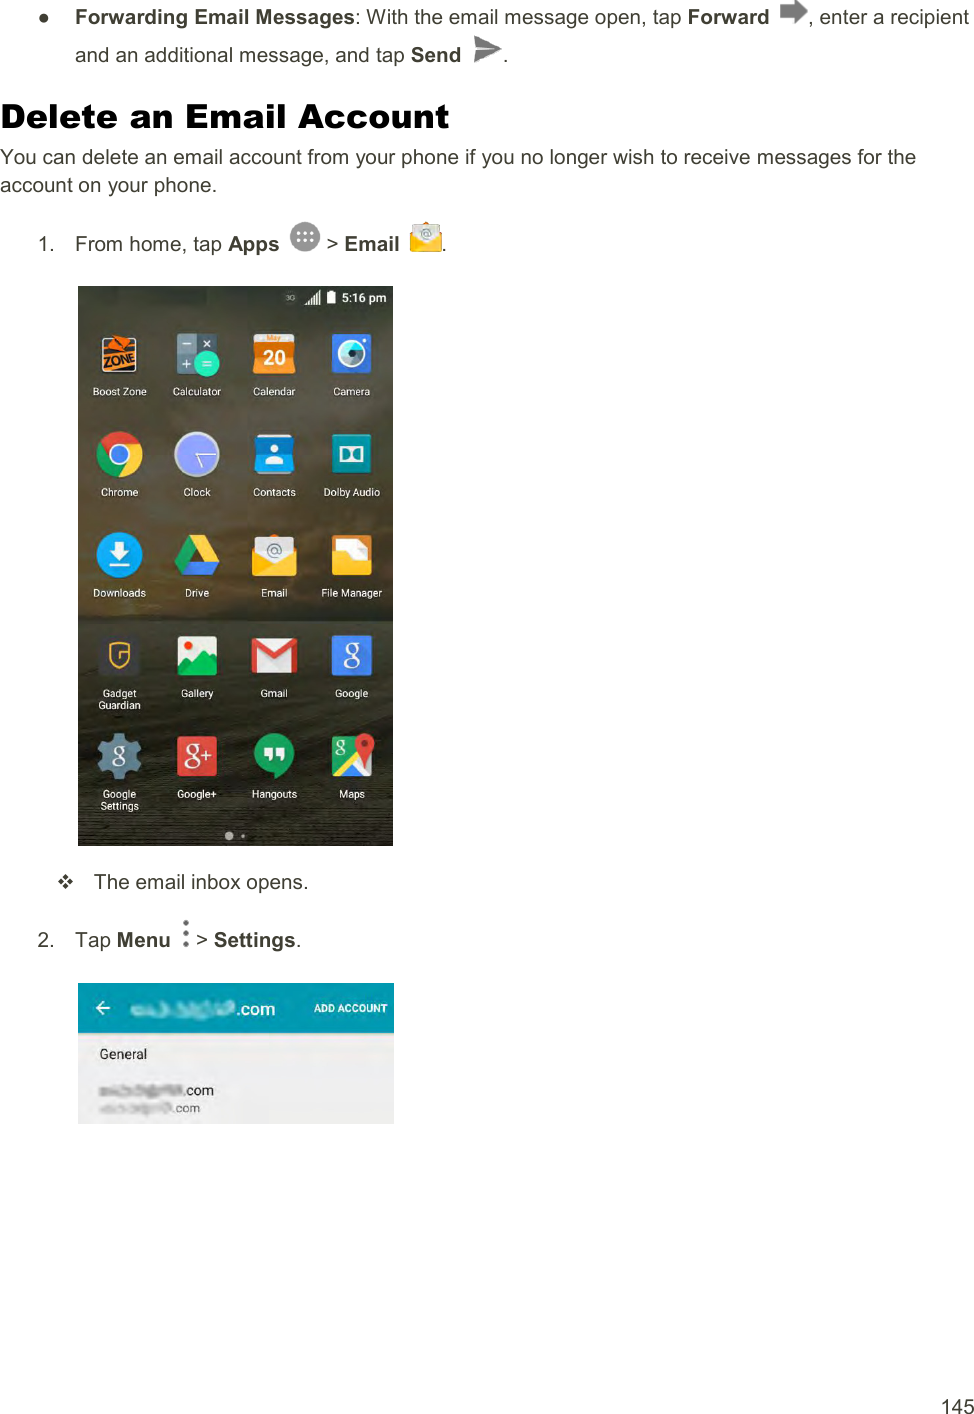
2.
User manual
User manual
Navigation menu
Upload a User Manual
Namespaces
Wiki Guide
HTML
PDF
Info
Views
User Manual
Discussion / Help
Navigation
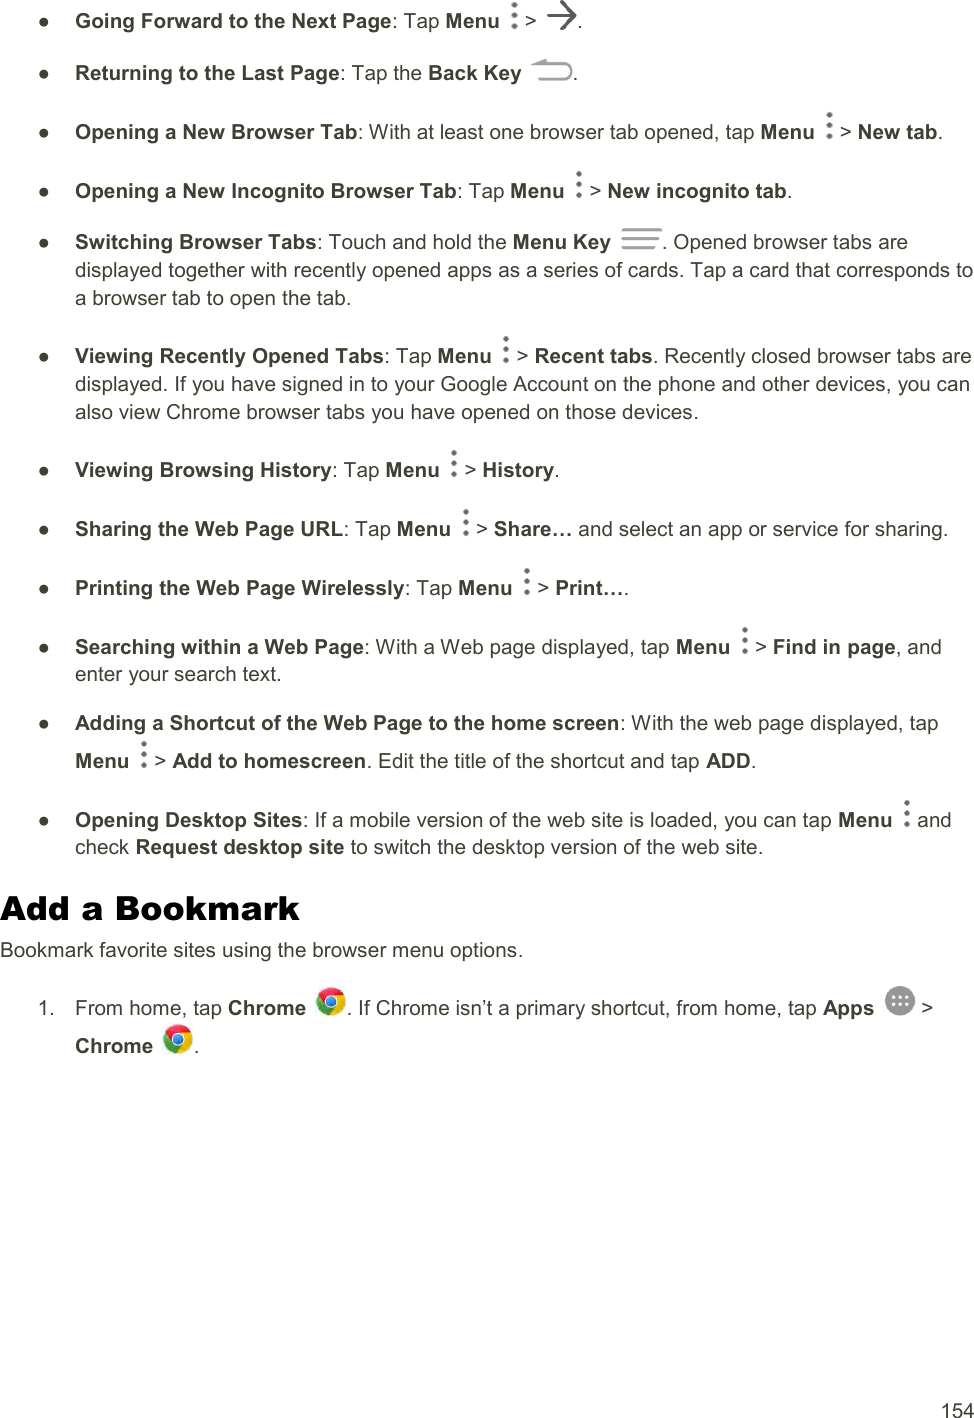
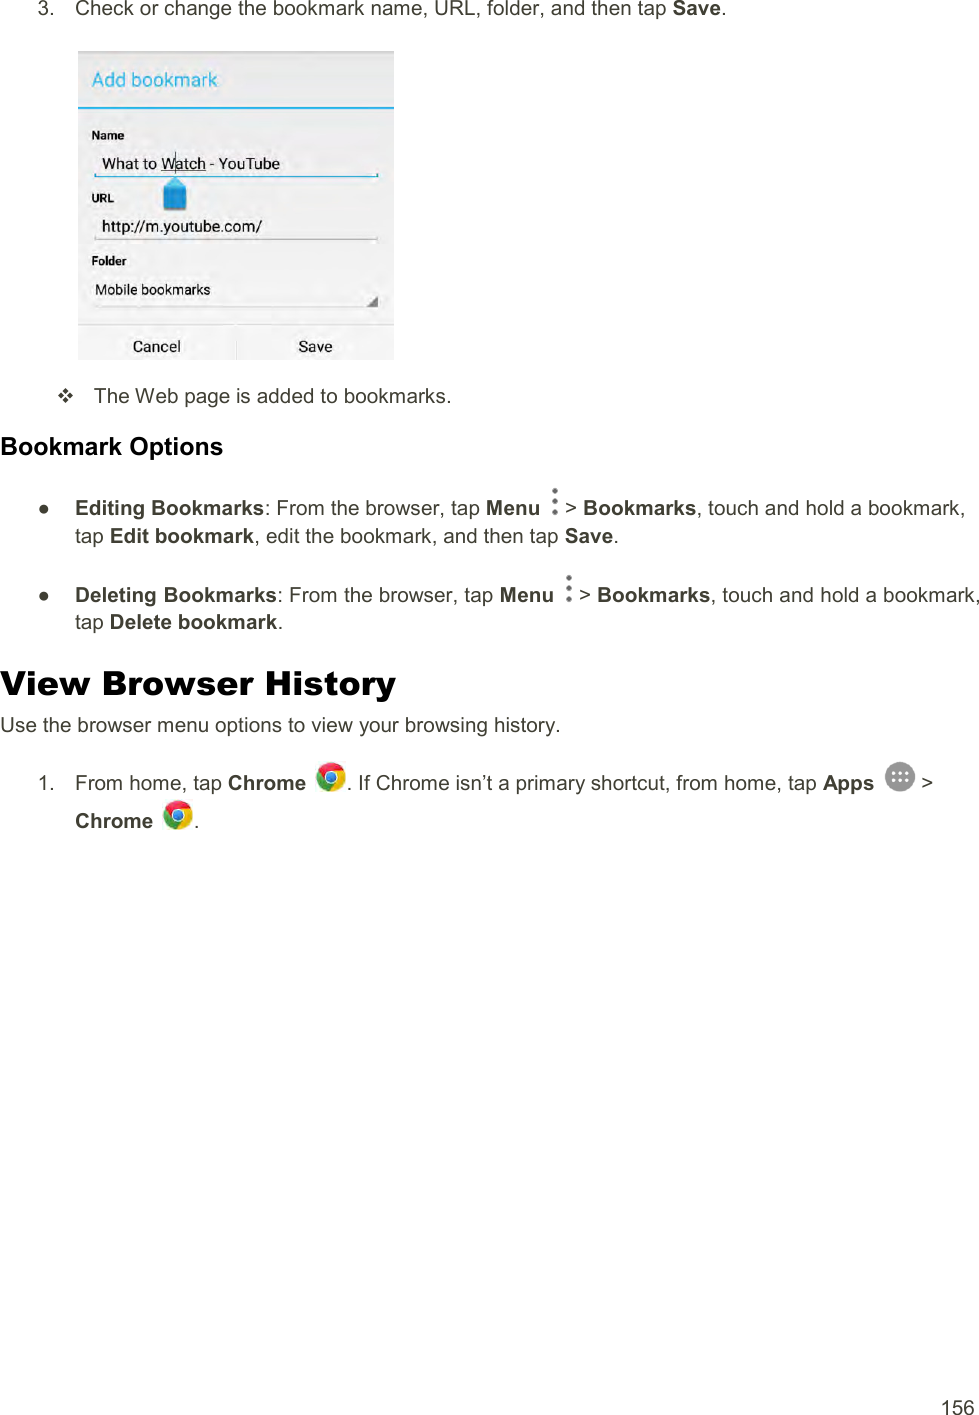
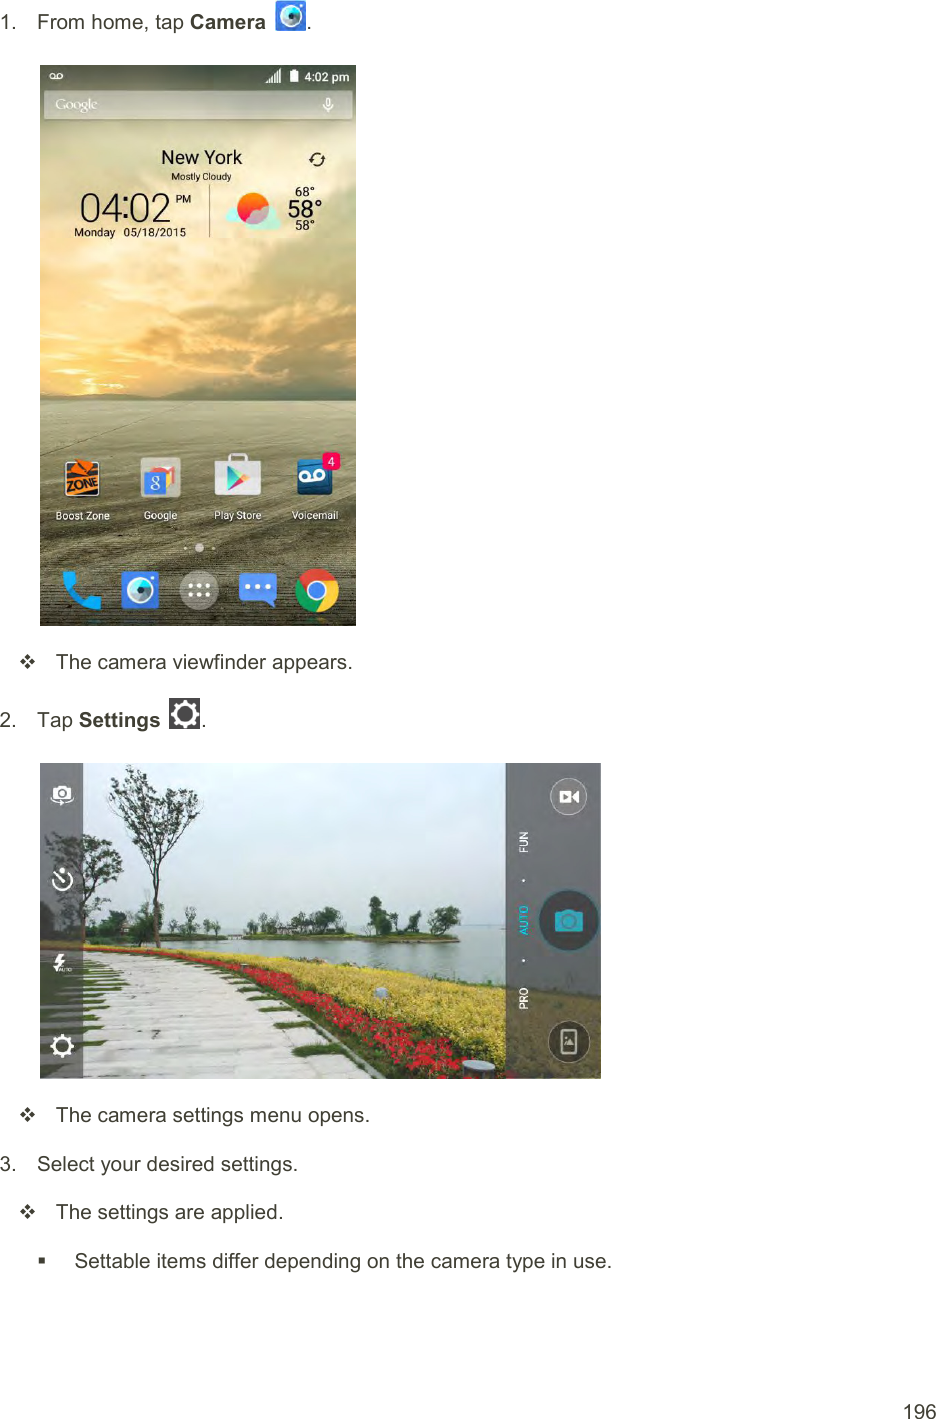
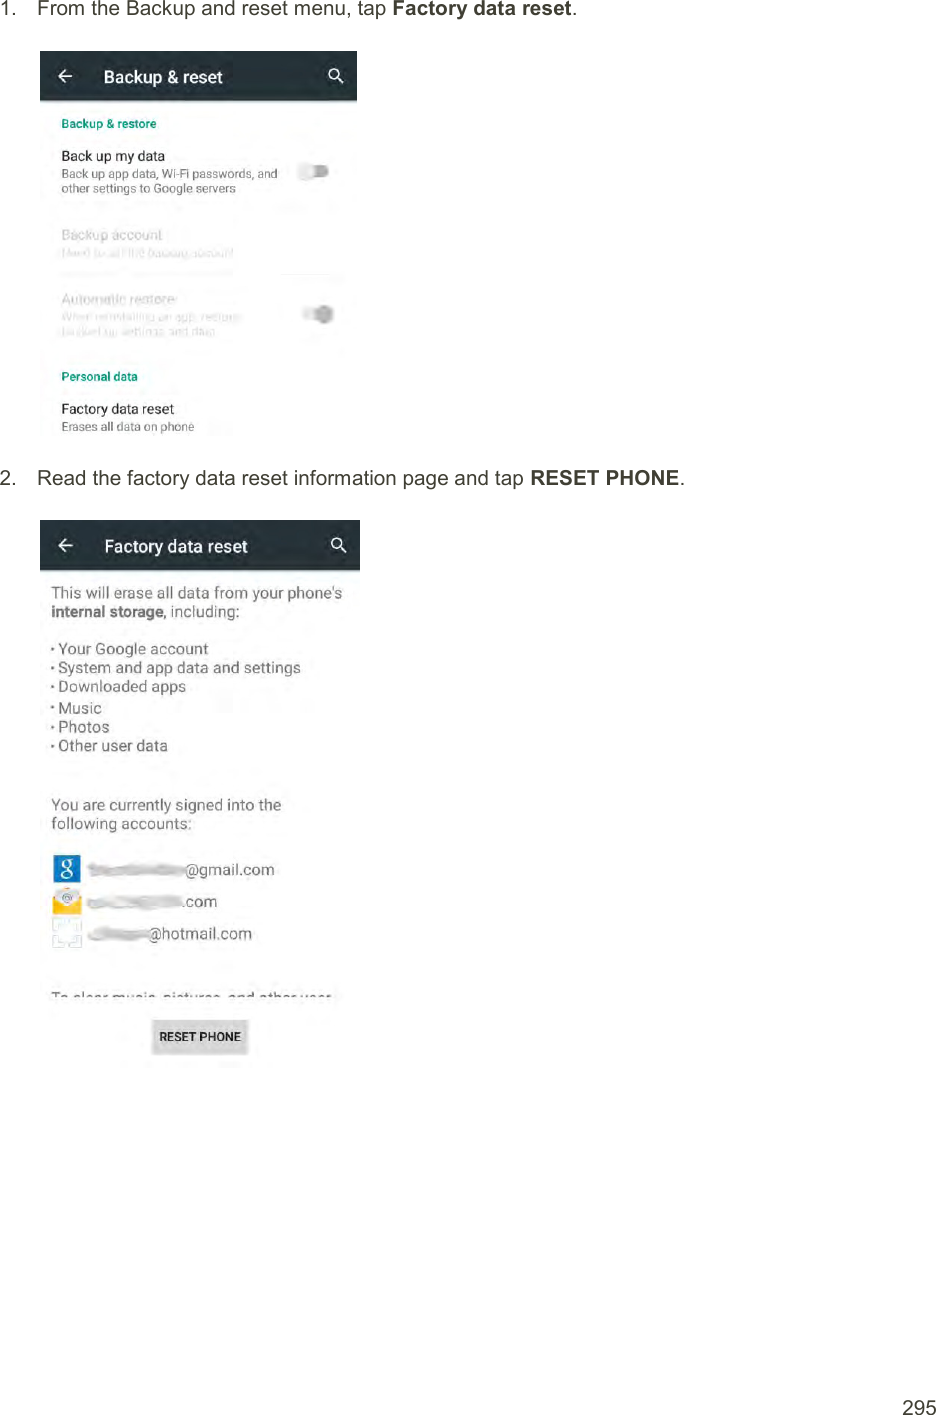
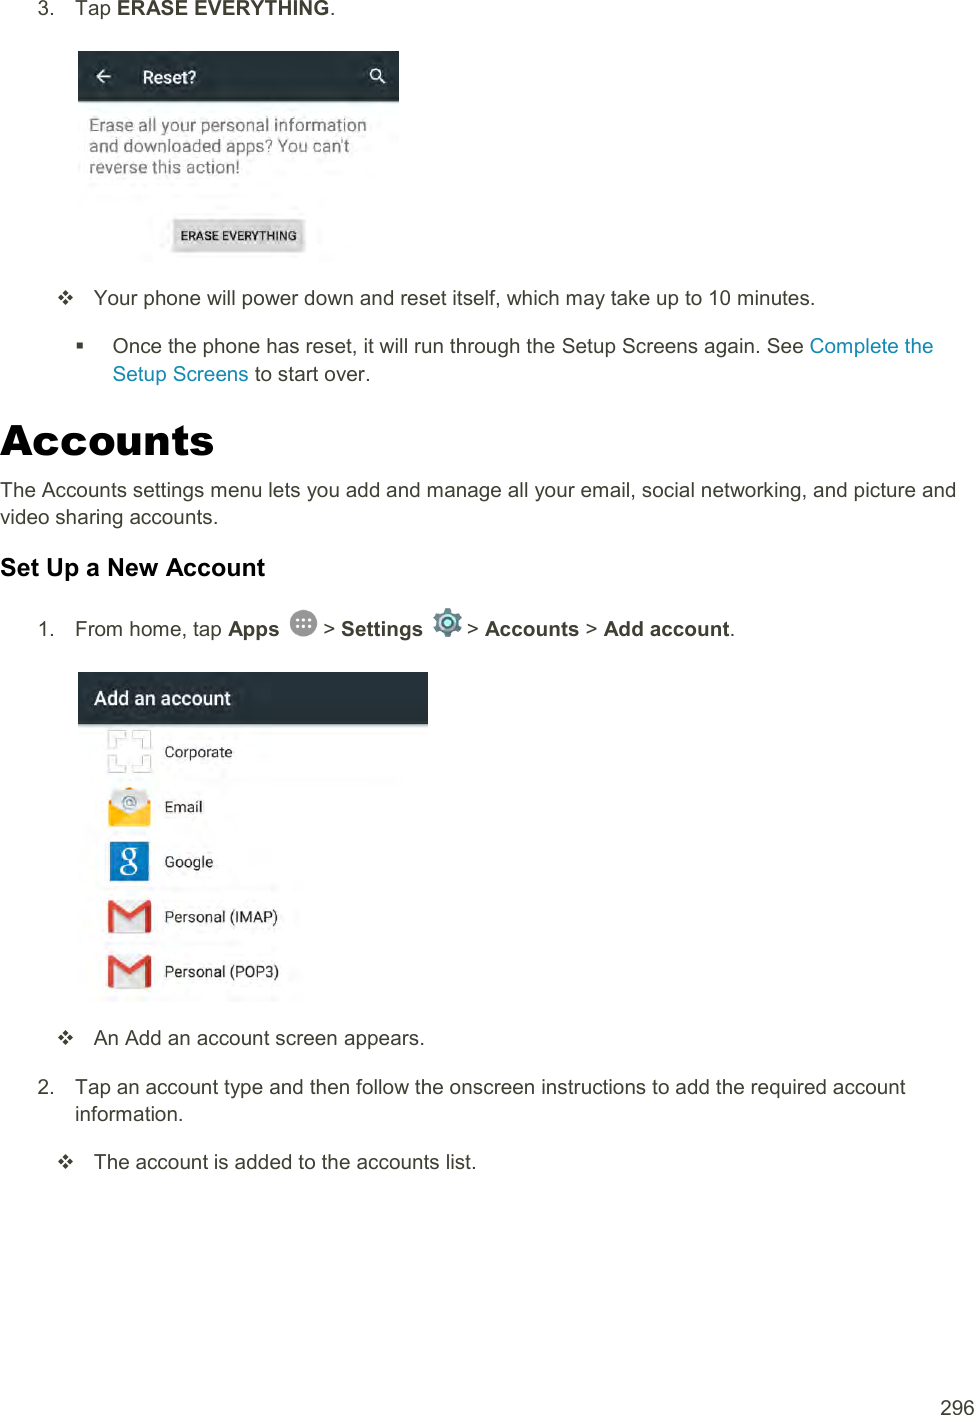
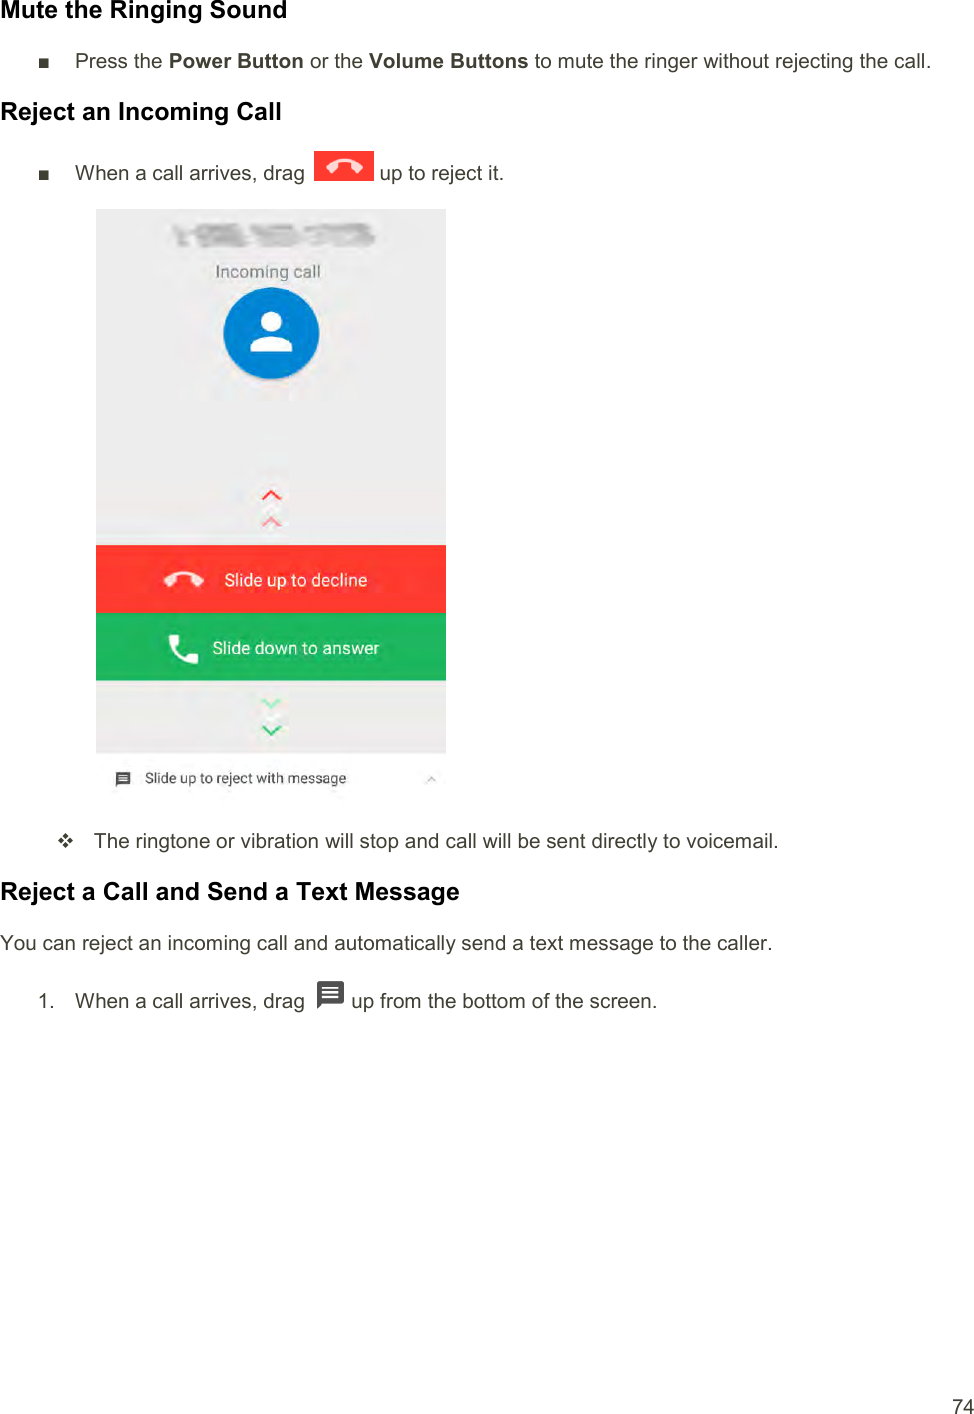
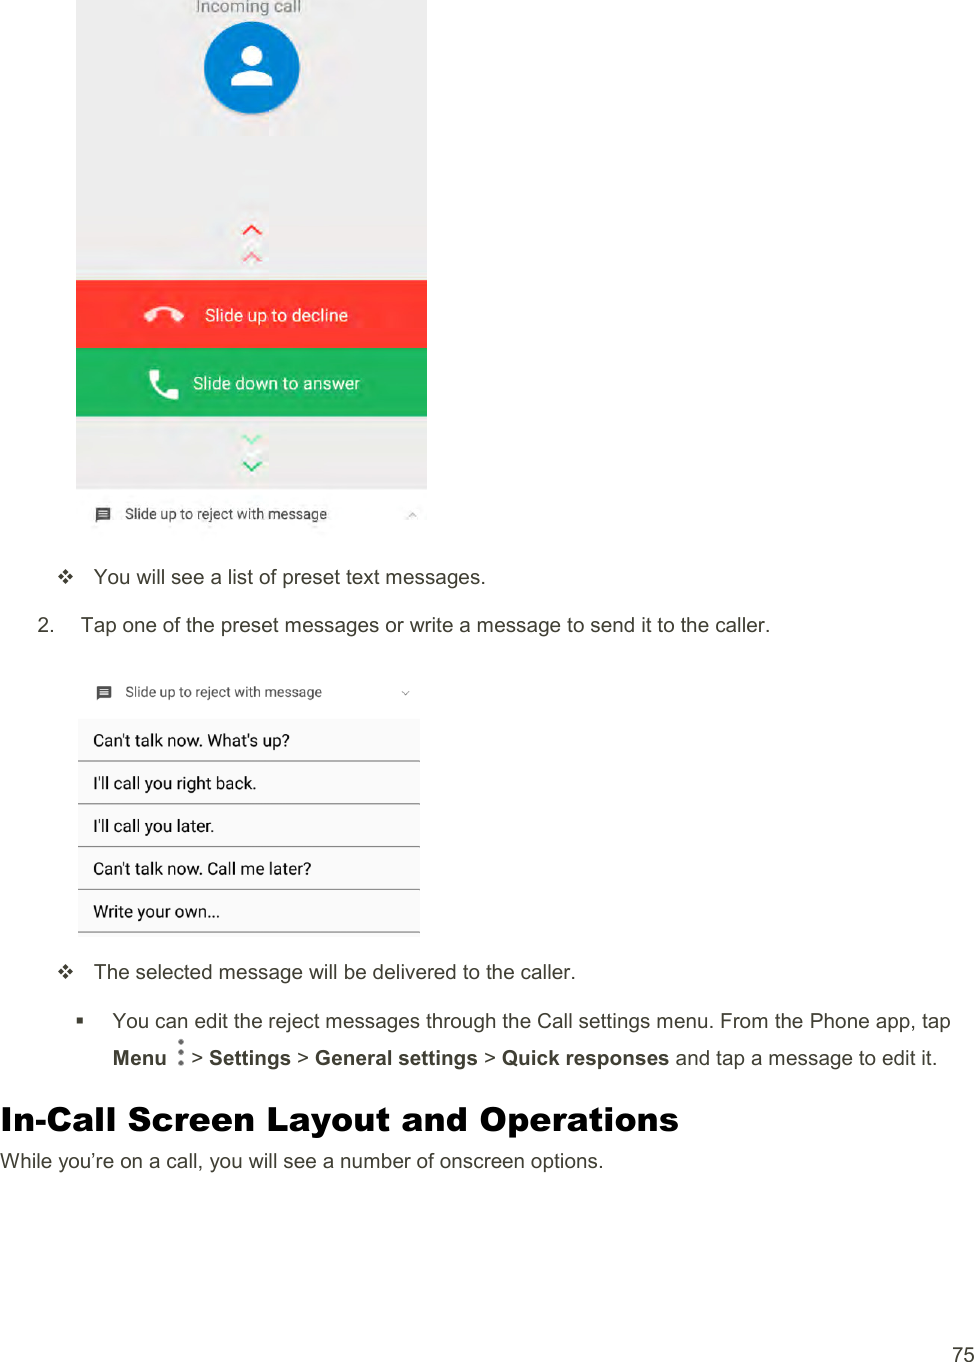
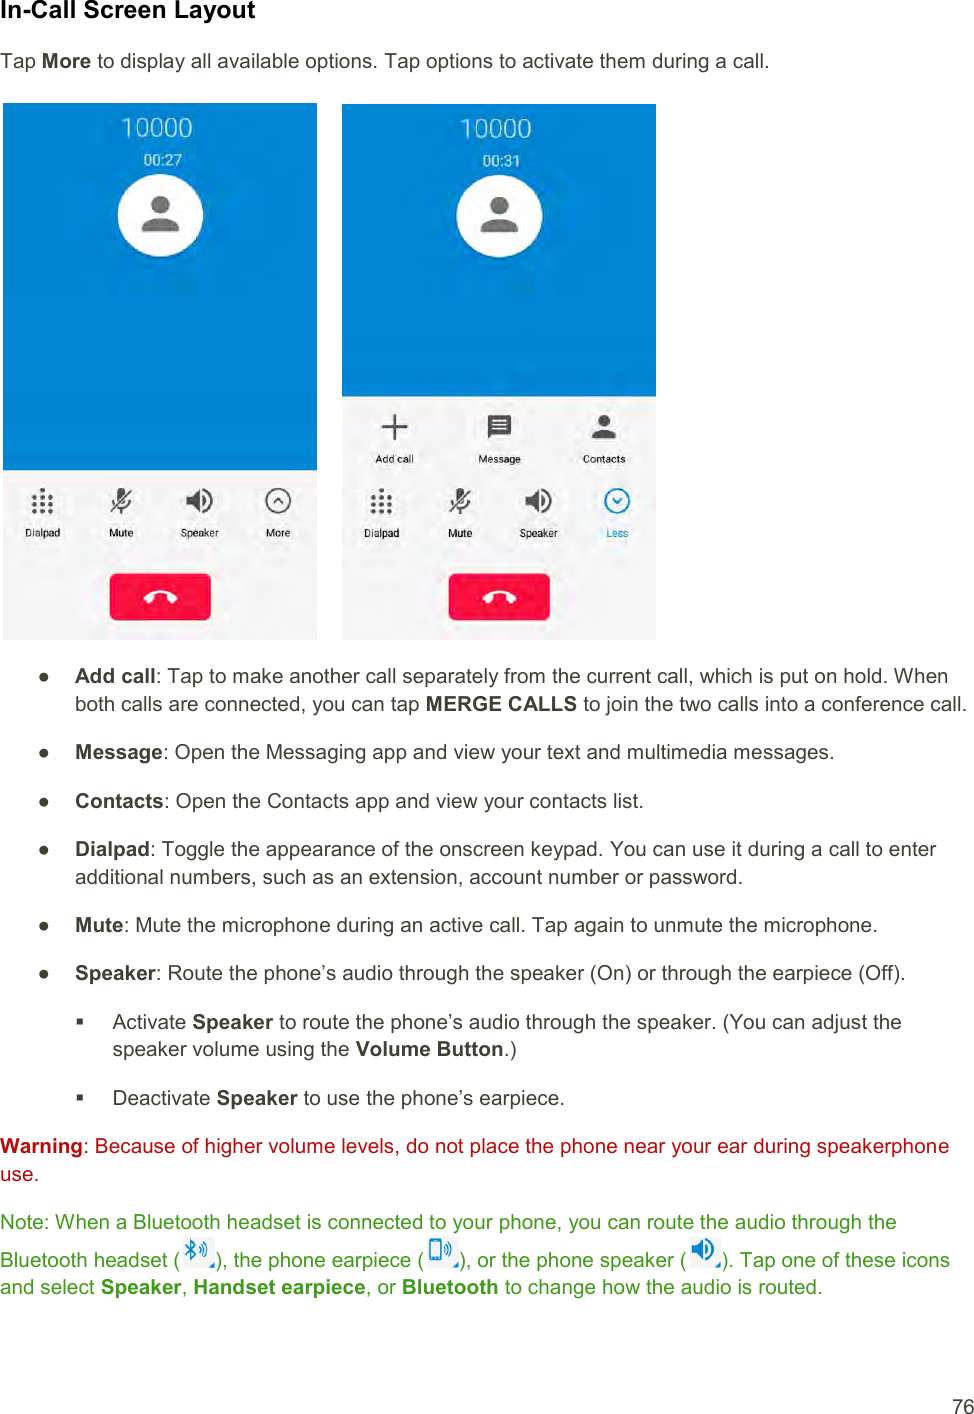
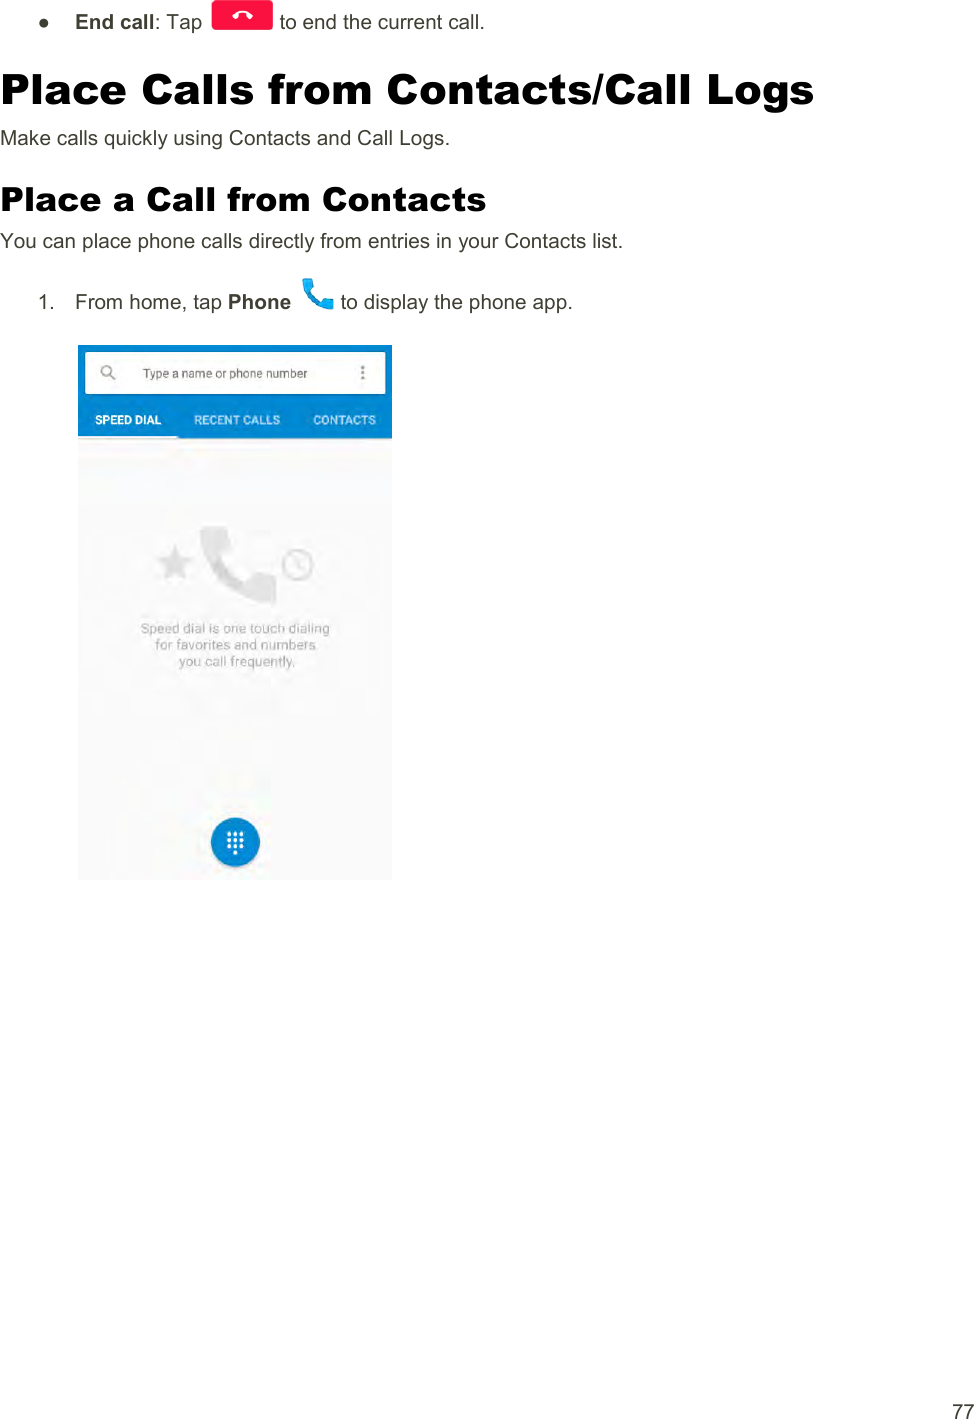
![User Guide [UG template version 15a] [boost_zte_N9521_ug_en_051815_d1]](https://usermanual.wiki/ZTE/ZTEN9521.User-manual/User-Guide-2679857-Page-1.png)
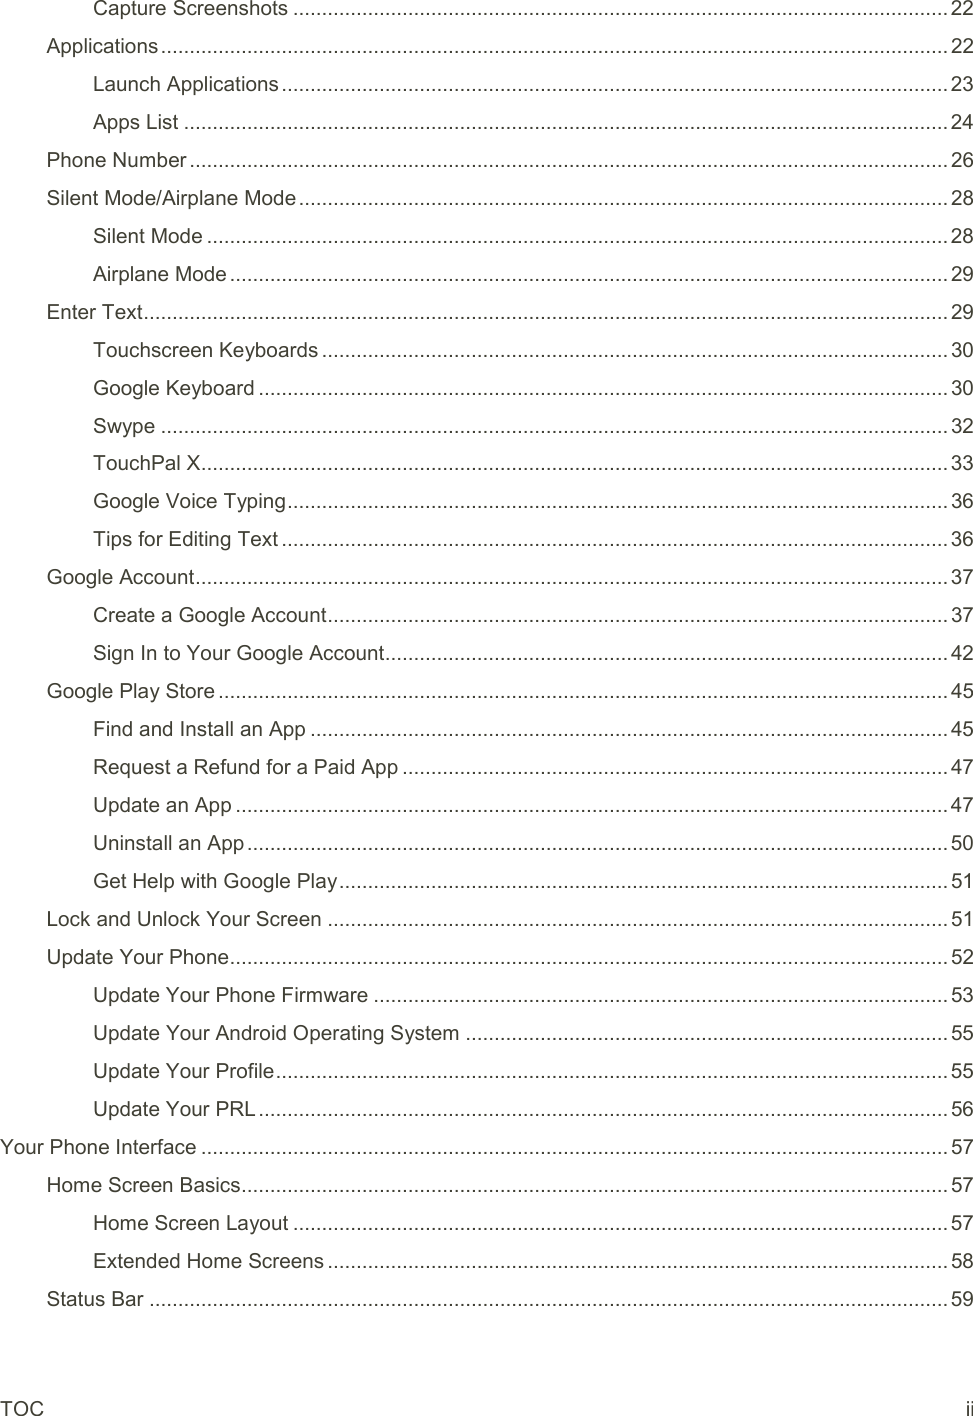
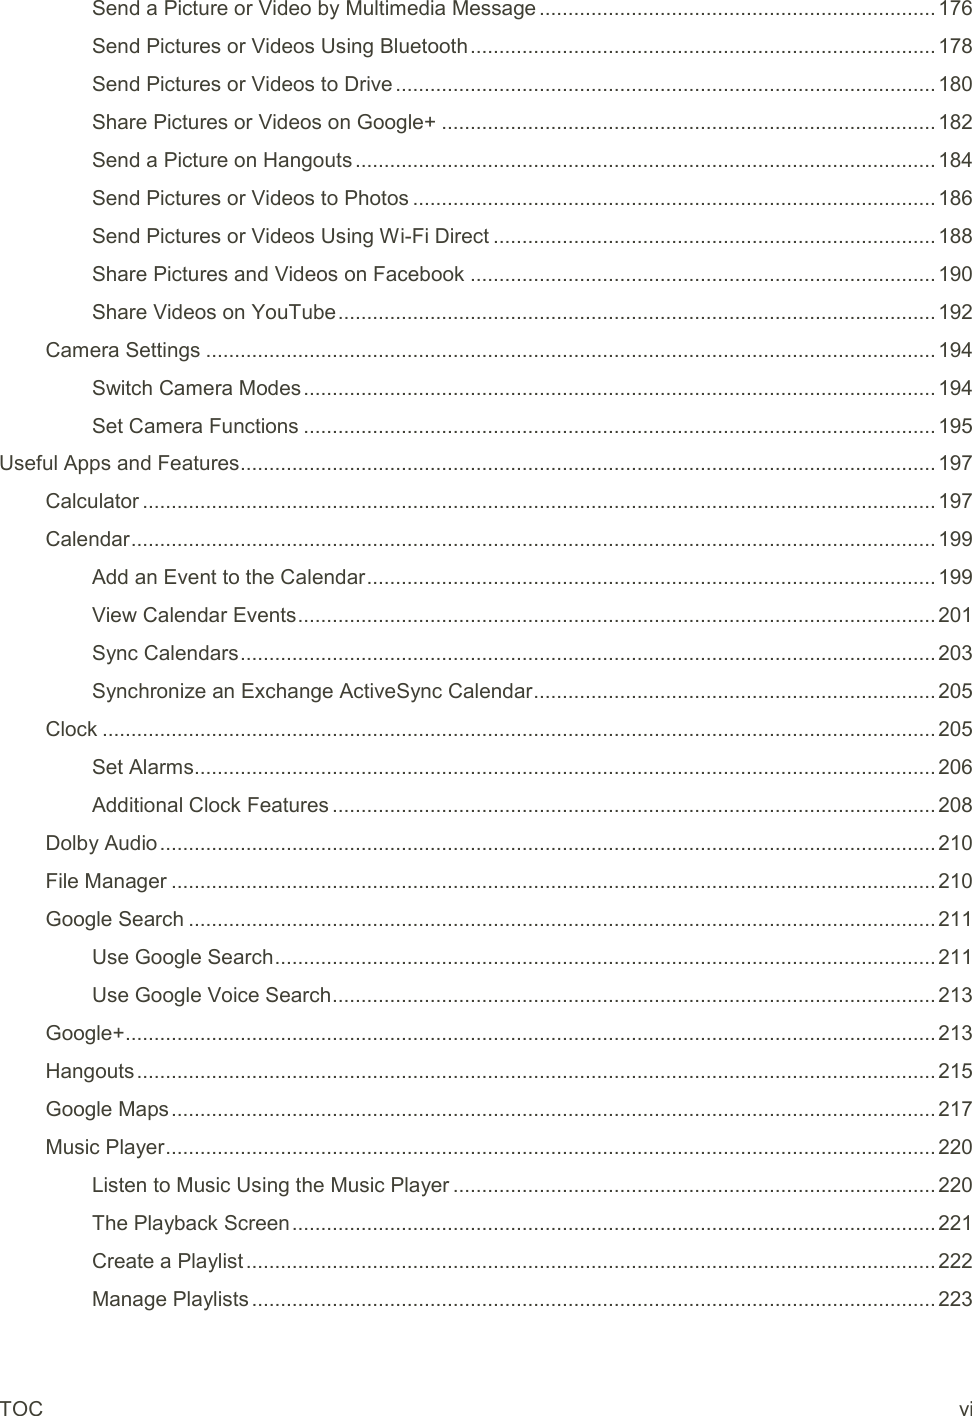
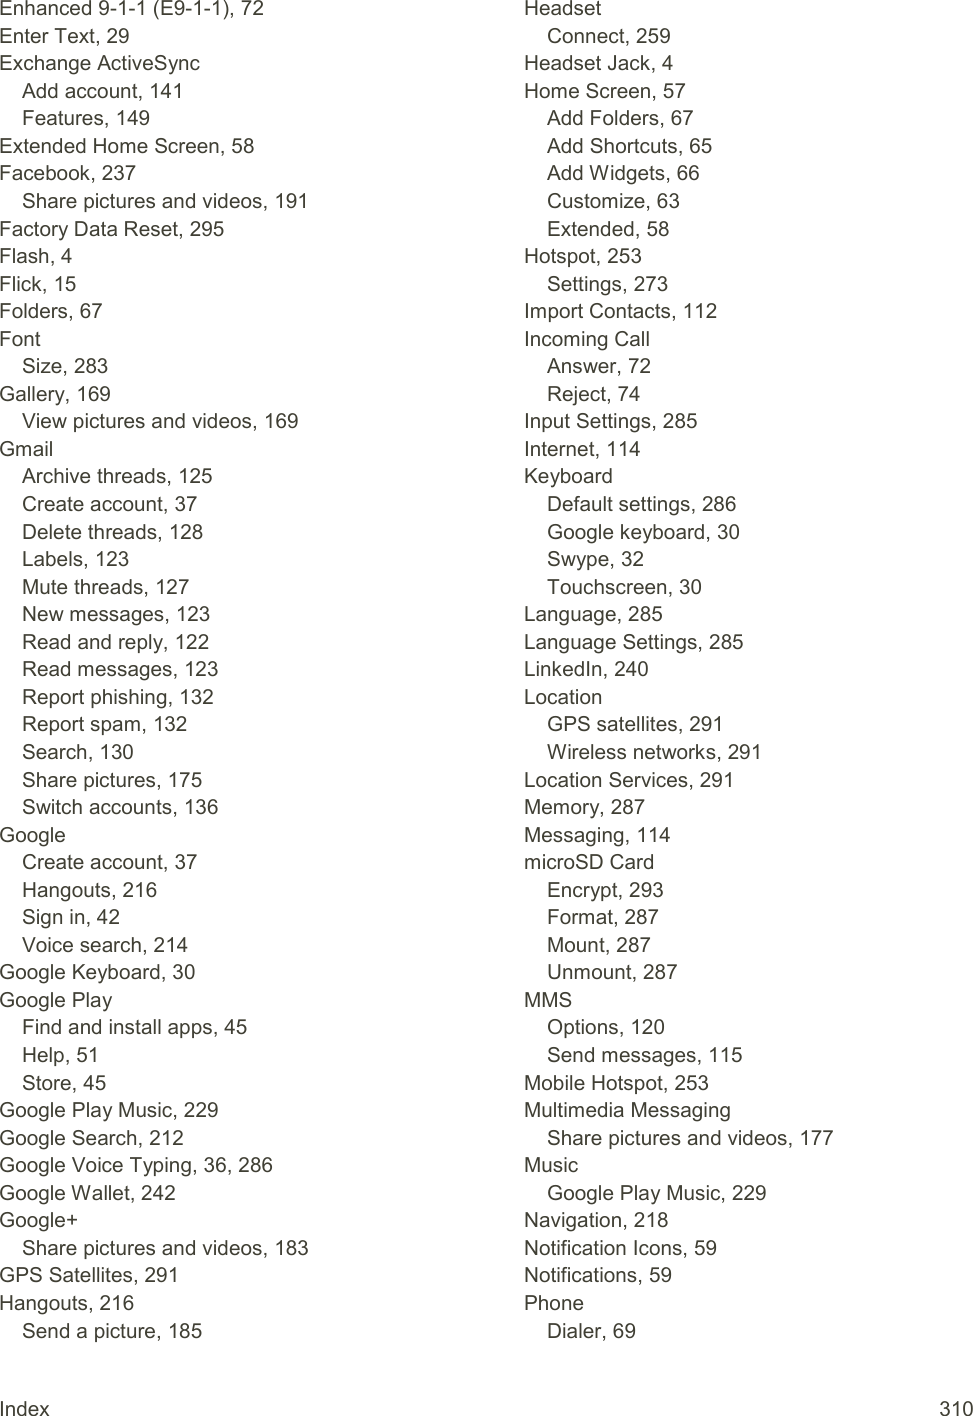
![1 Introduction The following topics describe the basics of using this guide and your new phone. About the User Guide Thank you for purchasing your new Boost MAX+. The following topics explain how best to use this guide to get the most out of your phone. Before Using Your Phone Read this guide and the Important Information booklet in the box thoroughly for proper usage. Accessible services may be limited by subscription contract conditions. Descriptions in the User Guide Note that most descriptions in this guide are based on your phone's setup at the time of purchase. Unless otherwise noted, instructions begin from the phone's home screen, which is displayed by pressing the Home Key . Some operation descriptions may be simplified. Screenshots and Key Labels Screenshots in the user guide may appear differently on your phone. Key labels in the user guide are simplified for description purposes and differ from your phone's display. Other Notations In the user guide, the phone may be referred to either as "phone," "device," or "handset." A microSD™ or microSDXC™ card is referred to as an "SD Card" or a "memory card." How to Use This Guide You can easily navigate this user guide, which is displayed in a browser window that is divided into three areas. These topics will teach you how to navigate the guide and use the features for each area. Header and Toolbar Areas [content from Flare project] Search This Guide [content from Flare project]](https://usermanual.wiki/ZTE/ZTEN9521.User-manual/User-Guide-2679857-Page-11.png)
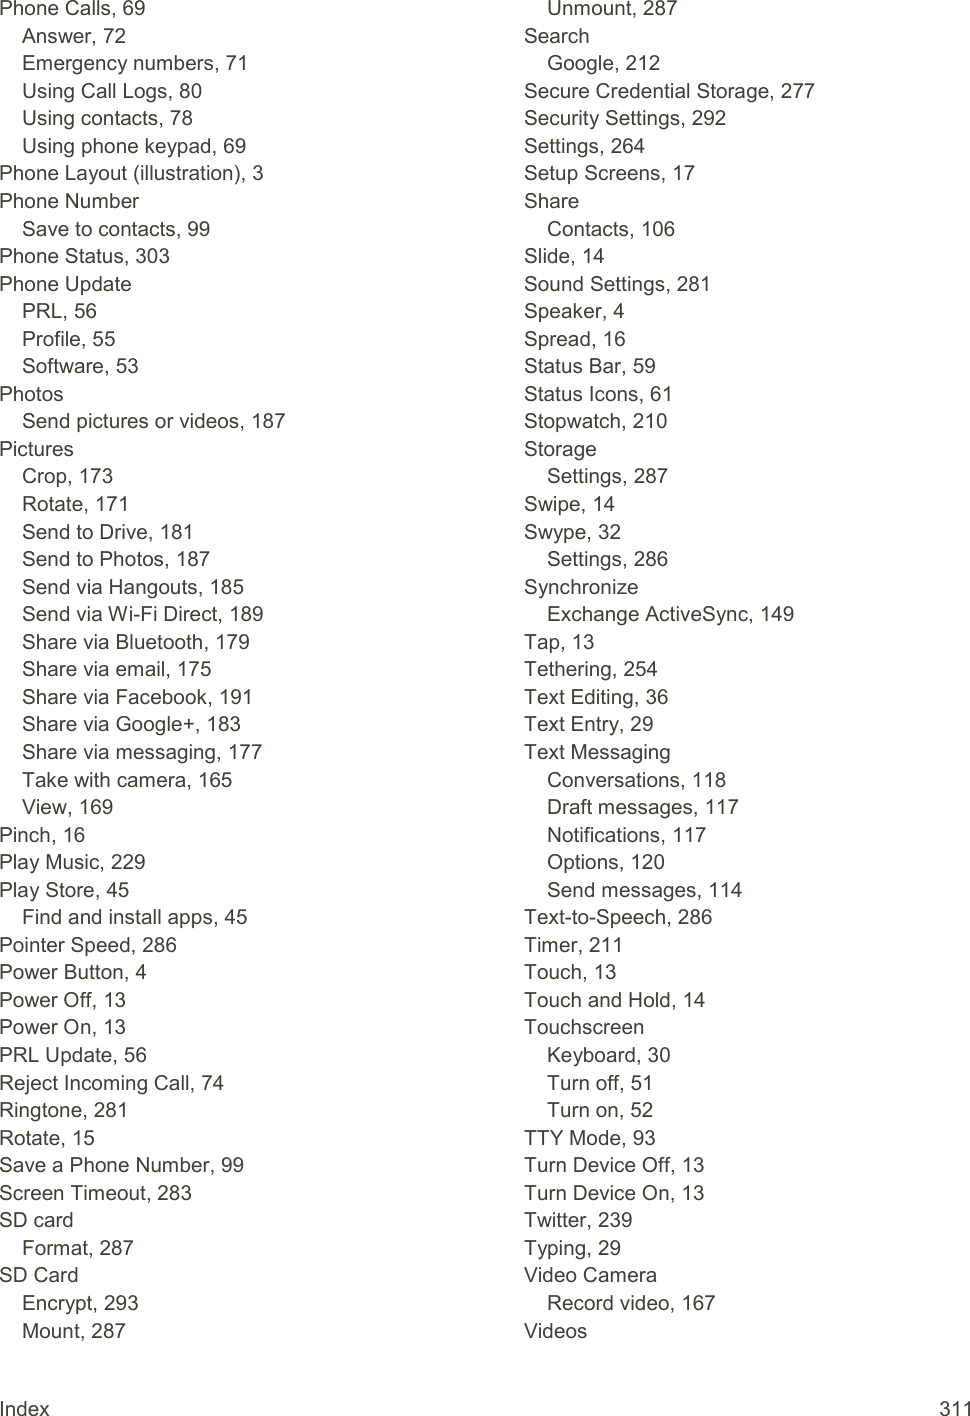
![2 Topic Area [content from Flare project] Contents and Index Area [content from Flare project] Resizing Areas [content from Flare project]](https://usermanual.wiki/ZTE/ZTEN9521.User-manual/User-Guide-2679857-Page-12.png)


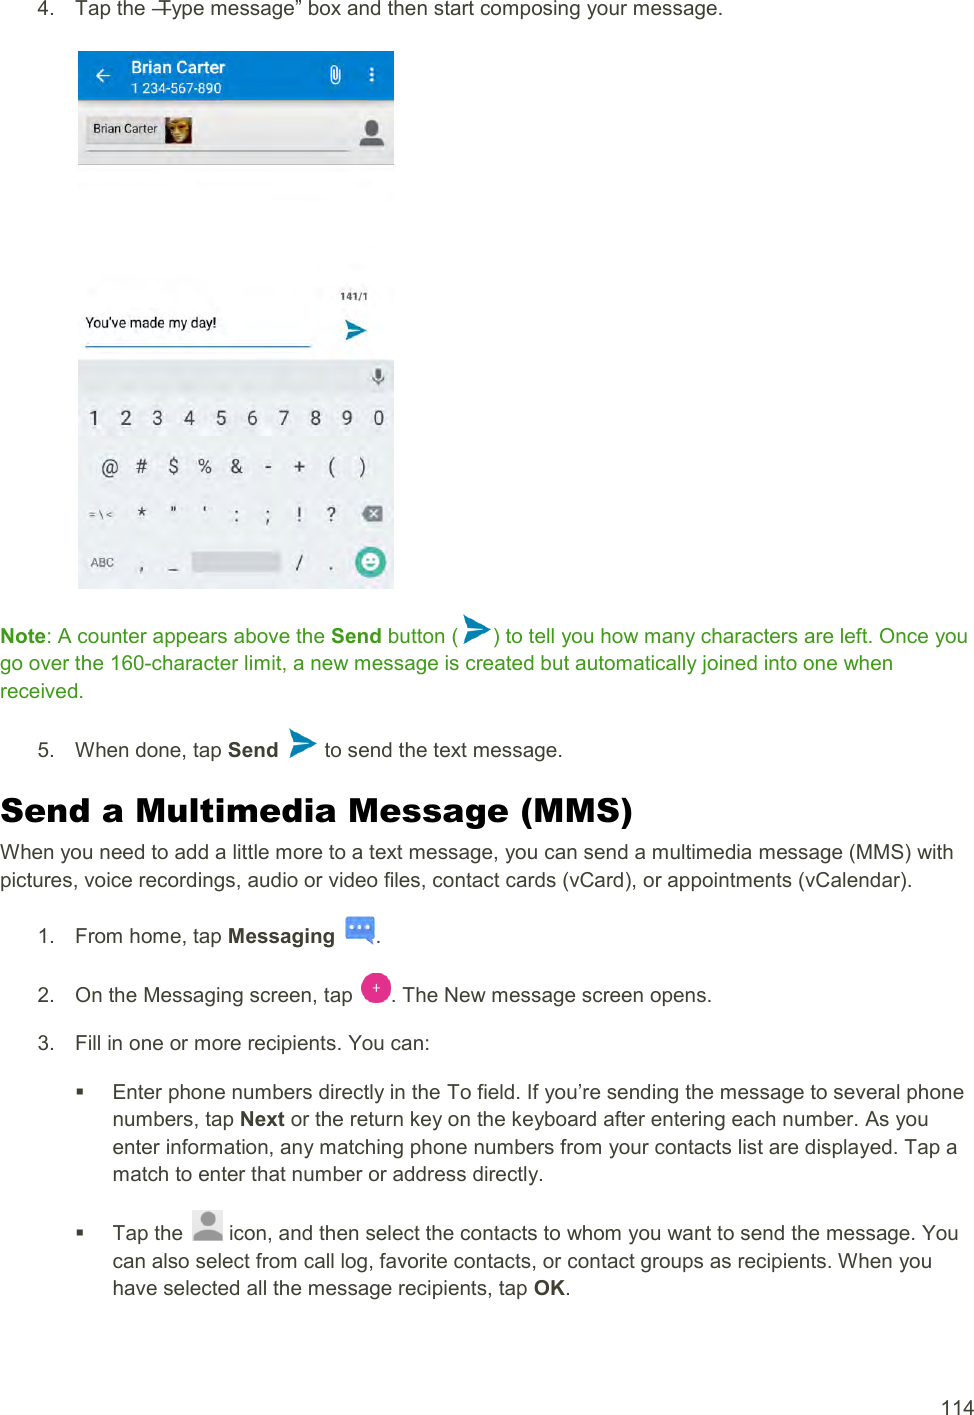
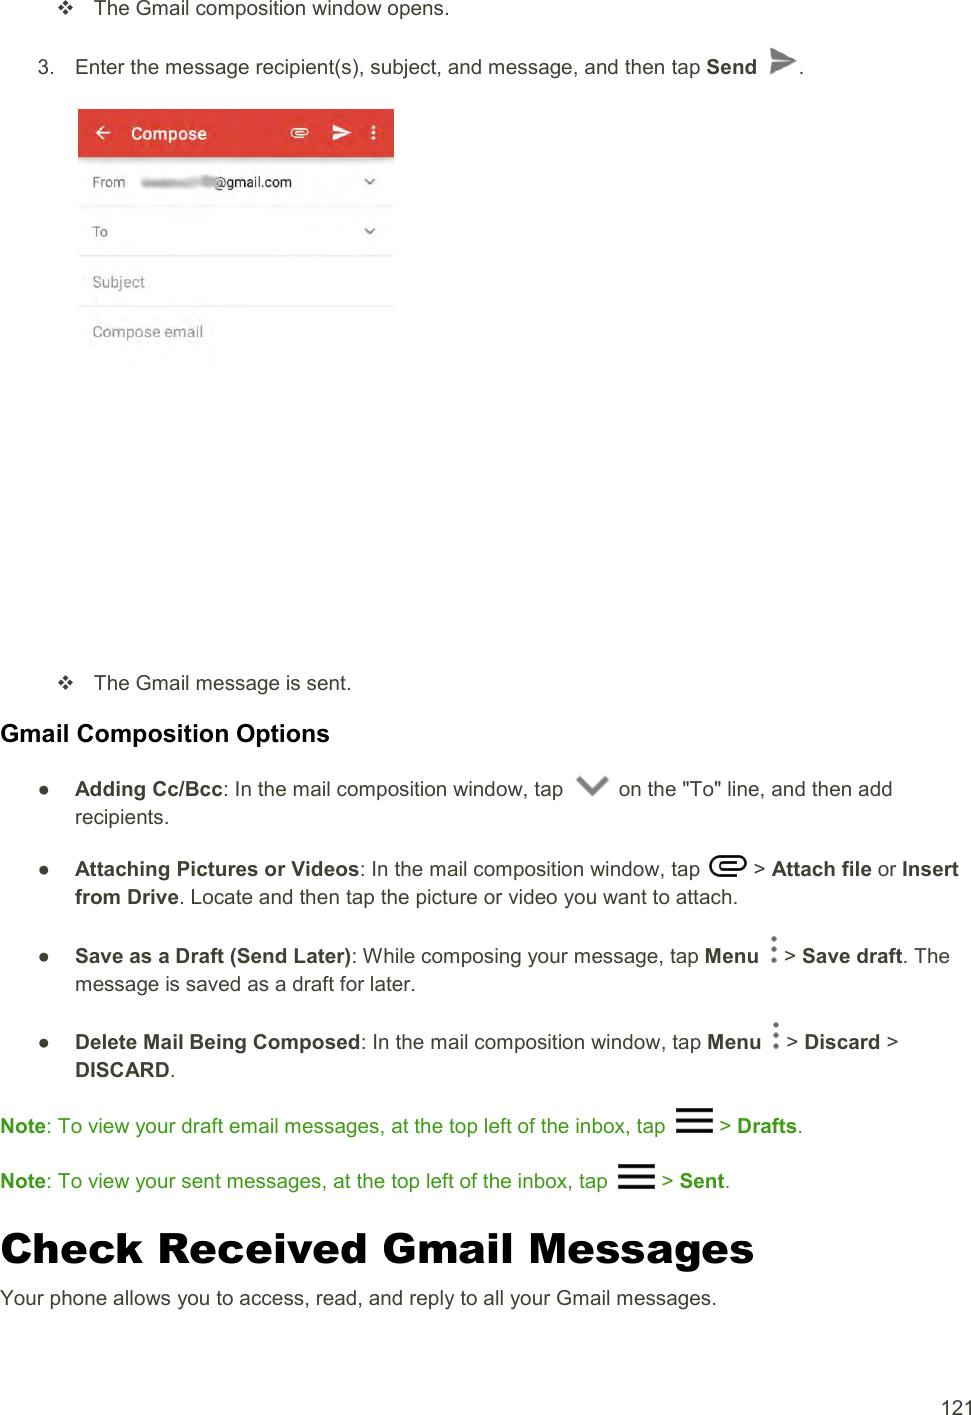


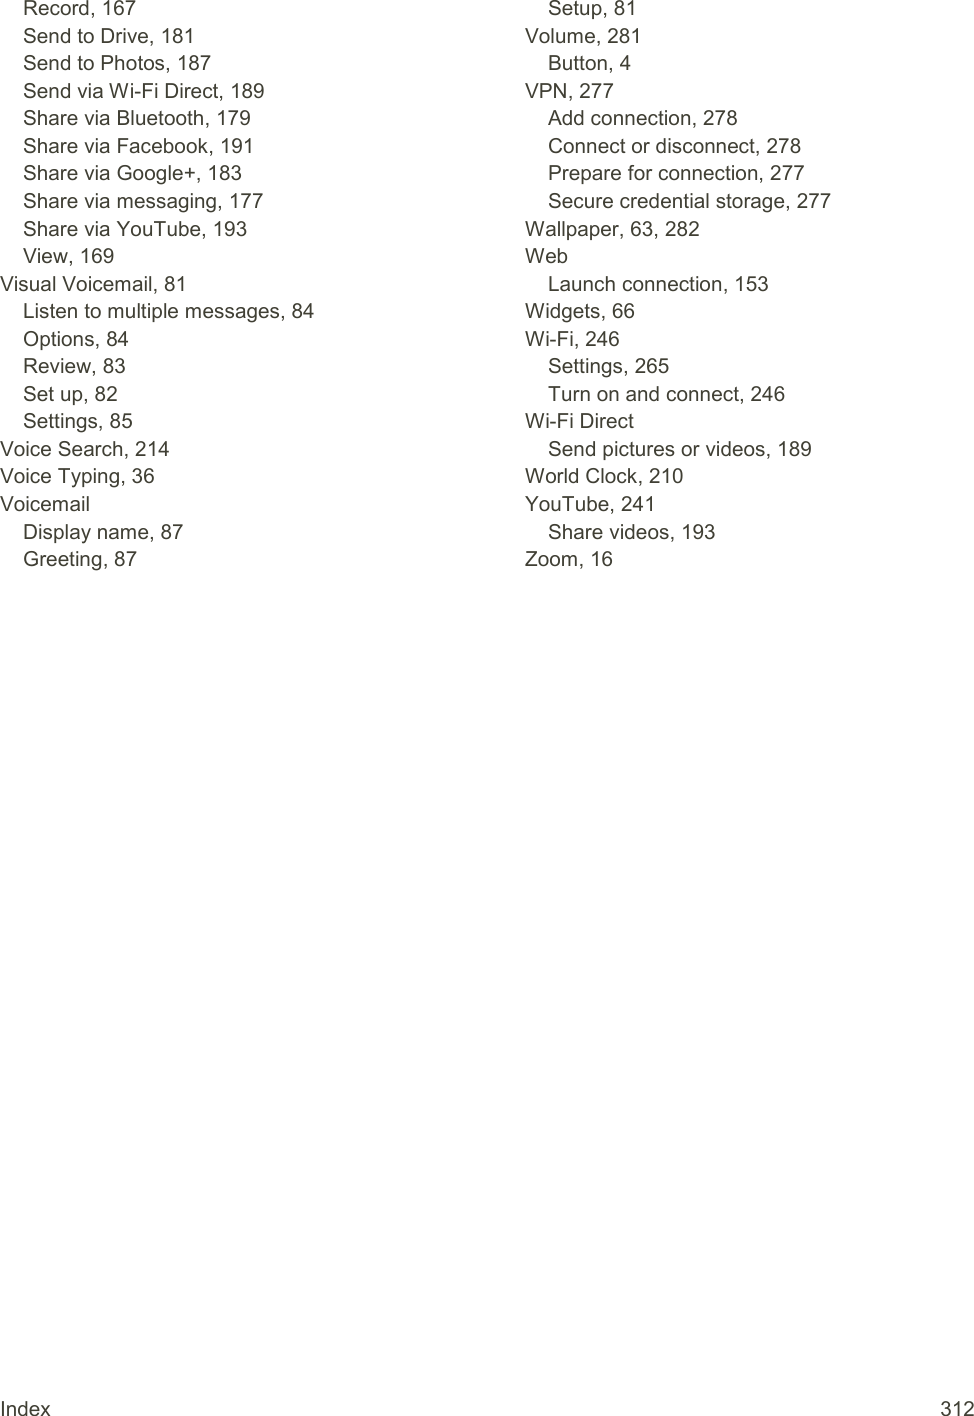
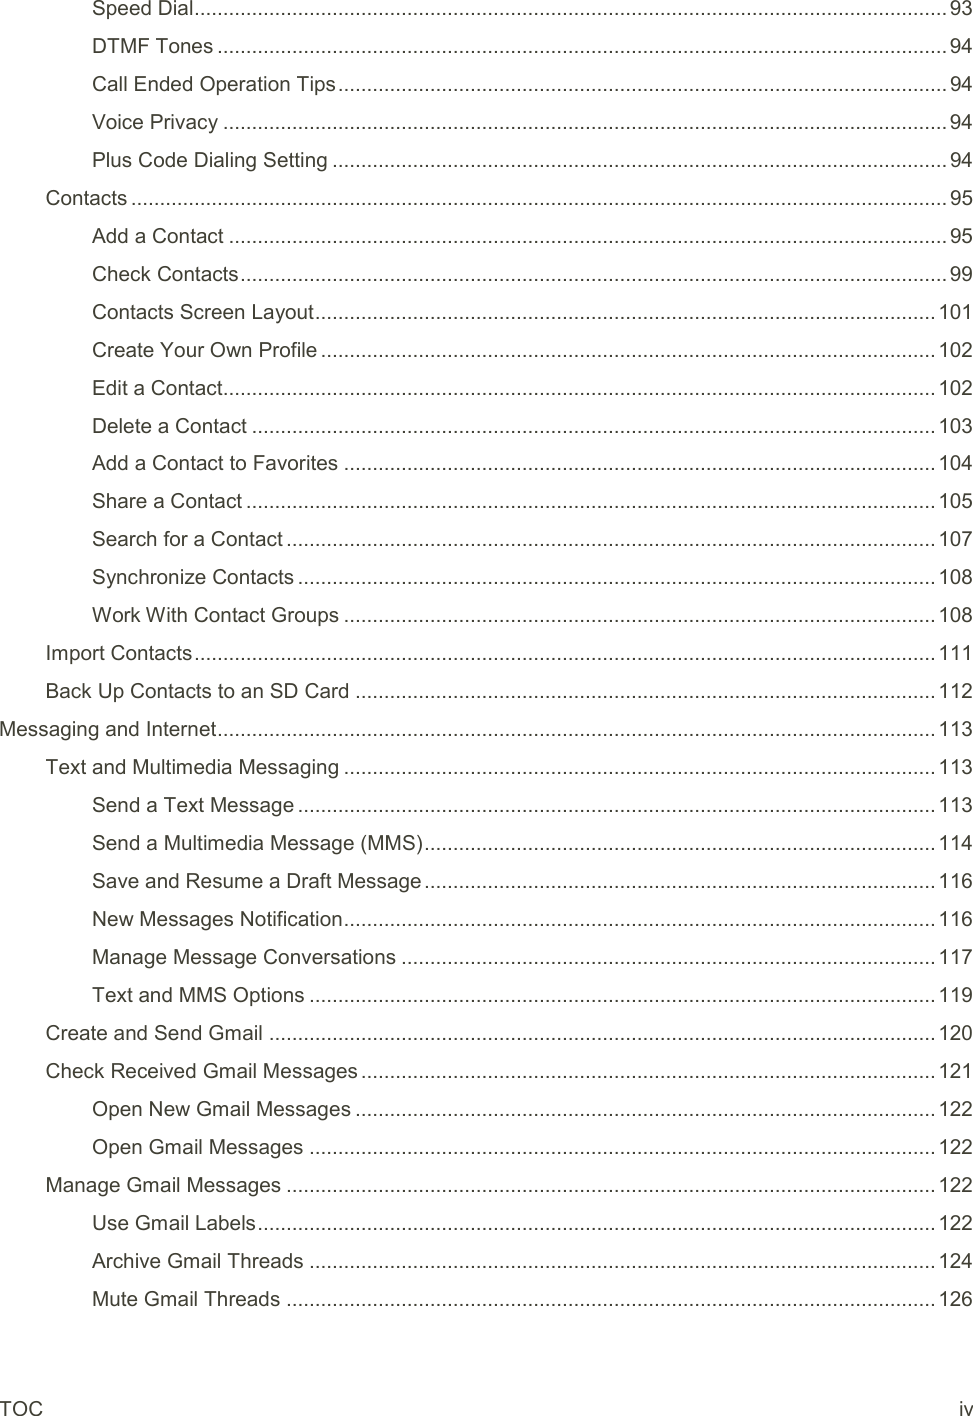
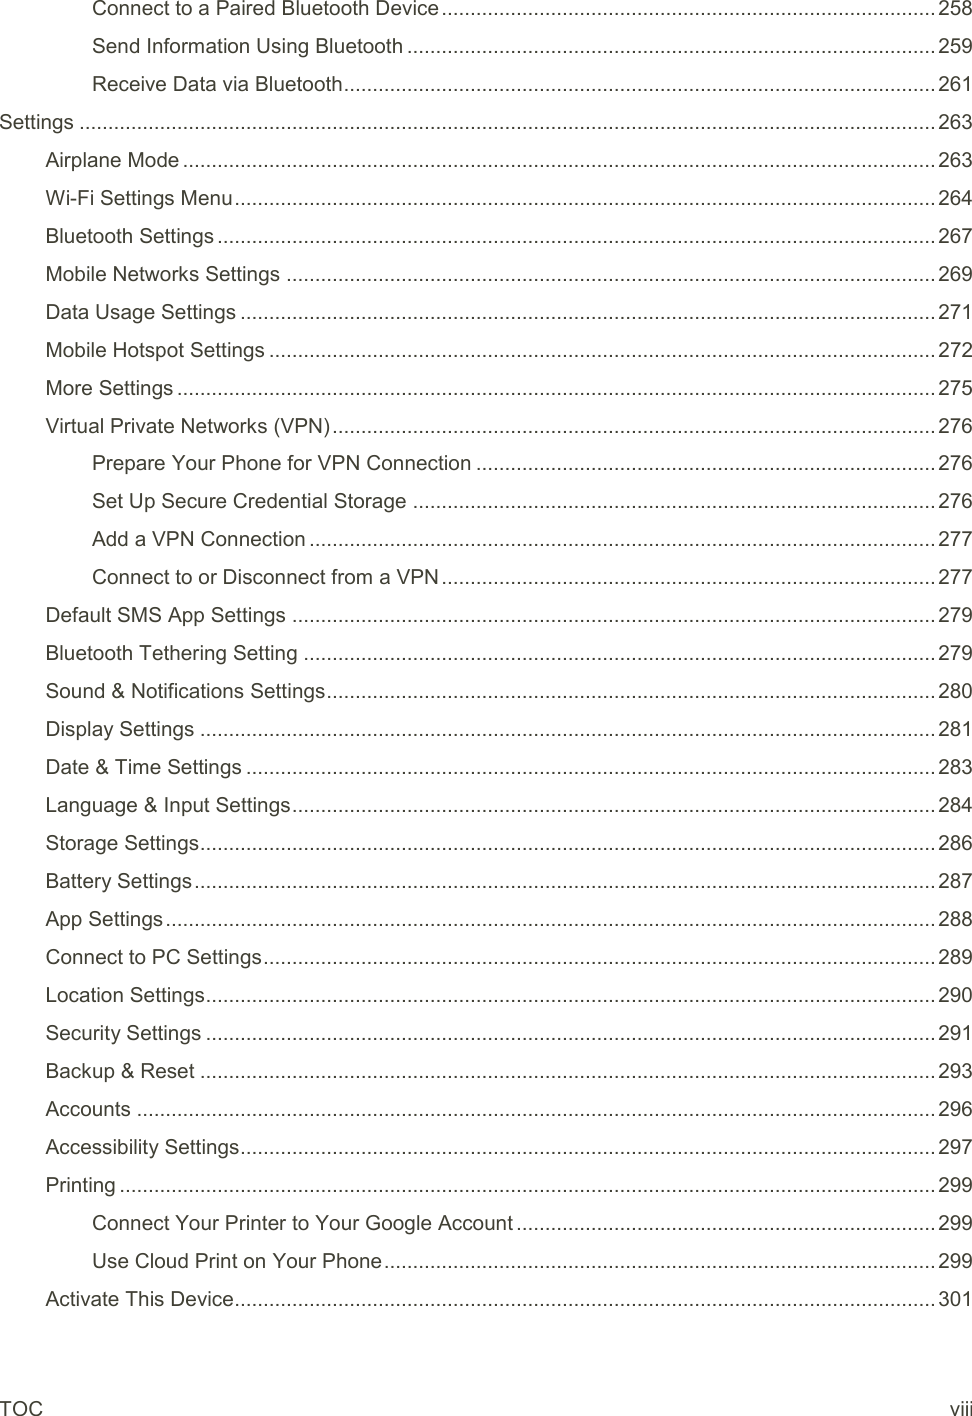
![143 3. Enter the message recipient(s), subject, and message. ] 4. Tap Send . The email message is sent. Open New Email Messages When new email arrives, you will see in the status bar. 1. Drag the status bar down to display the notifications panel. 2. Tap the new message from the notifications panel. The new email message opens. If you have two or more new email messages, tapping the notification opens the email inbox. Tap a message to open it. Open Email Messages You can also open and read email messages directly from the email inbox. Reading and replying to email on your phone is as simple as on your computer.](https://usermanual.wiki/ZTE/ZTEN9521.User-manual/User-Guide-2679857-Page-153.png)