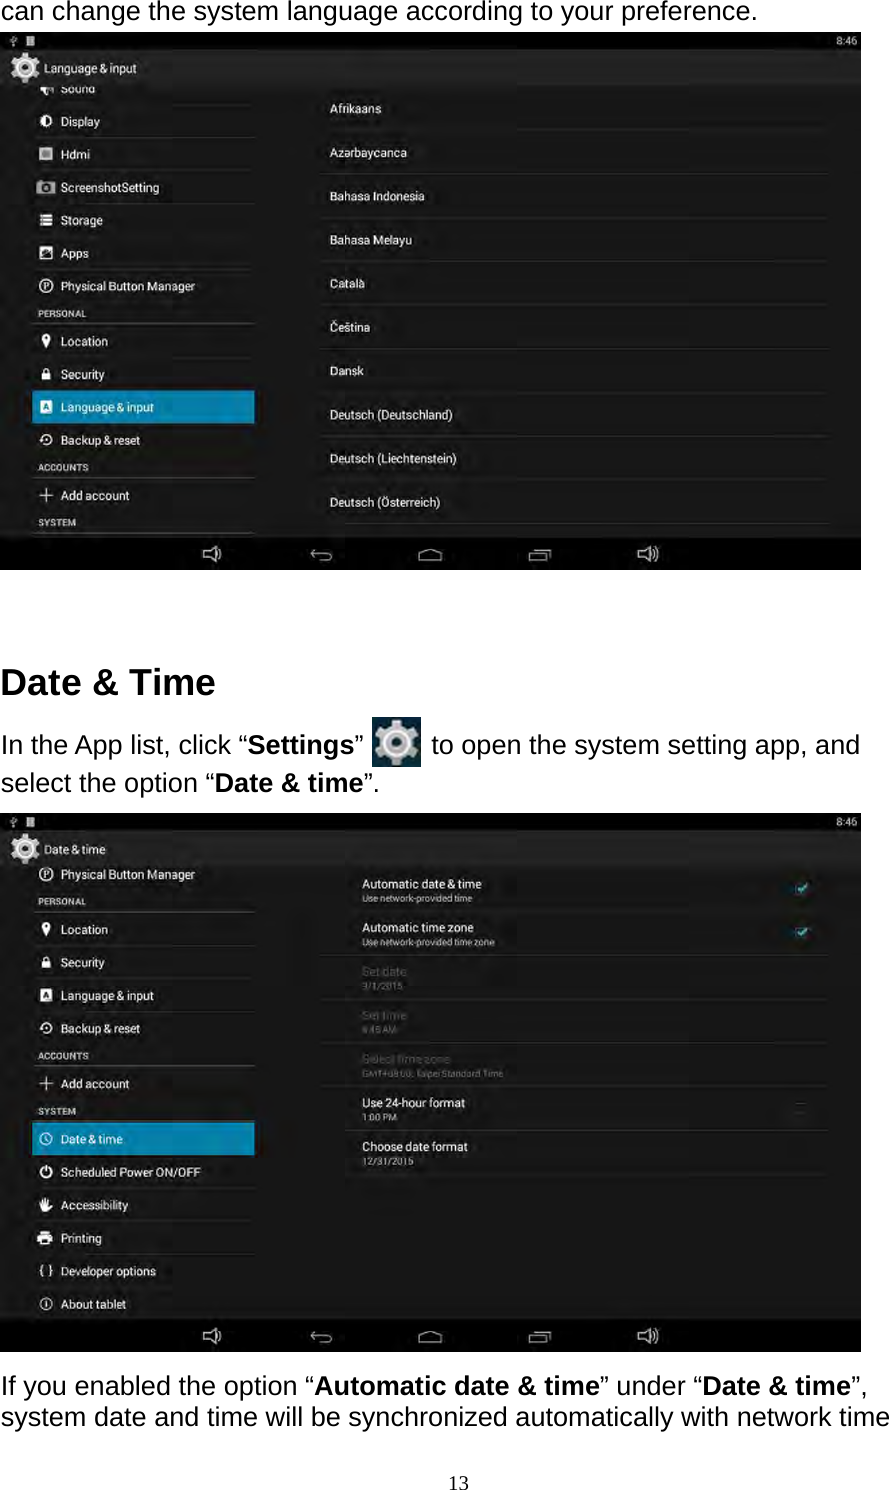
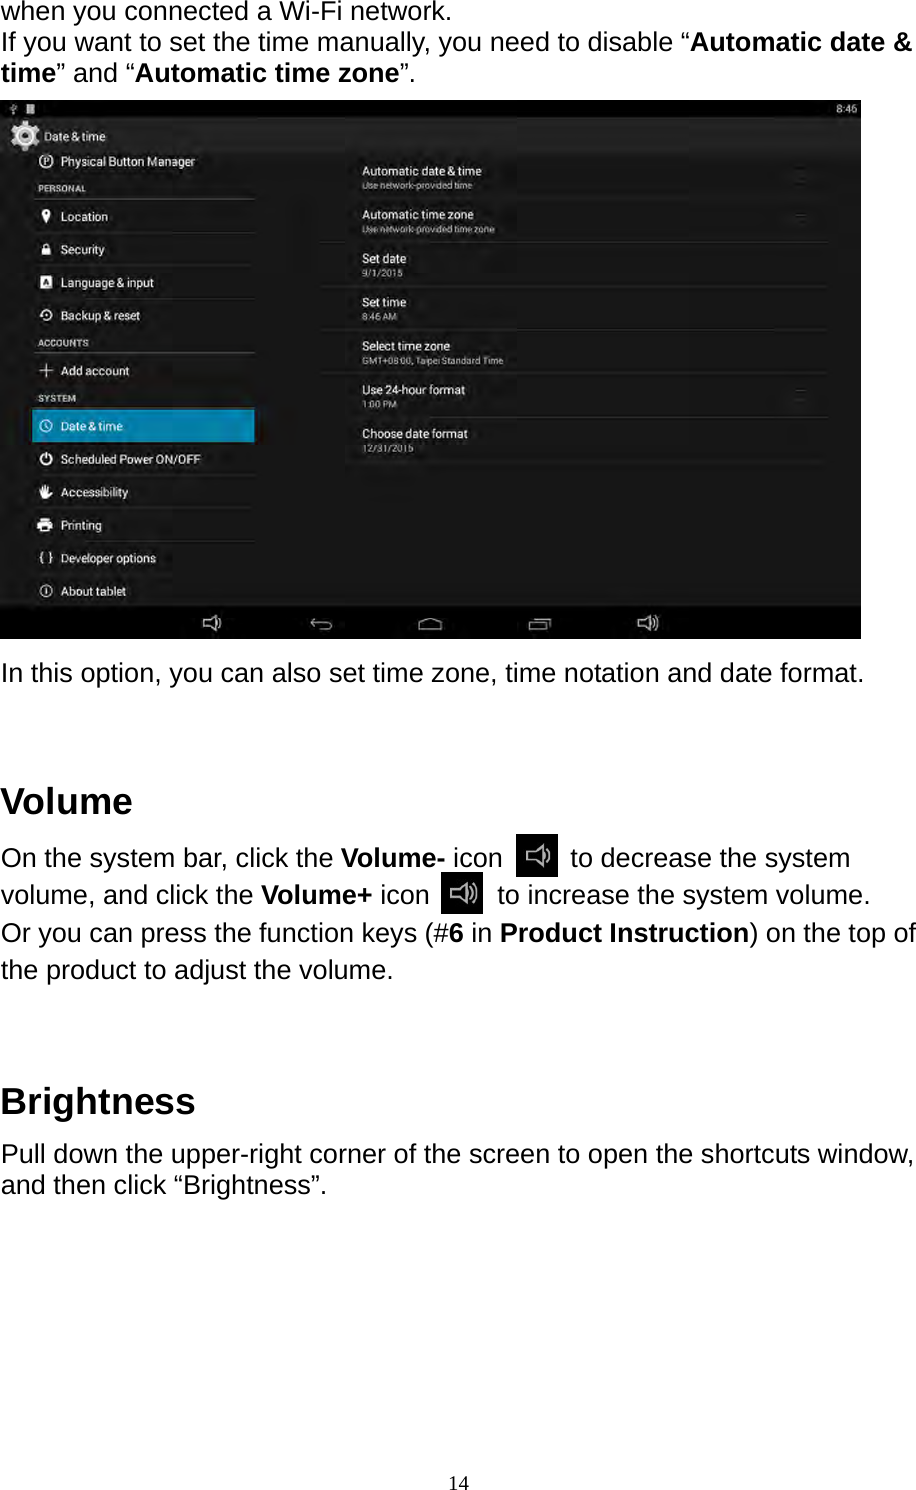
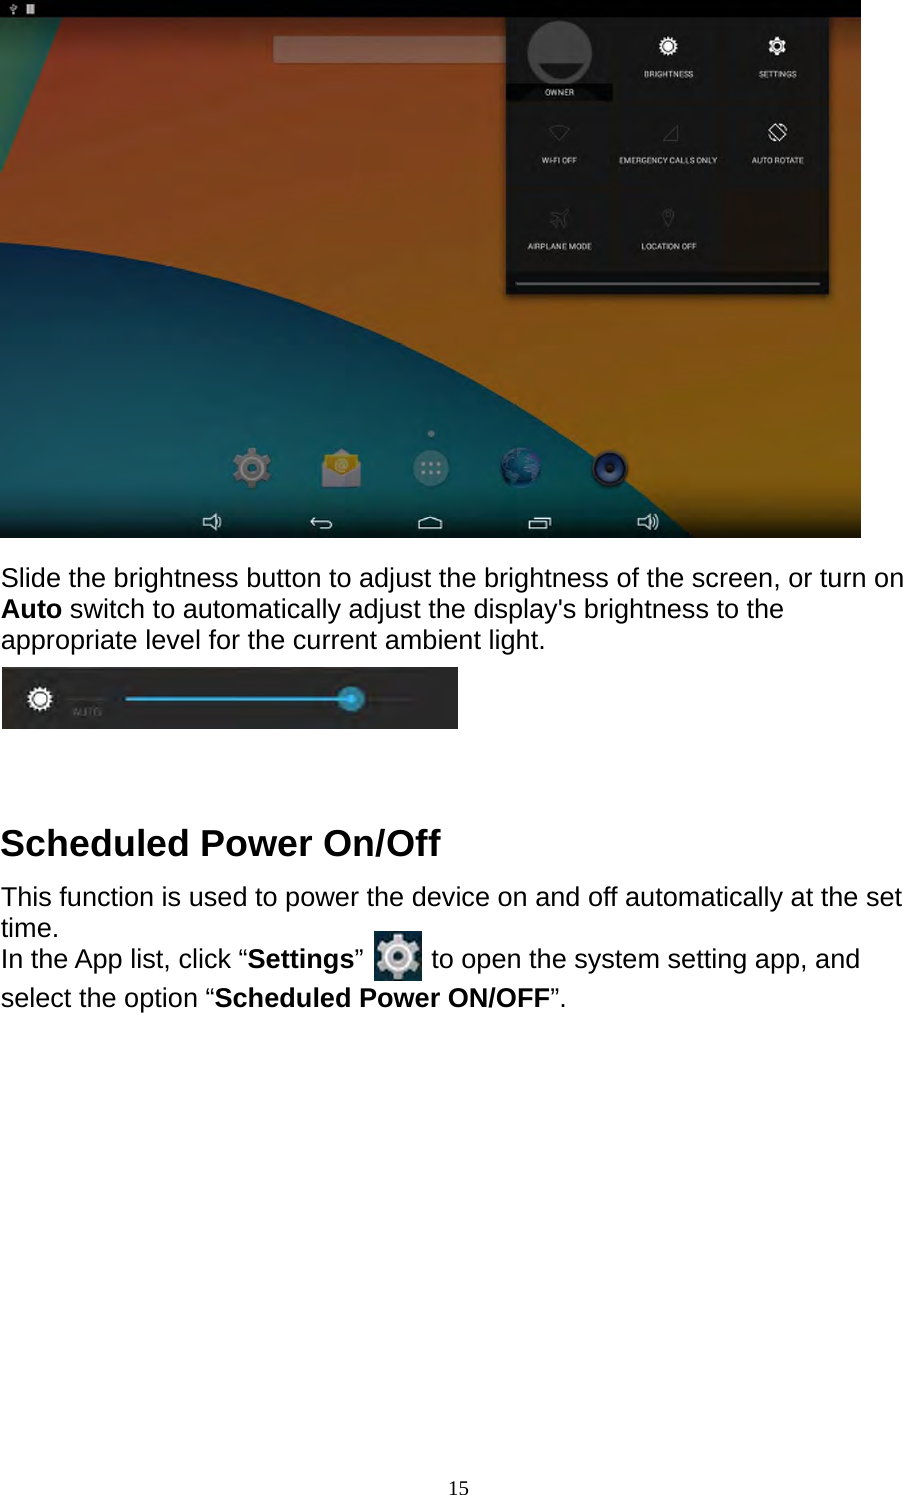
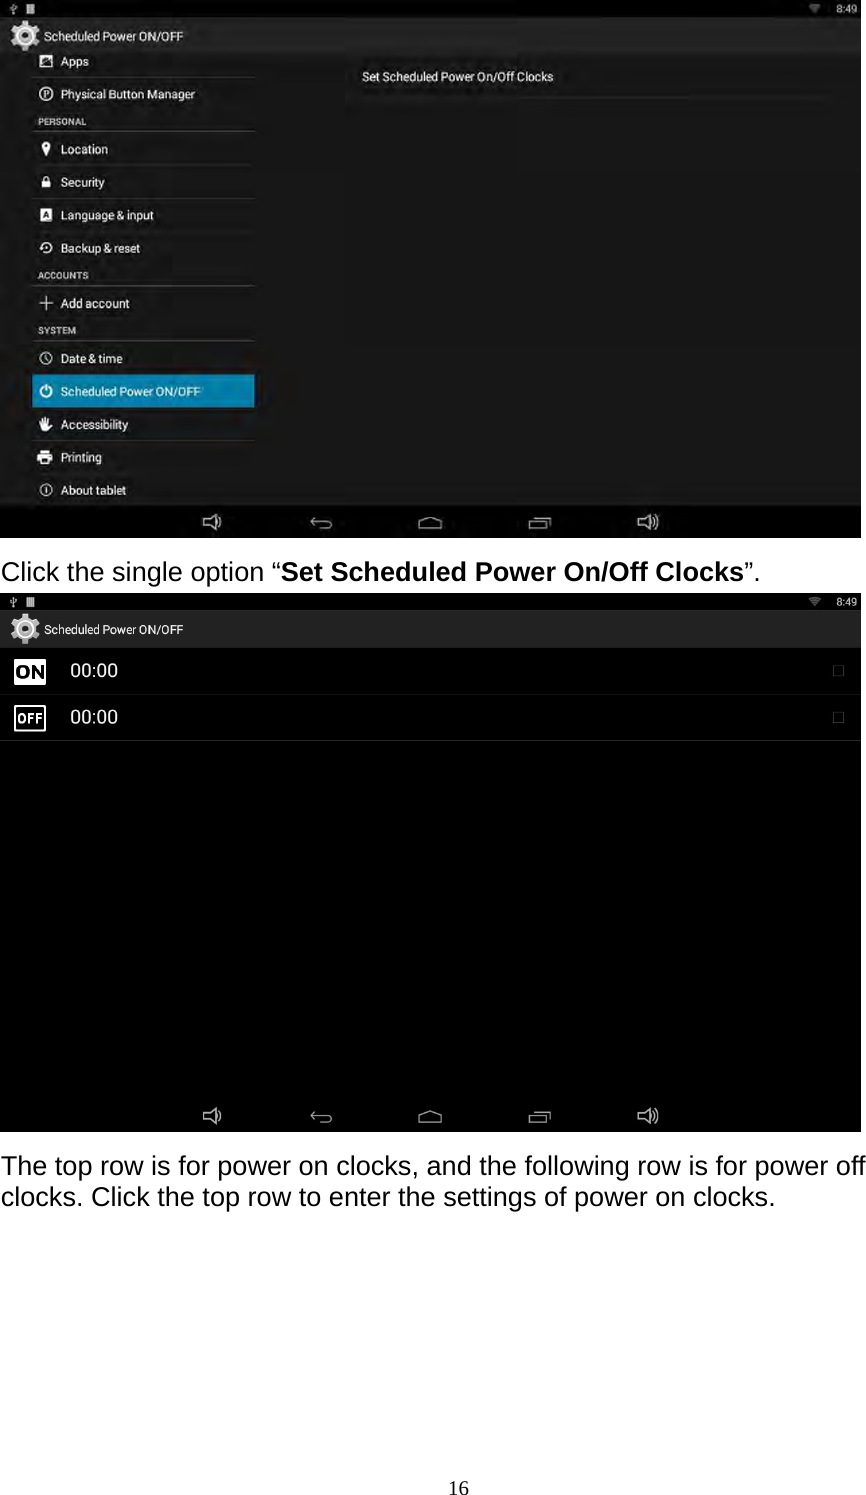
ZUNIDATA SYSTEMS 10P 10P digital signage player and data collection terminal User Manual 0624
ZUNIDATA SYSTEMS, INC 10P digital signage player and data collection terminal 0624
UserManual.wiki
>
ZUNIDATA SYSTEMS
>
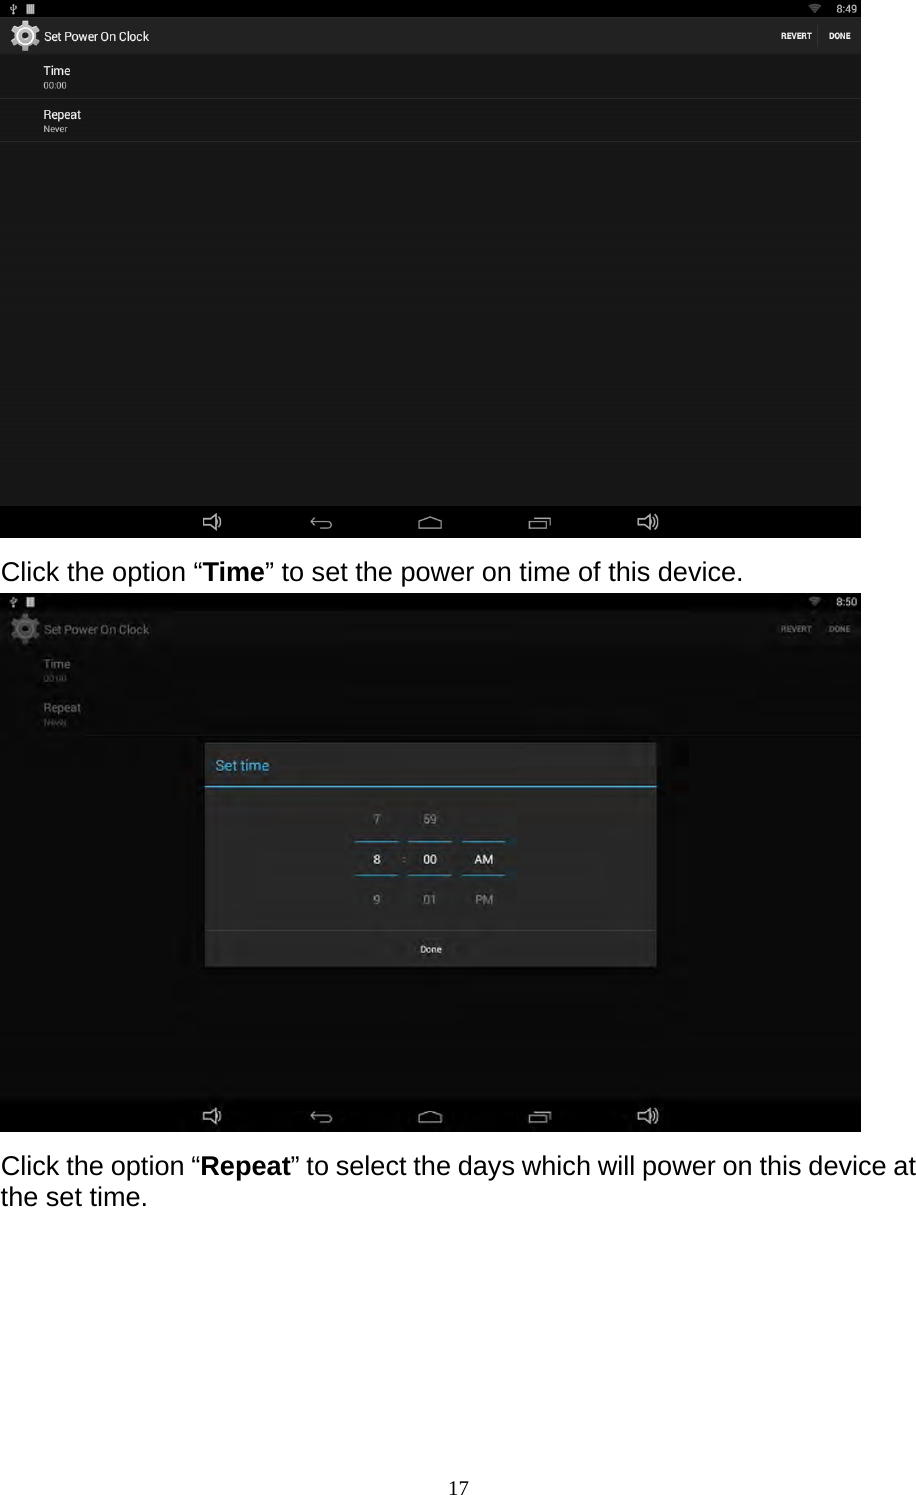
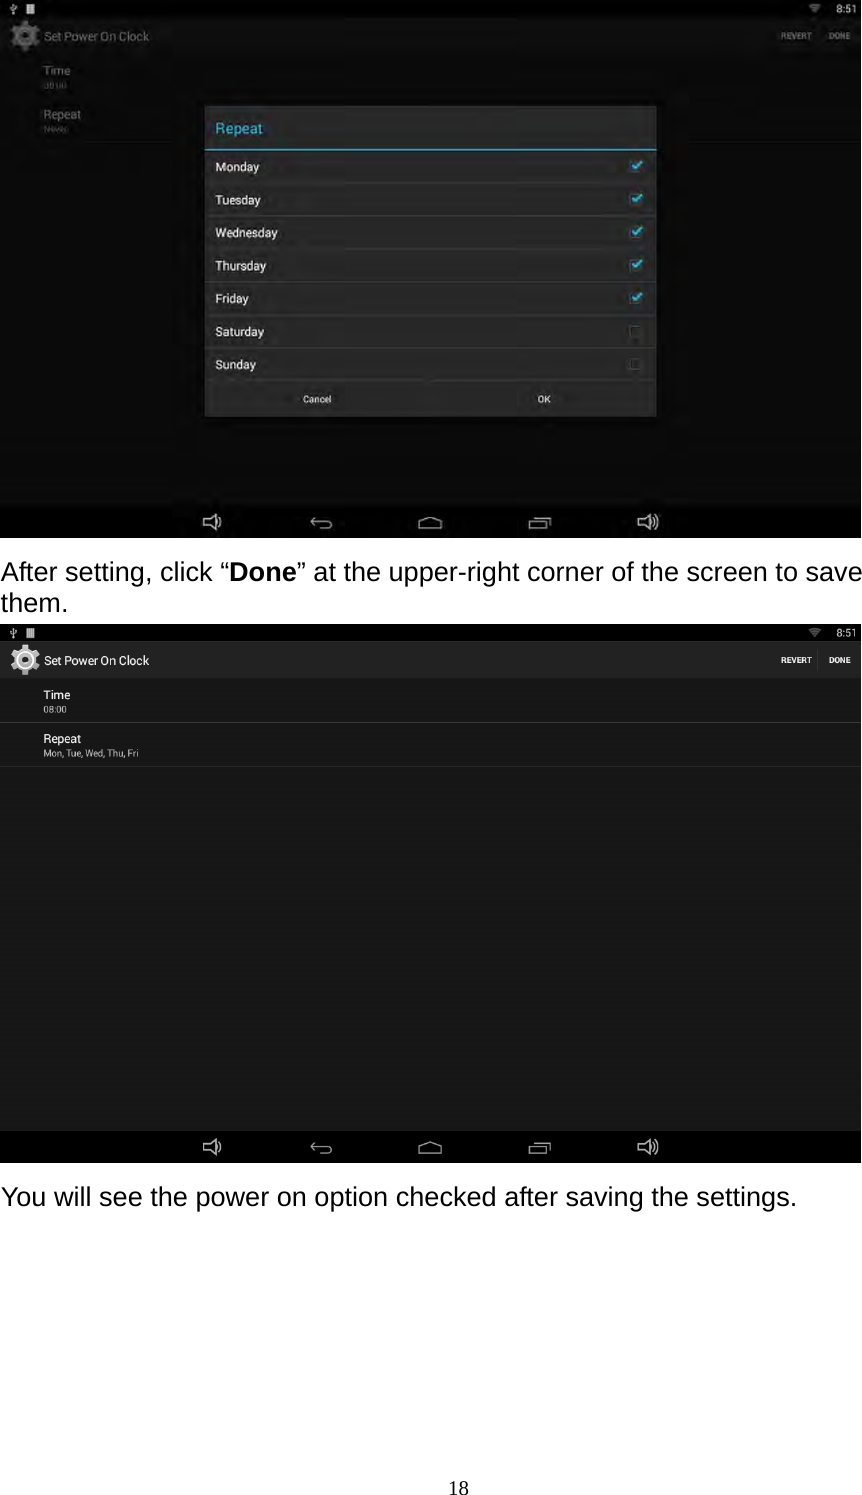
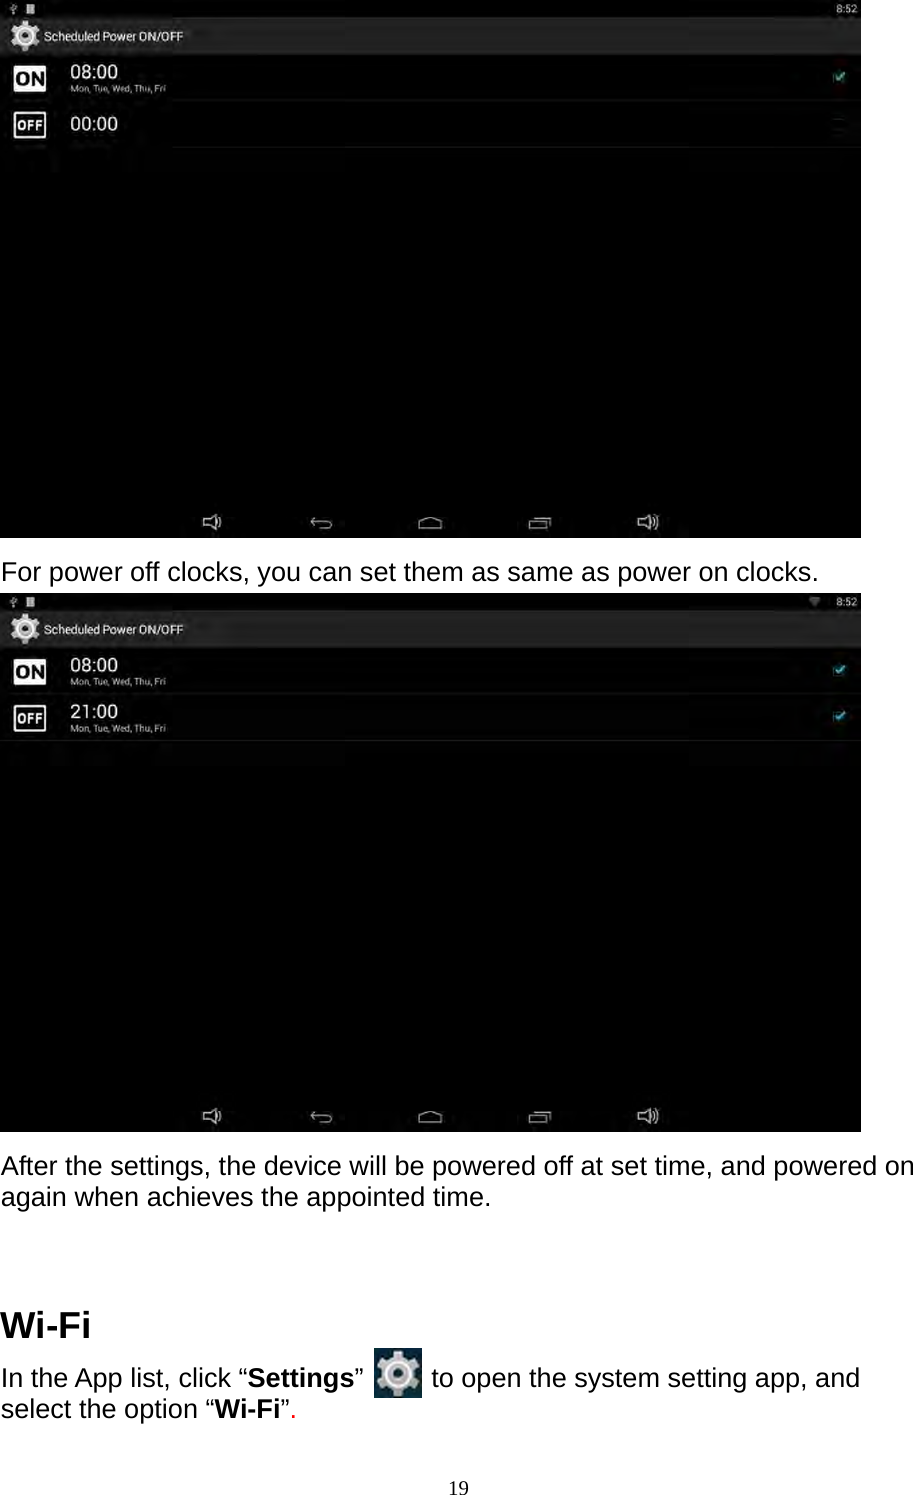
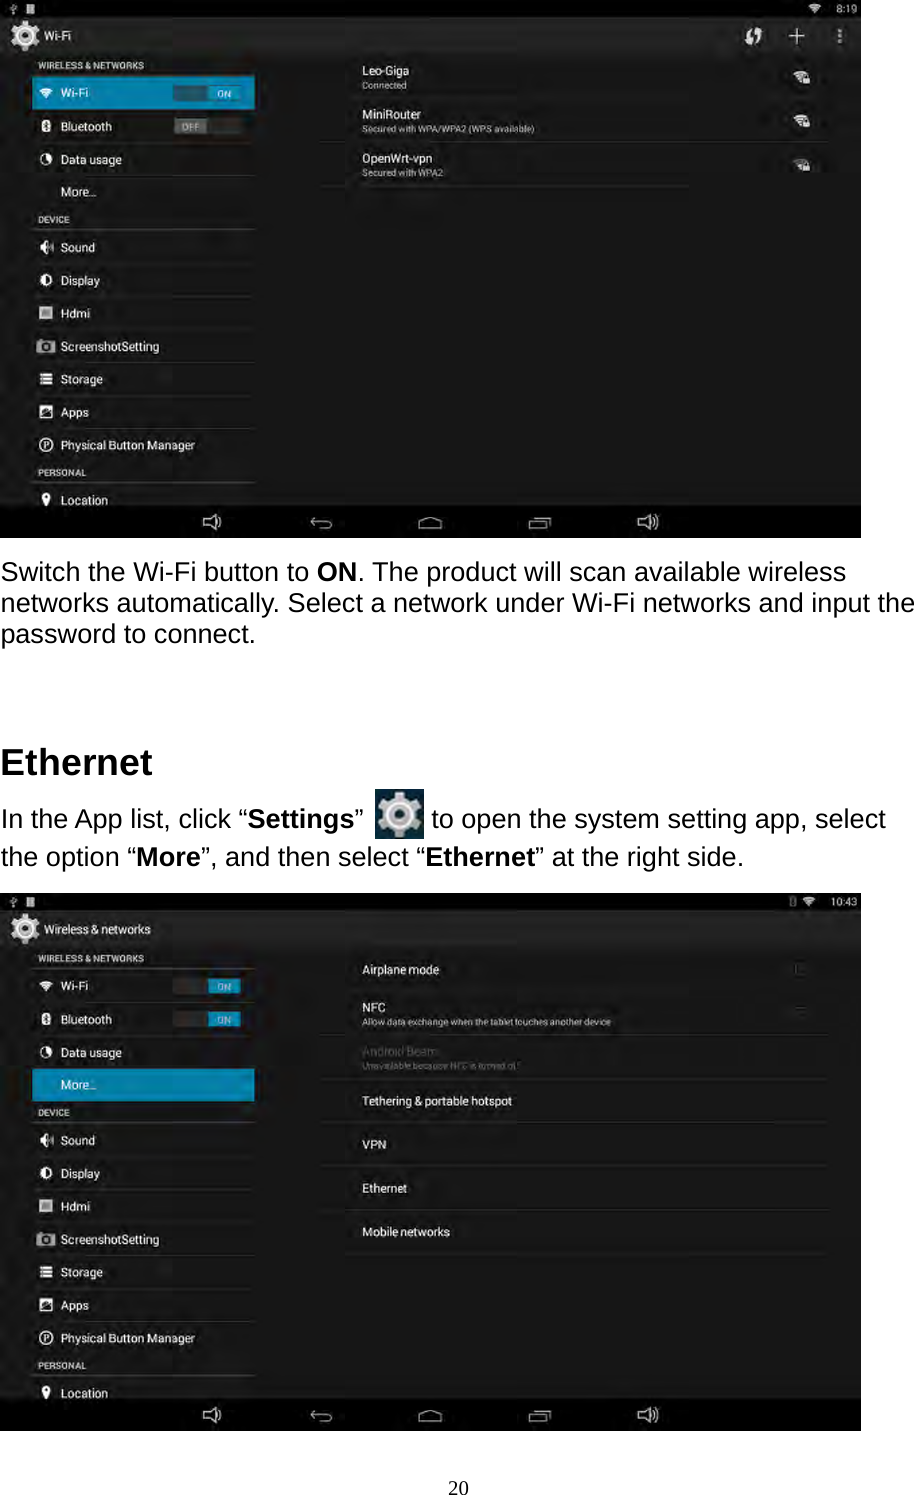
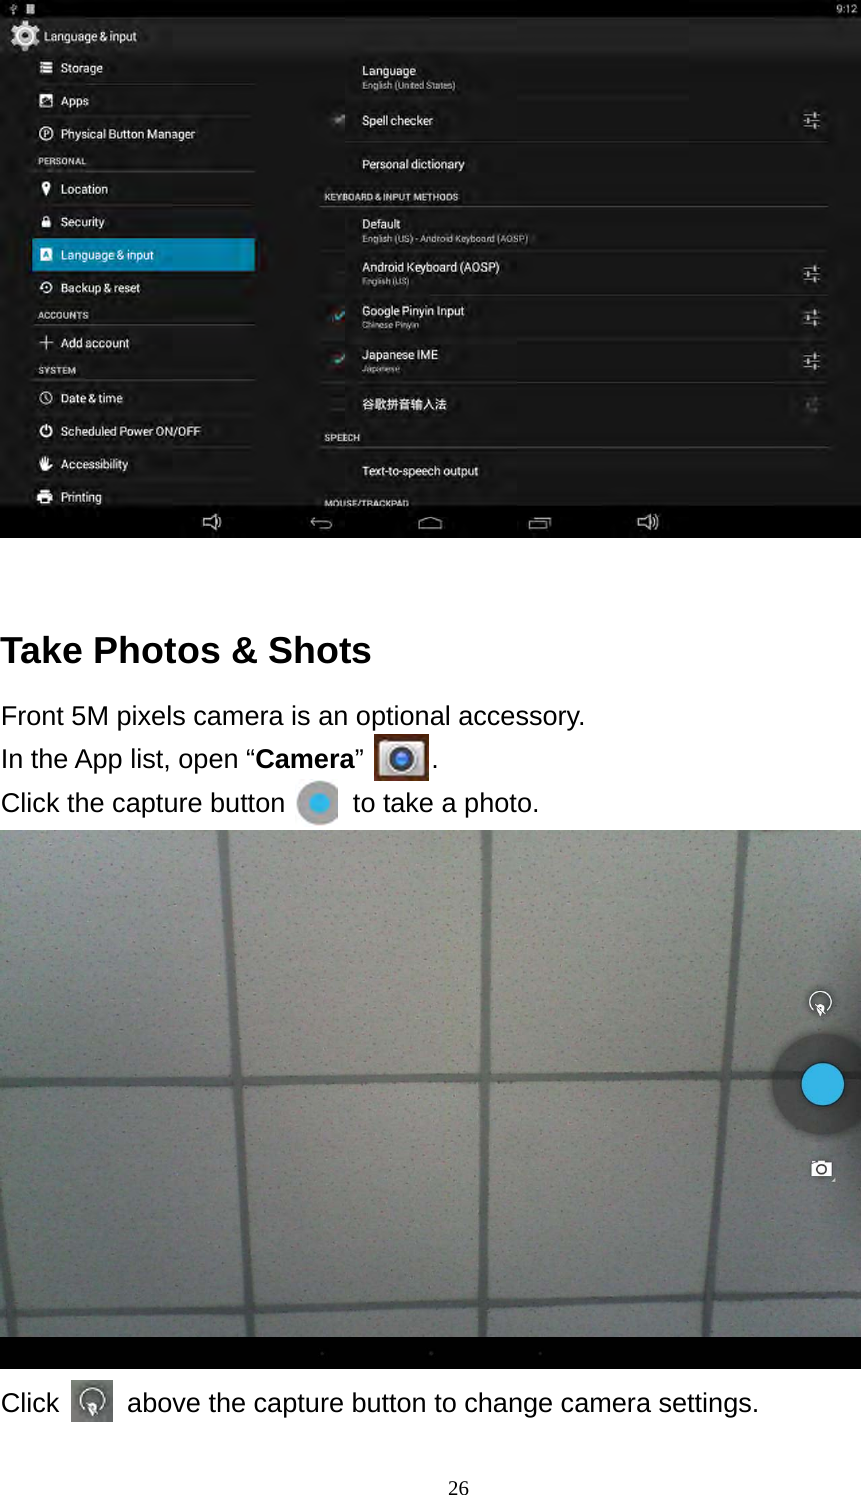
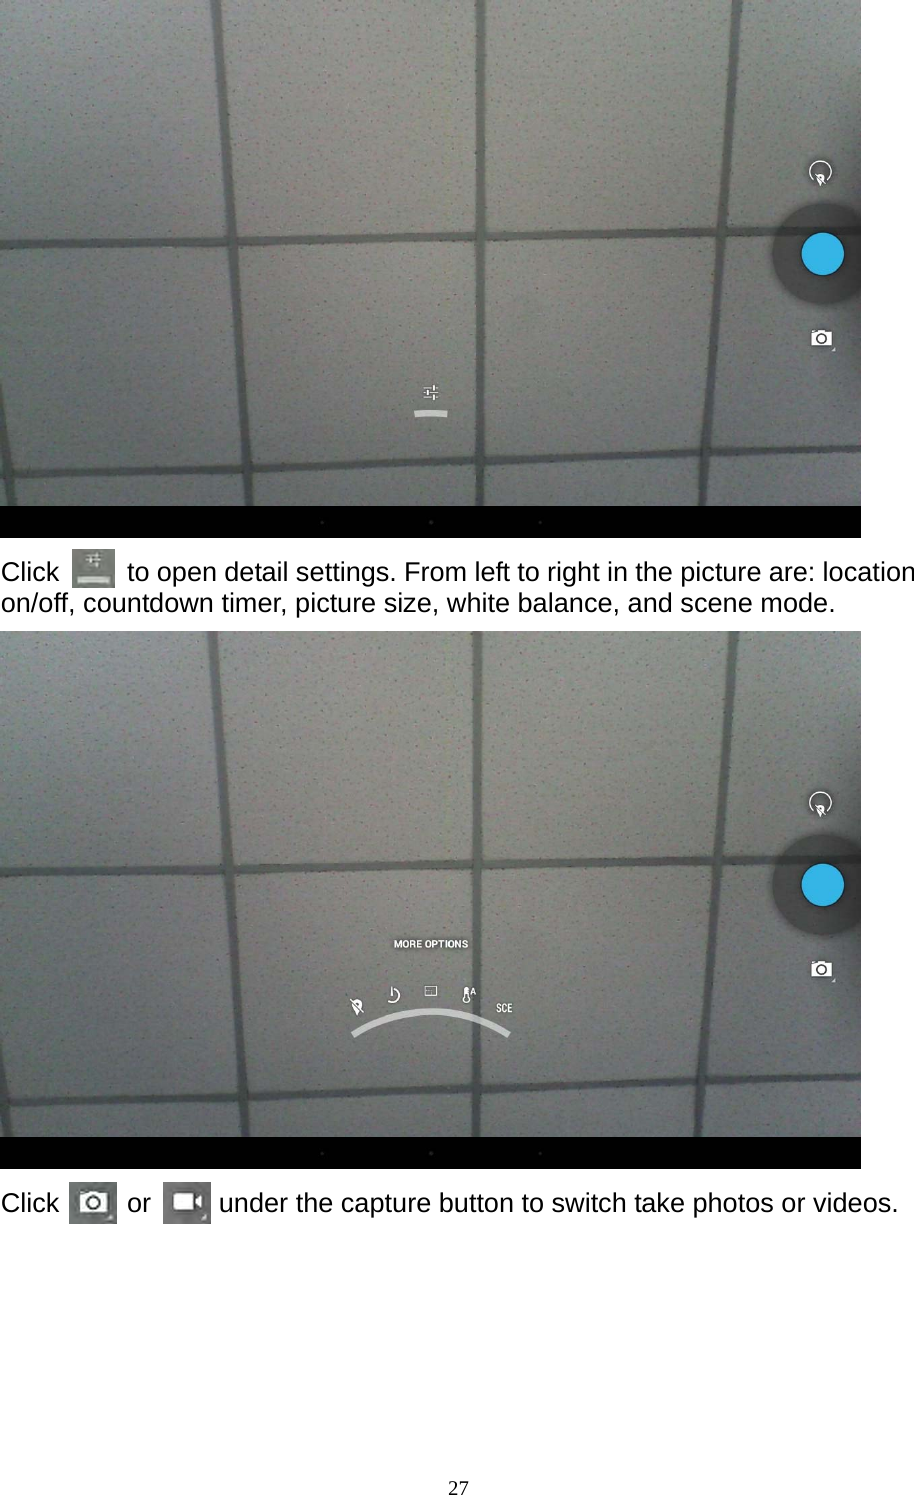
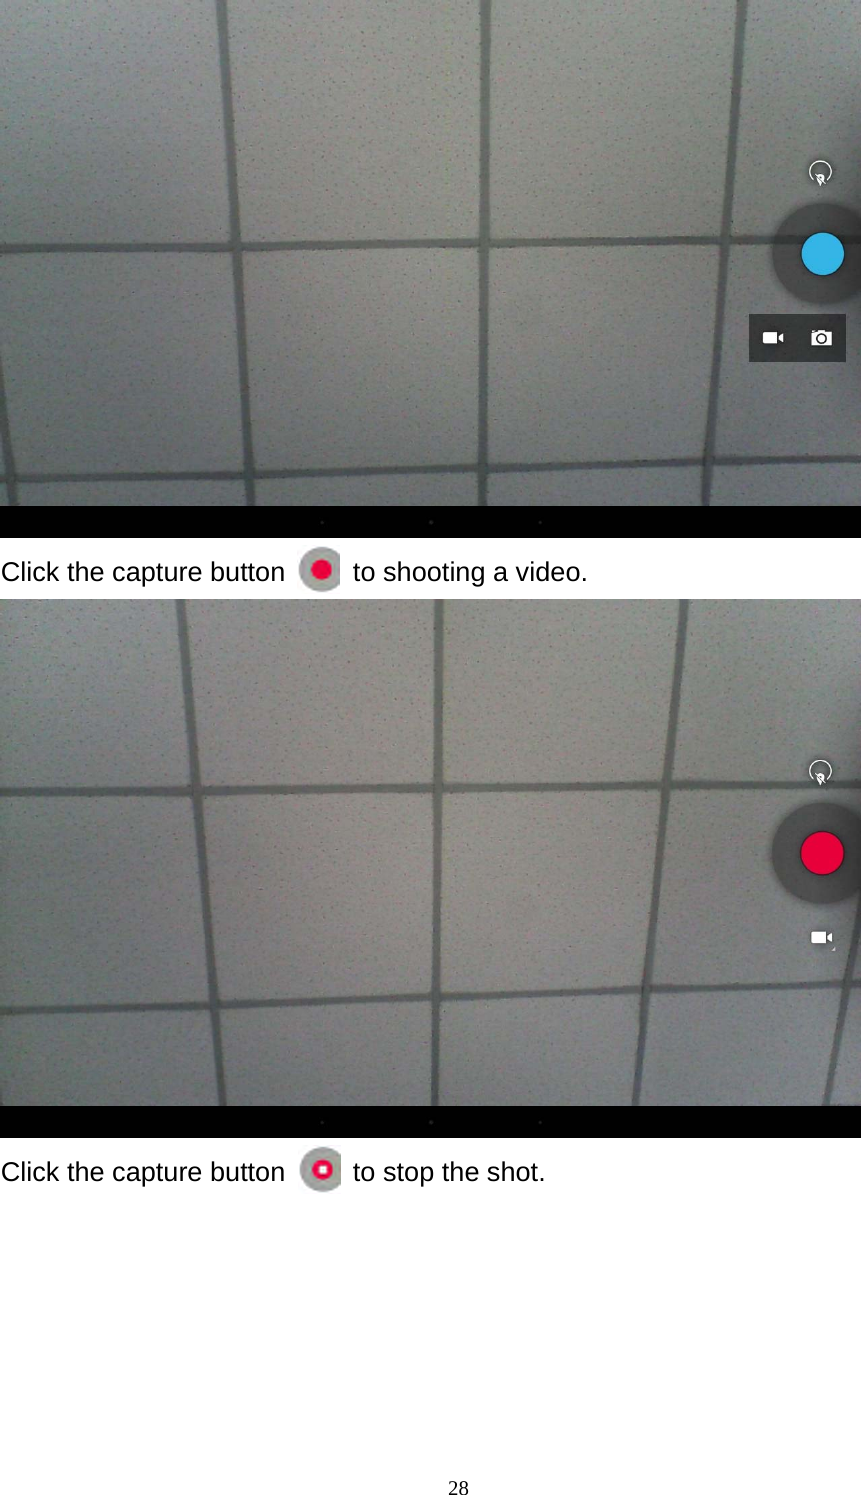
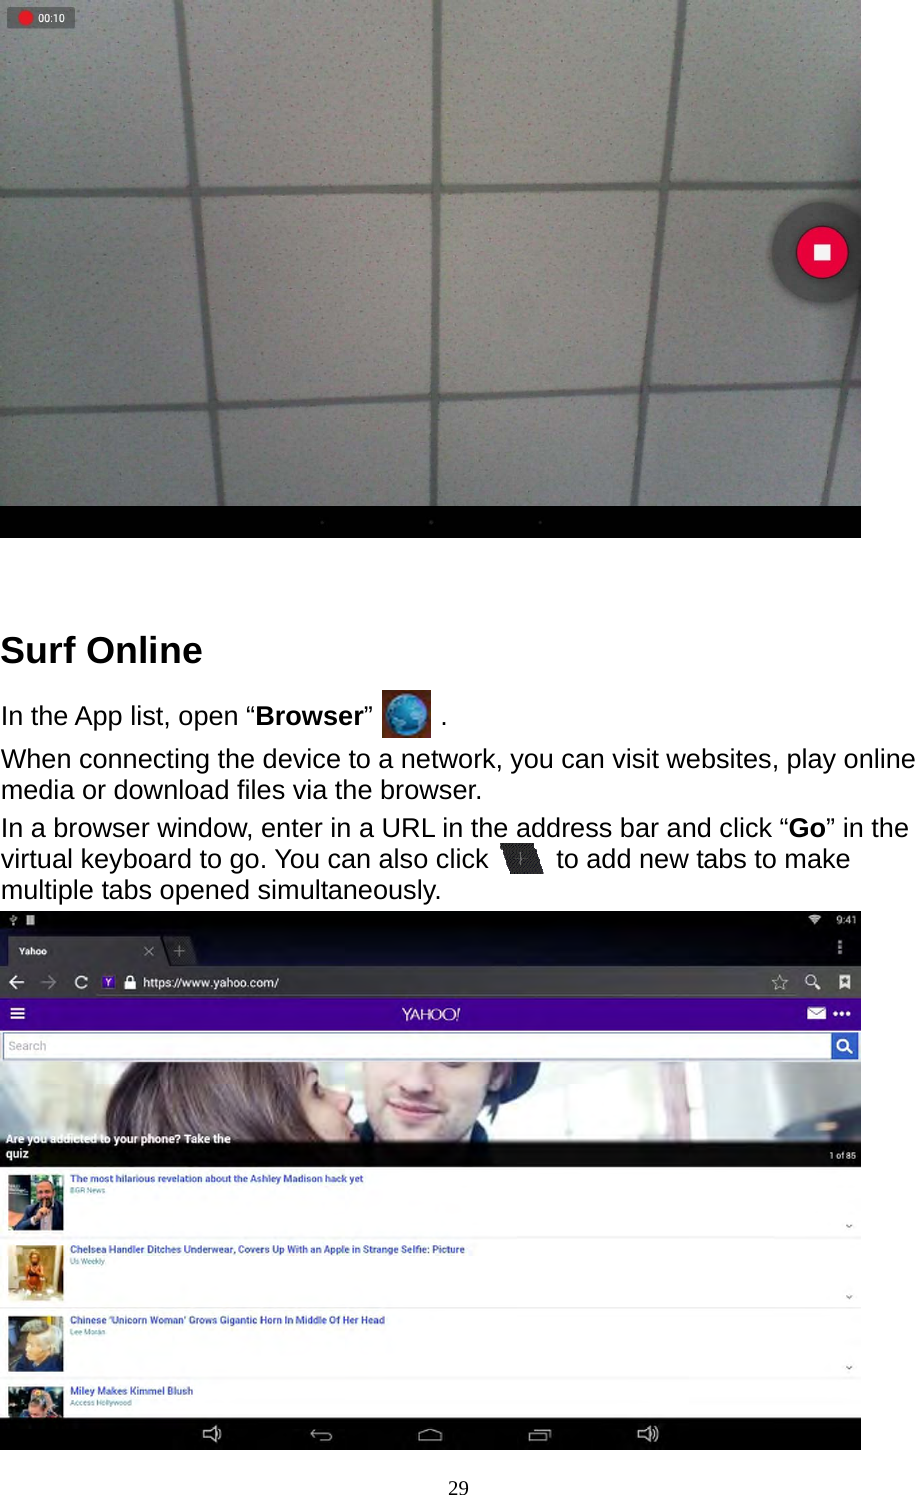
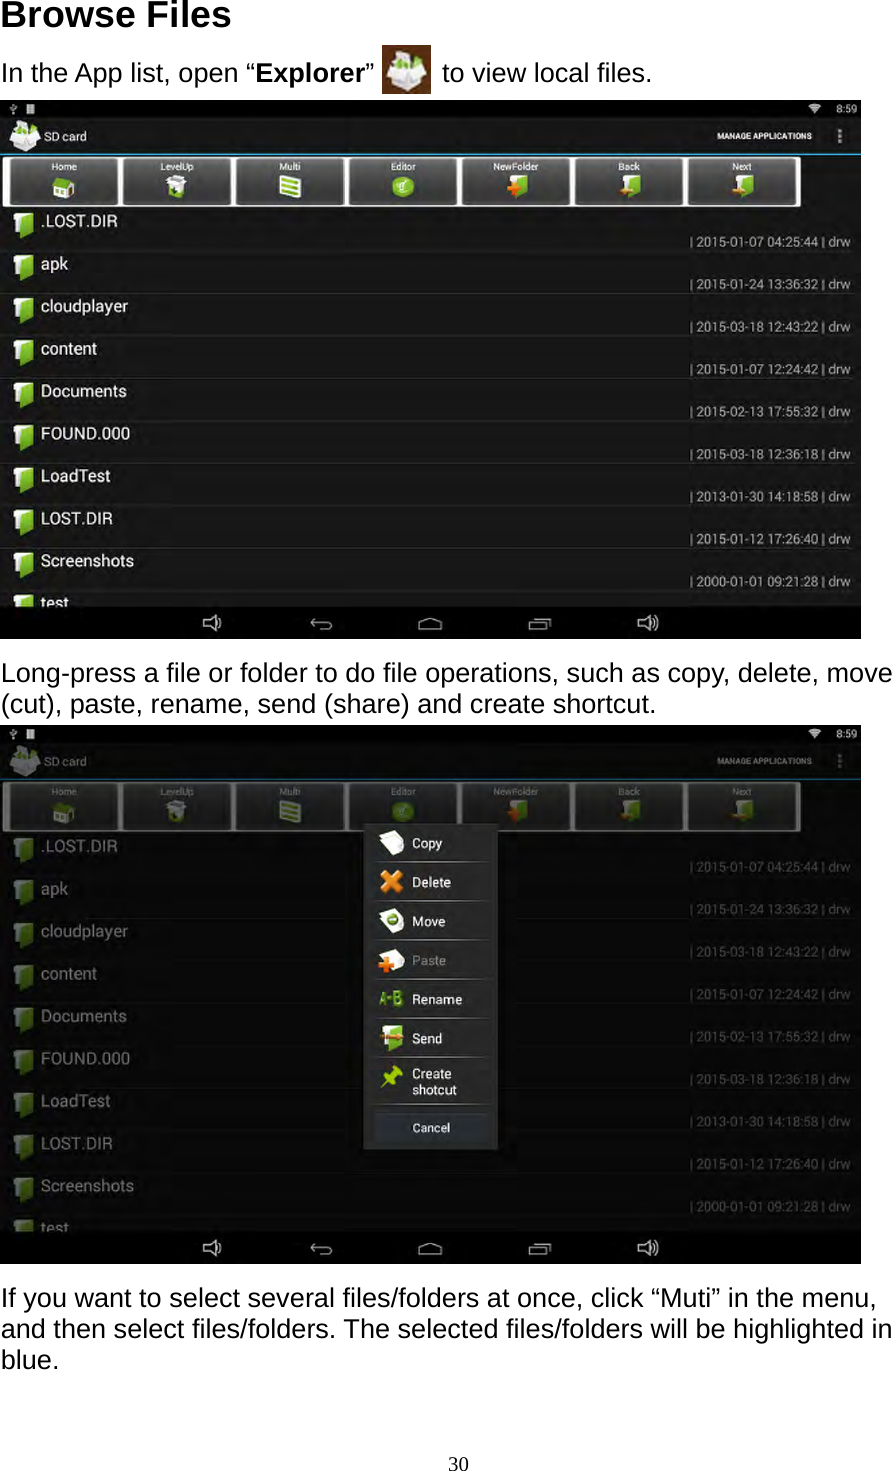
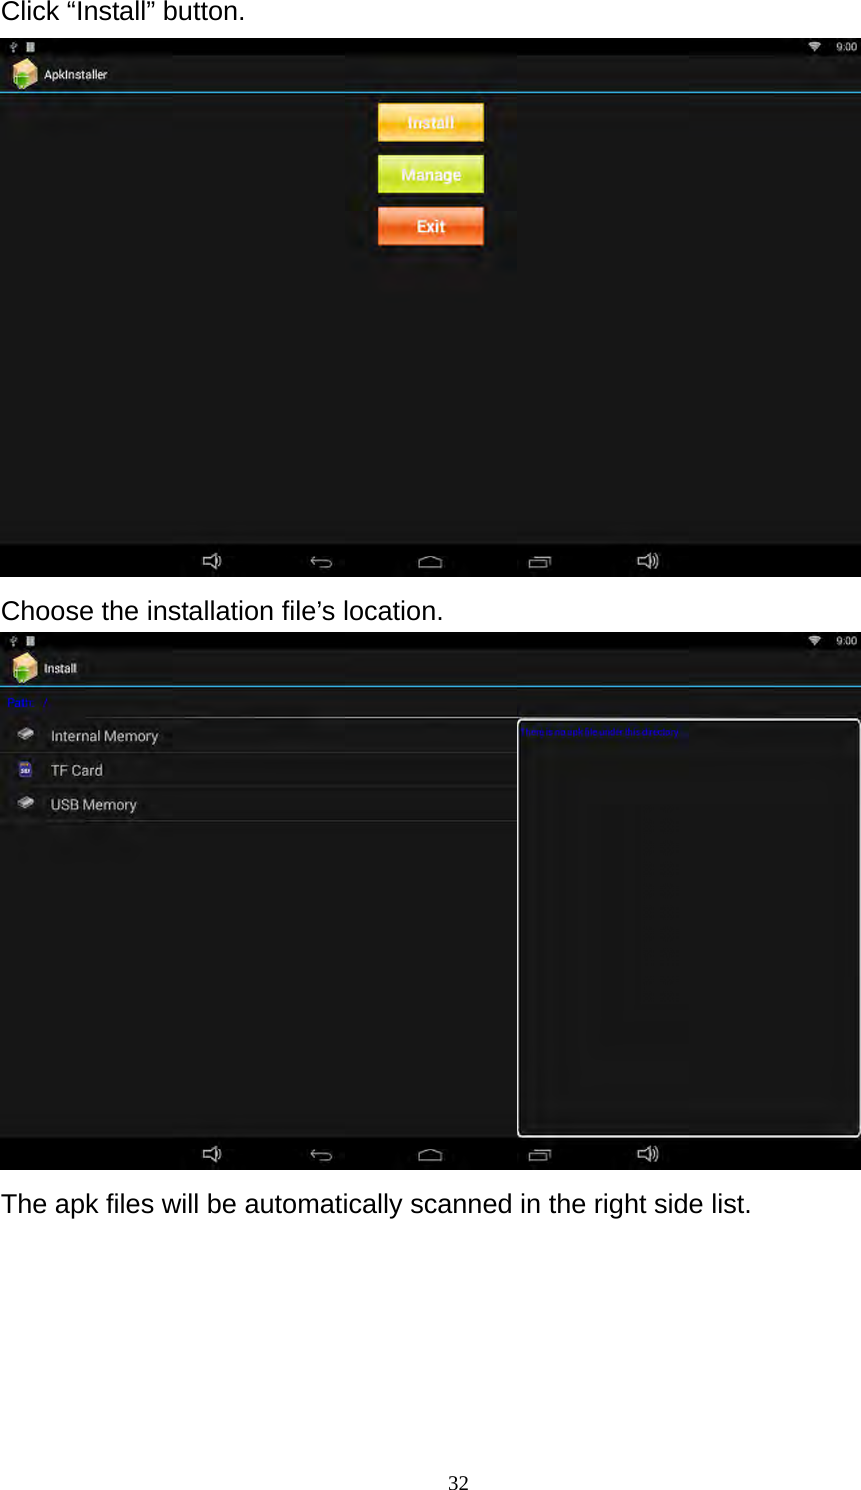
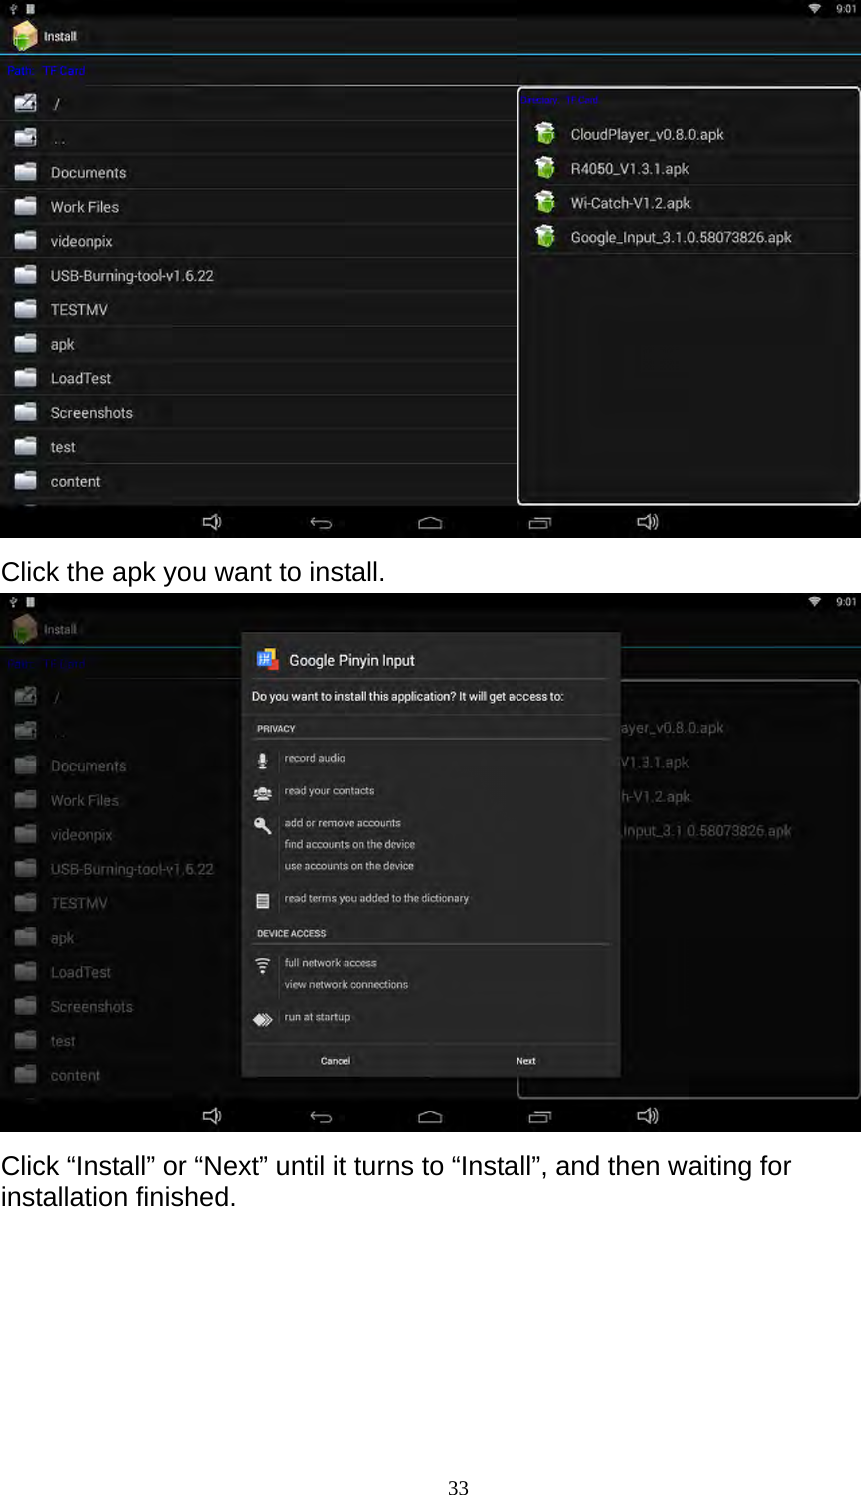
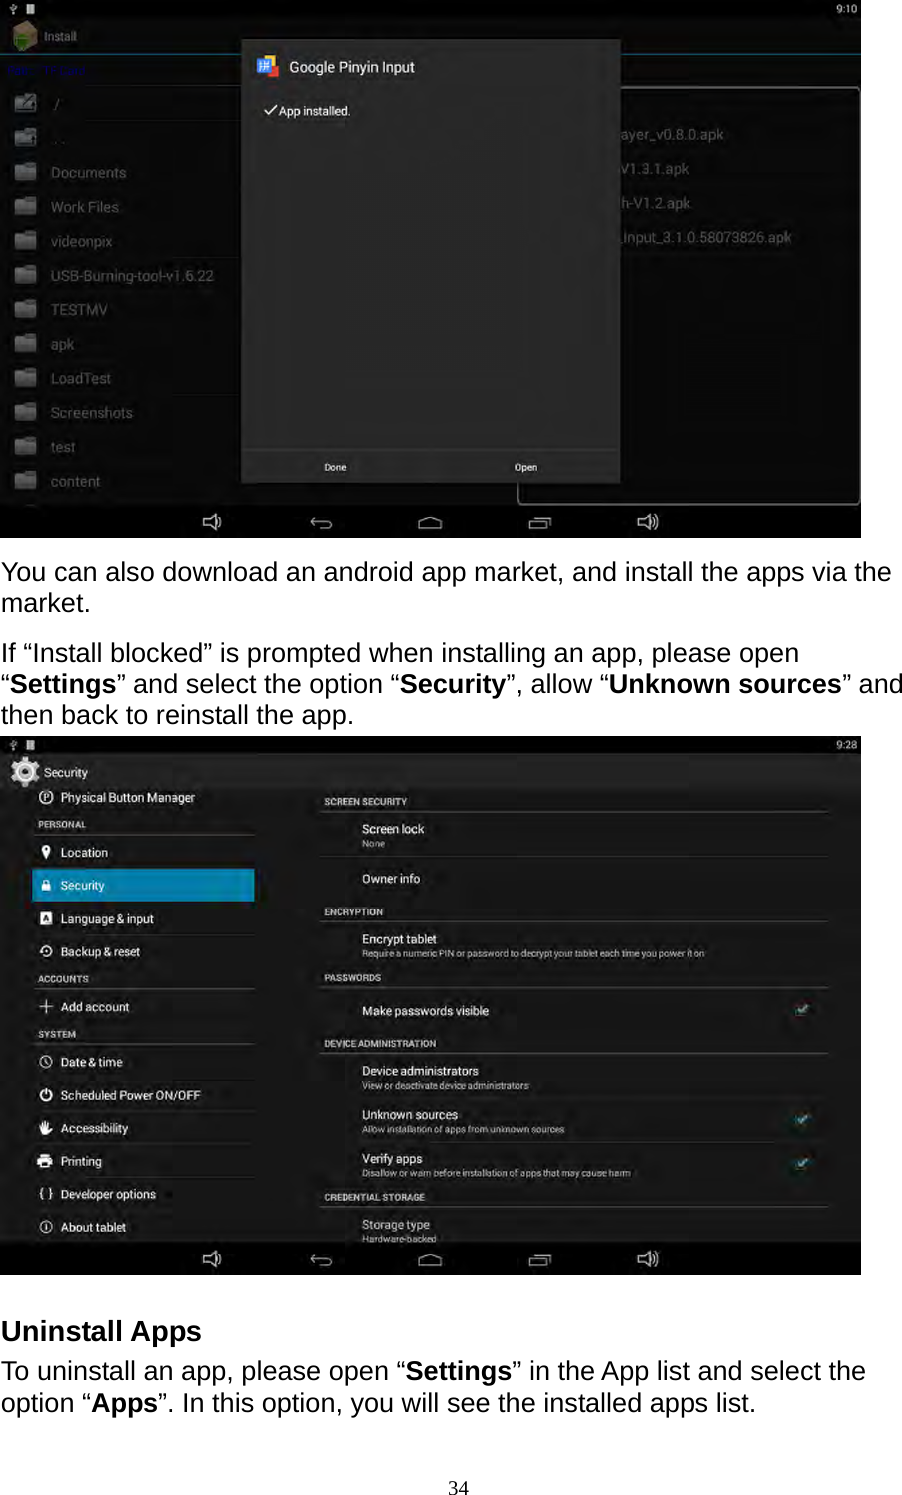
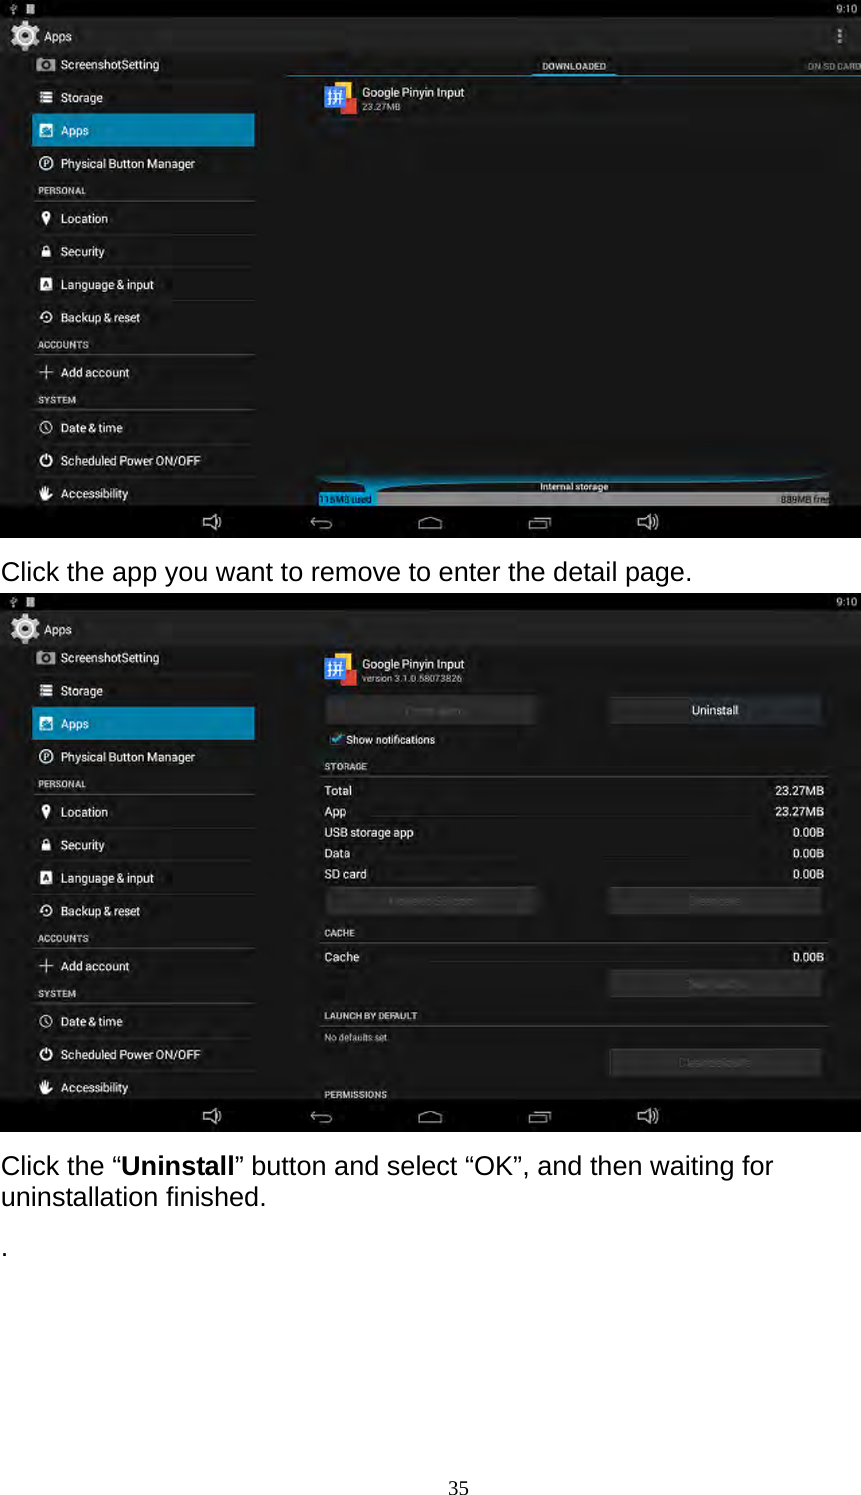
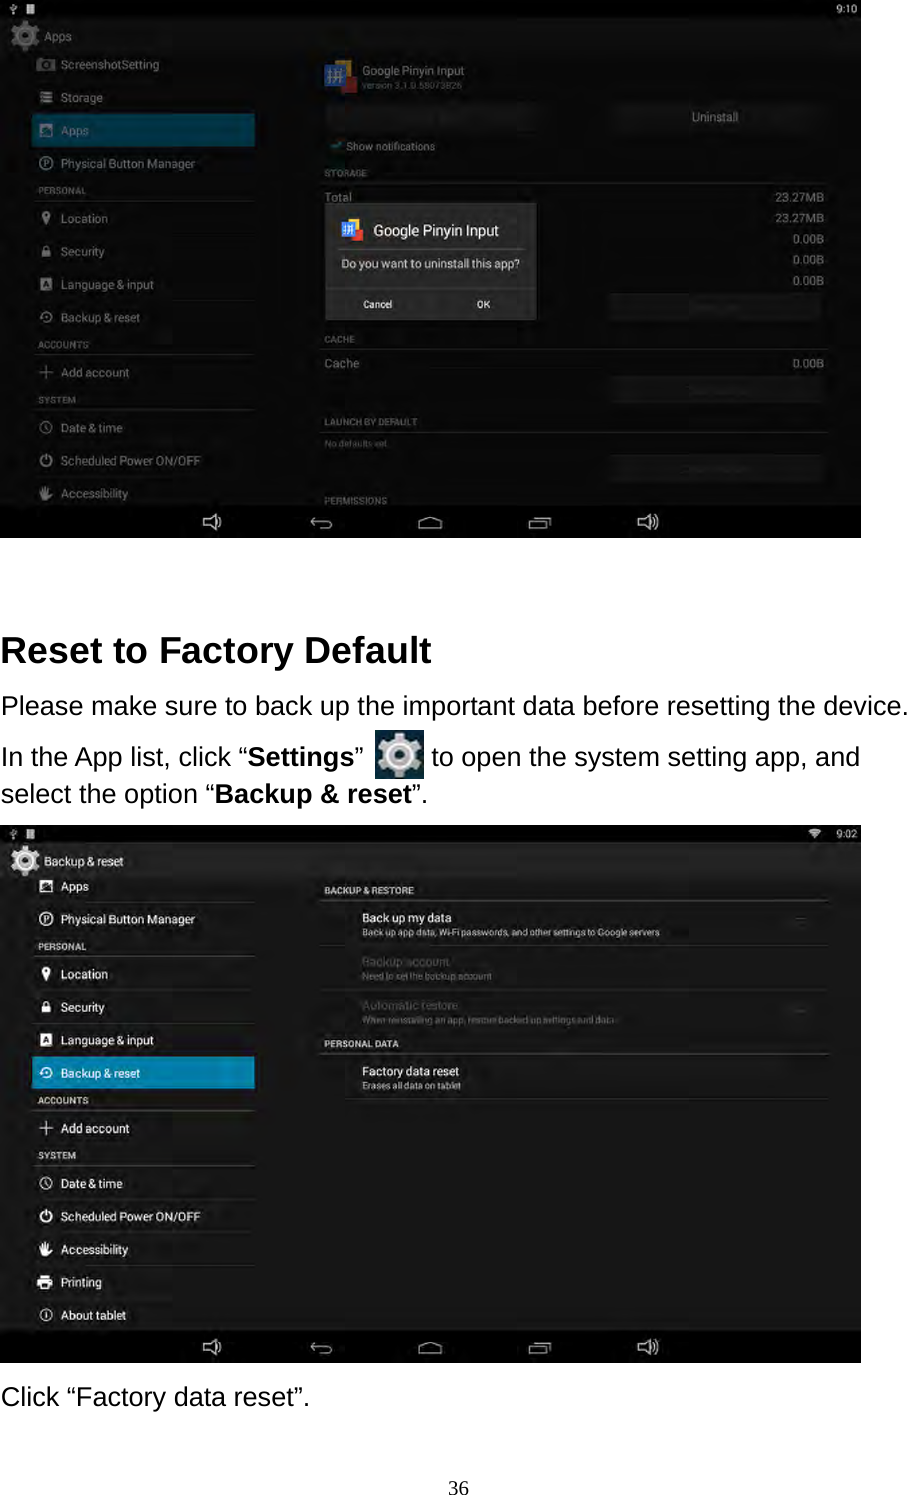
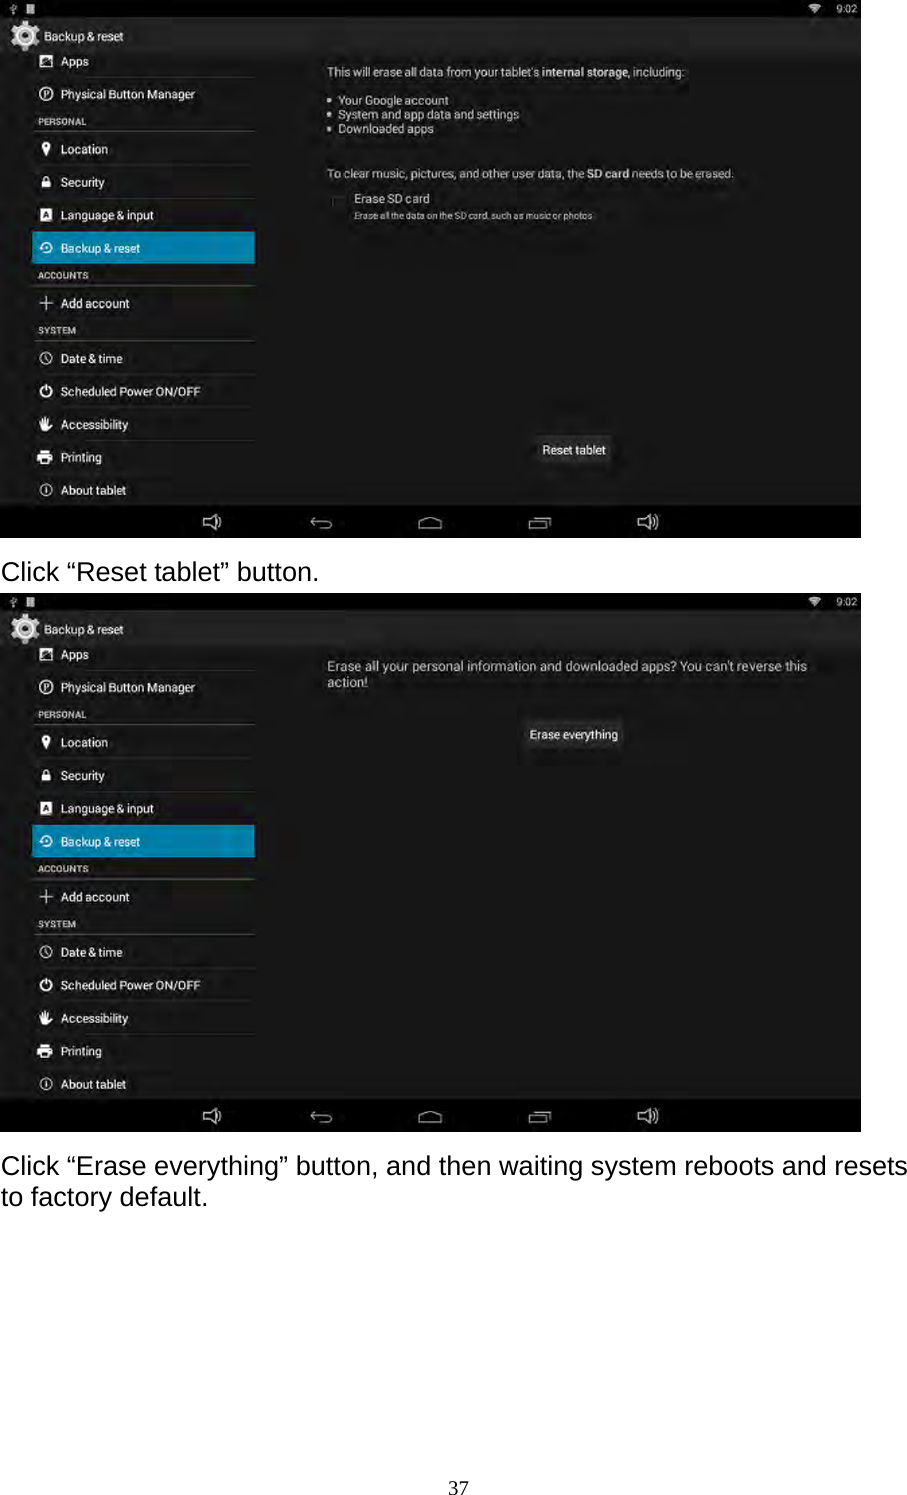
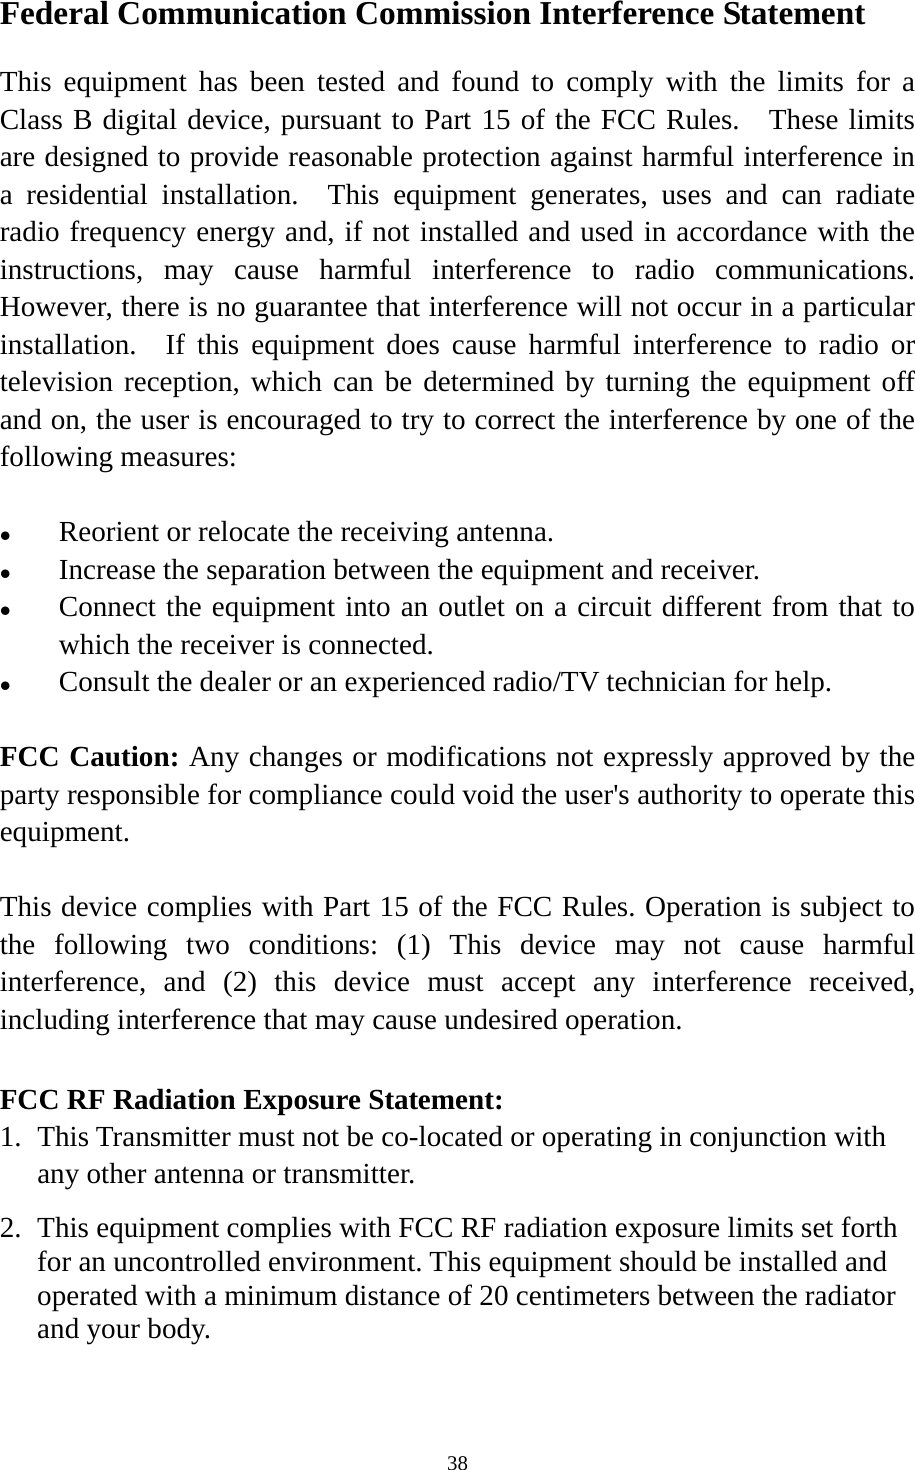
10P User Manual
Users Manual
Navigation menu
Upload a User Manual
Namespaces
Wiki Guide
HTML
PDF
Info
Views
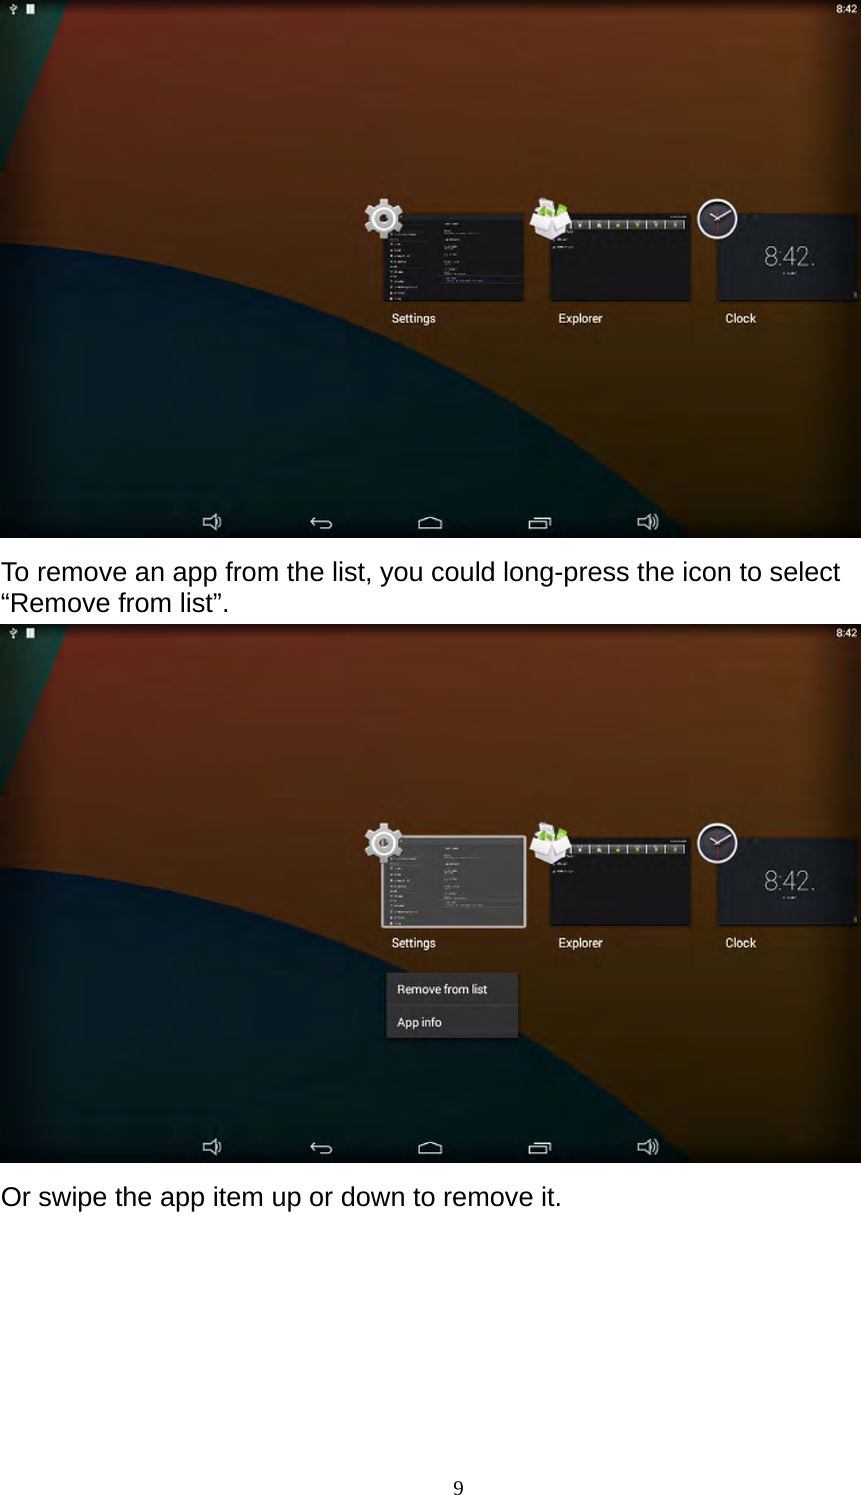
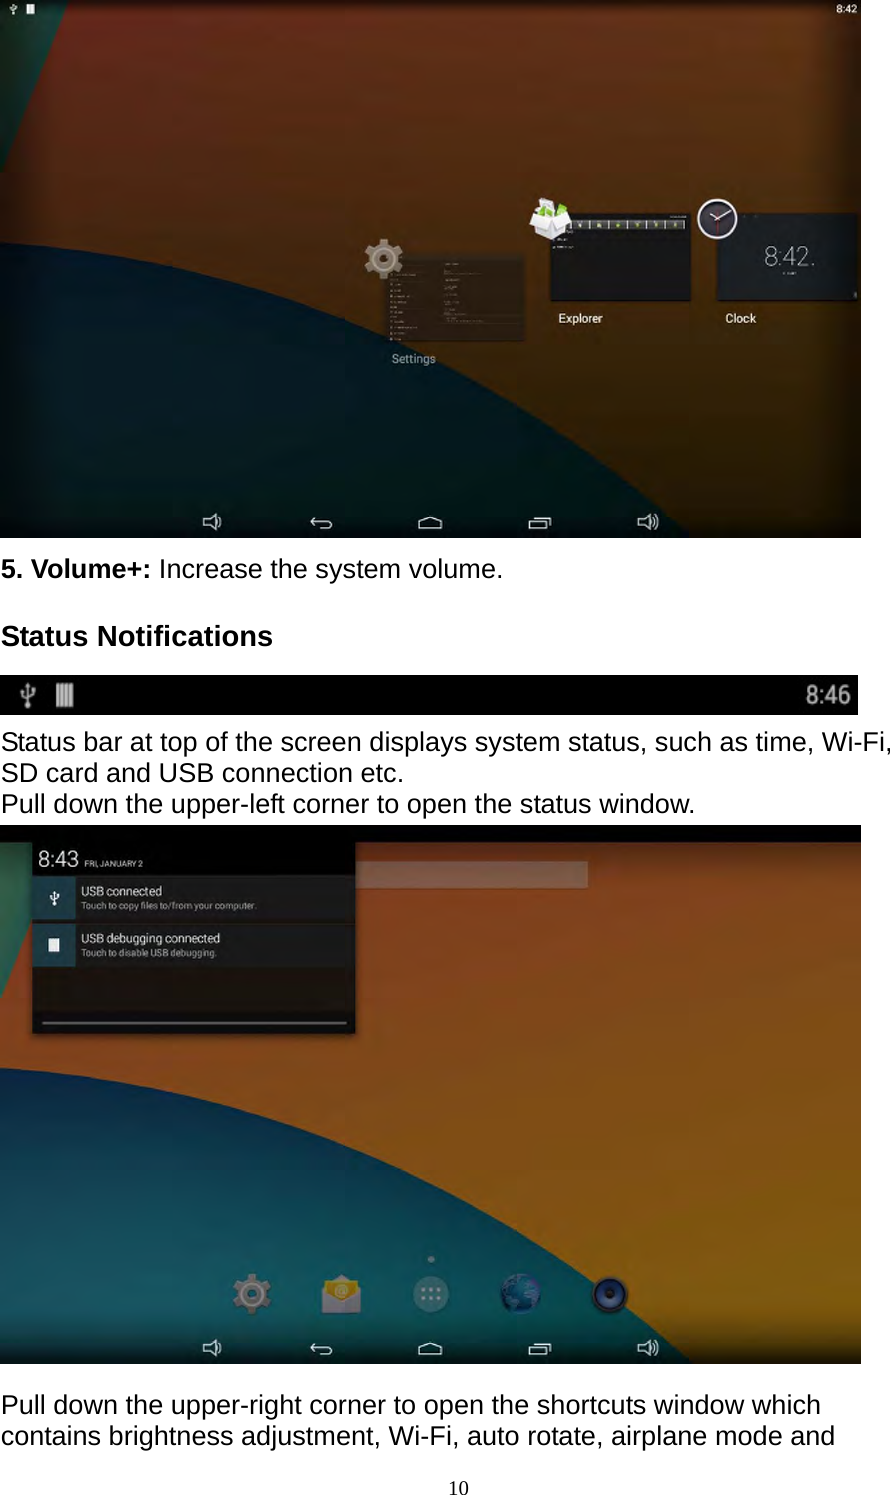
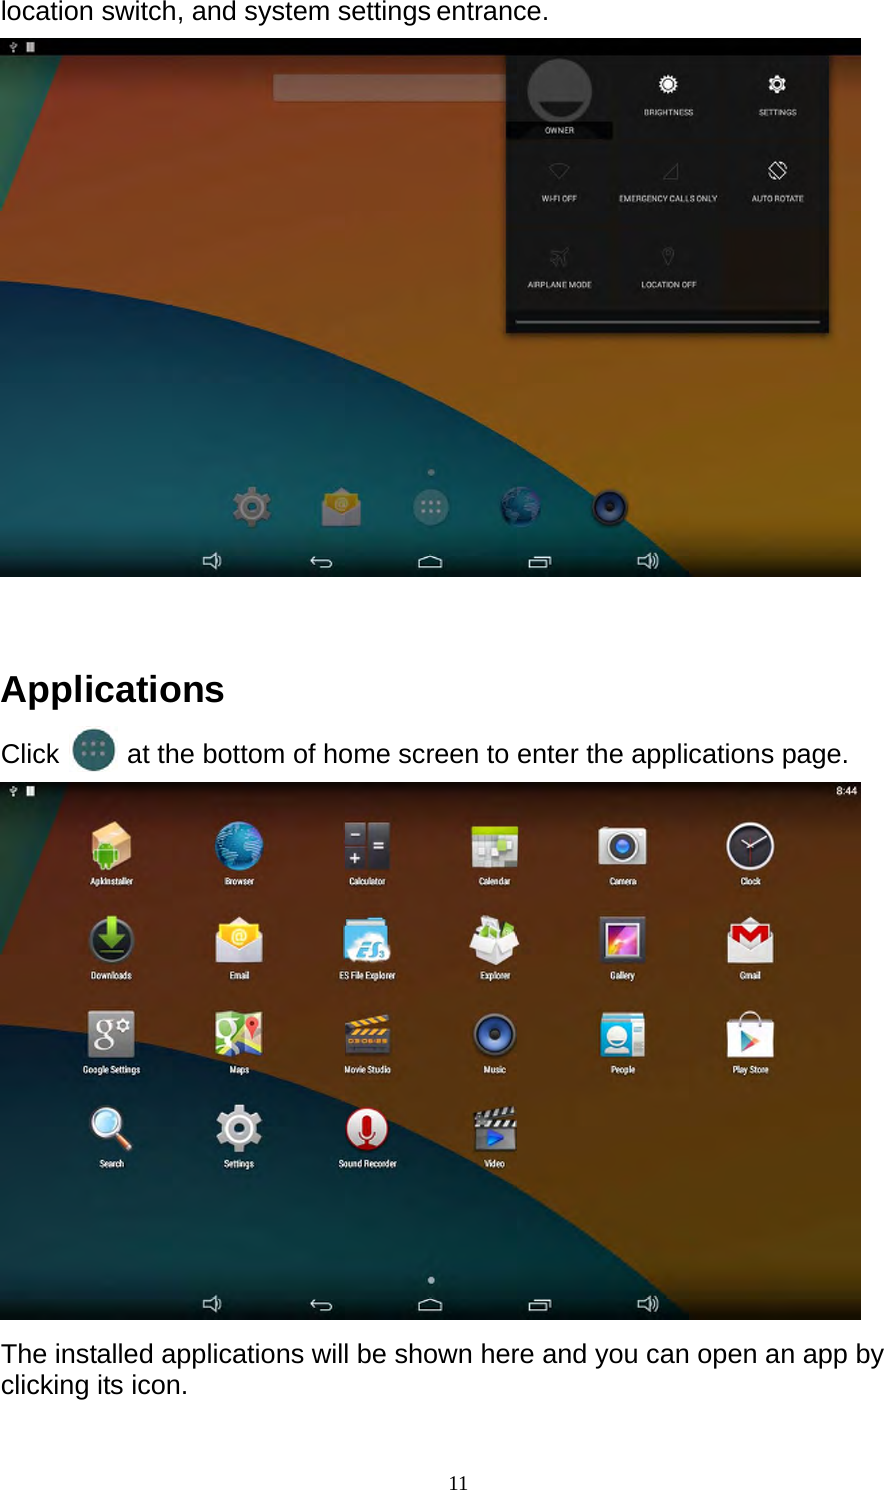
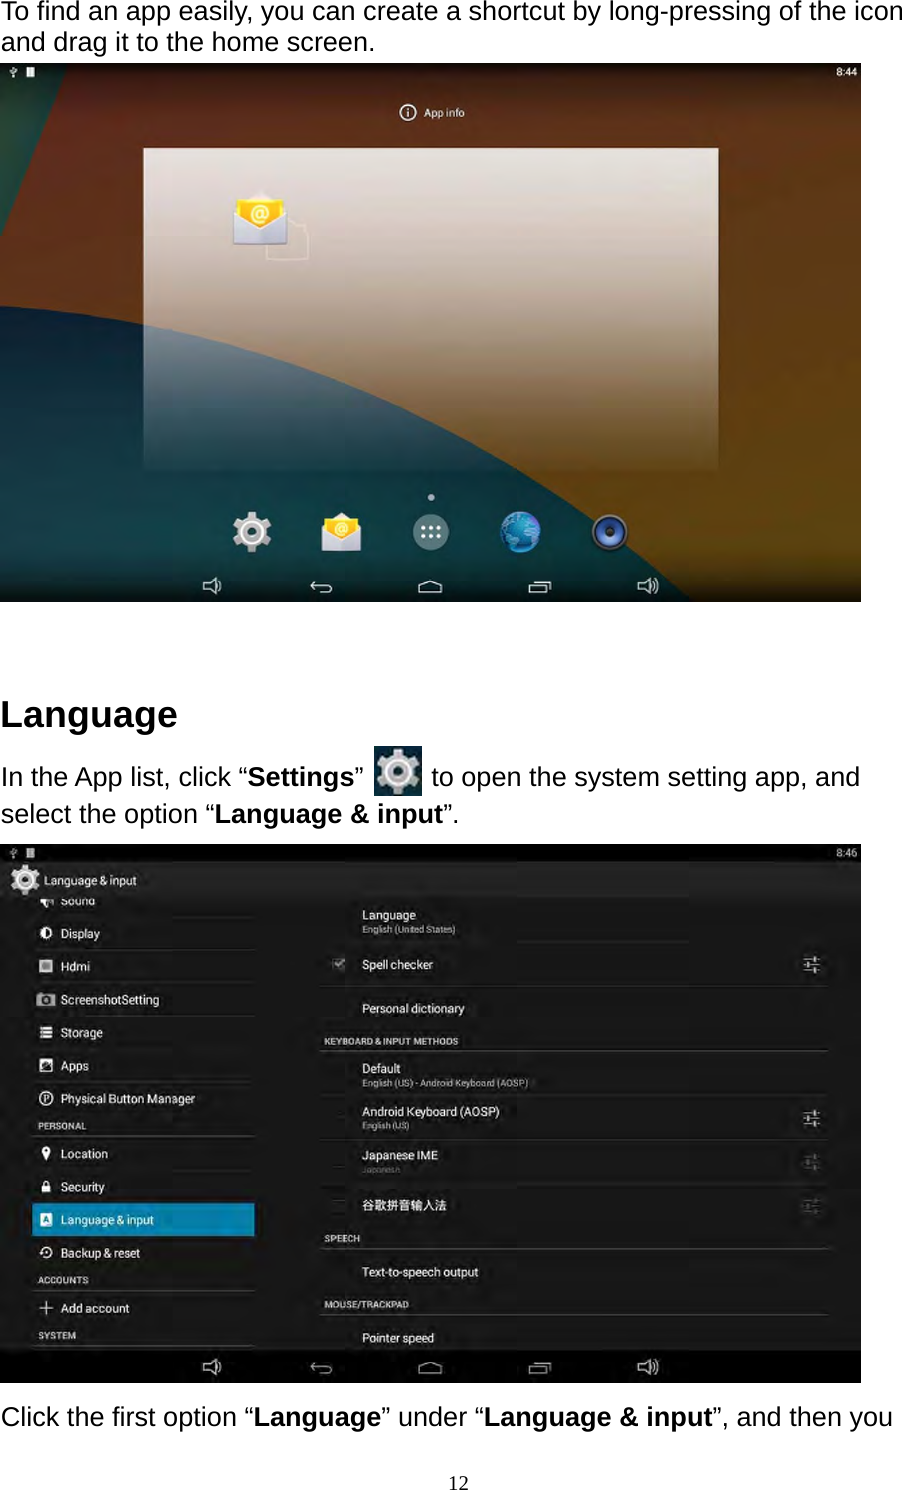
User Manual
Discussion / Help
Navigation