Zebra Technologies P330I Plastic Card Printer User Manual 980459 P330i Printer
Zebra Technologies Corporation Plastic Card Printer 980459 P330i Printer
Contents
- 1. Users Manual Part 1
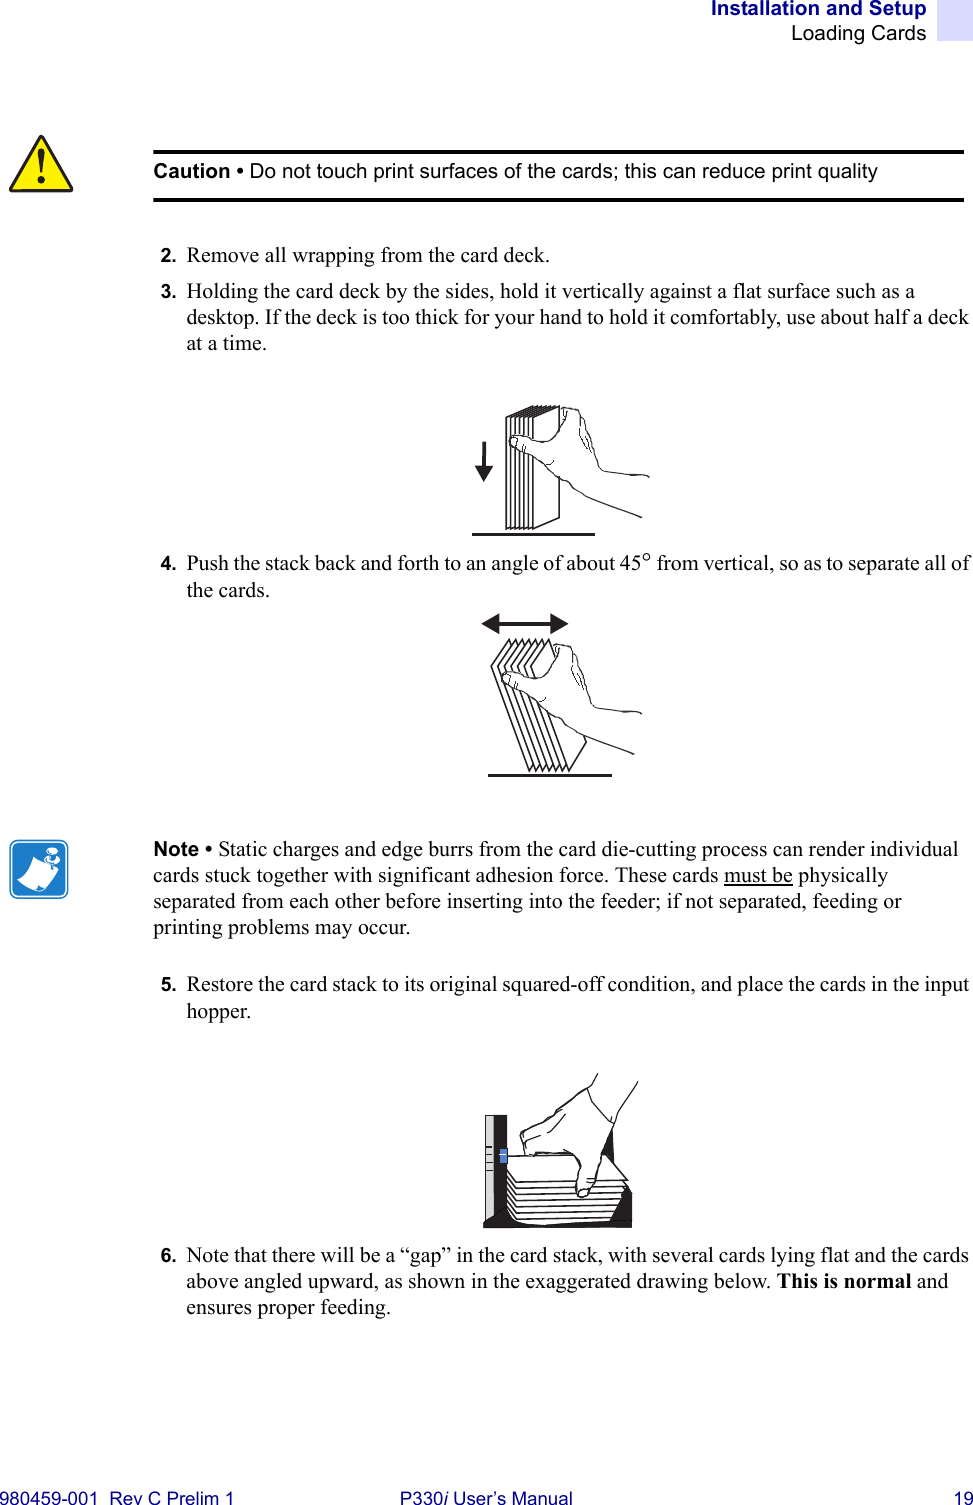
- 2. Users Manual Part 2
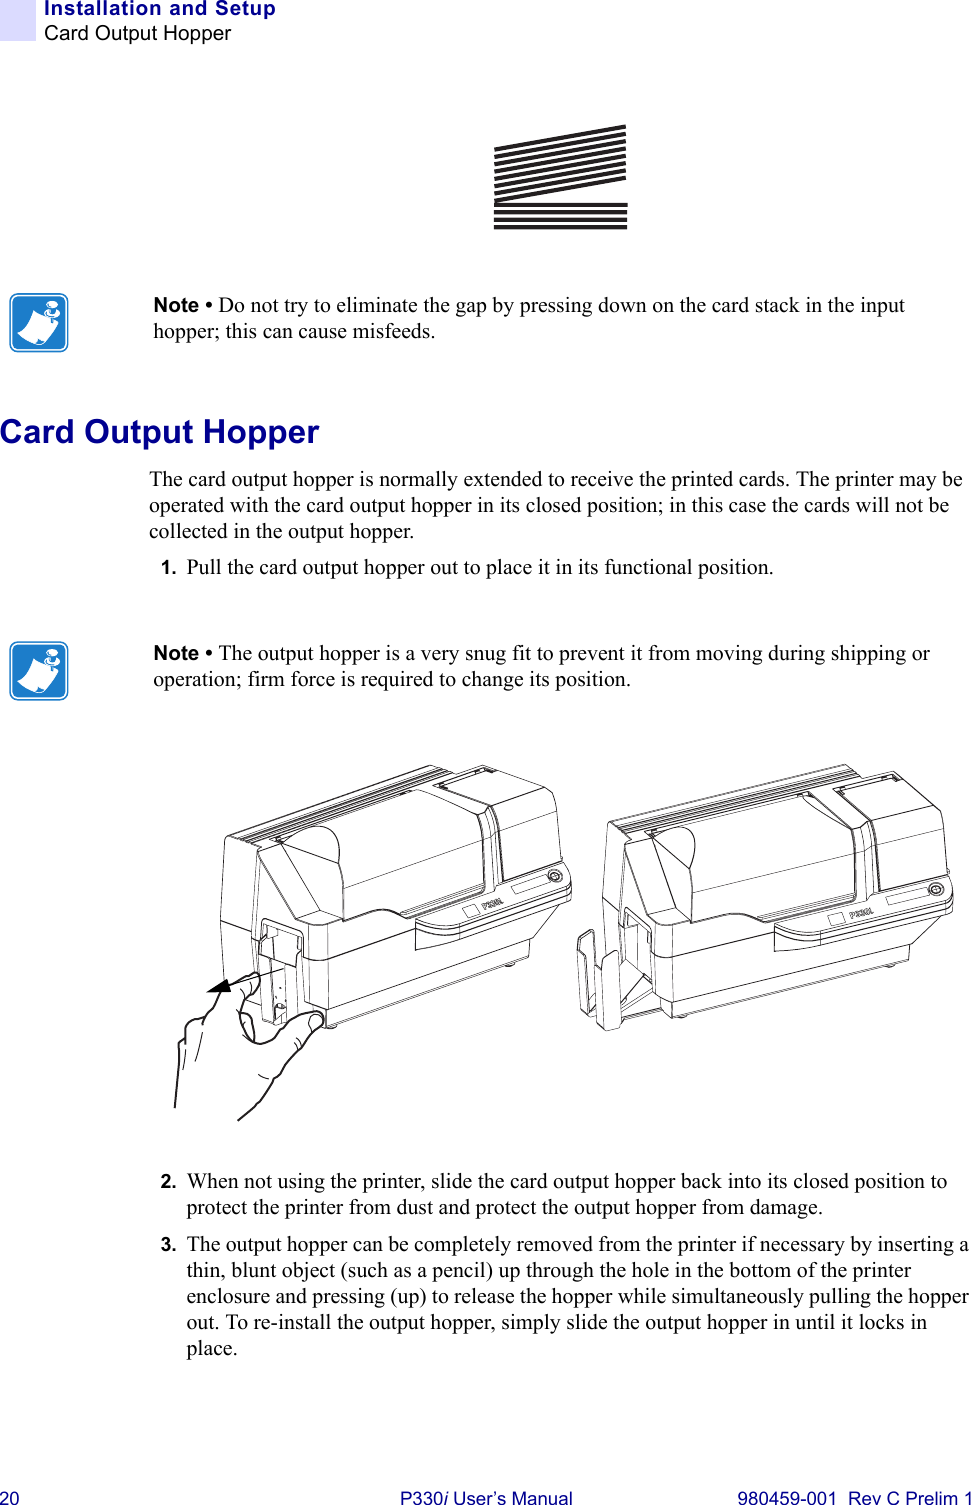
- 3. Users Manual Part 3
- 4. Users Manual Part 4
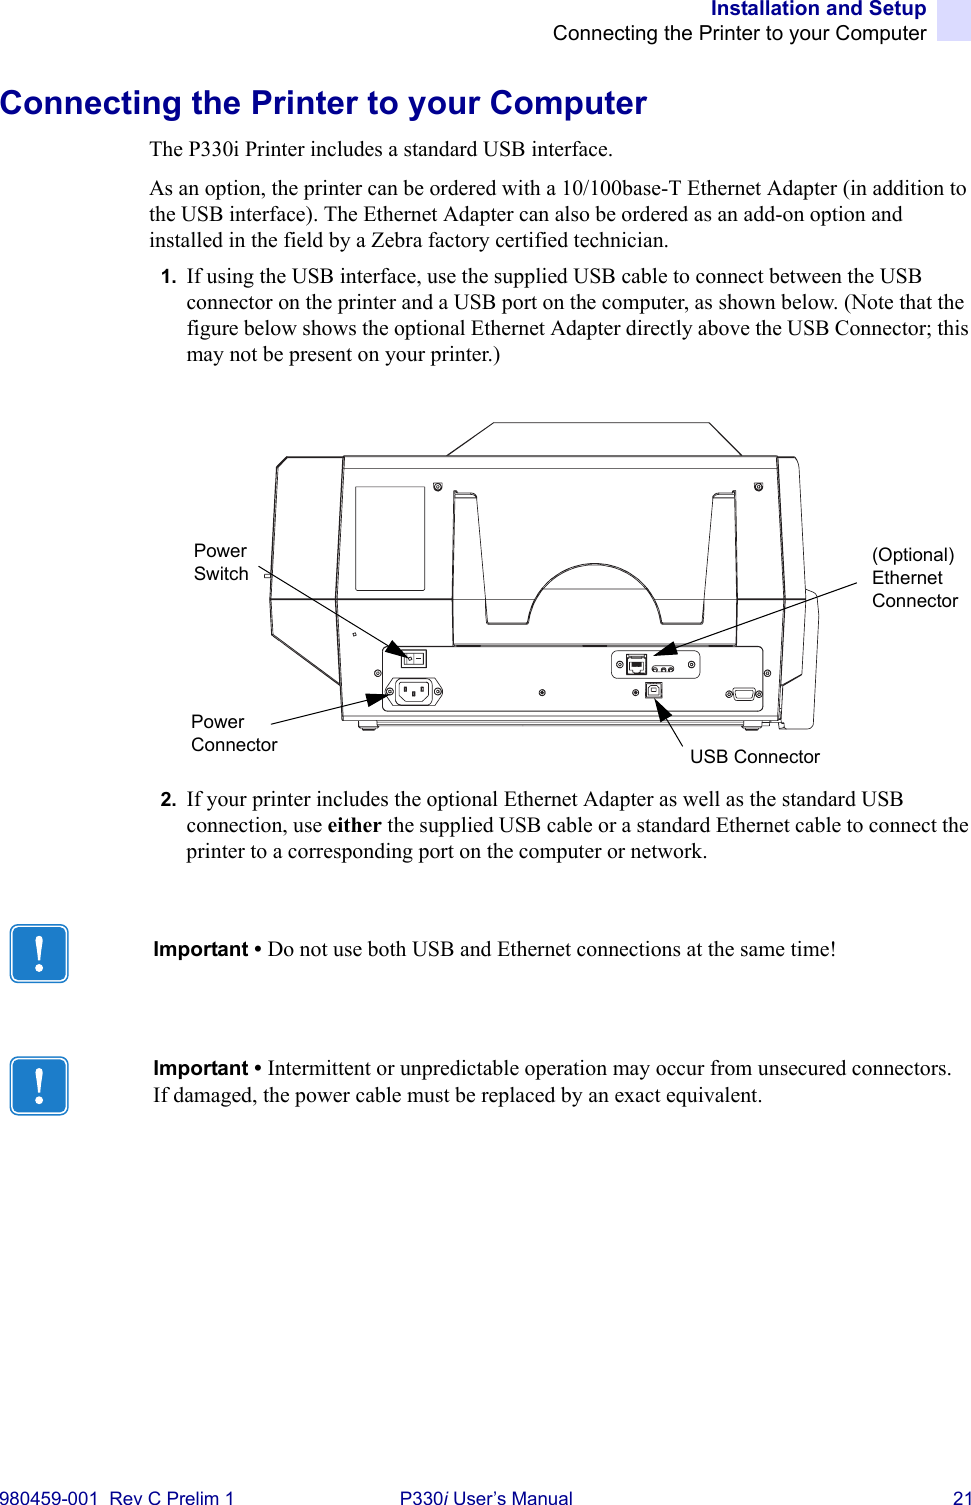
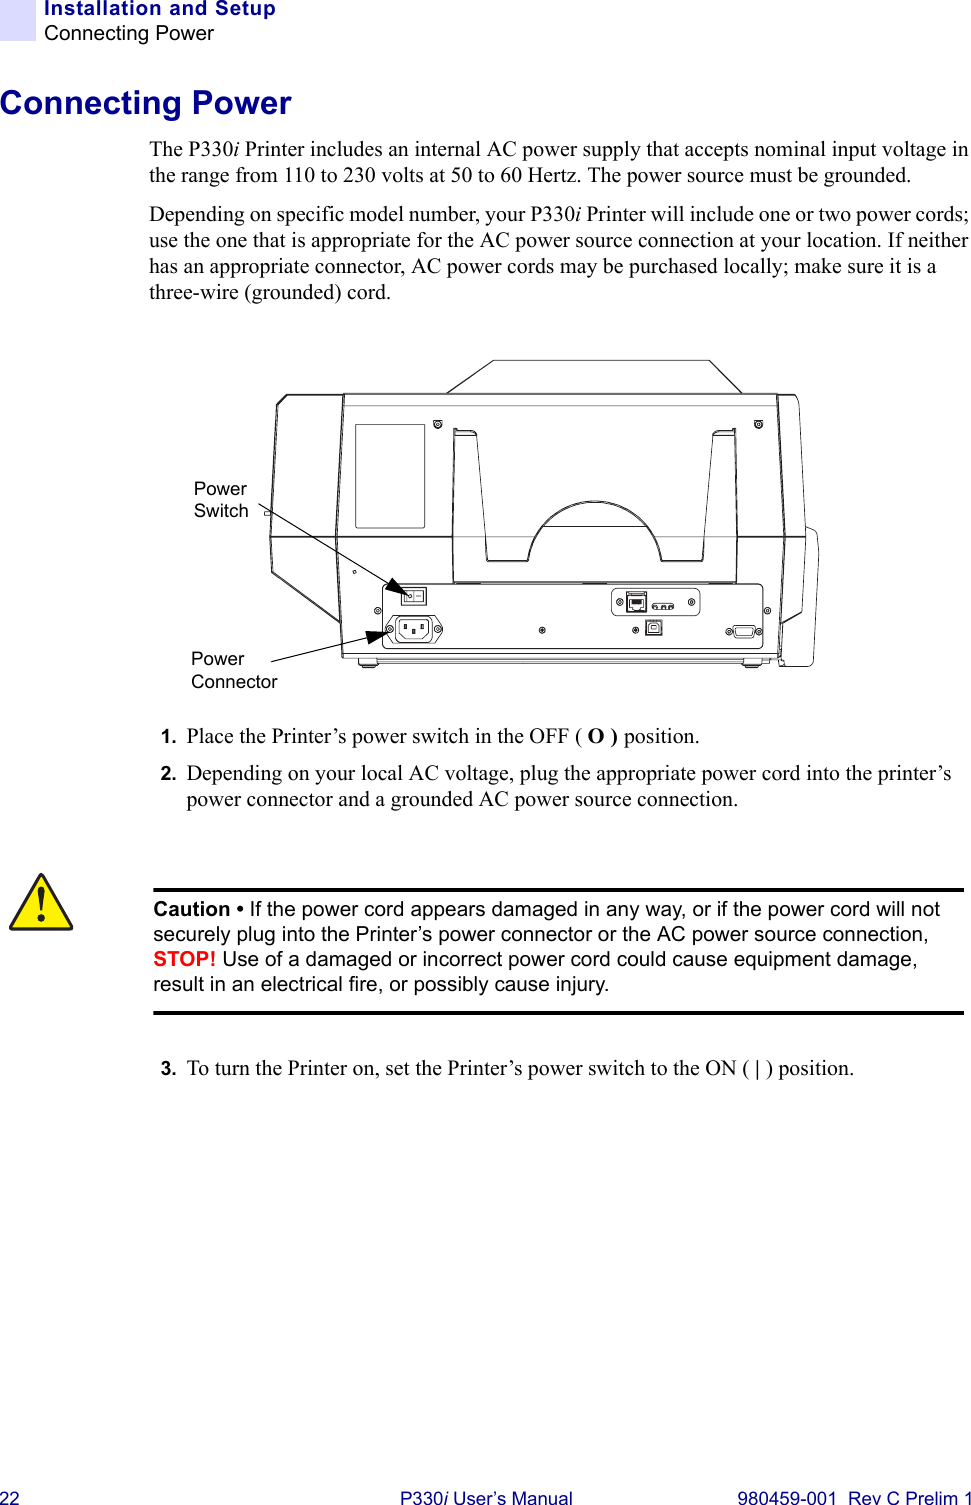
Users Manual Part 3