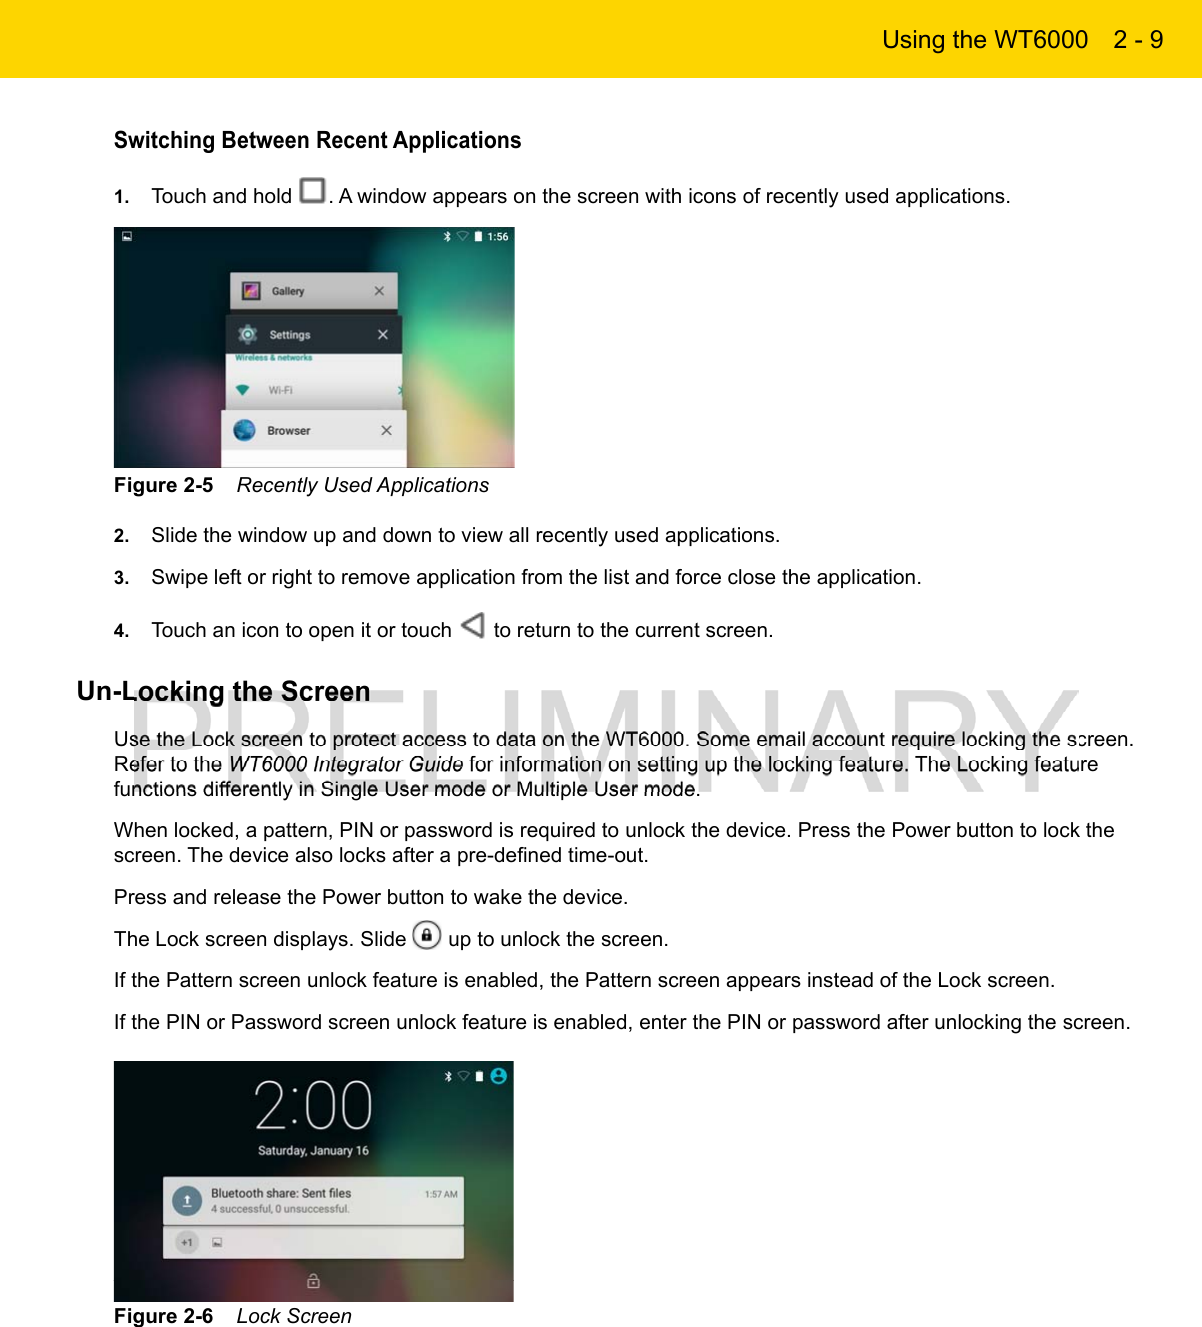
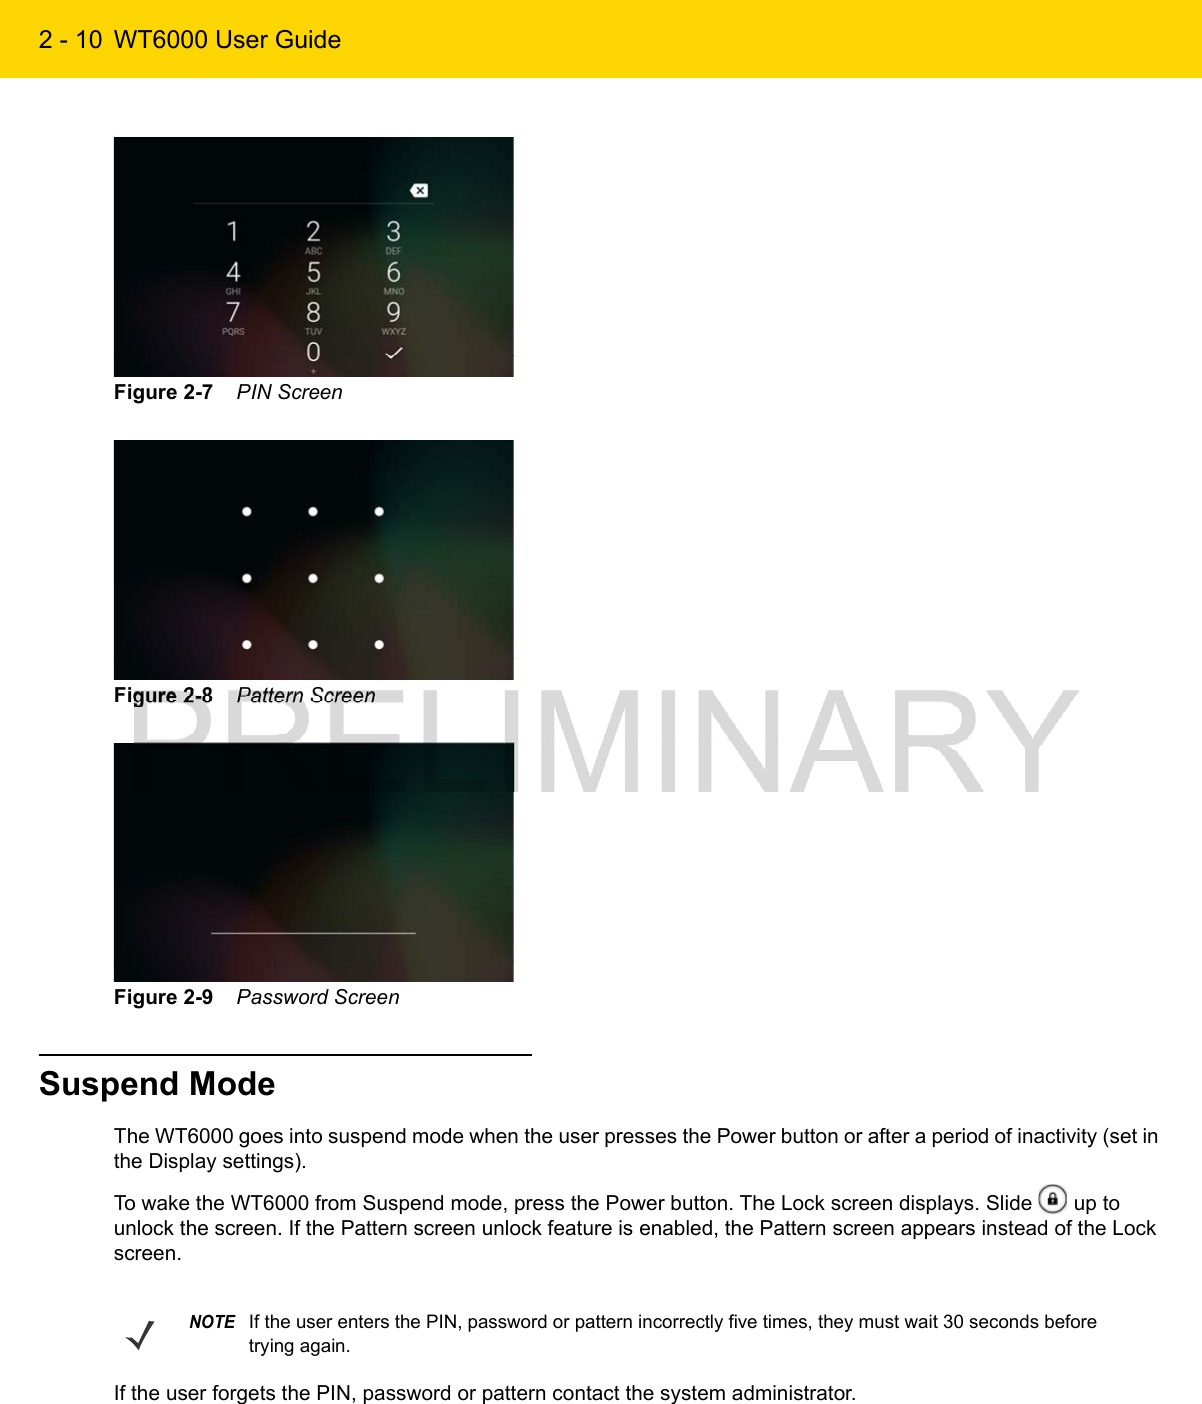
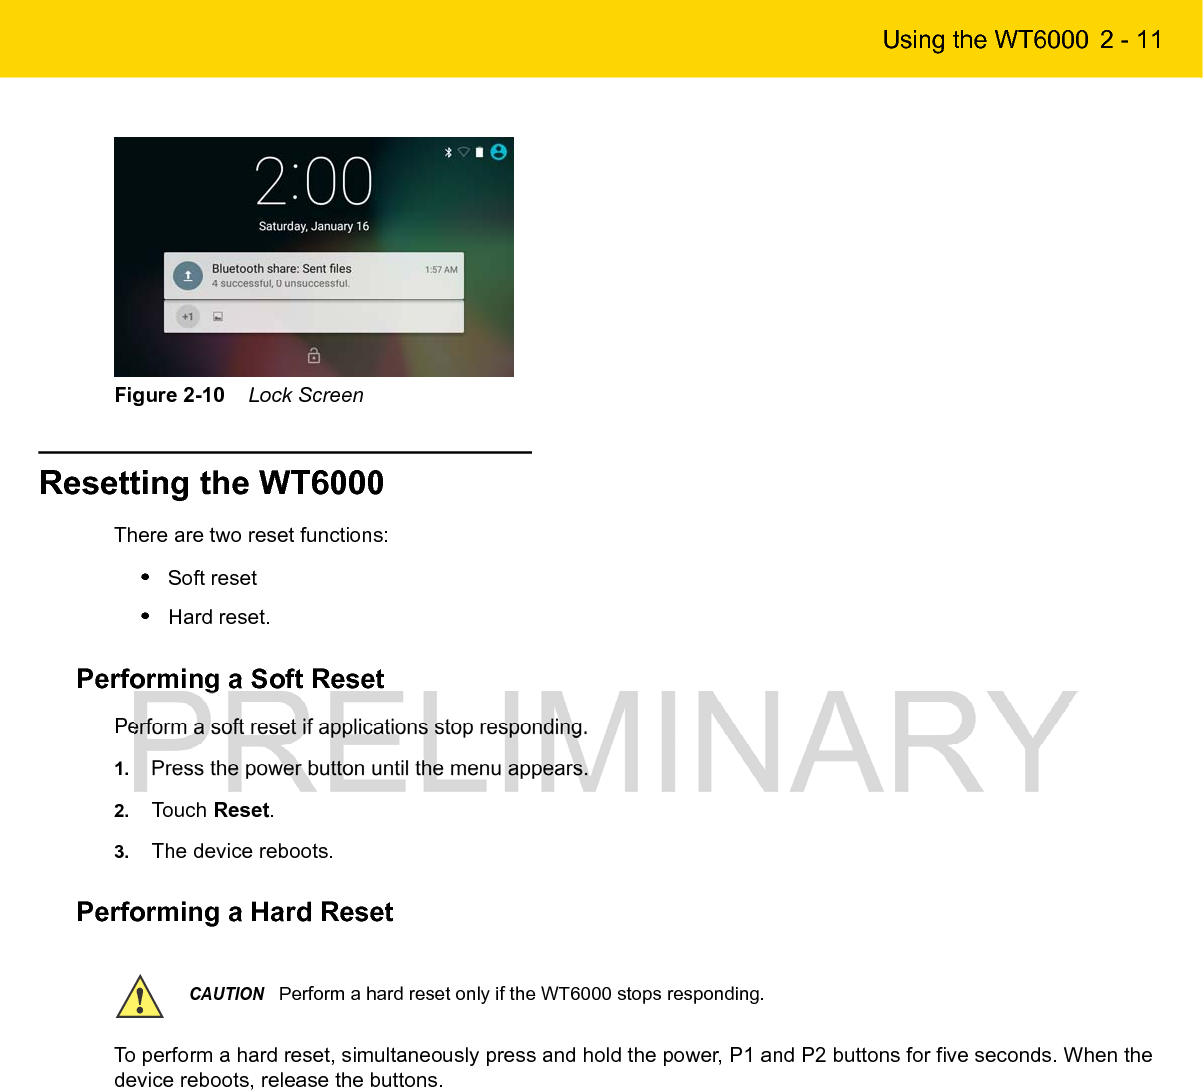
Zebra Technologies WT6000 Wearable Terminal User Manual WT6000 User Guide
Zebra Technologies Corporation Wearable Terminal WT6000 User Guide
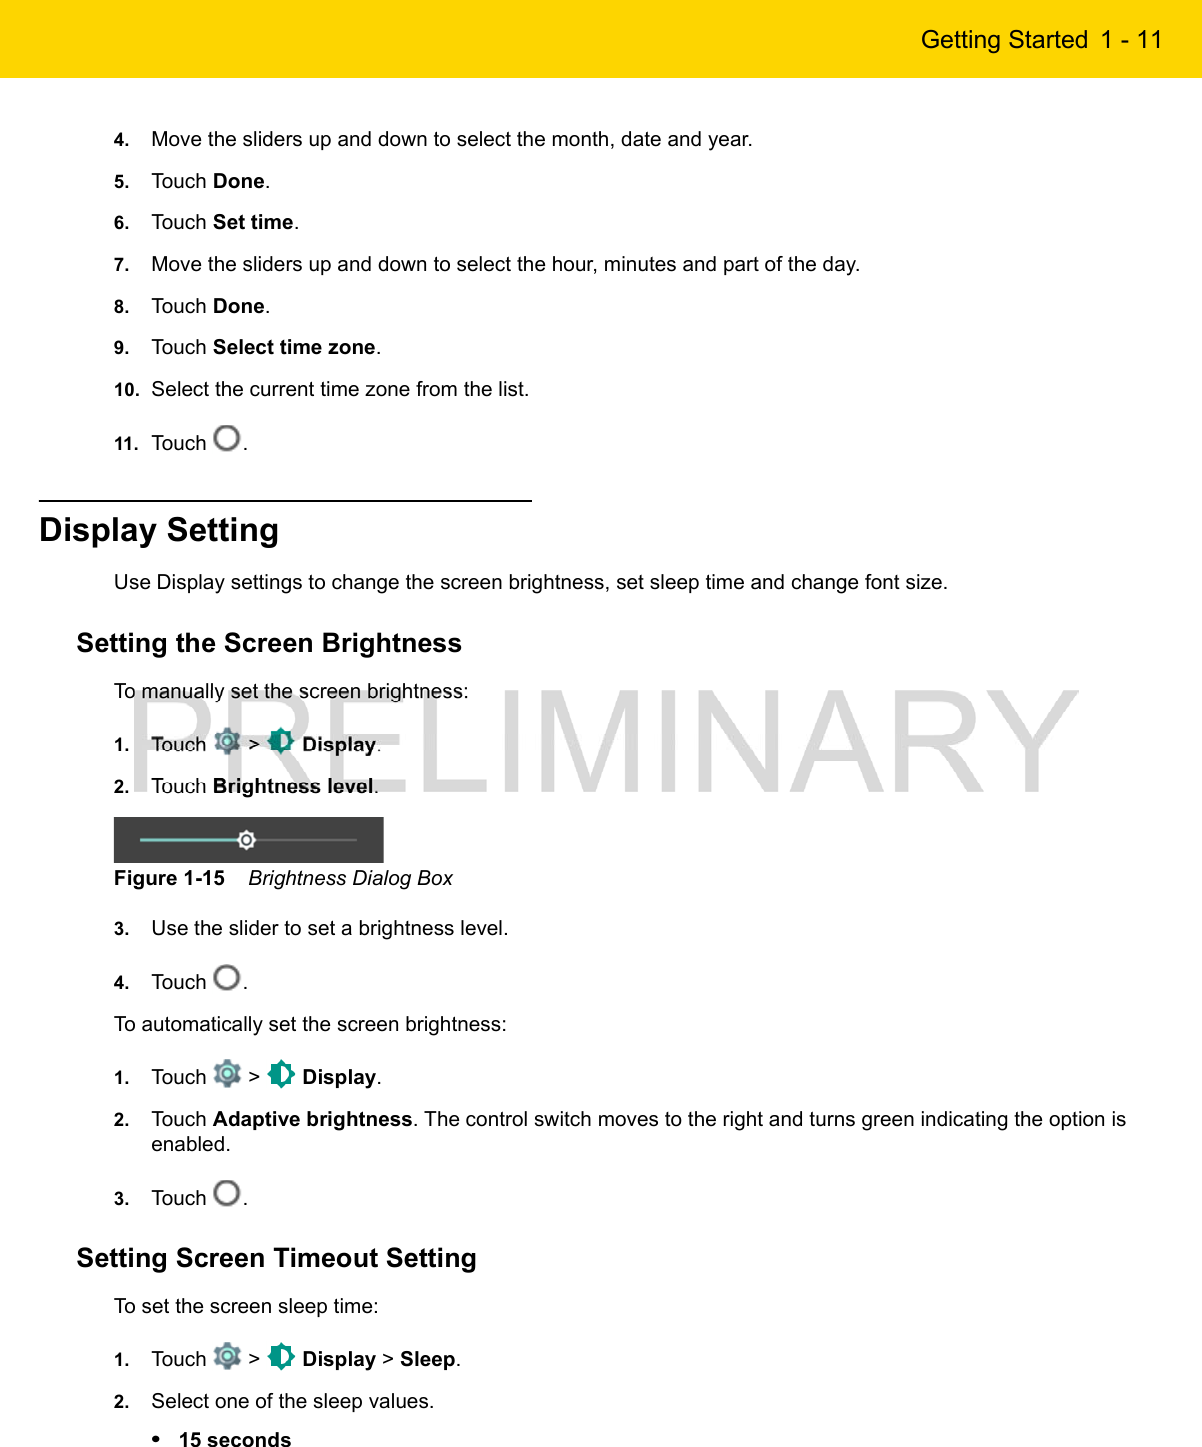
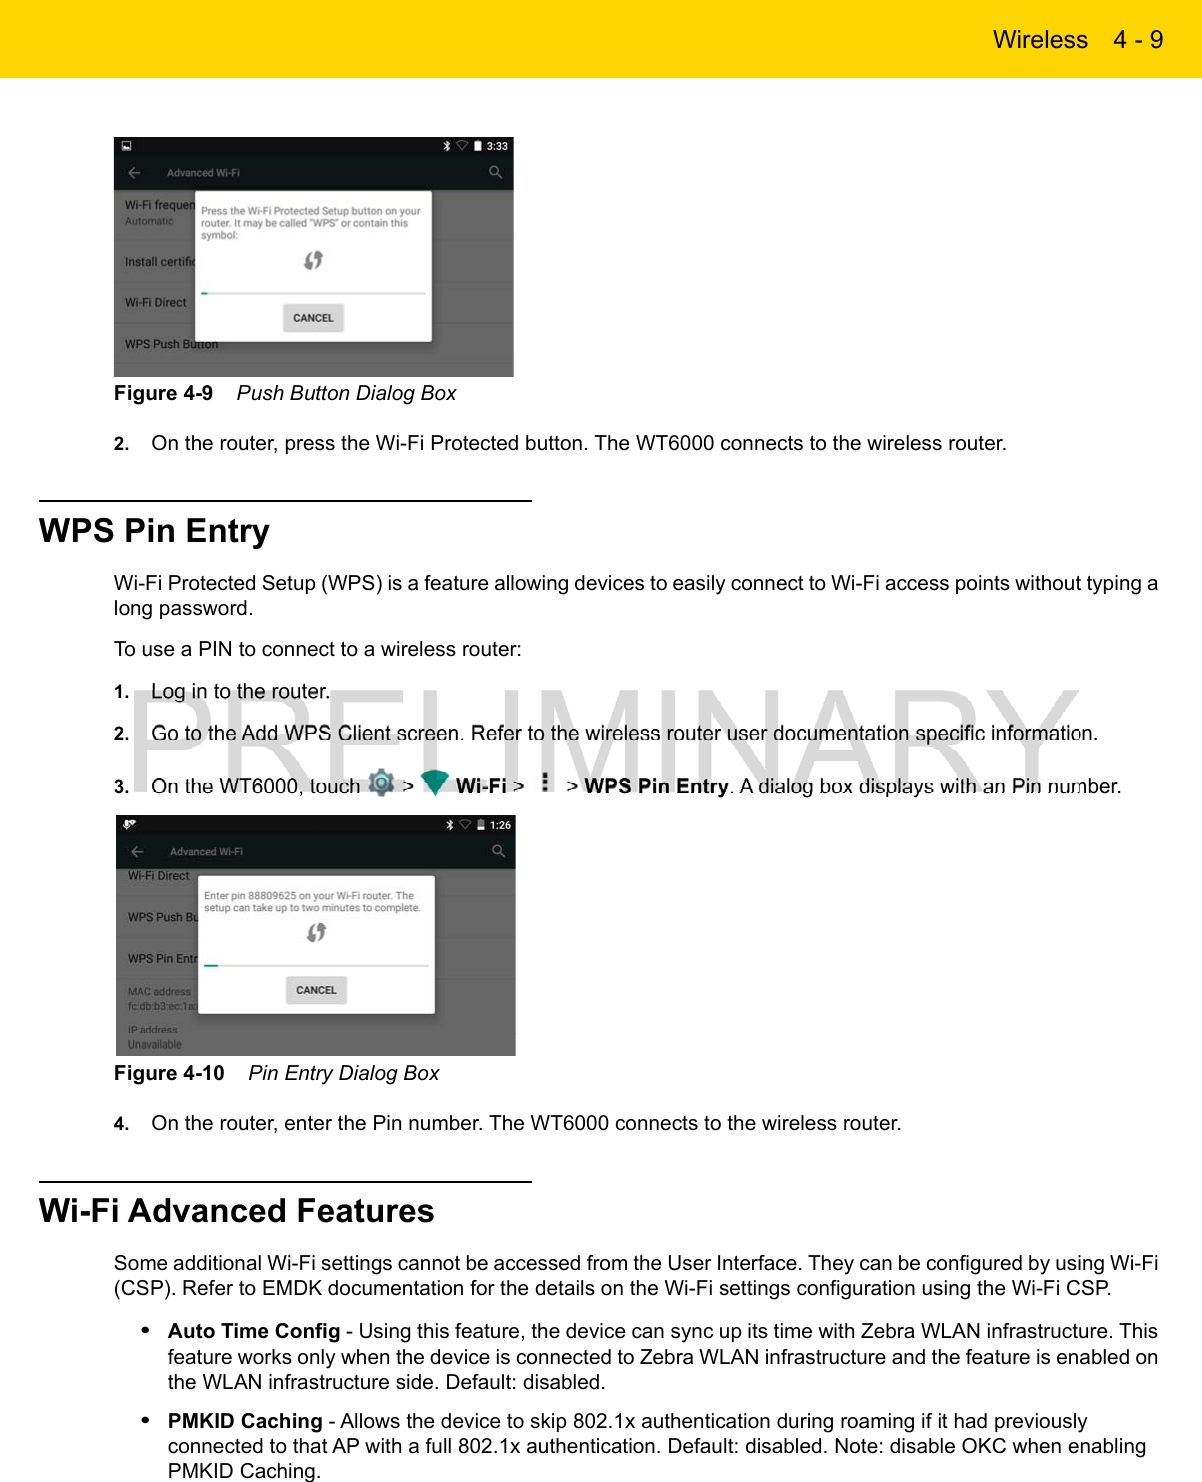
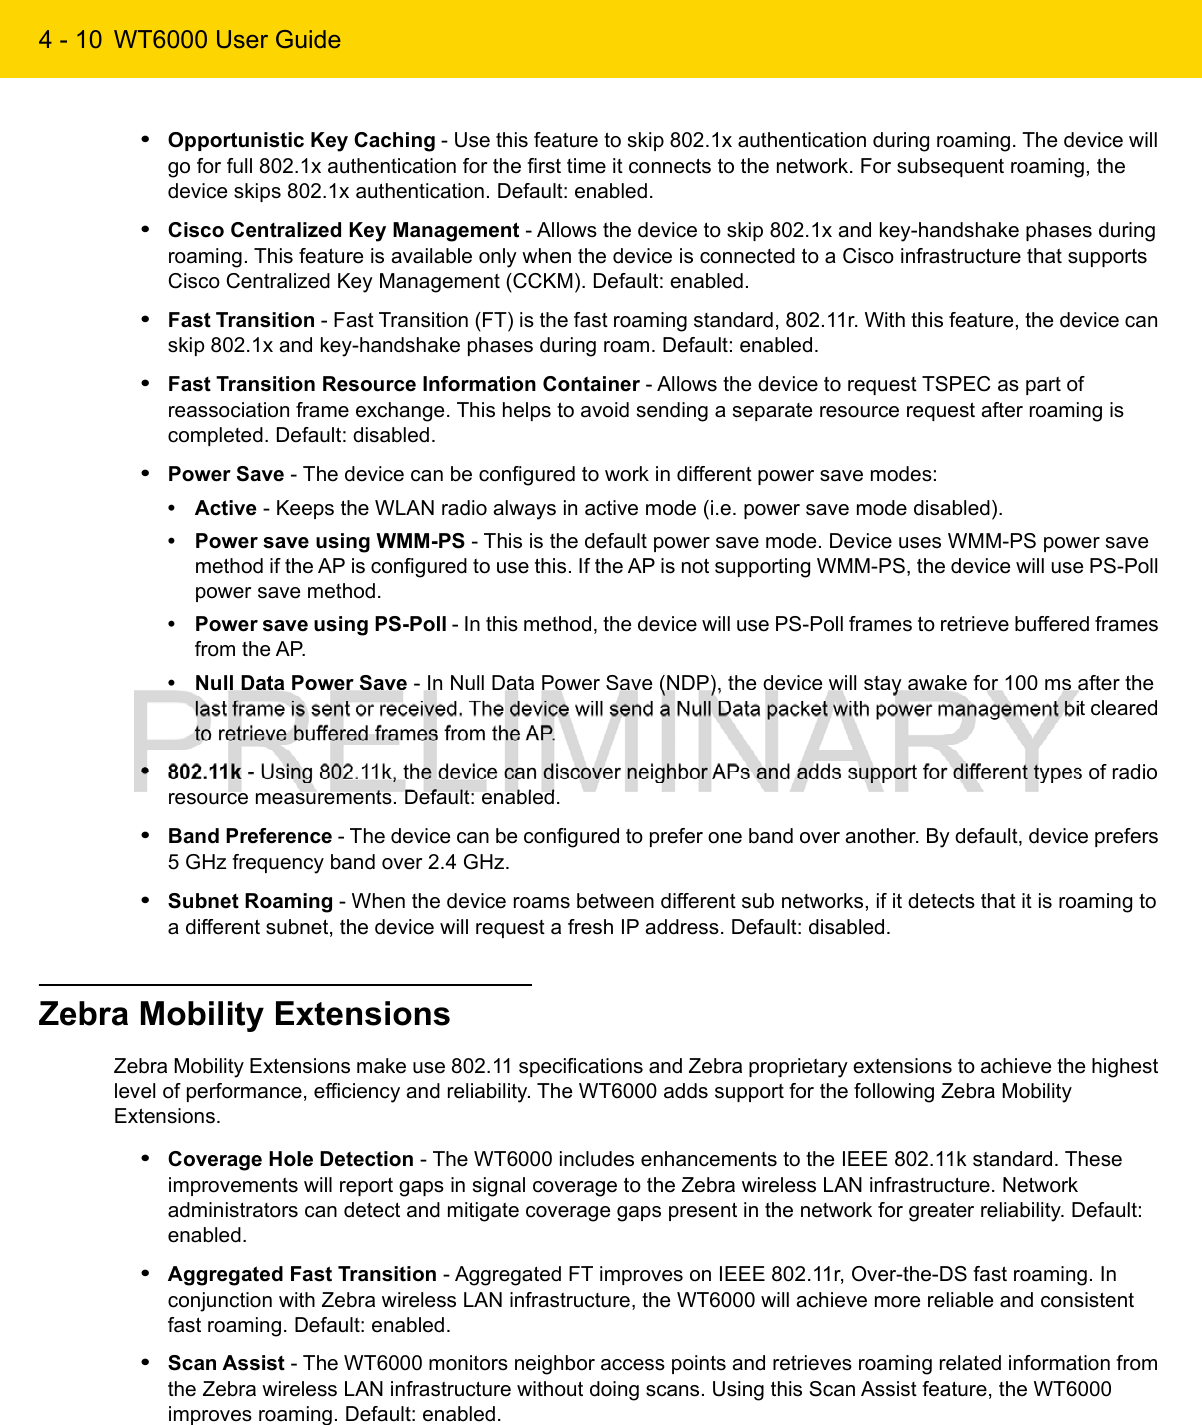
Contents
- 1. User Manual (Installation) rev 2 Part 1.pdf
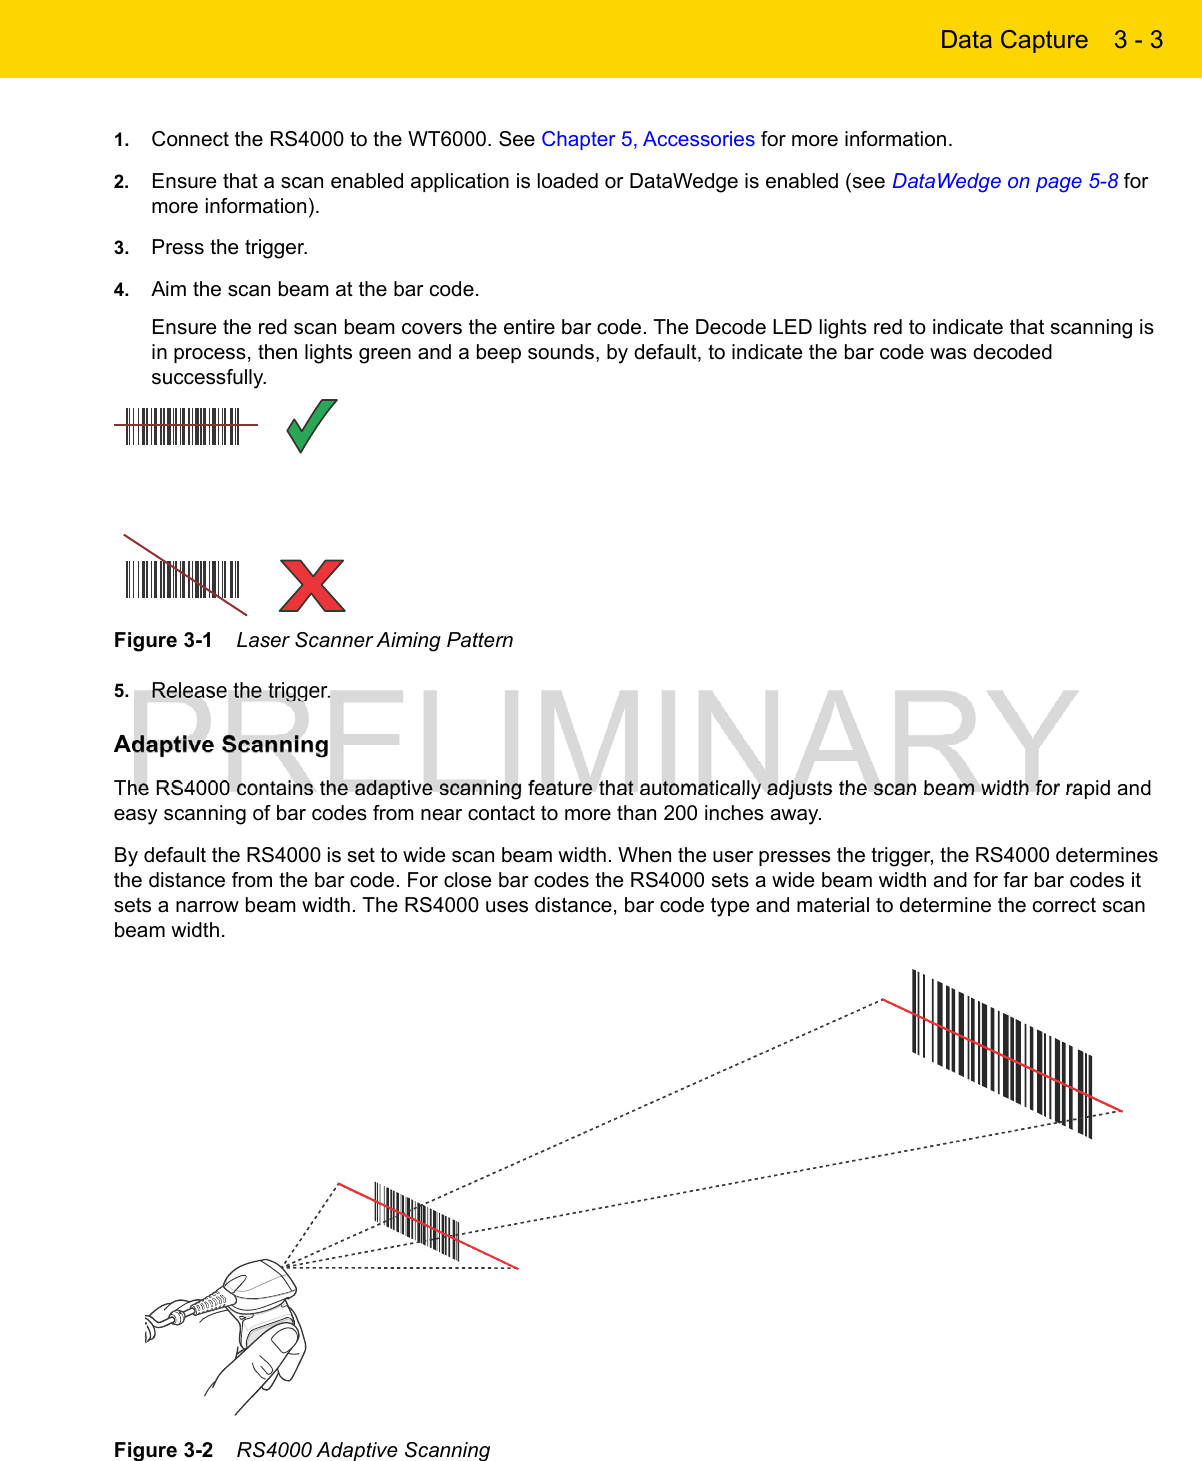
- 2. User Manual (Installation) rev 2 Part 2.pdf
- 3. User Manual (Statements).pdf
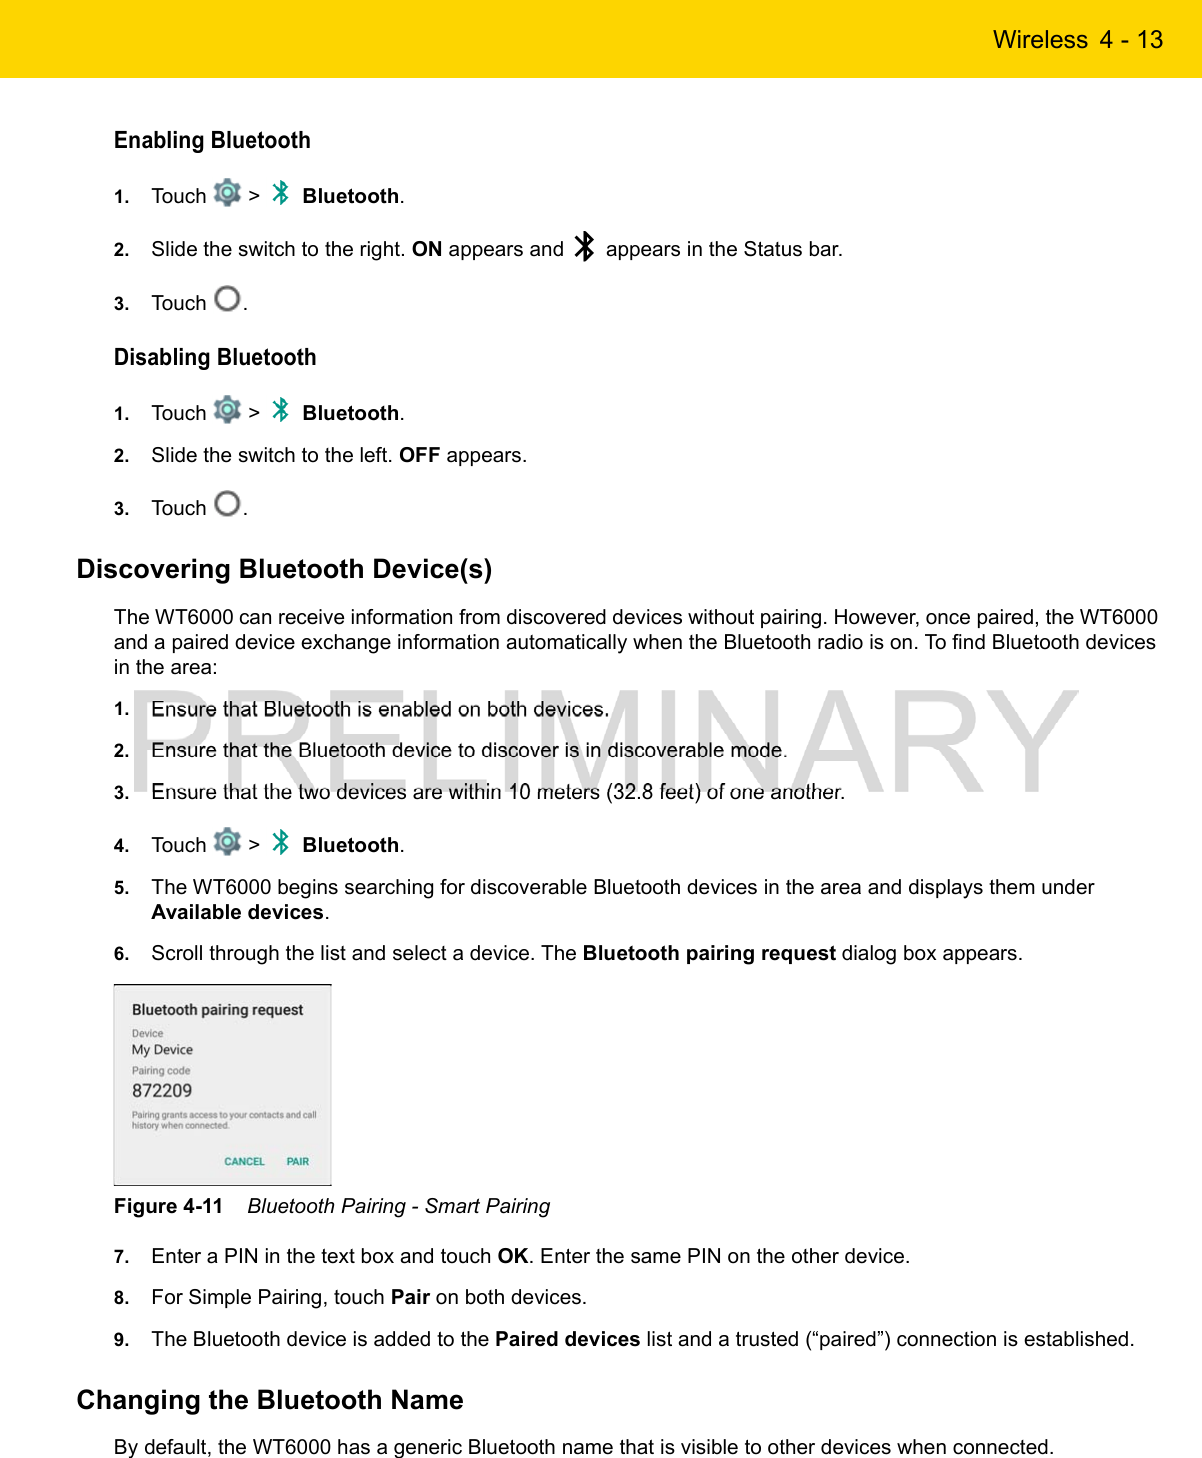
User Manual (Installation) rev 2 Part 1.pdf