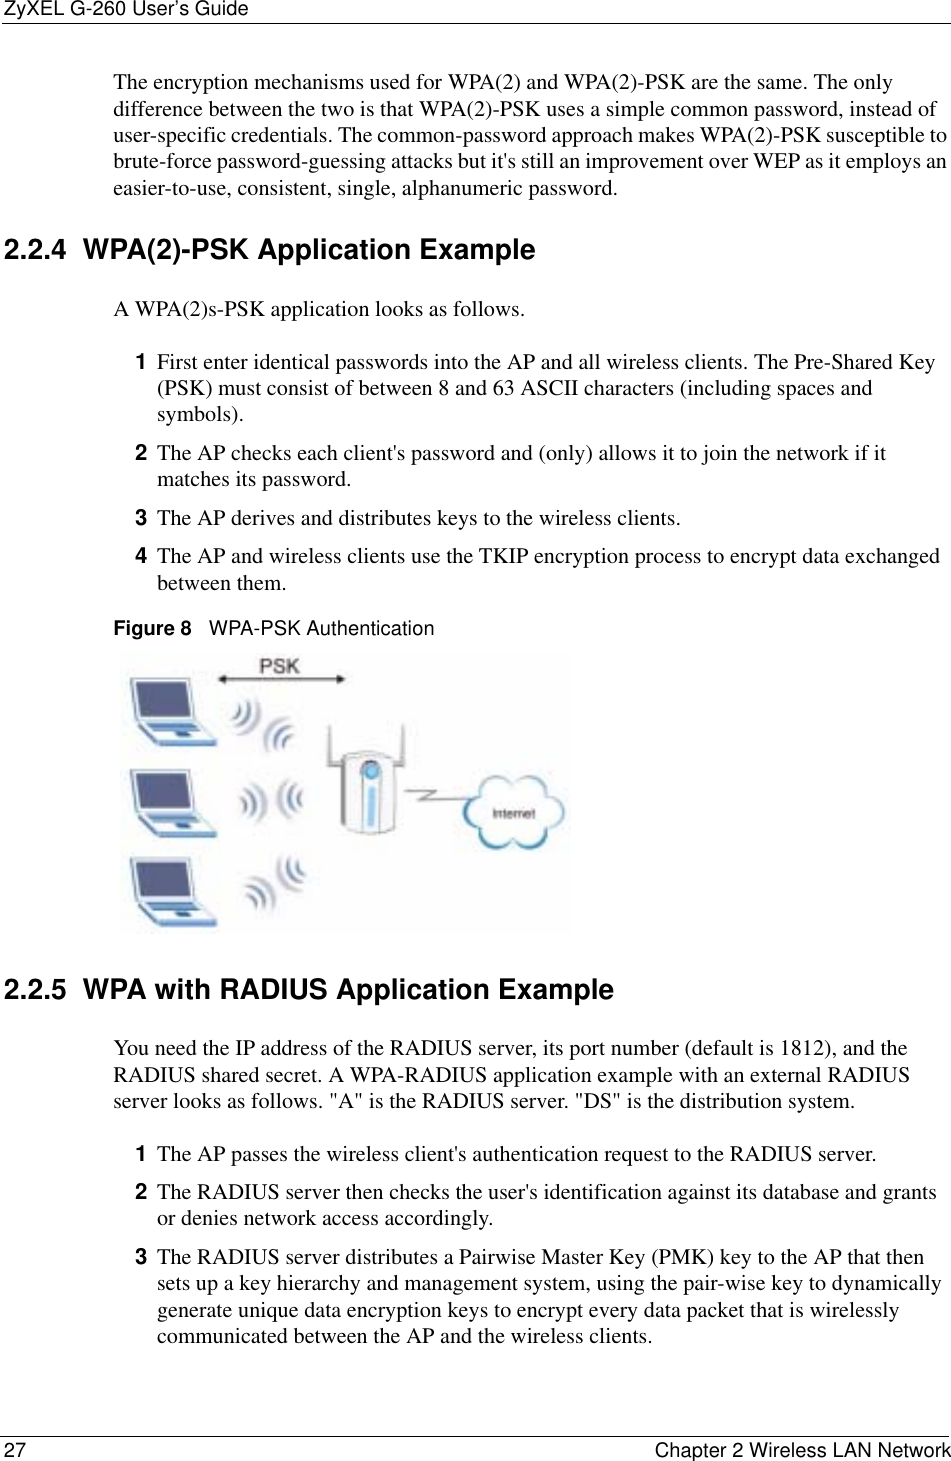
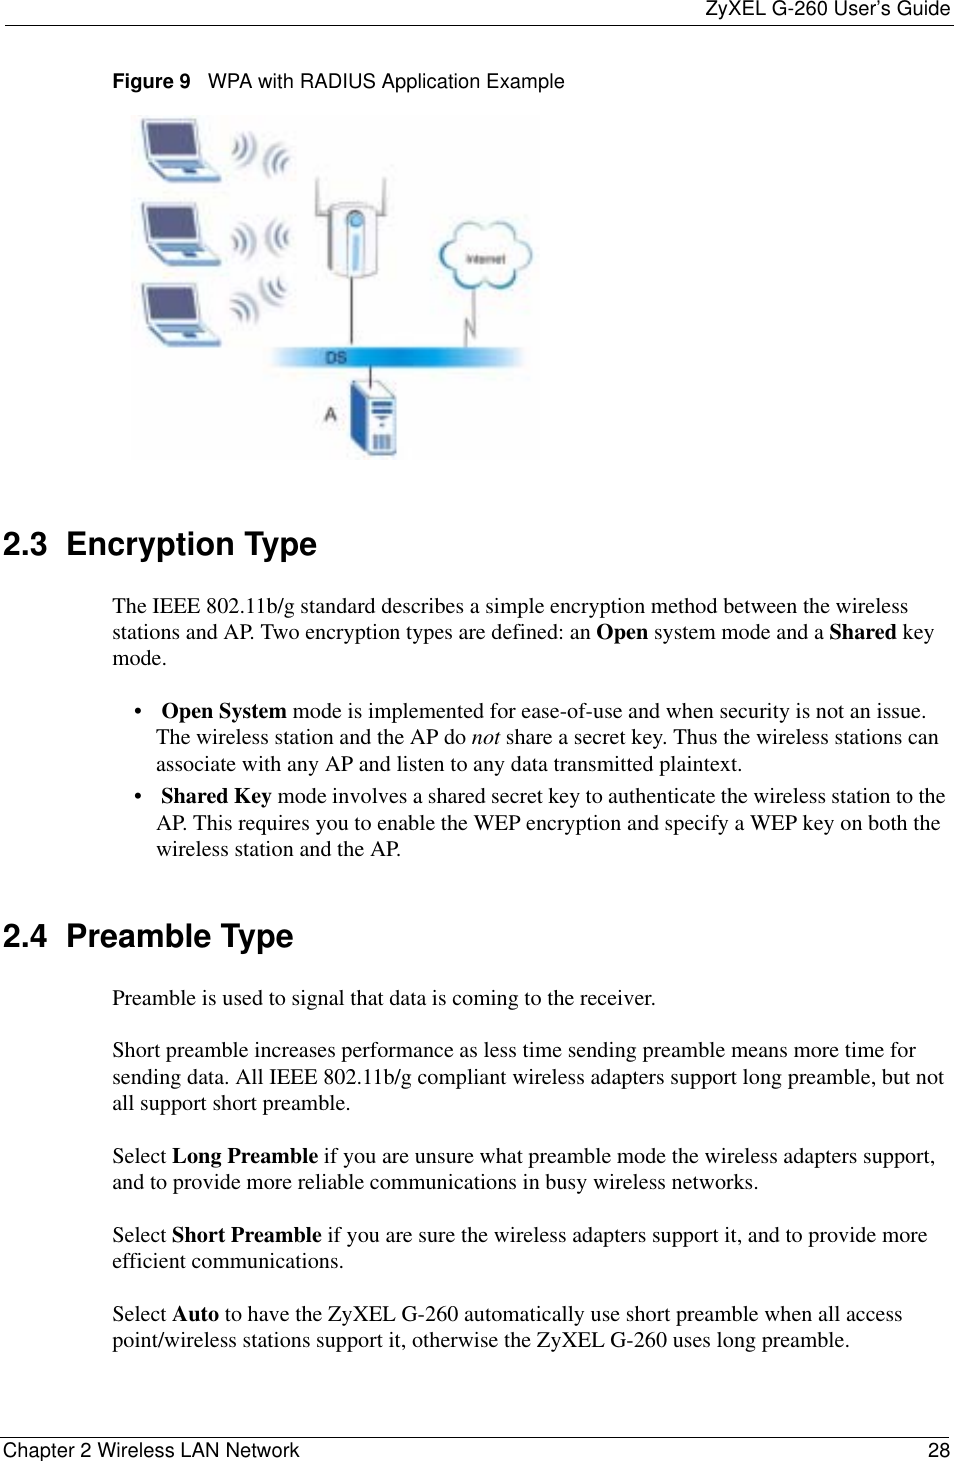
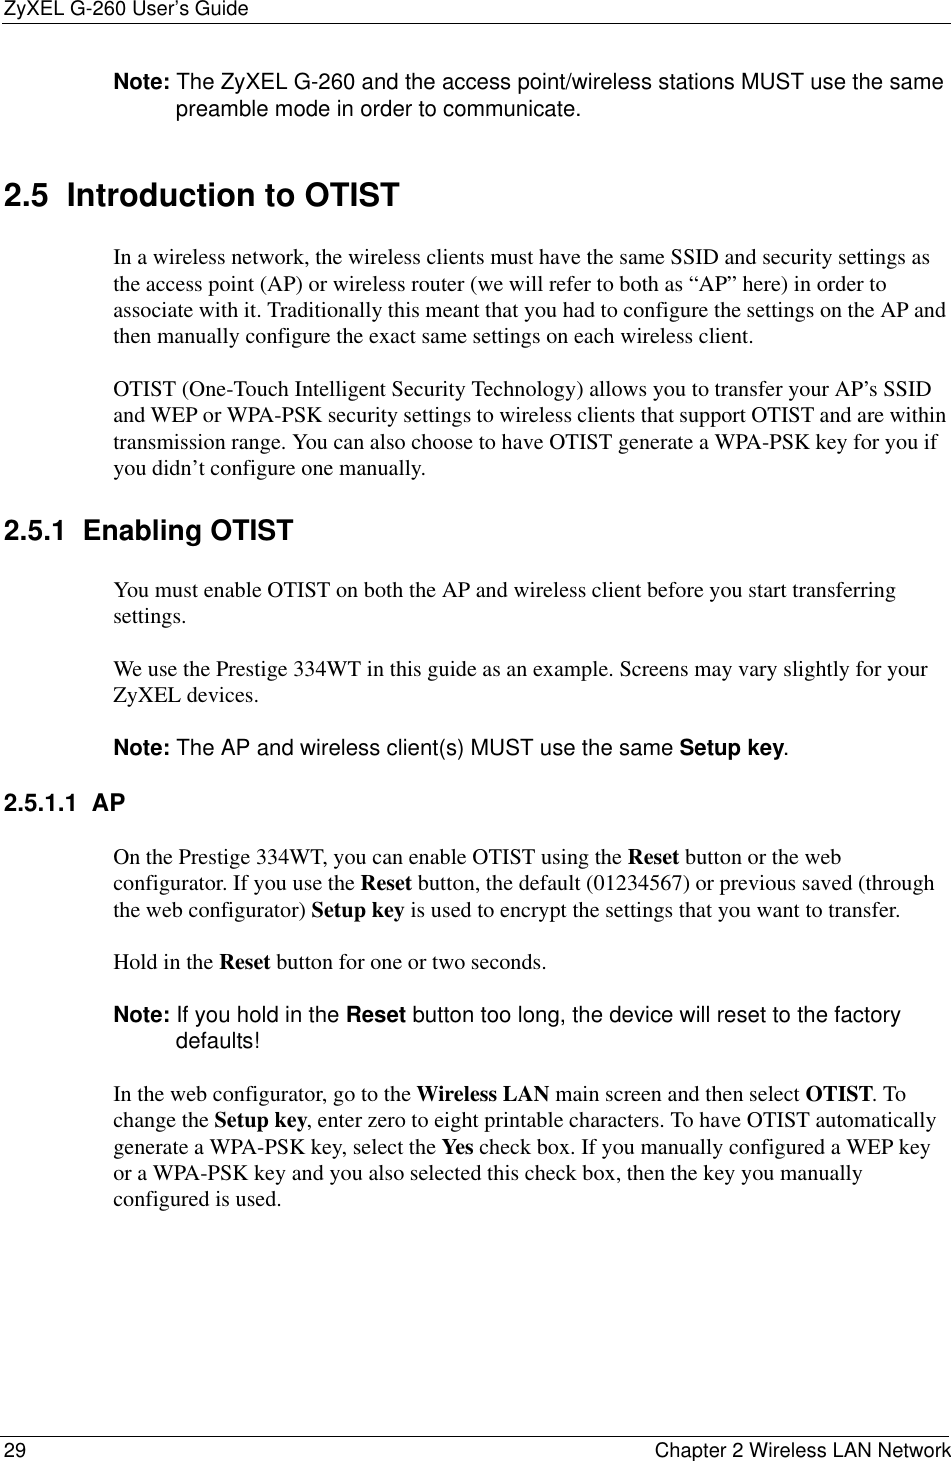
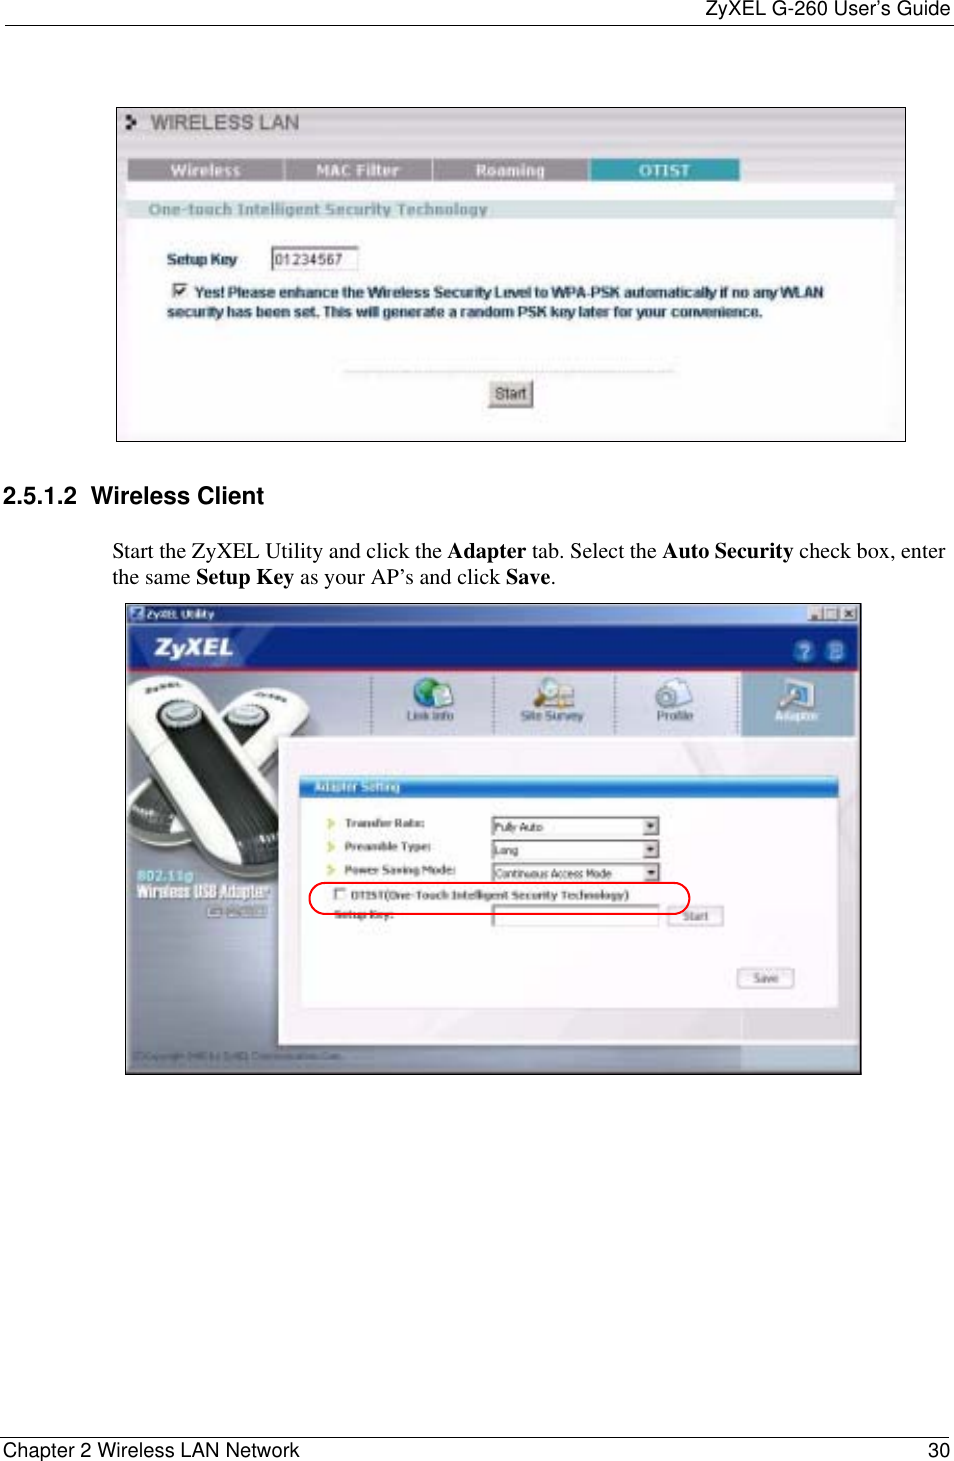
ZyXEL Communications G260 WLAN USB Adapter User Manual Revised Manual
ZyXEL Communications Corporation WLAN USB Adapter Revised Manual
UserManual.wiki
>
ZyXEL Communications
>
G260 User Manual
Revised Manual
Navigation menu
Upload a User Manual
Namespaces
Wiki Guide
HTML
PDF
Info
Views
User Manual
Discussion / Help
Navigation
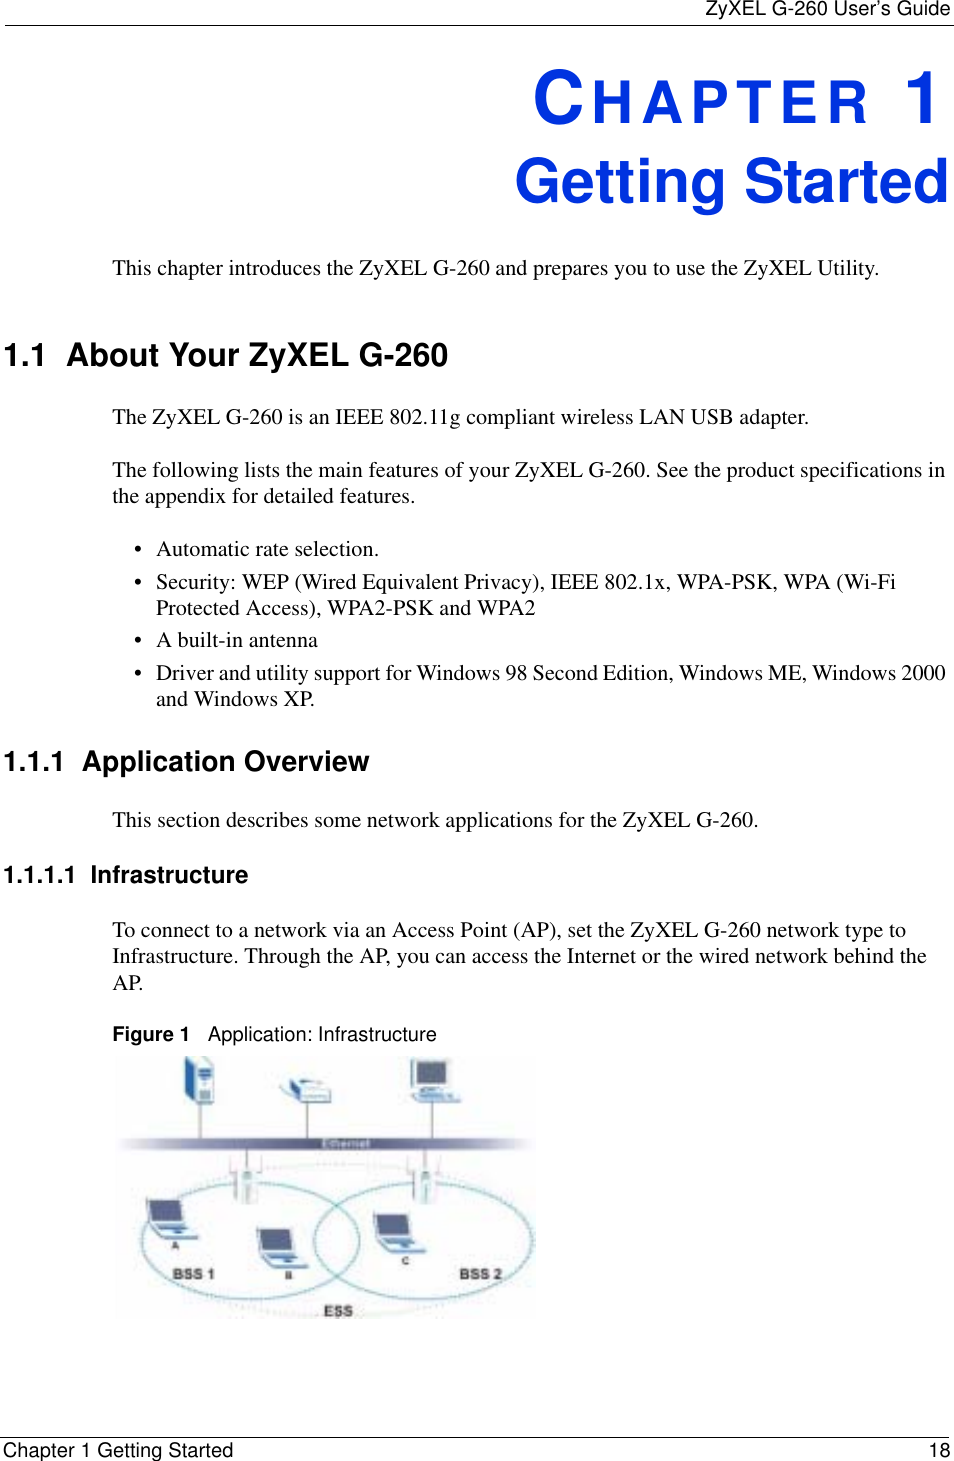
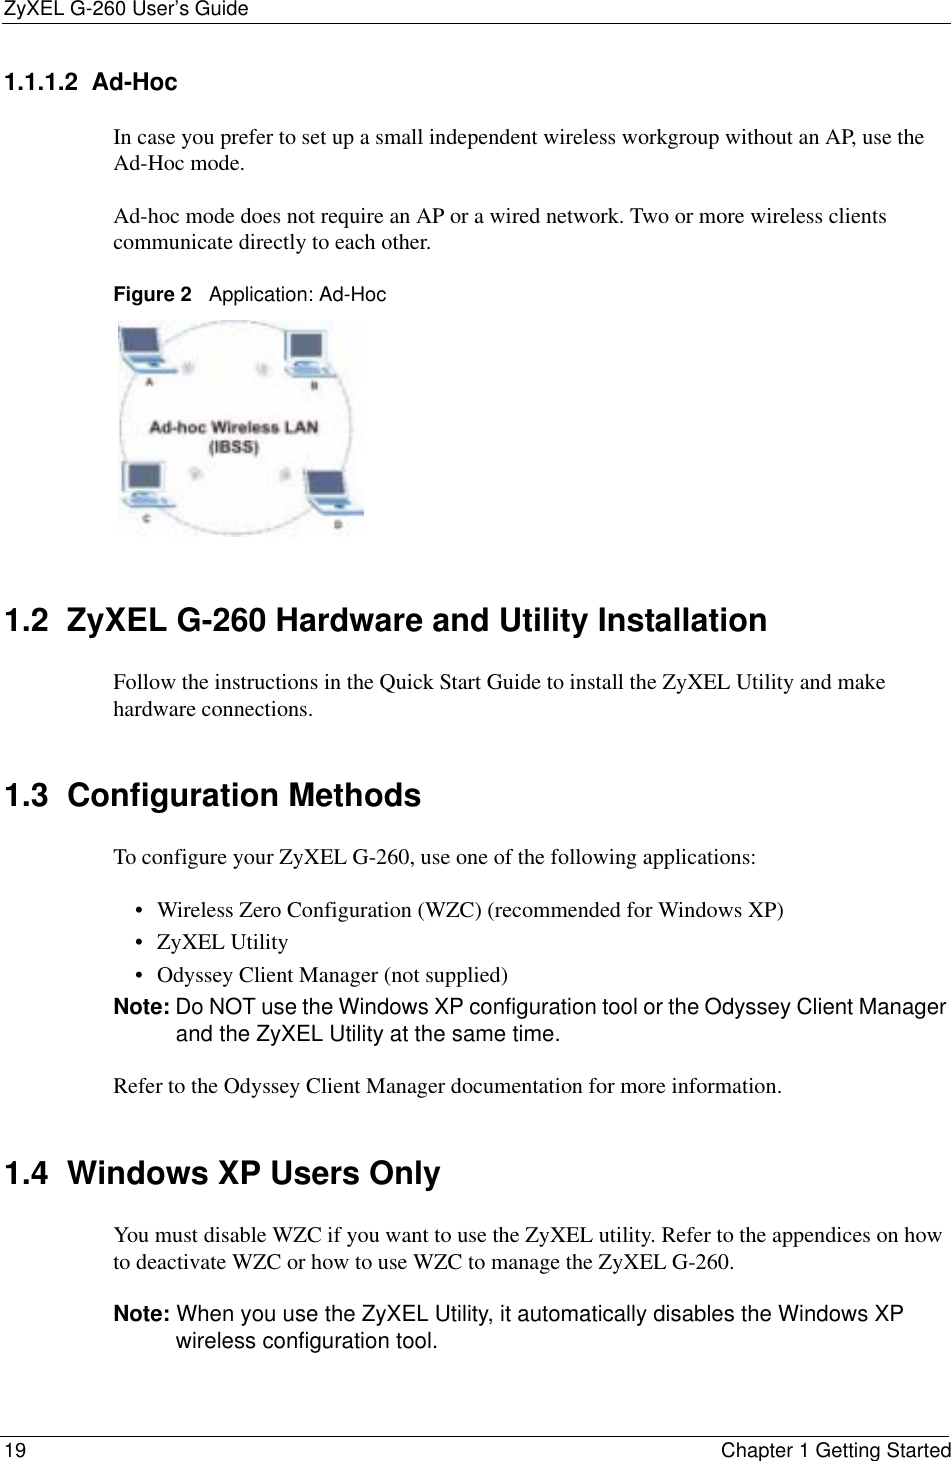
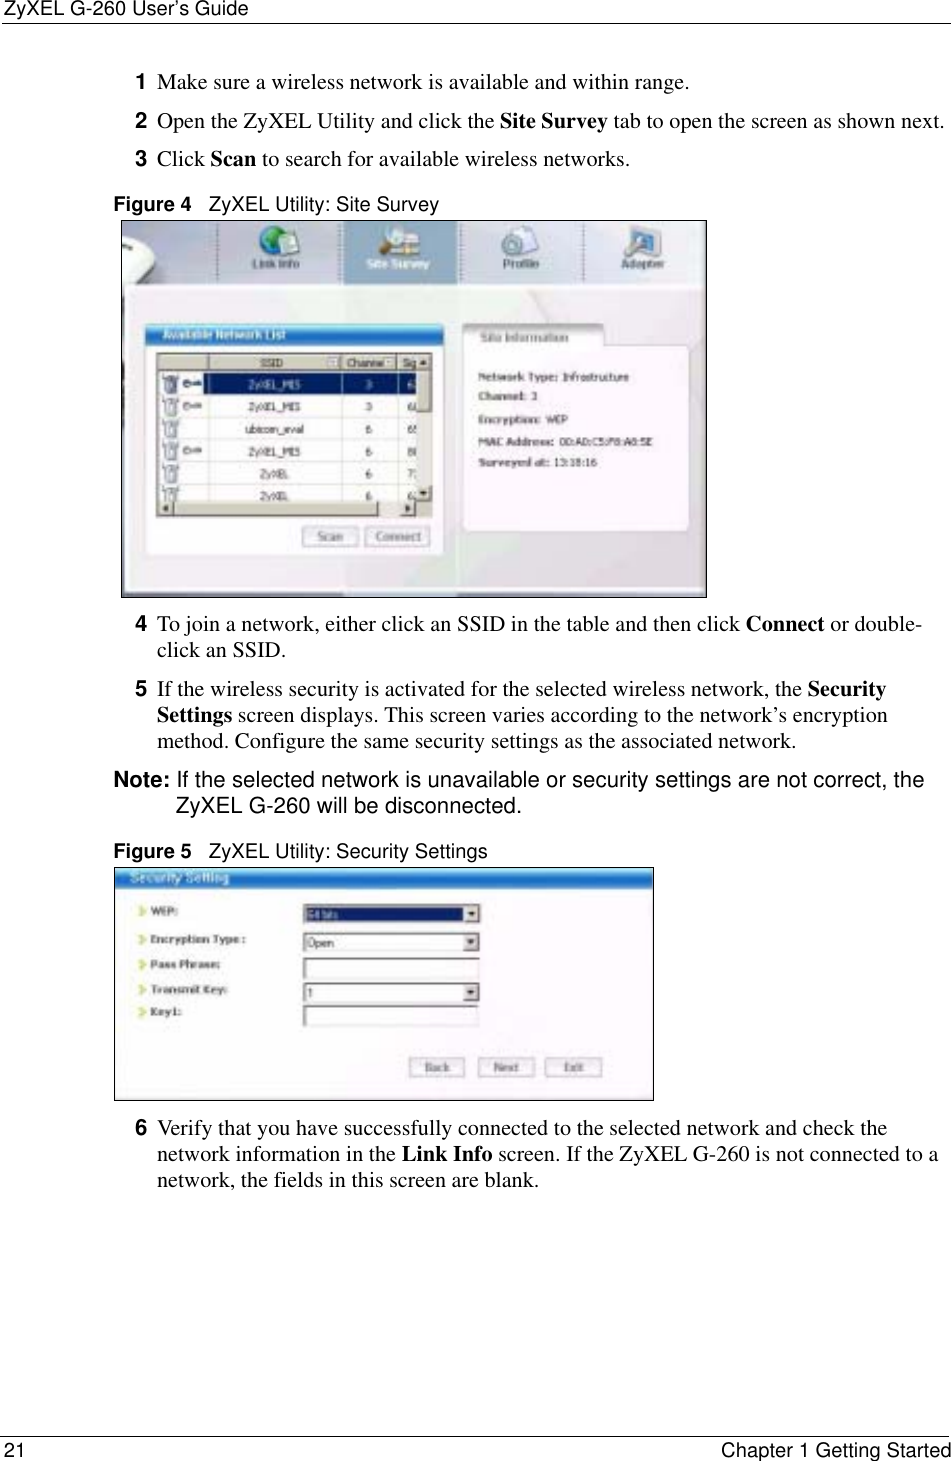
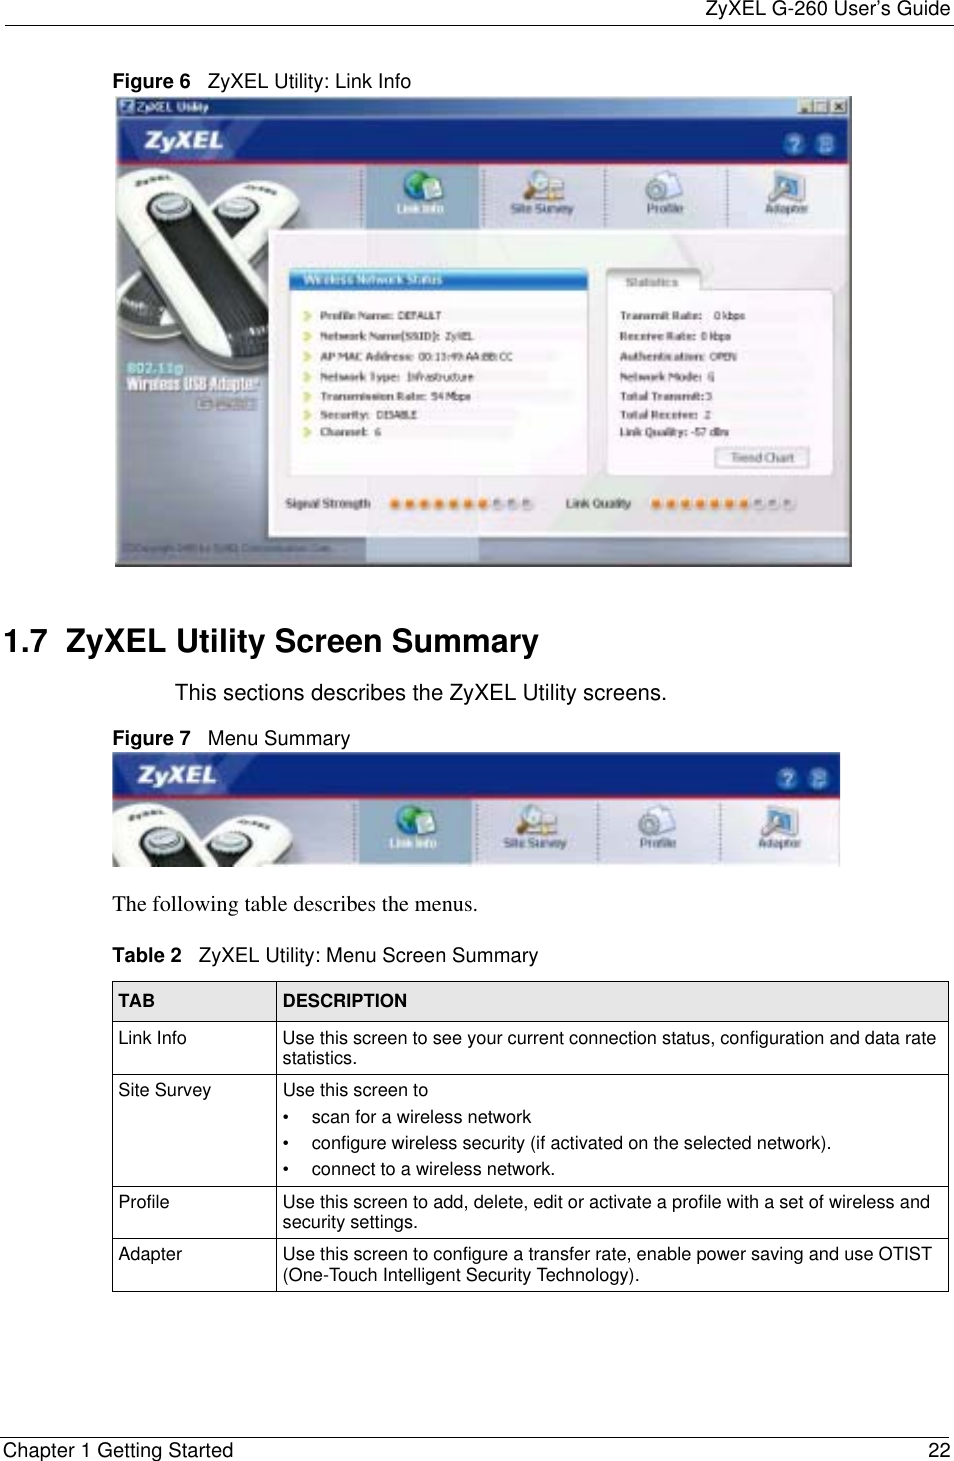
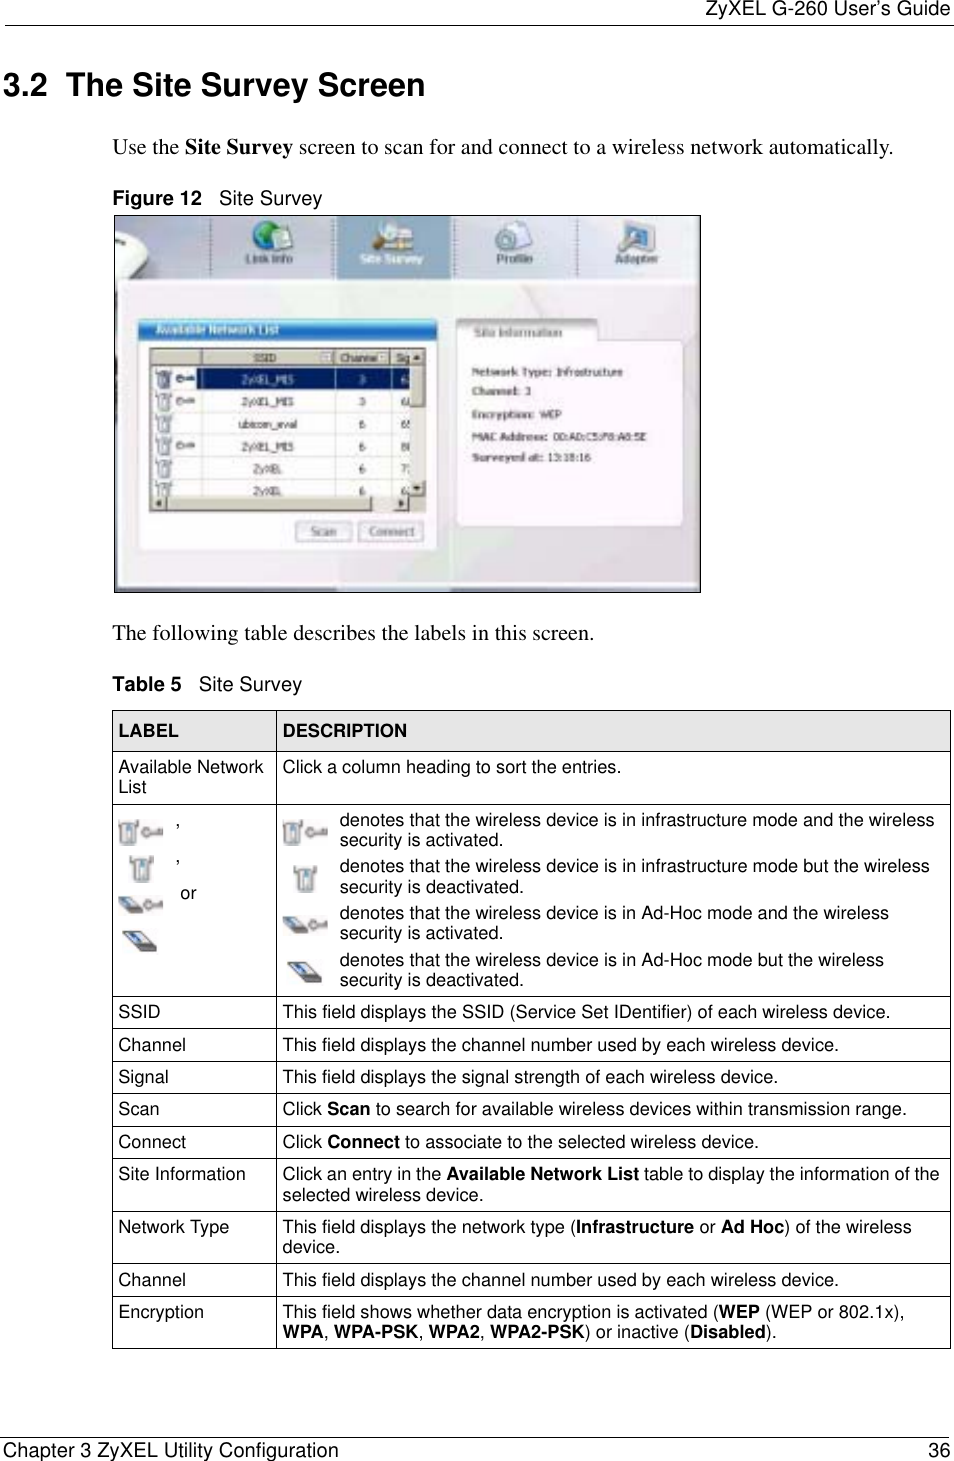
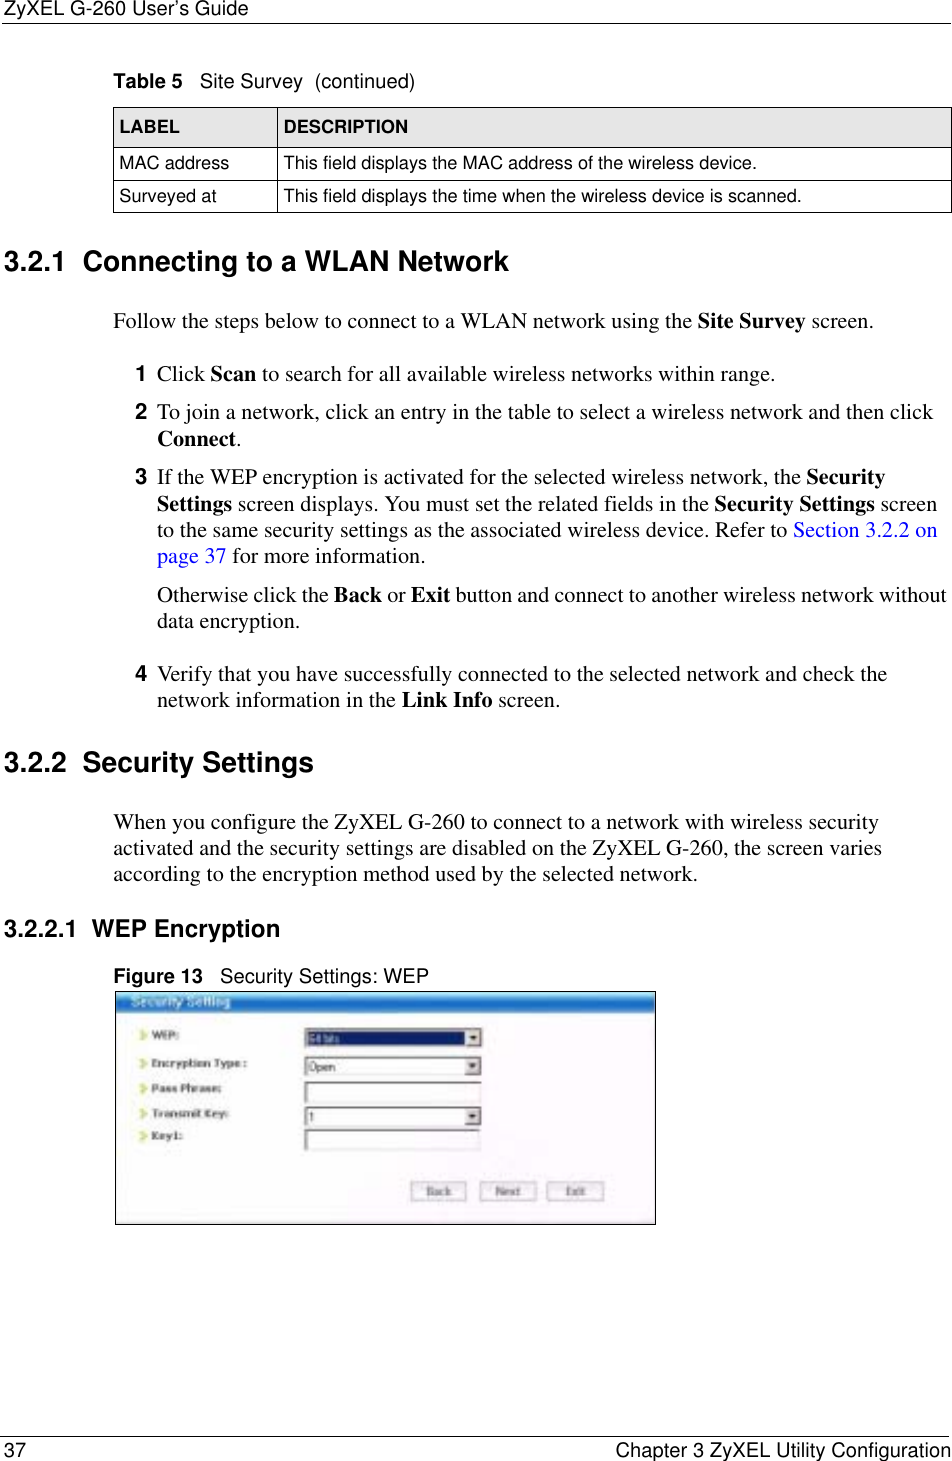
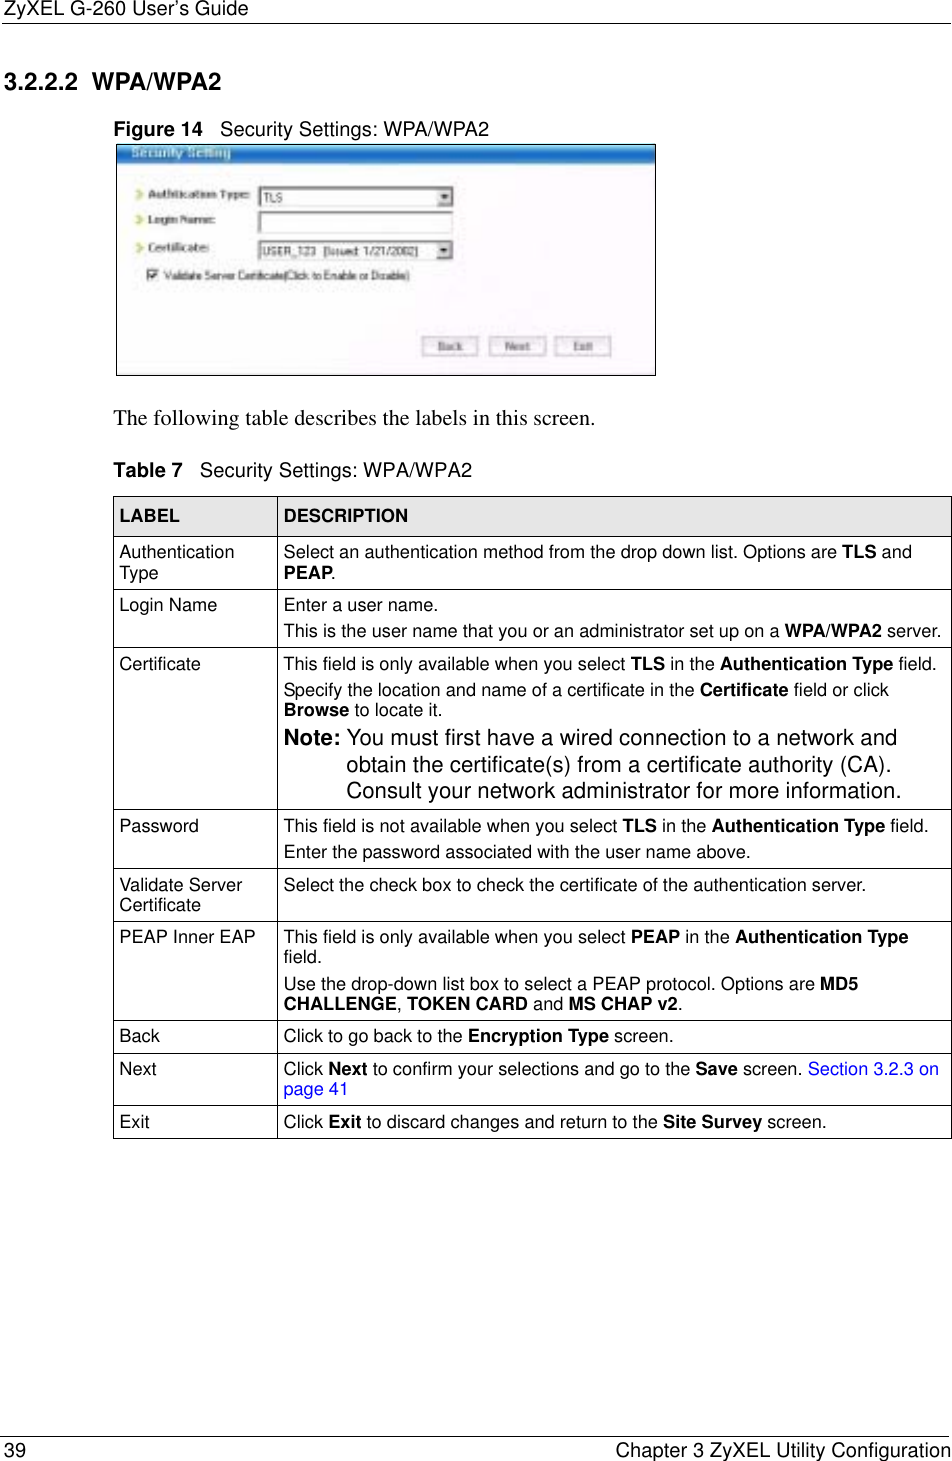
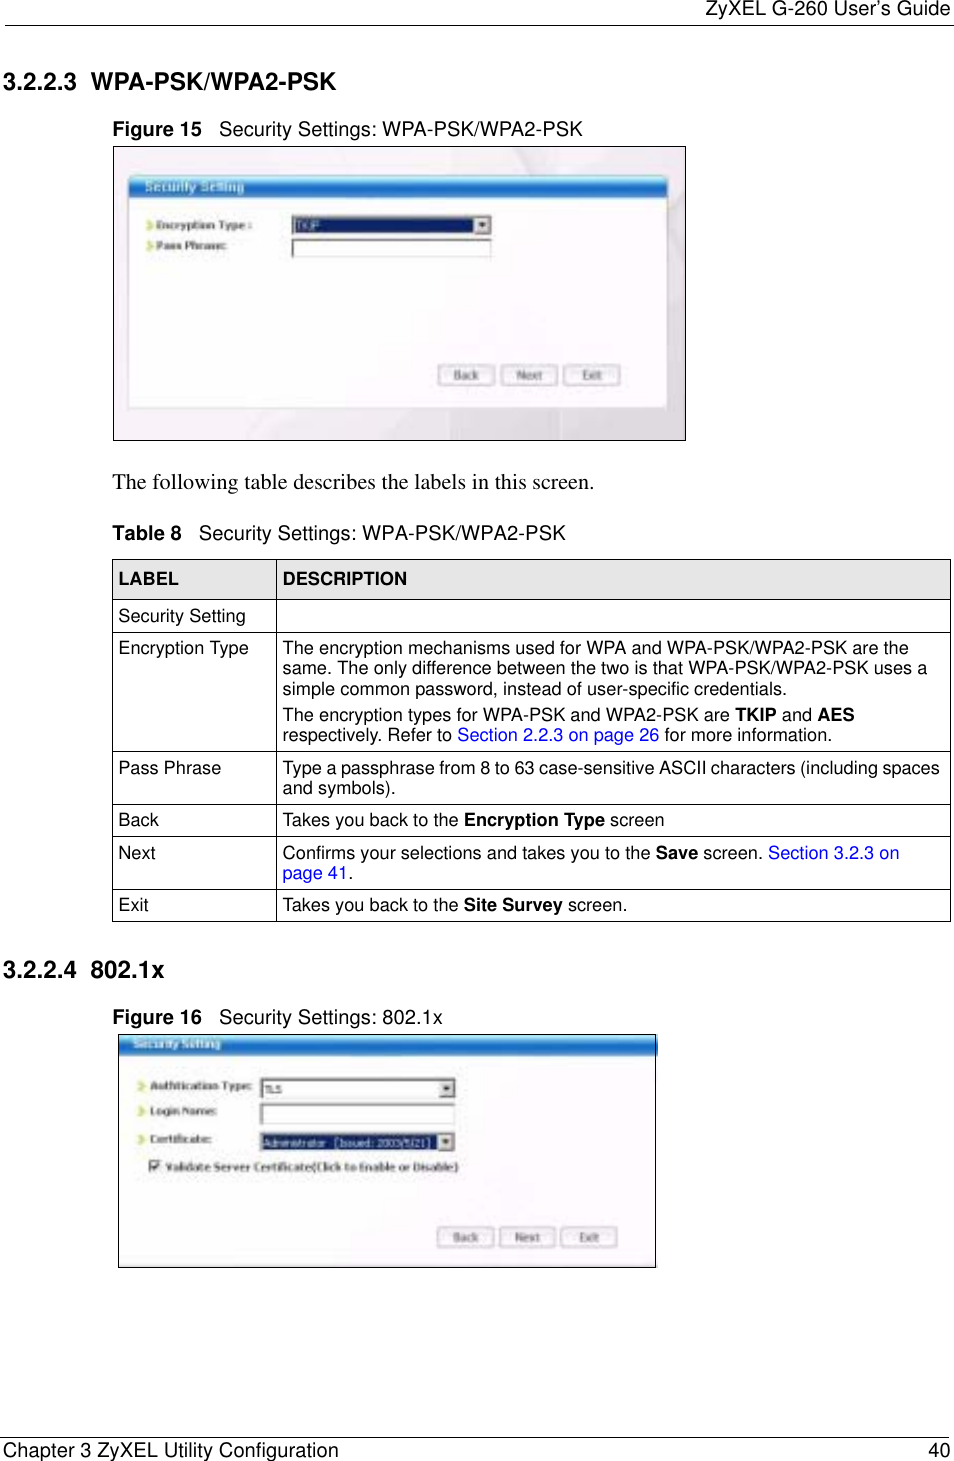
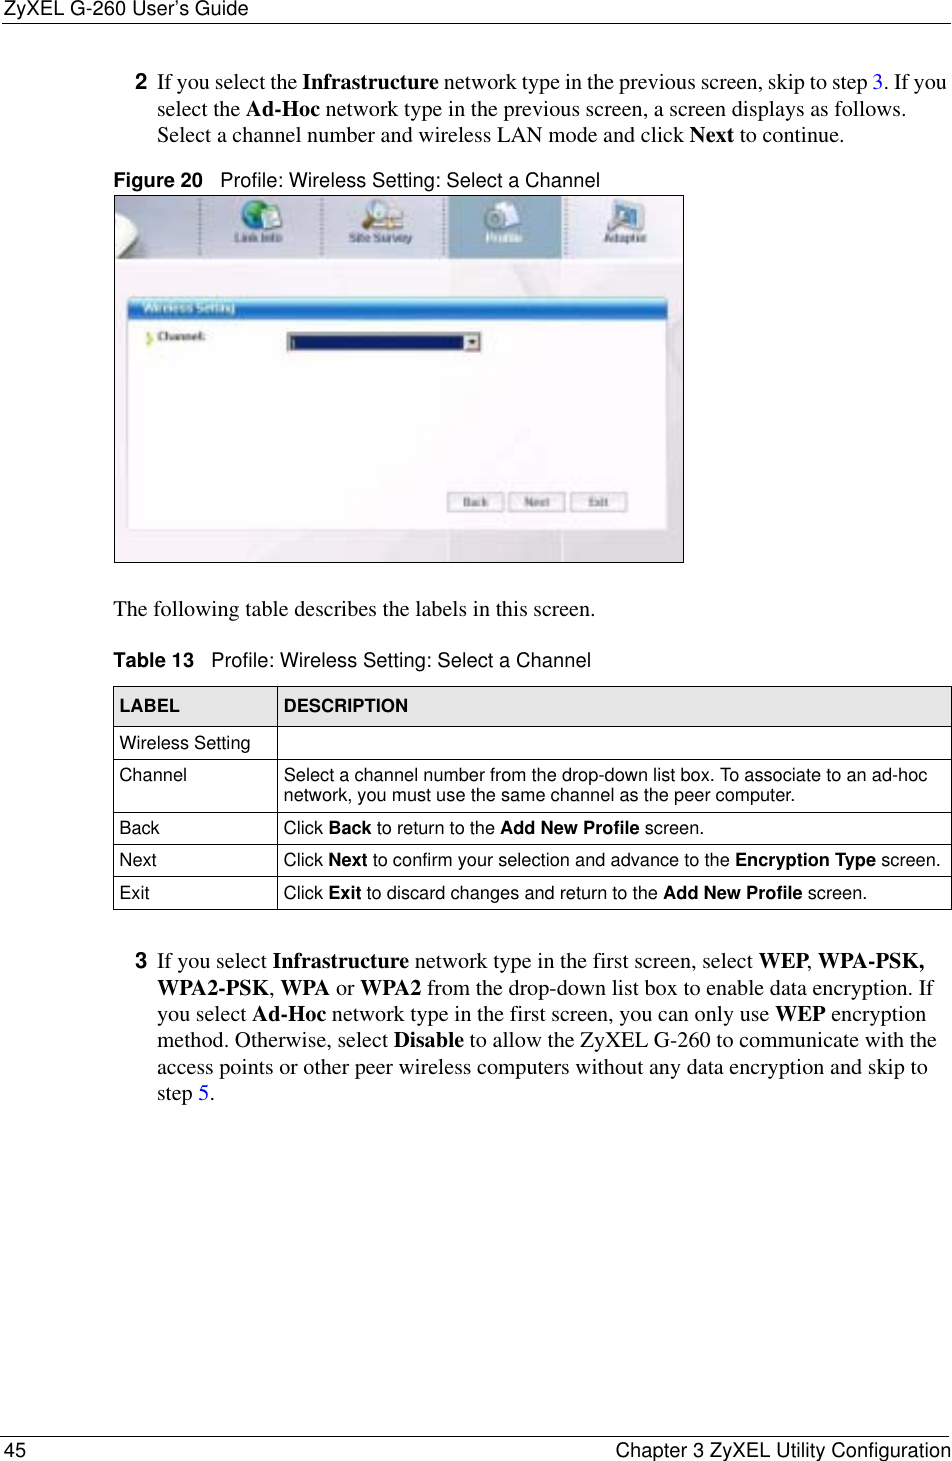
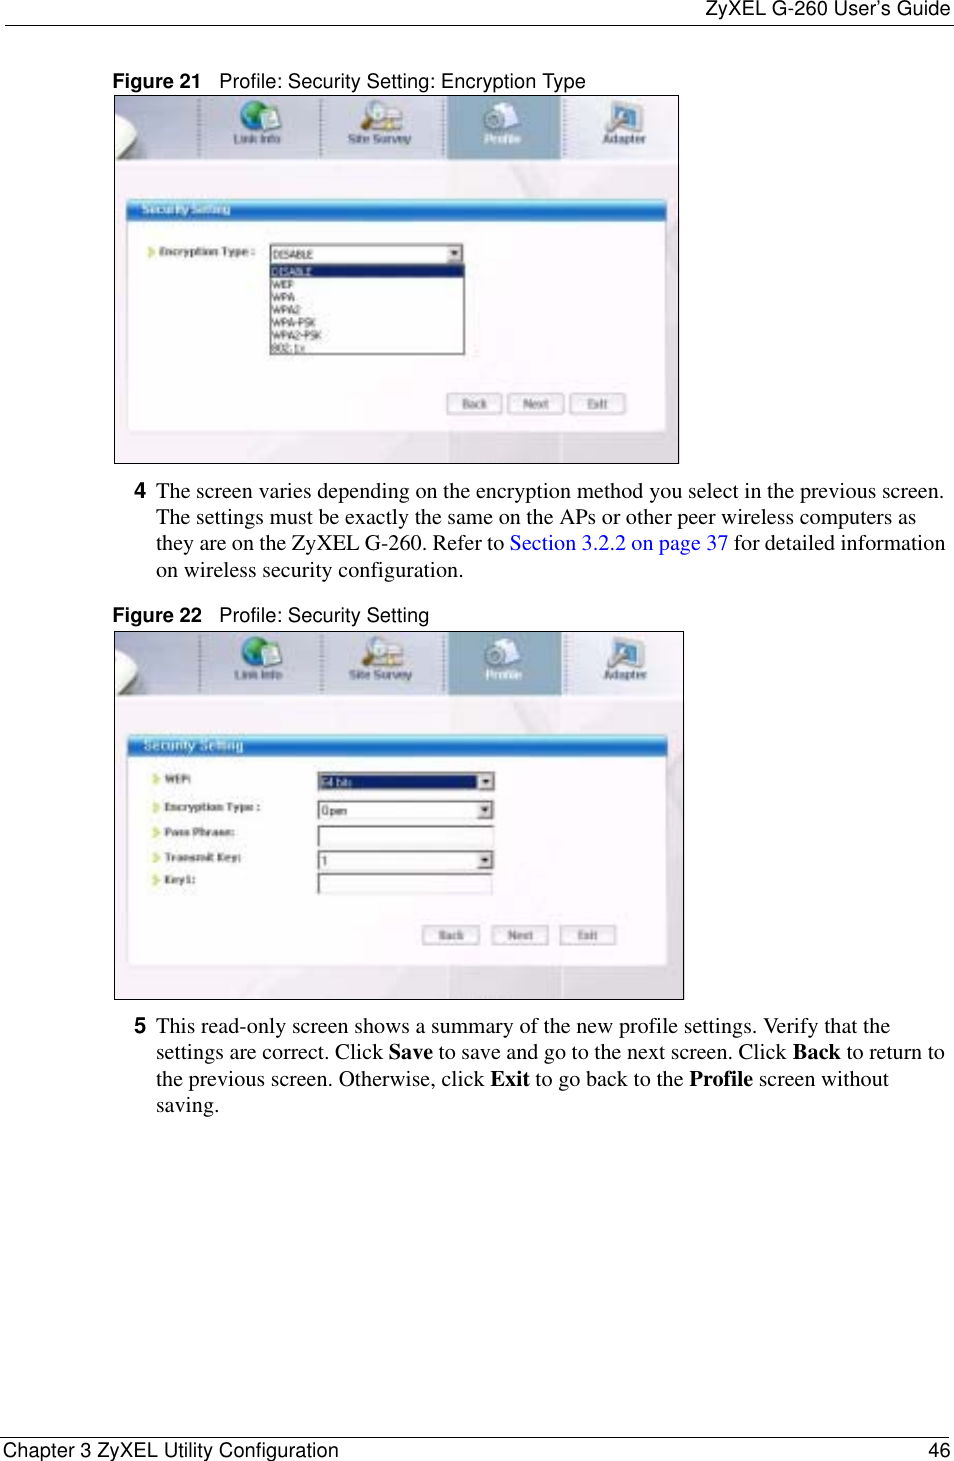
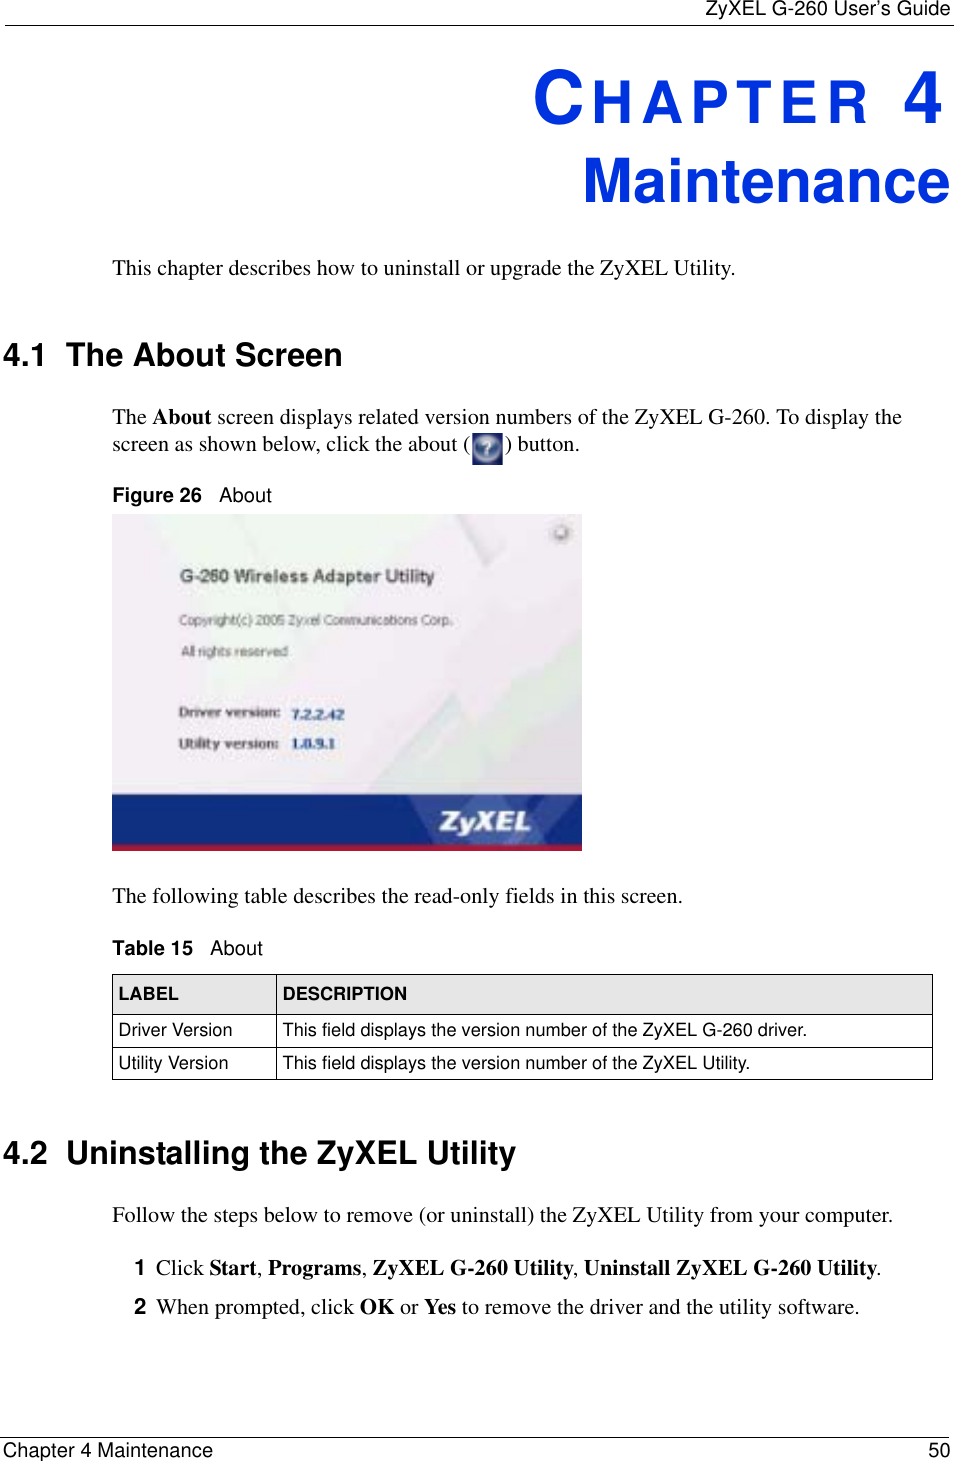
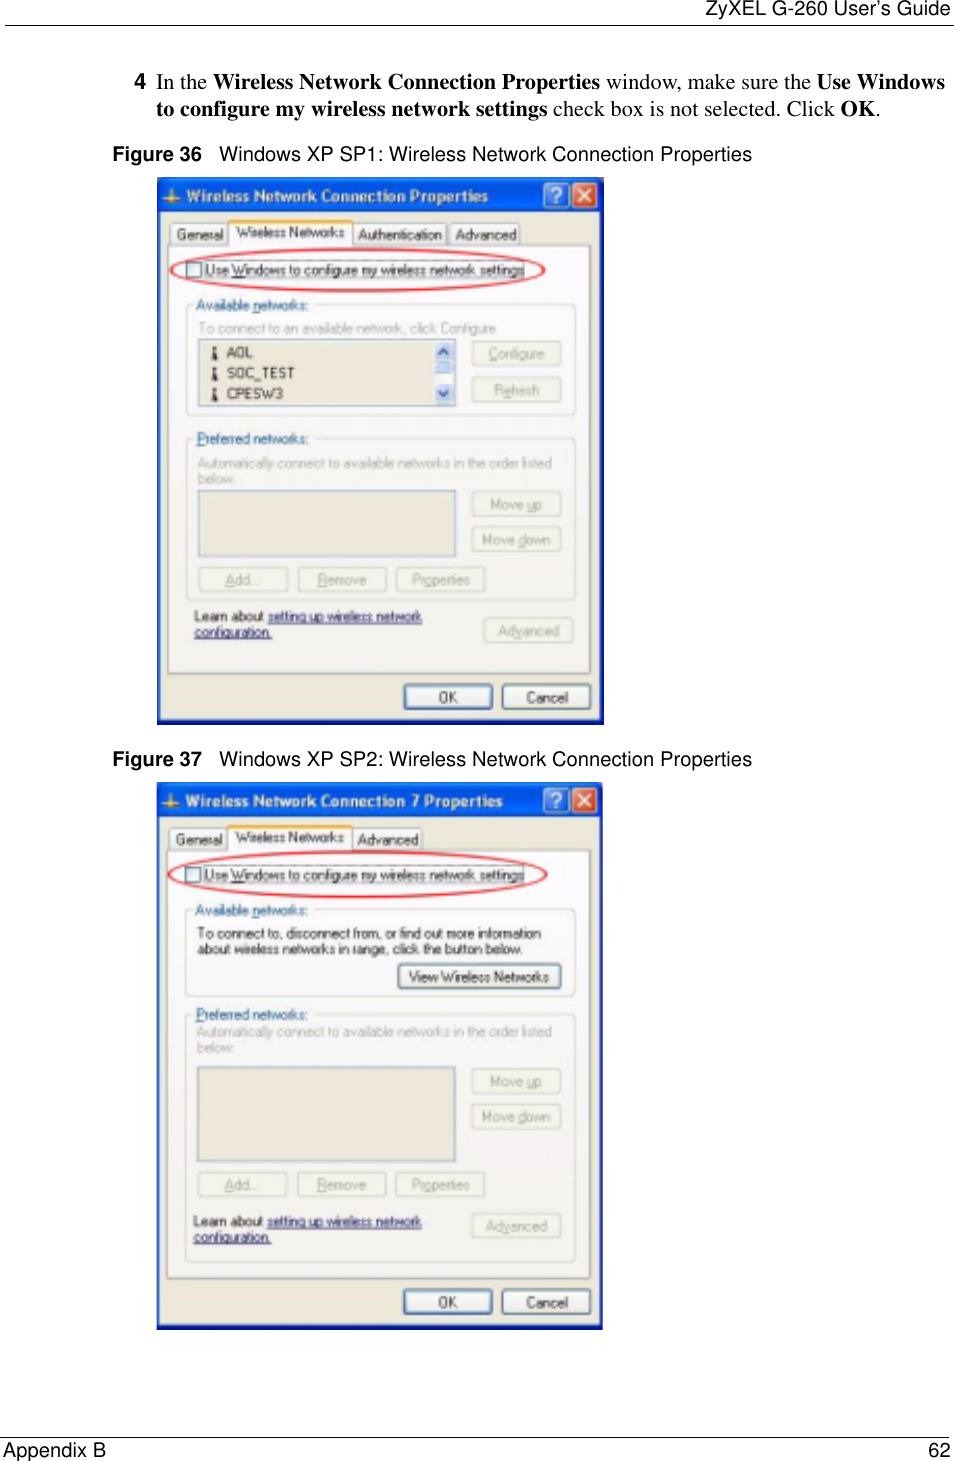
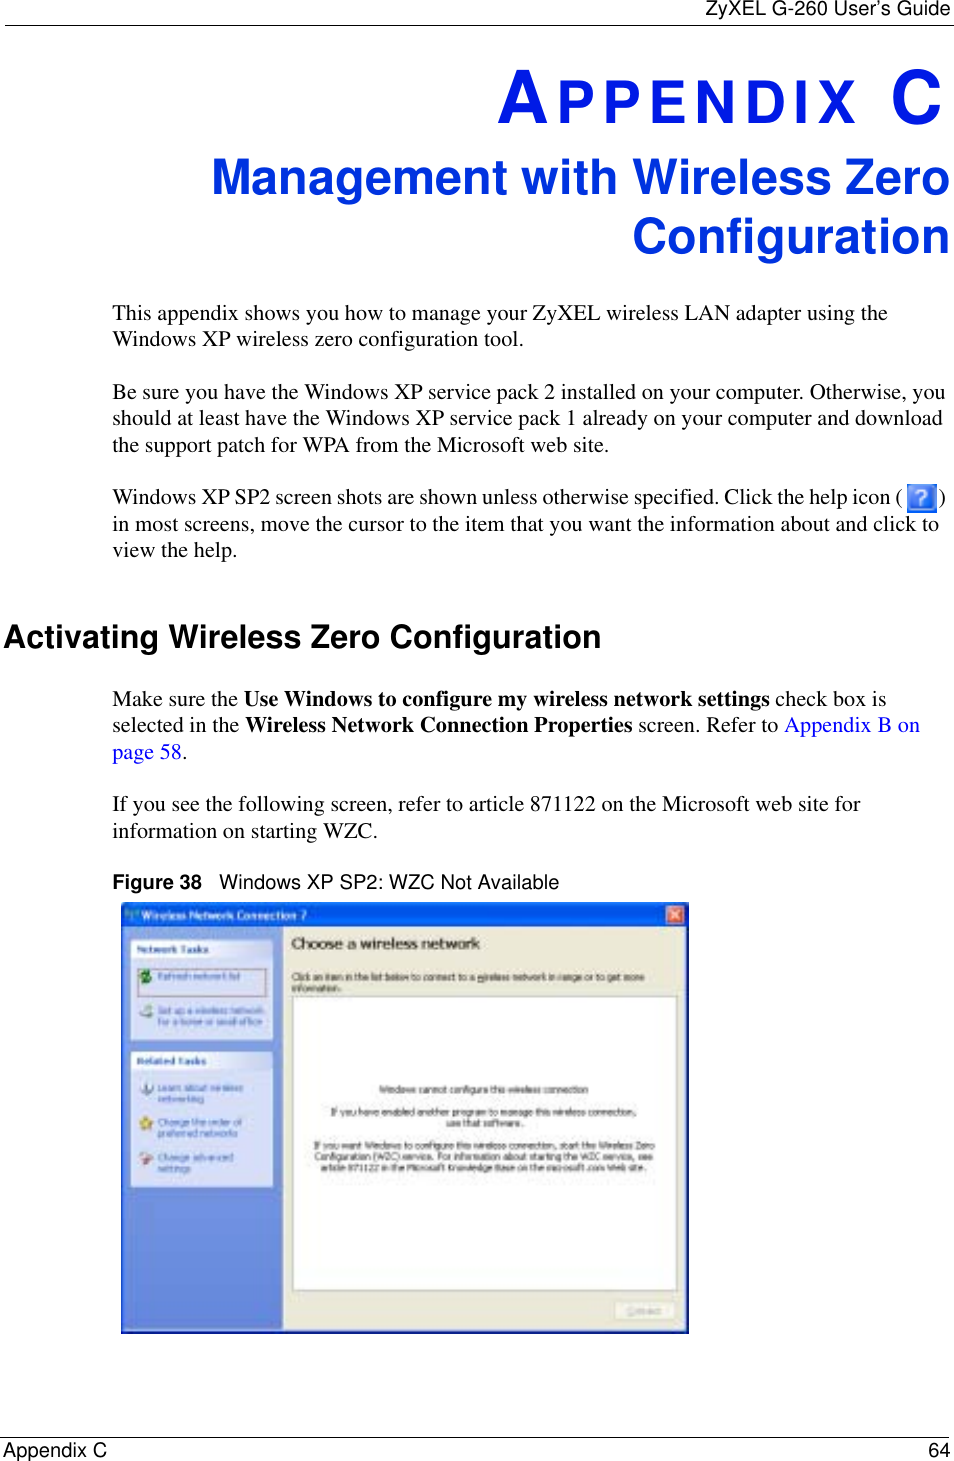
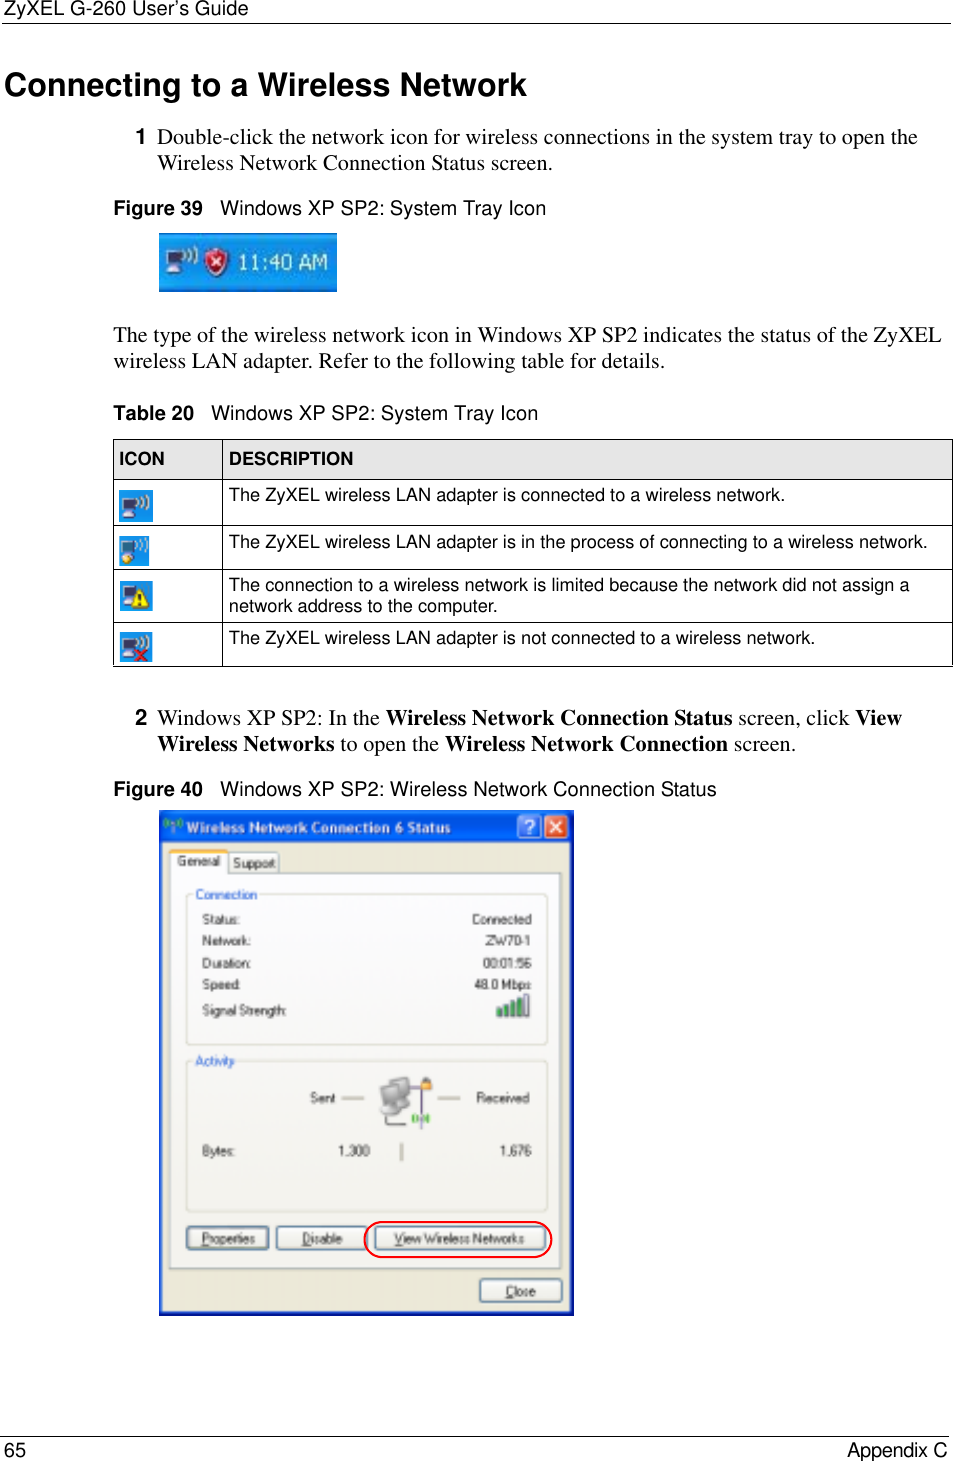
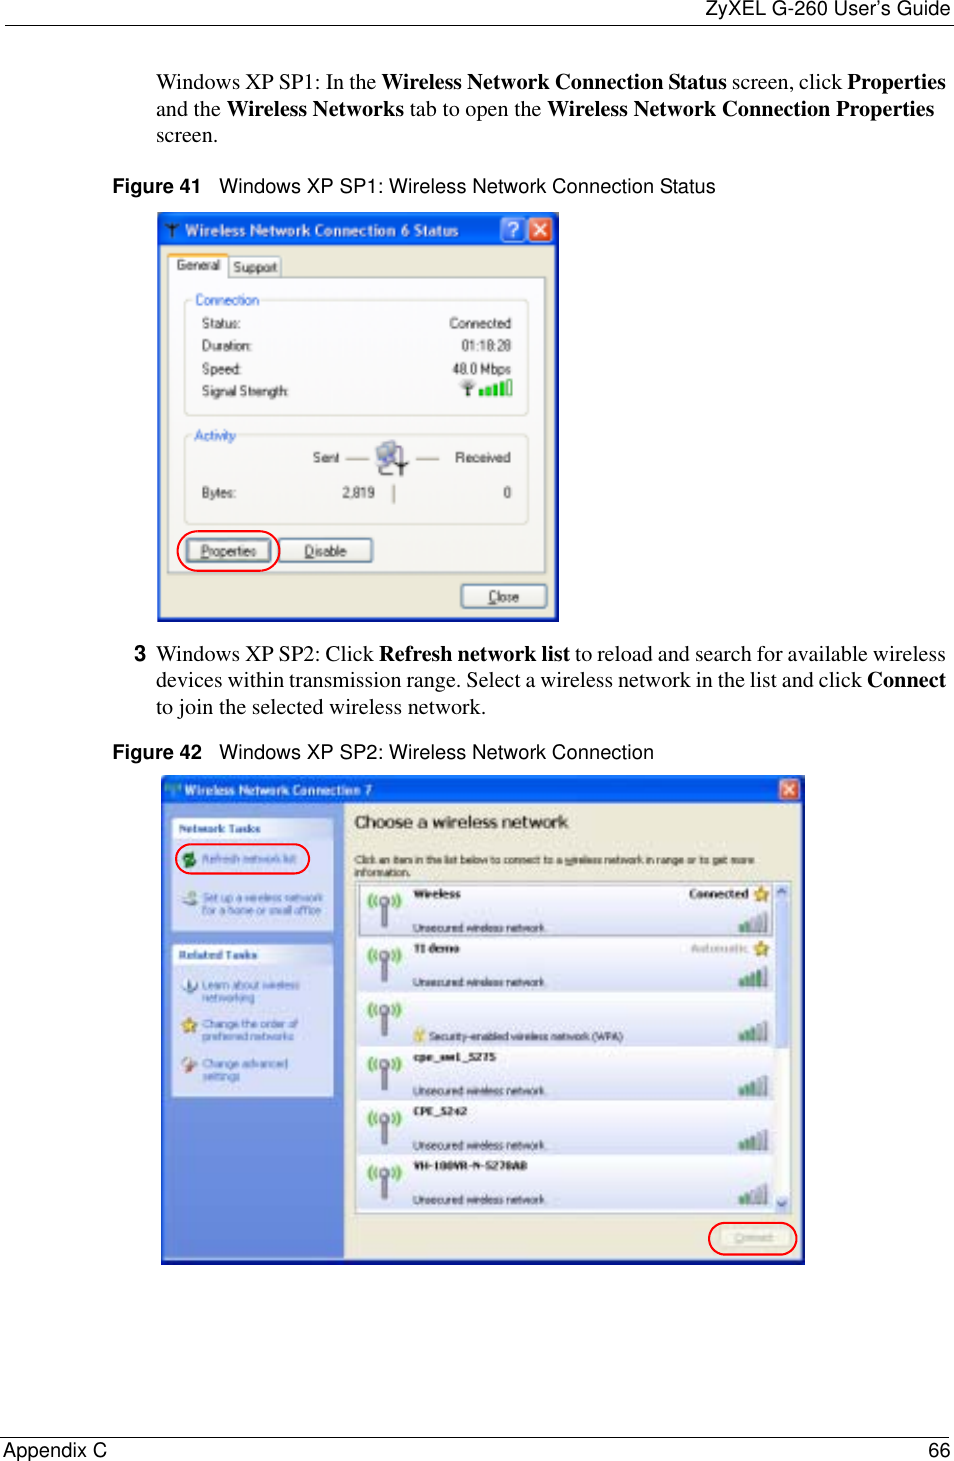
![ZyXEL G-260 User’s GuidePreface 16PrefaceCongratulations on your purchase of the ZyXEL G-220F 802.11g Wireless USB Adapter. Your ZyXEL G-260 is easy to install and configure. About This User's GuideThis manual is designed to guide you through the configuration of your ZyXEL G-260 for its various applications. Related Documentation• Supporting DiskRefer to the included CD for support documents.• Quick Start Guide The Quick Start Guide is designed to help you get up and running right away. They contain hardware installation/connection information.• ZyXEL Glossary and Web SitePlease refer to www.zyxel.com for an online glossary of networking terms and additional support documentation.User Guide Feedback Help us help you. E-mail all User Guide-related comments, questions or suggestions for improvement to techwriters@zyxel.com.tw or send regular mail to The Technical Writing Team, ZyXEL Communications Corp., 6 Innovation Road II, Science-Based Industrial Park, Hsinchu, 300, Taiwan. Thank you. Syntax Conventions• “Enter” means for you to type one or more characters. “Select” or “Choose” means for you to use one predefined choices.• The SMT menu titles and labels are in Bold Times New Roman font. Predefined field choices are in Bold Arial font. Command and arrow keys are enclosed in square brackets. [ENTER] means the Enter, or carriage return key; [ESC] means the Escape key and [SPACE BAR] means the Space Bar.• Mouse action sequences are denoted using a comma. For example, “click the Apple icon, Control Panels and then Modem” means first click the Apple icon, then point your mouse pointer to Control Panels and then click Modem.Note: Register your product online to receive e-mail notices of firmware upgrades and information at www.zyxel.com for global products, or at www.us.zyxel.com for North American products.](https://usermanual.wiki/ZyXEL-Communications/G260/User-Guide-613600-Page-16.png)