dormakaba USA SDC2K Single Door Controller User Manual UserGuide 2 1 01 28 08 part A
Stanley Security Solutions, Inc. Single Door Controller UserGuide 2 1 01 28 08 part A
Contents
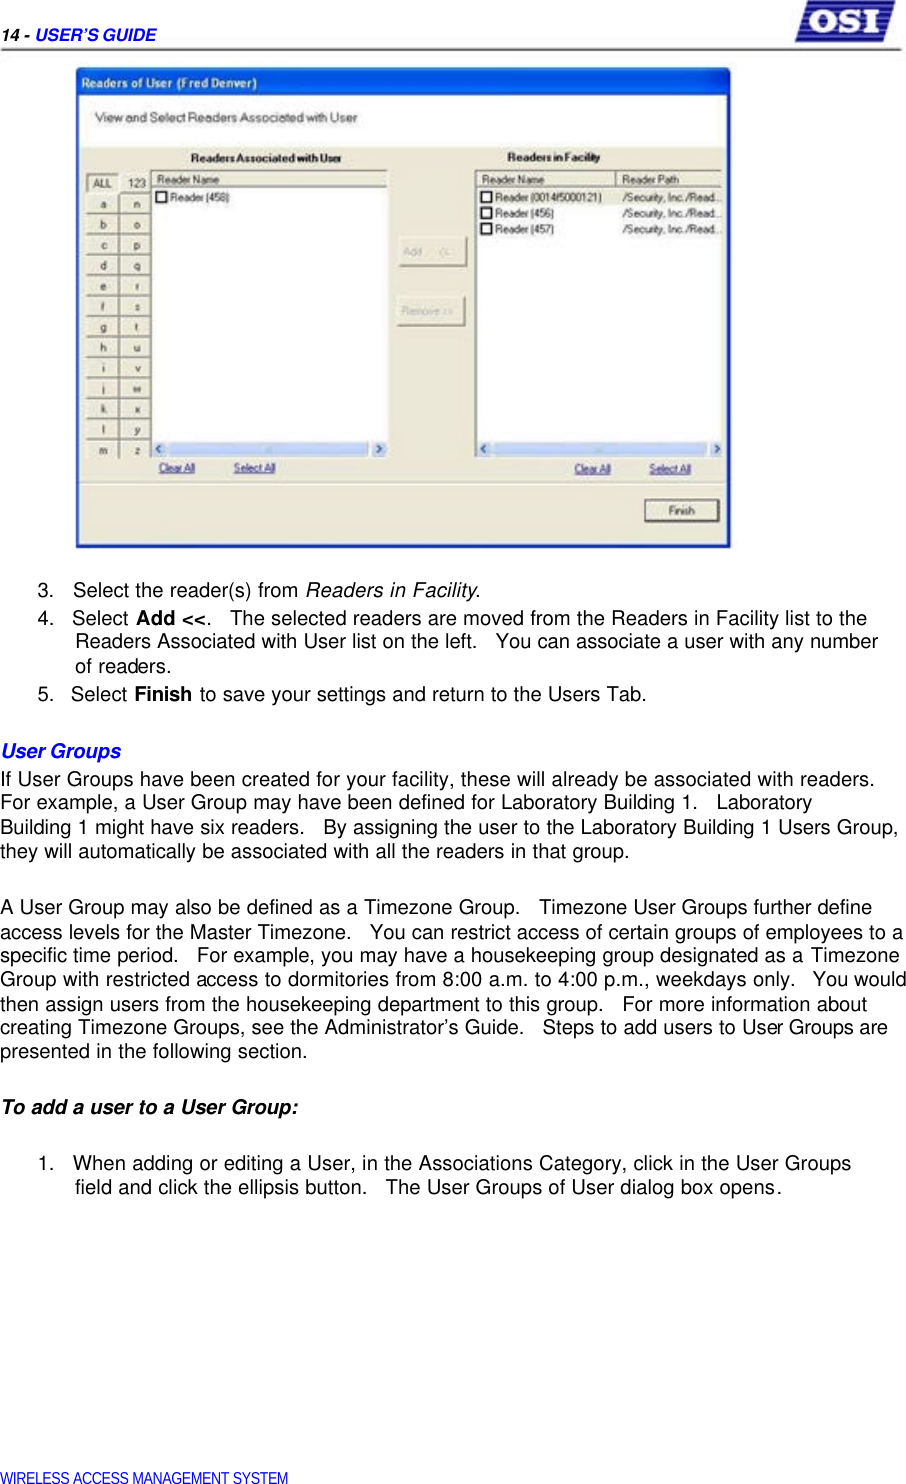
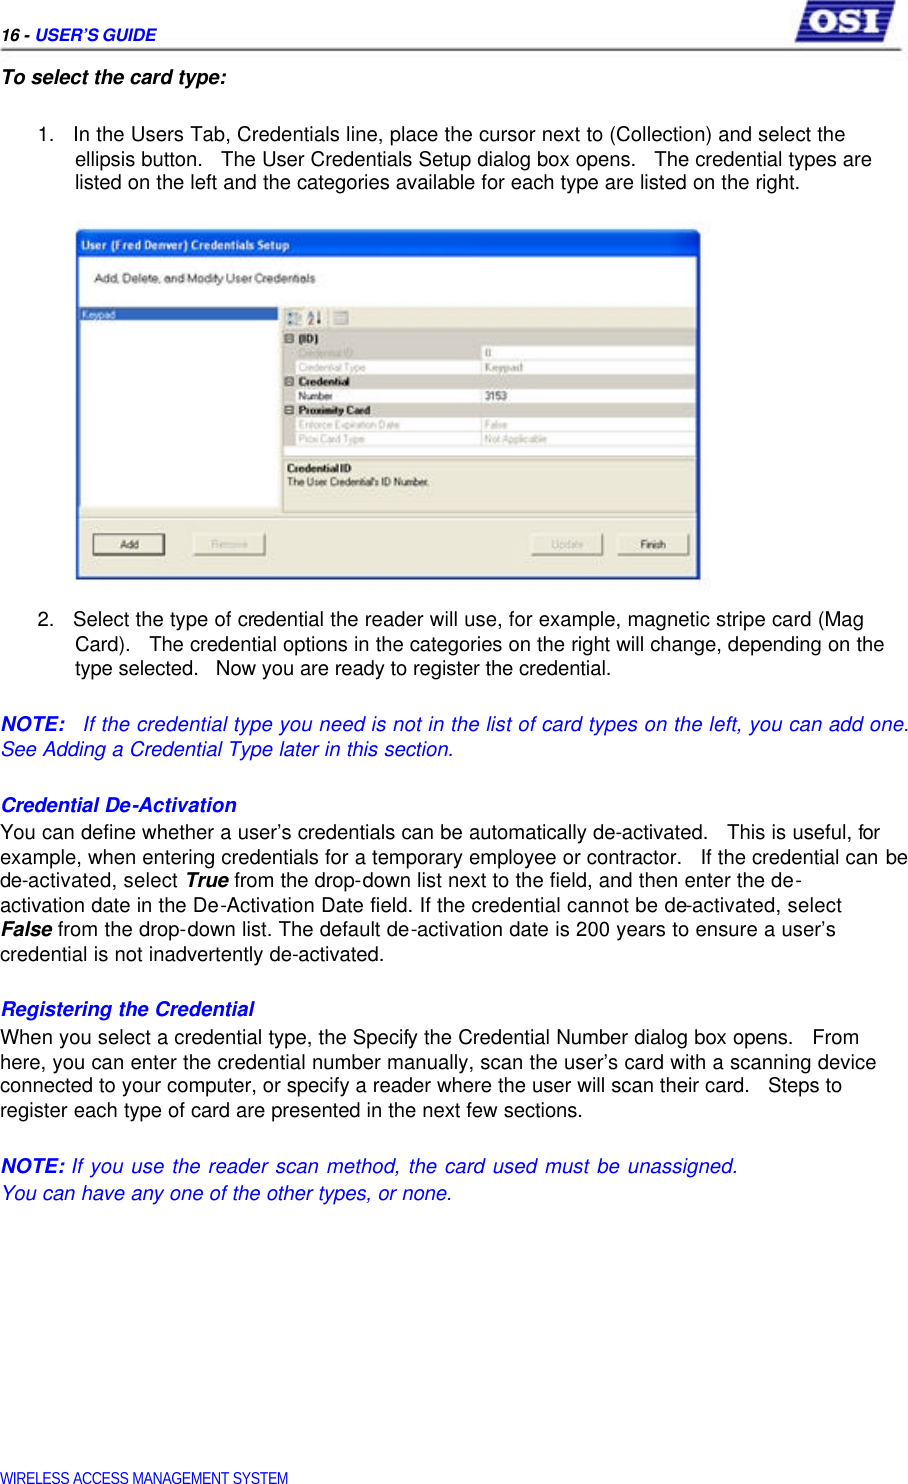
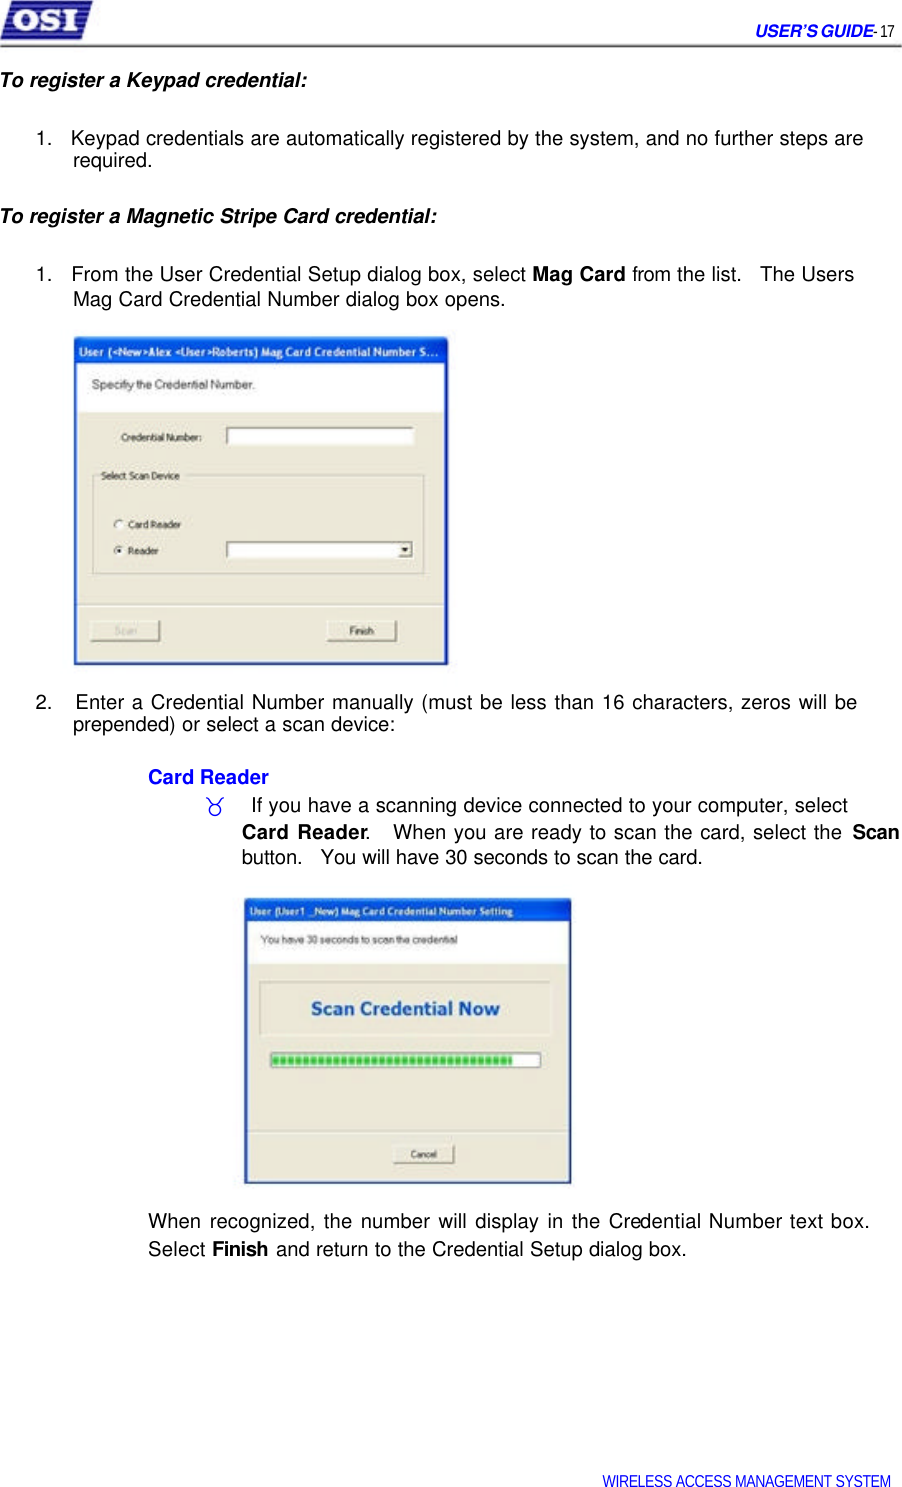
- 1. user manual
- 2. user manual 2nd part
- 3. Manual 1
- 4. Manual 2
- 5. Manual 3
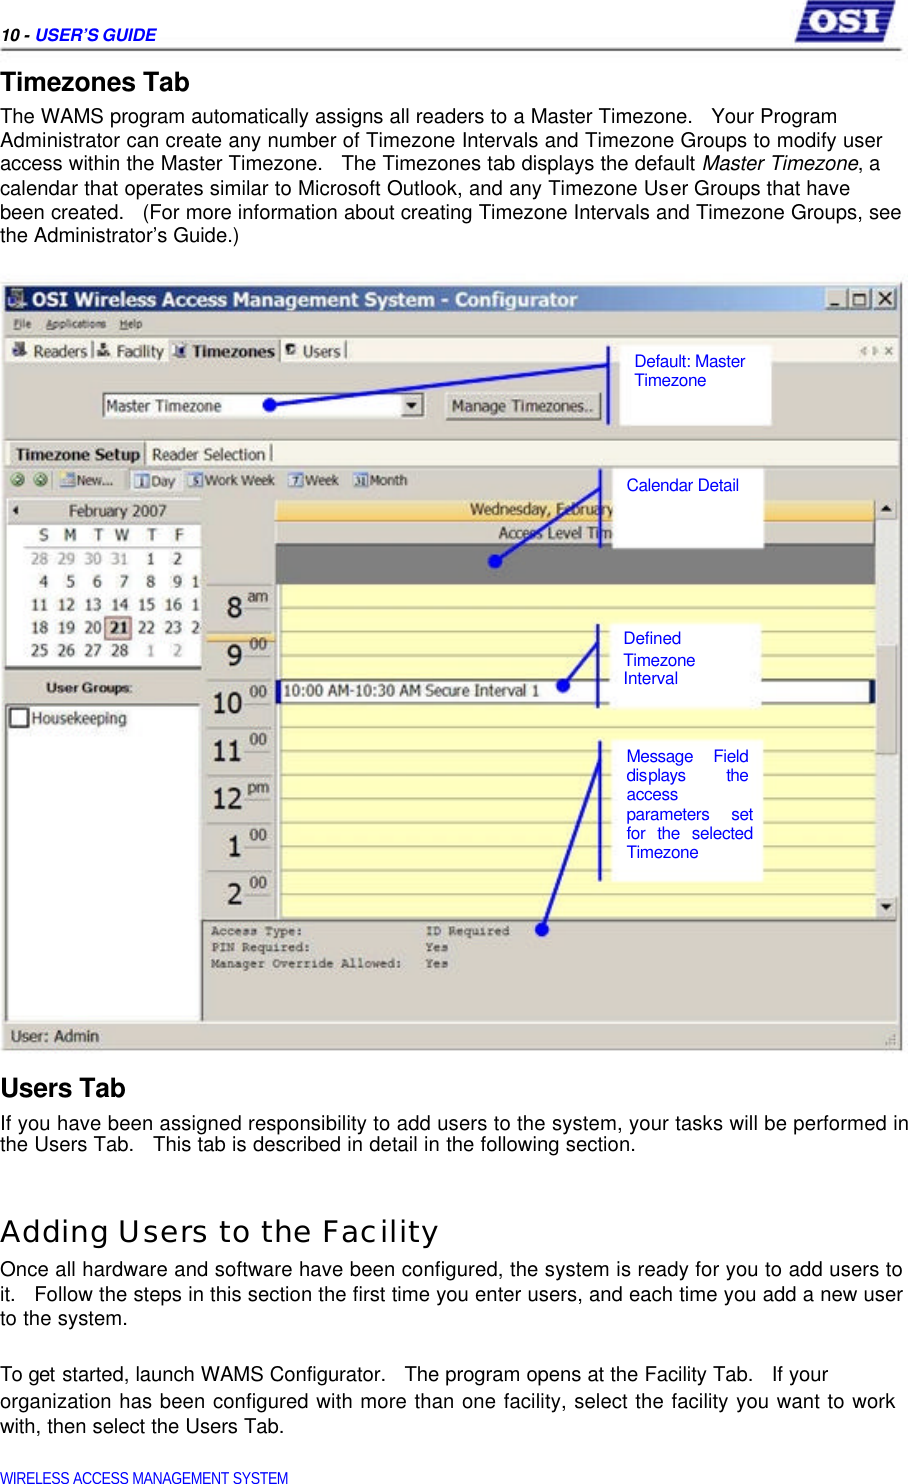
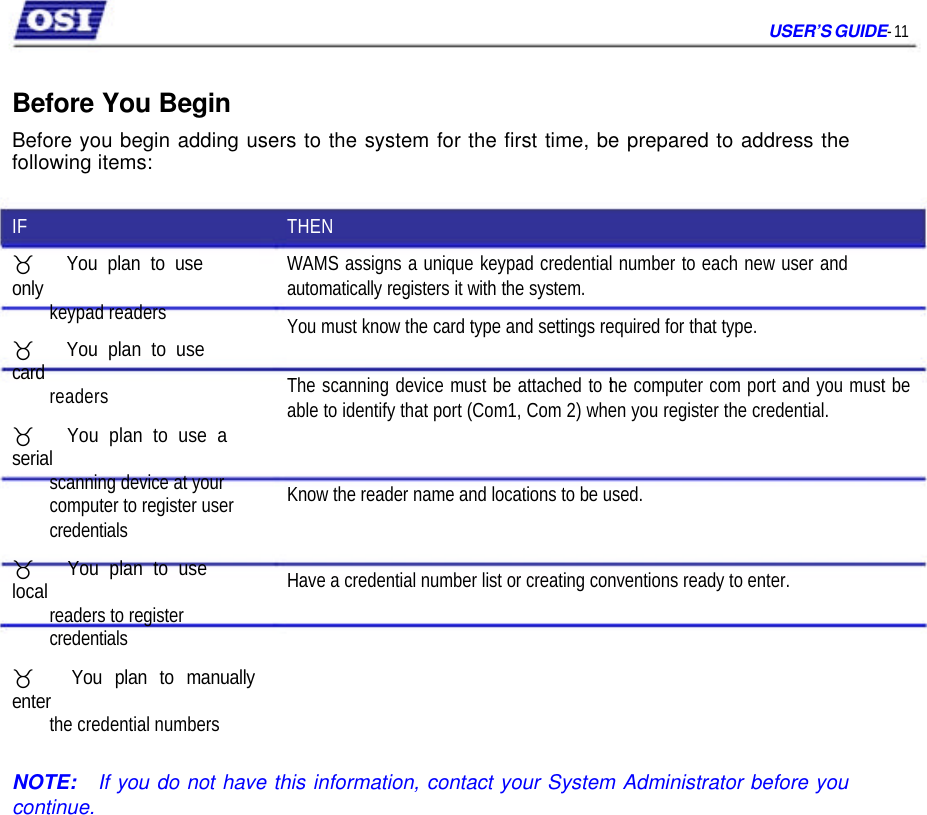
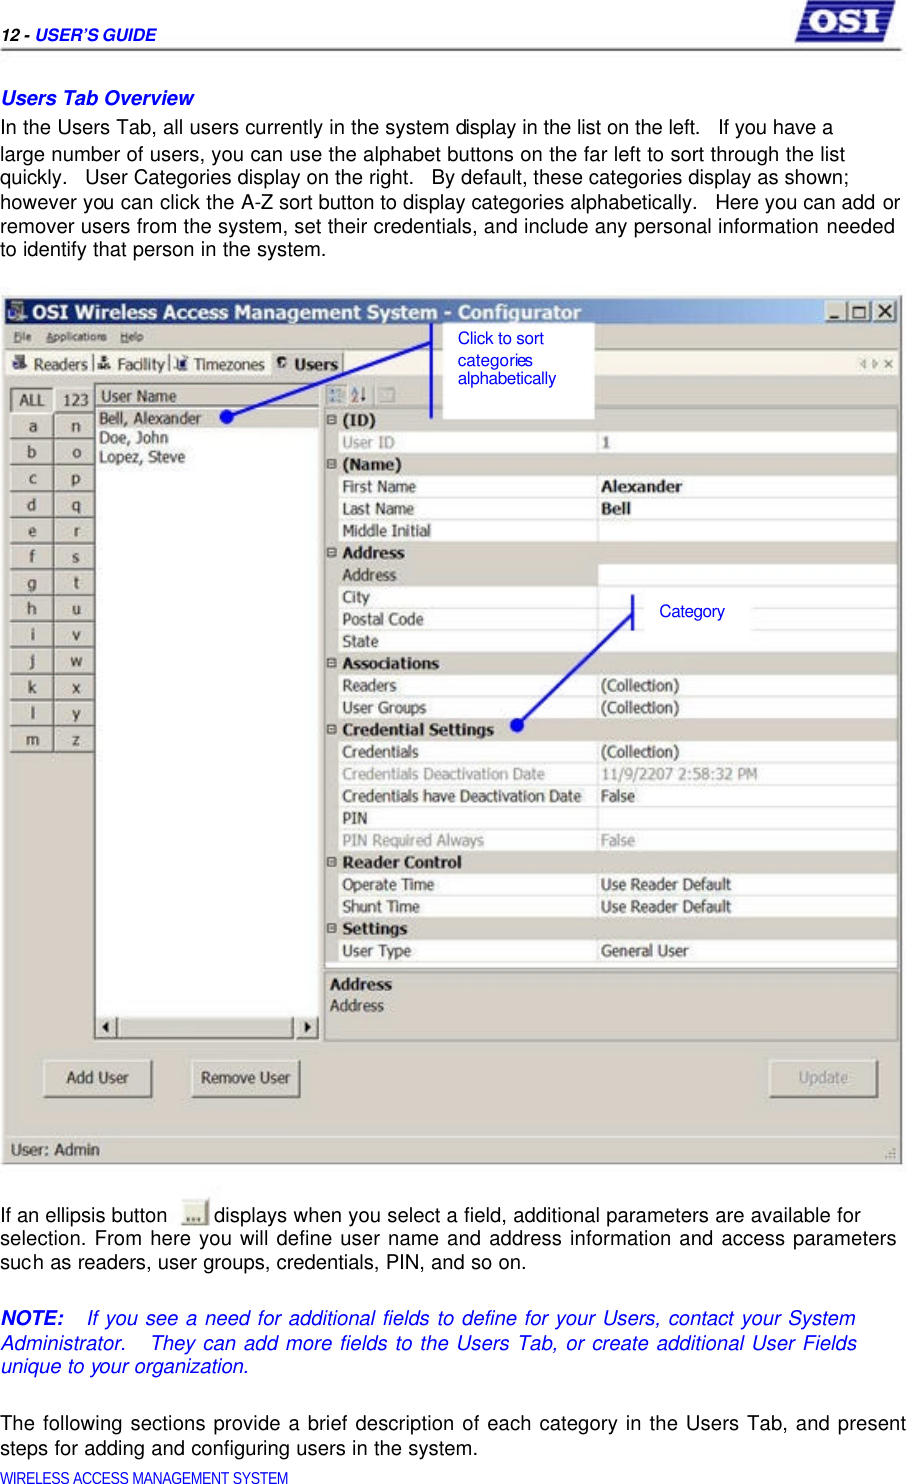
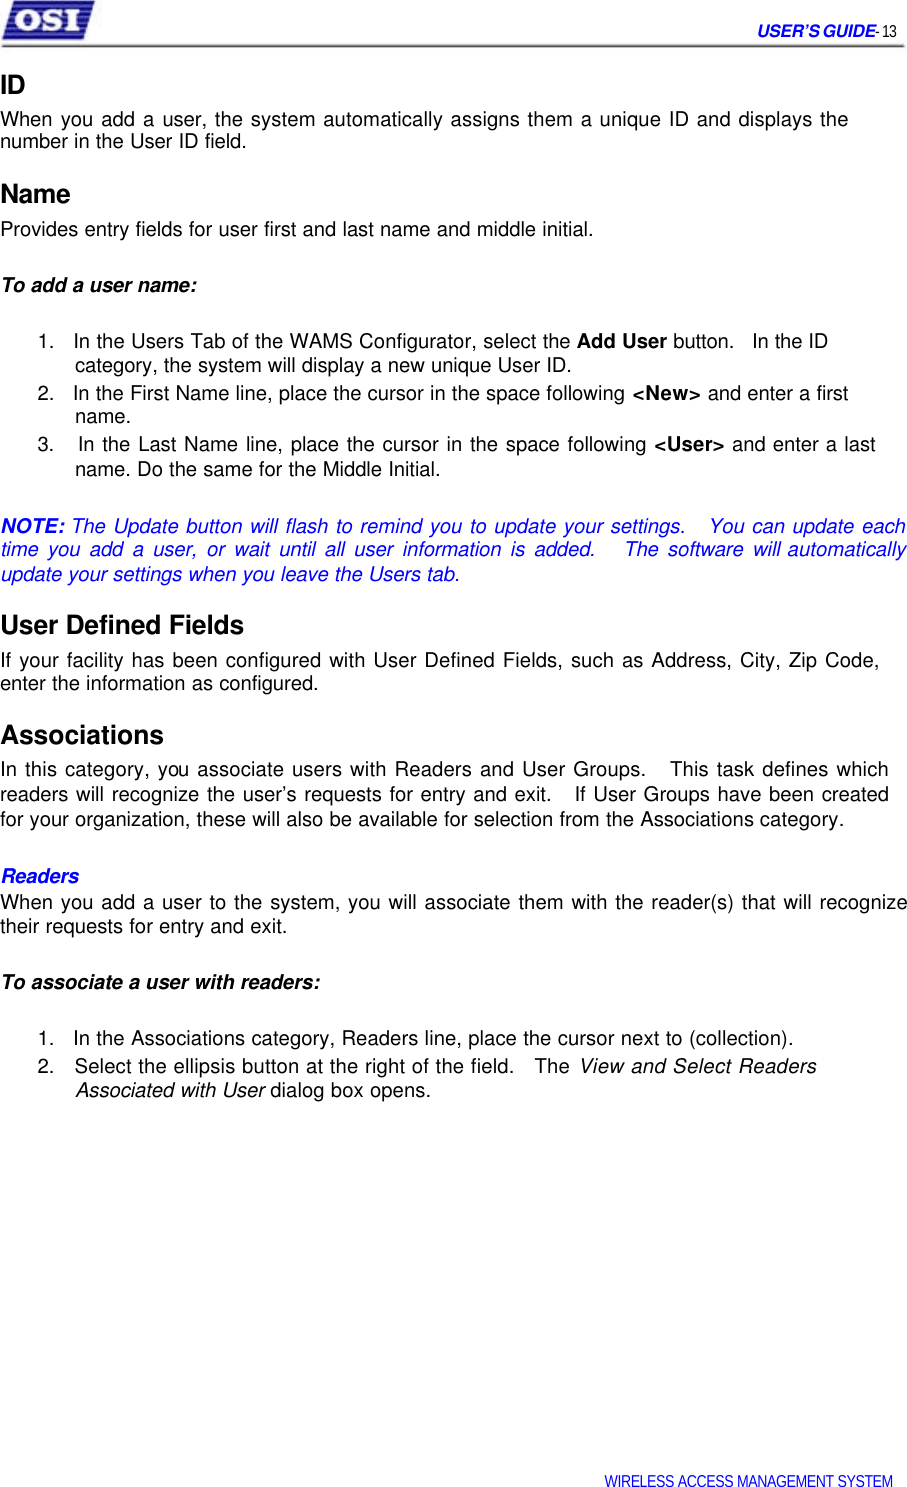
user manual