eSky wireless ES310 GPS Tracker User Manual ES120
eSky wireless Inc. GPS Tracker ES120
UserManual.wiki
>
eSky wireless
>
ES310 User Manual
Manual
Navigation menu
Upload a User Manual
Namespaces
Wiki Guide
HTML
PDF
Info
Views
User Manual
Discussion / Help
Navigation


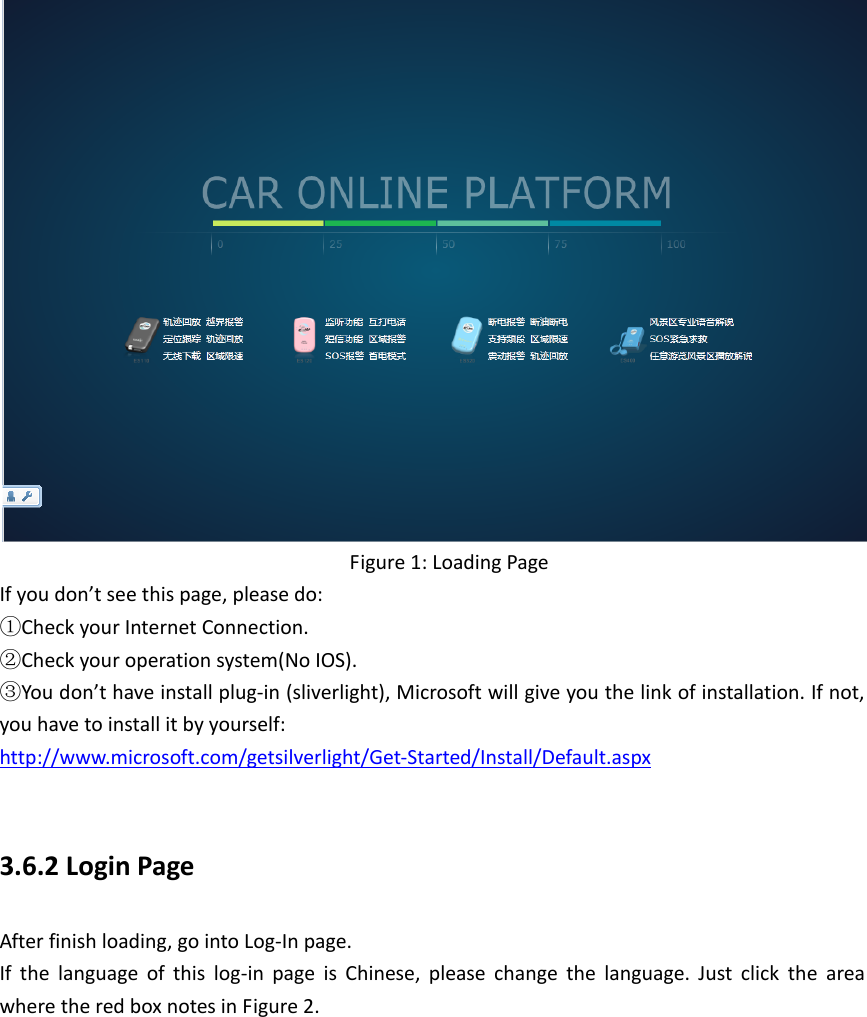
![ Make sure ES310 is in the open air Make sure GPS signal coverage is good. 3.5 Step 5: Query Current Location (SMS) If Step1 ~ Step 4 have passed, Then you can refer to <ES310 Protocol> to go on test other functions. The Query Current Location command is “Where, [PASSWORD] #”. For example: The content of SMS should be: Where, 000000# The possible responses: ① WHERE=31.86384+120.92707+10.74468! If the reply SMS contains latitude, longitude and speed. It means that ES310 has GPS fixed. ② Where=0+0+0! If the response 0+0+0! means that ES310 can’t get GPS signal. To get GPS fixed, you can try: If ES310 is in the building, then put ES310 outdoor where GPS signal is good coverage. If ES310 is in the open air, please wait for a moment. ③No Response. Make sure the password is correct. Make sure spelling correct. No space in the command. Make sure ending character is ’#’. No space after. Make sure GSM coverage is good. 3.6 Step 6: Login Online Car Platform 3.6.1 Visit Car Online Platform Click: http://www.eskywireless.com.cn See Figure 1](https://usermanual.wiki/eSky-wireless/ES310/User-Guide-2608356-Page-14.png)