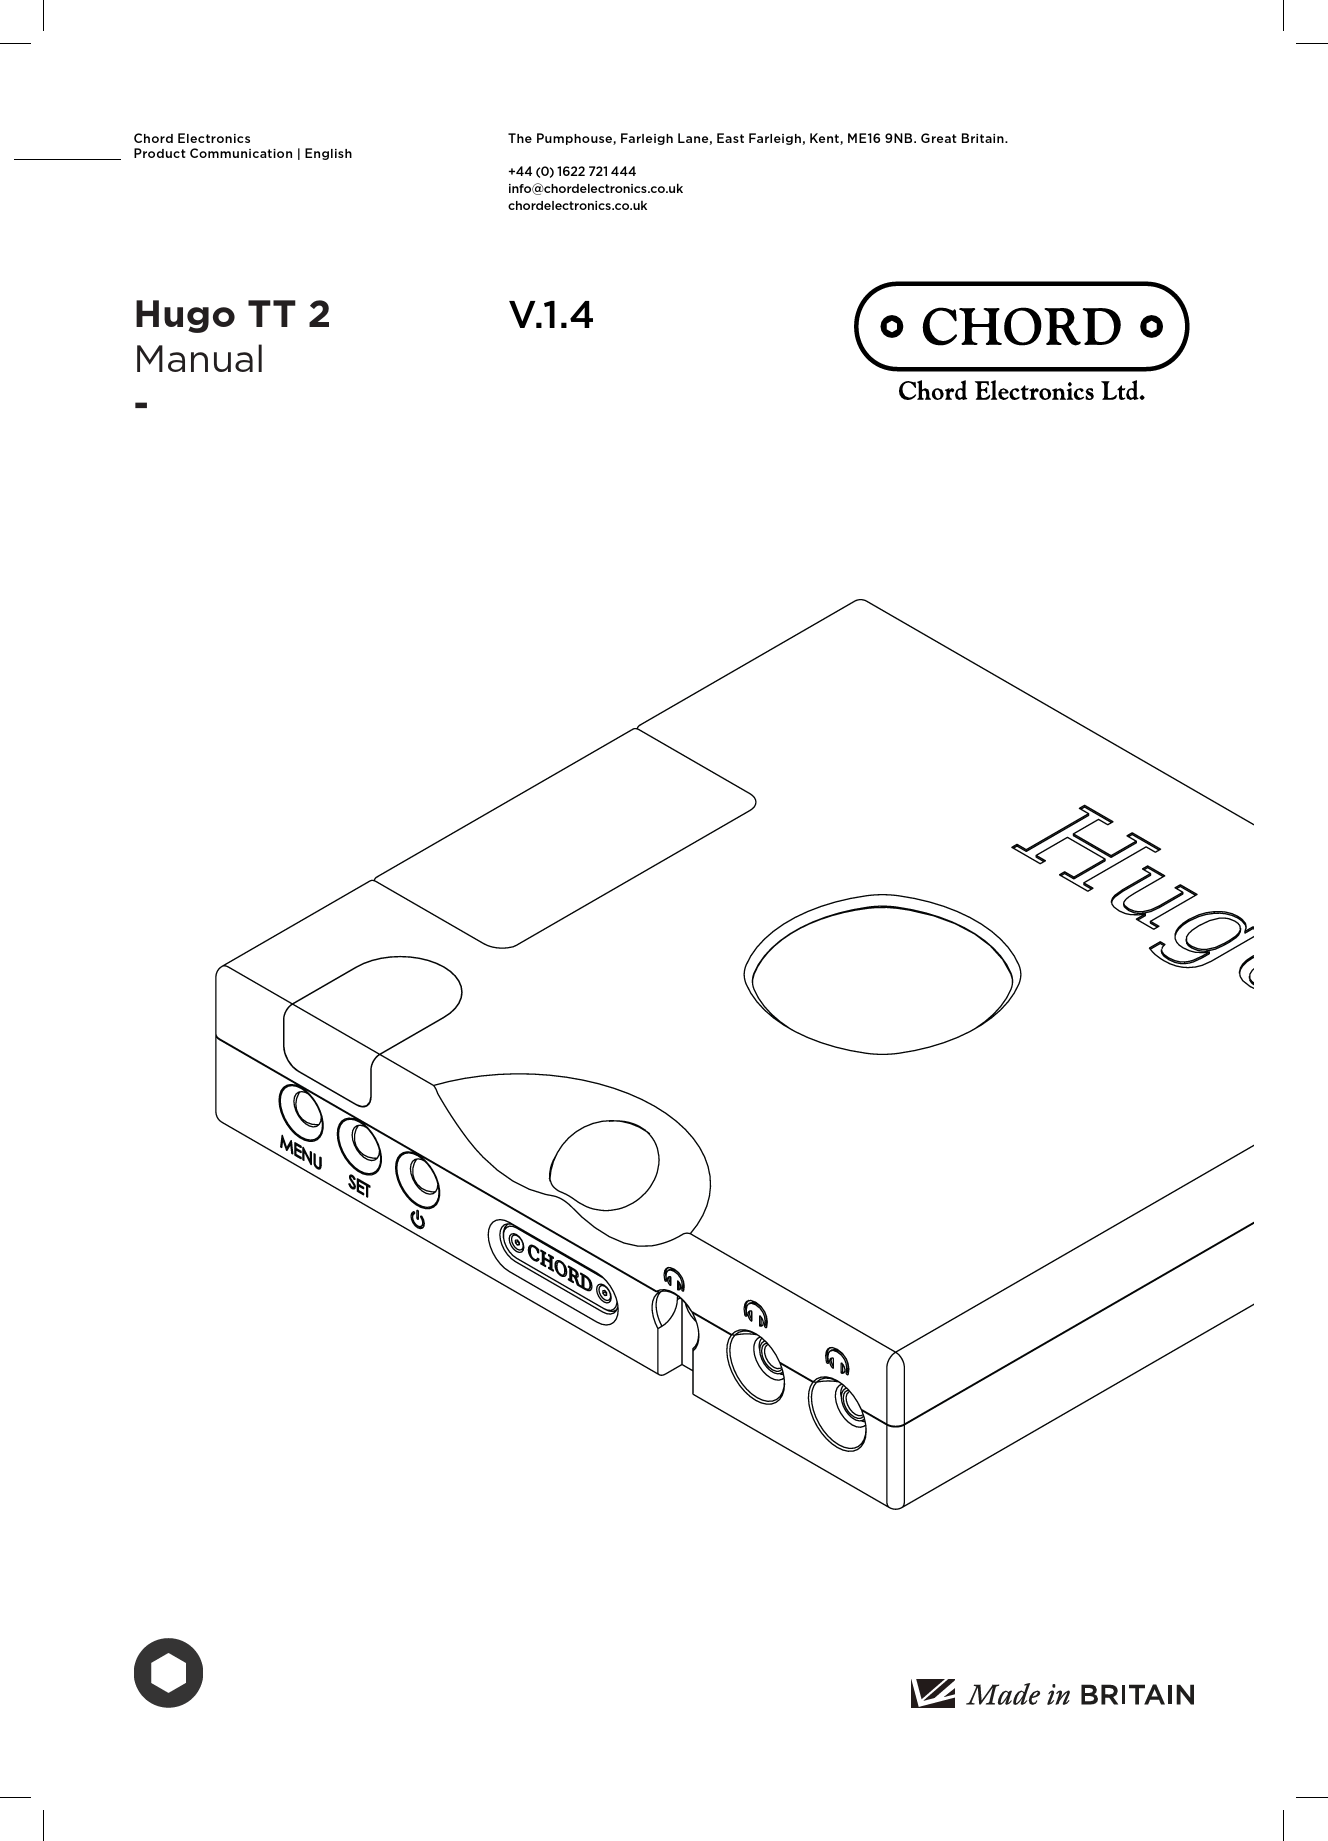
Chord Electronics Hugo TT 2 - User Manual
Version: V.1.4
Manufacturer: Chord Electronics Ltd.
Address: The Pumphouse, Farleigh Lane, East Farleigh, Kent, ME16 9NB, Great Britain
Contact: +44 (0) 1622 721 444 | info@chordelectronics.co.uk | chordelectronics.co.uk
1.0 Safety Instructions
1.1 Introduction
The Hugo TT 2 is an incredibly powerful and versatile digital-to-analogue converter and pre/headphone amplifier.
Before operation, it is strongly advised to read this User Manual thoroughly. It is also recommended to store this manual, along with the original receipt of purchase, in a safe place for future assistance.
[Image: Chord Electronics Hugo TT 2 device, silver finish, with a blue illuminated circle on top and various buttons and ports on the front.]
1.2 Protection Against Liquids & Heat
The Hugo TT 2 is not protected against liquids. Never place liquid containers on the unit. Contact with moisture or liquids could result in electrocution or damage to internal circuitry. Dried liquids can leave mineral deposits that affect the PCB and components, potentially leading to oxidisation and short-circuiting.
If the unit comes into contact with moisture or liquids, immediately disconnect from the mains power supply and connected equipment, and contact Chord Electronics for advice.
The Hugo TT 2 has internal thermal protection that will shut down the unit if excessive temperatures are reached. Never operate the unit near heat sources or naked flames, as this will decrease the lifespan of internal components.
Avoid operating the Hugo TT 2 in direct sunlight or on top of significant heat-producing devices.
It is normal for the Hugo TT 2 to become warm during use, especially in stacked configurations. If concerned about temperatures, switch the device off or consider different placement.
1.3 Dismantling & Radio Frequency Interference
⚡ There are no user-serviceable components within the Hugo TT 2 or its power supply. Dangerous voltages/currents pose a severe risk of electrocution and/or fire. ? Never attempt to open, dismantle, or insert anything other than listed interconnects or headphone adapters.
If the Hugo TT 2 develops a fault or the casework becomes damaged, immediately disconnect from the mains power supply and connected equipment, and contact Chord Electronics for advice.
The unit's thick, solid aluminium chassis largely protects internal circuitry from radio frequency interference. For optimal performance, it is recommended to:
- Consider placing the Hugo away from wireless routers.
- Separate the Hugo TT 2 from amplifiers using toroidal transformers.
- Operate mobile phones at a distance to avoid interference.
? Although largely shielded, the Hugo TT 2 can generate radio frequency interference that may affect radio and television reception. Reconsider placement if this occurs.
1.4 Connecting Your Equipment
Before connecting the Hugo TT 2, consult the manufacturer's user guide to confirm compatibility. Ensure all devices are switched off, including the Hugo TT 2, before connecting.
After connecting, switch all equipment on, starting with the source and ending with the amplification.
Initially, operate connected equipment on its lowest gain setting and lowest volume, gently increasing to a comfortable listening level. Never operate at excessive sound levels, as permanent hearing damage can occur.
The included 15V 4000mA power supply plugs into the Hugo TT 2.
⚠️ Never disconnect the power cable during operation. Only disconnect when the Hugo TT 2 is off. Disconnecting the power cable during operation risks damage to connected equipment.
If the power supply is prematurely disconnected, the Hugo TT 2 may remain active for up to 15 seconds, potentially causing damage to connected equipment.
2.0 Warranty
2.1 Warranty Period & Registering Your Purchase
Chord Electronics Ltd. provides a comprehensive three-year warranty covering defects in materials and workmanship through fair wear and tear. The warranty is void if any PSU other than the supplied one is used.
The warranty is transferable with proof of purchase. For ex-demonstration units, warranty begins from the retailer's date of purchase.
[Icon: Three-year warranty badge]
Please use the form below to record purchase details for future reference. It is also advised to register all purchases with Chord Electronics at: chordelectronics.co.uk/register-product/
| RETAILER: | |
| PURCHASE PRICE: | |
| UNIT COLOUR: | |
| DATE OF PURCHASE: | |
| TRANSACTION ID: |
2.2 Making a Claim & Warranty Exclusions
In the event of a claim, provide Chord Electronics with claim details, including proof of purchase and serial number, to validate the repair.
Chord Electronics will assess the claim within 30 days and provide a solution.
All warranty repairs must be carried out by Chord Electronics or an approved service centre to guarantee quality and safety.
WARRANTY EXCLUSIONS: The warranty does not cover connected equipment, personal injury, or natural patina of metalwork. It is void if:
- Wilful neglect
- Modification or tampering of the product
- Improper use of the product
- Acts of God
- Damage caused by a connected device
- Mechanical shock
- Fire or application of excessive heat
- Repair/modification by a non-authorised third-party vendor
3.0 Getting to Know Hugo TT 2
3.1 Getting to Know Hugo TT 2 & Drivers
The Hugo TT 2 is an extraordinarily powerful leading-edge DAC/preamplifier/headphone amplifier featuring multi-award-winning FPGA technology and supercapacitor energy storage.
The possibilities with the Hugo TT 2 are endless. Familiarise yourself with this user manual for optimal long-term use.
DRIVERS: The Hugo TT 2 is driverless with Mac OS X and Linux operating systems. Windows requires drivers, available on the Chord Electronics website.
[Image: Chord Electronics Hugo TT 2 device, silver finish, with a blue illuminated circle on top and various buttons and ports on the front.]
3.2 The Front Panel
While an IR remote control is supplied, the front panel is the main user interface and controls all user-configurable options, inputs, and volume.
There are three additional headphone outputs that require no additional amplification for headphones up to and exceeding 800Ω.
Controls:
- Screen
- Volume wheel
- Menu set button
- Menu selection button
- On/Off button
Connections:
- 3.5mm headphone jack
- ¼" headphone jack
- ¼" headphone jack
3.3 The Top Panel
In addition to the front panel features, the top panel provides visual feedback for the incoming audio sample rate using a polychromatic scale illuminated via the viewing glass.
The acrylic portion of the top panel houses the aerial for high-resolution Bluetooth playback.
[Diagram: Top view of the Hugo TT 2, showing the illuminated viewing glass and the 'Hugo' logo.]
3.4 The Rear Panel
The rear panel offers comprehensive connectivity, including standard connections and those used with other Chord Electronics devices. Ensure all cables click securely into place, especially optical connections.
Outputs:
- Left DX (BNC) digital output
- Right DX (BNC) digital output
- Left RCA analogue output
- Right RCA analogue output
- Left XLR analogue output
- Right XLR analogue output
Inputs:
- BNC 1 digital input
- BNC 2 digital input
- Optical 1 digital input
- Optical 2 digital input
- USB digital input
Power:
- DC 15V Input
⚠️ WARNING: Do not use any other power supply other than that supplied. Doing so will invalidate your warranty.
3.5 The Remote Control
A branded infra-red remote control is included for convenience. It operates up to 10 metres with a clear line-of-sight to the receiver located below the viewing glass.
For best operation, do not place the Hugo TT 2 within a cabinet or place other materials/devices on top of it.
Remote Functions:
- On/Off ⏻
- Select Bluetooth input ?
- Increase volume ➕
- Select BNC coax 1 input
- Select USB input
- Select BNC coax 2 input
- Select optical input (press and hold)
- Mute playback ?
- Cycle through filter type (FIL)
- Cycle through crossfeed (XFD)
- Volume down ➖
- Cycle through LED brightness
ℹ️ NOTE: Please only insert AAA batteries into the IR remote control and observe the correct orientation. Failure to do so could result in non-operation or battery leakage.
4.0 Setting Up Hugo TT 2
4.1 Placement
The Hugo TT 2 operates normally within a stack of other Chord Electronics Table Top (TT) components, but it is recommended to allow it to 'breathe'.
Allocating 10cm of space around the unit for convection cooling during operation is advised.
[Image: Chord Electronics Hugo TT 2 device stacked on another Chord Electronics TT component.]
[Warning icon ⚠️] As the infra-red remote control requires a direct line of sight to the viewing portal, avoid placing objects on top of the Hugo TT 2 or placing it within enclosures.
4.2 Connecting Hugo M Scaler to Hugo TT 2
To enable upscaling, connect the digital output of your audio playback device (e.g., computer via USB or CD transport via BNC) directly to the Hugo M Scaler, not your existing DAC. The M Scaler's output can then be connected to a DAC.
Select your input via the input selection switch on the Hugo M Scaler's front panel. Ensure the appropriate output is selected on your playback device.
[Diagram: Connection diagram showing Hugo M Scaler connected to Hugo TT 2 via BNC cables.]
[Diagram: Close-up of input selection switch on Hugo M Scaler.]
Input Selection Colours:
| COLOUR | INPUT |
|---|---|
| USB | |
| BNC 1 | |
| BNC 2 | |
| Optical 1 | |
| Optical 2 | |
| Bluetooth | |
| Dual BNC |
Connection Steps:
- Turn off the Hugo M Scaler, Hugo TT 2, and any other connected equipment.
- Locate BNC Output 1 on the Hugo M Scaler and connect to BNC Input 1 on the Hugo TT 2.
- Locate BNC Output 2 on the Hugo M Scaler and connect to BNC Input 2 on the Hugo TT 2.
- Turn on all equipment, including the Hugo M Scaler and Hugo TT 2.
- Cycle through the inputs on Hugo TT 2 until 'DBNC' is displayed.
- Connect the output of the device you wish to play music from to the digital inputs of the Hugo M Scaler.
4.3 Connecting Hugo TT 2 to Pre-amp or Amplifier
To connect the Hugo TT 2 to a preamp, integrated, or power amp, connect the outputs of the Hugo TT 2 to the inputs of your chosen amplifier.
- Locate the outputs on the back of the unit.
- Paying close attention to the left and right channels, insert the cables into the Hugo TT 2.
- Ensure the cables click securely into the connectors.
- Using the Menu and Set buttons, cycle through the inputs on Hugo TT 2 until 'DAC' or 'AMP' is displayed on the screen (see section 7 for more information).
[Diagram: Rear panel outputs of Hugo TT 2, showing RCA and XLR analogue outputs.]
6.0 Gain Range and Input
6.1 Gain Range
The Hugo TT 2 offers various settings to suit different equipment and environments. It is highly recommended to manually configure the device to operate in low gain range before connecting it to any equipment.
Gain ranges are represented as LO G (low gain) or HI G (high gain). Low gain is -9dB lower, or times 0.35. The output voltage at both gain levels is 4.3V RMS at 0dB.
Gain range is only available in Amplification or Headphone mode. In DAC mode, the unit sends a fixed 2.5V RMS output and does not offer user-selectable gain.
When changing gain modes, outputs are muted for 16 seconds for analogue re-initialisation. The display shows the selected mode during this period.
When volume is displayed, 'H' (high gain) or 'L' (low gain) is shown along with the volume setting in dB.
⚠️ Warning: The Hugo TT 2 is capable of delivering high output power. Never dramatically increase volume in this mode, as it could risk your equipment and hearing!
6.2 Inputs, Sample Rates & DSD Labeling
The Hugo TT 2 has a total of 6 digital inputs, 1 digital output, and 5 analogue outputs (not independently controlled).
Use the menu to navigate inputs. Refer to the table below for available sample rates:
When DSD is played back, the Hugo TT 2 displays:
- DSD 1 = DSD 64
- DSD 2 = DSD 128
- DSD 4 = DSD 256
- DSD 8 = DSD 512
| Input | Sample Rates & Bit Depth |
|---|---|
| USB* | 44.1kHz to 768kHz, 16bit to 32bit - DSD 64 to DSD 256 (DoP interface), 16bit to 32bit DSD 64 to DSD 512 (native USB interface) |
| BNC 1 | 44.1kHz to 384kHz, 16bit to 24bit |
| BNC 2 | 44.1kHz to 384kHz, 16bit to 24bit |
| Optical 1 | 44.1kHz to 192kHz, 16bit to 24bit |
| Optical 2 | 44.1kHz to 192kHz, 24bit |
| Bluetooth | APTX |
| Dual BNC** | Special operation - DBNC: 88.2kHz to 768kHz, 24bit |
*USB is natively compatible with Mac OS X and Linux without drivers. Windows may require drivers from the Chord Electronics website.
**Dual BNC is reserved for special operation with Chord Electronics partnering products. It only appears when successfully connected to a partnering product.
7.0 Playback Modes
7.1 Playback Modes
The Hugo TT 2 offers three user-selectable modes for intended operation: Headphone mode, Amplification mode, and DAC mode.
When headphones are connected, the device automatically enters Headphone Mode for headphone listening only. This mode cannot be manually deselected; it is disengaged only when headphones are removed.
When headphones are disconnected, you can switch between Amplification Mode or DAC Mode by pressing the 'MENU' button until 'AMP' or 'DAC' is displayed. Pressing 'SET' cycles through and engages each mode.
[Diagrams: Icons representing Headphone mode (HP), DAC mode (DAC), and Amplification mode (AMP) on the Hugo TT 2 screen.]
⚠️ WARNING: For the protection of your hearing and equipment, do not navigate between AMP and DAC modes without disconnecting the Hugo TT 2 from any other device or music source.
7.2 Headphone Mode
When headphones are detected in one of the three front-panel connectors, the device enters Headphone Mode, exclusively for headphone listening.
In this mode, the Hugo TT 2 remembers the last-used settings (including volume) and can effortlessly drive any impedance headphones (16Ω to 800Ω) without an external headphone amplifier.
⚠️ For your protection, when headphones are connected, you cannot manually exit Headphone mode until they are disconnected.
7.3 Amplification Mode
With headphones disconnected, Amplification Mode can be manually engaged.
This mode utilises the Hugo TT 2's digital preamplifier, allowing volume/output level control via the volume wheel or remote control.
The rated specifications are 7W/8Ω (RCA) and 18W/8Ω (XLR balanced). This power is supplied by a high-power discrete output stage and super-capacitors for huge dynamic currents.
In most circumstances, to match a preamplifier or power amplifier, operate the Hugo TT 2 in Low Gain mode and significantly reduce the volume before raising it to a comfortable listening level.
⚠️ WARNING: For the protection of your hearing and equipment, do not navigate between the AMP and DAC modes without disconnecting the Hugo TT 2 from any other device or music source.
[Diagram: Close-up of Hugo TT 2 front panel showing MENU and SET buttons, and the AMP mode indicator.]
7.4 DAC Mode
With headphones disconnected, DAC Mode is selectable. This mode is suitable for conventional audio systems with an external amplifier. When selected, a 2.5V RMS line-level signal is present on all outputs.
As the output level is fixed in DAC Mode, the Volume ball and remote control volume will no longer respond or illuminate.
Before connecting to other components, consult their respective user manuals. If a line-level signal less than 2.5V is required, use Amplification Mode in low gain and attenuate the signal accordingly.
ℹ️ NOTE: As the output level is fixed in this mode, the volume ball will become unresponsive and will no longer illuminate.
⚠️ WARNING: Never connect any device incapable of attenuating a line-level signal to the Hugo TT 2 in DAC Mode. Doing so could result in permanent damage to connected equipment and your hearing.
When changing from DAC/AMP mode, outputs are muted for 16 seconds for analogue re-initialisation. The display shows the mode set during this period.
[Diagram: Close-up of Hugo TT 2 rear panel showing DAC mode indicator.]
8.0 Special Features
8.1 Crossfeed (XFD) & Filters (FIL)
CROSSFEED: Crossfeed is digital processing that blends left and right stereo channels for a speaker-like presentation during headphone listening. It is a separately configurable option when not in Headphone Mode.
The Hugo TT 2 has four Crossfeed modes (XFD on display):
- XFD0: No crossfeed.
- XFD1: Minimal crossfeed.
- XFD2: Moderate crossfeed.
- XFD3: Broad crossfeed.
FILTER: The Hugo TT 2 can alter how it processes and filters incoming audio data, affecting audio presentation. These modes are particularly useful with DSD recordings.
Filter modes:
- FIL1 - Incisive neutral: The default filtering characteristic, considered the absolute reference.
- FIL2 - Incisive neutral with HF roll-off: Similar to FIL1, but with an HF filter to remove noise from HD (88.2 to 768 kHz) recordings.
- FIL3 - Warm: A secondary filtering characteristic with a subtle warming tonality.
- FIL4 - Warm with HF roll-off: Similar to FIL3, but with an HF filter to remove noise from HD (88.2 to 768 kHz) recordings.
[Diagram: Illustration of the FIL1 filter characteristic.]
8.2 Display Dimming, Settings Memory, Supercapacitors & Galvanic Isolation
DISPLAY DIMMING: For darker environments, bright LEDs can be challenging. The Hugo TT 2 offers two brightness settings:
- Full - DIM1: Absolute brightness, for well-lit rooms.
- Low - DIM2: Low brightness, for dimly lit environments.
[Diagrams: Illustrations showing 'Absolute brightness' and 'Low brightness' settings for the display.]
SETTINGS MEMORY: The Hugo TT 2 remembers previous settings (including volume and filters) even when powered down or the power supply is removed. No special actions are required.
SUPERCAPACITOR ENERGY STORAGE: The Hugo TT 2 uses six supercapacitors in the power supply unit, capable of delivering huge linear dynamic currents with a peak output of 5A and 9.3V RMS.
Respect the output power of the Hugo TT 2. Once all equipment is connected, gently increase the volume until sufficient. Never overload a device with power.
GALVANIC ISOLATION: Galvanic isolation separates the power rails of the data USB input for greater sonic performance. The Hugo TT 2 features a Class 2 Type-B USB input with this protection. The USB +5V VBUS must be connected and powered, as the USB decoder device is powered from this line.
8.3 Display Messages
During use, the Hugo TT 2 may display various messages. Refer to the table below for their meanings:
| Message | Meaning |
|---|---|
| P LO | Power input has too low voltage |
| P HI | Power input has too high voltage |
| OT L | Over temperature left - check cabling for short circuits |
| OT R | Over temperature right - check cabling for short circuits |
| OT F | The FPGA has exceeded maximum temperature; please improve ventilation. |
| DC L | DC detected on digital input, left. If present with no digital source, a fault has been found. |
| DC R | DC detected on digital input, left. If present with no digital source, a fault has been found. |
| CHG | Hugo TT 2 is charging the super-capacitors. |
| STBY | Hugo TT 2 is entering standby mode. |
| HP | Headphone mode is entered. |
| DAC | DAC mode is entered. |
| DSD1 | DSD 64 is playing back. |
| DSD 2 | DSD 128 is playing back. |
| DSD 4 | DSD 256 is playing back. |
| DSD 8 | DSD 512 is playing back. |


