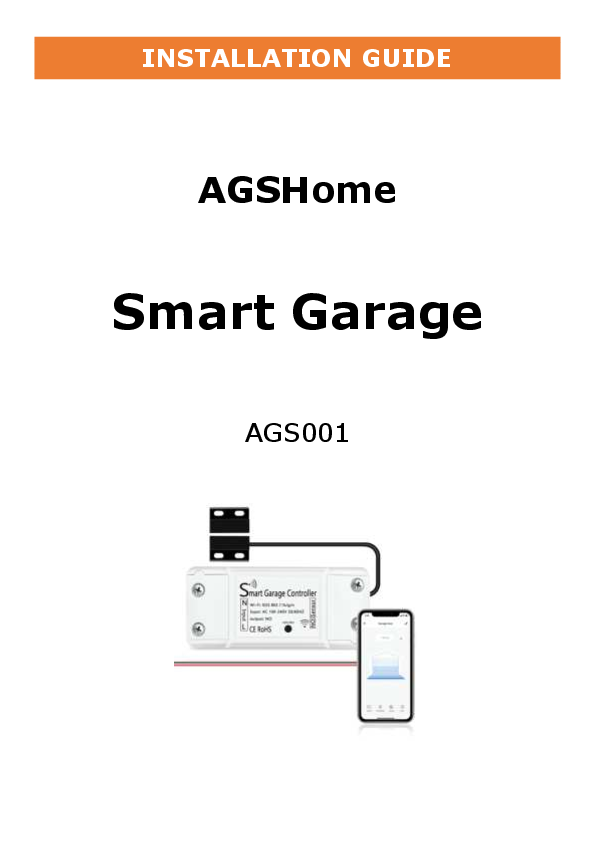
AGSHome Smart Garage Door Opener - AGS001
WARNING
TO PREVENT SERIOUS INJURY FROM YOUR MOVING GARAGE DOOR OR GATES:
- DO NOT let children use AGSHome Smart Garage Door Opener product and app without adult supervision.
- ONLY operate your AGSHome Smart Garage Door Opener device when you are in clear view of your garage or gate, and you have verified that there are no objects obstructing the operation of the door.
- ALWAYS wait for the garage door or gate to be completely closed.
WHAT'S IN THE BOX
- Smart Garage Controller
- Wire Holders
- Sensor Mounting Bracket
- 3M Sticker
- Zip Ties
- Screws / Bolts / Nuts
COMPATIBILITY CHECK
Verify the AGSHome Smart Garage Door Controller works with your garage door:
- Look for your garage door on the included "Garage Door Compatibility Guide". Garage door openers with yellow / purple learn buttons will likely NOT work.
- Manually ensure your garage door opener is compatible with the Smart Garage Door Controller. Follow the wires from the wall-mounted garage controller to your garage door opener. Where the wall-mounted garage door controller wires connect to the opener, use needle-nose pliers or a paperclip to touch the two garage door terminals together. If the garage door opens or closes, the Smart Garage Door Controller is compatible with your garage door opener; these will be the terminals the Smart Garage Door Controller will plug into.
[Image: A red circle with a diagonal line over a yellow learn button on a garage door opener control panel.]
[Image: Pliers touching two terminals labeled with '+' on a garage door opener control panel.]
INSTALLATION
-
Check your Wi-Fi
Check the Wi-Fi signal in the garage, where the Smart Garage Controller will be mounted 4 to 5 feet away from the garage door opener.
[Image: A smartphone displaying a Wi-Fi signal strength indicator, with a garage door opener in the background.]
-
Power up your device
Find a convenient location and power the Smart Garage Controller by plugging it in. The blue LED will start blinking.
-
Download the APP
Install the "Tuya Smart" or "Smart Life" app on your mobile phone from the Apple App Store or Google Play Store.
[Image: QR codes for downloading the Tuya Smart and Smart Life apps, with links to the App Store and Google Play.]
-
Add device in the APP
- Launch the app and select the Plus (+) icon in the top right corner to add a device.
- Select "Electrician", then select "Smart Garage Door Opener".
- Tap "Confirm indicator rapidly blink".
- Connect to your Wi-Fi network, enter the password, then select "Confirm".
- Once you select "Confirm" after entering the password, the app will start to pair the Smart Garage Door Opener to your app.
[Image: Screenshots of the Tuya Smart app showing the process of adding a device, including selecting 'Smart Garage Door Opener'.]
Installation Overview
[Image: Diagram illustrating the two main steps of installation: 1. Connecting the controller to the opener, and 2. Installing the sensor on the garage door and frame.]
-
STEP 1: Connect Controller to Opener
Locate the 2 exposed wires coming out of the Controller. Insert the 2 exposed wires into the terminals on the back of your Garage Door Opener.
[Image: Close-up of the controller's wires being inserted into the terminals of a garage door opener.]
[Image: Diagram showing wire connections to the opener's terminals.]
-
STEP 2: Install the sensor
The sensor has 2 parts. Both sensor parts must be mounted parallel to each other, and they must be 3-15 mm apart, not touching. Mount the sensor with the wire on the garage frame wall, and mount the sensor without the wire on the top of the garage door.
[Image: Diagram showing the correct placement and spacing of the two sensor parts on the garage door and frame.]
