File info: application/pdf · 20 pages · 9.89MB
Service manual - 2022 Checkpoint SL & SLR
Trek Bike Owners Manuals and Bontrager Product Manuals | Trek Bikes
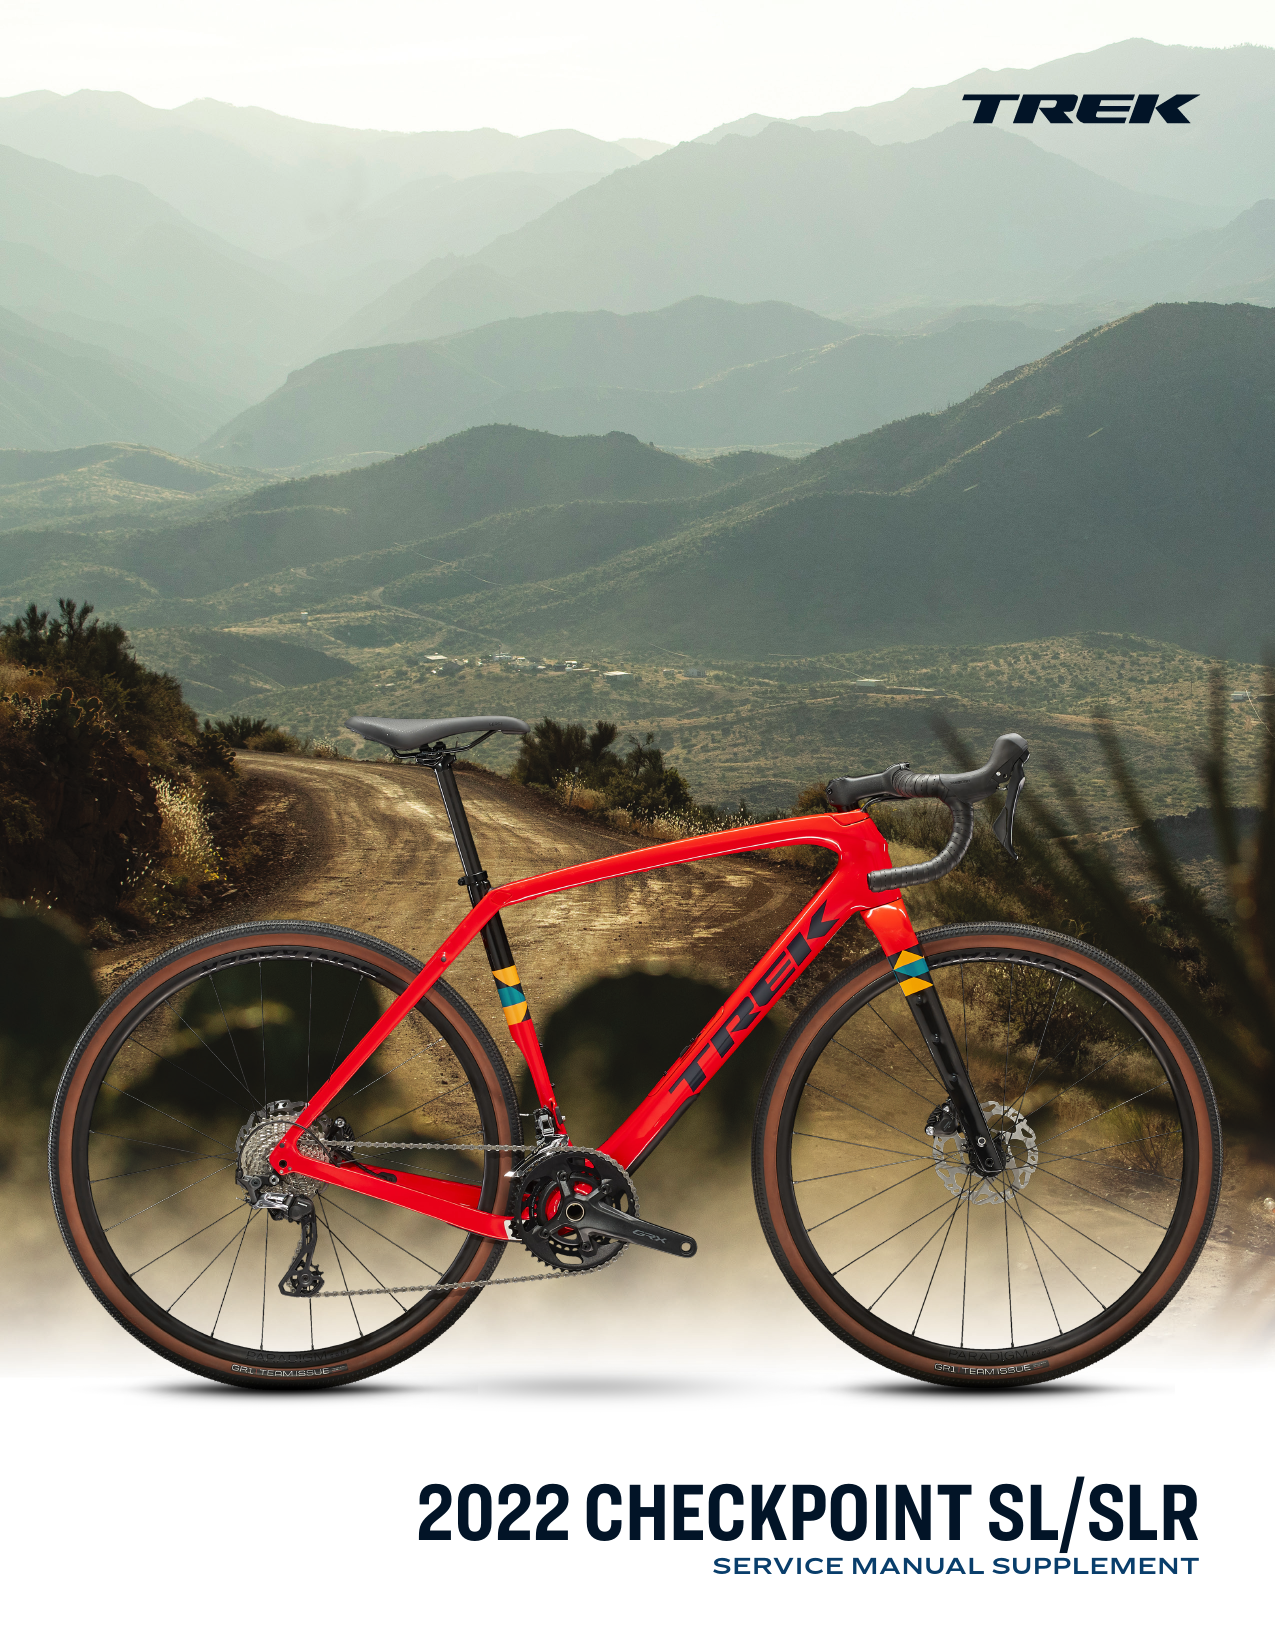
2022 CHECKPOINT SL/SLR - Scene7
2022 Checkpoint SL/SLR 8 T47 bottom bracket Install the bottom bracket 1. Apply grease to the threads on both sides of the frame. 2. Using your hands, thread the bottom bracket onto the frame. NOTICE: Do not start tight…
Extracted Text
2022 CHECKPOINT SL/SLR SERVICE MANUAL SUPPLEMENT

Contents

2022 Checkpoint SL/SLR

Safety

Brake/shift routing -- Brake routing -- eTap Brake/shift routing --

mechanical

Di2

T47 bottom bracket

Headset and fork

IsoSpeed -- SL

IsoSpeed -- SLR

Storage door

Frame guards

Chainkeeper

Accessories -- SL

Accessories -- SLR

Specifications

Safety

Legend

WARNING
Properly tighten hardware
Always tighten hardware to the specified torque. Over-tightening hardware could deform or break the hardware or components. Under-tightening hardware could cause hardware or components to become loose. Either situation could damage the bicycle and result in injury to the rider.
WARNING
Reapply threadlocker
All reused-fasteners with pre-applied threadlocker must be cleaned with isopropyl alcohol and have new threadlocker applied before re-assembly. If threadlocker is not applied, the fasteners may loosen which could damage the bicycle and result in injury to the rider.

Apply grease
Do not apply grease
Apply threadlocker Nm Torque
 Zip tie

Copyright 2021 Trek Bicycle Corporation All Rights Reserved
1

Brake/shift routing -- mechanical
5 6.5Nm
max 4

2022 Checkpoint SL/SLR

6

9

8

7


1

2-3Nm

3

2

1 Rear derailleur hanger -- W524188 2 Rear derailleur hanger bolts -- W524884 3 Housing grommets -- W330578 4 Front derailleur washer -- W531901 5 Front derailleur bolt -- W543903 6 Front derailleur cable 7 Rear derailleur cable 8 Front brake hose 9 Rear brake hose 10 Dropper post cable

NOTE: Tighten the front derailleur bolt (5) to the manufacturer's specifications.
Route the brake hoses
1. Connect the calipers to the brake hoses. 2. Route the rear brake hose through the grommet (3).
Route both brake hoses as shown.
3. Attach the calipers to the chainstay and fork. Do not fully torque the mounting bolts until the calipers are aligned correctly.

2

2022 Checkpoint SL/SLR

Brake/shift routing -- mechanical (continued)

Route the shift cables
1. Mark the rear shift cable with a marker. You will need to tell the cables apart when you assemble the headset.
2. Route the front derailleur shift cable through the grommet (3). Route both shift cables through the frame as shown.

Dropper post cable routing (SL only)
Cut out a hole in the outer dimple on the back of the routing cap grommet. Route the dropper post cable to the handlebars as shown below.
NOTE: A dropper post is not compatible with the SLR model due to the seat mast system.

10

3. Attach the derailleurs to the bicycle.

10

4. Connect the shift cables to the derailleurs.

5. Zip tie the shift cables and rear brake hose to the outside of the storage door frame.


3

Brake routing -- eTap
6 5
6.5Nm max

2022 Checkpoint SL/SLR
7 8


1

4

2-3Nm

3

2

1 Rear derailleur hanger -- W524188 2 Rear derailleur hanger bolts -- W524884 3 Plug -- W330578 4 Housing grommet -- W330578 5 Front derailleur washer -- W531901 6 Front derailleur bolt -- W543903 7 Front brake hose 8 Rear brake hose 9 Dropper post cable

NOTE: Tighten the front derailleur bolt (6) to the manufacturer's specifications.
Route the brake hoses
1. Connect the calipers to the brake hoses. 2. Route the rear brake hose through the grommet (4).
Route both brake hoses as shown.
3. Attach the calipers to the chainstay and fork. Do not fully torque the mounting bolts until the calipers are aligned correctly.
4. Zip tie the rear brake hose to the outside of the storage door frame.

4

Brake routing -- eTap (continued)
Dropper post cable routing (SL only)
NOTE: A dropper post is not compatible with the SLR model due to the seat mast system.
9
9

2022 Checkpoint SL/SLR


5

Brake/shift routing -- Di2
NOTE: Tighten the front derailleur bolt (6) to the manufacturer's specifications.

5

6

6.5Nm max

7

2022 Checkpoint SL/SLR
9 11 10


1

2-3Nm

2

3

4

3Nm 8

1 Rear derailleur hanger -- W524188 2 Rear derailleur hanger bolts -- W524884 3 Di2 exit grommet -- 600208 4 Housing grommets -- W330578 5 Front derailleur washer -- W531901 6 Front derailleur bolt -- W543903 7 Battery holder and cable guide -- 588188 8 Screws (M4x9mm) -- 588188 9 Front brake hose 10 Rear brake hose 11 Di2 wires

Route the brake hoses
1. Connect the calipers to the brake hoses. 2. Route the rear brake hose through the grommet (3).
Route both brake hoses as shown.
3. Attach the calipers to the chainstay and fork. Do not fully torque the mounting bolts until the calipers are aligned correctly.

6

Brake/shift routing -- Di2 (continued)
Di2 wiring diagram

2022 Checkpoint SL/SLR

Battery Rear derailleur

Junction A (charging port)
Front derailleur Junction B

7

T47 bottom bracket
Install the bottom bracket
1. Apply grease to the threads on both sides of the frame.

2022 Checkpoint SL/SLR

Spacers required
The table below contains bottom bracket/crank combinations that require spacers. Your bicycle may have other combinations that do not require spacers.

Crank

Bottom bracket

Shimano DUB
SRAM GXP

CeramicSpeed 24mm SRAM DUB Wheels MFG

Spacers required

Drive Non-drive

side

side

0.5mm 0.5mm

2-3mm

--

1.0mm

--

2. Using your hands, thread the bottom bracket onto the frame.
NOTICE: Do not start tightening the bottom bracket with a tool. Dirt and other contaminants can damage the threading.

3. Use the proper tool to torque both sides to specification (see the Tool and spline compatibility table below).
4. If necessary, add spacers before installing the cranks (see the Spacers required table at the top right).

Tool and spline compatibility

Bottom bracket manufacturer

Tool

Model Part number

Praxis

24mm 30mm

Praxis TP-2400 TP-3028 594148 594147
X
X

Wheels MFG

SRAM DUB

Chris King

Ceramic- 24mm

Speed

GXP

Unior 1671.T47 1043614
X X
X X X

driveside washer

non-driveside washer

SRAM GXP cranks only

Park Tool
BBT-47 568922

Wheels Mfg
BBTOOL-48-44 589307

CeramicSpeed --

X

X

X

X

X

X

8

2022 Checkpoint SL/SLR

Headset and fork
1
2 4
3

Install the headset
1. Clean the steerer tube using isopropyl alcohol.
2. Grease both bearings (5), the fork crown race, and the inside of the head tube as shown to the left.
3. Insert the fork into the head tube.
TIP: Support the fork with a table during the assembly.
4. Route the shift cables and brake hoses through the split ring (4) as shown below (see pages 2-7 for different routing examples).

9

6

8 7 5

4

1 Spacer (5mm) -- 5253930 2 Frame routing cap -- W5253579 3 Frame routing cap grommet -- W5253580 4 Headset split ring -- W5266050 5 Headset bearings -- W540243 6 Front derailleur cable 7 Rear derailleur cable 8 Front brake hose 9 Rear brake hose

Mechanical routing example 5. Complete the headset assembly as shown to the left.
NOTE: If cutting the steerer tube, cut 2mm above the stem. Make sure the stem is in its final position with the required spacers underneath. The 2mm of clearance is required to hold the 5mm spacer (1) above the stem in place.
9

IsoSpeed -- SL
7

9 4

2022 Checkpoint SL/SLR

1 2 3

5 6

1 Bolt

2 Wave washer

3 Washer 4 Flanged bushing

kit W569265

5 Cylindrical bushing

6 Nut

7 Cap, non-driveside (as shown) -- 5253577

8 Cap, driveside (as shown) -- 5253576

9 Grommet -- W5253578

8
Install the IsoSpeed
1. Carefully remove the IsoSpeed covers (7, 8) with a paint-safe plastic pry bar.
2. Remove the bolt (1), nut (6), and washers. 3. Use a 50/50 isopropyl alcohol/water mix to clean the
nut threads (6), bolt threads (1), and the inside of the bushings (4, 5). 4. Apply threadlocker to the nut threads.
6

10

IsoSpeed -- SL (continued)
5. Apply grease to the bolt and nut as shown below. NOTICE: Do not apply grease to the threads.

1

6

6. Place the washers on the bolt. Tighten the nut to 10Nm while securing the bolt with a wrench as shown below.

6 10Nm

32 1

7.8 8.0 8.2
7. Re-install the IsoSpeed covers. 8. Allow the assembly to cure for 24 hours at room
temperature (72�F/22�C).

2022 Checkpoint SL/SLR
11

IsoSpeed -- SLR

1 5

12

6

2022 Checkpoint SL/SLR

2

9

15Nm

10

4 11
8 3

Seatmast sub-assembly

7

1 Seatmast

2 Side cover, non-driveside (as shown) -- 5256900

3 Side cover, driveside (as shown) -- 5256899

4 Grommet -- W5256901

5 Clip -- 5256904

6 Bumper -- 5256904

7 Flanged bushings -- 5256074

8 Nut

9 Bolt

10 Wave washer

kit 5271110

11 Flat washer

12 Cylindrical bushing

Install the IsoSpeed
1. Carefully remove the IsoSpeed covers (2, 3) with a paint-safe plastic pry bar.
2. Remove the bolt (9), nut (8), and washers. 3. Use a 50/50 isopropyl alcohol/water mix to clean the
nut threads (8), bolt threads (9), and the inside of the bushings (7, 12). 4. Apply threadlocker to the nut threads.
8

12

IsoSpeed -- SLR (continued)
5. Apply grease to the bolt (9) as shown below. NOTICE: Do not apply grease to the threads.
9
6. Install the hardware as shown on page 12. Torque the bolt (9) to 15Nm. NOTE: On some early production models, the bolt may have "8Nm" incorrectly etched into the head. Disregard this etching.
8. Re-install the IsoSpeed covers. 9. Allow the assembly to cure for 24 hours at room
temperature (72�F/22�C).

2022 Checkpoint SL/SLR

13

Storage door
4 3
1
1 Storage door kit -- 5256900 2 Mount screws 3 Bolt (M5x8mm) -- 596823 4 Bolt (M5x16mm) -- 596821

2022 Checkpoint SL/SLR 1.2Nm 2

14

Frame guards

2022 Checkpoint SL/SLR

1
1 Chainstay frame guard -- W5253575 2 Button head screws -- 1042535 3 Down tube guard -- 5253574

3 1.2Nm 2

15

Chainkeeper
Adjust the chainkeeper
1. Shift to the lowest gear (largest rear cassette cog) and inner chainring. 2. Loosen the top screw on the chainkeeper. 3. Rotate the loose piece so there is 1mm of horizontal clearance to the chain. 4. Tighten the top screw.

2022 Checkpoint SL/SLR

W566021

3Nm

Clearance

1mm

Adjust clearance

16

Accessories -- SL
Water bottle cage adapters
For frames 54cm or larger, you can fit three water bottle cages in the frame triangle using the adapters.

2022 Checkpoint SL/SLR
Mounting inserts
All mounting inserts are M5x0.8.

5
23 1 Fender mount bolts -- 317700 2 Bolt (M5x8mm) -- 596823 3 Bolt (M5x16mm) -- 596821 4 Frame bag 5 Water bottle cage adapters -- W5271627

Rack, fenders, and frame bag
NOTE: Use only steel fasteners to attach racks, bags, and fenders. Do not use aluminum fasteners as they are not rated for these loads.
Rack
4

Rear fender

Front fender

1

17

Accessories -- SLR
Water bottle cage adapters
For frames 54cm or larger, you can fit three water bottle cages in the frame triangle using the adapters.

2022 Checkpoint SL/SLR
Mounting inserts
All mounting inserts are M5x0.8.

Fenders and frame bag

NOTE: Use only steel fasteners to attach fenders and bags.

5

Do not use aluminum fasteners as they are not rated for

these loads.

4

23
1 Fender mount bolts -- 317700 2 Bolt (M5x8mm) -- 596823 3 Bolt (M5x16mm) -- 596821 4 Frame bag 5 Water bottle cage adapters -- W5271627

Rear fender

Front fender

1

18

Specifications

SL

SLR

Rear hub OLD

142mm

142mm

Seat post OD

27.2mm

Seat post clamp ID

31.9mm

Seatmast ID

30mm

Upper fork steerer tube OD

28.6mm

28.6mm

Lower fork steerer tube OD

38.1mm

38.1mm

Bottom bracket type/width T47/85.5mm T47/85.5mm

Brake rotor diameter min/max 140/160mm 140/160mm

Chainline (1x)

45mm (SRAM)

45mm (SRAM)

Chainline (2x)

45mm (SRAM)
43.5 (Shimano)

45mm (SRAM)
43.5 (Shimano)

Chainring max (1x)

46t (SRAM) 46t (SRAM)

Chainring

Small

37t

37t

max (2x)

Large

50t

50t

Tire width max 700c (without fenders)

45mm (1.8") 45mm (1.8")

Tire width max 650b (without fenders)

53.5mm (2.1")

53.5mm (2.1")

Fender compatible -- rear

Yes

Yes

Fender compatible -- front

Yes

Yes

Rack mount compatible

Yes

No

Dropper post compatible

Yes

No

2022 Checkpoint SL/SLR
Headset bearing dimensions (W540243)
40mm

6.5mm 5mm

51mm

36�

19