orativo Lanix de C V LX20 WCDMA Mobile Phone User Manual ZW90A45
Corporativo Lanix S.A. de C.V. WCDMA Mobile Phone ZW90A45
UserManual.wiki
>
orativo Lanix de C V
>
LX20 User Manual
>
user manual
Contents
1.
user manual
2.
User Manual
user manual
Navigation menu
Upload a User Manual
Namespaces
Wiki Guide
HTML
PDF
Info
Views
User Manual
Discussion / Help
Navigation


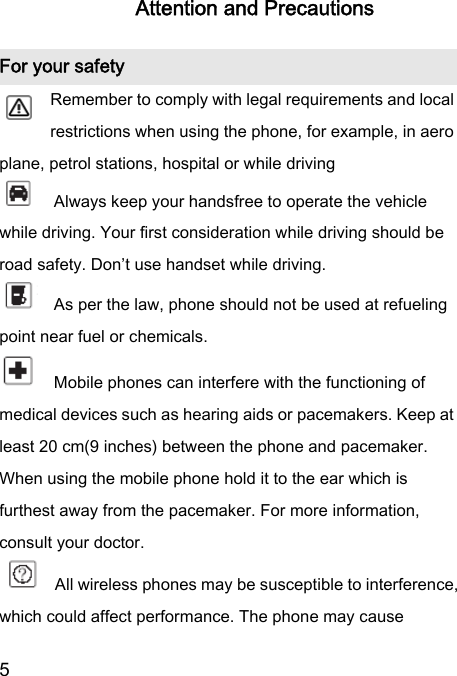


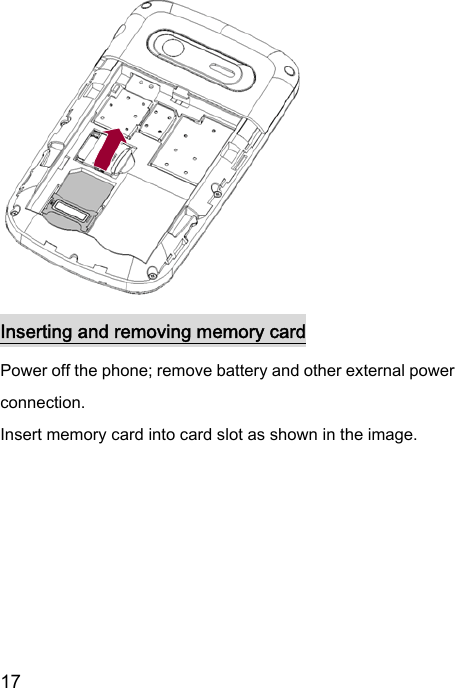
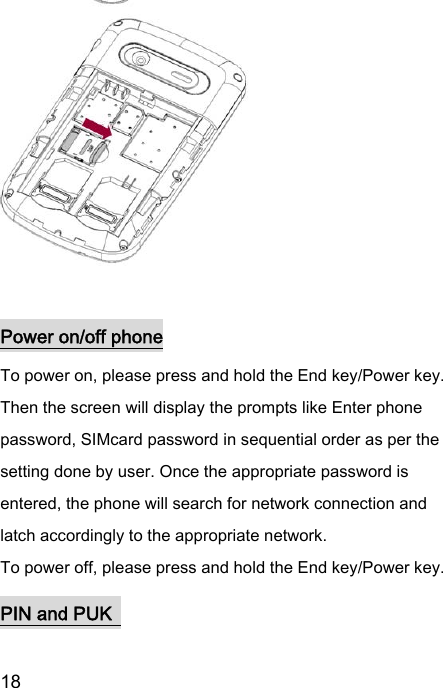
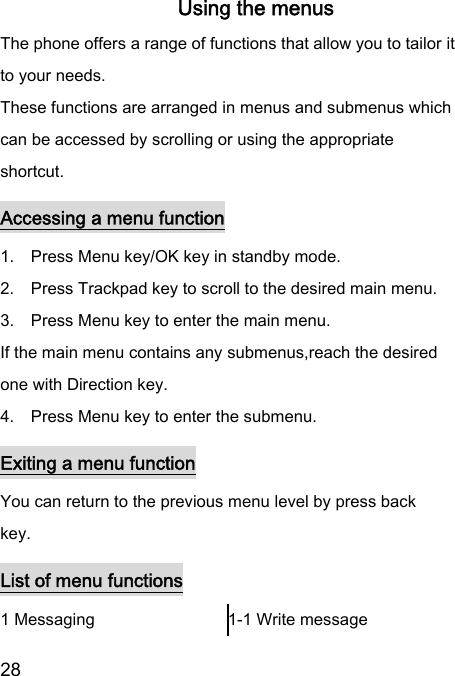
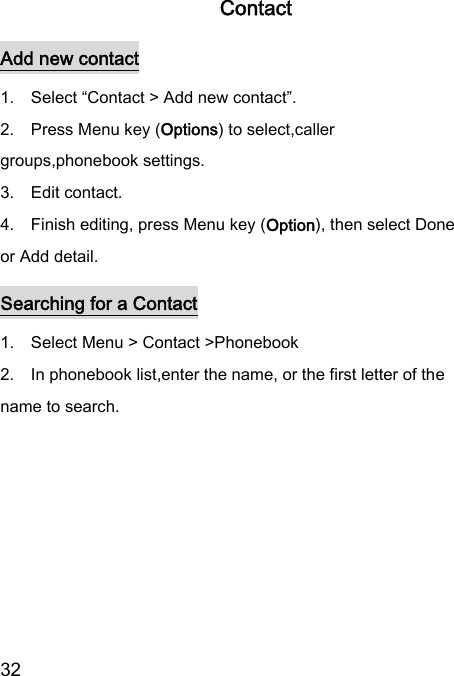
![12 Key functions Keys Description [Send key] Press to perform one of the following: y Open recent call log y Call a contact when a contact name/number is highlighted [Menu key] Press to open a list of actions available on the current screen. Select Yes in prompt windows. [End key] When on a call,press to hang up. When not on a call: y Press and hold to power on/off the phone. y Press to back to idle screen. [Back key] Press to return to previous menu. Select No in prompt windows. [Trackpad key] Press this key in idle mode to enter the main menu. Performs the function of the prompt displayed at lower left corner of the screen.](https://usermanual.wiki/orativo-Lanix-de-C-V/LX20.user-manual/User-Guide-1441850-Page-12.png)