shunde Md Microwave Oven EV1044X-Y Microwave Oven User Manual 296821
shunde Md Microwave Oven Manufactory Co., ltd. Microwave Oven 296821
users manual

- 28 -
Helpful information
Microwave Terms
Term Definition
Arcing
Arcing is the microwave term for sparks in the oven. Arcing is caused by :
·metal or foil touching the side of the oven.
·Foil that is not molded to food (upturned edges act like antennas).
·Metal such as twist ties. poultry pins, gold-rimmed dishes.
·Recycled paper towels containing small metal pieces.
Covering
Covers hold in moisture, allow for more even heating and reduce cooking time. Venting
plastic wrap or covering with wax paper allows excess steam to escape.
Shielding
In a regular oven, you shield chicken breasts or baked foods to prevent over-browning.
When microwaving, you use small strips of foil to shield thin parts, such as the tips of
wings and legs on poultry, which would cook before larger parts.
Standing Time
When you cook with regular ovens, foods such as roasts or cakes are allowed to stand to
finish cooking or to set. Standing time is especially important in microwave cooking. Note
that a microwaved cake is not placed on a cooling rack.
Venti n g
After covering a dish with plastic wrap, you vent the plastic wrap by turning back one
corner so excess steam can escape.
- 29 -
Care and Cleaning
Helpful Hints
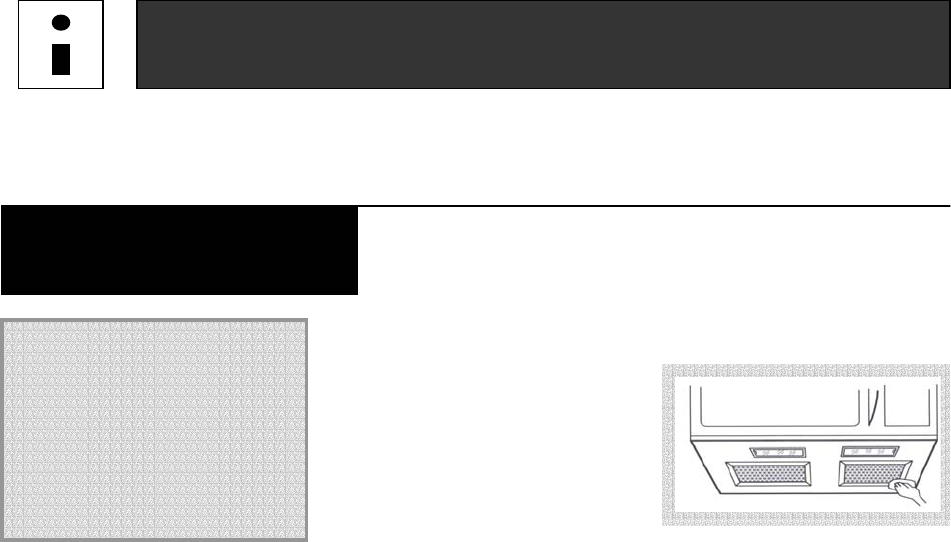
Open the over door a few minutes
after cooking to air out the inside.
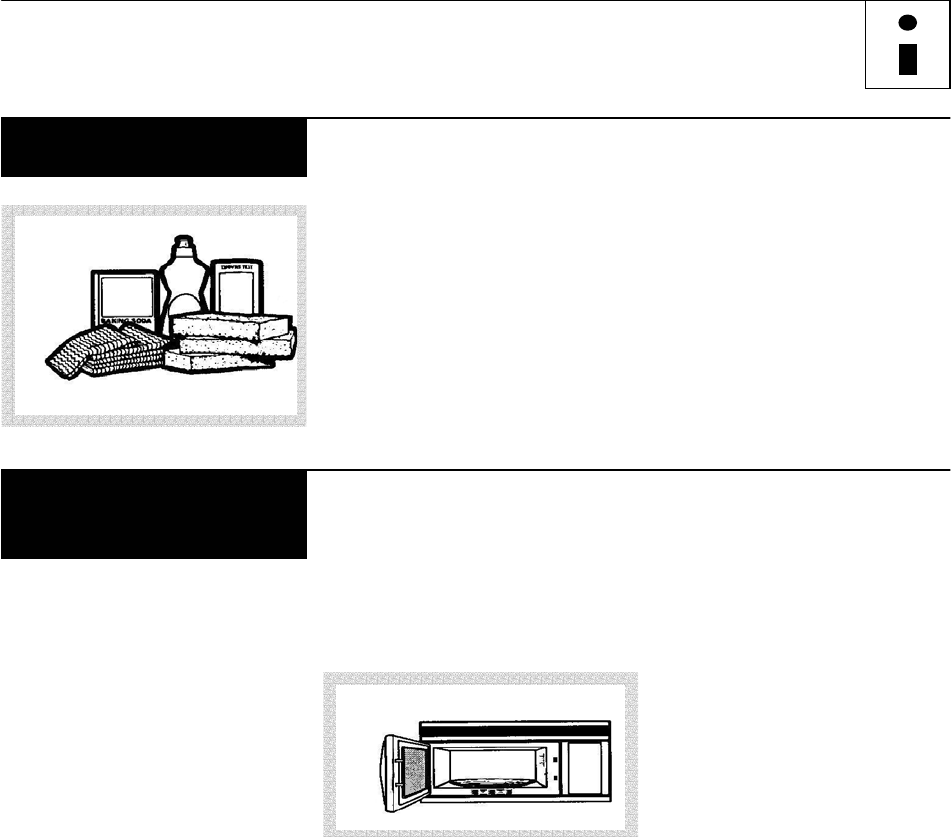
An occasional thorough wiping with
a solution of baking soda and water
keeps the inside fresh.
NOTE: Be certain the
power is off before
cleaning any part of this
over.
How to Clean
the Inside
Walls, Floor, Inside Window,
Metal and Plastic Parts on
the Door
Some spatters can be removed with
a paper towel; others may require a
damp cloth. Remove greasy spatters
with a sudsy cloth, and then rinse
with a damp cloth. Do not use
abrasive cleaners or sharp utensils
on oven walls.
Never use a commercial over
cleaner on any part of your
microwave.
Removable Turntable and
Turntable Support
To prevent breakage, do not place
the turntable into water just after
cooking. Wash it carefully in warm,
sudsy water or in the dishwasher.
The turntable and support can be
broken if dropped. Remember; do
not operate the oven without the
turntable and support in place.
- 30 -
Helpful information
Care and Cleaning
How to Clean
The Outside
Do not use cleaners
containing ammonia or
alcohol on the microwave
oven. Ammonia or alcohol
can damage the
appearance of the
microwave.
Case
Clean the outside of the microwave
with a sudsy cloth. Rinse and then
dry. Wipe the window clean with a
damp cloth.
Control Panel and Door
Wipe with a damp cloth. Dry
thoroughly. Do not use cleaning
sprays; large amounts of soap and
water, abrasives or sharp objects on
the panel-they can damage it. Some
paper towels can also scratch the
control panel.
Door surface
It’s important to keep the area clean
where the door seals against the
microwave. Use only mild,
nonabrasive detergents applied with
a clean sponge or soft cloth. Rinse
well.
Bottom
Clean off the grease and dust on the
bottom often. Use a solution of
warm water and detergent.
- 31 -
Light Bulb Replacement
Cooktop Light
Replace the
burned-out bulb
with a 40-watt
incandescent
bulb.
1 To replace the bulb(s), first
disconnect the power at the main
fuse or circuit breaker panel or pull
the plug.
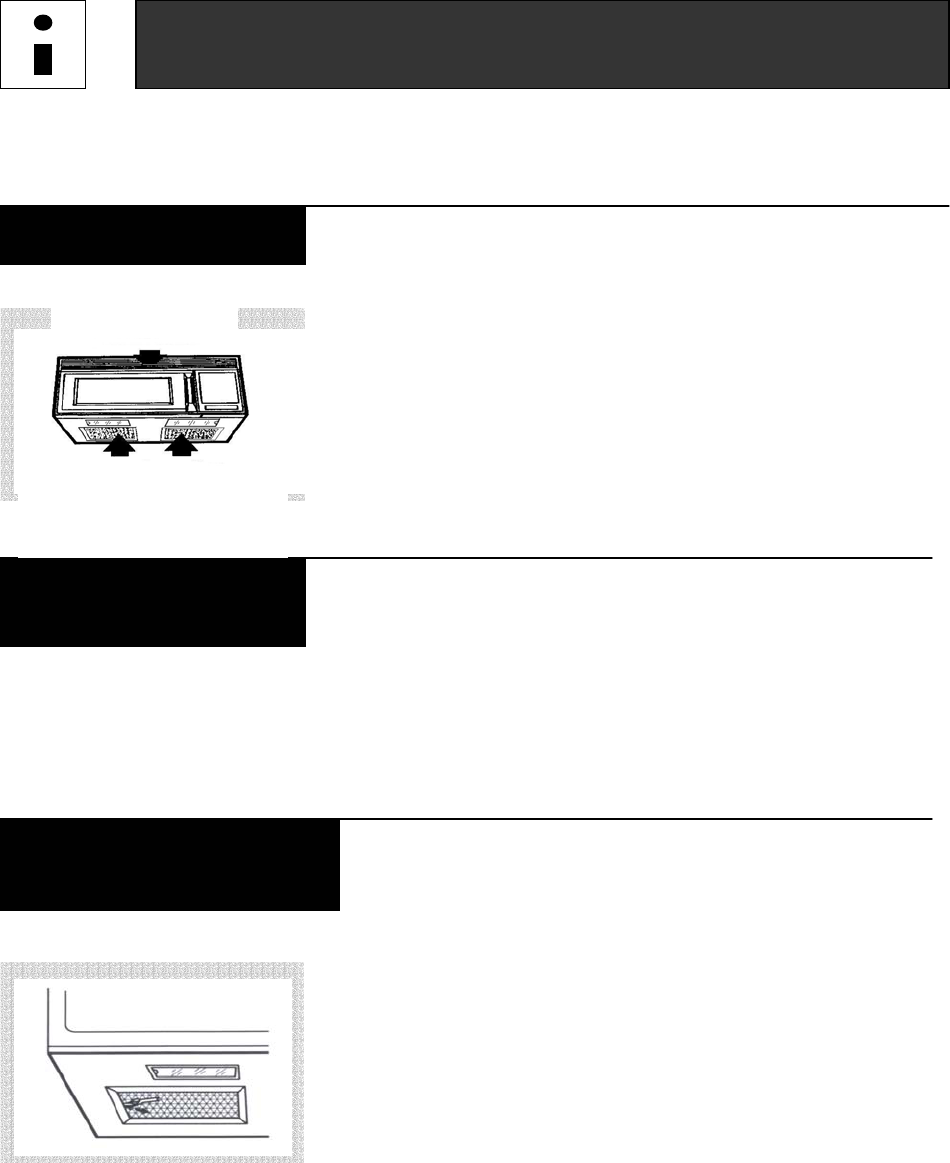
2 Remove the screw at the side of
the light cover and lower the cover.
3 Be sure the bulb(s) to be replaced
are cool before removing. After
breaking the adhesive seal, remove
the bulb by gently turning.
4 Replace the screw. Connect
electrical power to the oven.
Oven Light
Replace the burned-out
bulb with a 40-watt
incandescent bulb.
1 To replace the oven light, first
disconnect the power at the main
fuse or circuit breaker panel or pull
the plug.
2 Remove the top grille by taking
out the 2 screws that hold it in place.
3 Next, remove the screw located
above the door near the center of the
oven that secures the light housing .
4 Replace the screw. Connect
electrical power to the oven.
- 32 -
Helpful information
The Exhaust Feature
The Vent Fan
The vent fan has 2 metal reusable
grease filters.
Models that recirculate air back into
the room also use a charcoal filter.
Reusable grease
filters
The metal filters trap grease released
by foods on the cooktop. They also
prevent flames from foods on the
cooktop from damaging the inside of
the microwave.
For this reason, the filters must
ALWAYS be in place when the hood
is used. The grease filters should be
cleaned once a month ,or as needed.
Removing and
Cleaning the Filter
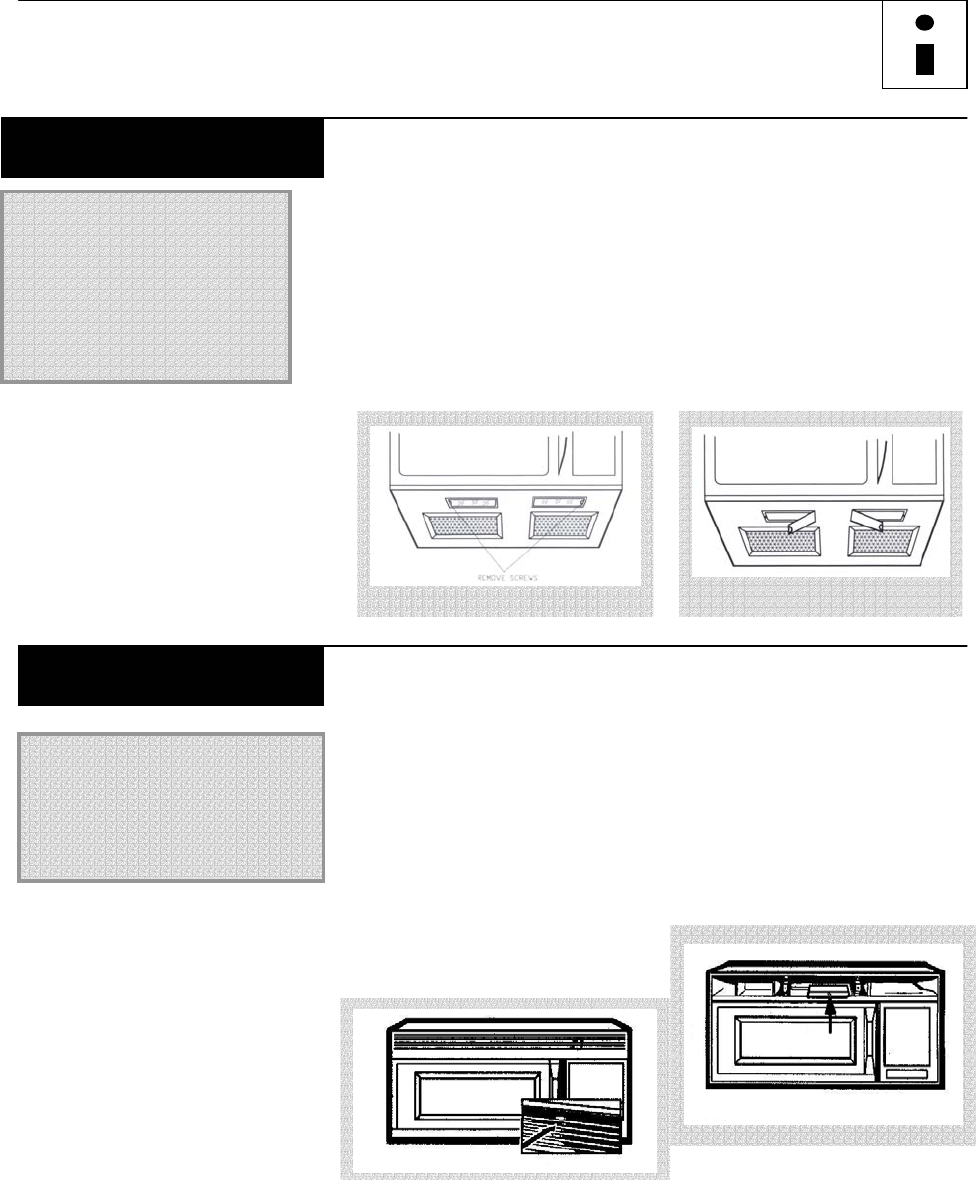
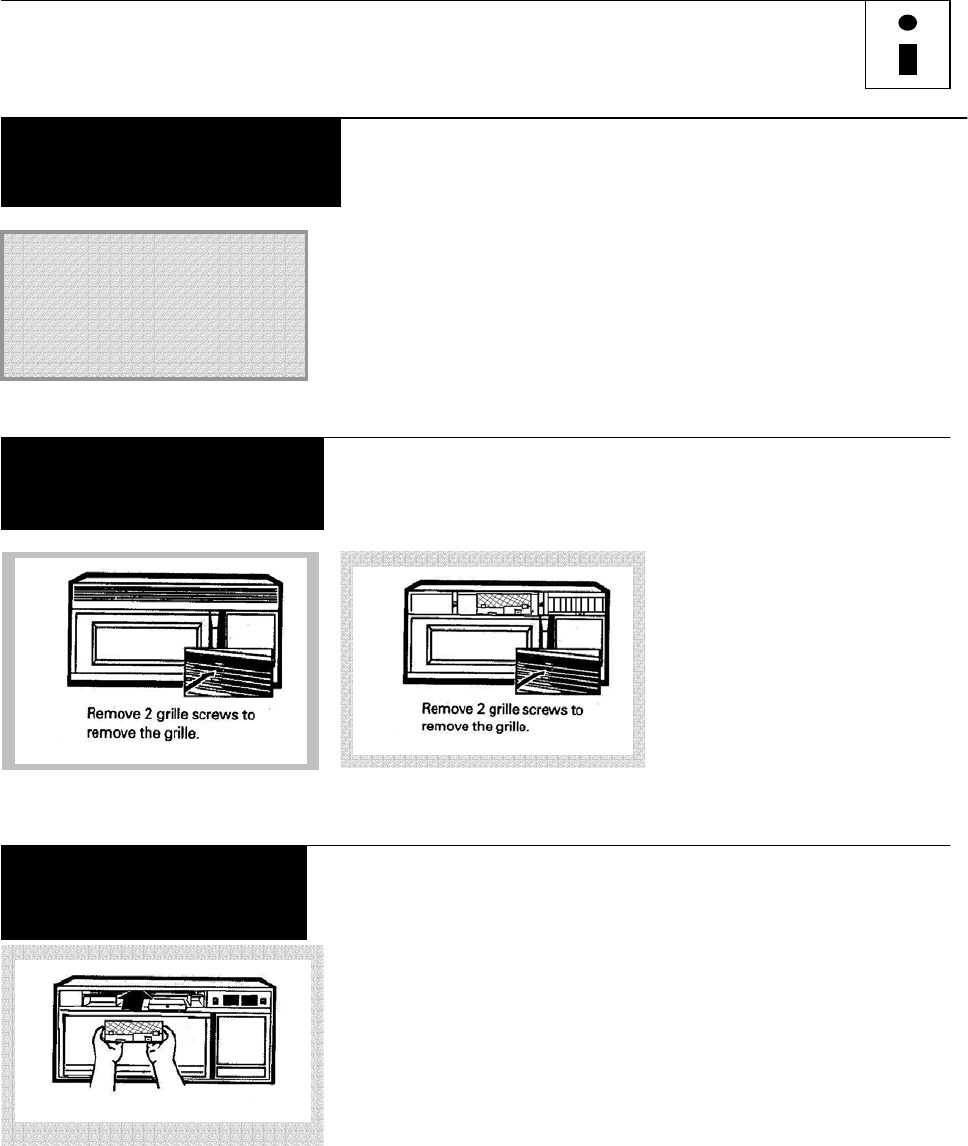
To remove, slide it to the left/right
using the tab. Pull it down and out.
To clean the grease filter, soak it
and then swish it around in hot water
and detergent. Don’t use ammonia
or ammonia products because they
will darken the metal. Light
brushing can be used to remove
embedded dirt. Rinse, shake and let
it dry before replacing.
To repla ce, slide the filter in the
frame slot on the left/right of the
opening. Pull up and to the left/right
to lock into place.
Charcoal Filter
(on some models)
Reusable Grease Filters
(on all models)
- 33 -
Charcoal Filter
(on some models)
The charcoal filter
cannot be cleaned. It
must be replaced.
If the model is not vented to the
outside, the air will be recirculated
through a disposable charcoal filter
that helps remove smoke and odors.
The charcoal filter should be
replaces when it is noticeably dirty
or discoloredusually after 6 to 12
months, depending on hood usage.
To remove
Charcoal Filter
To remove the charcoal filter,
disconnect power at the main fuse or
circuit breaker panel or pull the
plug.
Remove the top grille by removing
the 2 screws that hold it in place.
Slide the filter towards the front of
the oven and remove it.
To Install
Charcoal Filter
To install a new filter, remove
plastic and other outer wrapping
from the new filter.
Insert the filter into the top opening
of the oven as shown. It will rest at
an angle on 2 side support tabs and
in front of the right rear tab. Replace
the grille and 2 screws.

- 34 -
If Something Goes Wrong
Before You Call For Service
Problem Possible Cause What to do
Oven will not start A fuse in your home may be blown or the
circuit breaker tripped.
Power surge.
Plug not fully inserted into wall outlet
·Replace fuse or reset
circuit breaker.
·Unplug the microwave
oven, then plug it back in.
·Make sure the 3-prong
plug on the oven is fully
inserted into wall outlet.
Floor of the oven is warm,
even when the oven has not
been used.
The cooktop light is located below the oven
floor. When the light is on, the heat it produces
may make the oven floor get warm.
·This is normal
“LOCKED” appears on
display
The control has been locked ·Press and hold
STOP/CLEAR for about 3
seconds to unlock the
control.
You hear and unusual,
low-tone beep
You have tried to start the Reminder without a
valid time of day.
You have tried to change the power level when
it is not allowed.
·Start oven and enter a
valid time of day
·Many of the oven’s
features are preset and
cannot be changed

- 35 -
Things That
Are Normal
·Steam or vapor escaping from
around the door.
·Light reflection around door or
outer case.
·Dimming oven light and change in
the blower sound at power levels
other than high.
·Dull thumping sound while oven is
operating.
·TV-radio interference might be
noticed while using the microwave.
Similar to the interference caused by
other small appliances, it does not
indicate a problem with the
microwave. Plug the microwave into
a different electrical circuit, move
the radio or TV as far away from the
microwave as possible ,or check the
position and signal of the TV/radio
antenna.