ASUSTeK Computer WL230 WLAN PCI Card with Integral Antenna User Manual SpaceLink PCI Card p65
ASUSTeK Computer Inc WLAN PCI Card with Integral Antenna SpaceLink PCI Card p65
UserManual.wiki
>
ASUSTeK Computer
>
WL230 User Manual
Manual
Navigation menu
Upload a User Manual
Namespaces
Wiki Guide
HTML
PDF
Info
Views
User Manual
Discussion / Help
Navigation


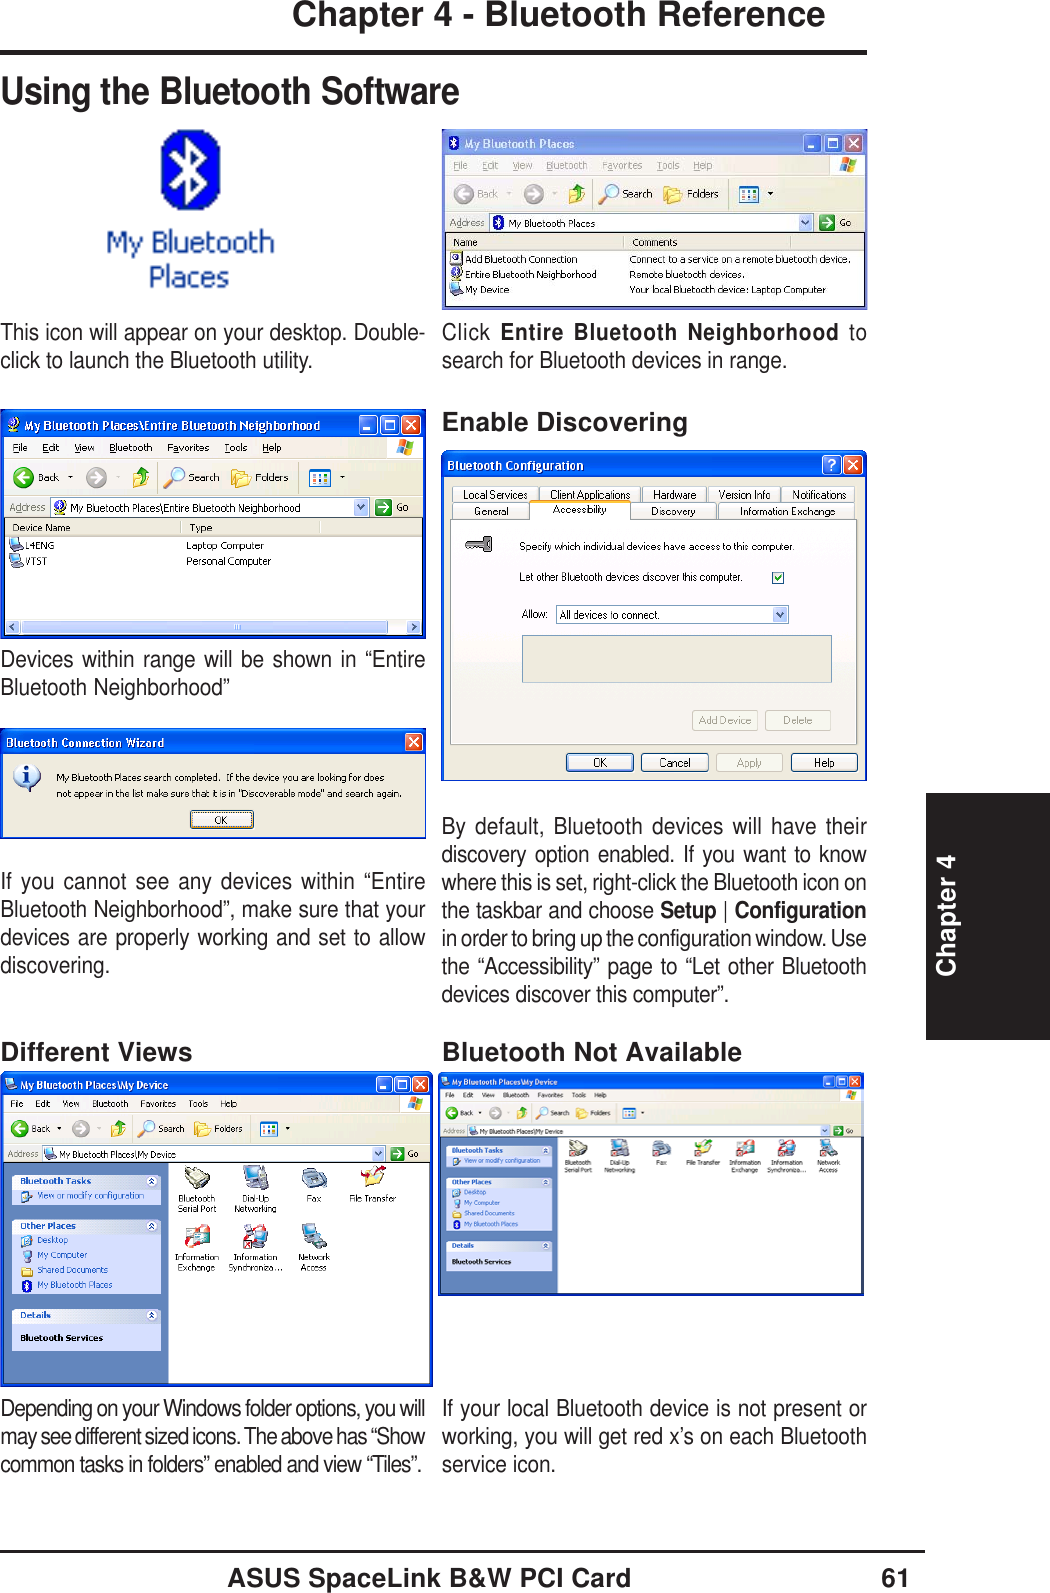
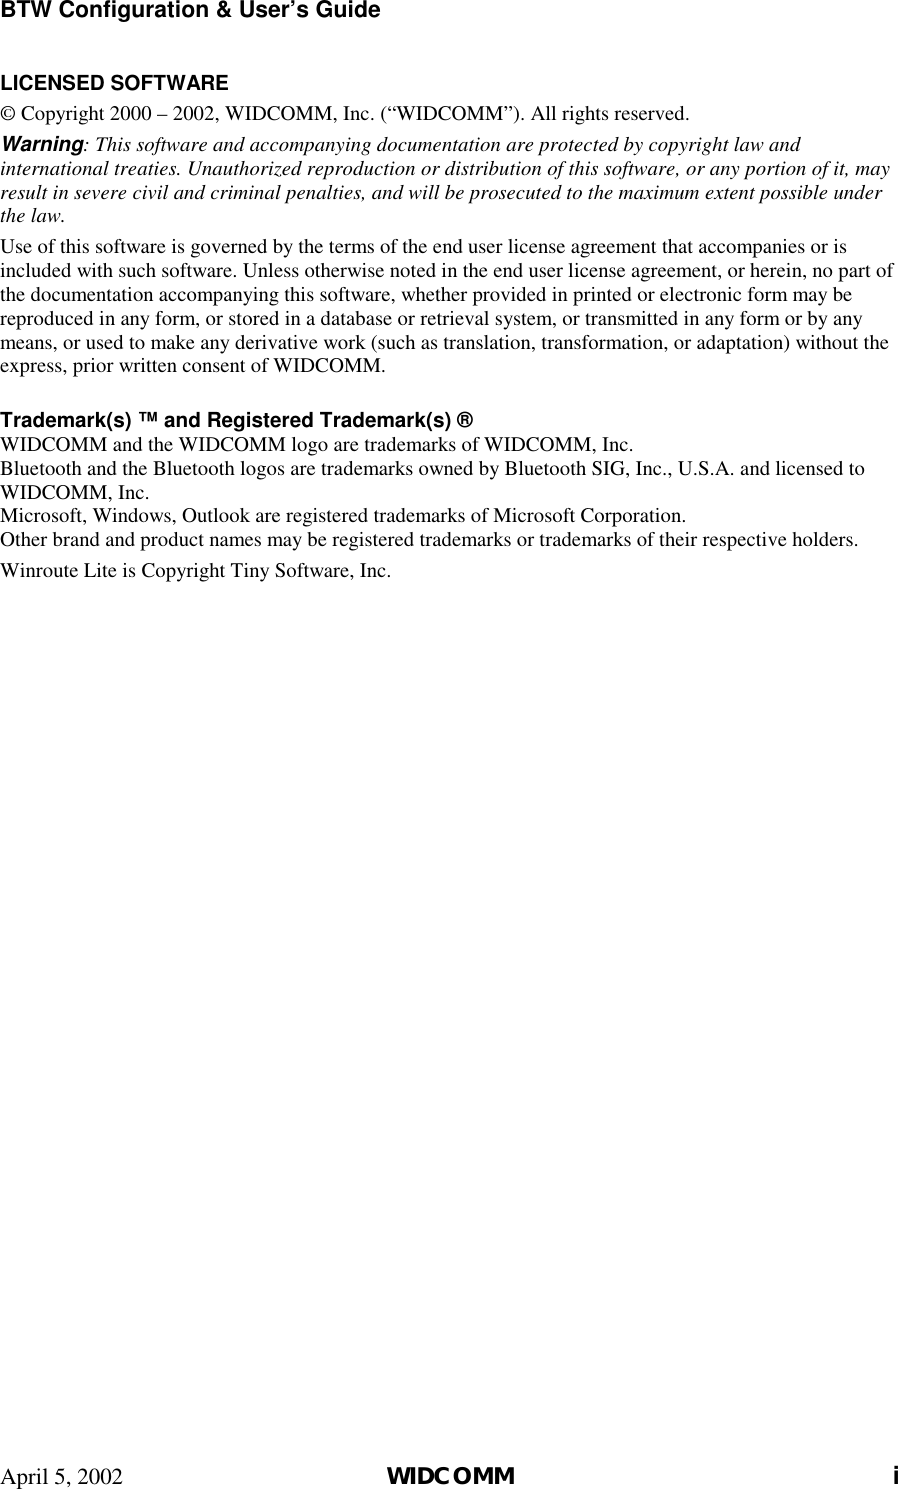
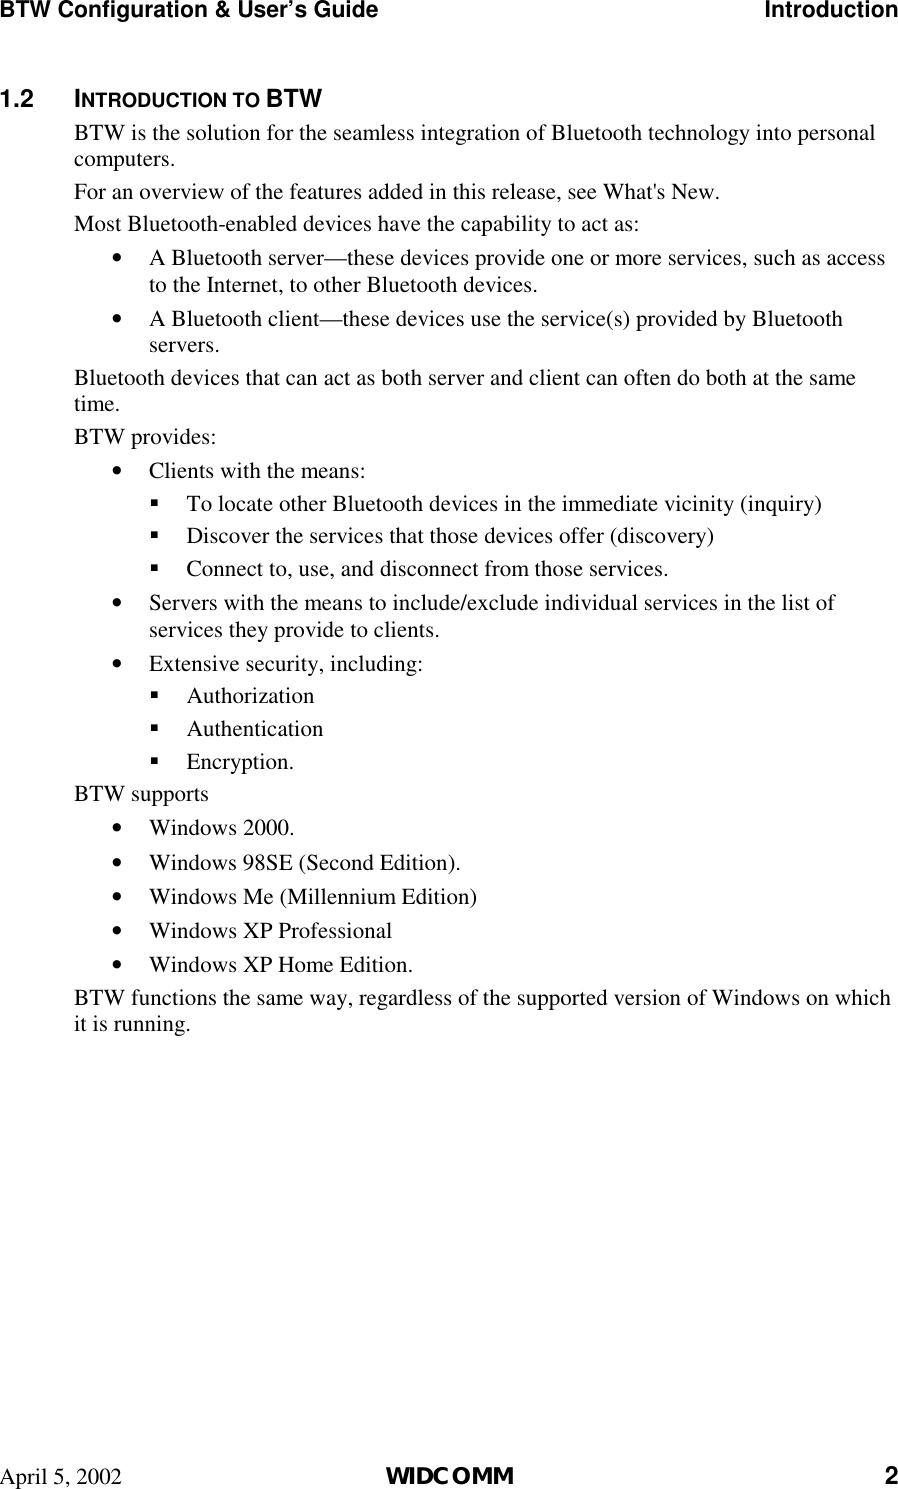
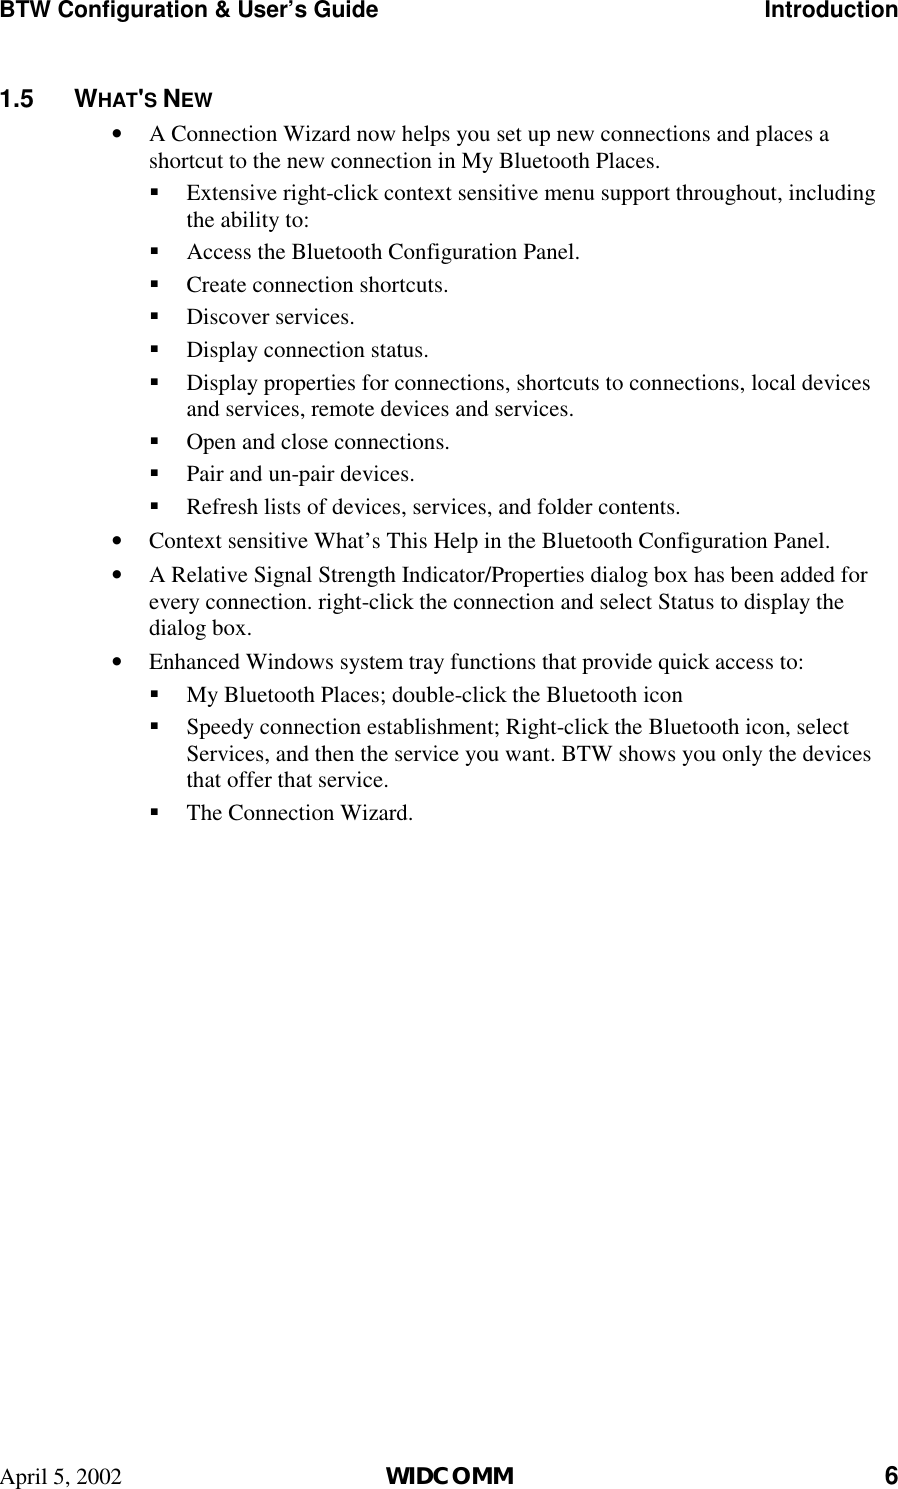
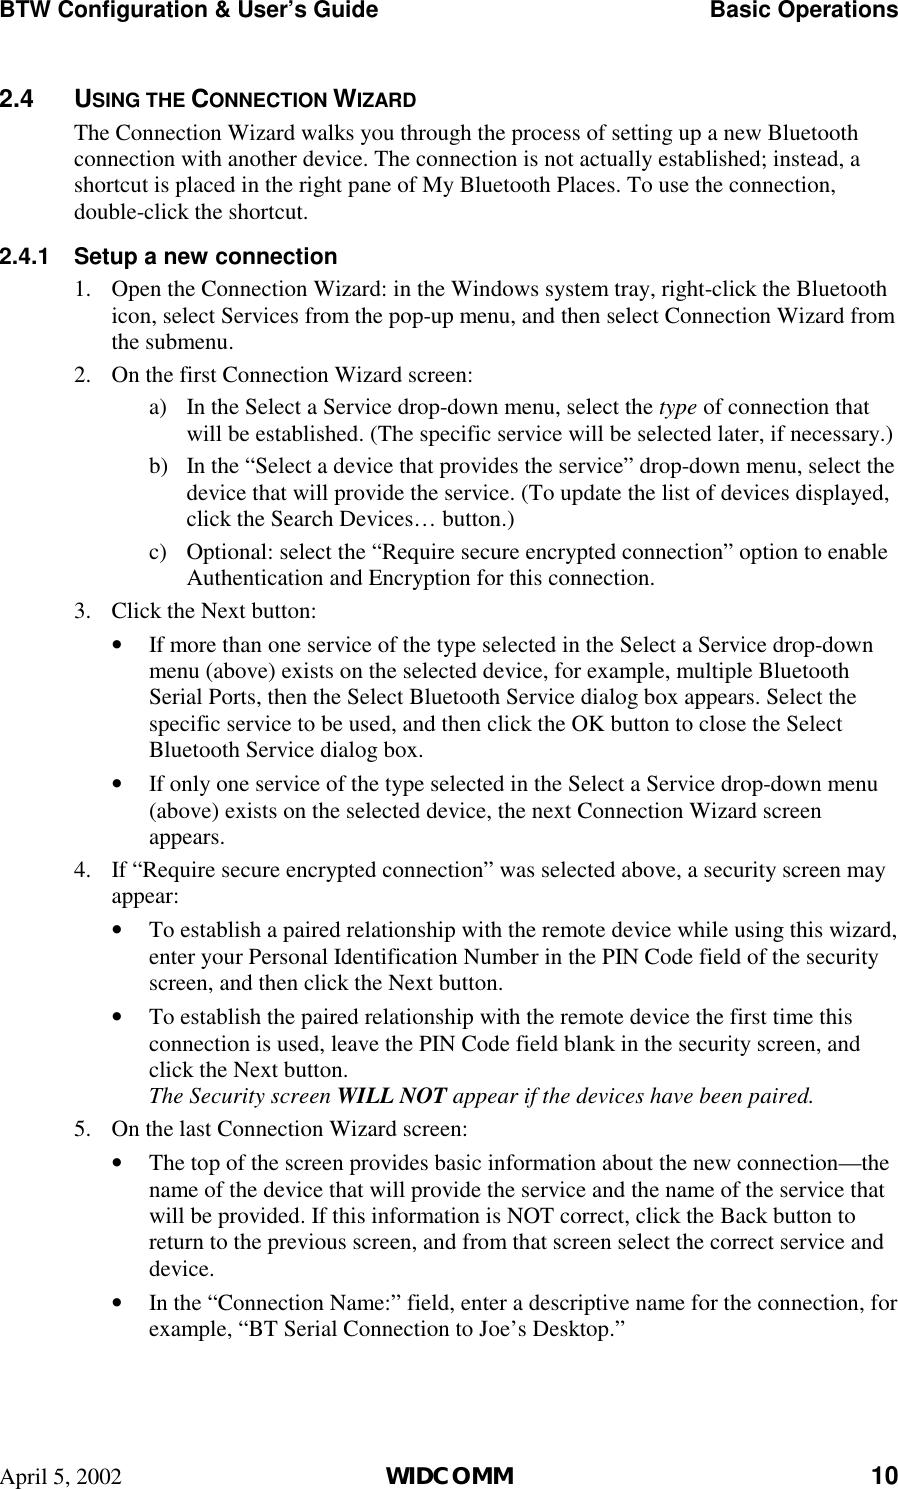
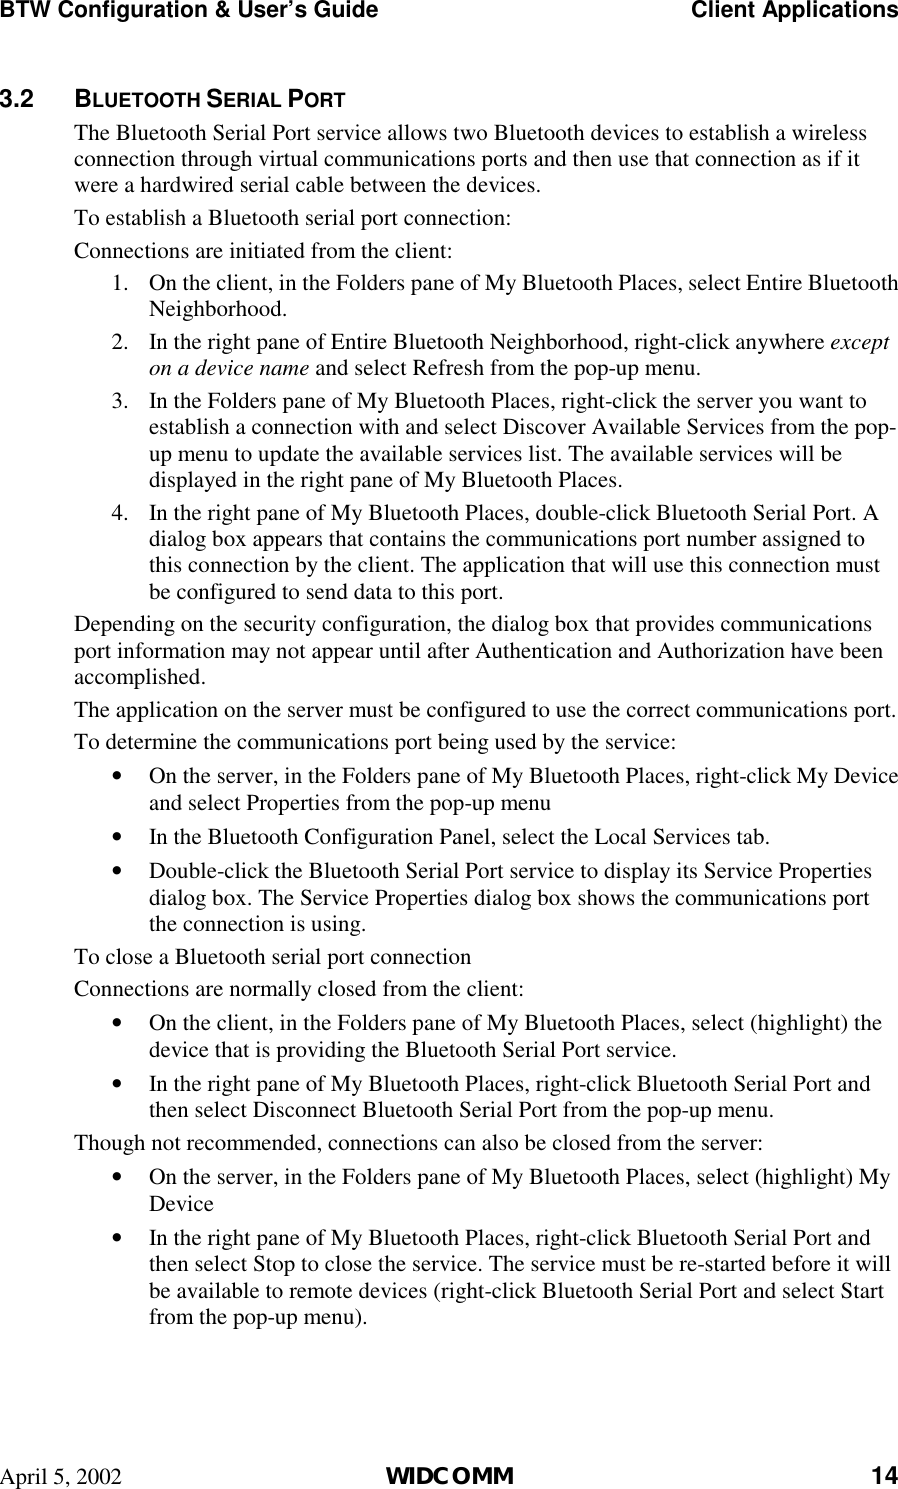
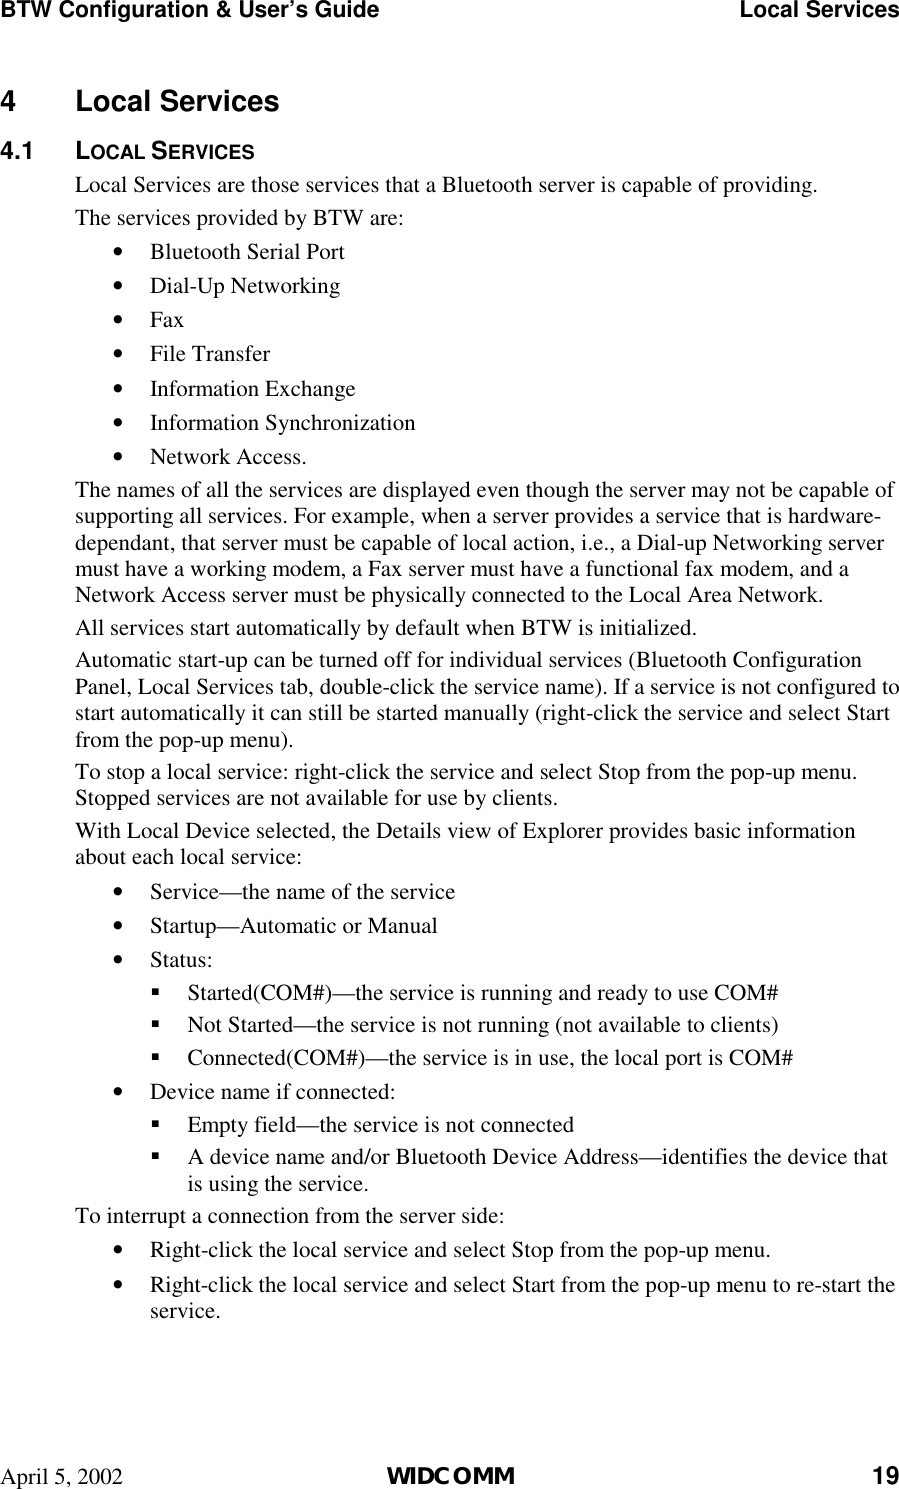
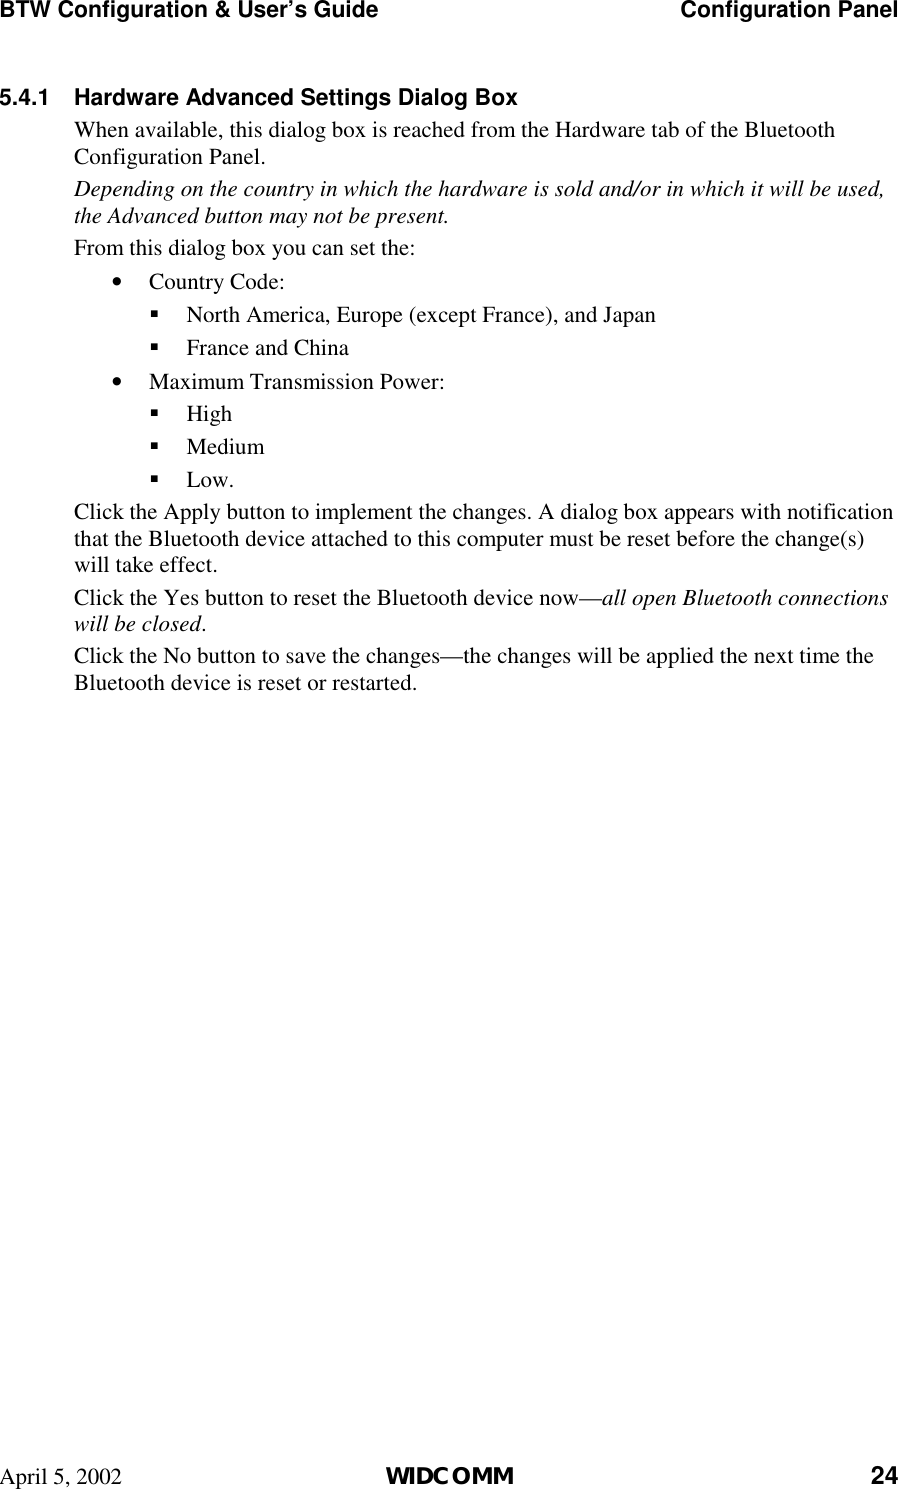
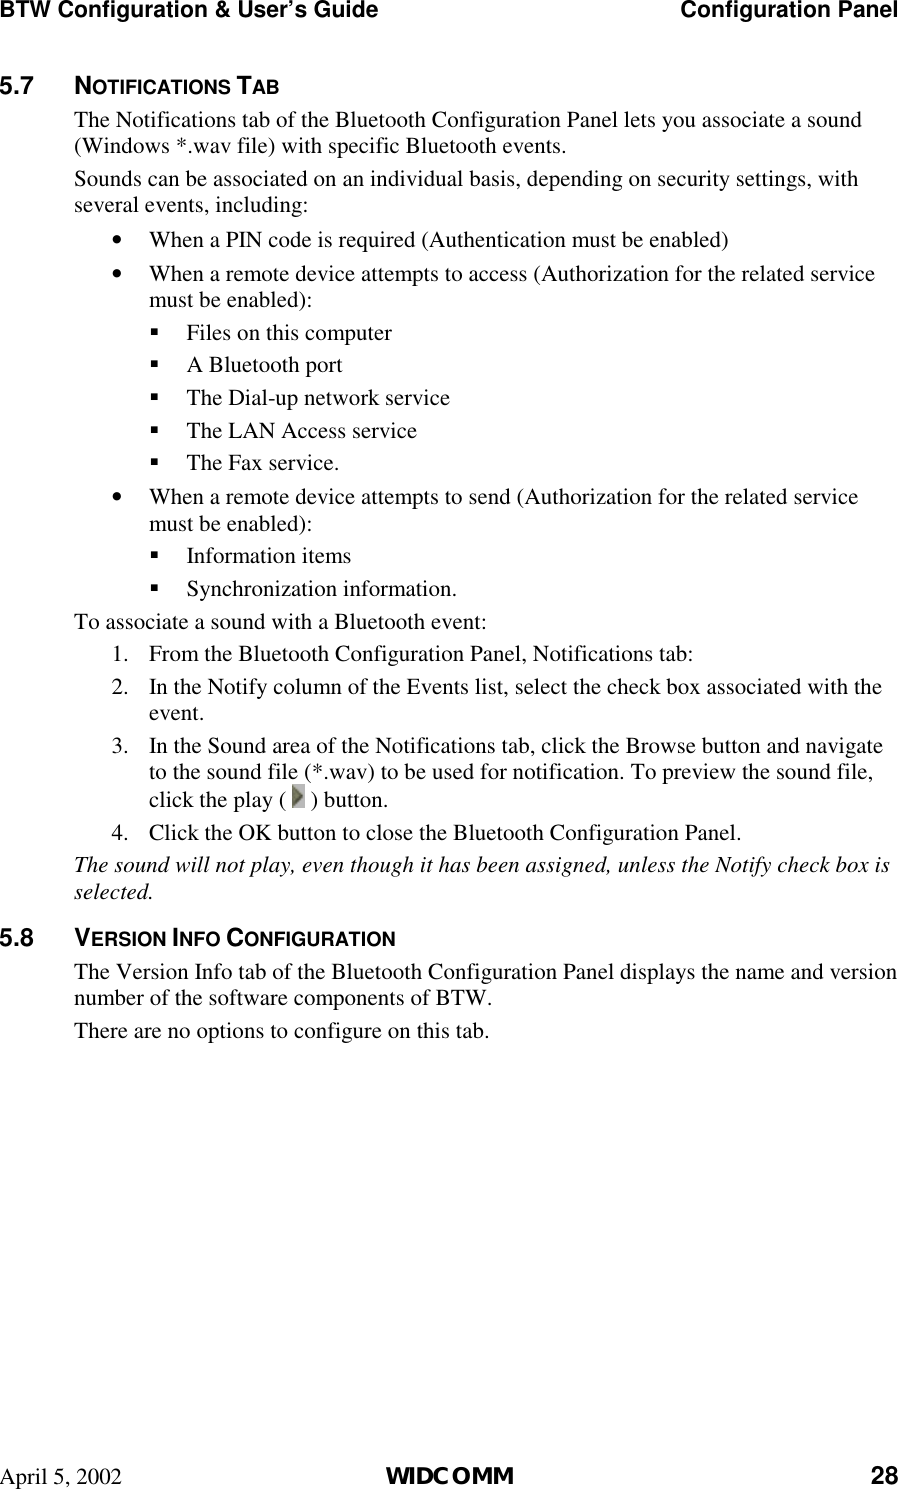
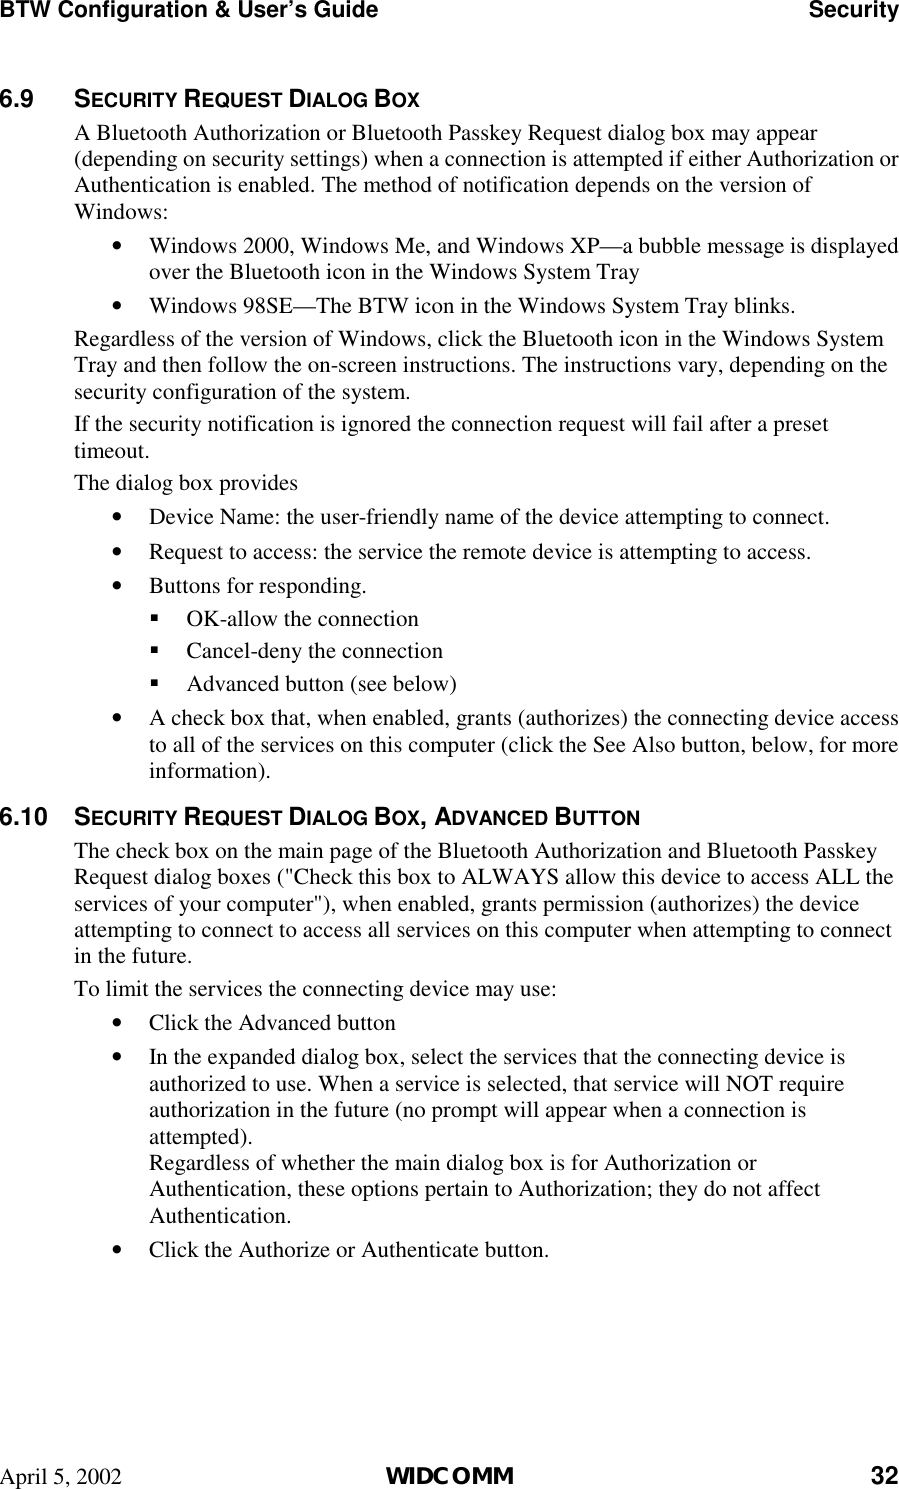
![ASUS SpaceLink B&W PCI Card 67Chapter 4 - Bluetooth ReferenceChapter 4File Transfer (to Public Folder)[Source] Selecting “Entire Bluetooth Neighborhood”will show available Bluetooth devices. You will notsee yourself. The above example is a PersonalComputer (Desktop PC) and only LaptopComputers (Notebook PC) are shown.[Source] When you open the target device, theavailable services will be shown. Notice thedevice name in the “Address”.[Source] When you open the target device’s“Public Folder” for the first time, it should beempty. Notice the device name in the “Address”.[Source] Drag and drop some files into thewindow to begin transferring files. [Source] After copying, you will see the files inthe other device. Notice the device name in the“Address”.[Target] You will find the files in the path similarto the one shown here. If the target device hasa search option, you can use it to locate the files.[Target] In this setup, there are two LaptopComputers and one Personal Computer. Fromone of the target Laptop Computers, you cansee the Personal Computer that was not shownin the previous screen capture.](https://usermanual.wiki/ASUSTeK-Computer/WL230/User-Guide-315287-Page-67.png)

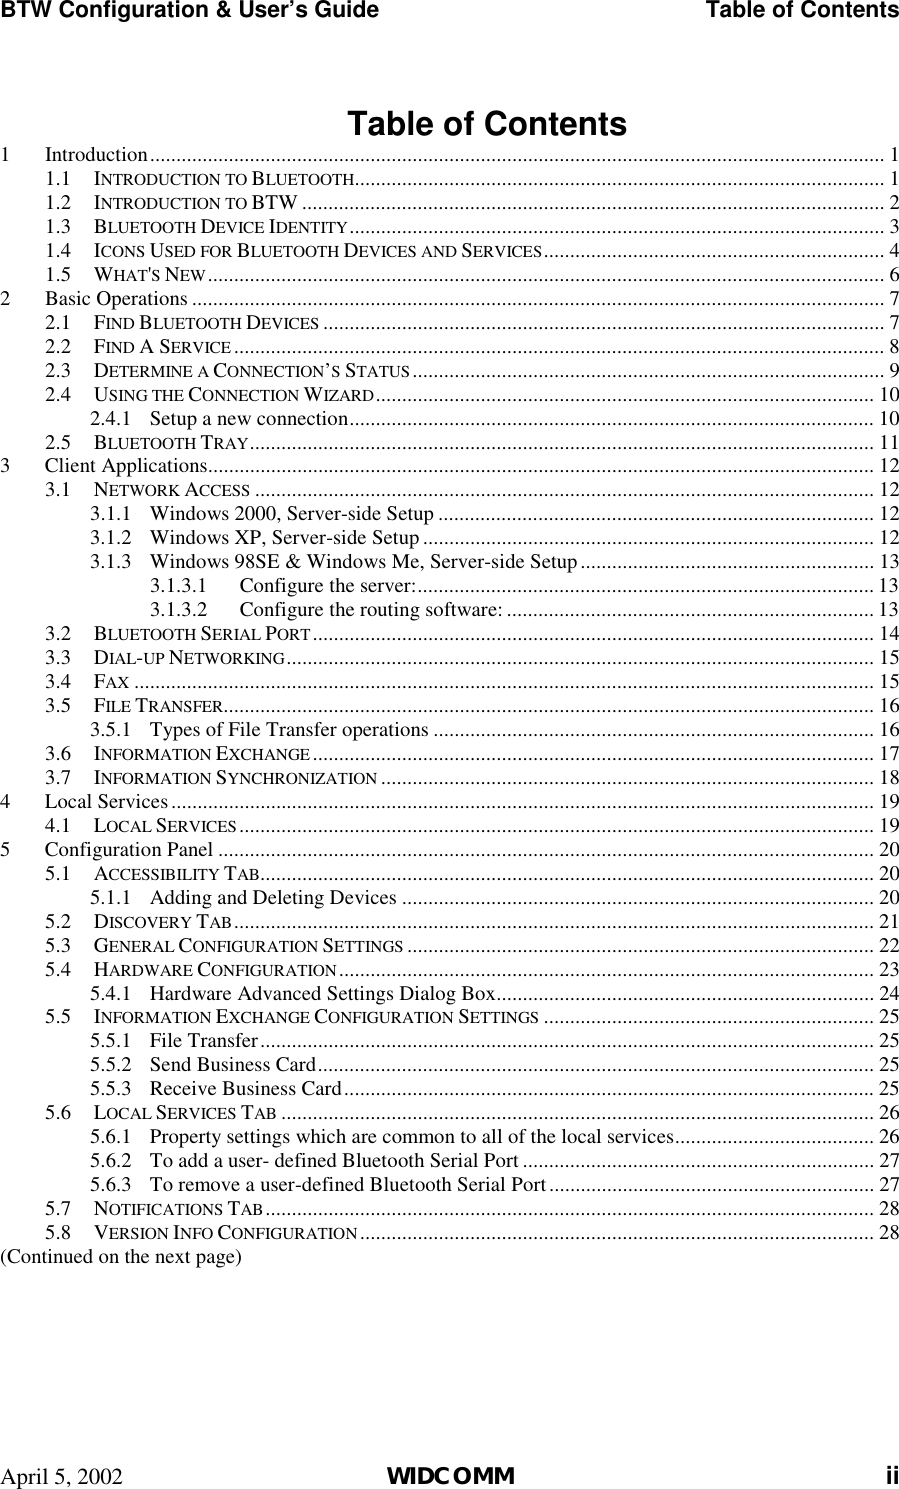
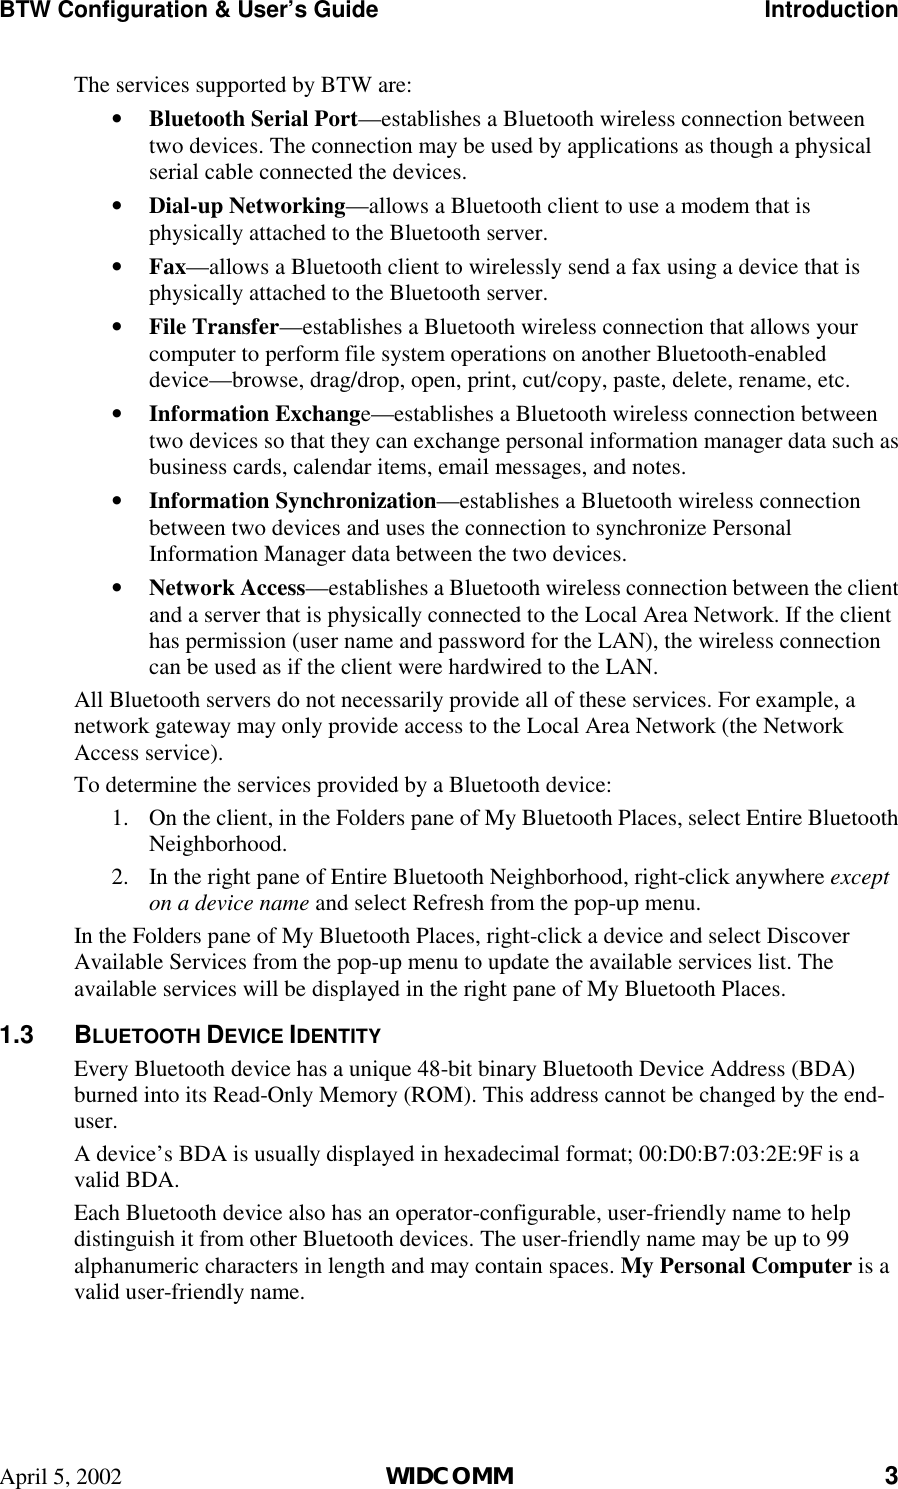
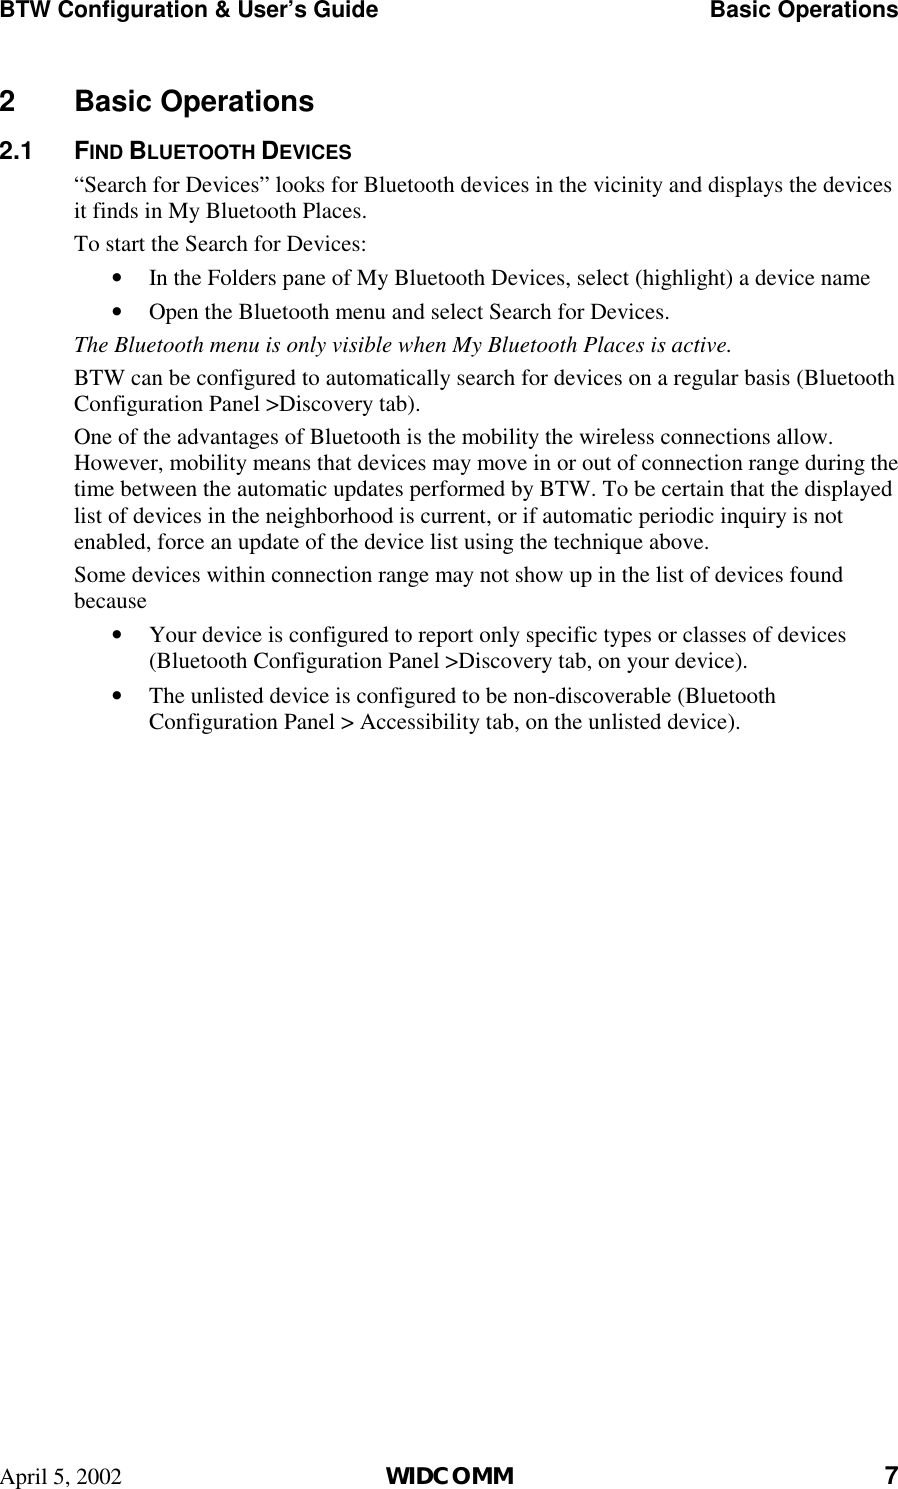
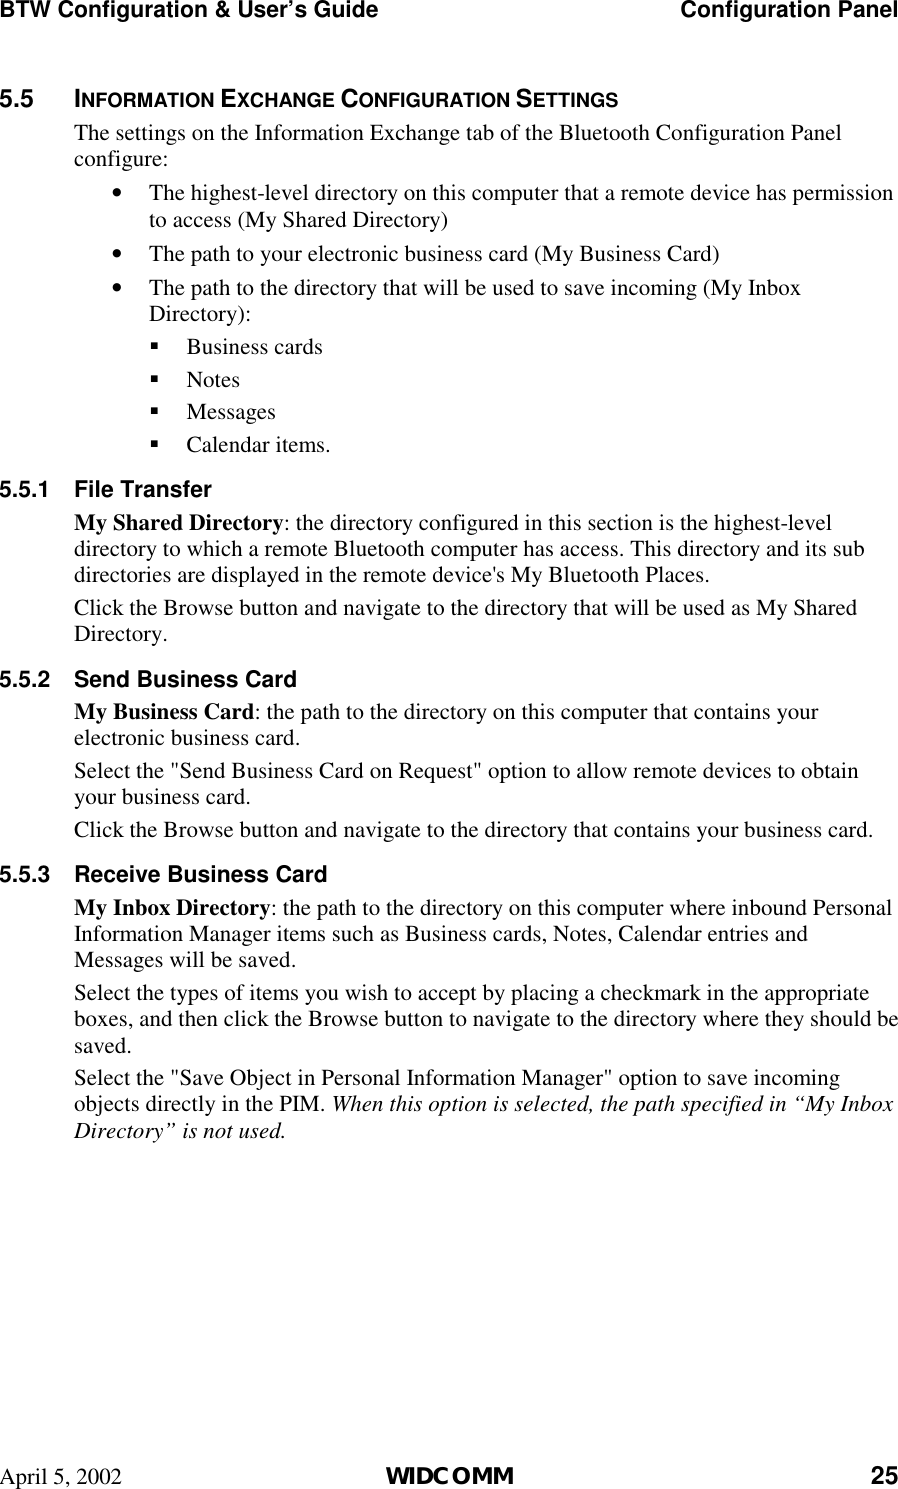
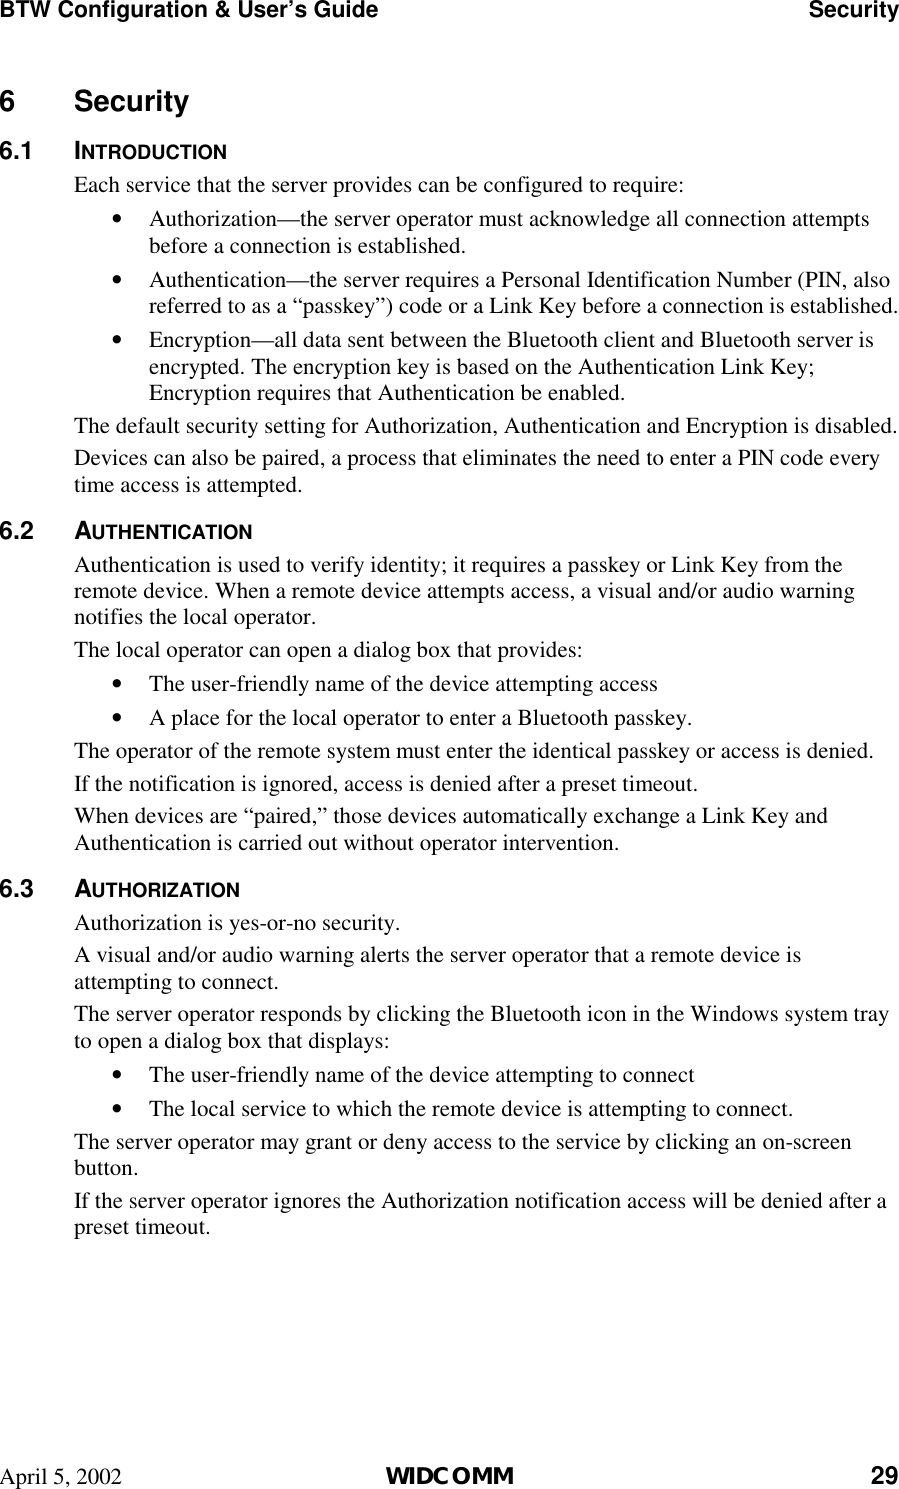
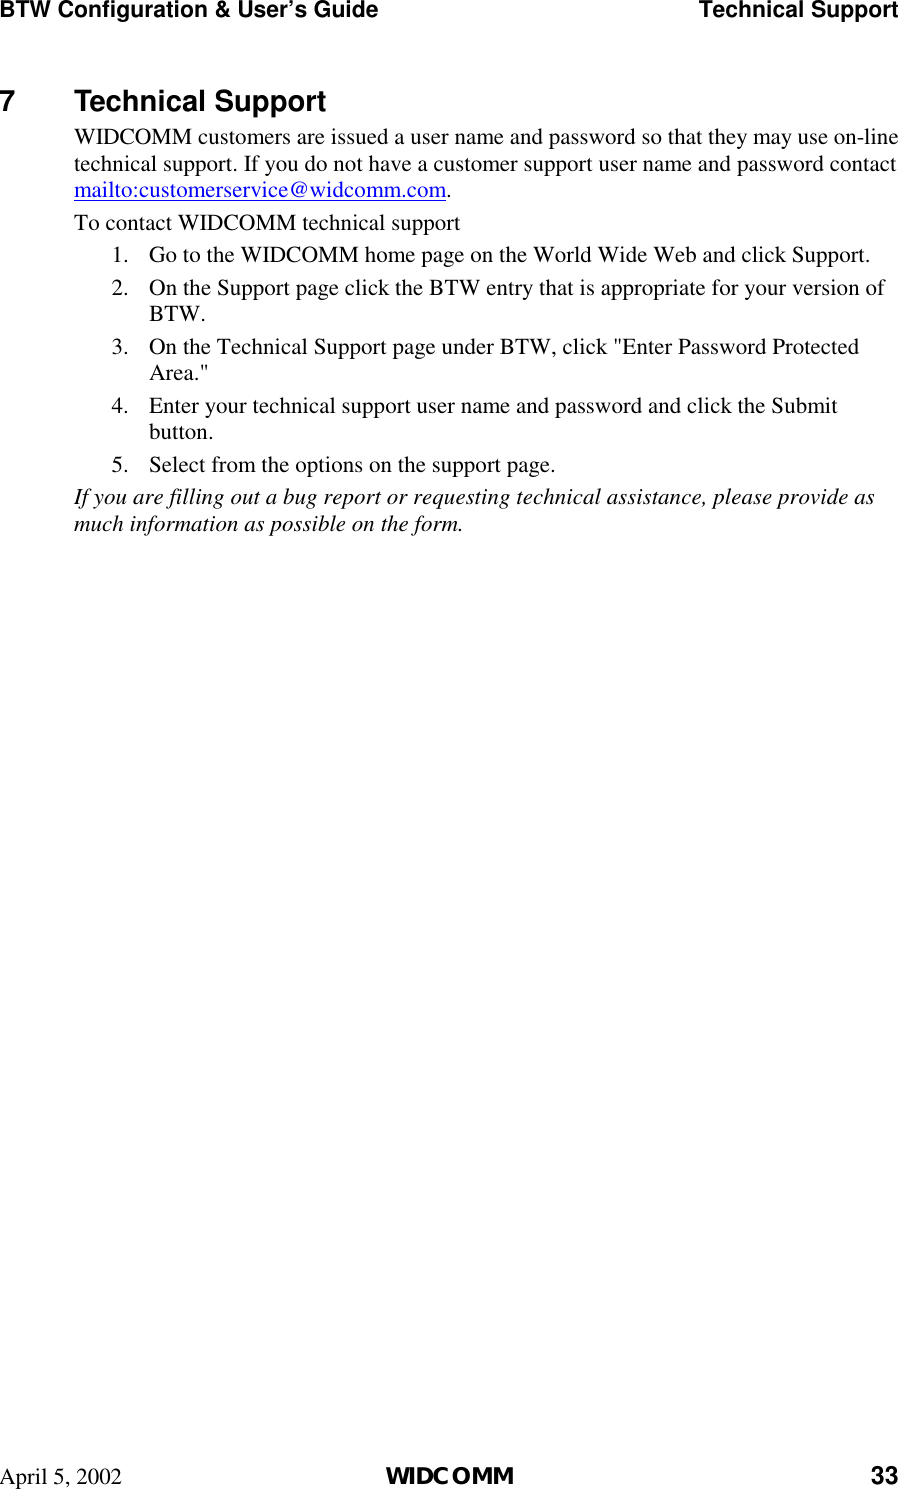
![ASUS SpaceLink B&W PCI Card 81Chapter 7Chapter 7 - Safety InformationCanadian Department of CommunicationsThis digital apparatus does not exceed the Class B limits for radio noise emissionsfrom digital apparatus set out in the Radio Interference Regulations of the CanadianDepartment of Communications.This Class B digital apparatus complies with Canadian ICES-003.Cet appareil numérique de la classe B est conforme à la normeNMB-003 du Canada.Regulatory information / DisclaimersInstallation and use of this Wireless LAN device must be in strict accordancewith the instructions included in the user documentation provided with theproduct. Any changes or modifications (including the antennas) made to thisdevice that are not expressly approved by the manufacturer may void the user'sauthority to operate the equipment. The manufacturer is not responsible forany radio or television interference caused by unauthorized modification ofthis device, or the substitution of the connecting cables and equipment otherthan manufacturer specified. It is the responsibility of the user to correct anyinterference caused by such unauthorized modification, substitution orattachment. Manufacturer and its authorized resellers or distributors will assumeno liability for any damage or violation of government regulations arising fromfailing to comply with these guidelines.CAUTION: To maintain compliance with FCC's RF exposure guide-lines, this equipment should be installed and operated with minimumdistance [20cm] between the radiator and your body. Use on the sup-plied antenna. Unauthorized antenna, modification, or attachmentscould damage the transmitter and may violate FCC regulations.MPE Statement (Safety Information)Your device contains a low power transmitter. When device is transmitted itsends out Radio Frequency (RF) signal.Safety InformationIn order to maintain compliance with the FCC RF exposure guidelines, thisequipment should be installed and operated with minimum distance [20cm]between the radiator and your body. Use only with supplied antenna.Unauthorized antenna, modification, or attachments could damage thetransmitter and may violate FCC regulations.](https://usermanual.wiki/ASUSTeK-Computer/WL230/User-Guide-315287-Page-81.png)
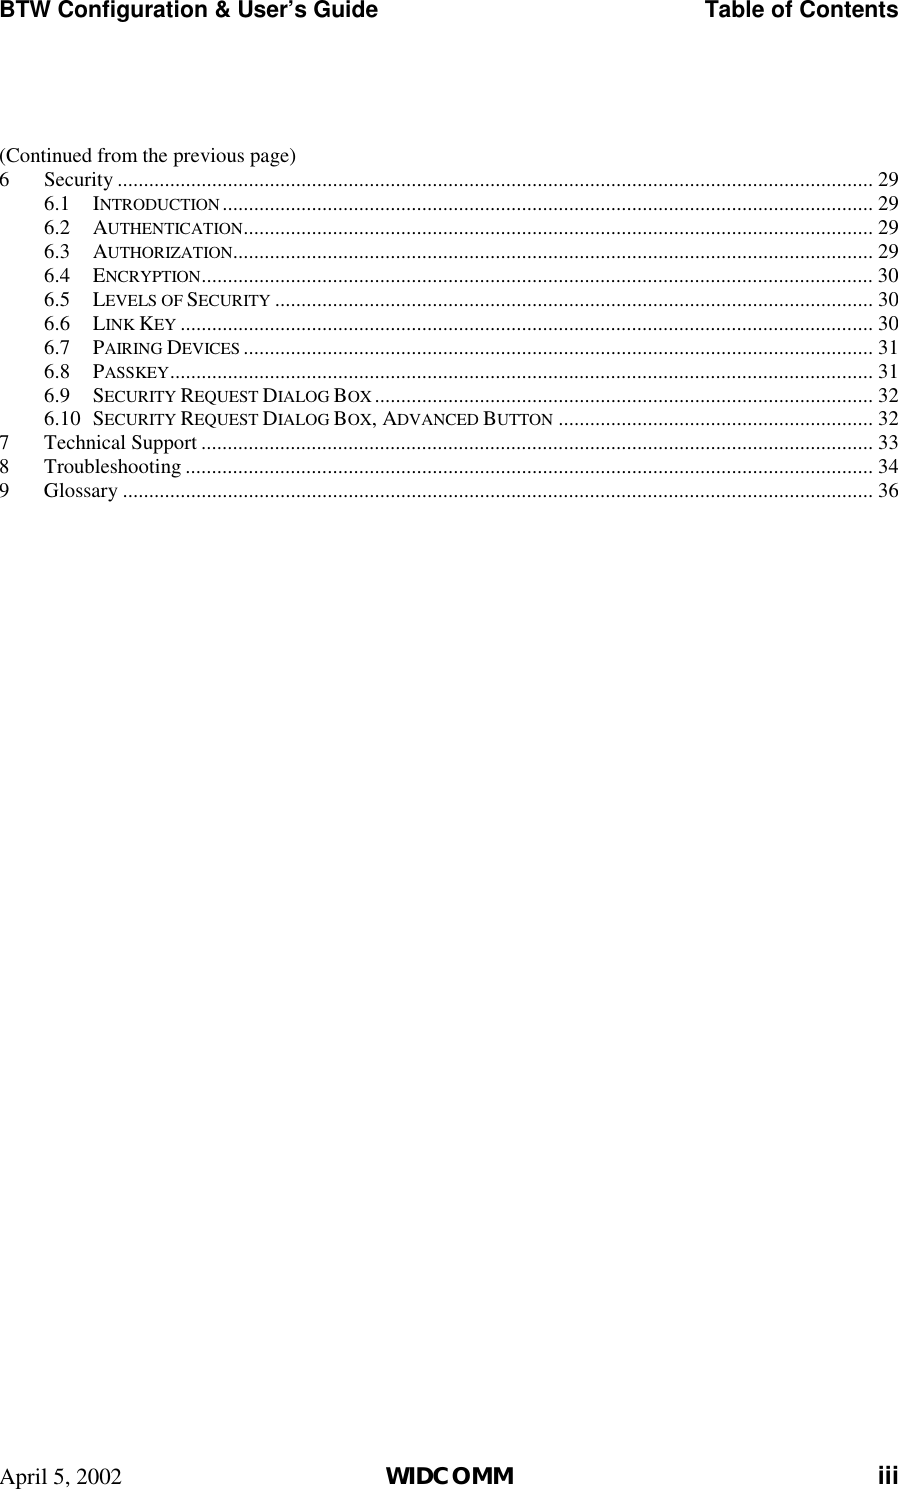
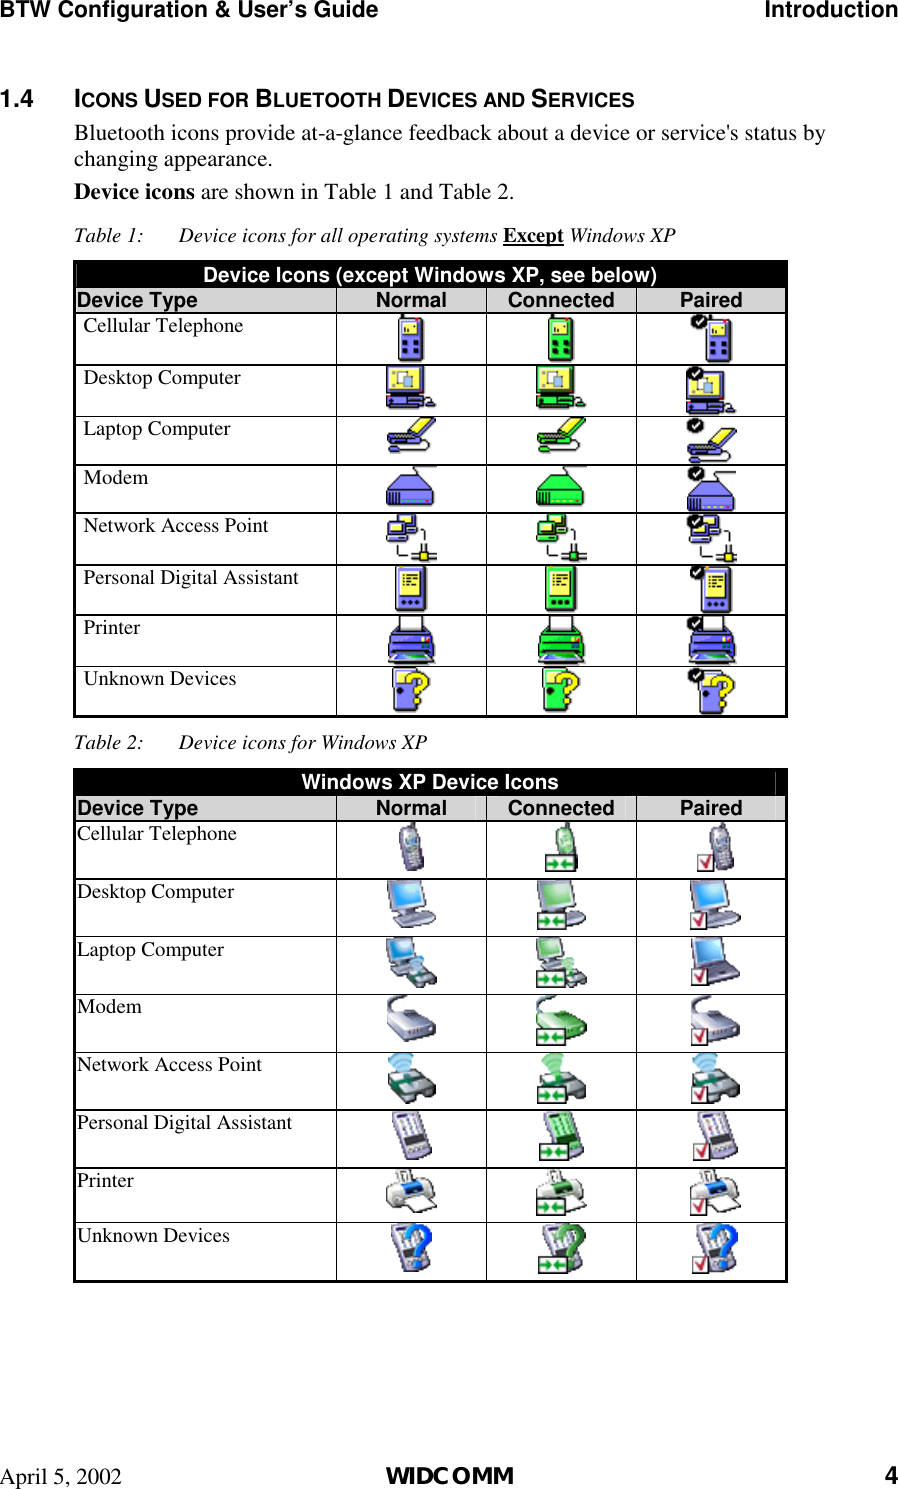
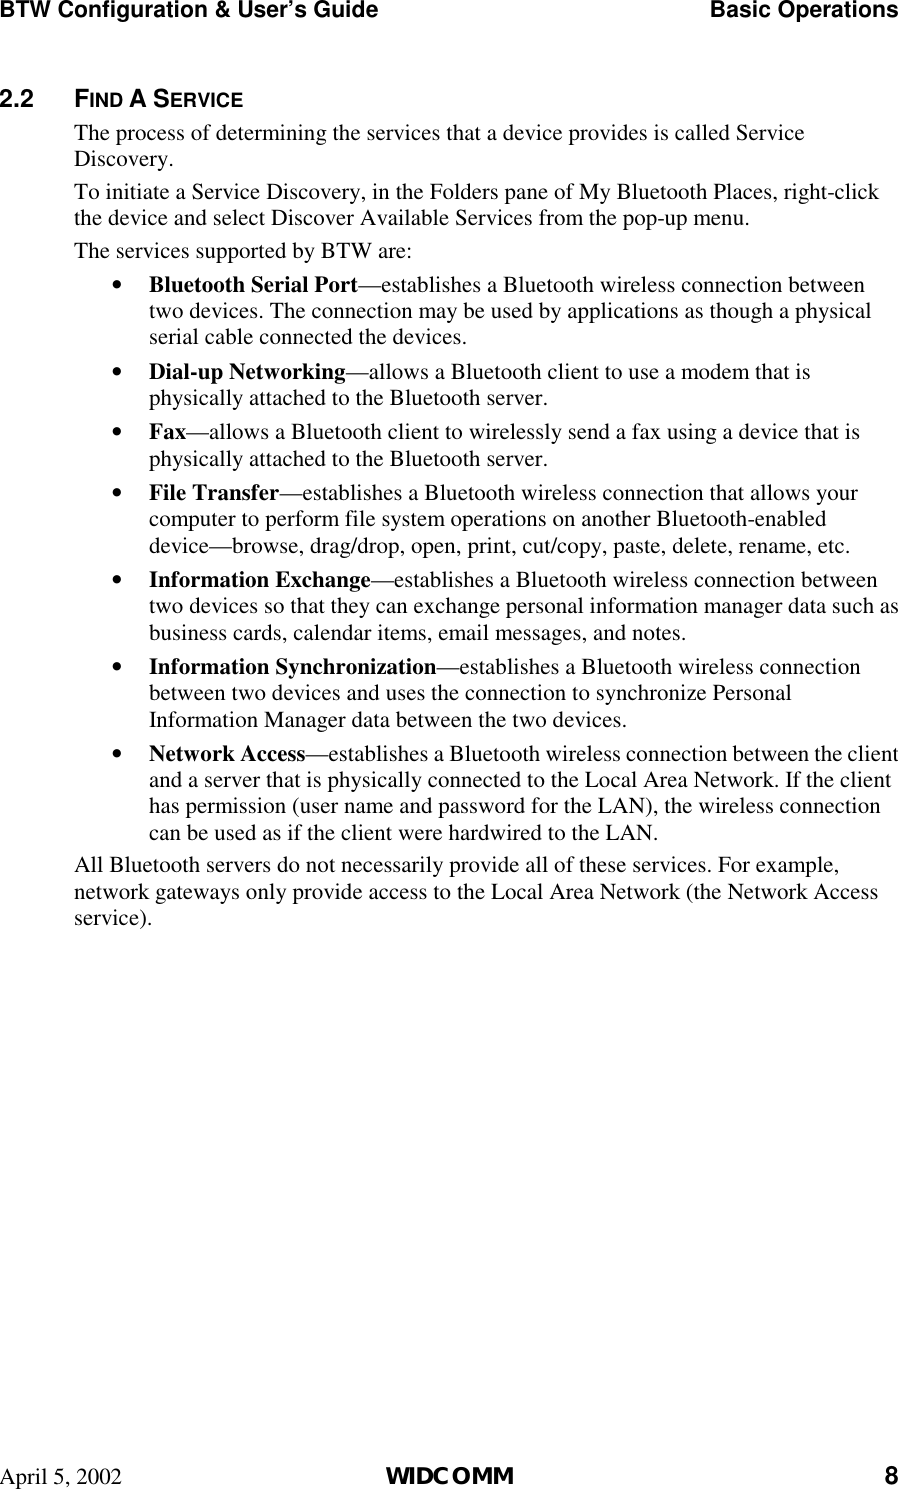
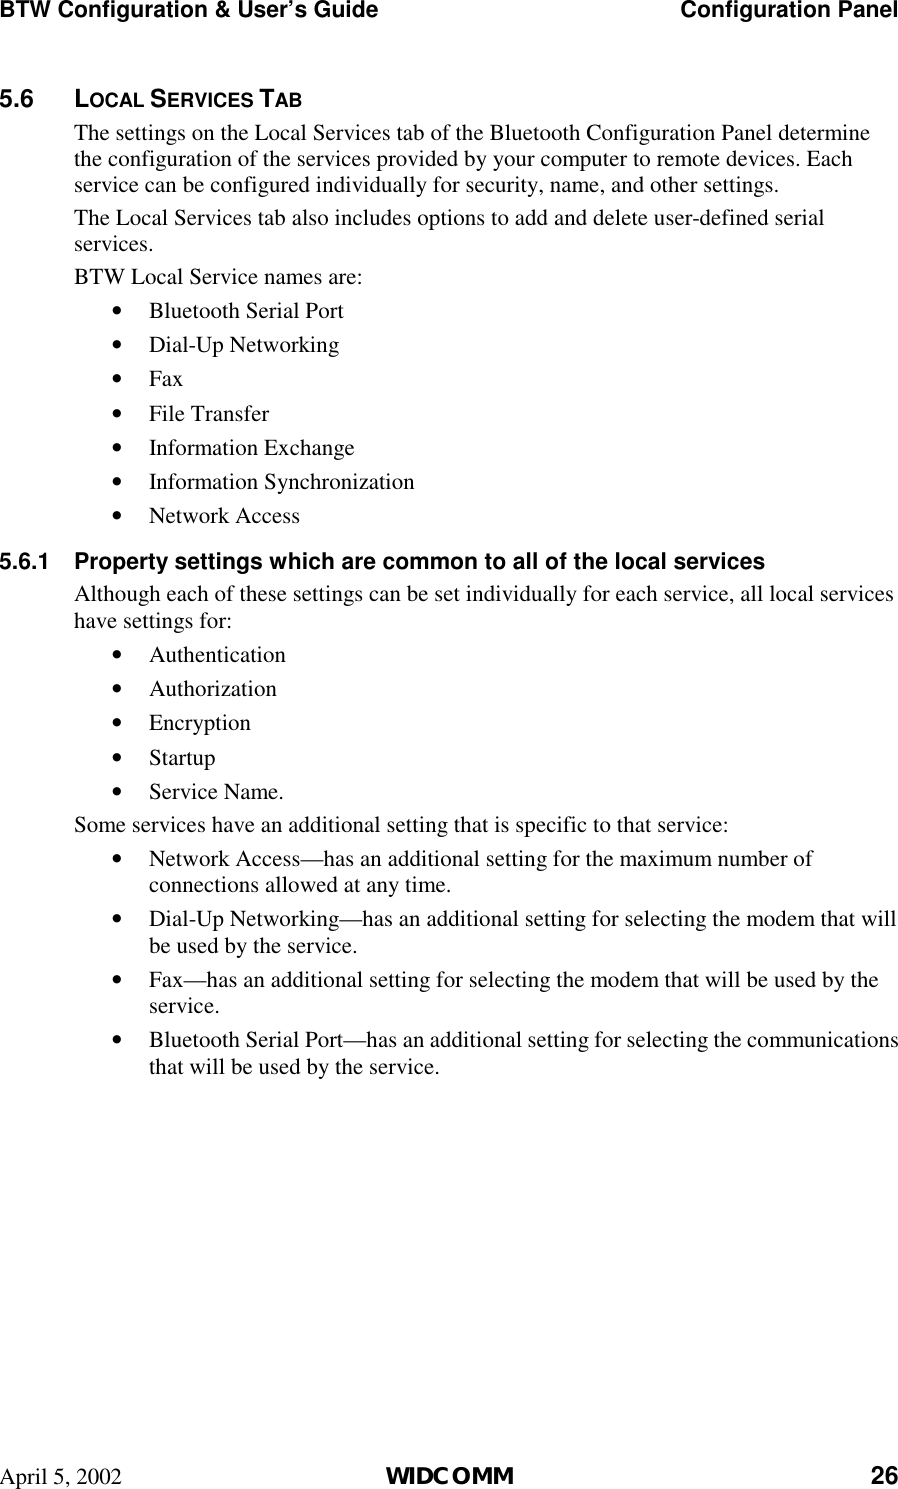
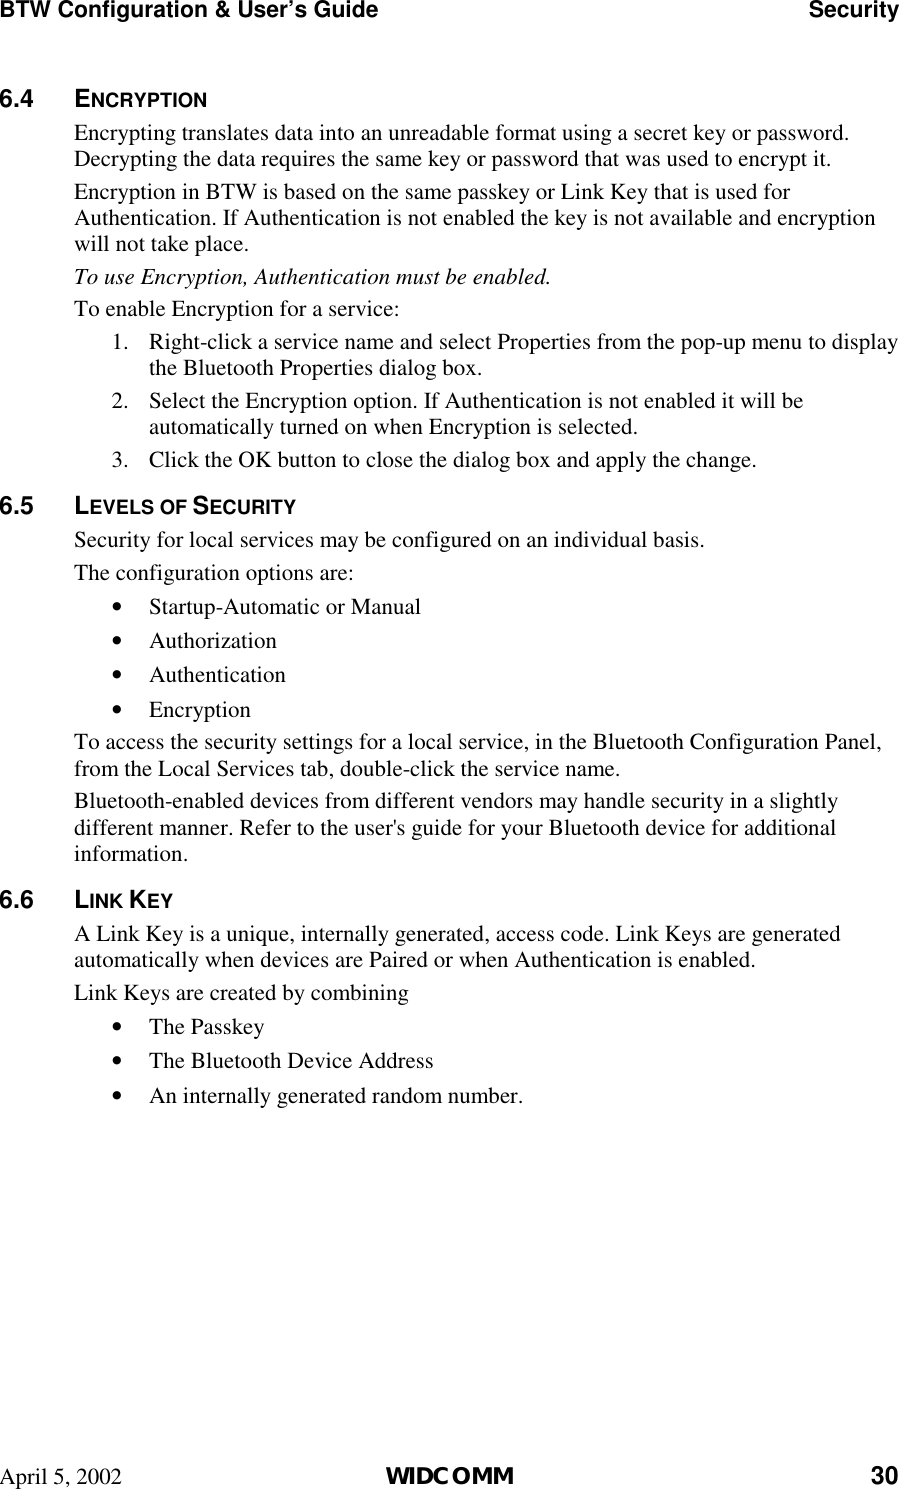
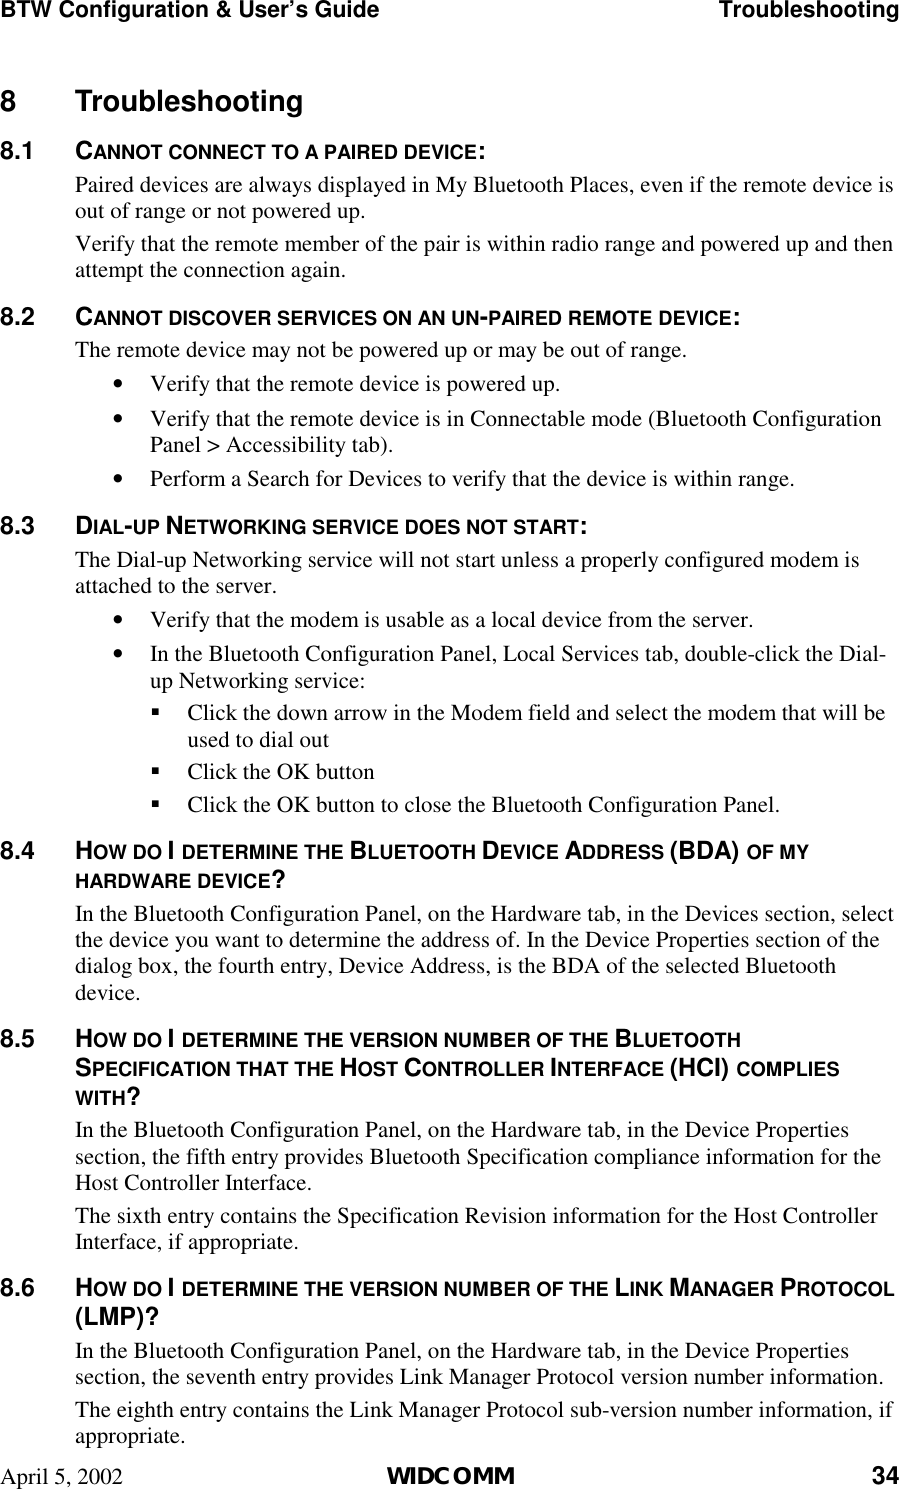
![82 ASUS SpaceLink B&W PCI CardChapter 7Chapter 7 - Safety InformationCaution Statement of the FCC Radio Frequency ExposureThis Wireless LAN radio device has been evaluated under FCC Bulletin OET65C and found compliant to the requirements as set forth in CFR 47 Sections2.1091, 2.1093, and 15.247(b)(4) addressing RF Exposure from radio frequencydevices. The radiation output power of this Wireless LAN device is far belowthe FCC radio frequency exposure limits. Nevertheless, this device shall beused in such a manner that the potential for human contact during normaloperation – as a mobile or portable device but use in a body-worn way isstrictly prohibit. When using this device, a certain separation distance betweenantenna and nearby persons has to be kept to ensure RF exposure compliance.In order to comply with the RF exposure limits established in the ANSI C95.1standards, the distance between the antennas and the user should not be lessthan [20cm].SAR ExposureThis device has been tested for compliance with FCC RF Exposure (SAR)limits in typical laptop configurations.In order to comply with SAR limits established in the ANSI C95.1 standards,it is recommended when using a PC card adapter that the integrated antenna ispositioned more than [20cm] from your body or nearby persons during extendedperiods of operation. If the antenna is positioned less than [20cm] from theuser, it is recommended that the user limit the exposure time.Radio Frequency Interference RequirementsThis device is restricted to INDOOR USE due to its operation in the 5.15 to5.25GHz frequency range. FCC requires this product to be used indoors forthe frequency range 5.15 to 5.25GHz to reduce the potential for harmfulinterference to co-channel of the Mobile Satellite Systems.High power radars are allocated as primary user of the 5.25 to 5.35GHz and5.65 to 5.85GHz bands. These radar stations can cause interference with and /or damage this device](https://usermanual.wiki/ASUSTeK-Computer/WL230/User-Guide-315287-Page-82.png)