First Computer R02501 SERVER User Manual USERS MANUAL 1
First International Computer Inc SERVER USERS MANUAL 1
UserManual.wiki
>
First Computer
>
R02501 User Manual
>
USERS MANUAL 1
Contents
1.
USERS MANUAL 1
2.
USERS MANUAL 2
USERS MANUAL 1
Navigation menu
Upload a User Manual
Namespaces
Wiki Guide
HTML
PDF
Info
Views
User Manual
Discussion / Help
Navigation

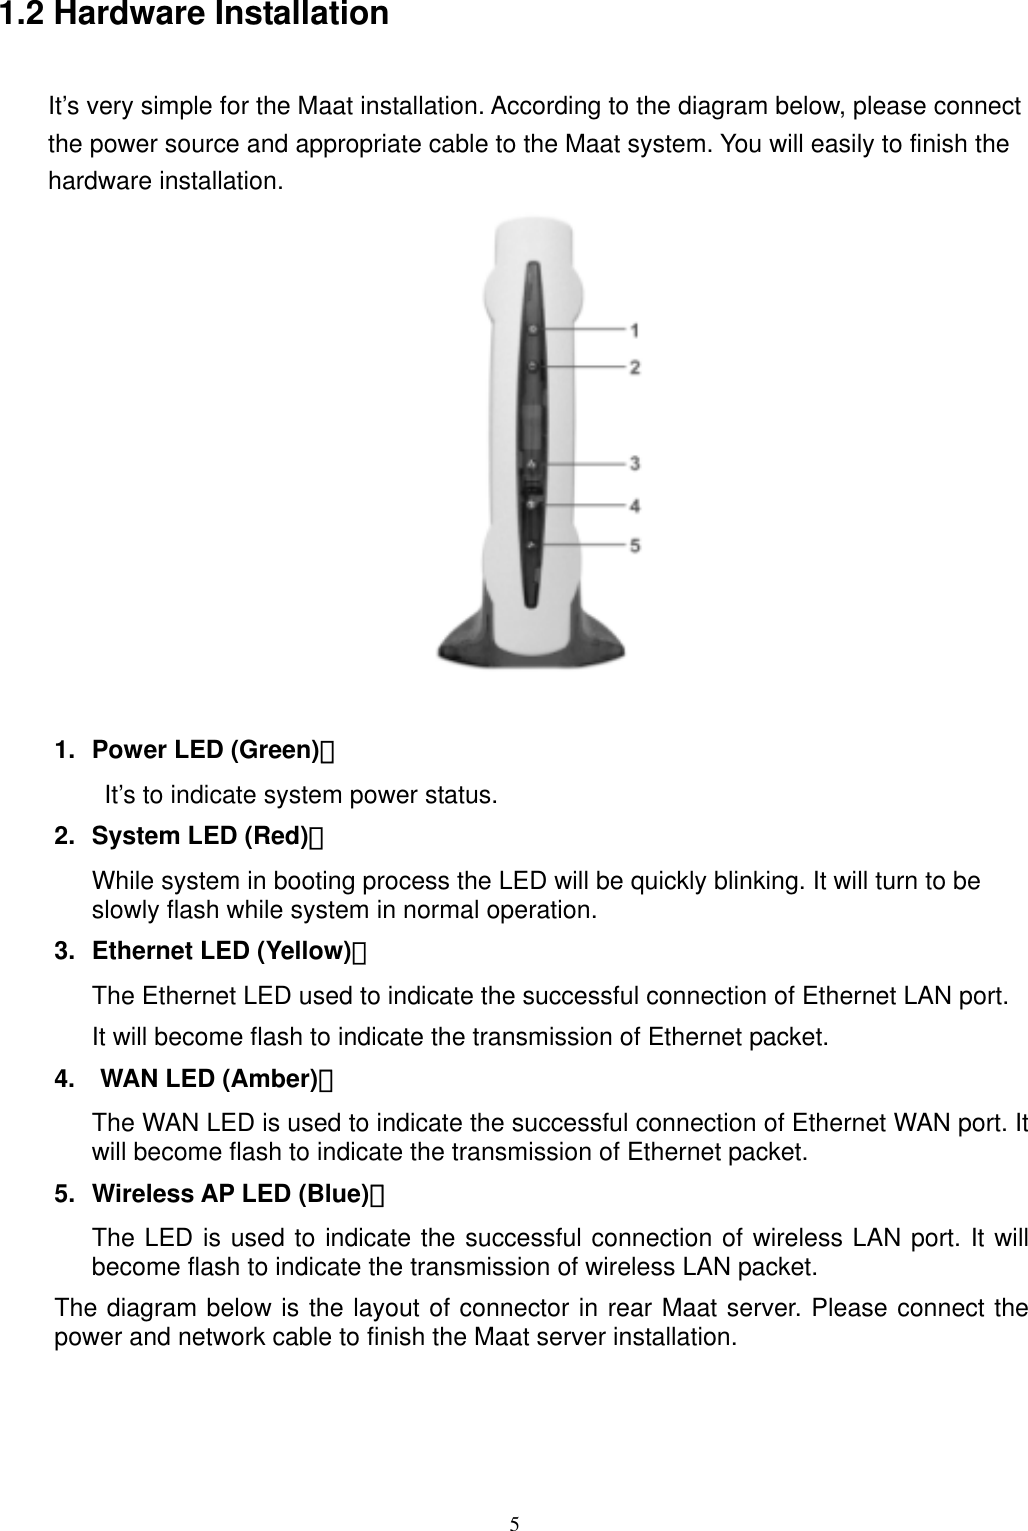
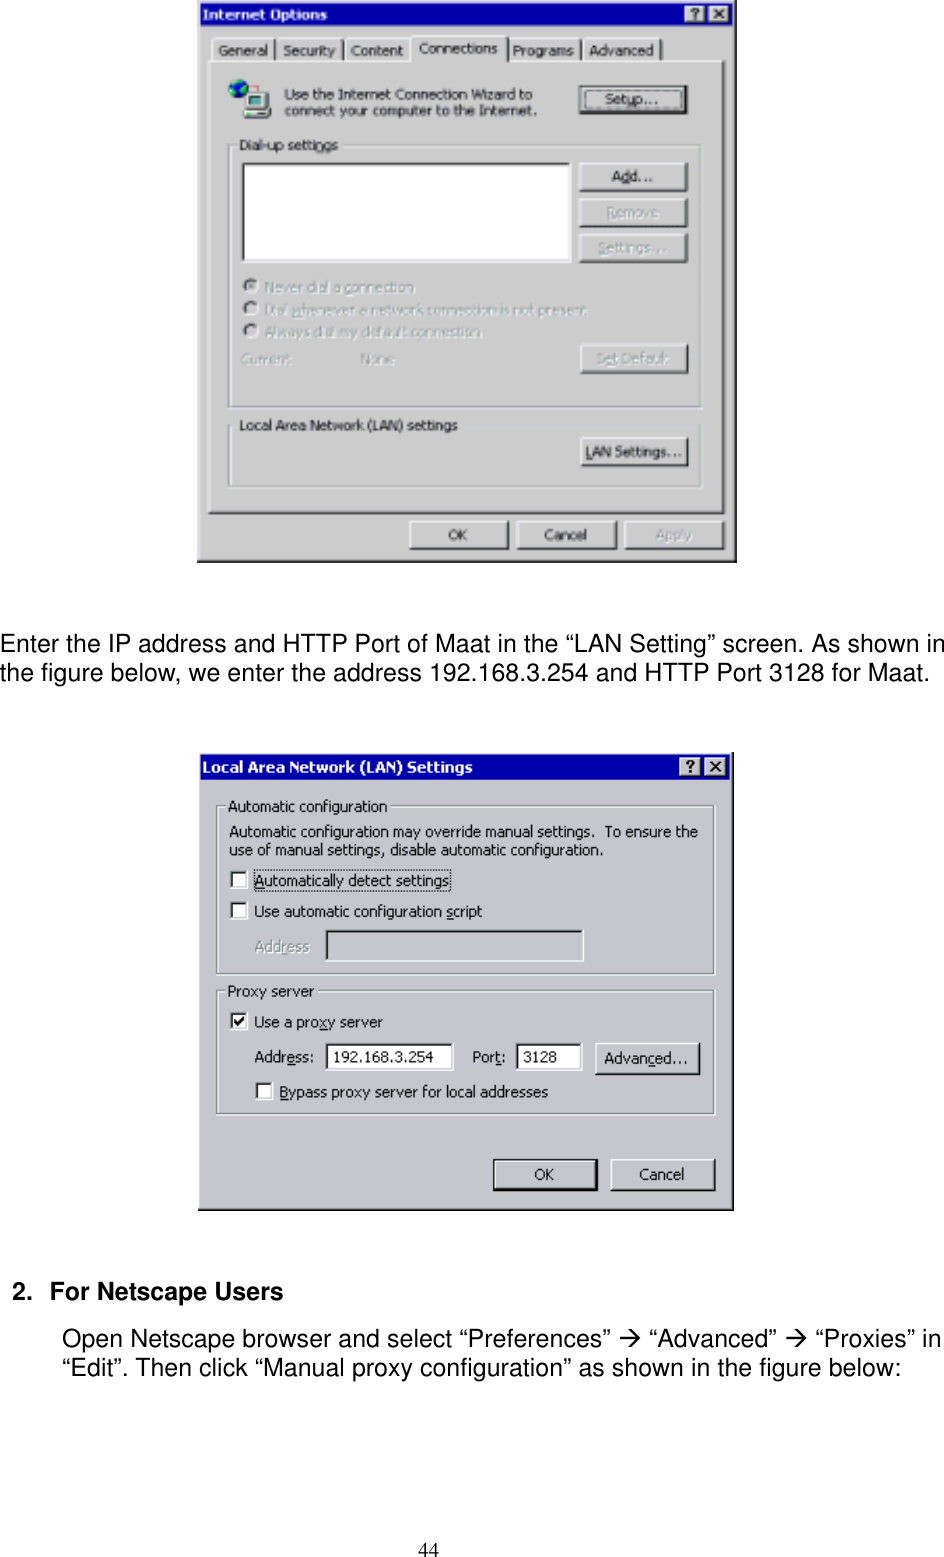
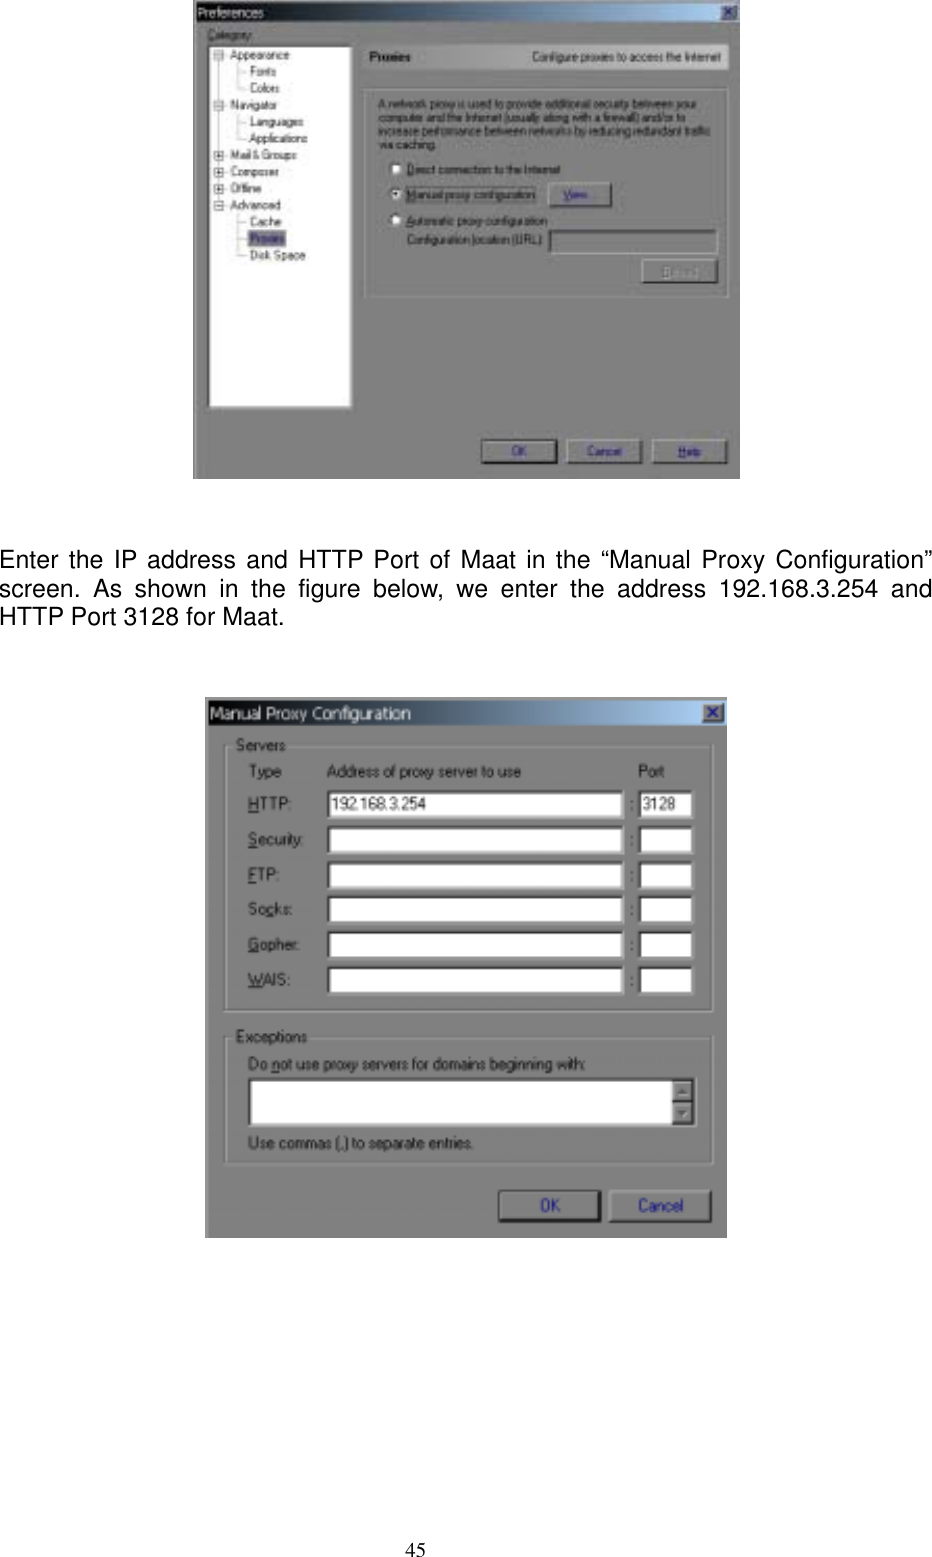
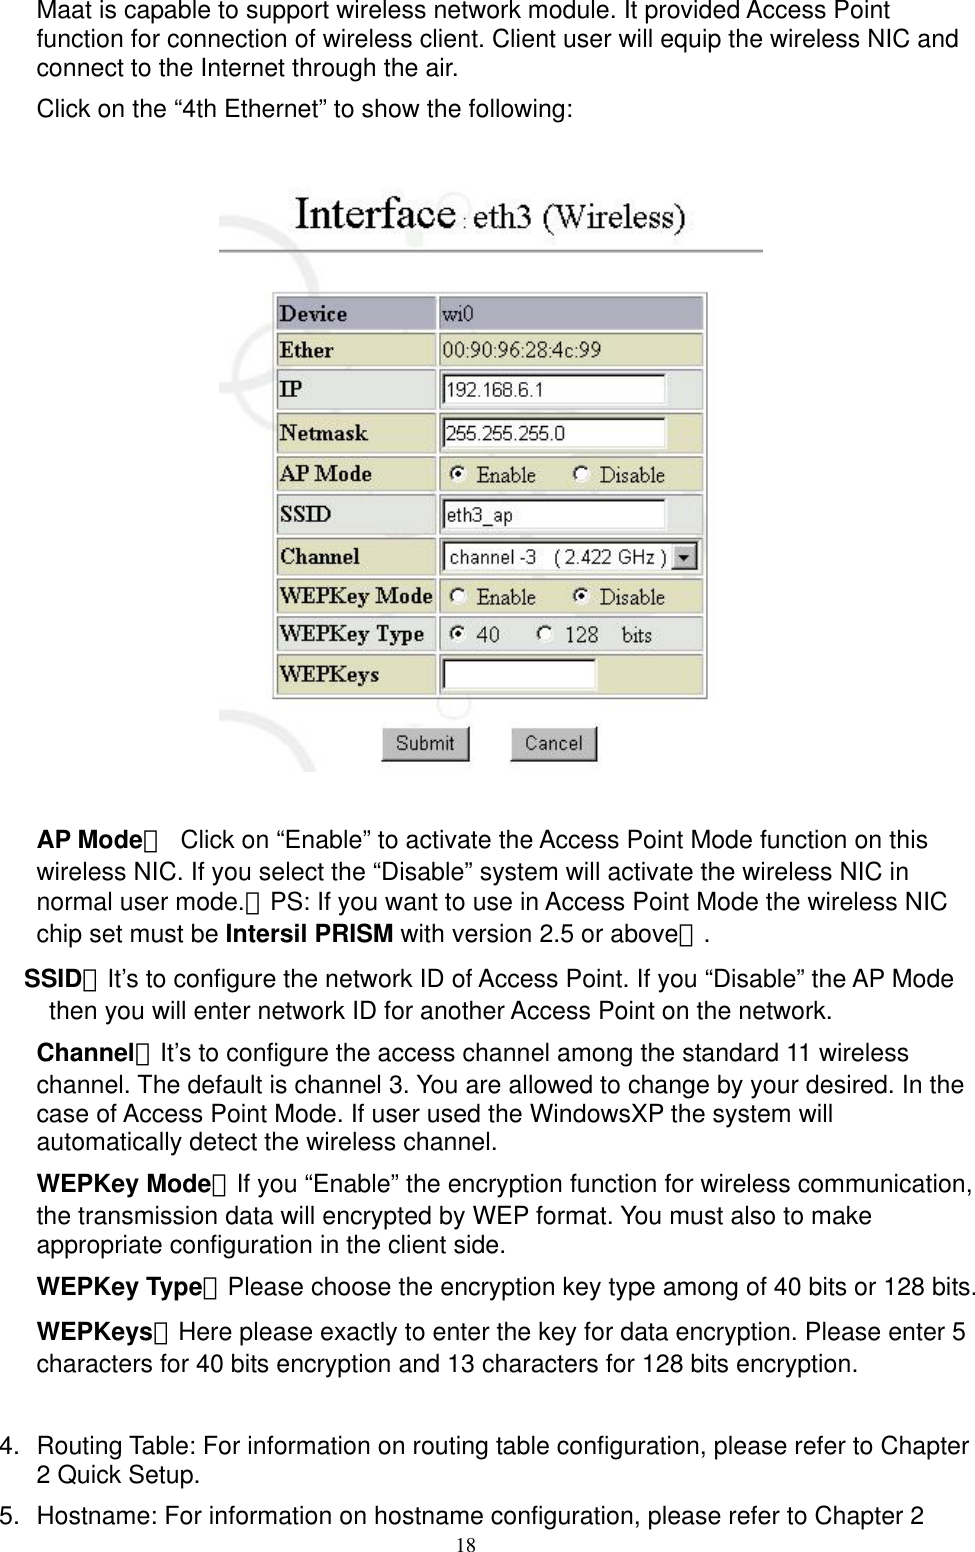
![7entering “sysop” for User Name and “steptech” for Password as following: While in system boot process, you can press any key when the message “Hit [Enter] to boot immediately, ….” is displayed on the screen. System will enter to “OK” prompt. Here to describe three commands for system recovery function: 1. boot –s: is used to recover the sysop and root’s password to system default as “steptech” and “no password”. The root’s password will reset to as “none”. For security reason you are recommended to change their password through the Mail Tool home page. 2. boot –c: is used to completely reset the system default. 3. boot –d: is used to perform the “fdisk” function. The login prompt will appear after the “fdisk” process. You can login as “sysop” to continue performing “format” command process. They will accompany with a melody sound effect while the format process is in progress. 1.3 Client PC Configuration Now connect another client PC to Maat server via crossover cable or hub. Server will configure related settings via the browser. The default value of Maat system network interfaces is as follows: IP (public): 172.16.100.1 NetMask: 255.255.0.0 Client PC configurations are very simple, just requiring a few of steps as shown below: 1. Click the right mouse button on the “My Network Places” and select “Properties”. Then select “TCP / IP” “NIC”. 2. As shown in the figure below, enter related IP configurations before clicking OK. After the reboot finishes, start up the browser. If the Proxy configurations are enabled, disable the configuration. Let’s take IE as an example: Select Tools Internet options Connections Local Area Network (LAN) configurations Disable the “Use a proxy server” option.](https://usermanual.wiki/First-Computer/R02501.USERS-MANUAL-1/User-Guide-369387-Page-7.png)


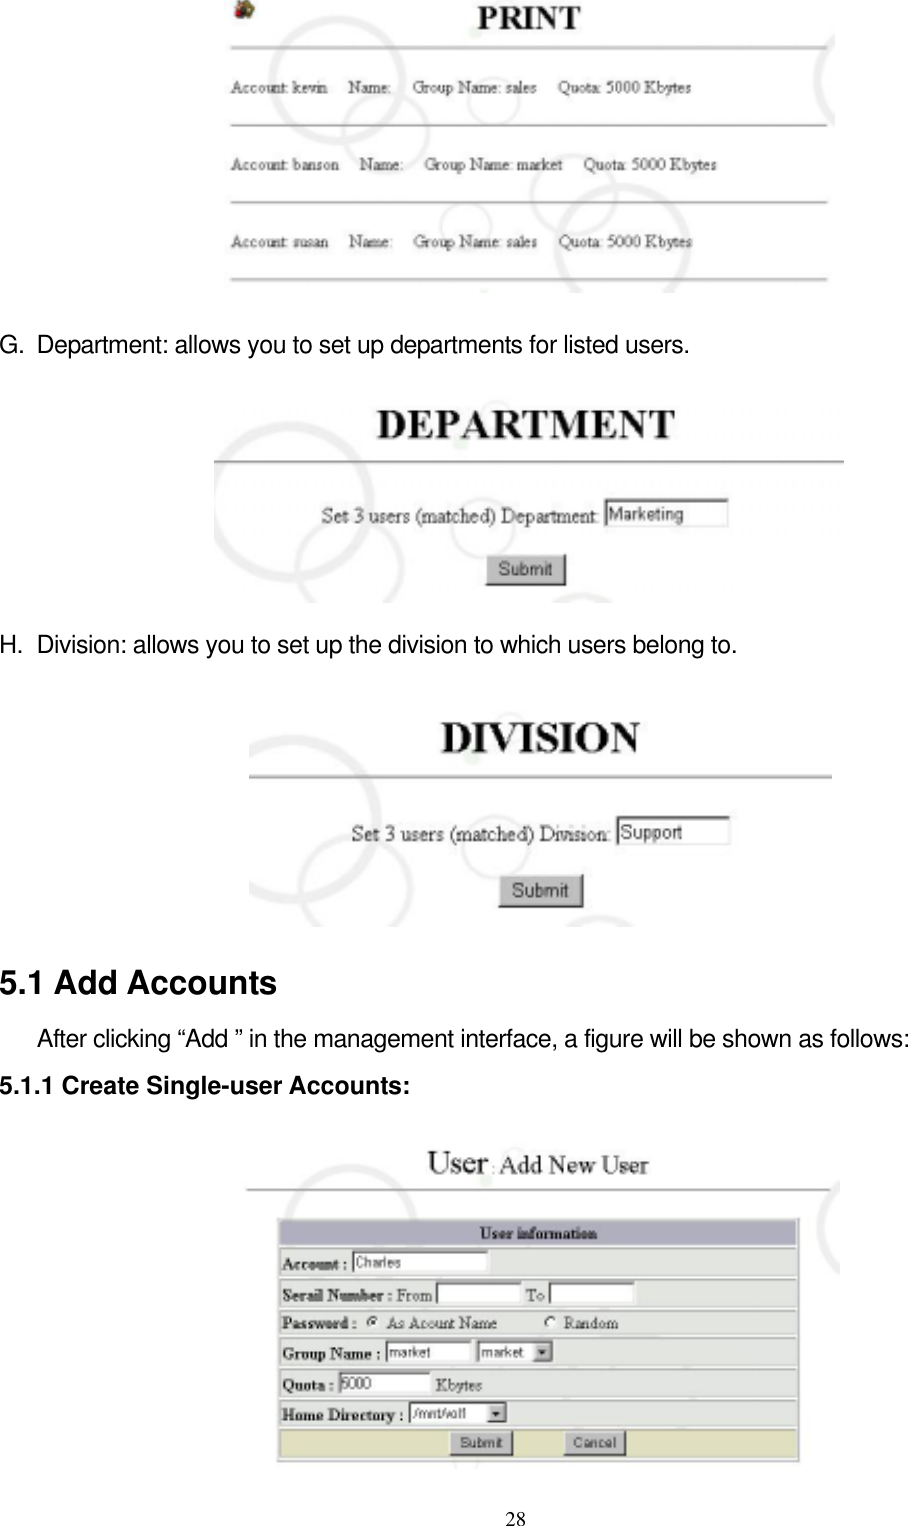
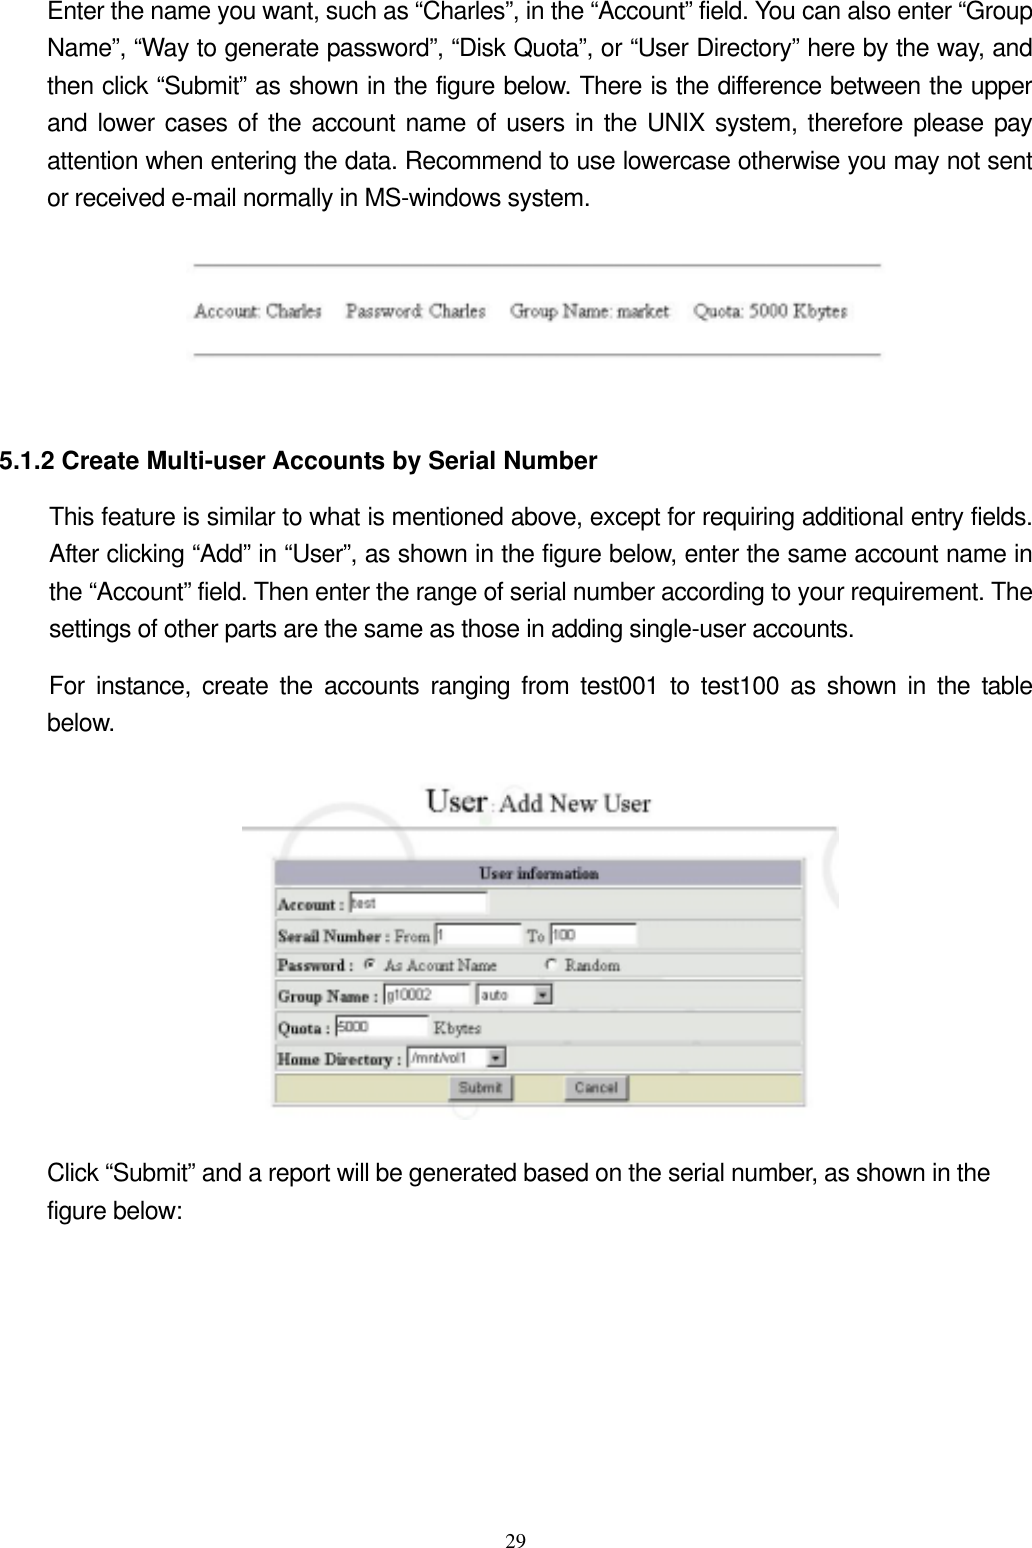
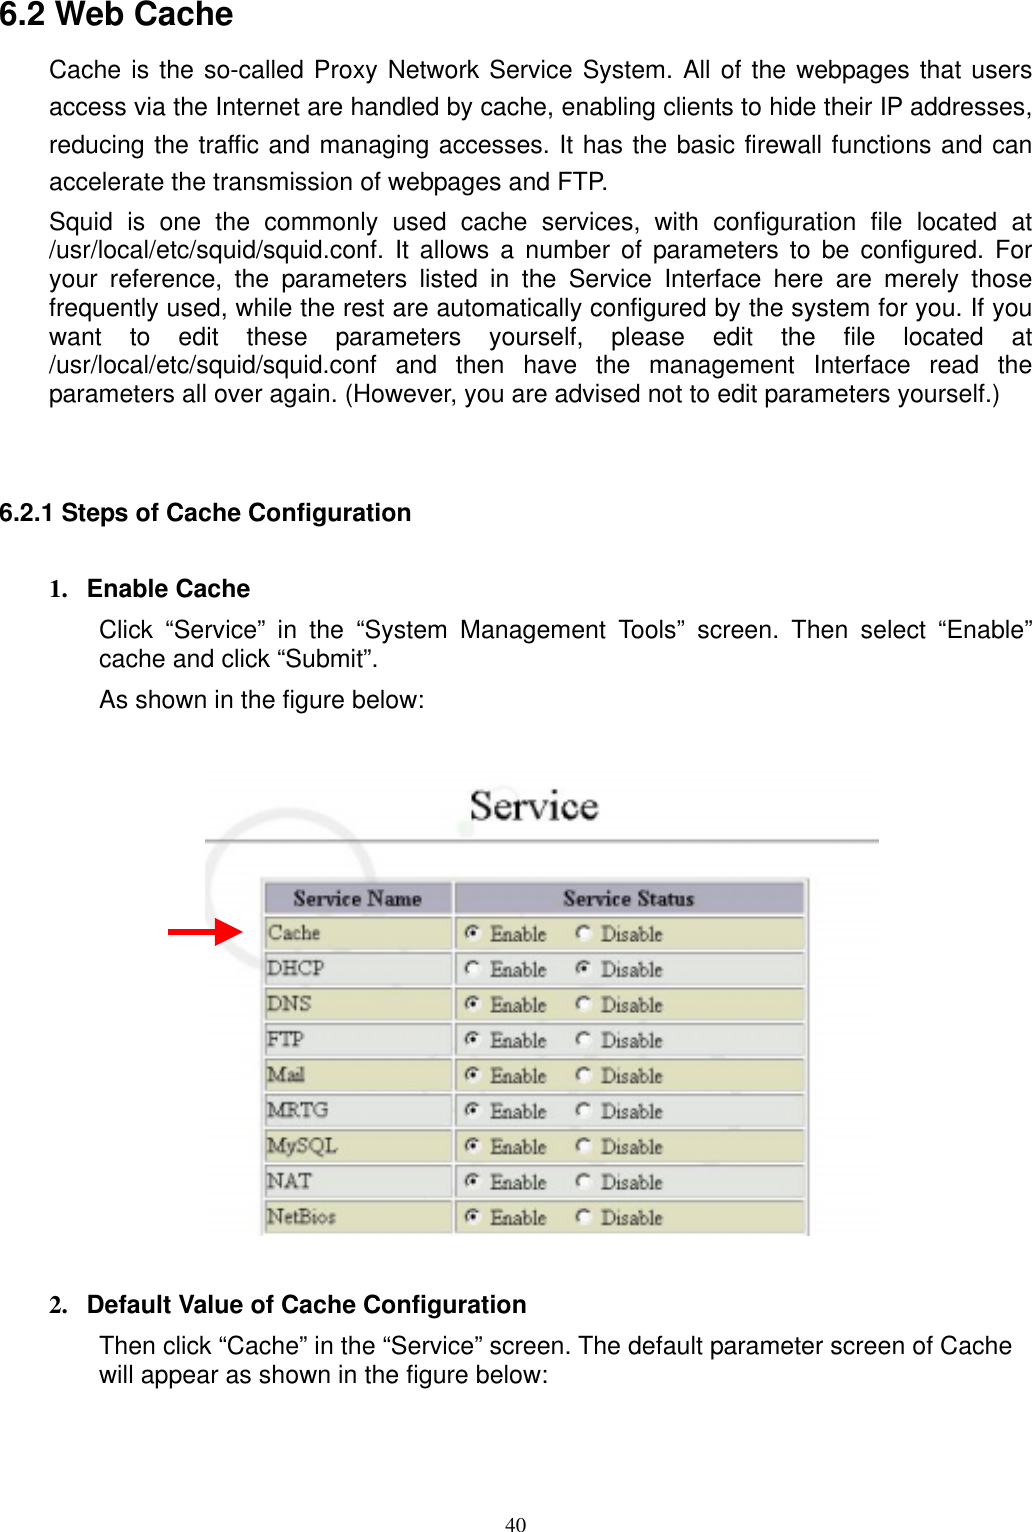
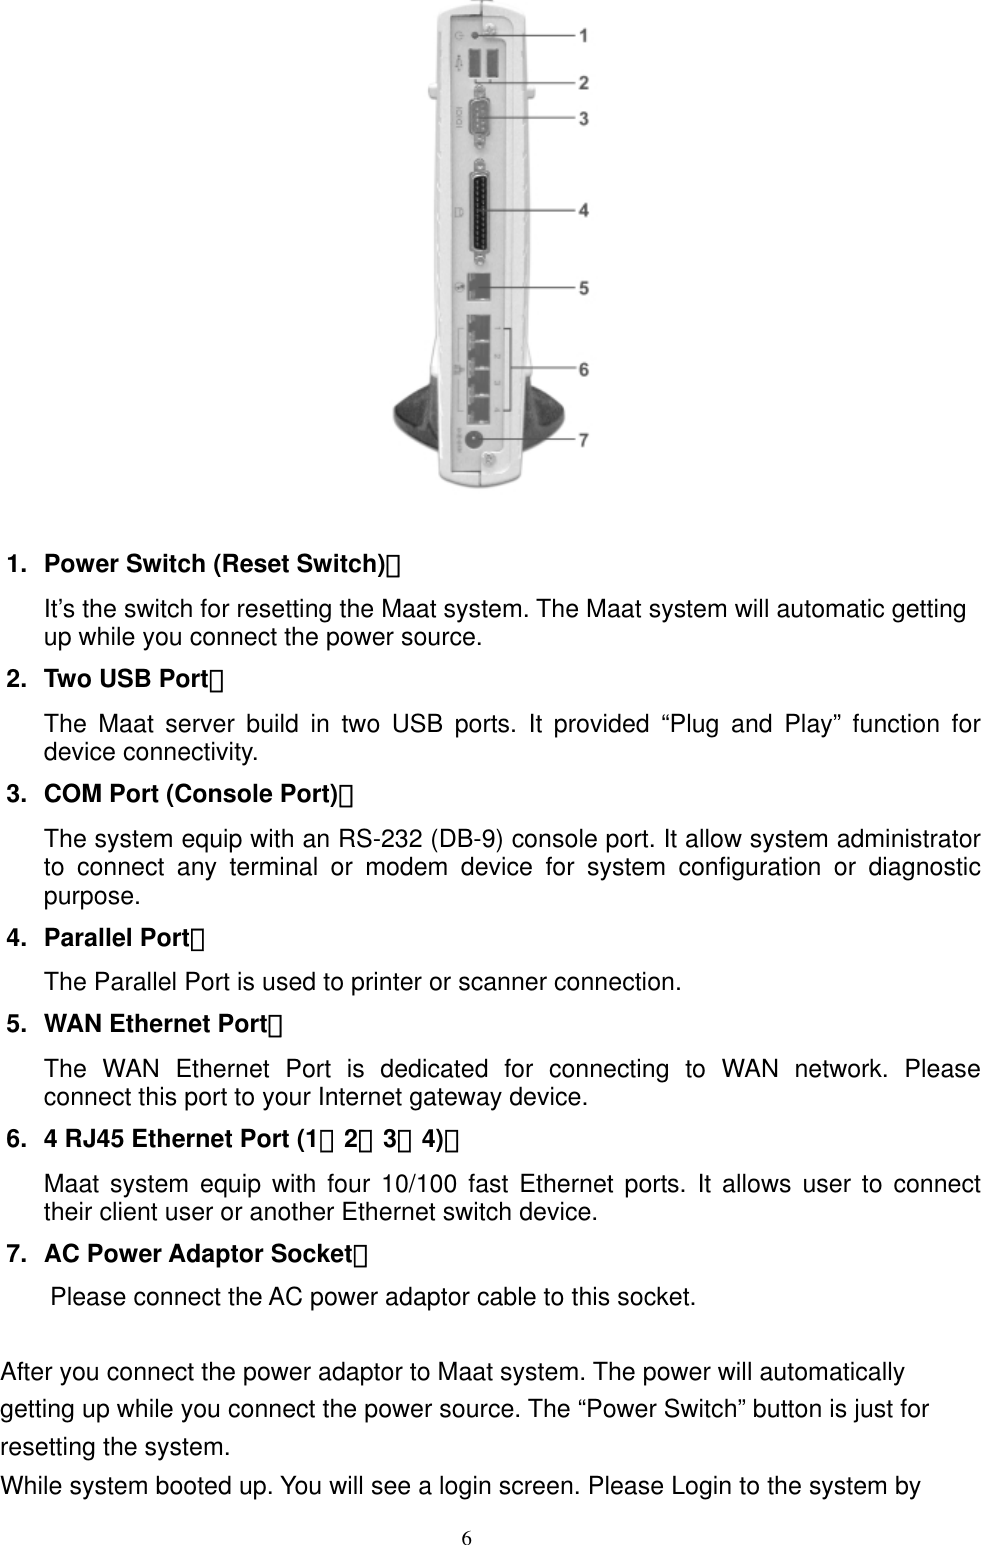
![42 Client Network IP Configuration 1. For fixed IP users For fixed IP users, click the right mouse button on “My Network Places”, select “Properties” and “TCP / IP” NIC (eg, NE2000) [for win98], or click the right mouse button on “My Network Places” and select “Properties”. Then select local connection, press “Properties” again and select “Internet Protocal (TCP / IP)” [for win2000]. Key in the IP address and subnet mask granted by MIS on the “IP Address” screen. As shown in the following figure, we take the IP address 192.168.3.100 and the subnet mask 255.255.255.0 as an example, Transparent Web Cache can be used immediately when users key in the IP of the Maat. 2. DHCP Client Configuration The configuration of DHCP Client is very easy. The steps for the configuration is shown as follows: Click the right mouse button on “My Network Places”, select “Properties” and “TCP / IP” NIC (eg, NE2000) [for win98], or click the right mouse button on “My Network](https://usermanual.wiki/First-Computer/R02501.USERS-MANUAL-1/User-Guide-369387-Page-42.png)
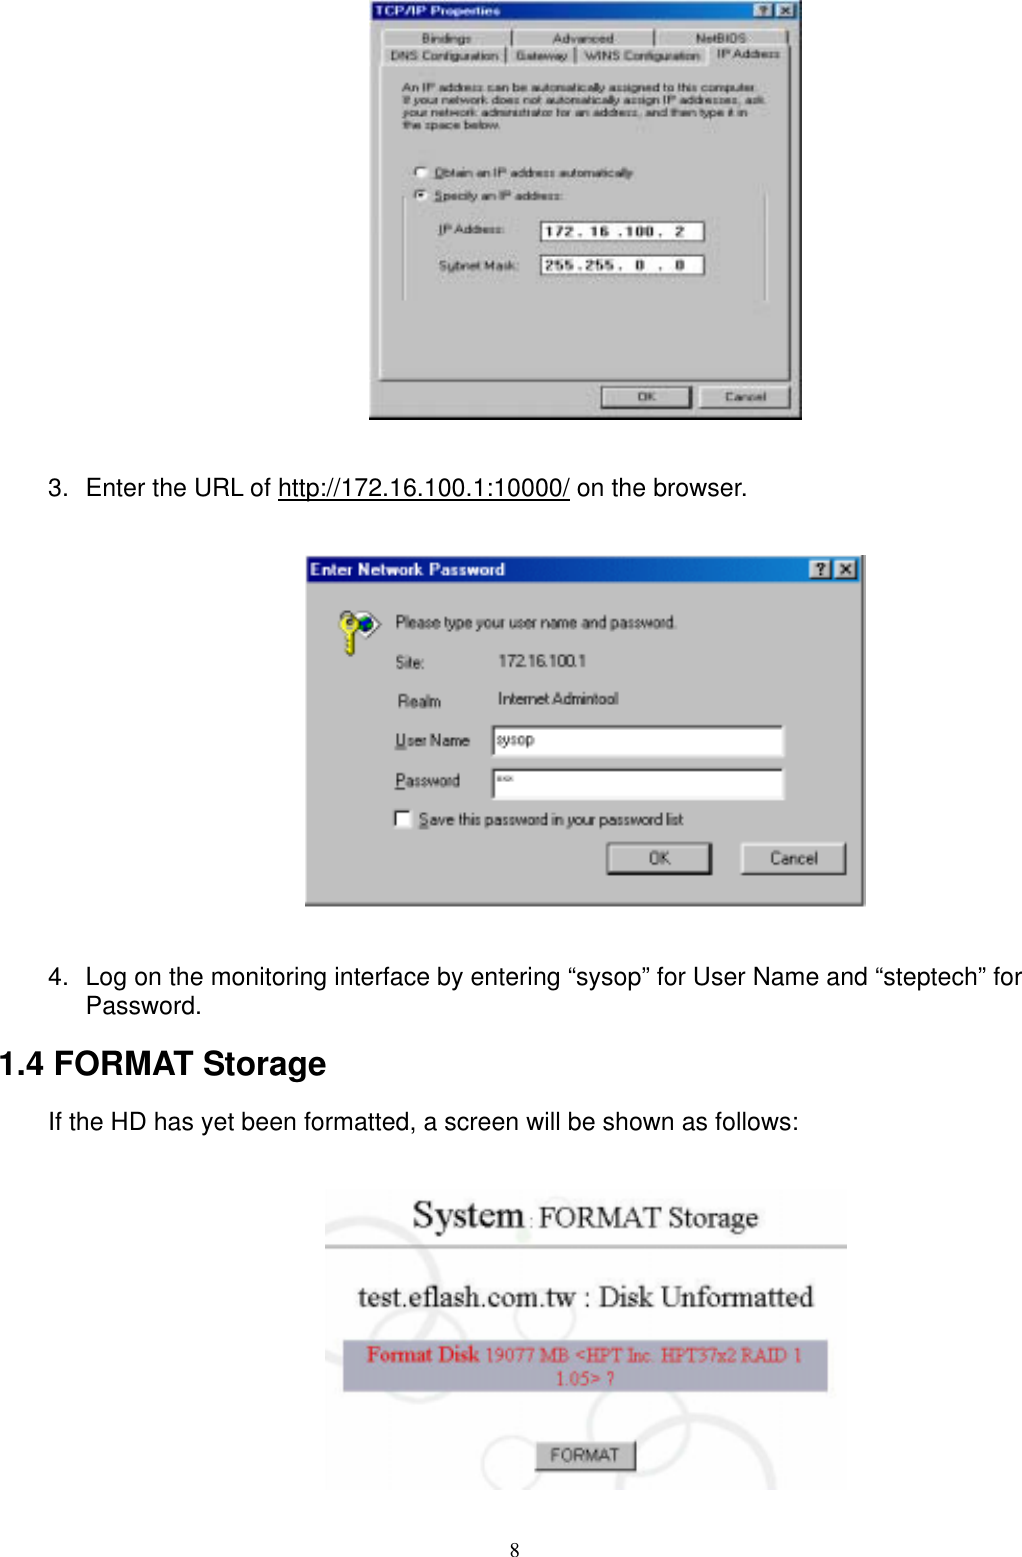
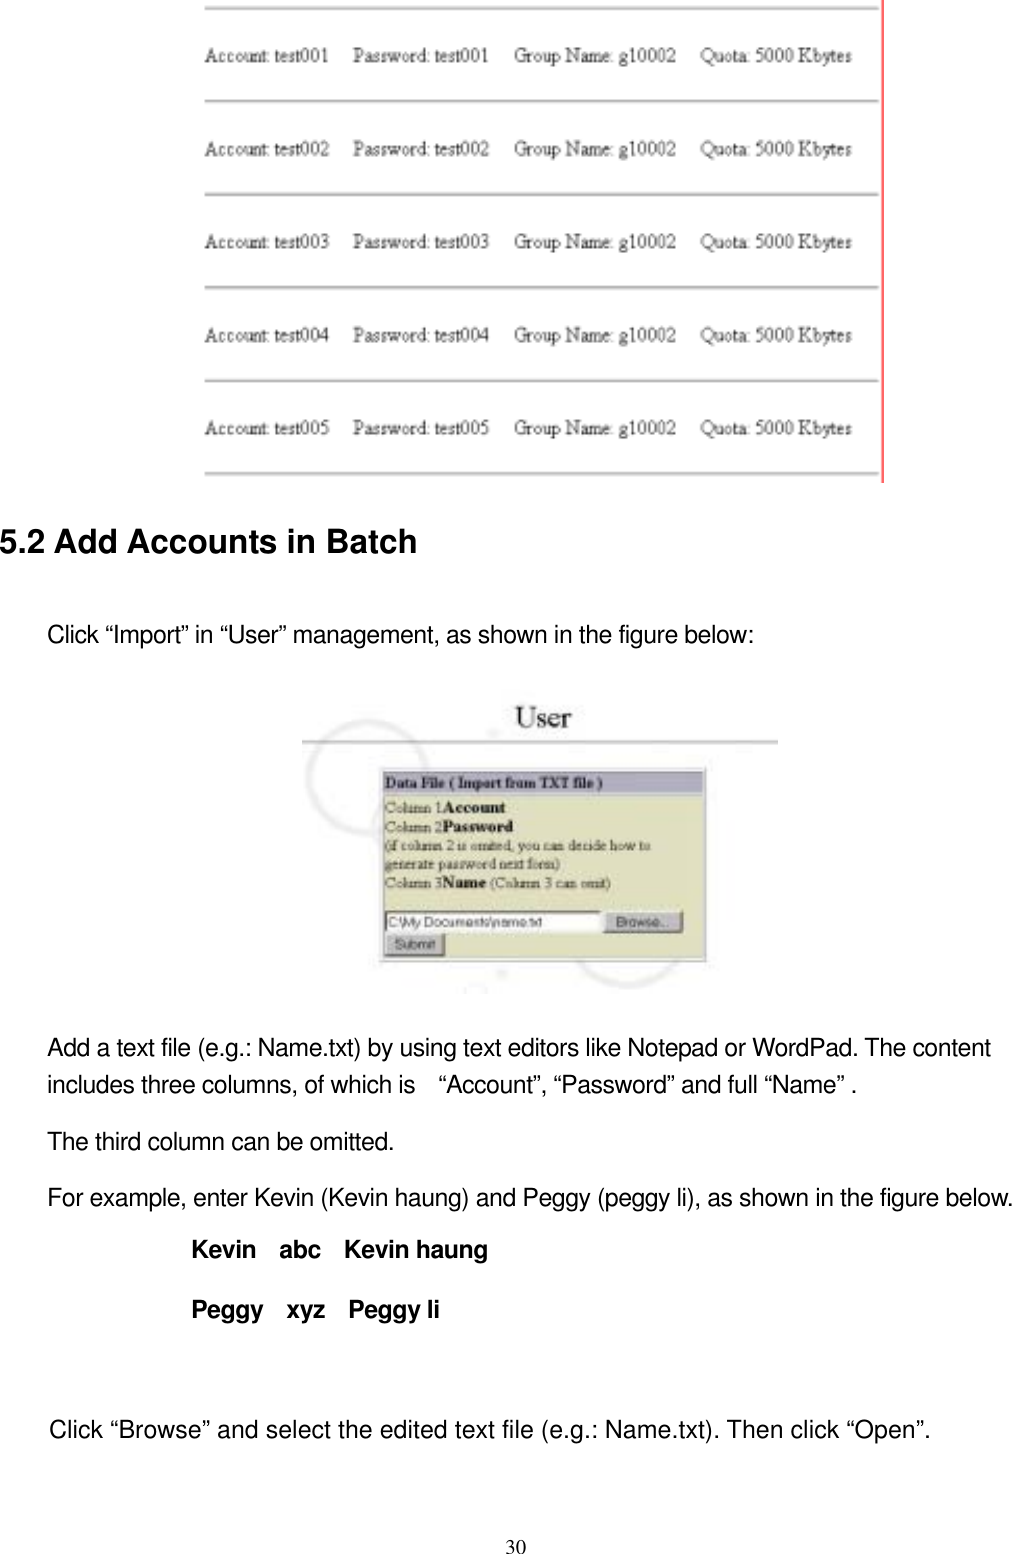
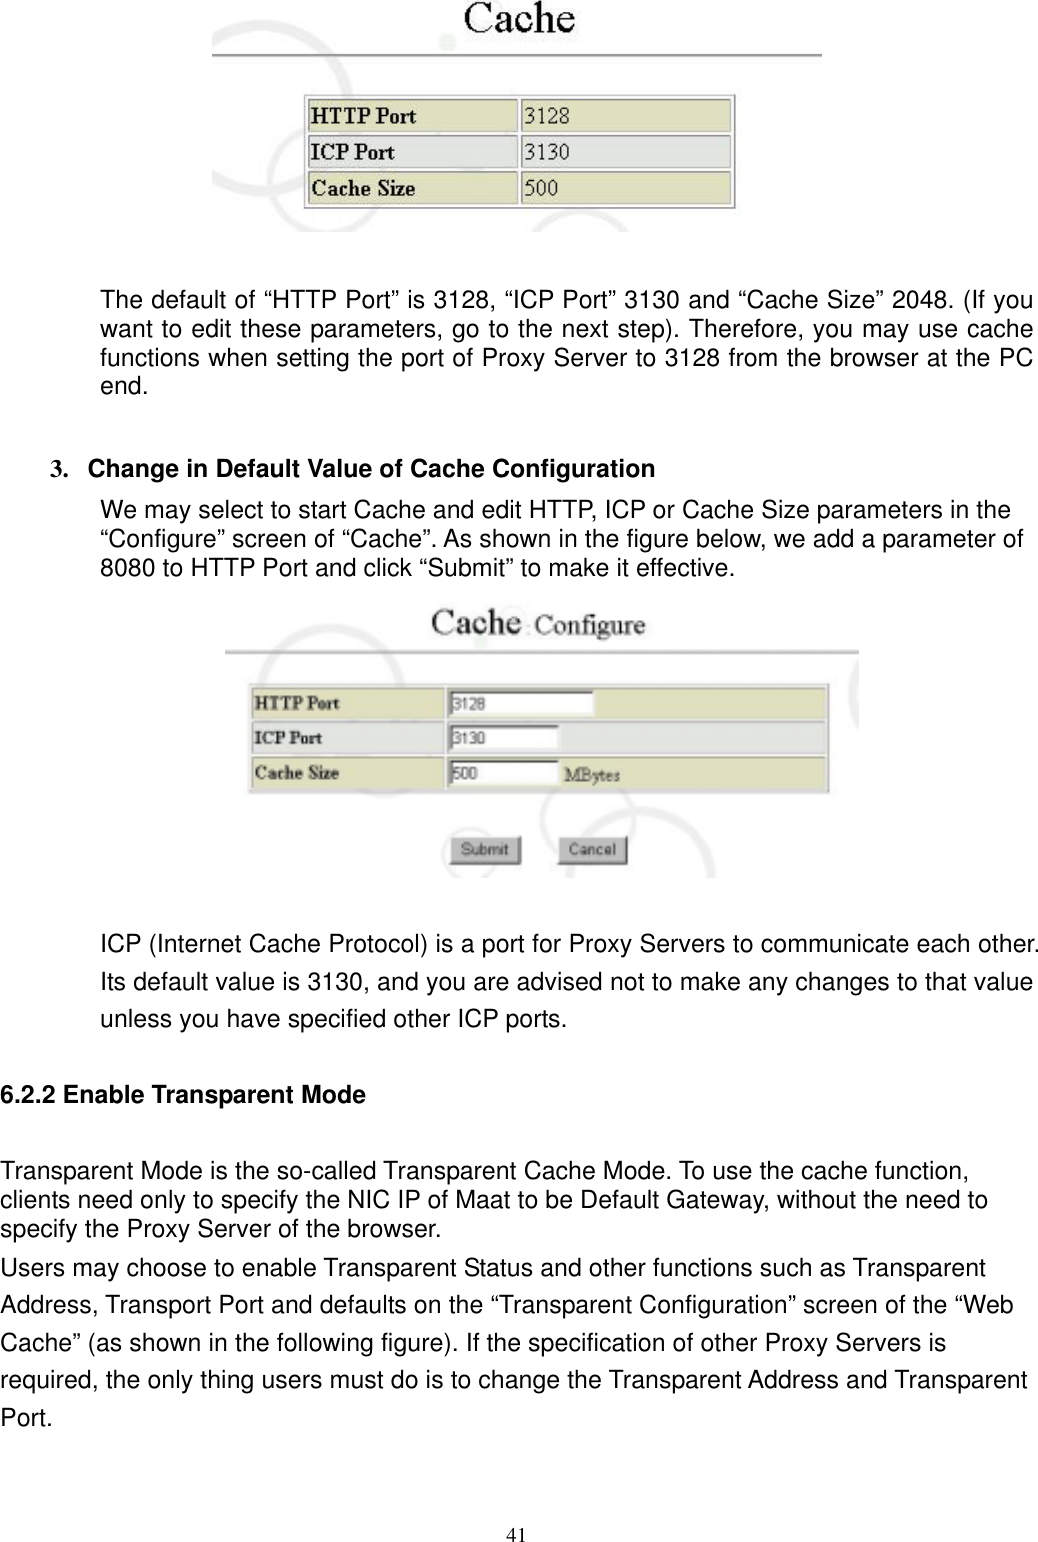
![43Places” and select “Properties”. Then select local connection, press “Properties” again and select “Internet Protocal (TCP / IP)” [for win2000] Except selecting “Automatic Obtain IP Address” (Shown as in the figure above) on “IP Address”, you do not need to configure related options. Click on “OK”, Client PC will reboot. After rebooting computer, you can use command winipcfg under win98 to check if a set of IP values automatically obtained. 6.2.3 Client-end Browser Configuration (Microsoft Windows Client) General Cache Mode 1. For IE Users In the “Connection” screen of “Internet options”, click “LAN Setting” as shown in the figure below:](https://usermanual.wiki/First-Computer/R02501.USERS-MANUAL-1/User-Guide-369387-Page-43.png)