General Dynamics Itronix IX-NW620 IX-NW620 CDMA/EV-DO User Manual
General Dynamics Itronix Corporation IX-NW620 CDMA/EV-DO Users Manual
UserManual.wiki
>
General Dynamics Itronix
>
IX-NW620 User Manual
>
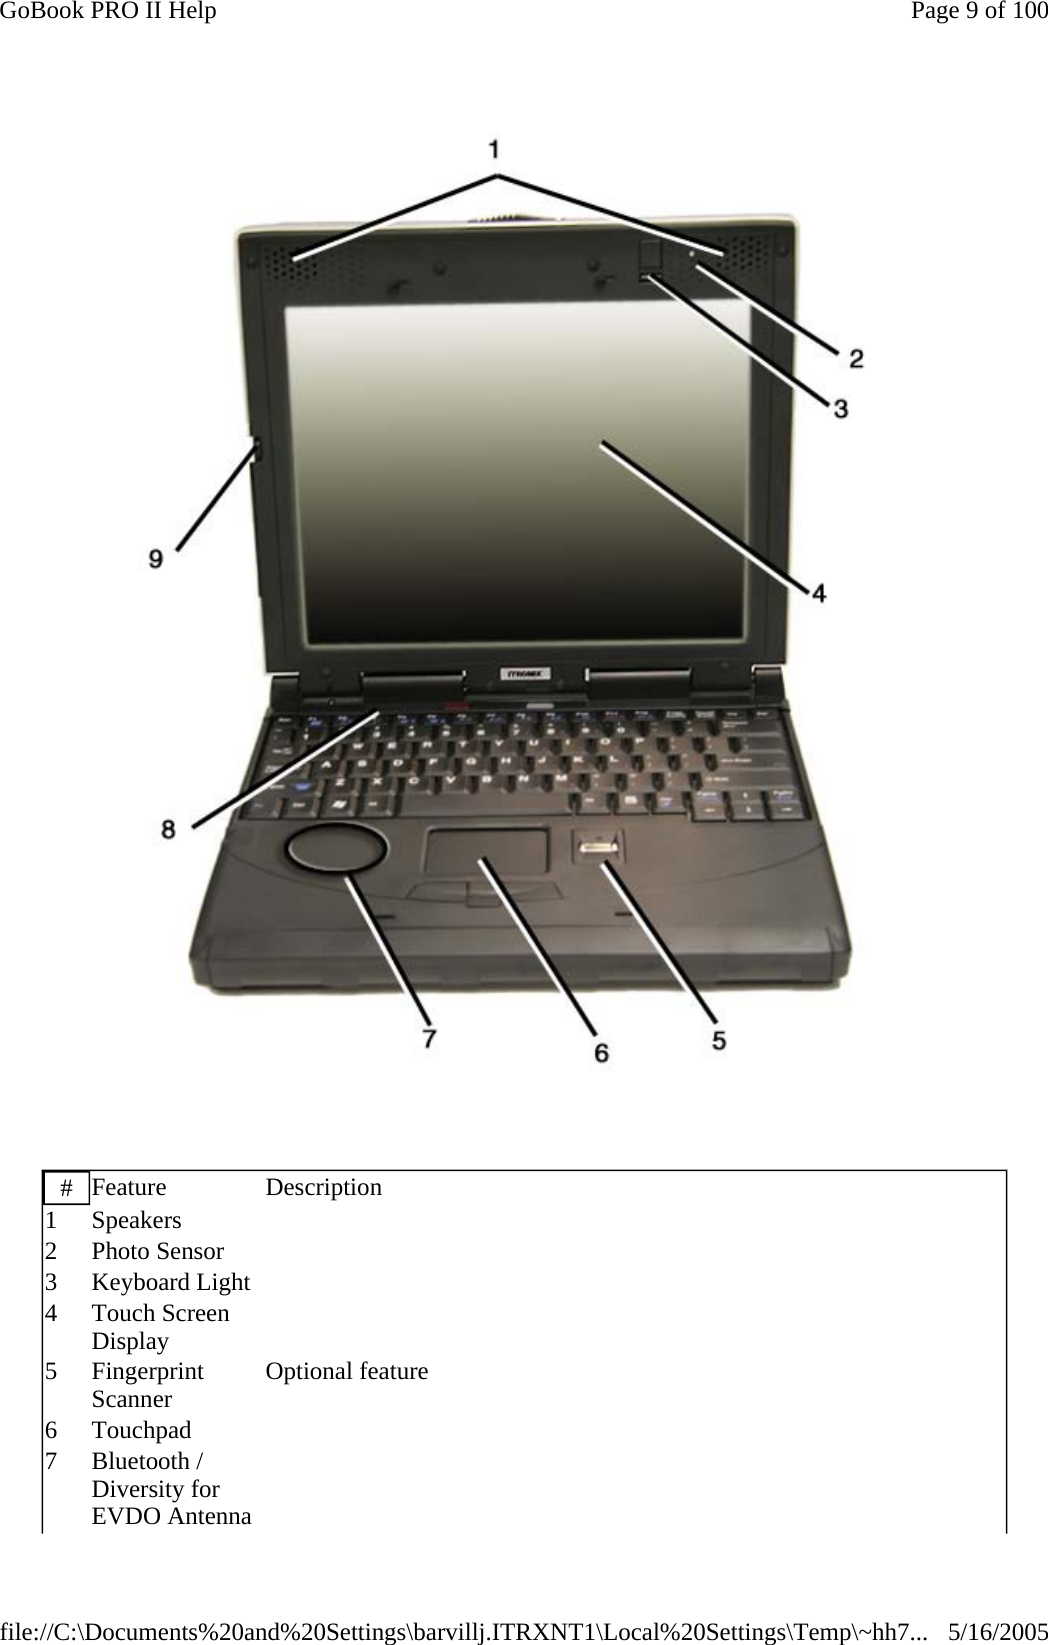
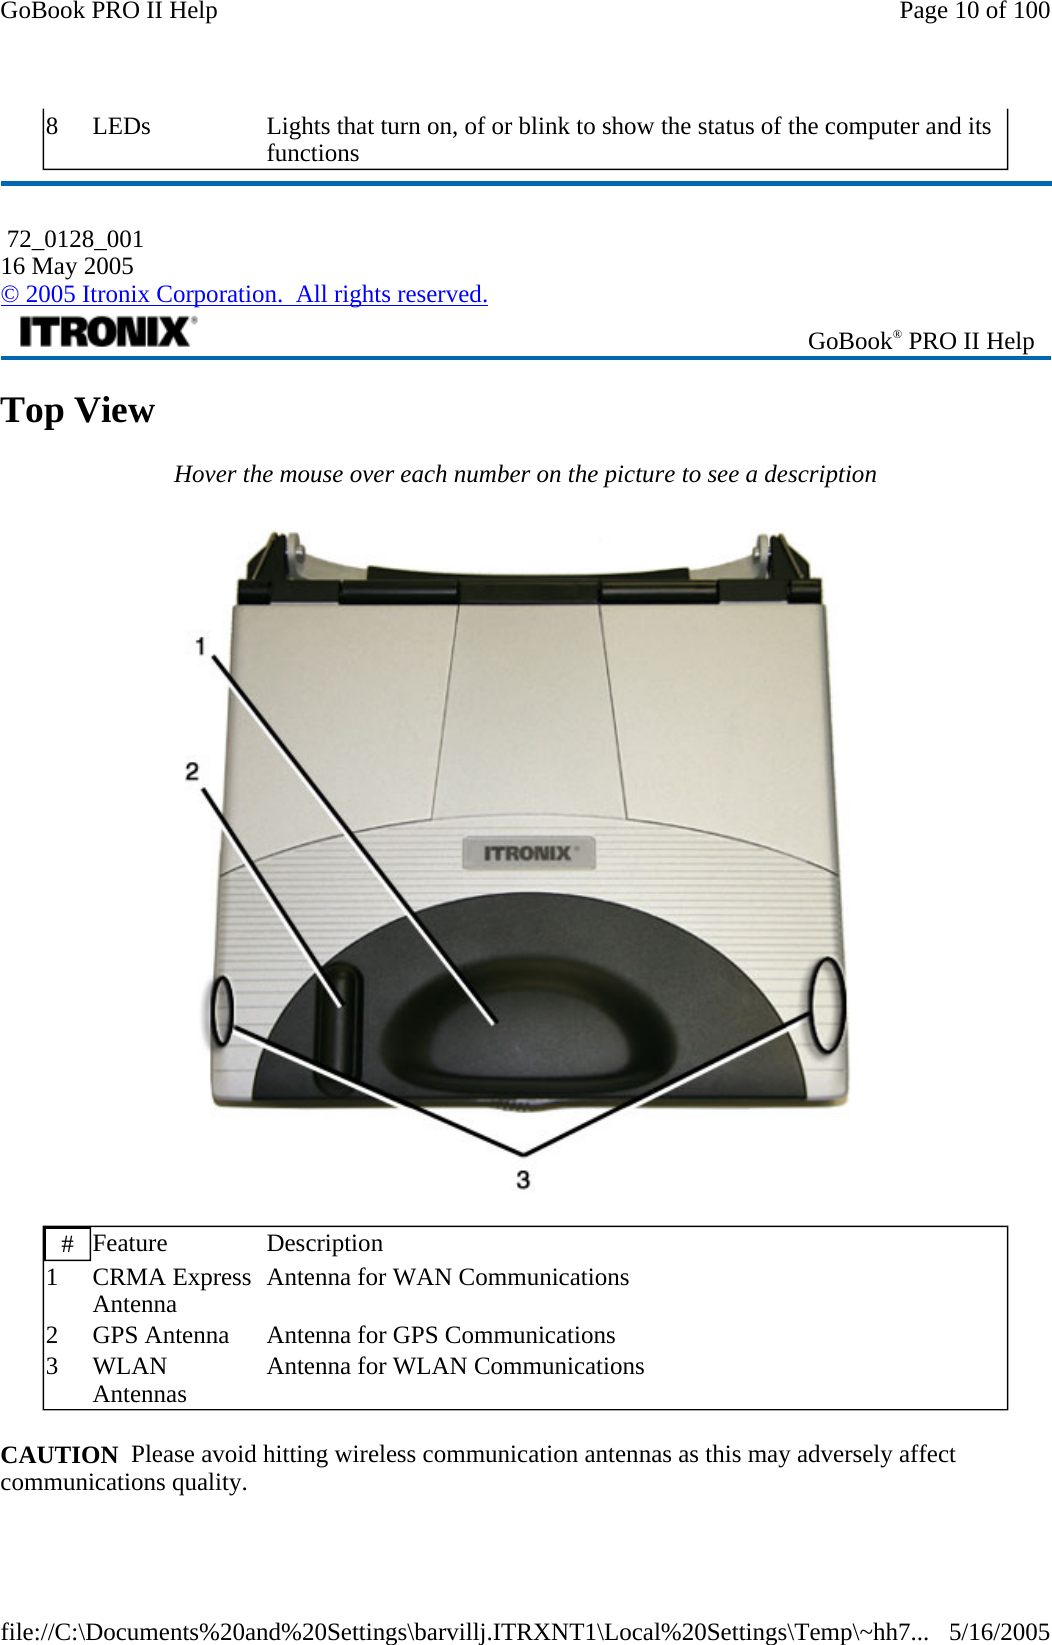
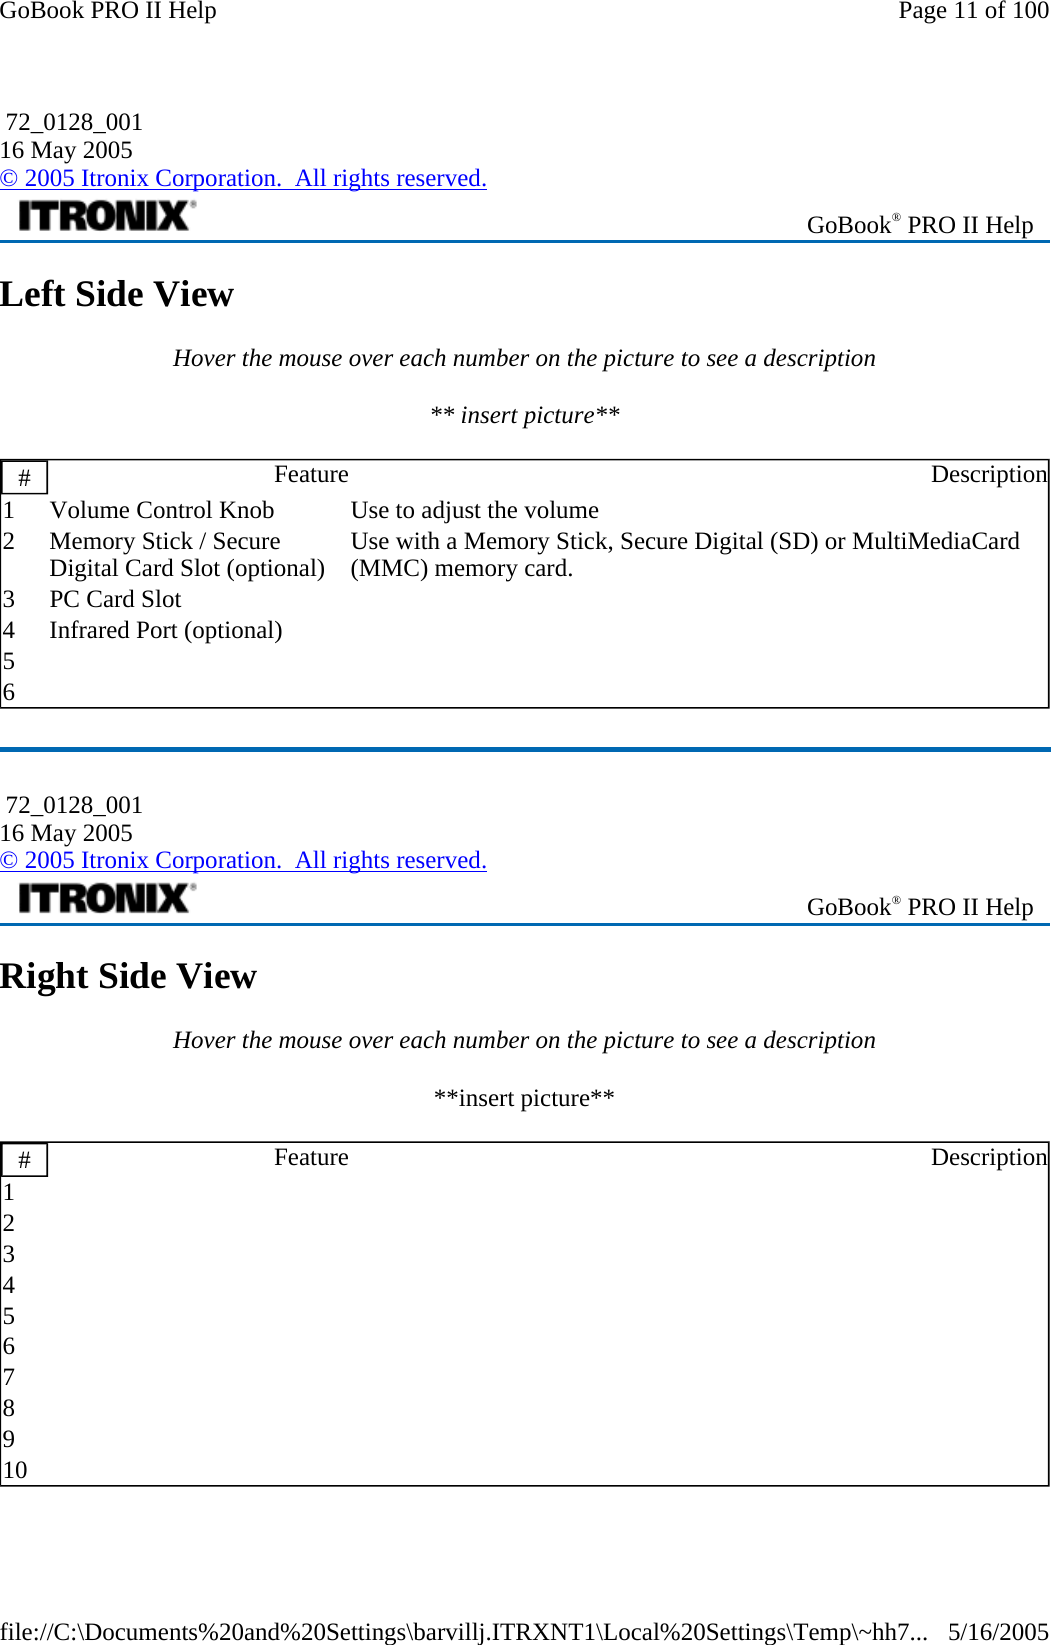
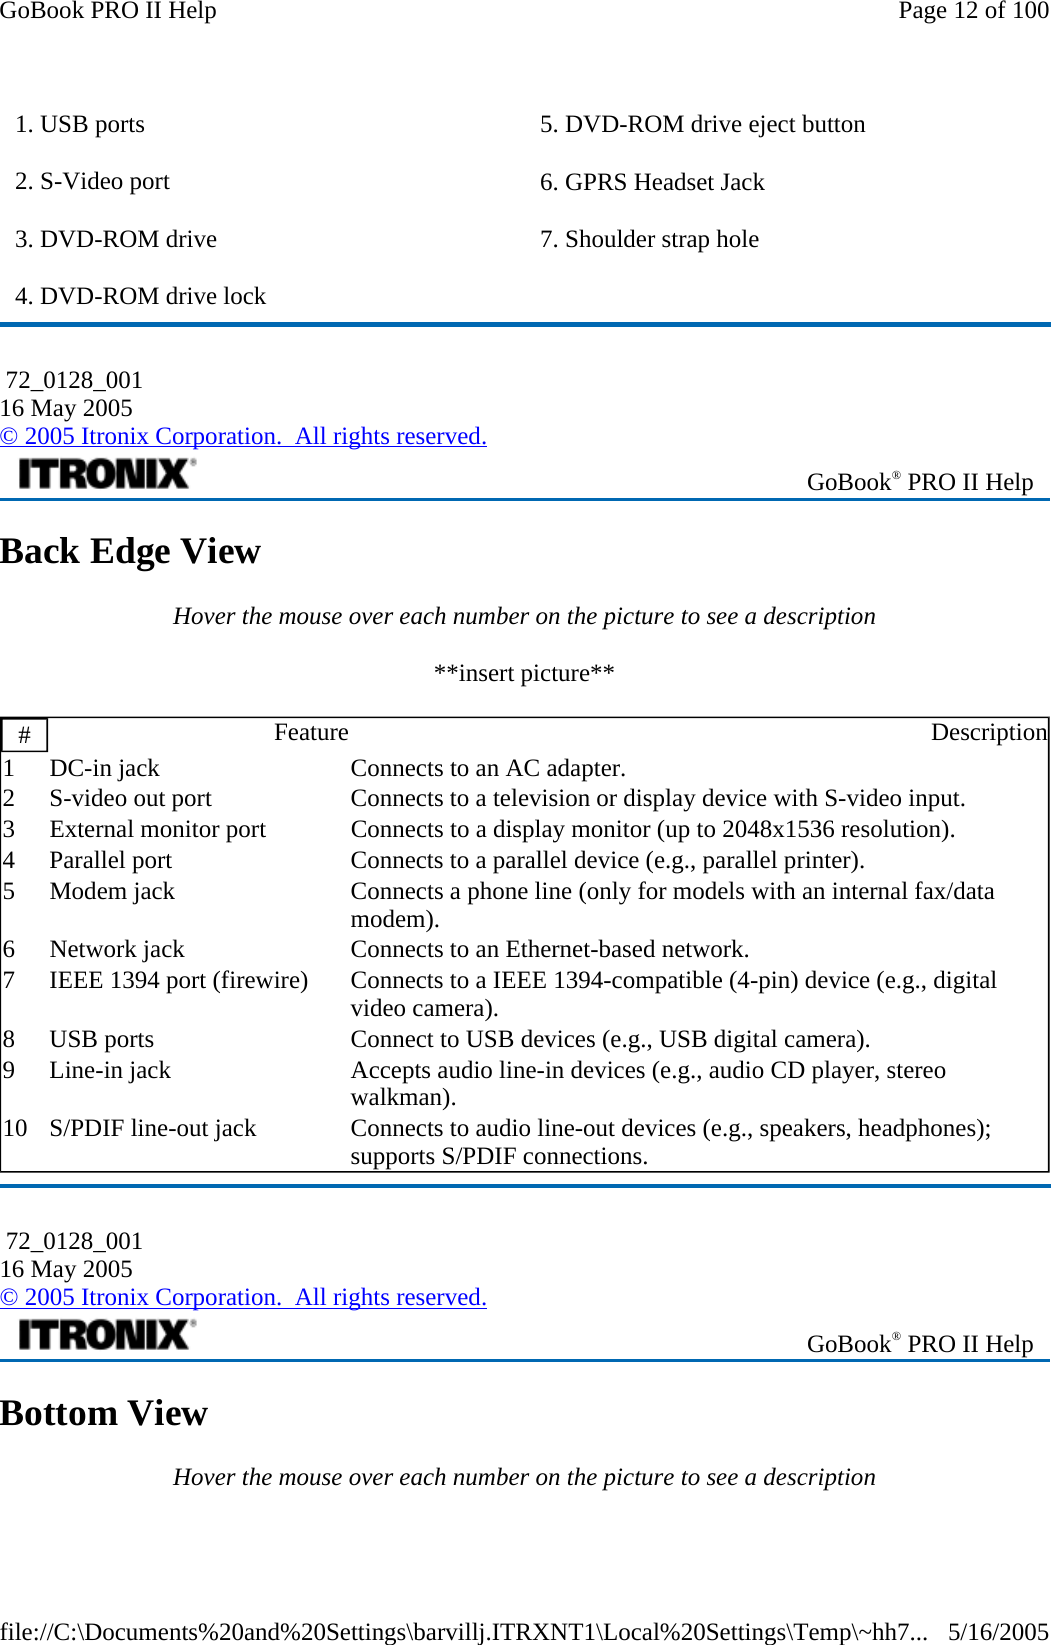
USERS MANUAL
Contents
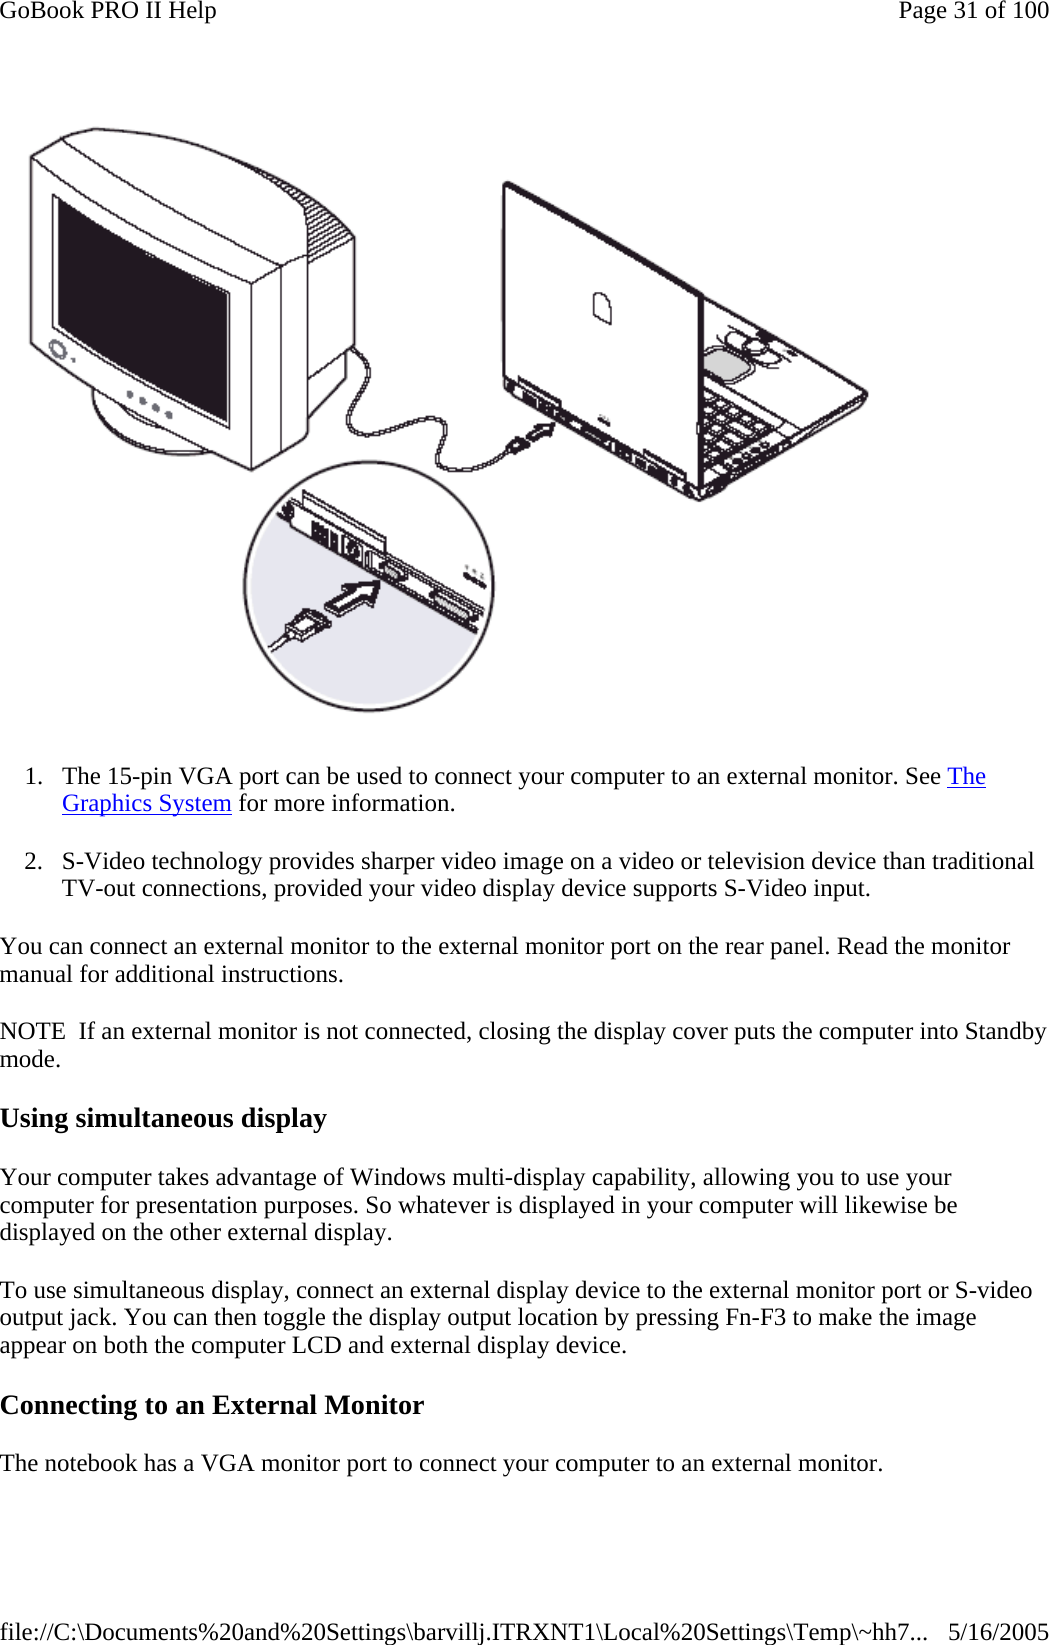
1.
USERS MANUAL
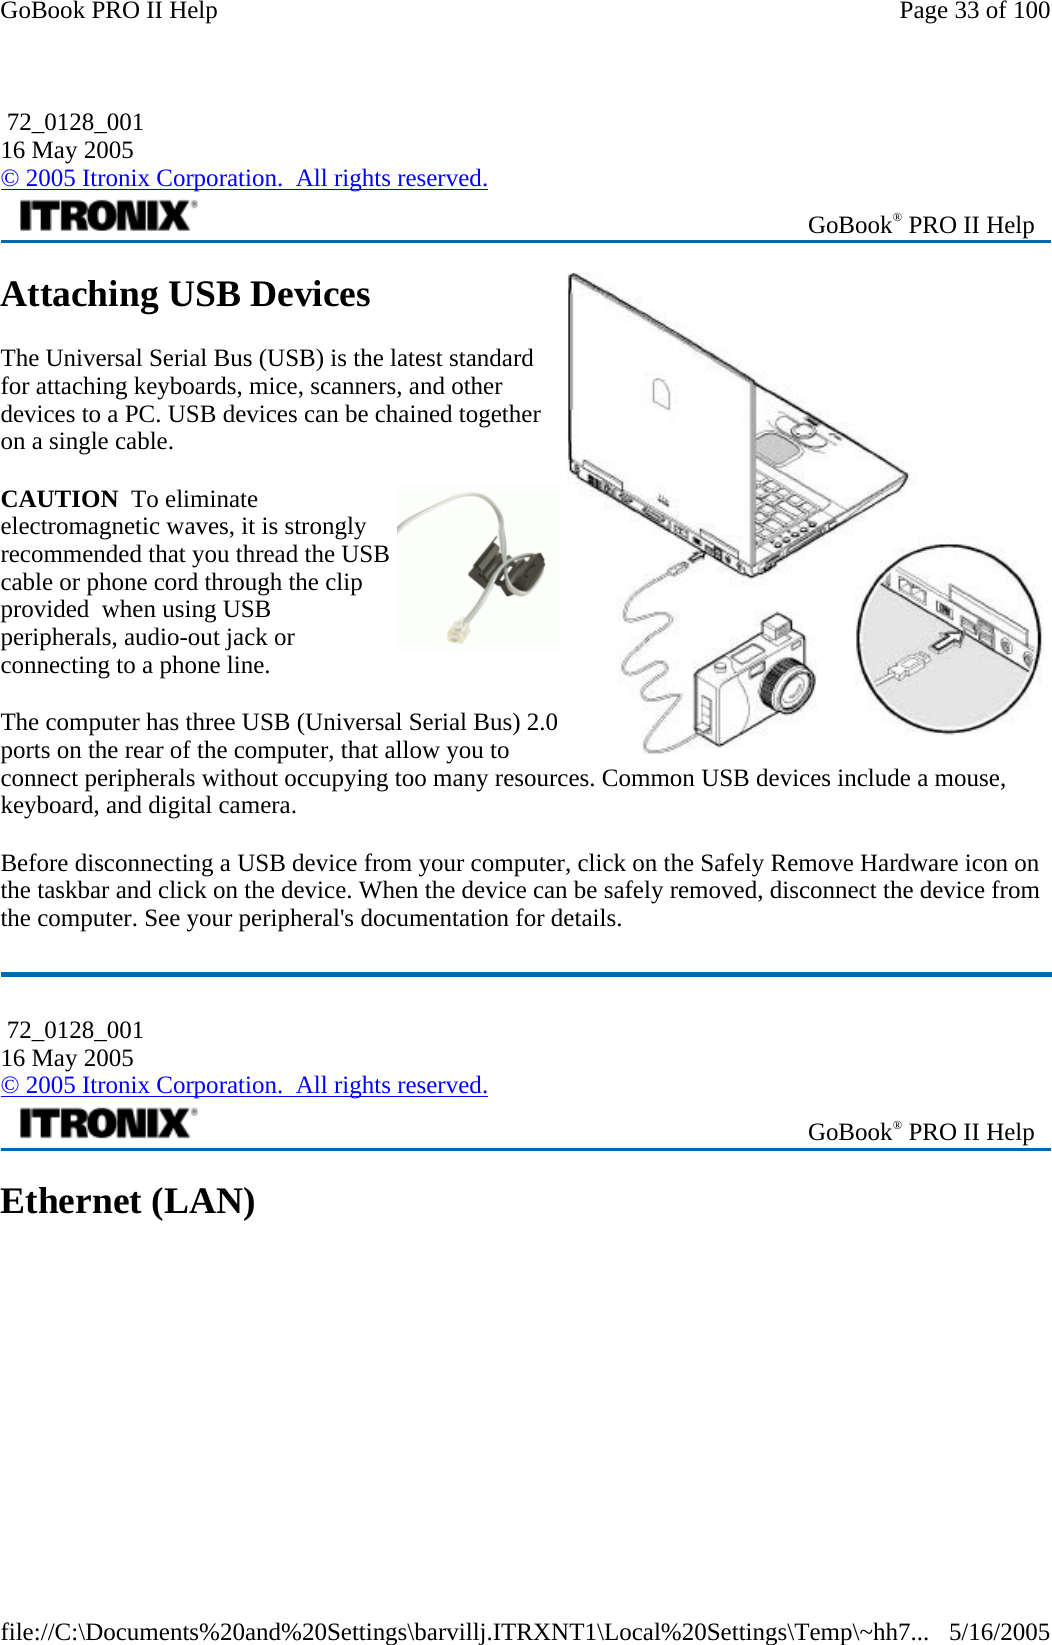
2.
RADIO SPECIFIC SAFETY INFORMATION
3.
USERS MANUAL 2
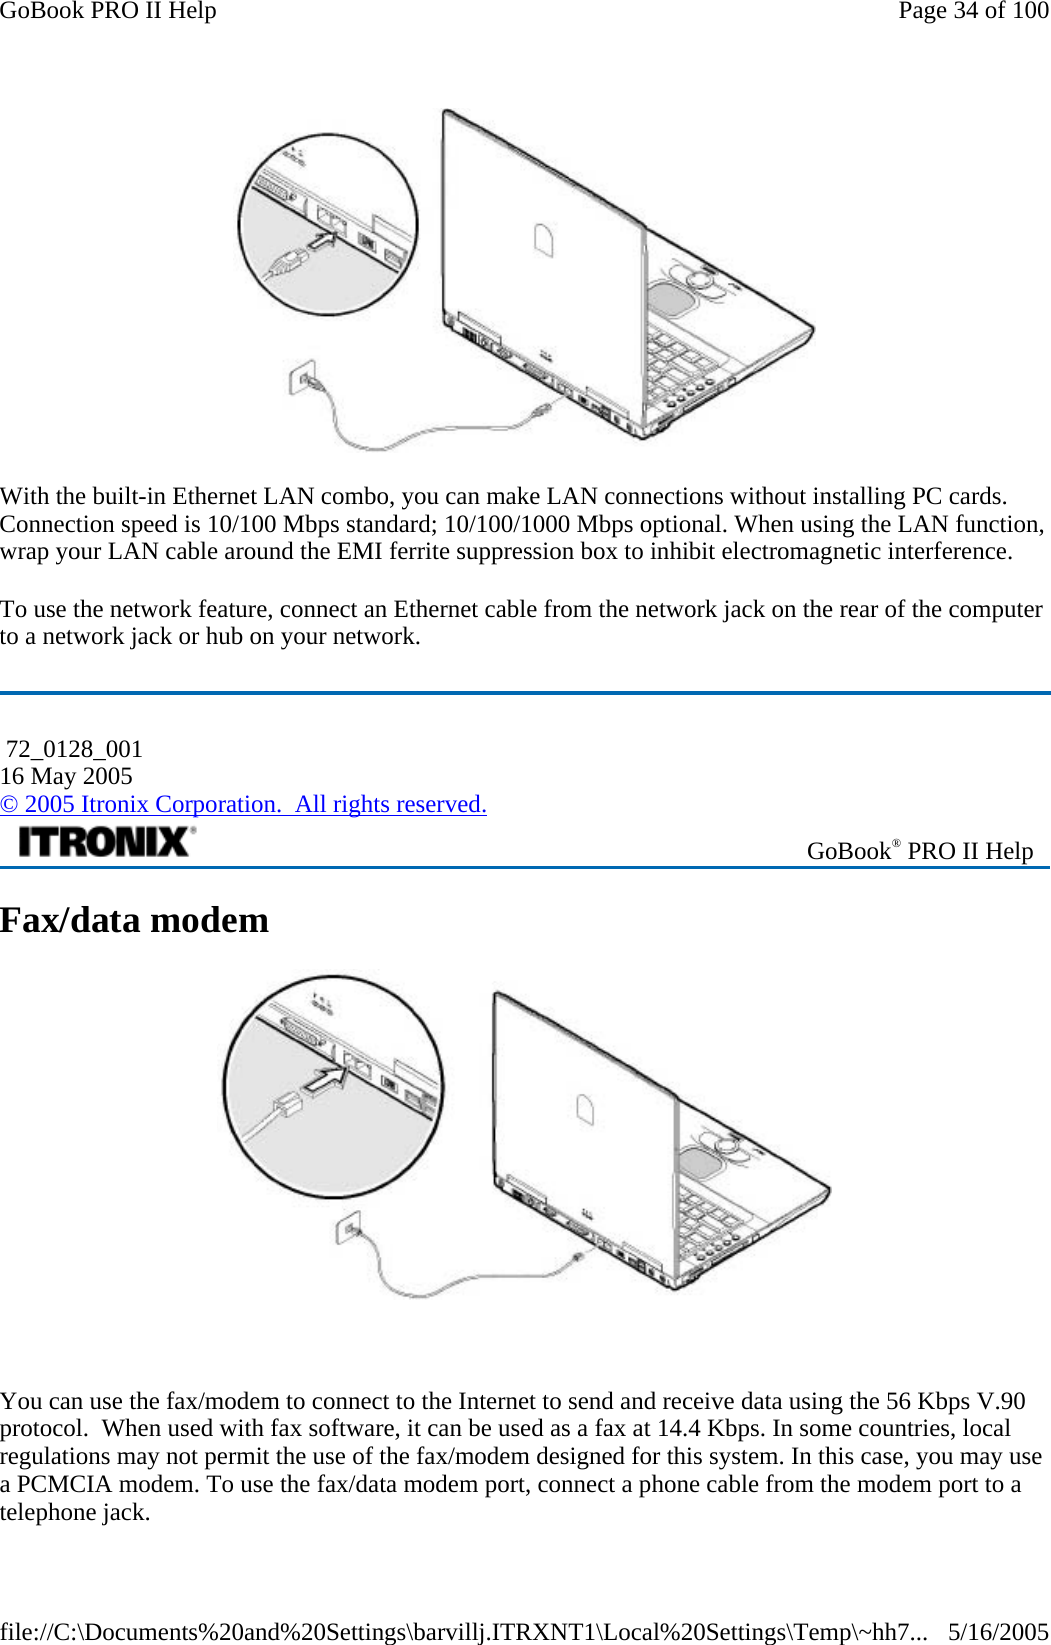
USERS MANUAL
Navigation menu
Upload a User Manual
Namespaces
Wiki Guide
HTML
PDF
Info
Views
User Manual
Discussion / Help
Navigation
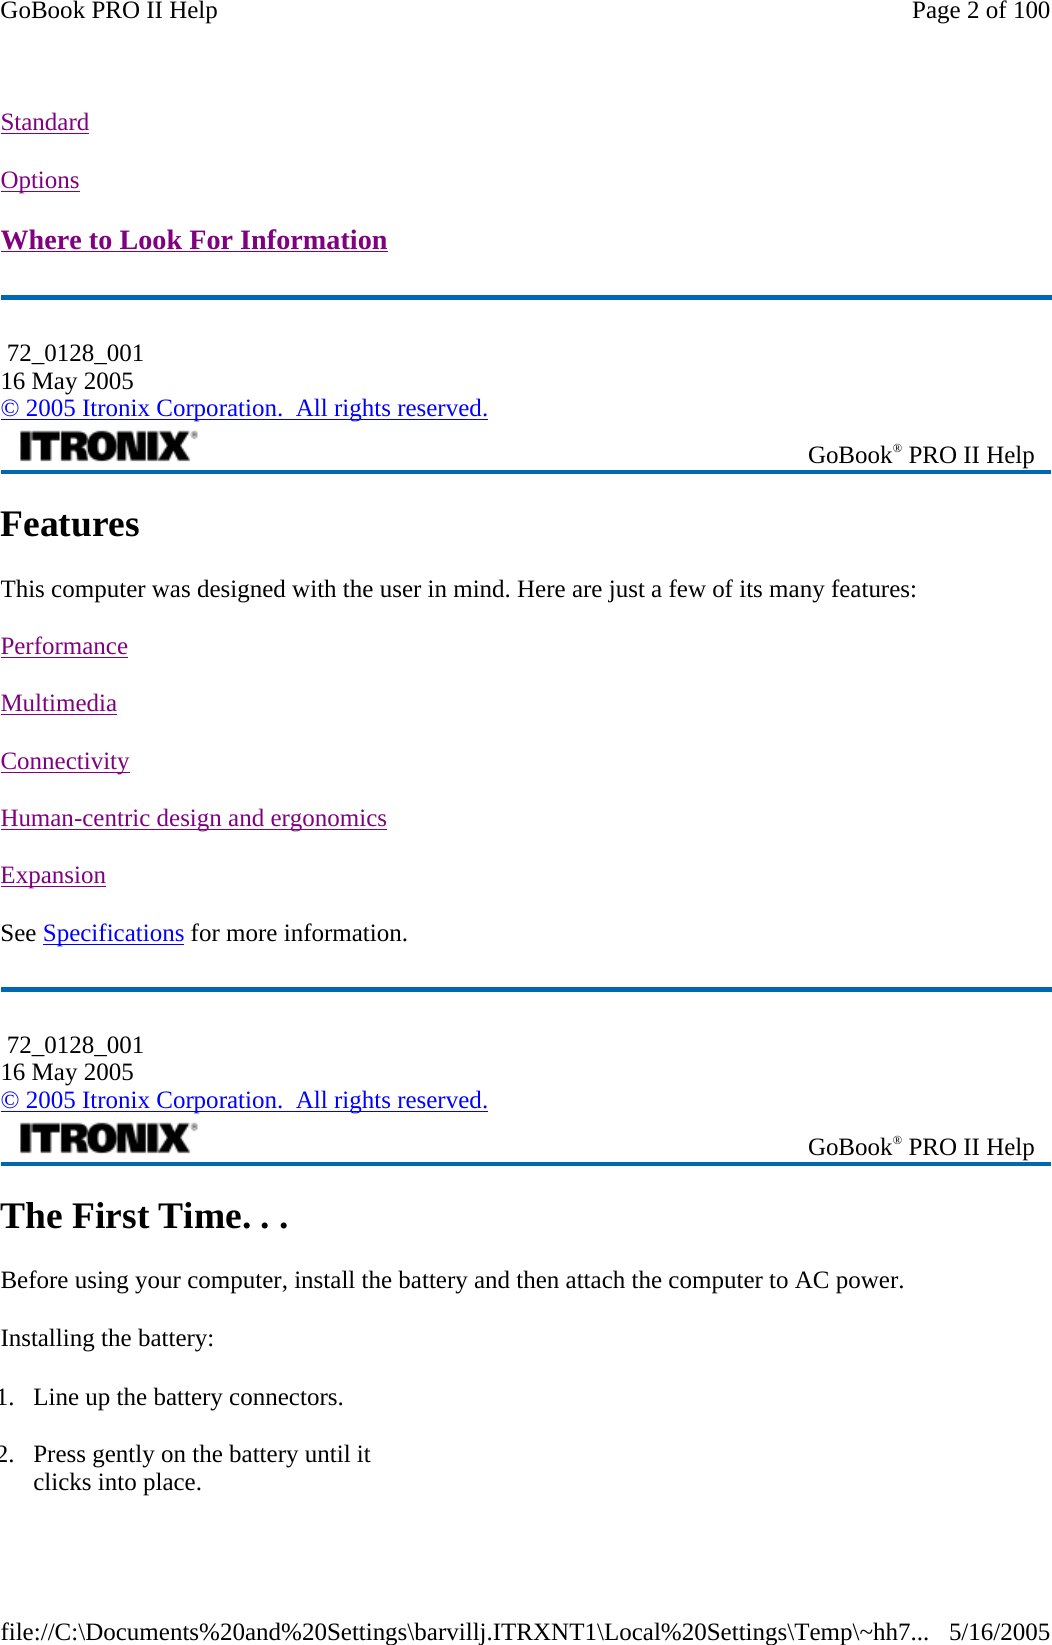
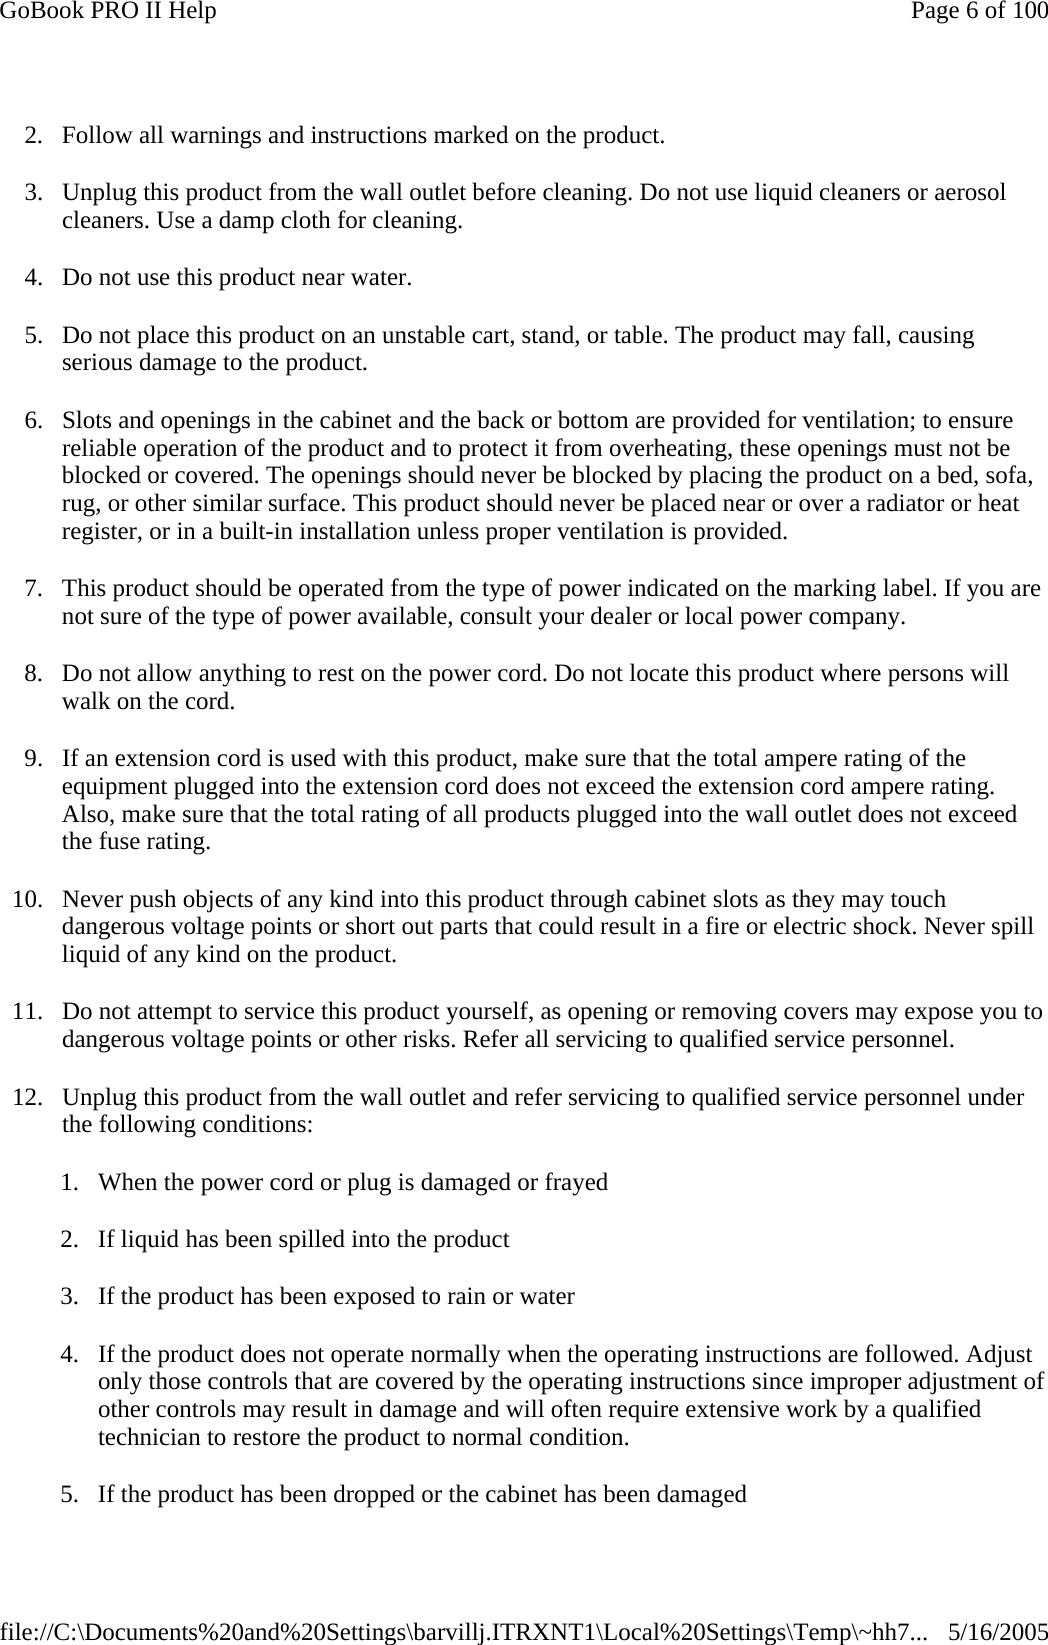
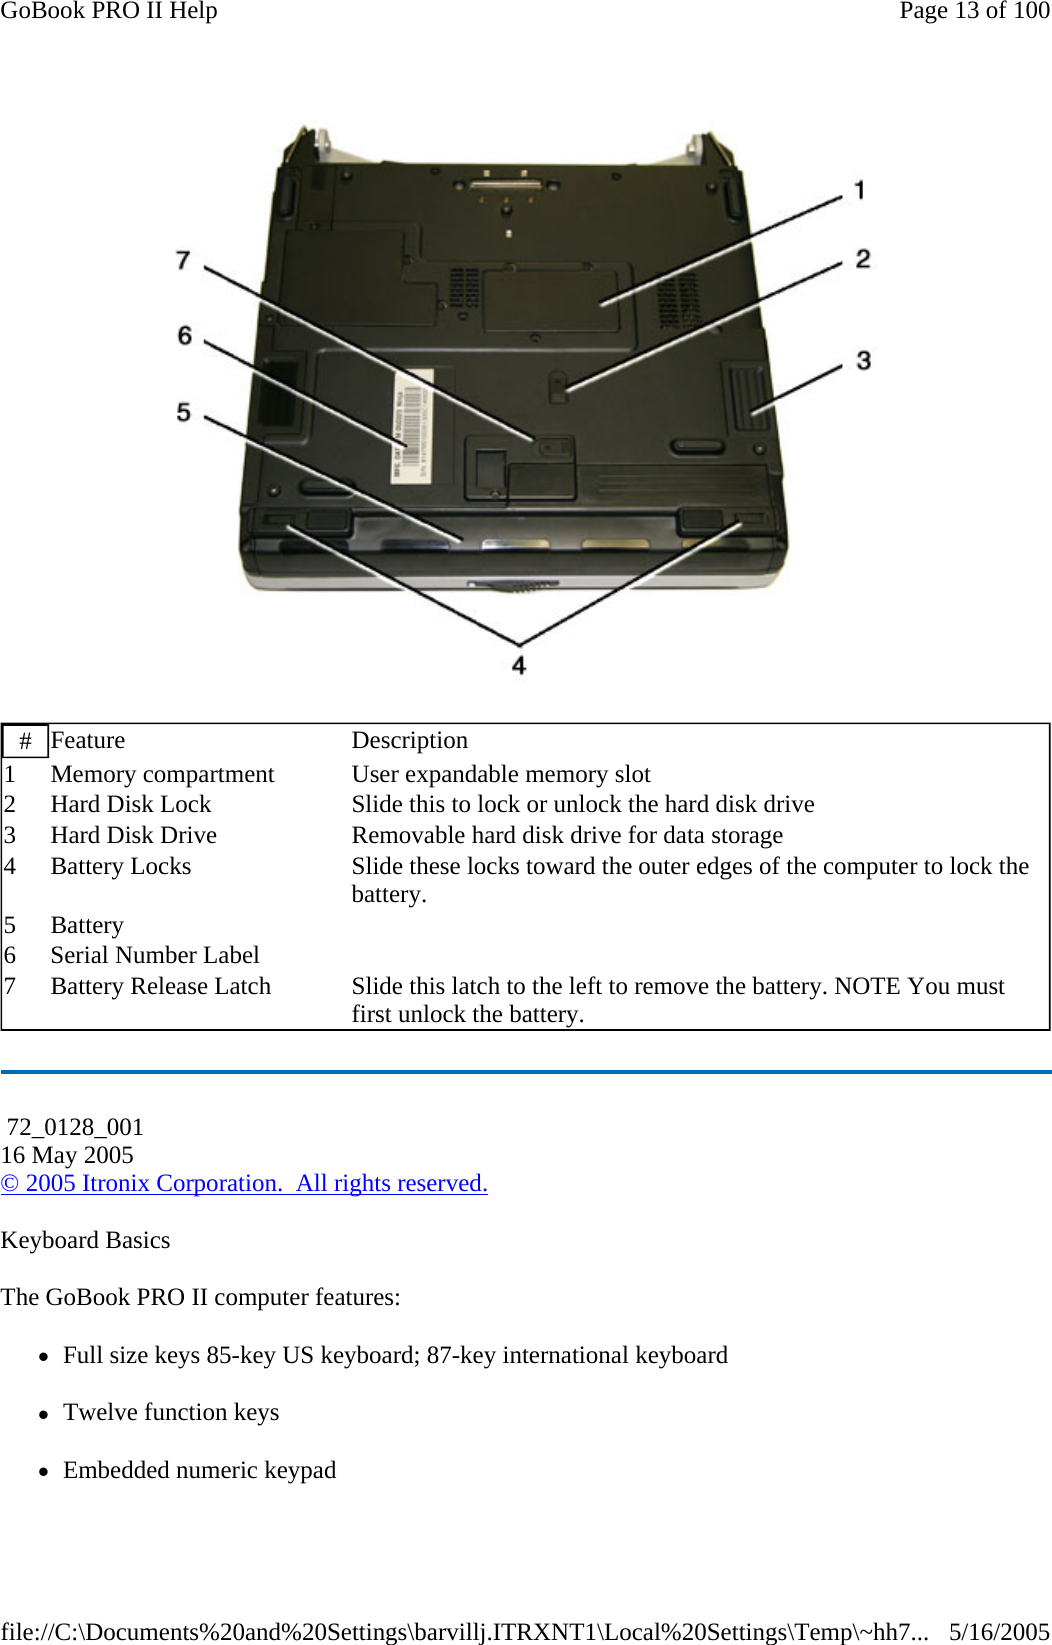


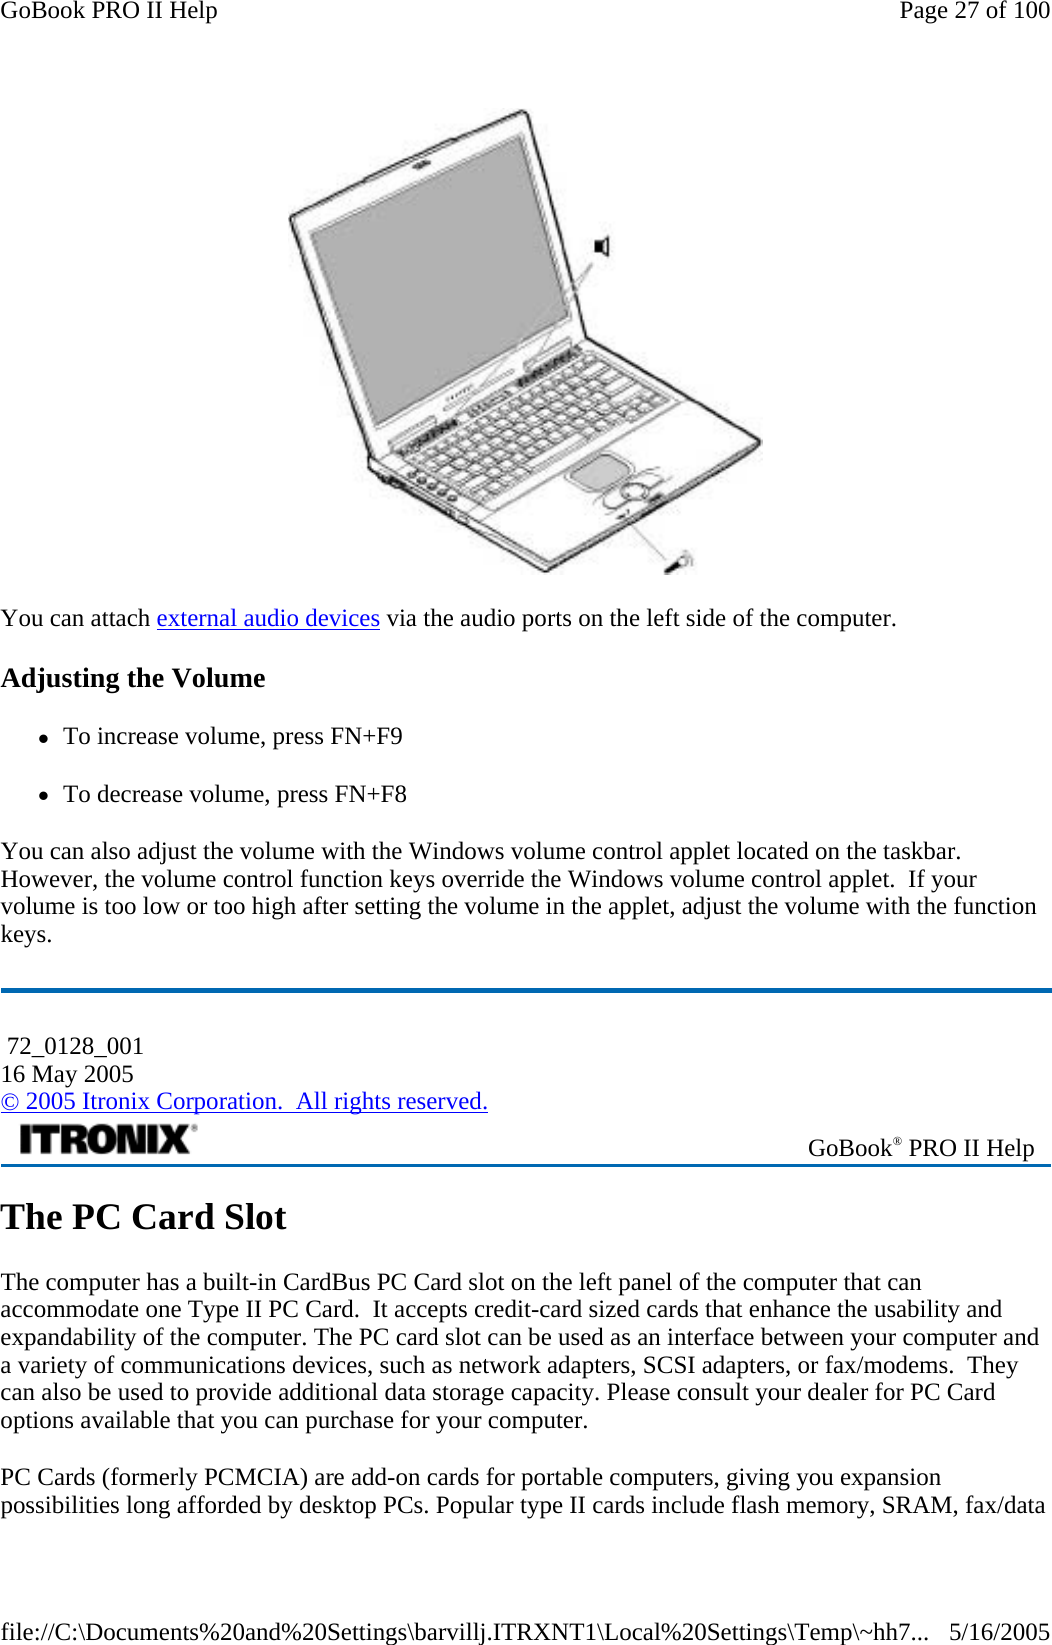
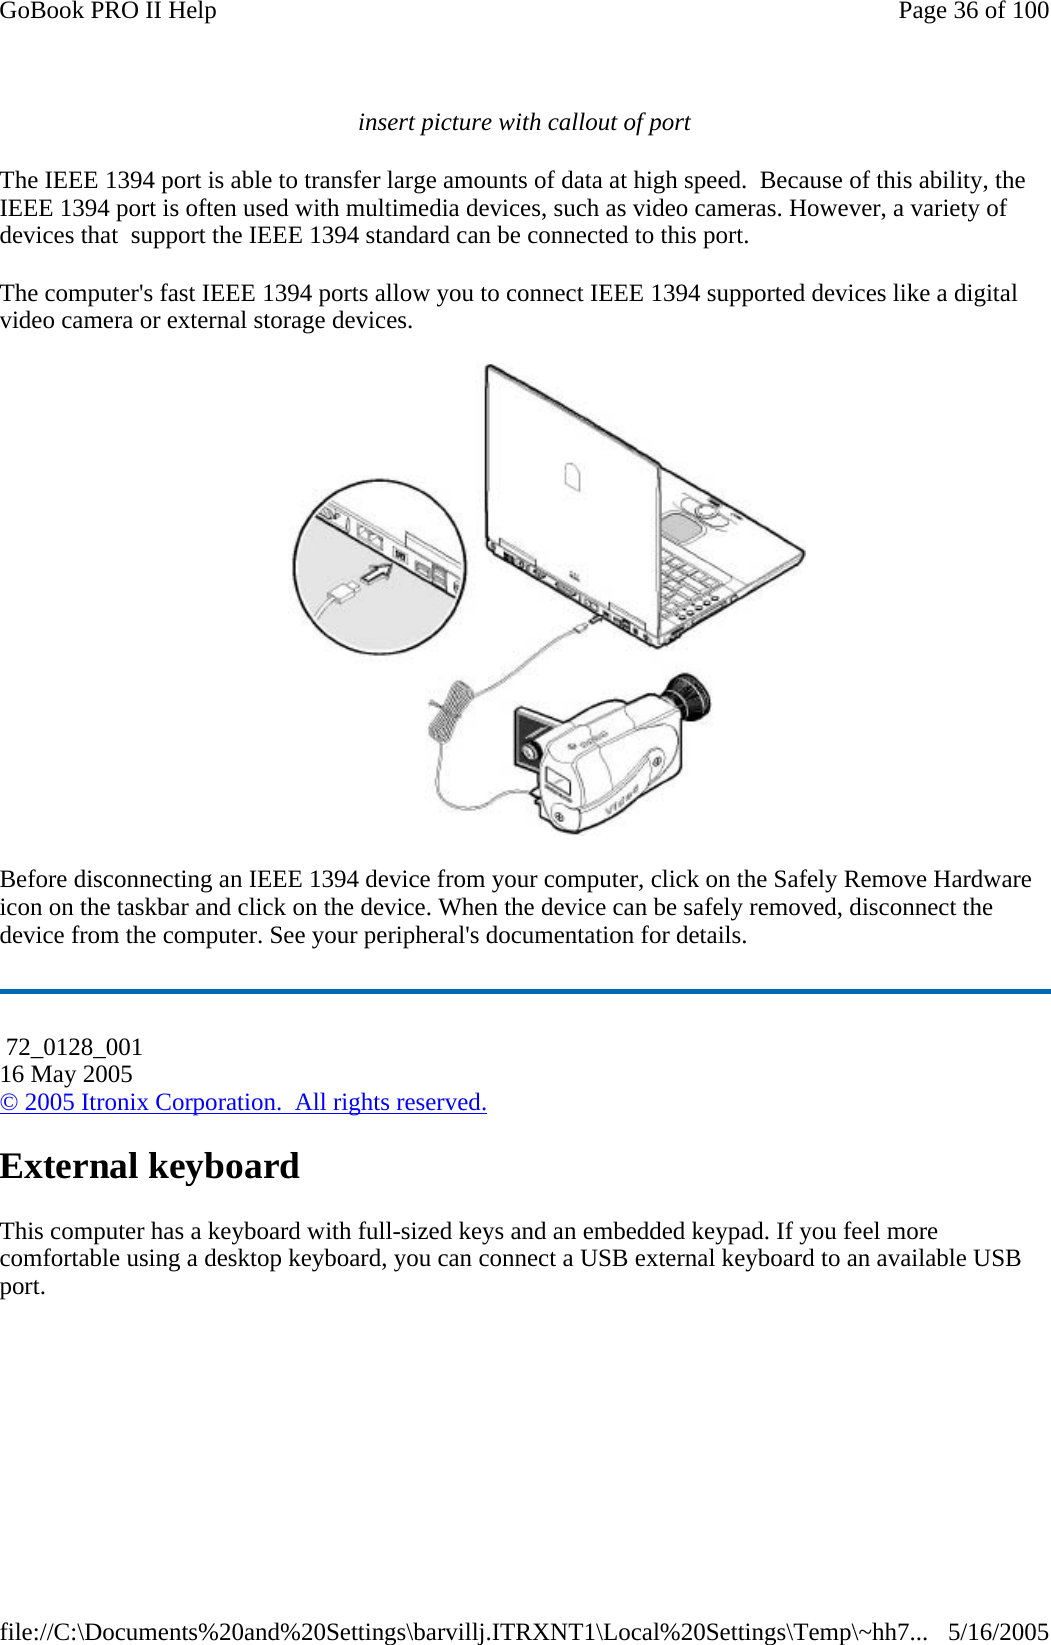

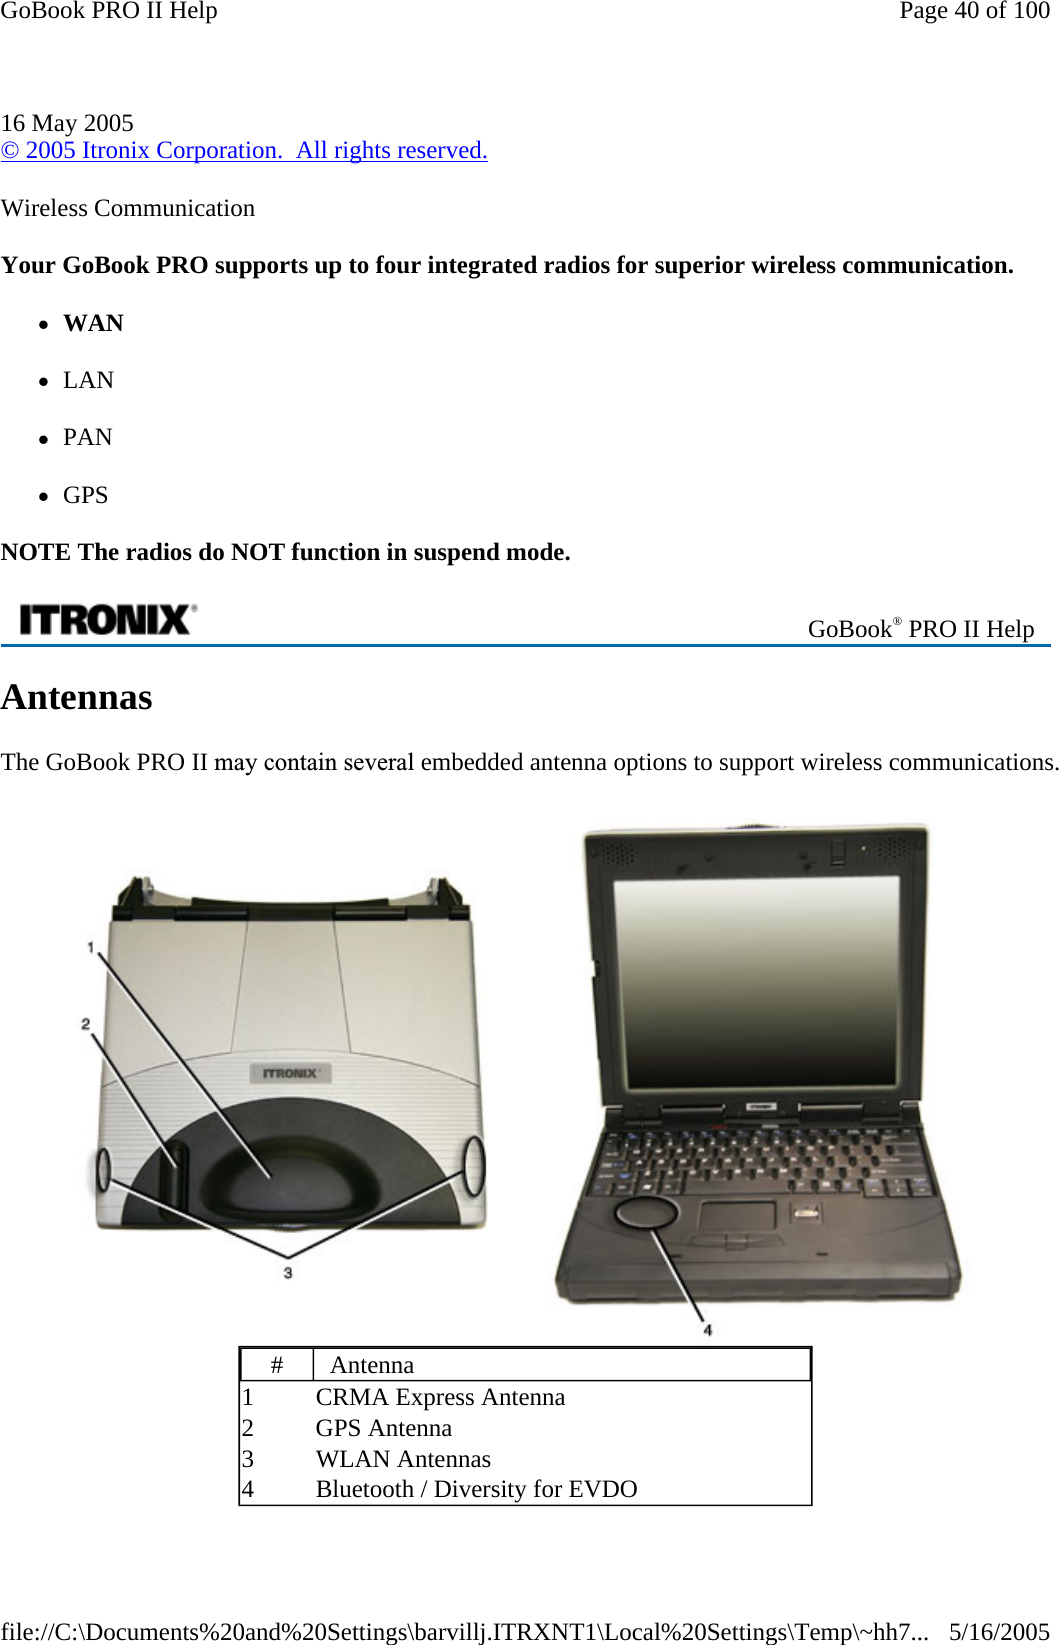
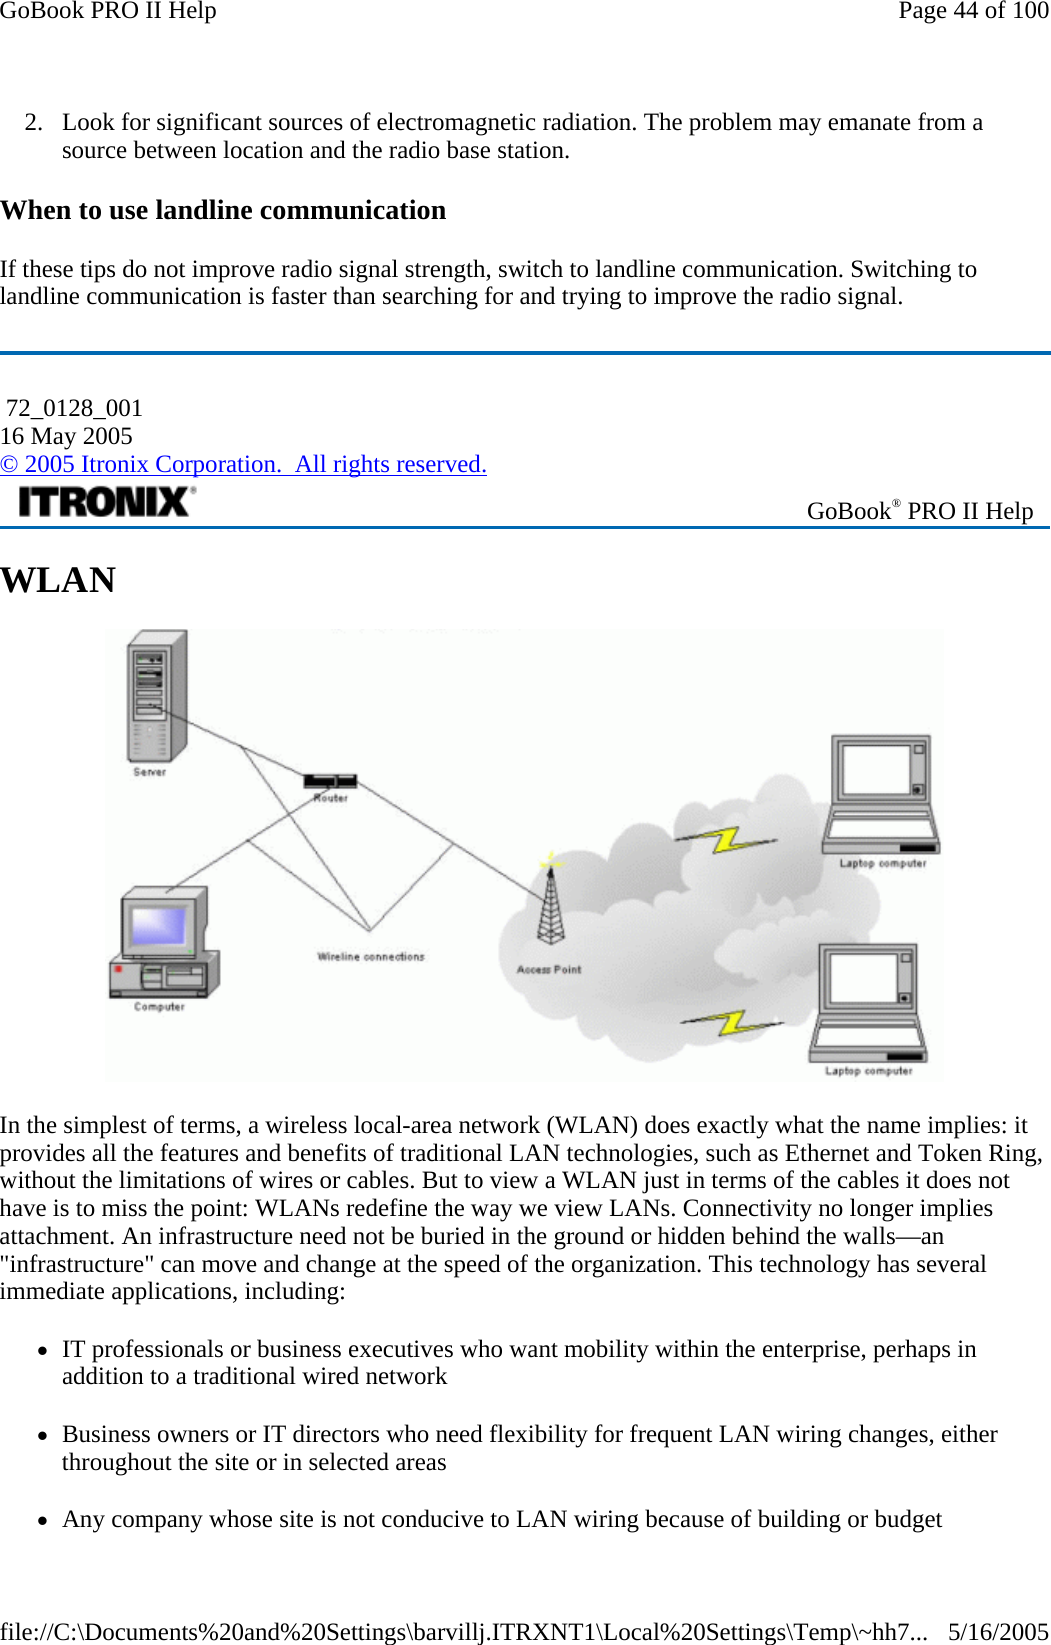
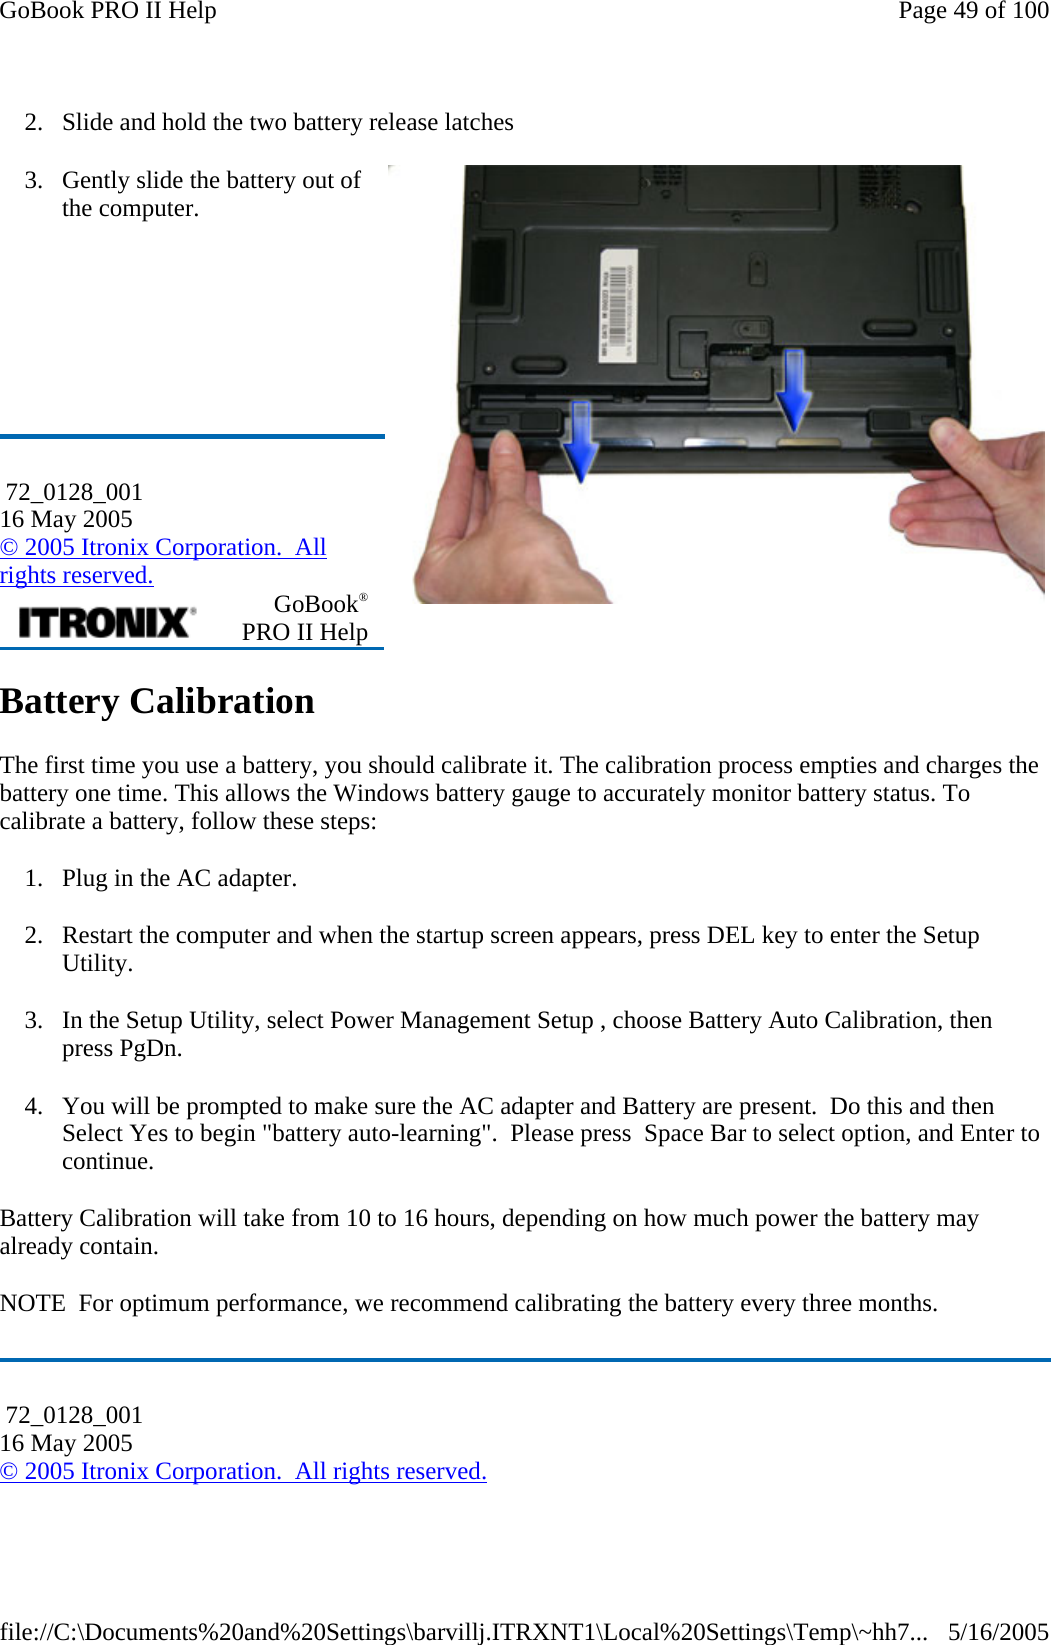
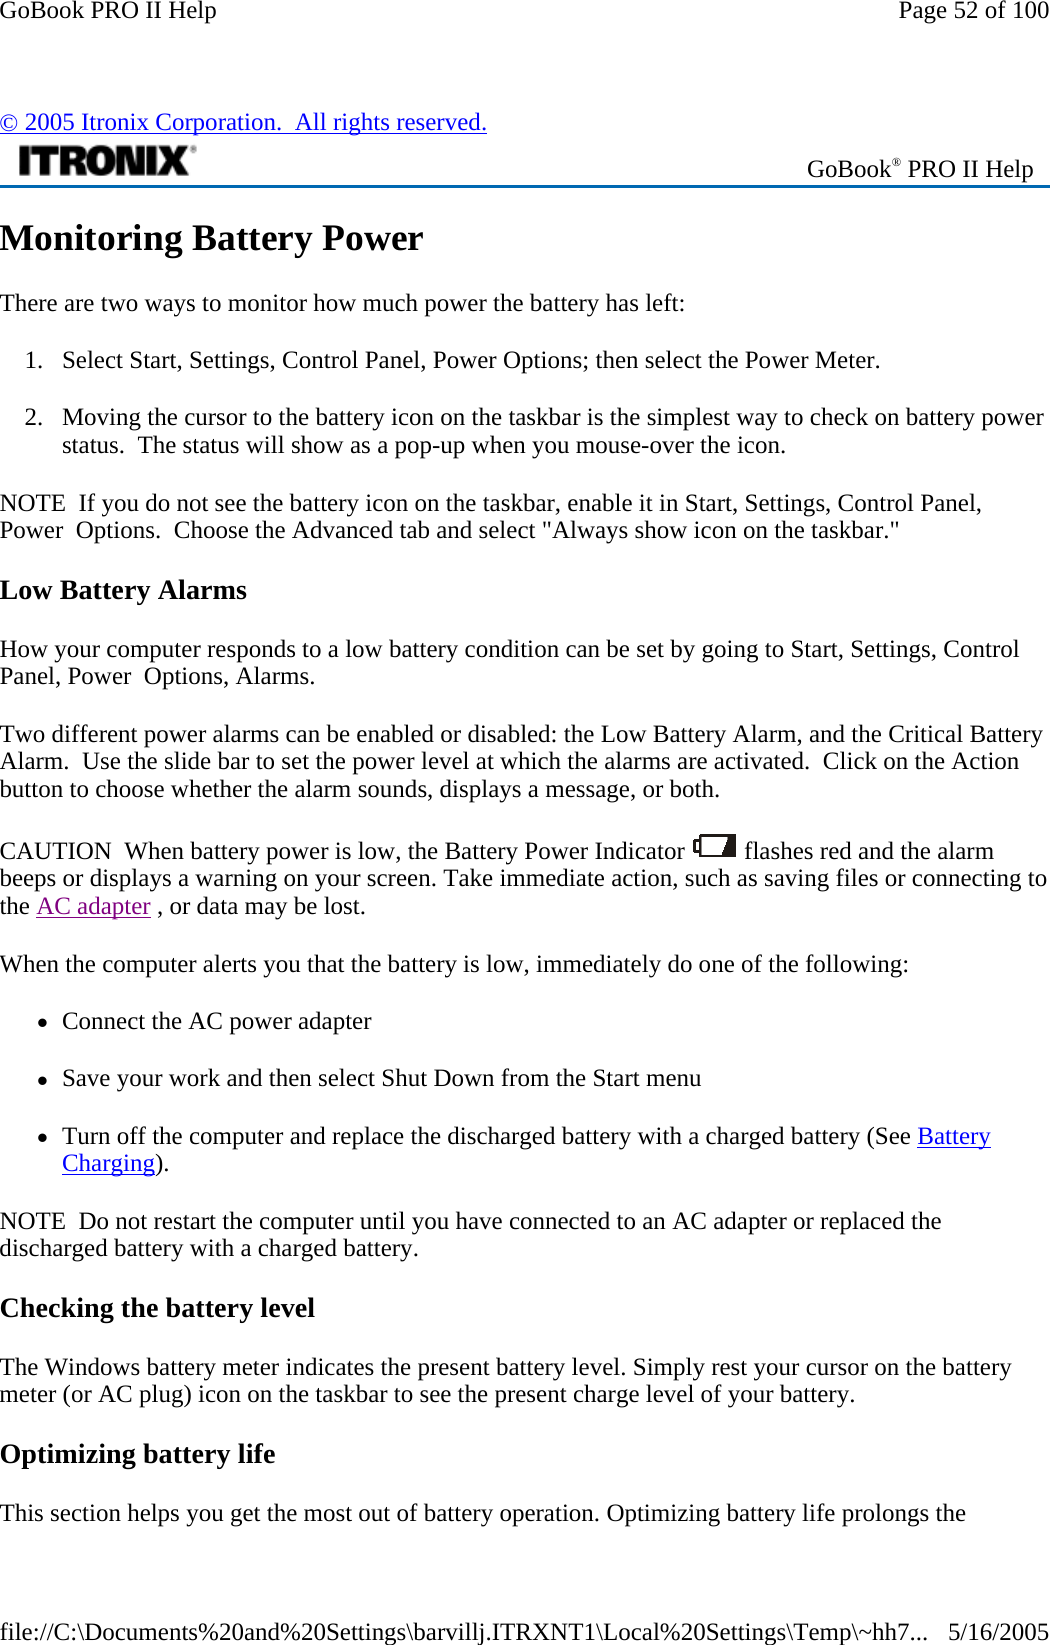
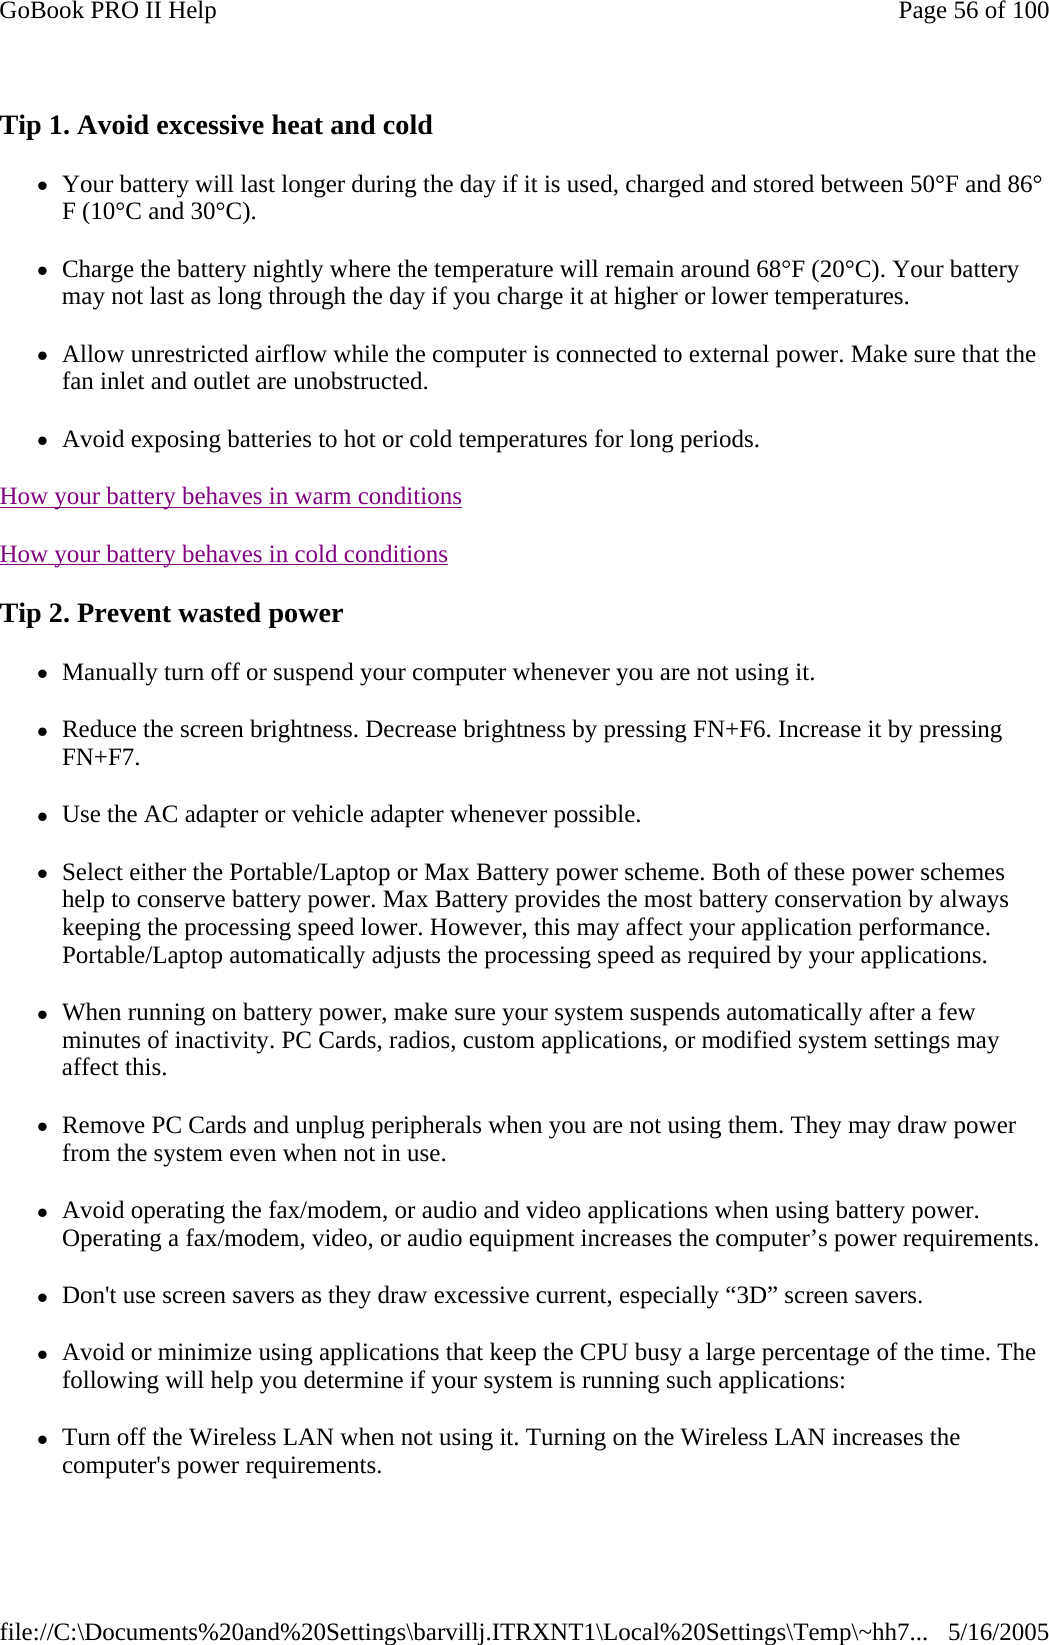
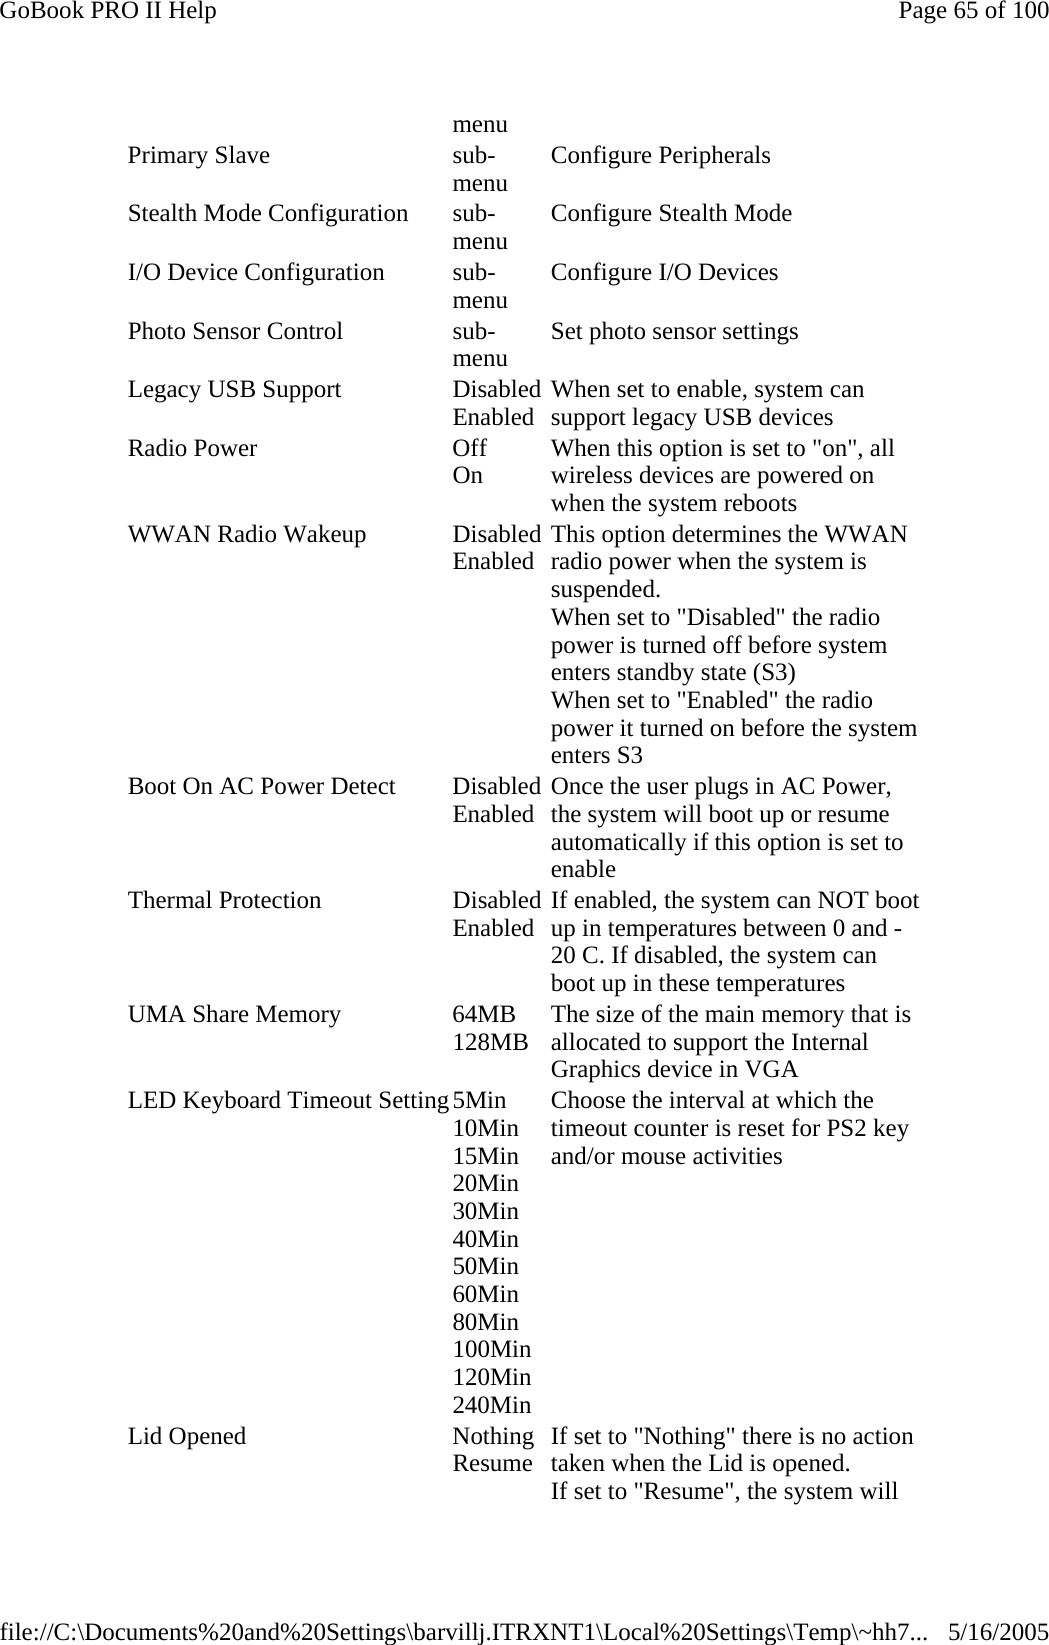
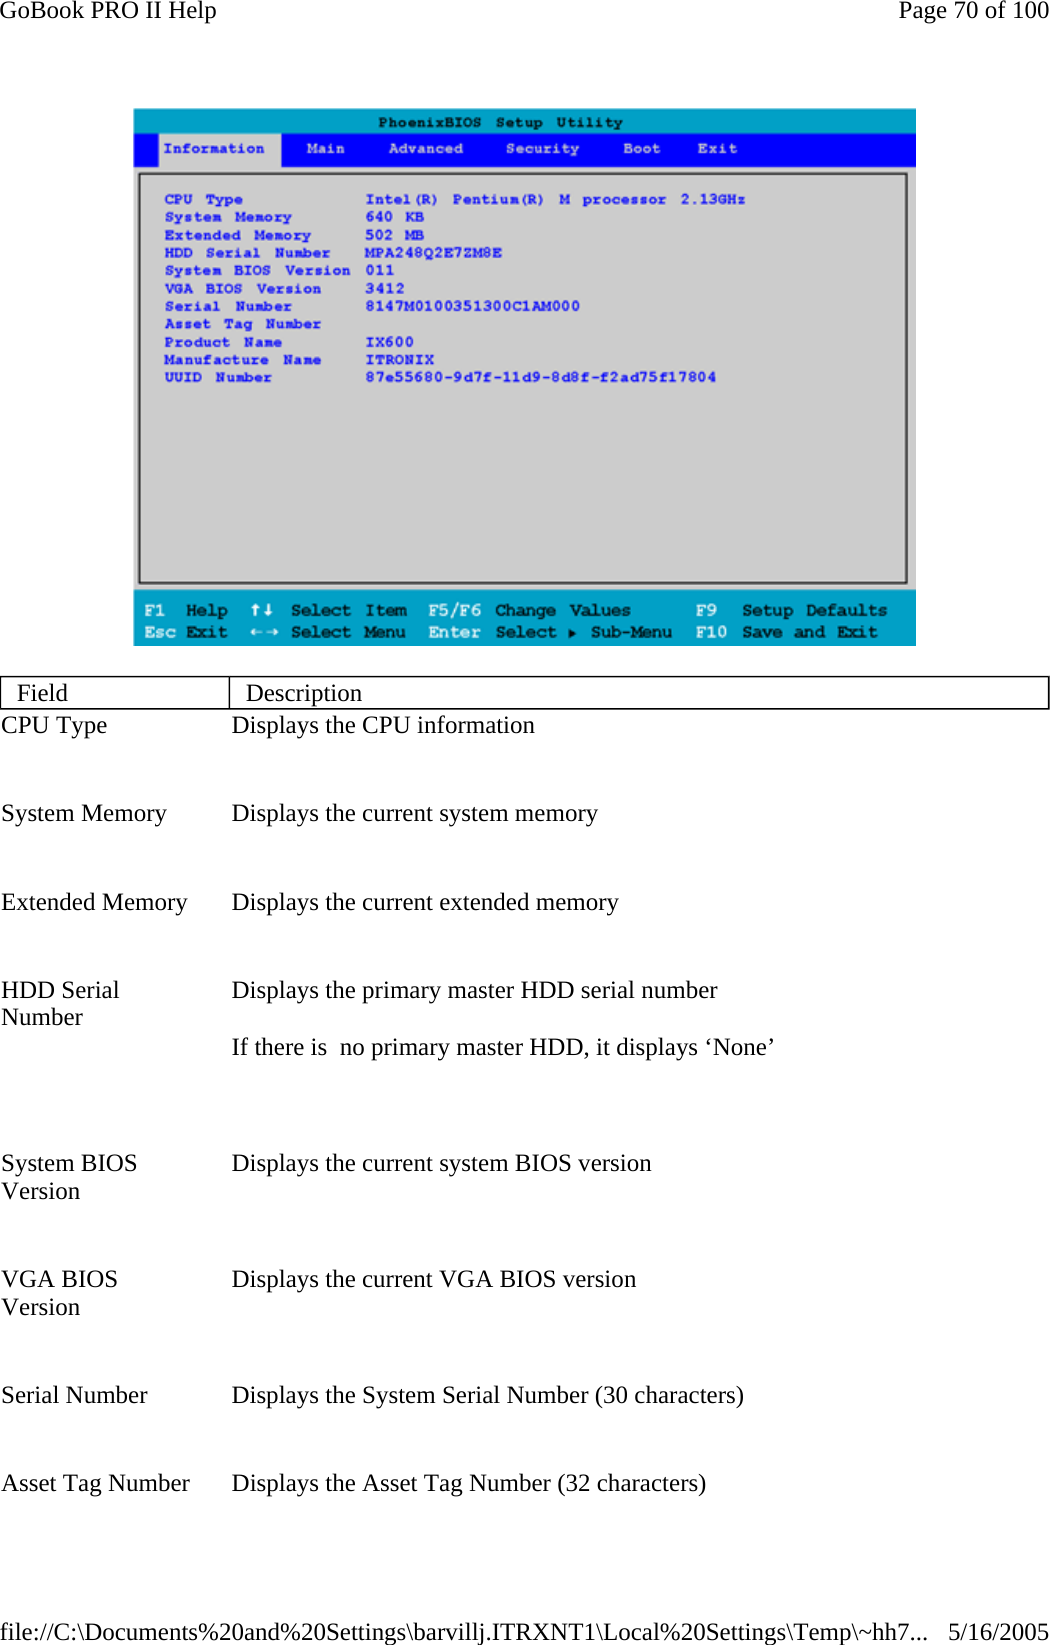
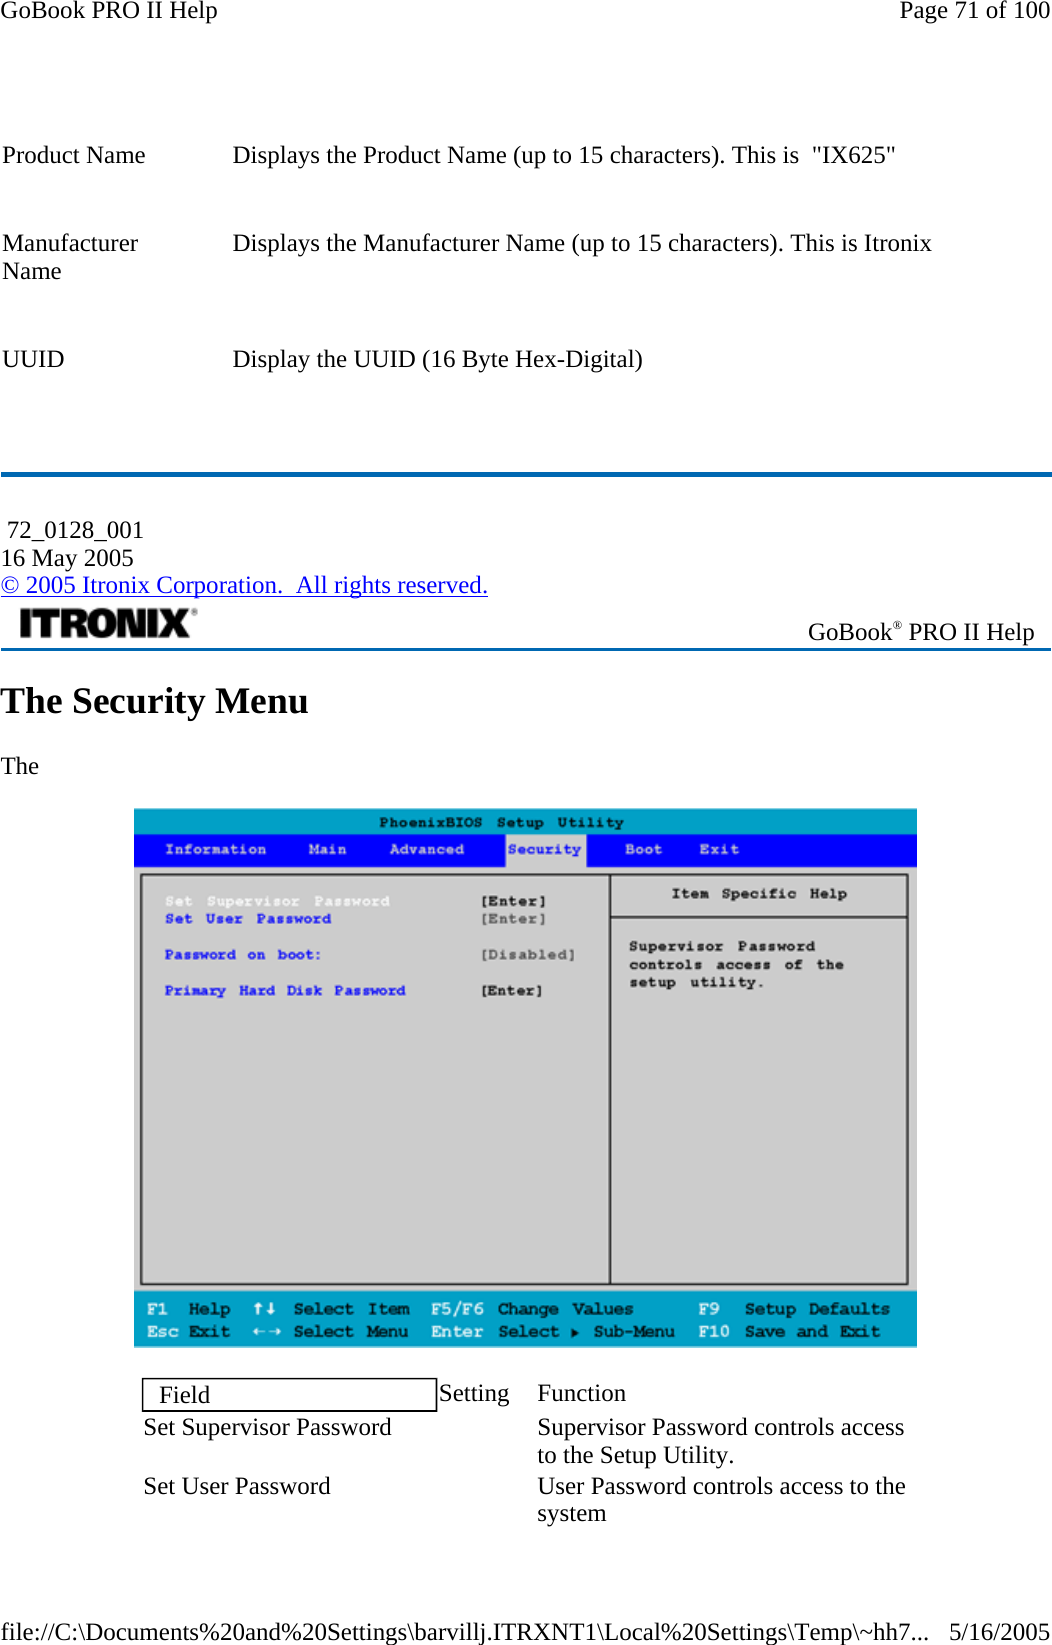
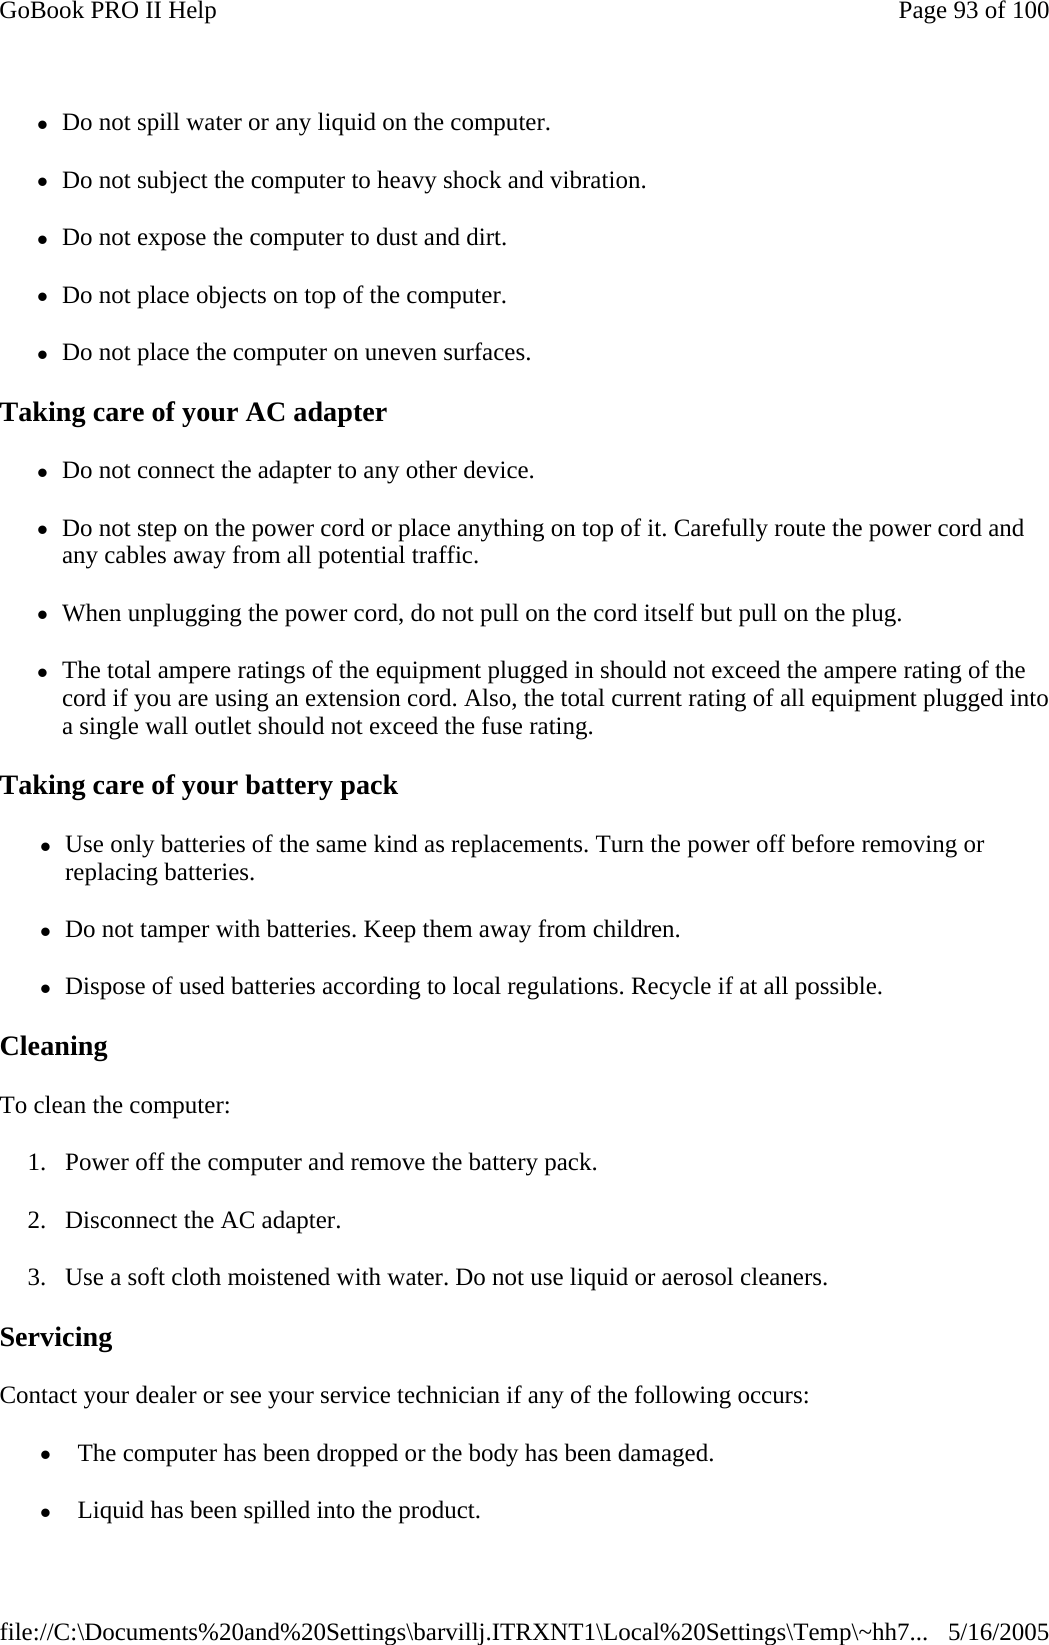
![Field Setting Function System Time Sets the system time. Format: HH:MM:SS ( Hour : Minute : Second ) System Date Sets the system date. Format: MM/DD/YYYY ( Month/Day/Year ) Boot Display Auto Both Sets the display output device on boot up. Both: the computer turns on both the LCD and external monitor if an external monitor is attached and operational. Auto: the computer automatically determines the display device. If an external display device (monitor) is connected, it becomes the boot display. Screen Expansion EnabledDisabled Quiet Boot EnabledDisabled When set to enabled, the system will show the graphic picture screen on boot up. When Quiet Boot option is set to [Enabled] in BIOS Setup, right after we turn on or reset the computer, system displays a graphic illustration created by the computer Page 63 of 100GoBook PRO II Help5/16/2005file://C:\Documents%20and%20Settings\barvillj.ITRXNT1\Local%20Settings\Temp\~hh7...](https://usermanual.wiki/General-Dynamics-Itronix/IX-NW620.USERS-MANUAL/User-Guide-767946-Page-63.png)
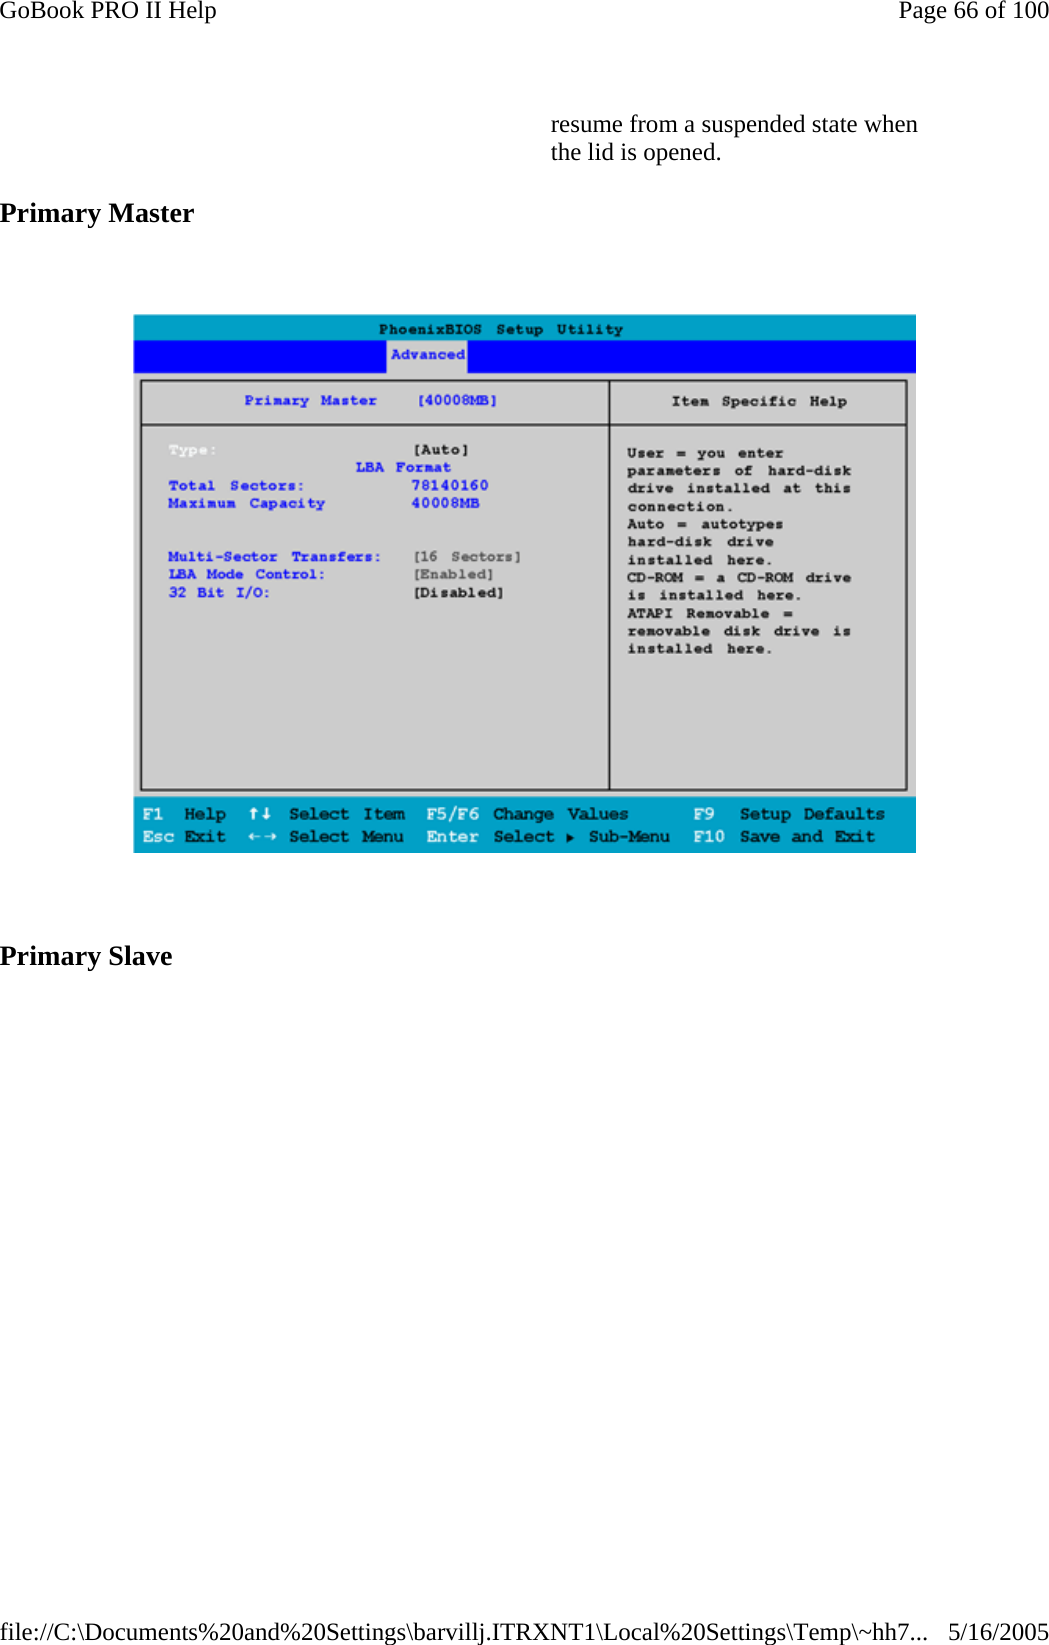


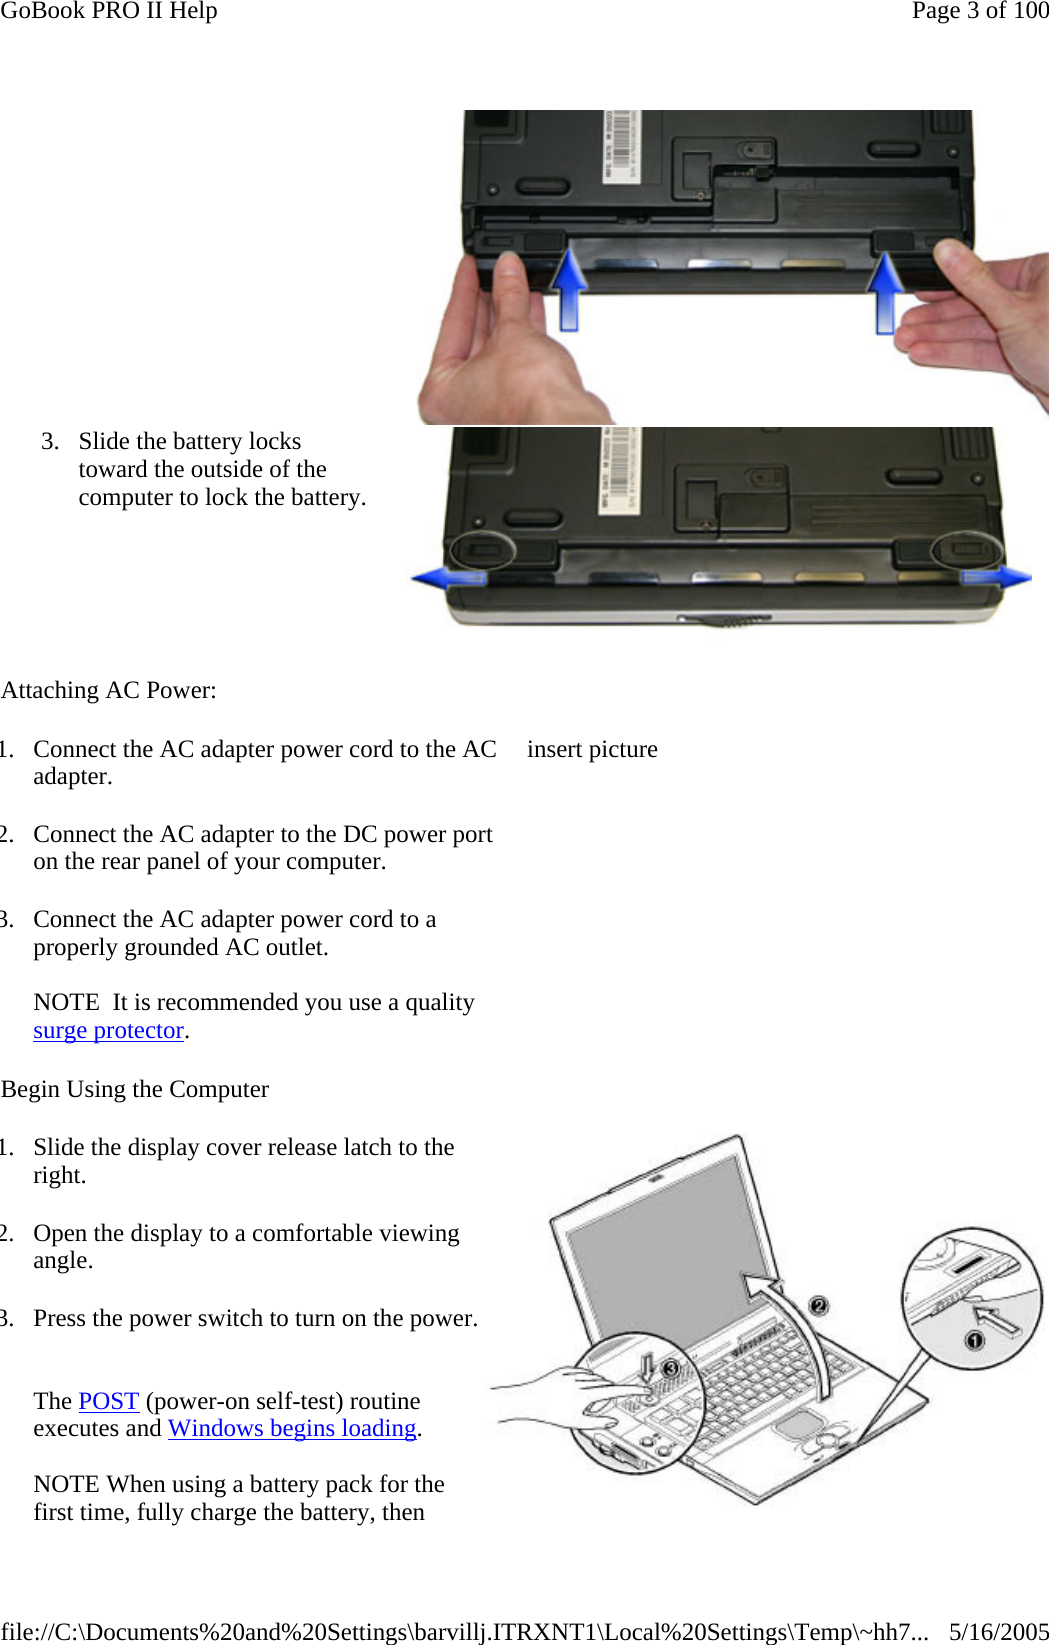
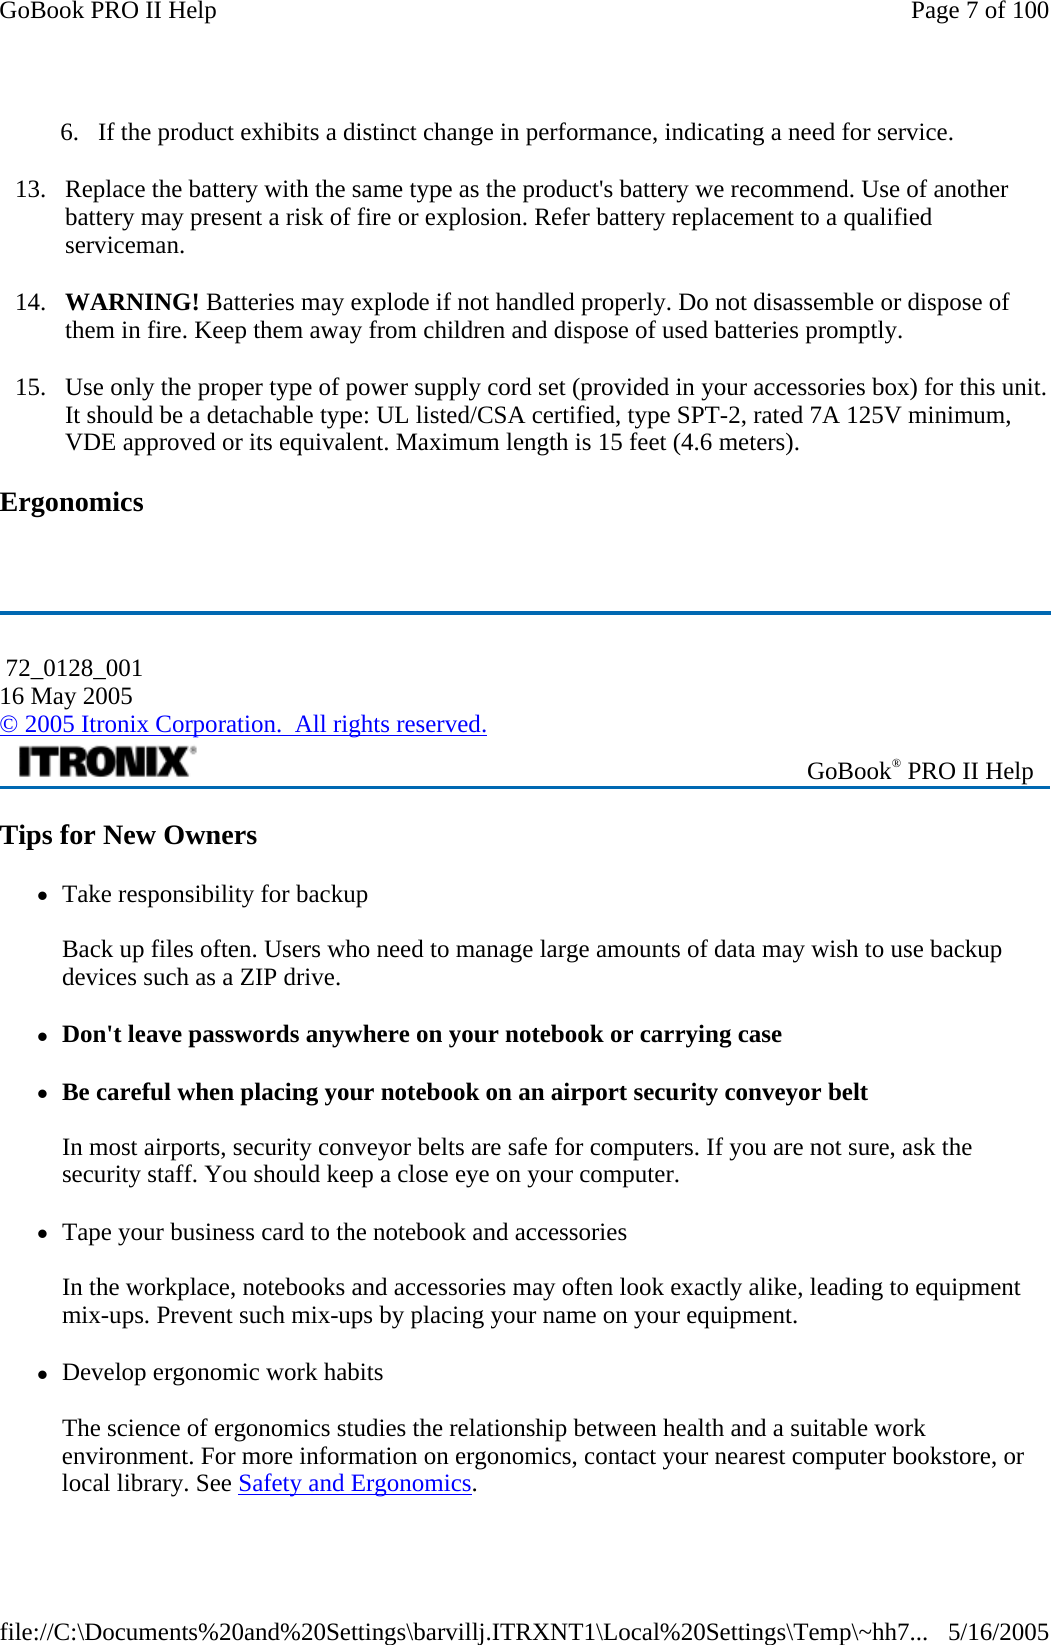
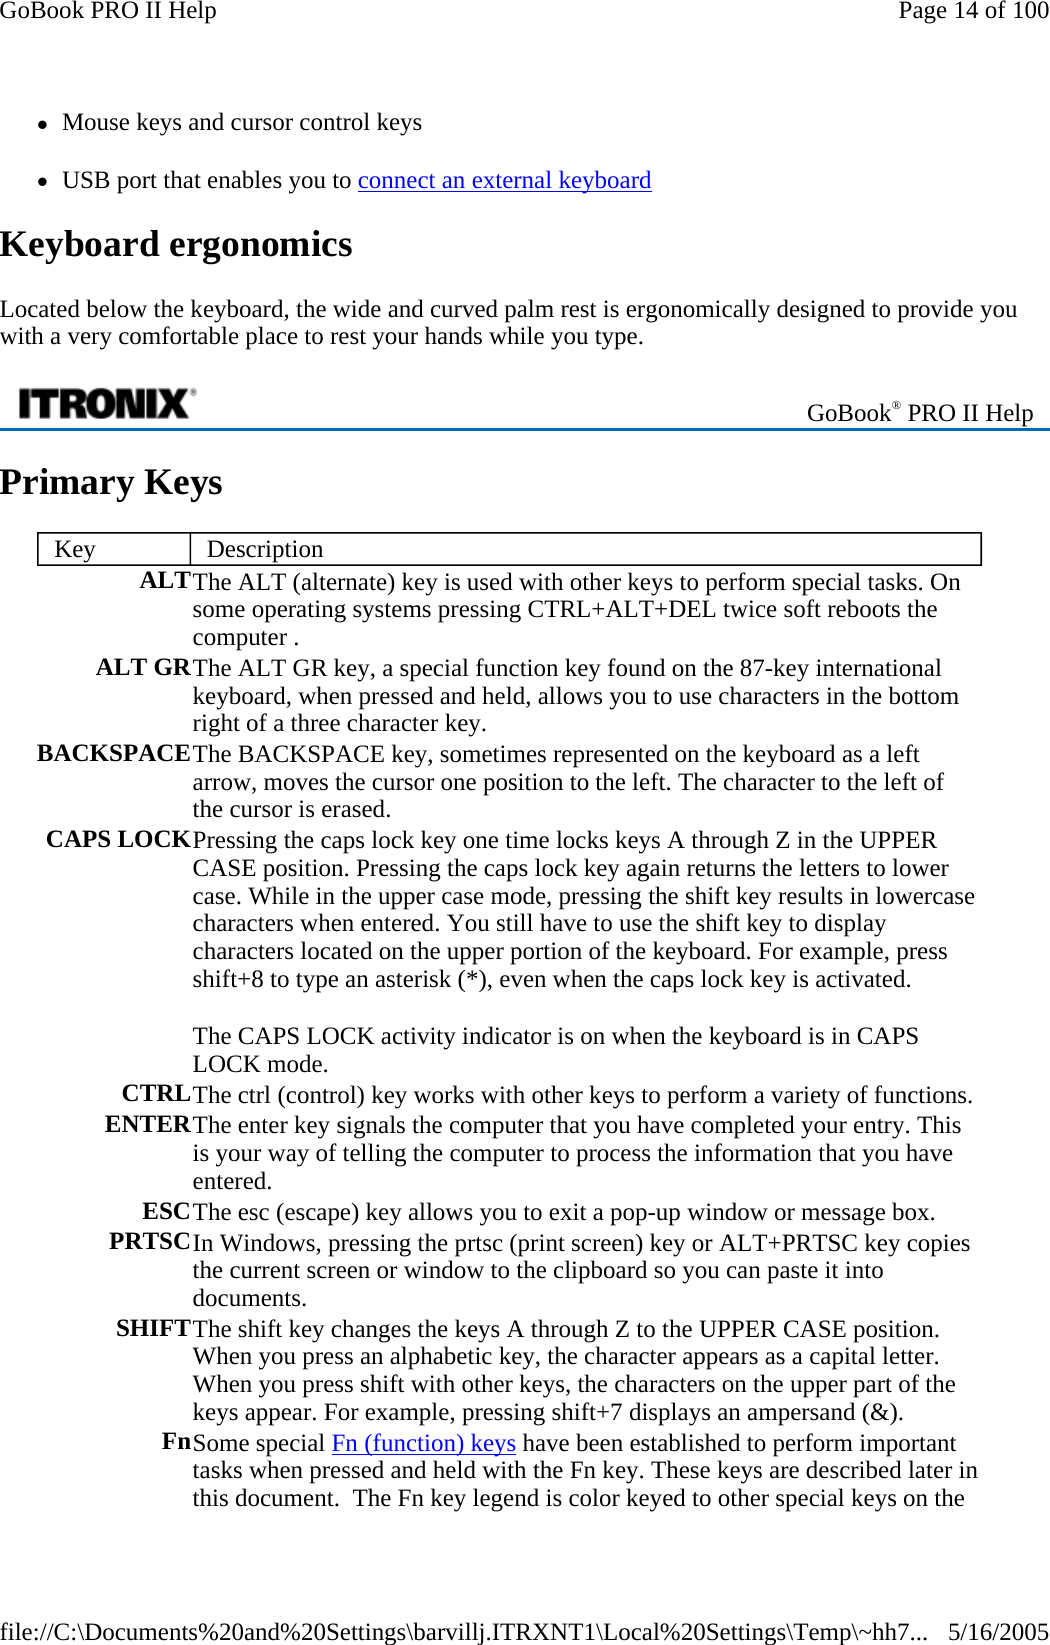
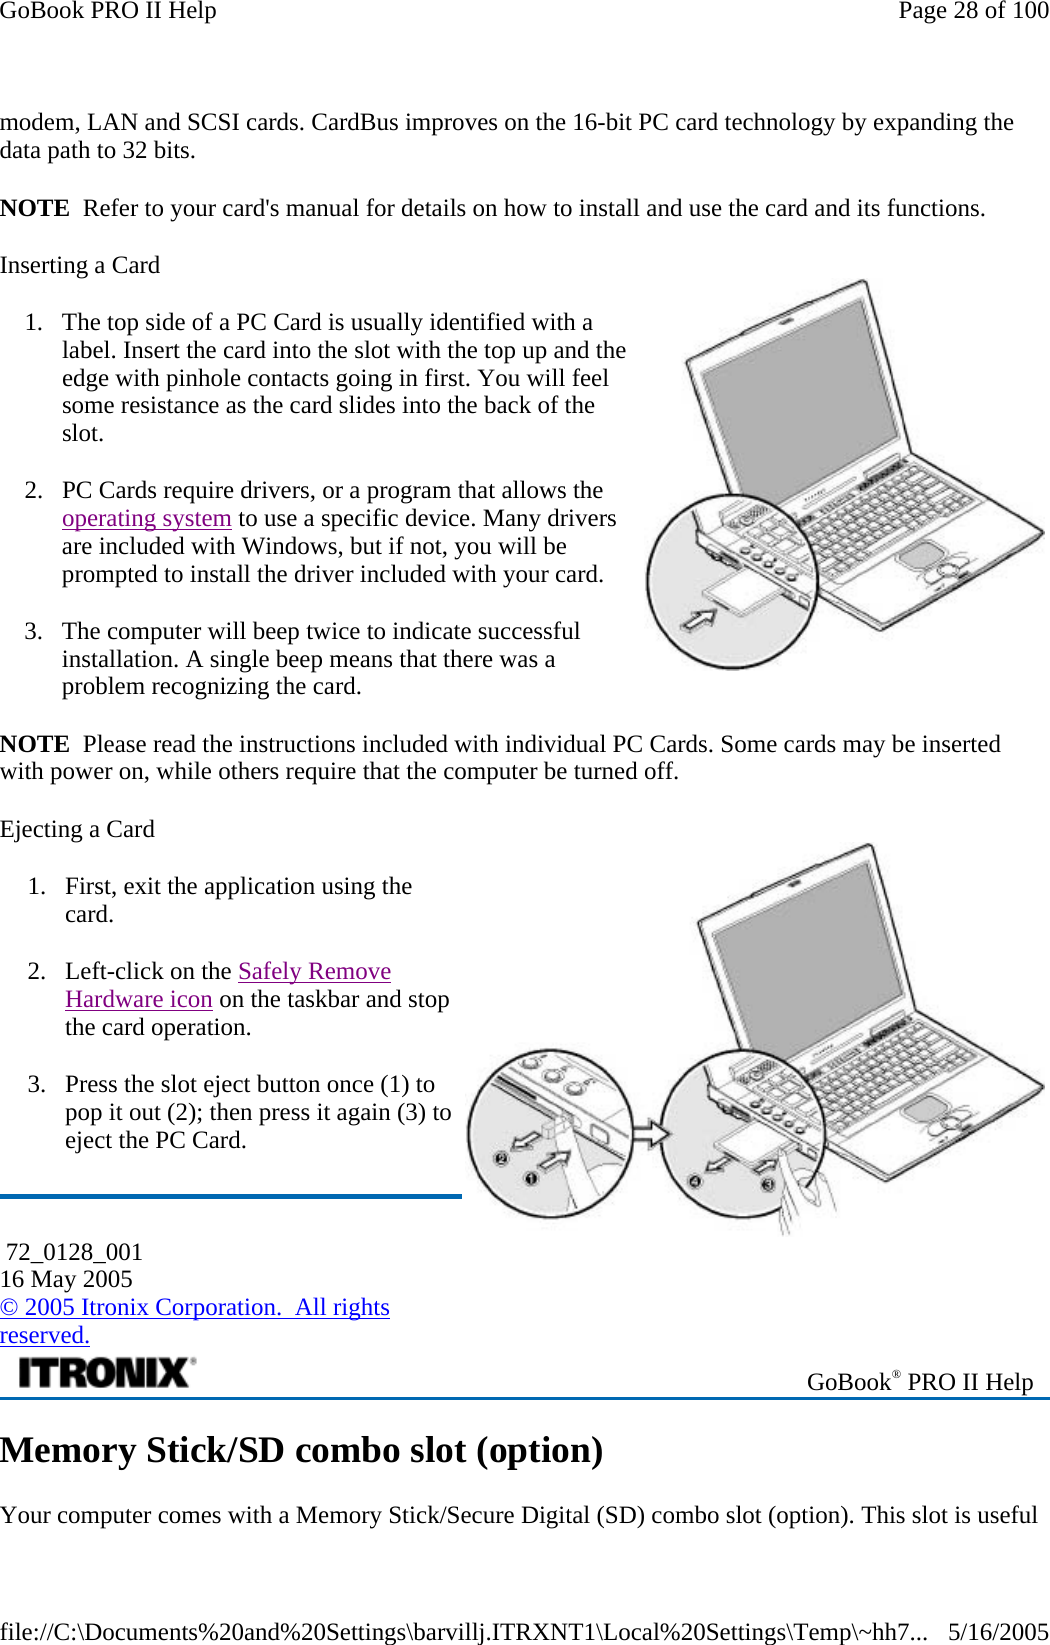
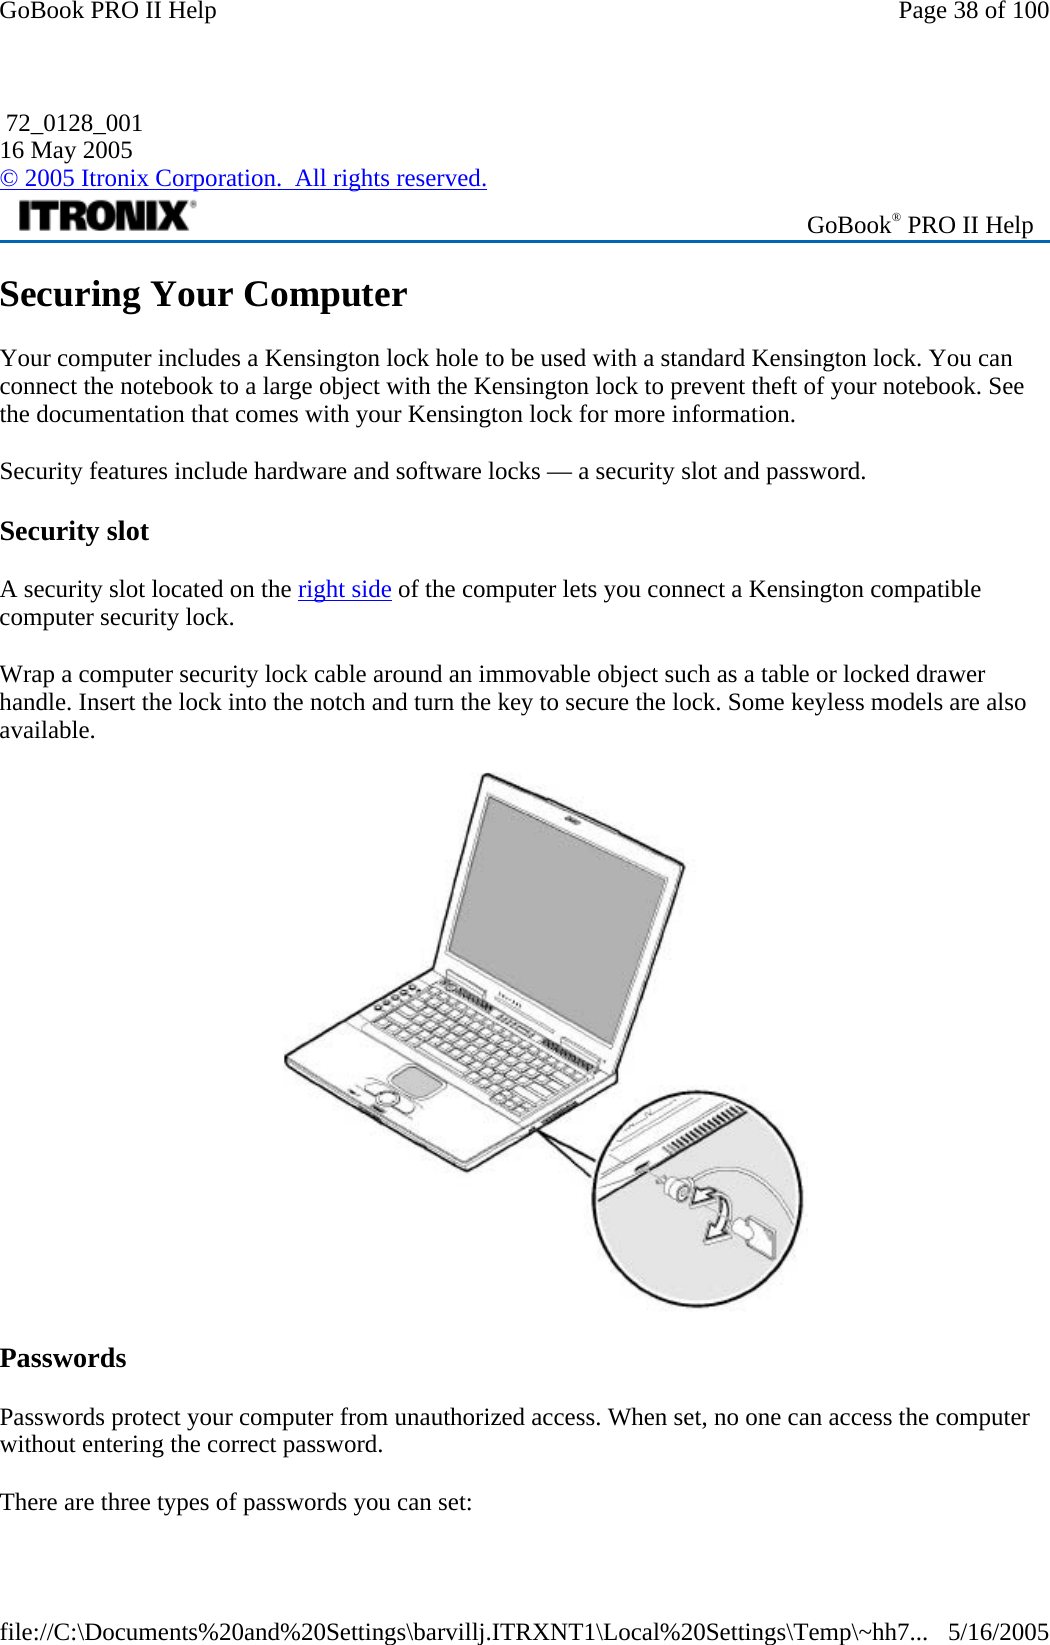
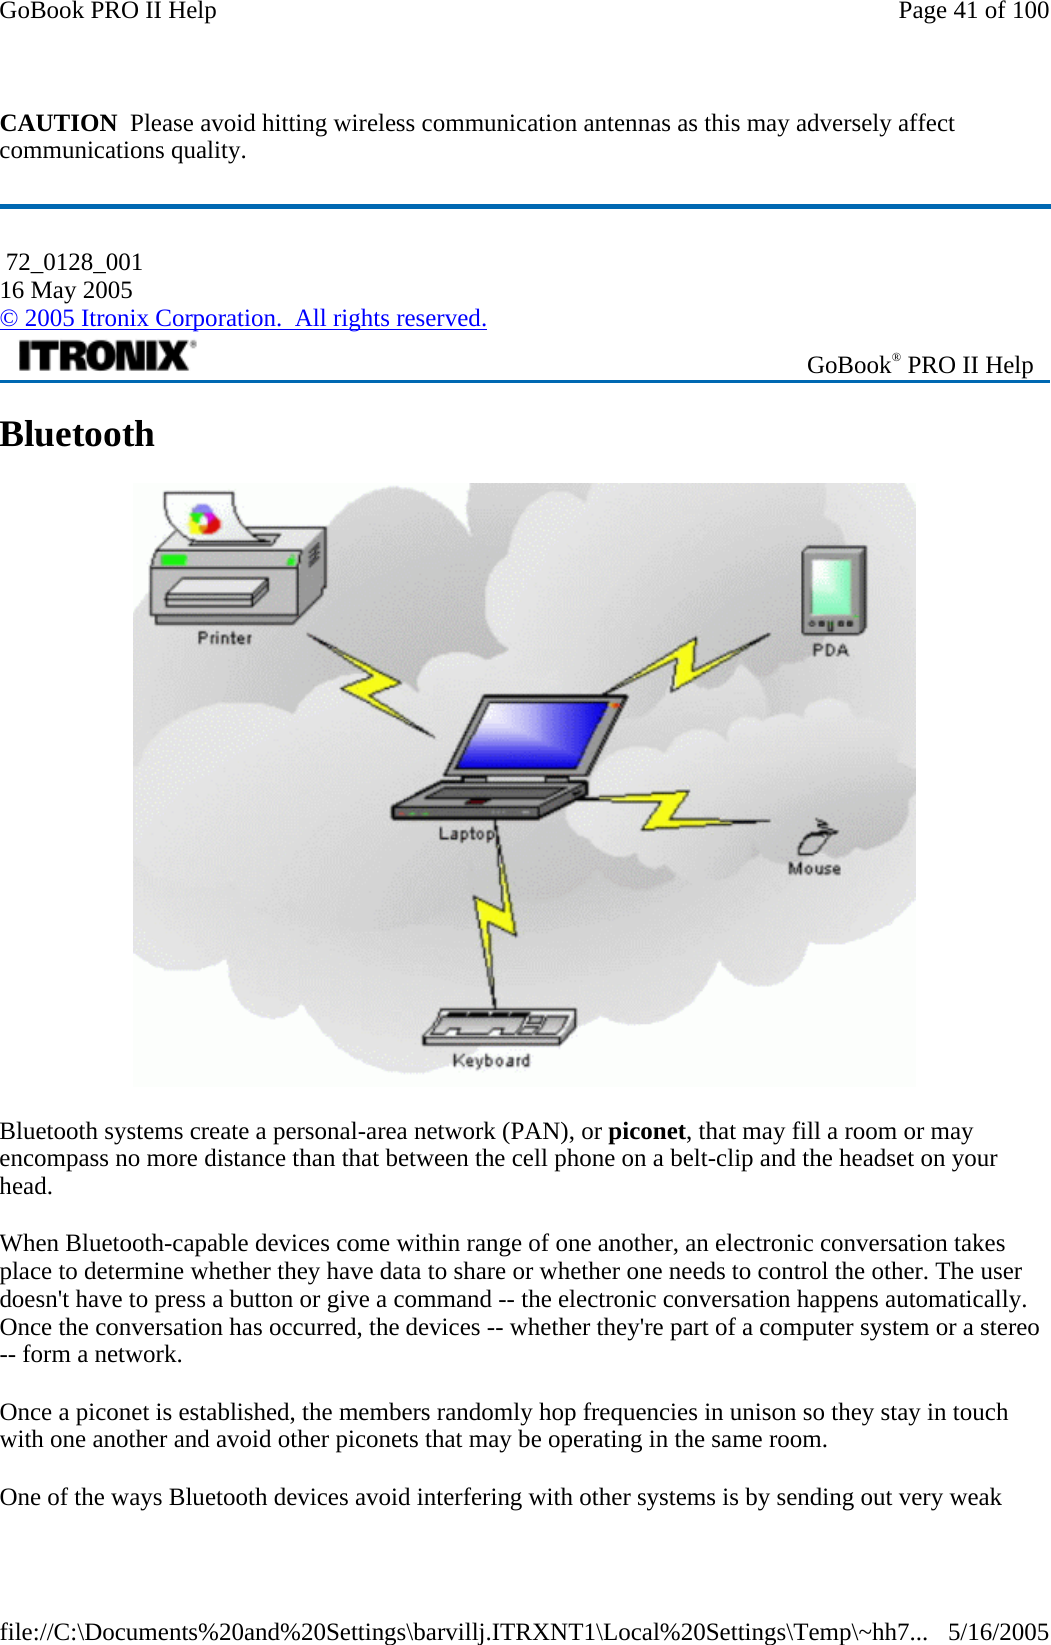
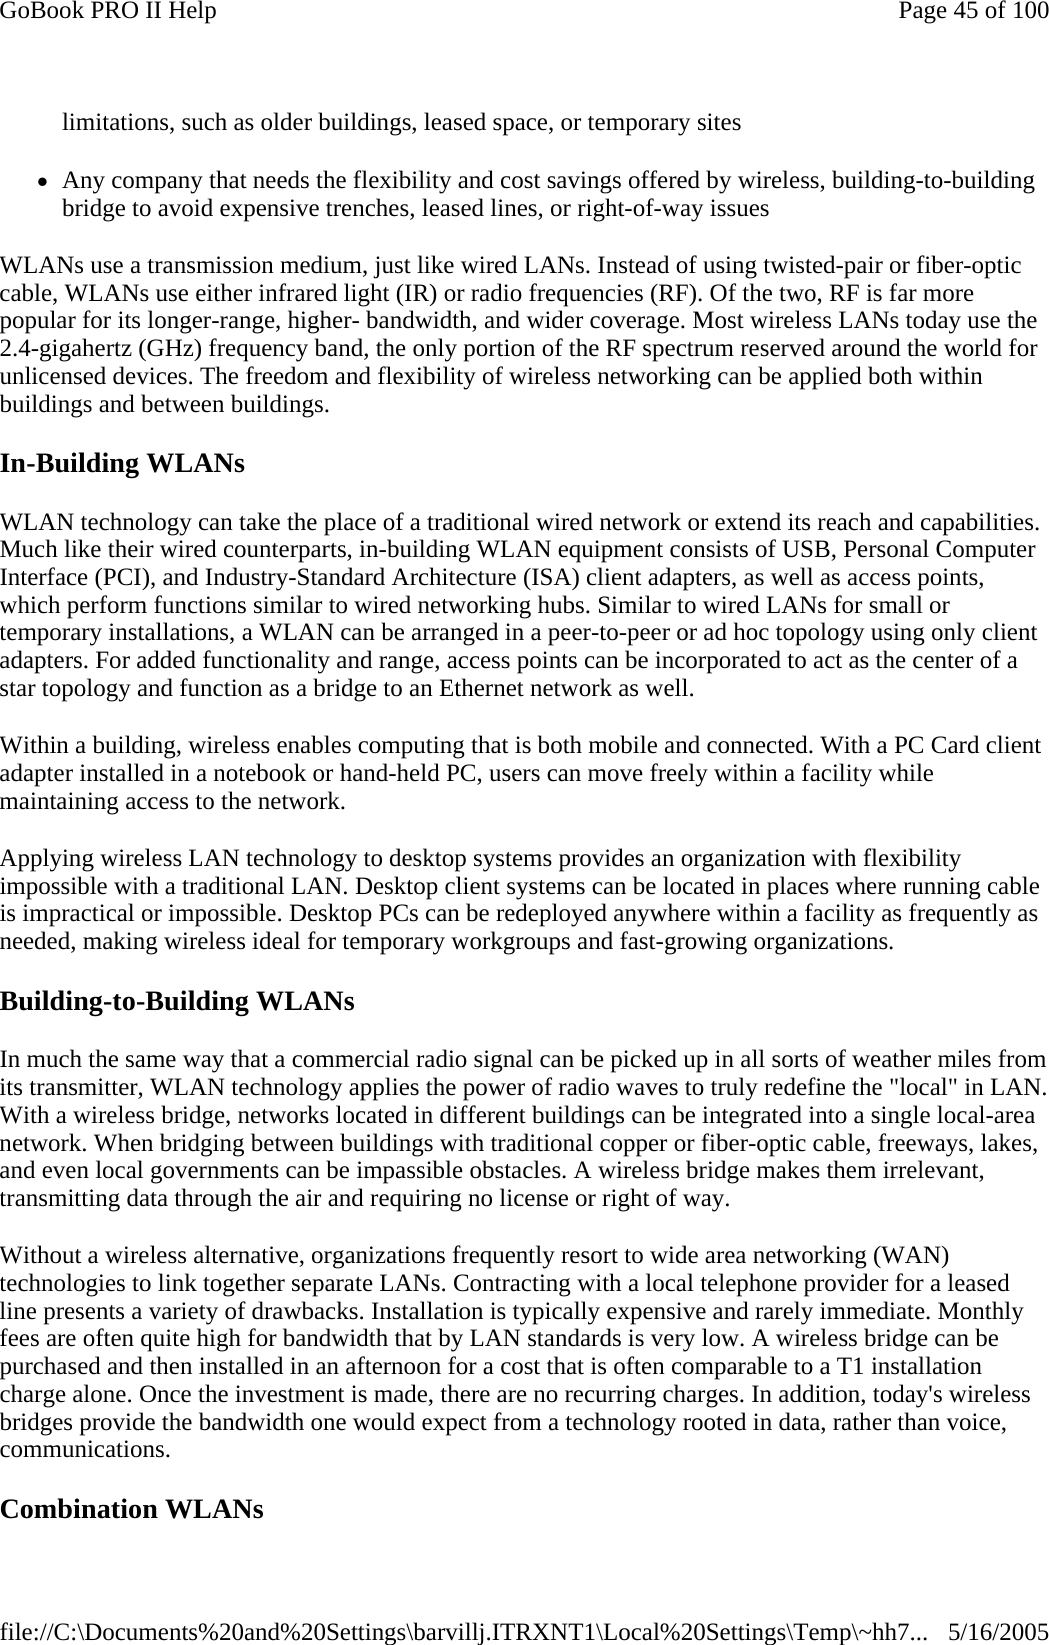
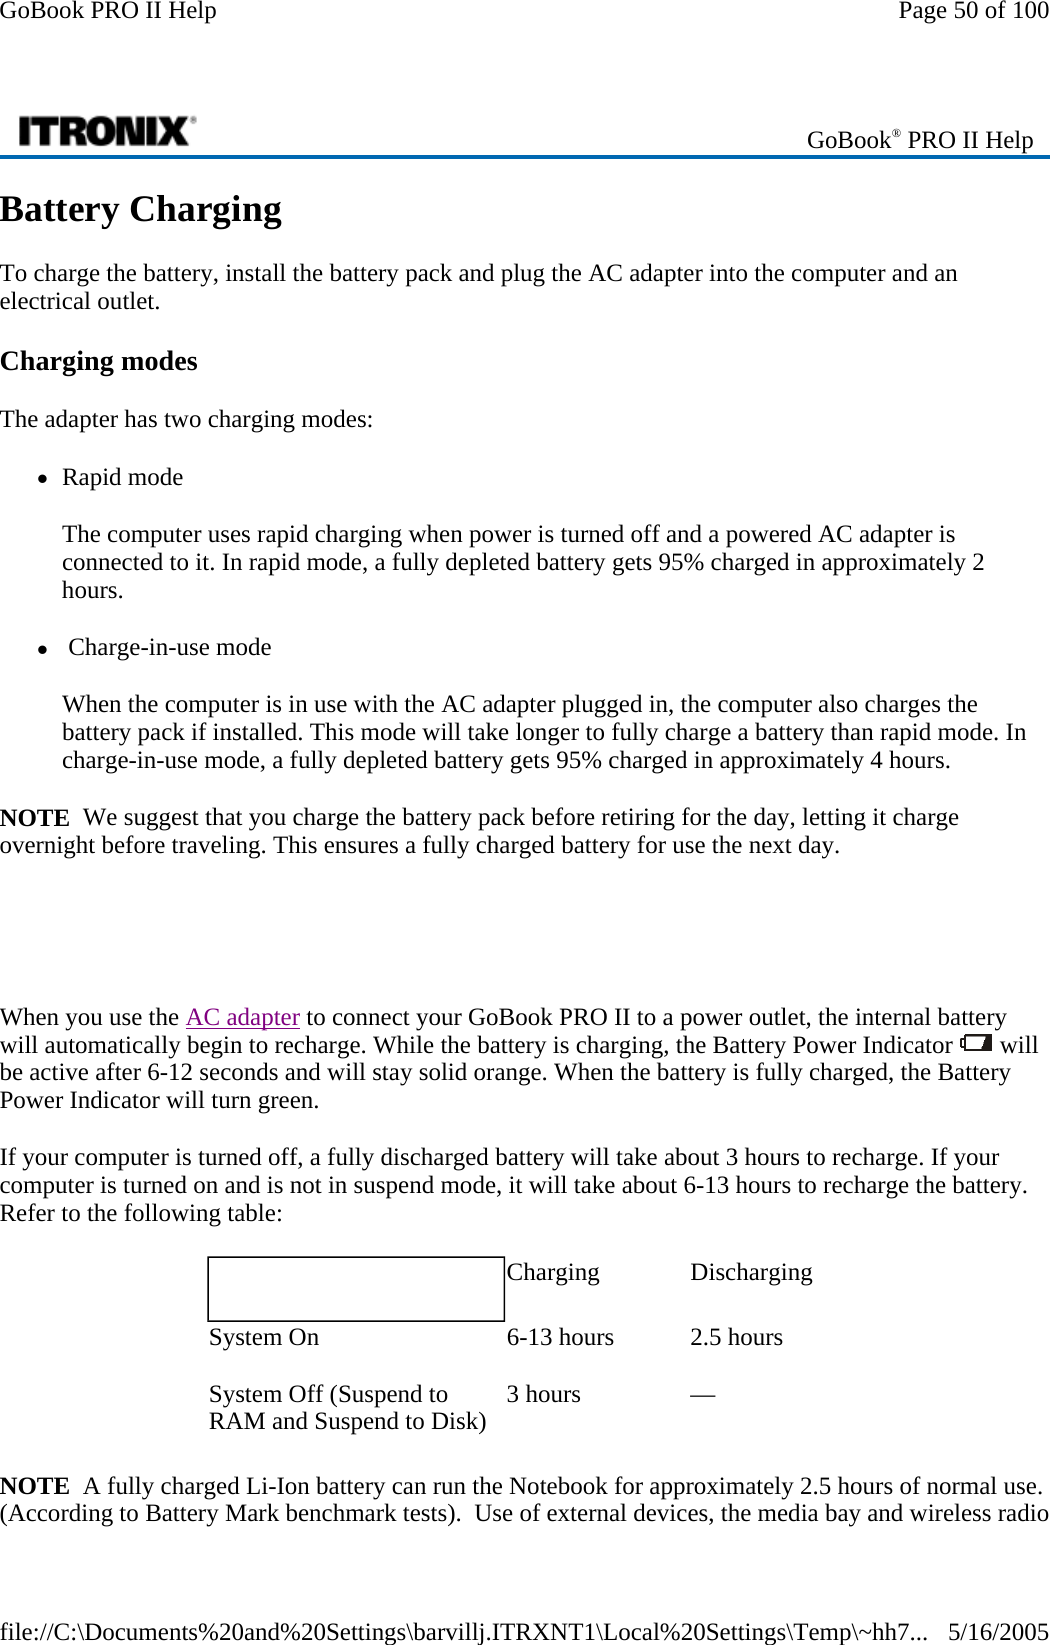
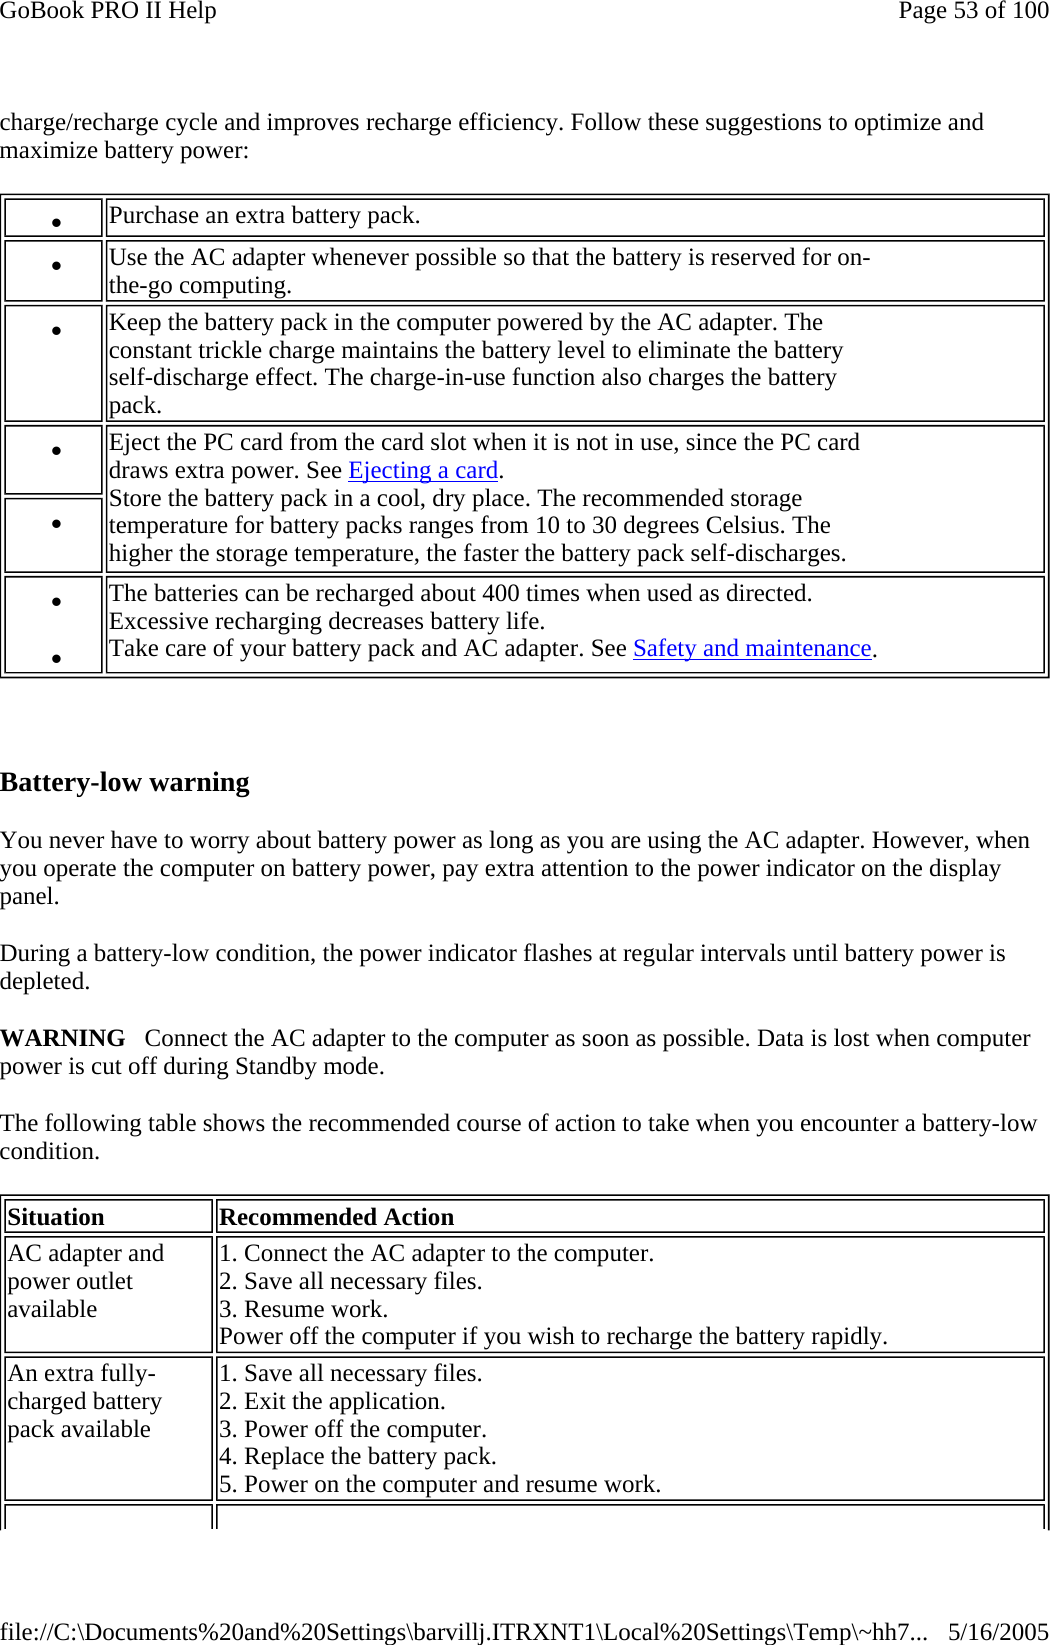
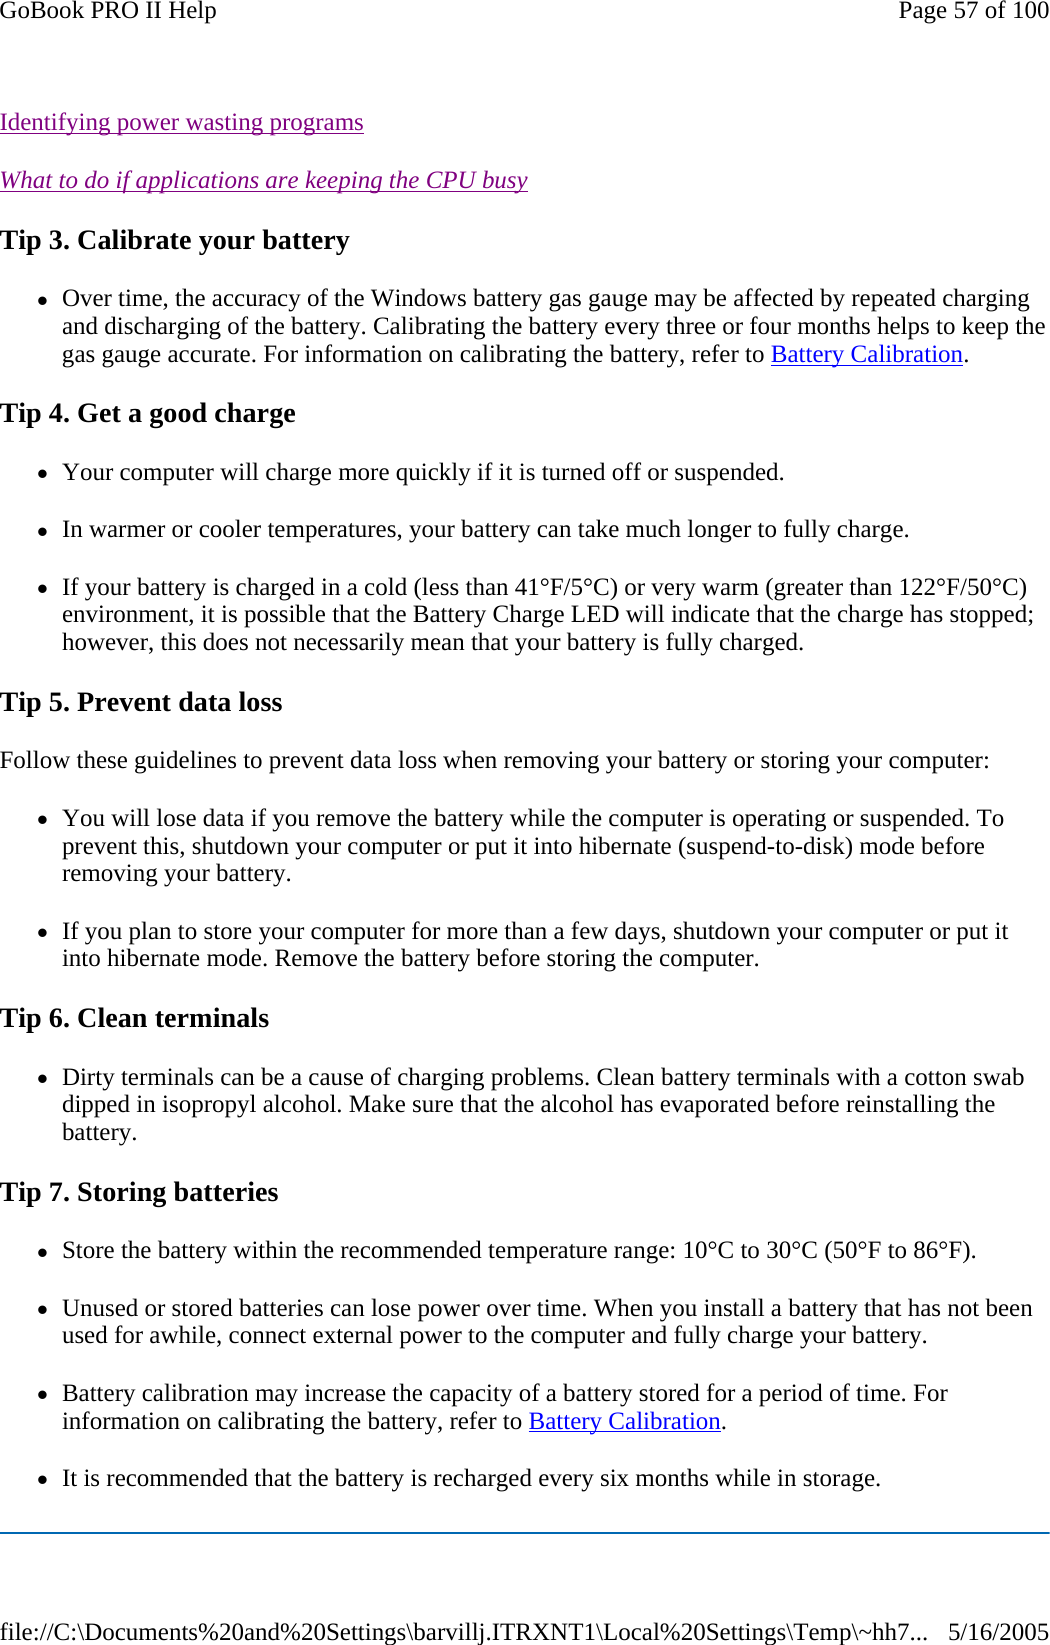
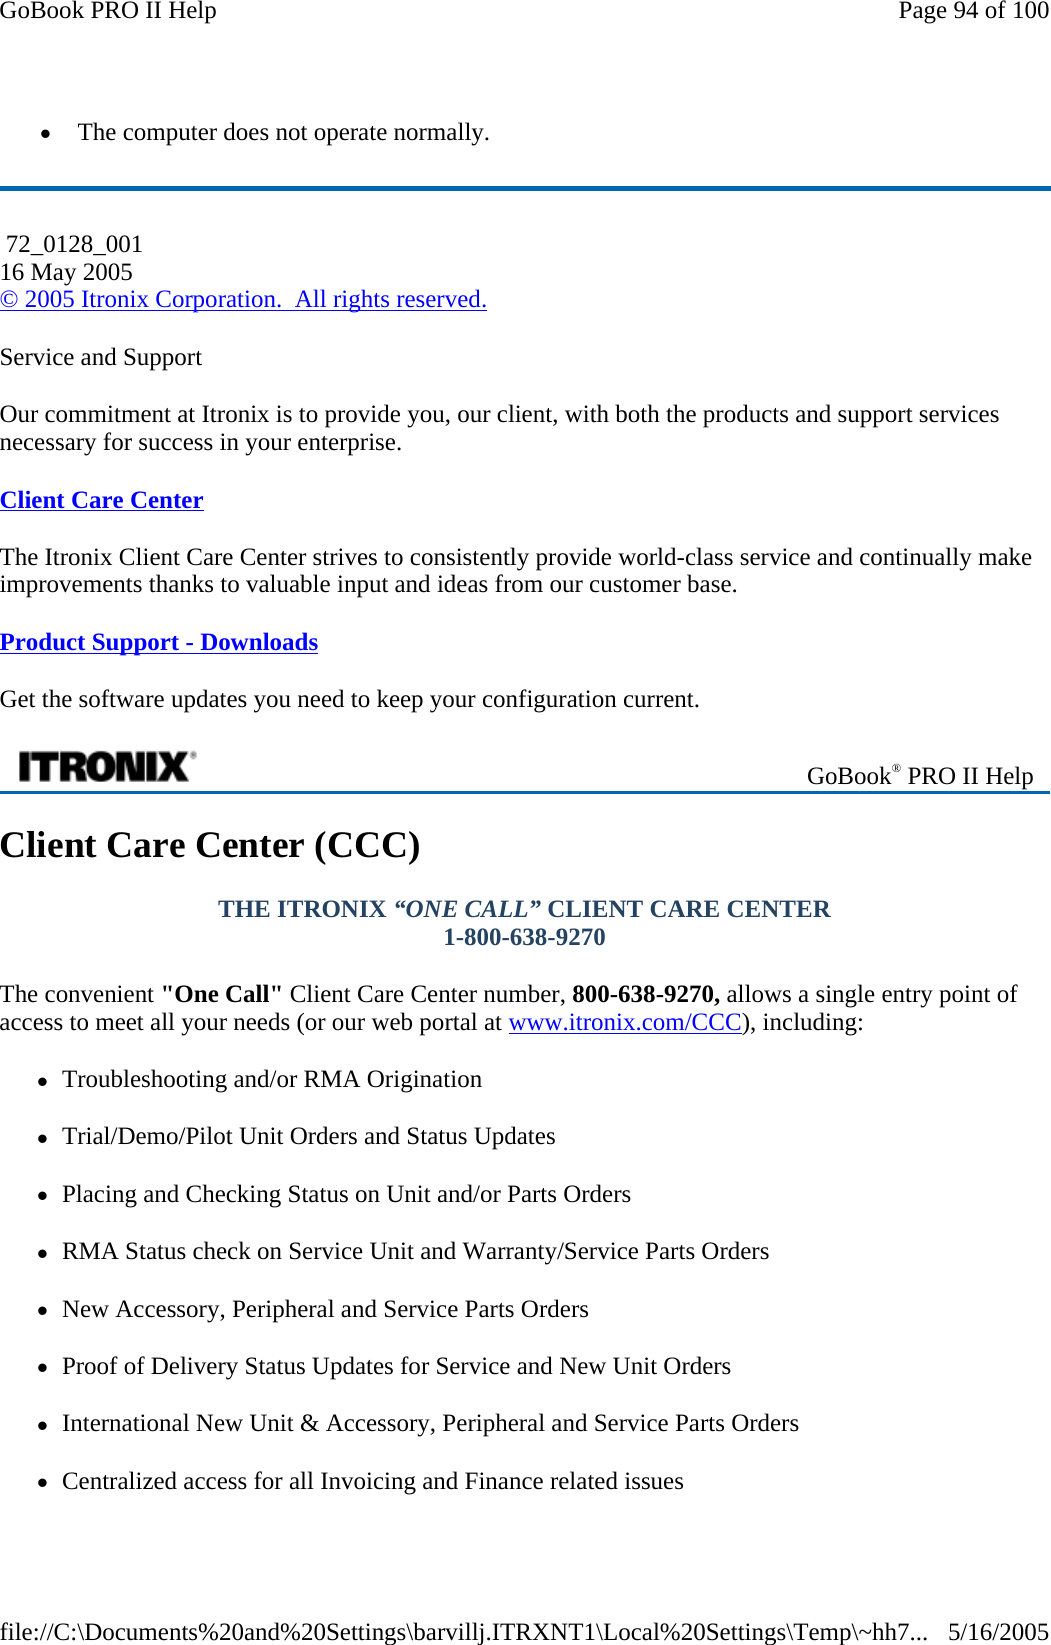
![zReset the correct date and time by choosing the Date/Time icon from Control Panel and making the appropriate changes. I receive an “out of memory” error message zToo many applications may be running at the same time. Close applications you don’t need. zIf you’re using desktop wallpaper, set wallpaper to None. To do this, choose Display from Control Panel and make the appropriate change. zMake sure you have enough space on your hard disk . Contact your supervisor or your organization’s help desk for assistance. zSet up a permanent swap file. Contact your supervisor or your organization’s help desk for assistance. Mouse I have difficulty double-clicking the mouse fast enough zFrom the Start Menu, select Settings, Control Panel, and then choose Mouse. The Response tab contains the setting for the double-click speed. PC Cards I can’t remove the PC card zPress the ejector button located inside the PC card door on the side of the computer. The button will pop out. Press the ejector button again to eject the PC card. Slide the card out. zIf the ejector button malfunctions when you press it, release the button and then press it again. Diskette Read Error zAny card in the PC Card socket except for a properly formatted memory card will cause this error since it is trying to read the PC Card. The system does not recognize the PC Card CD-ROM when it is inserted into the PC Card socket zThere is a delay of 10 to 15 seconds before the CD-ROM drive is recognized. zDrivers may not be installed. Contact your organization’s help desk for assistance. The computer locks up when I remove the PC card zBefore you remove the card, select the PC card icon in the system “tray” area of the screen (near the clock in the lower right corner), and choose “Stop [card name] card.” Page 91 of 100GoBook PRO II Help5/16/2005file://C:\Documents%20and%20Settings\barvillj.ITRXNT1\Local%20Settings\Temp\~hh7...](https://usermanual.wiki/General-Dynamics-Itronix/IX-NW620.USERS-MANUAL/User-Guide-767946-Page-91.png)
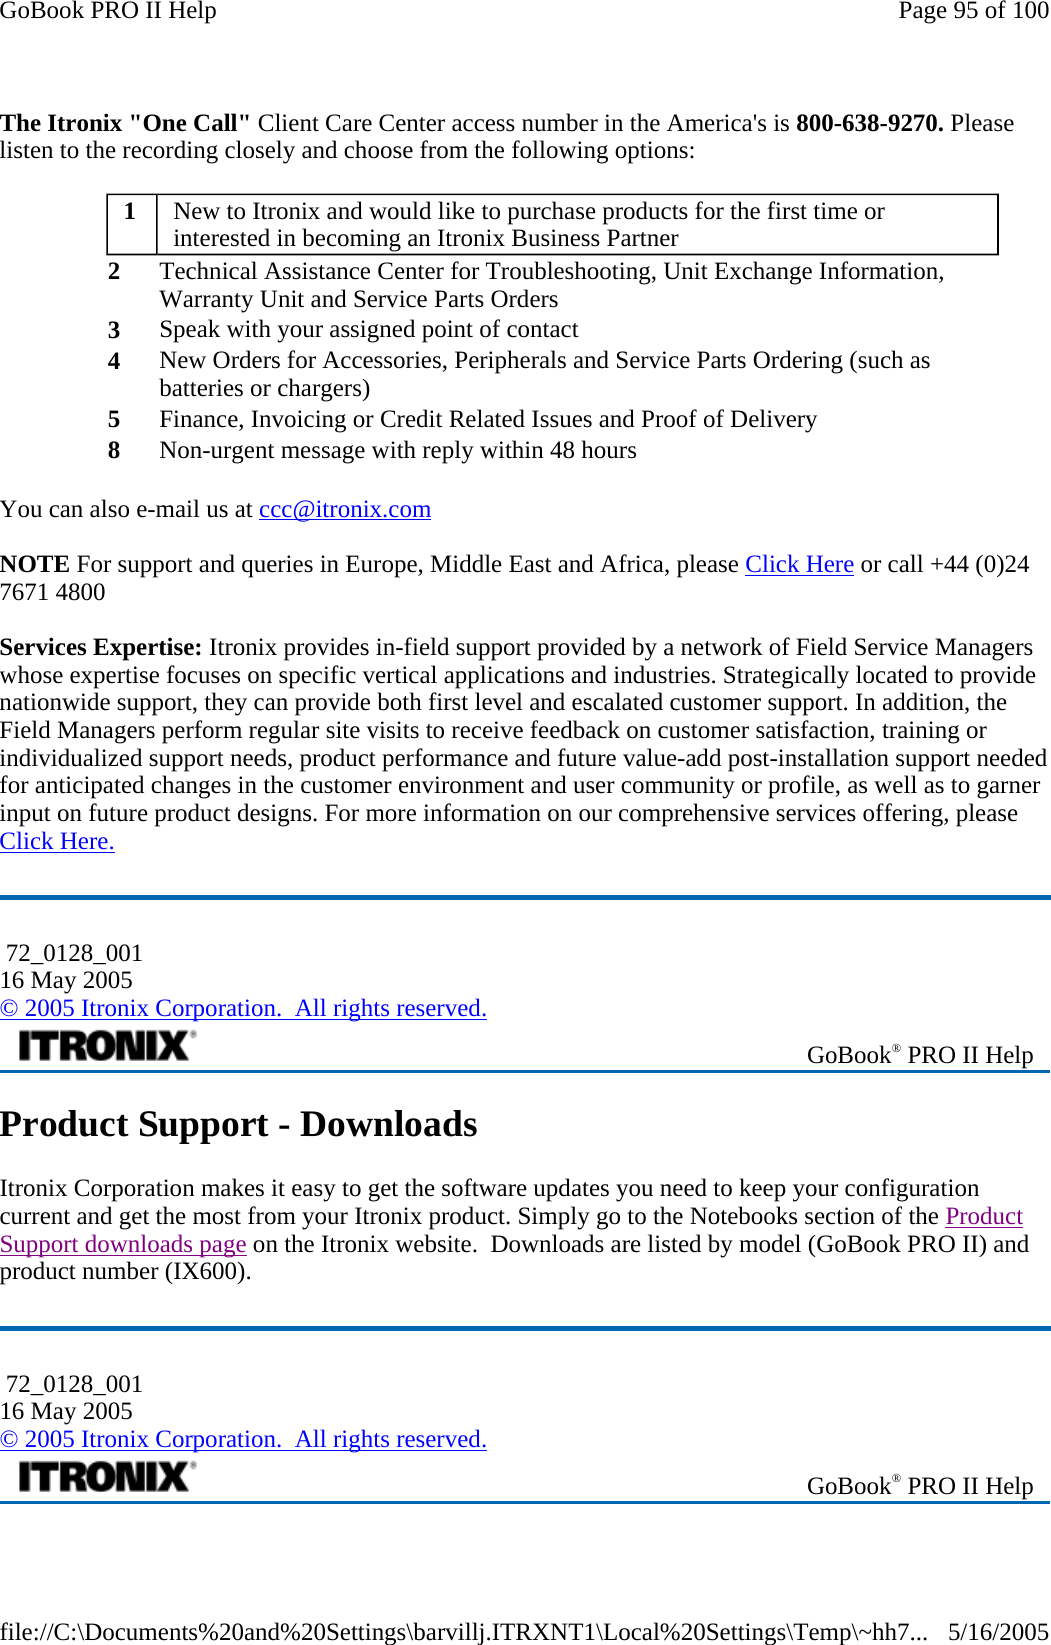

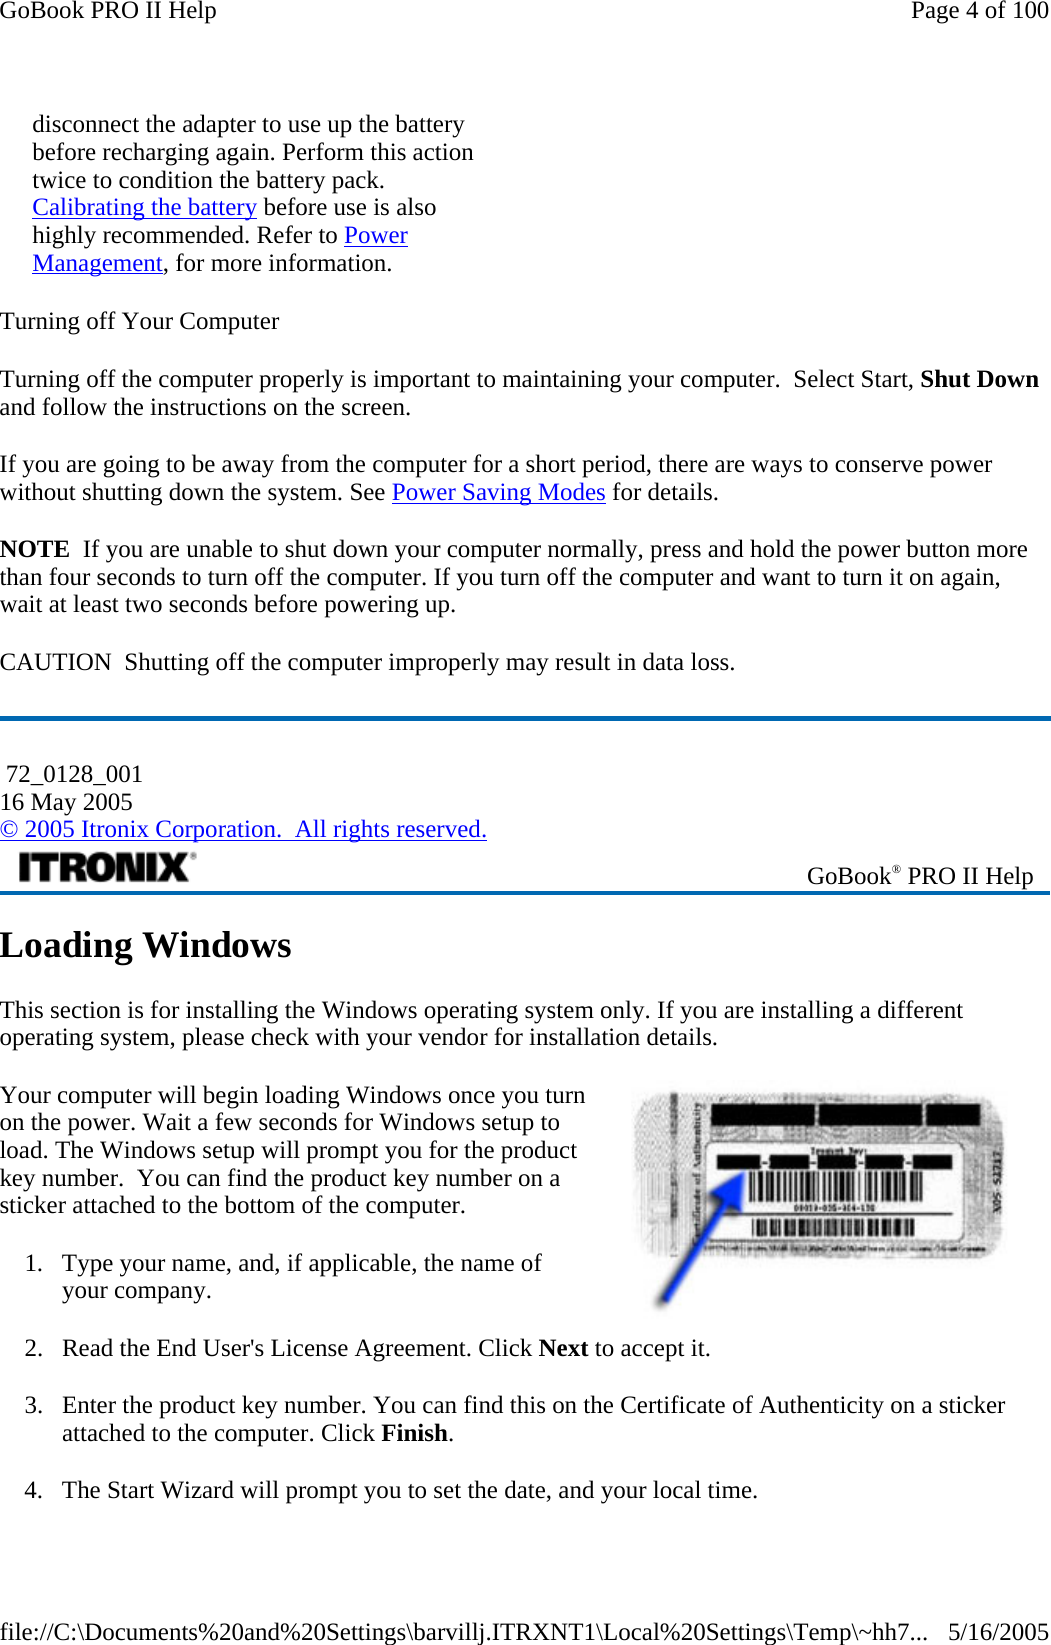
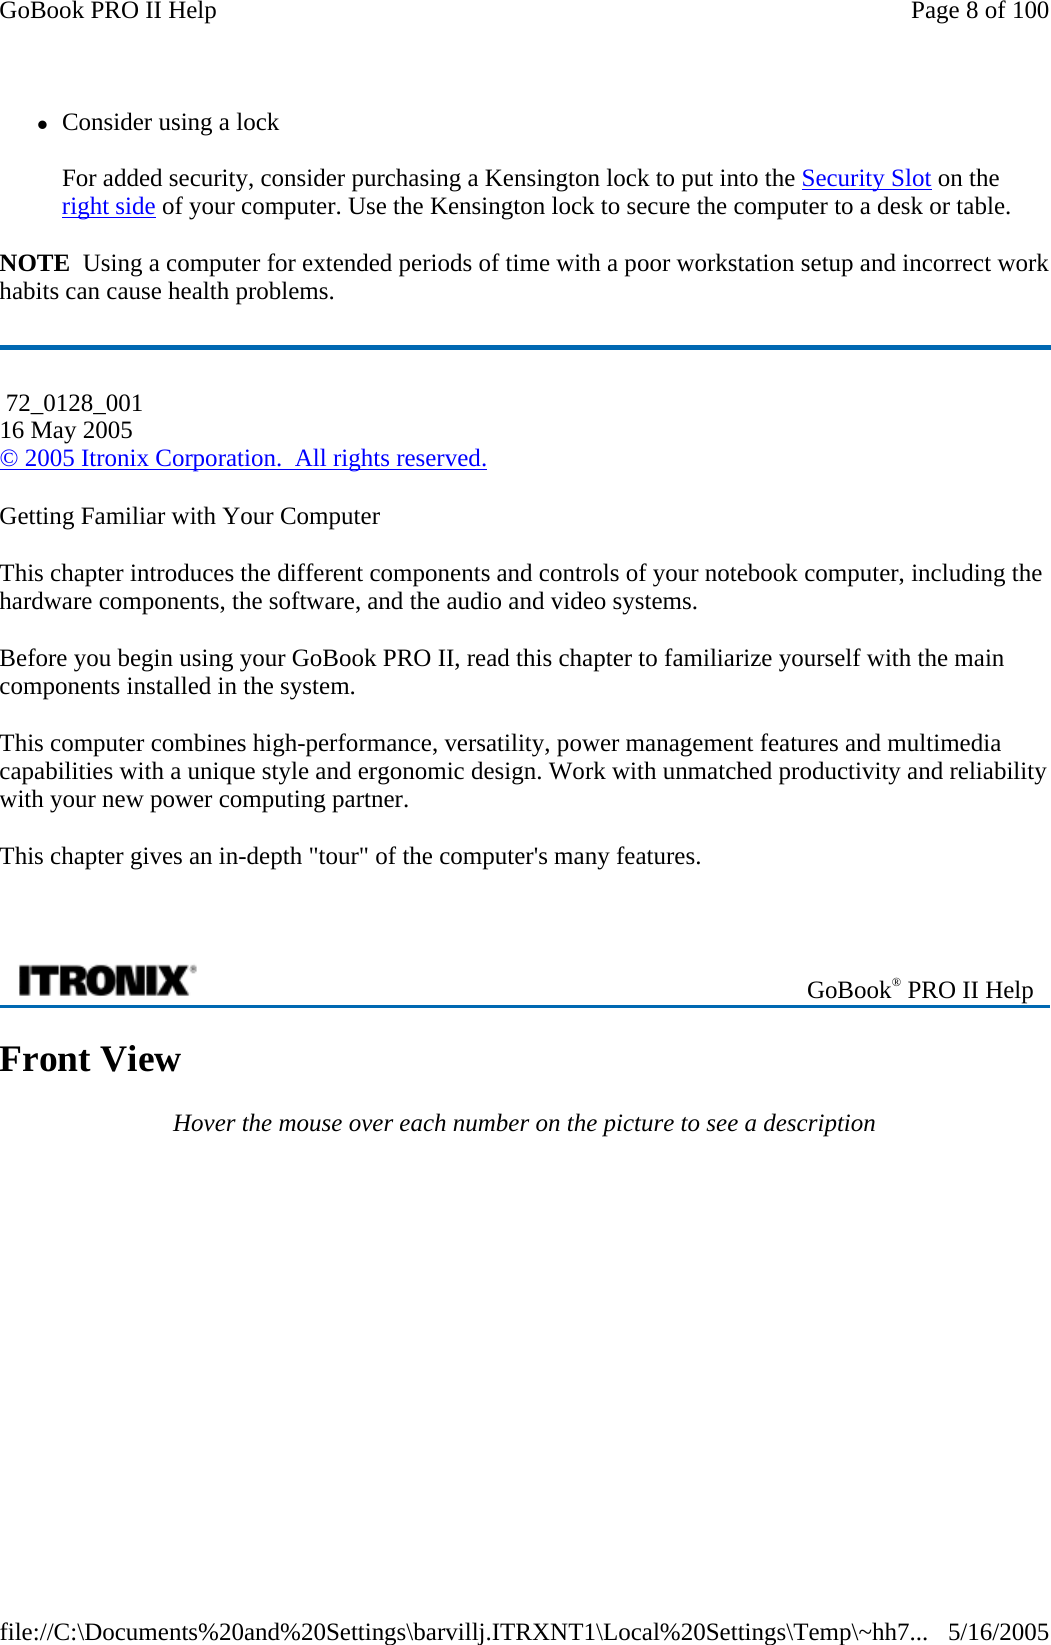
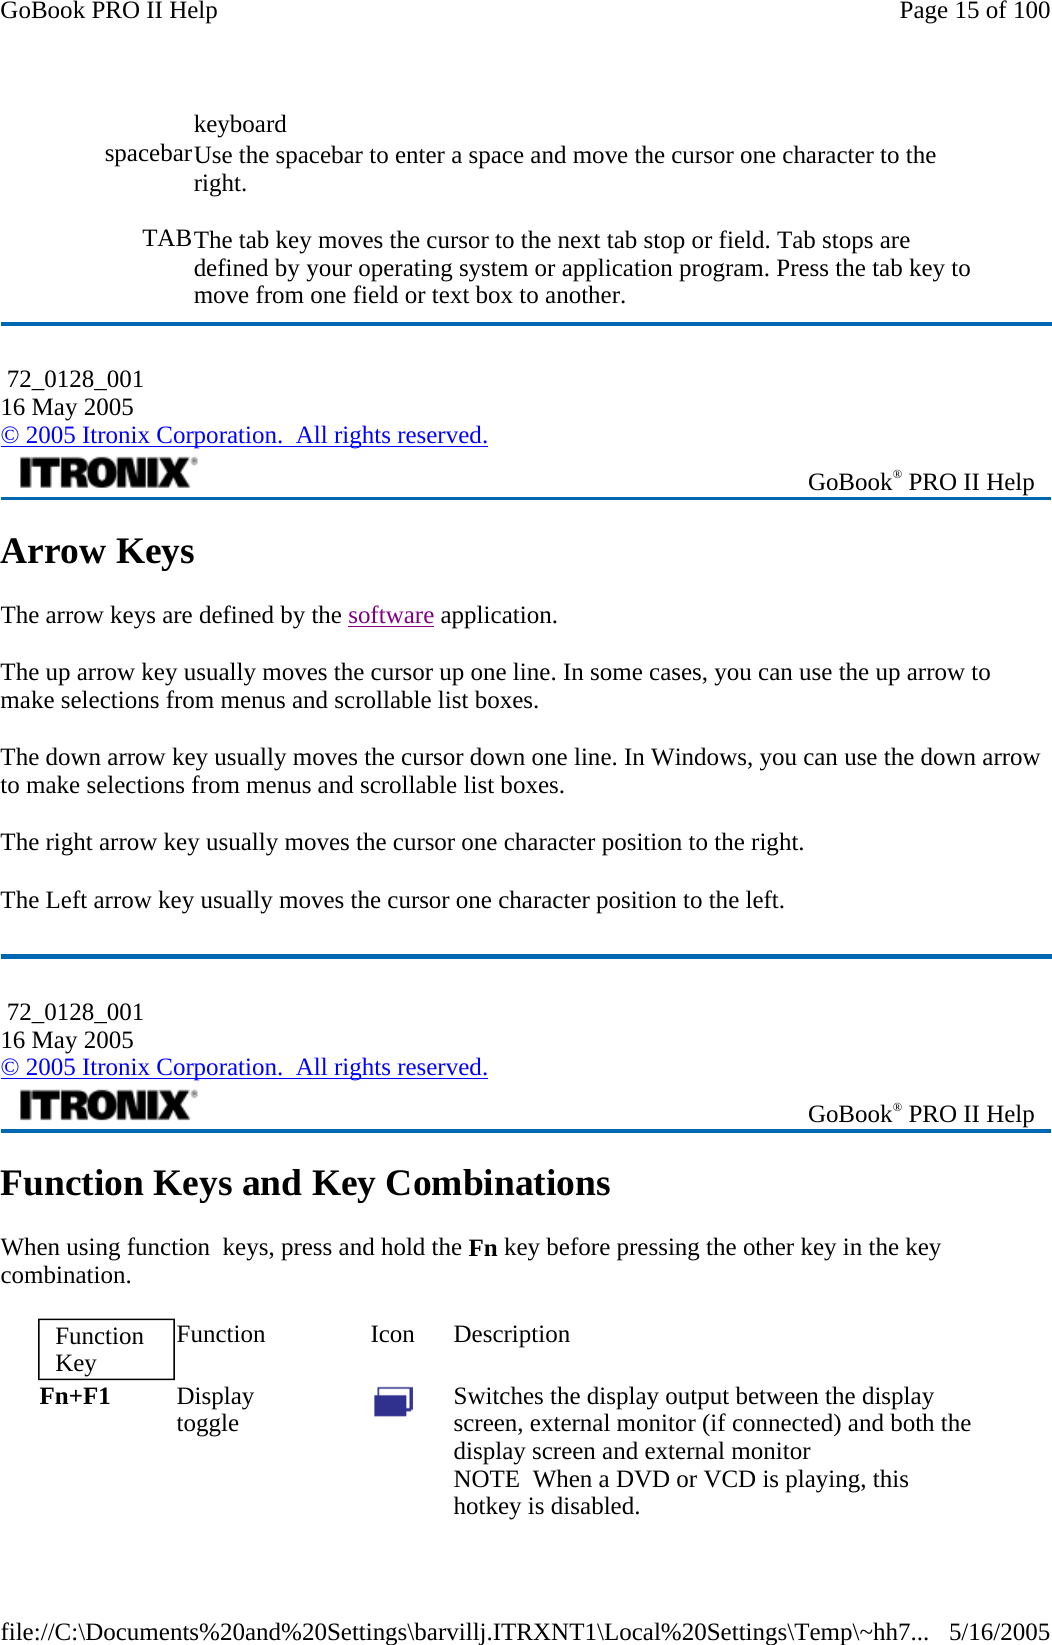
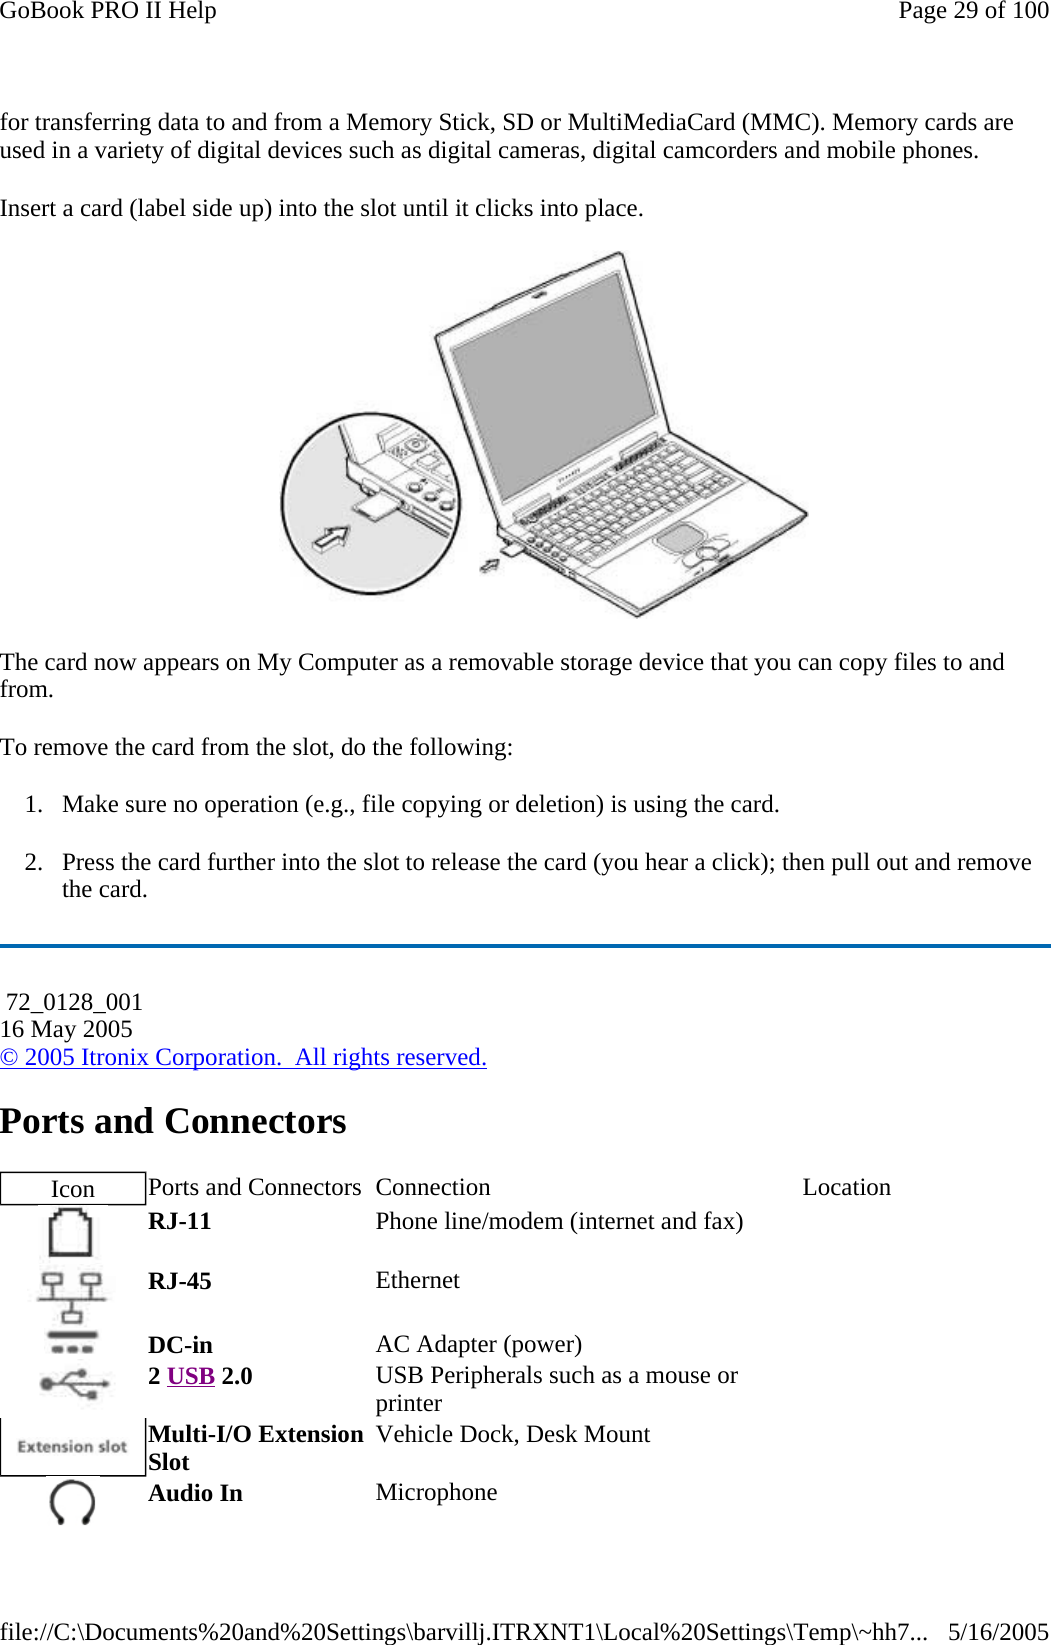
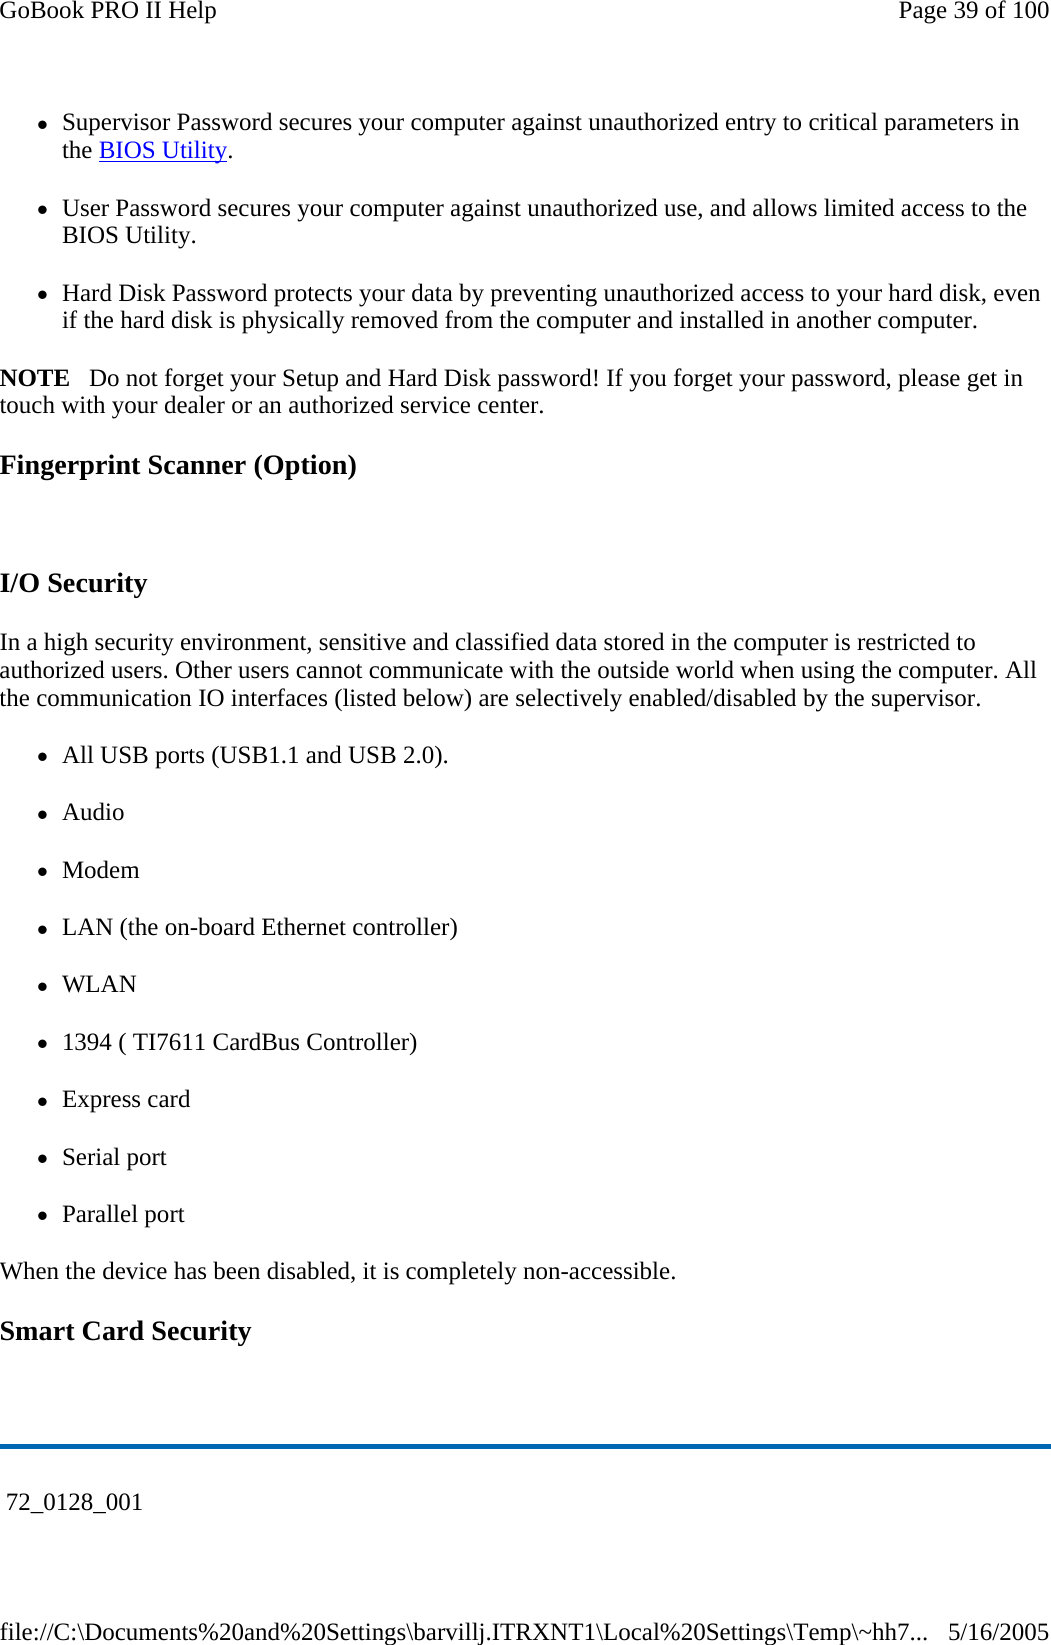
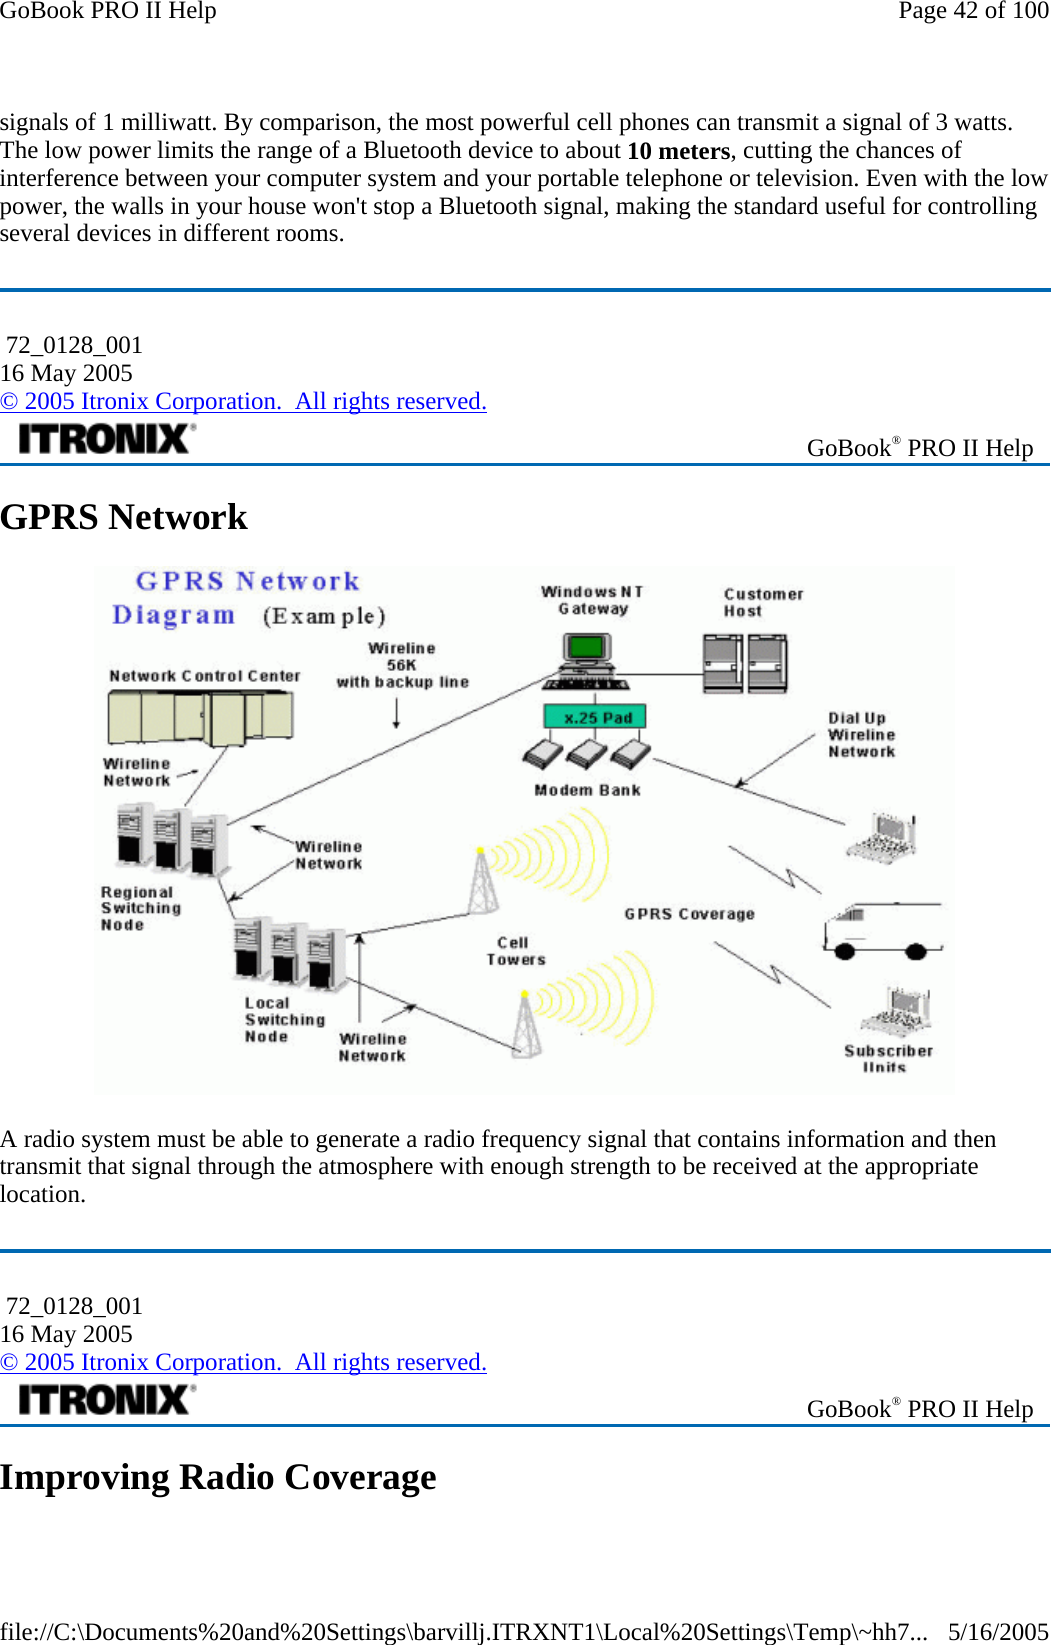
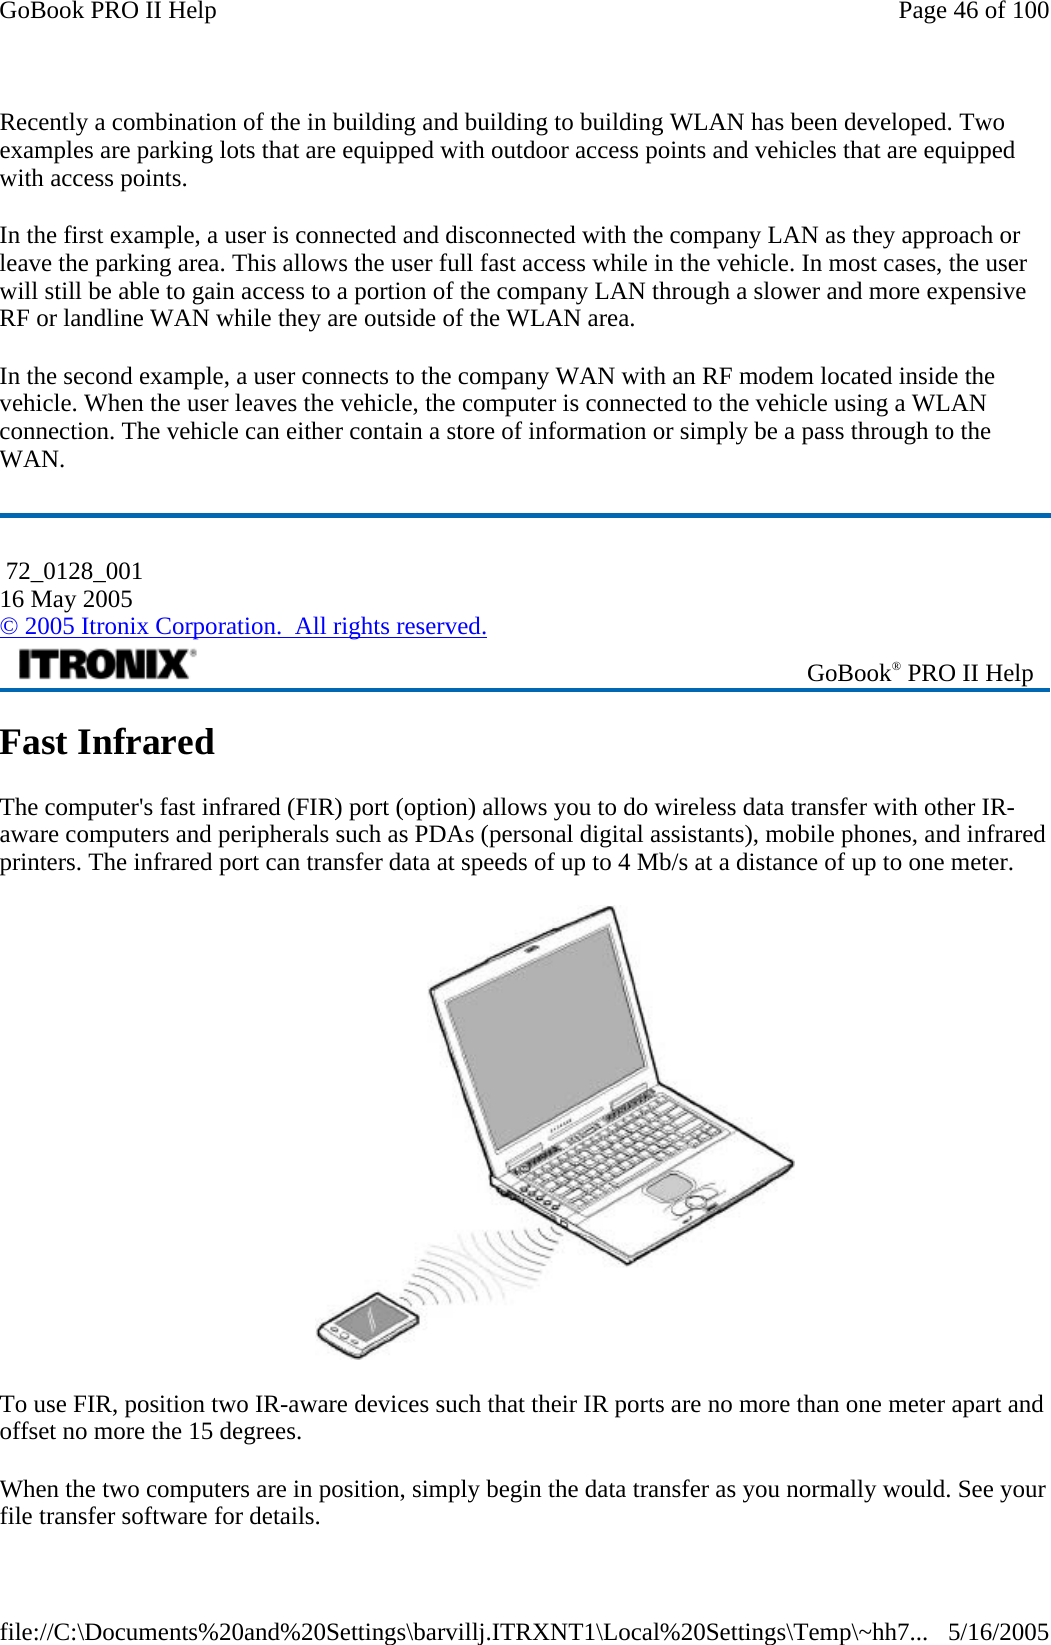
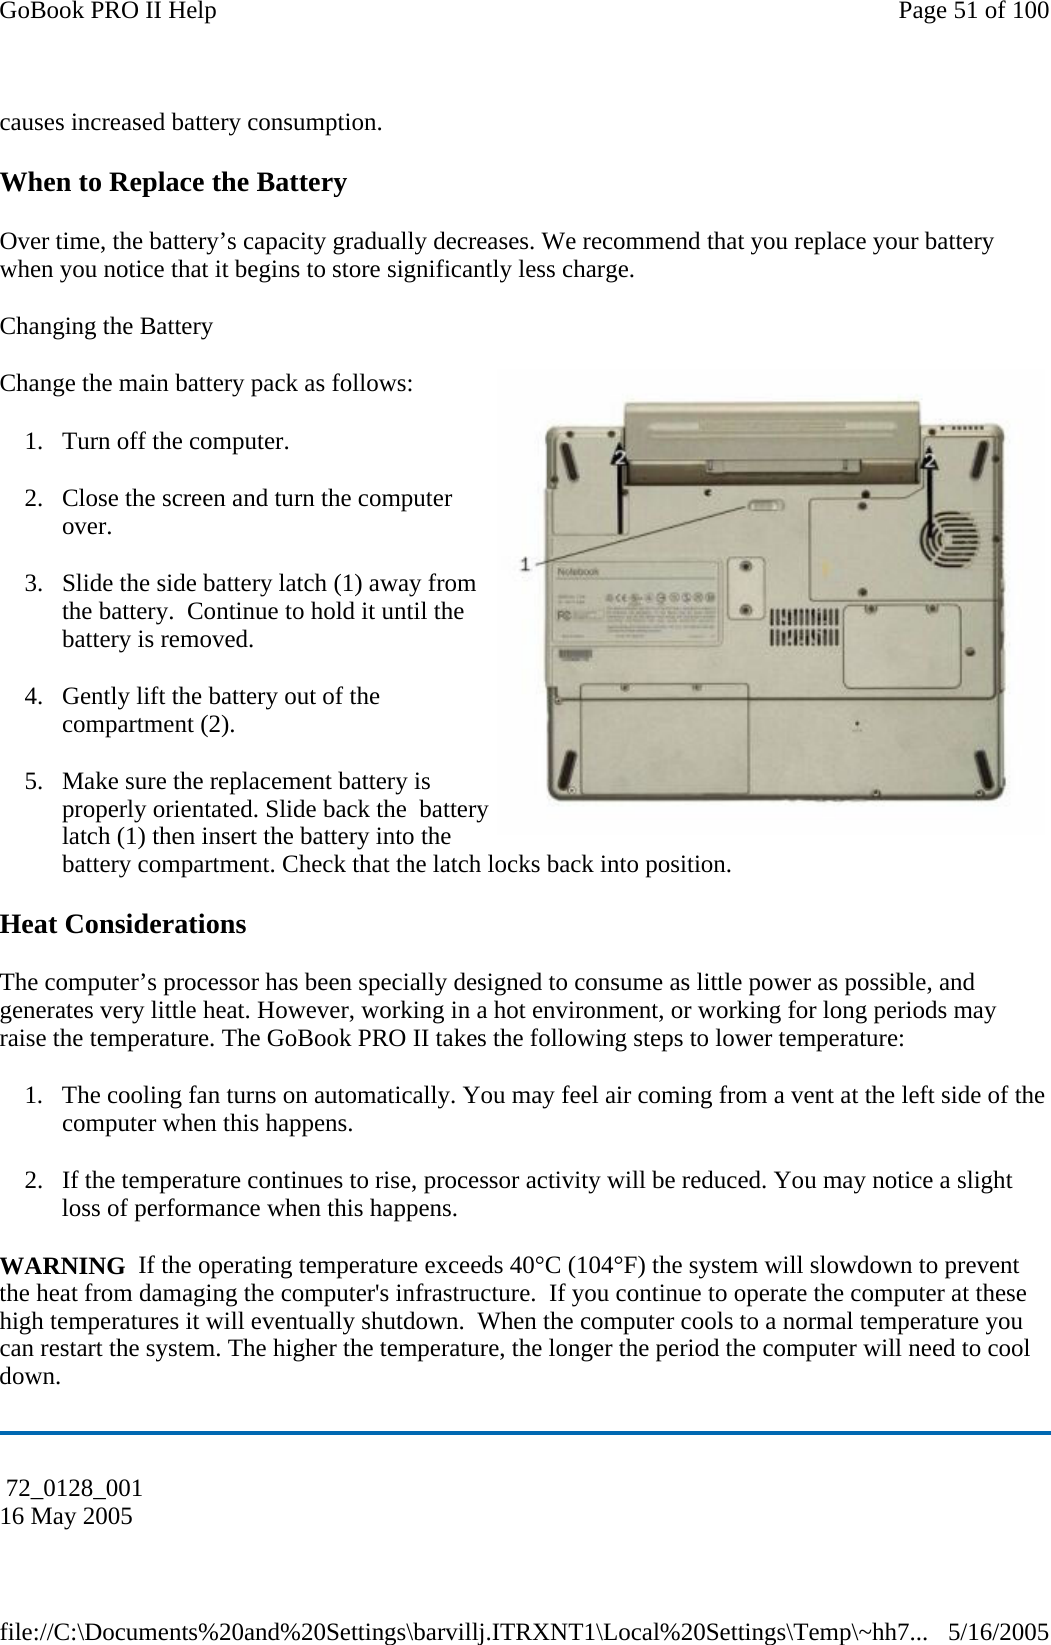
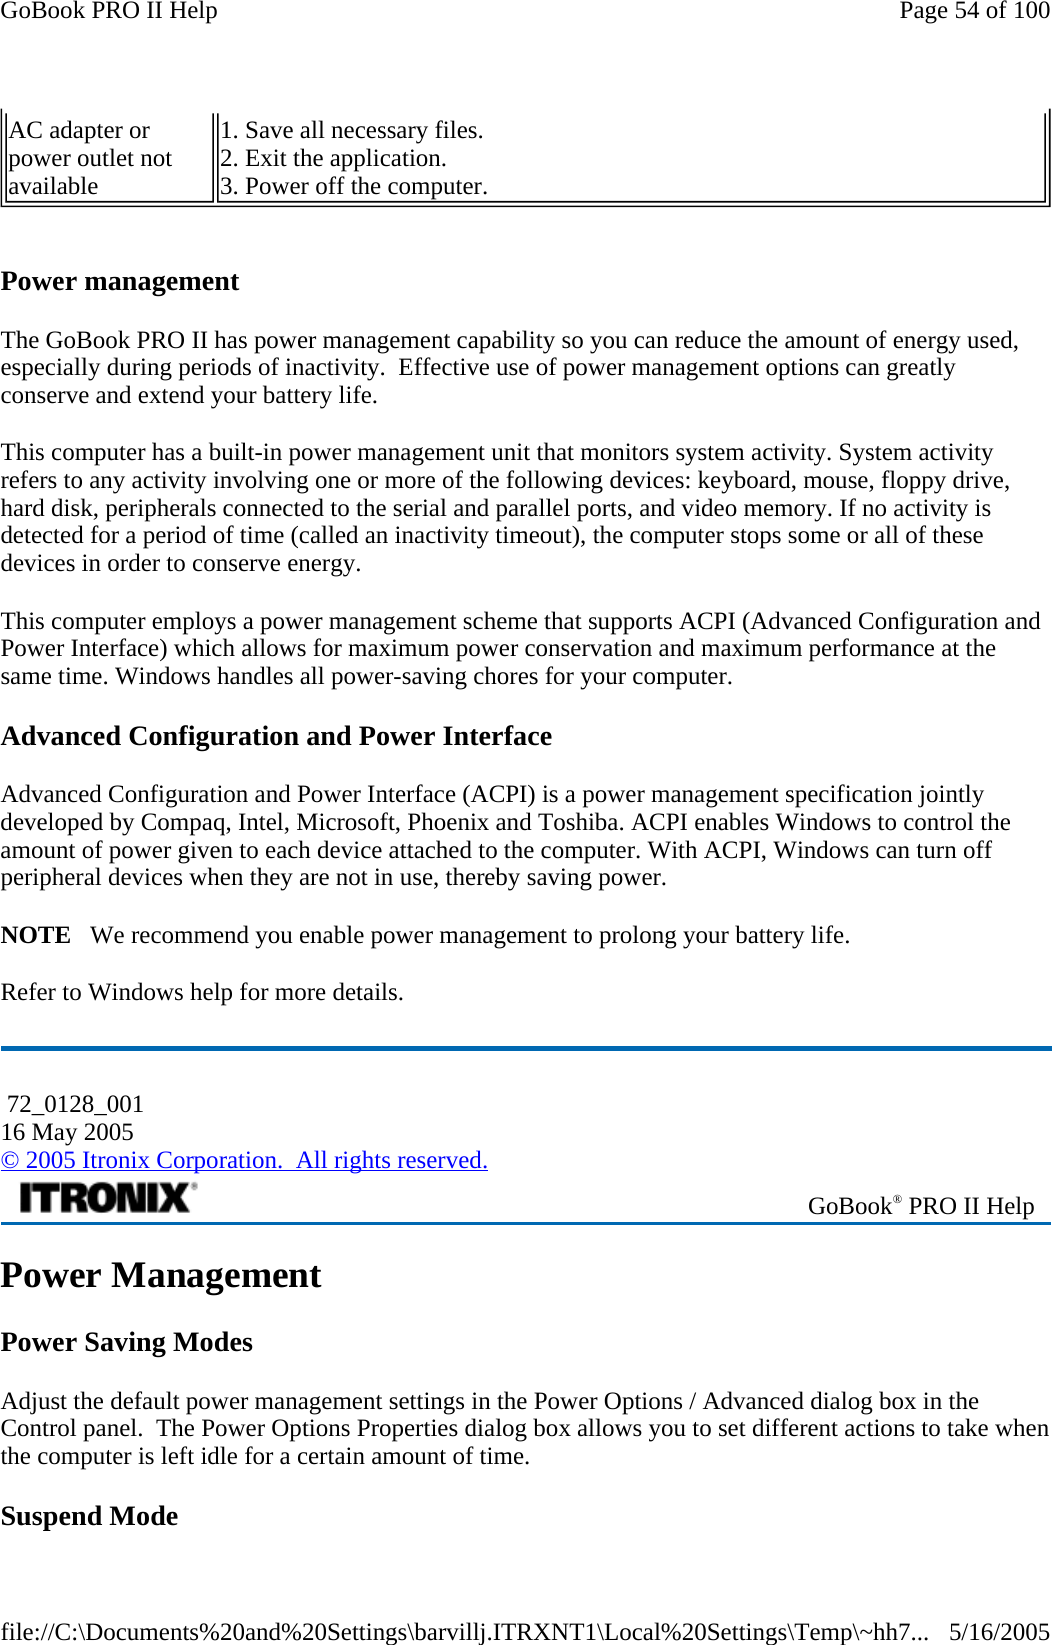
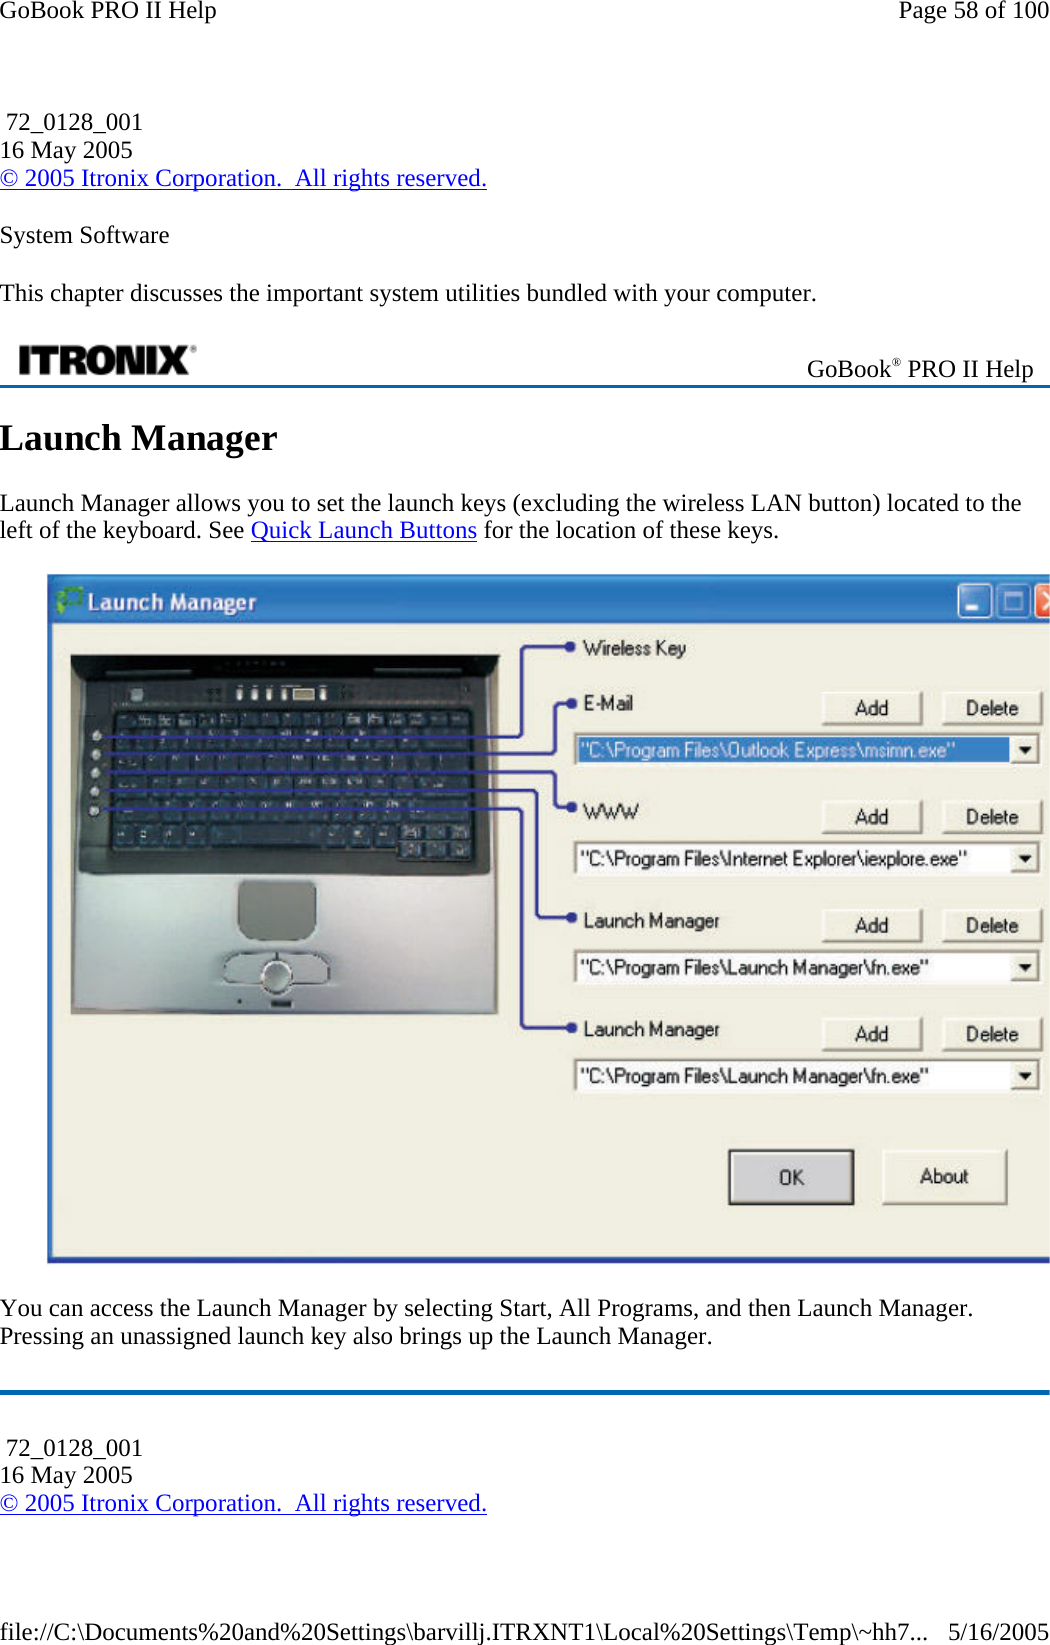
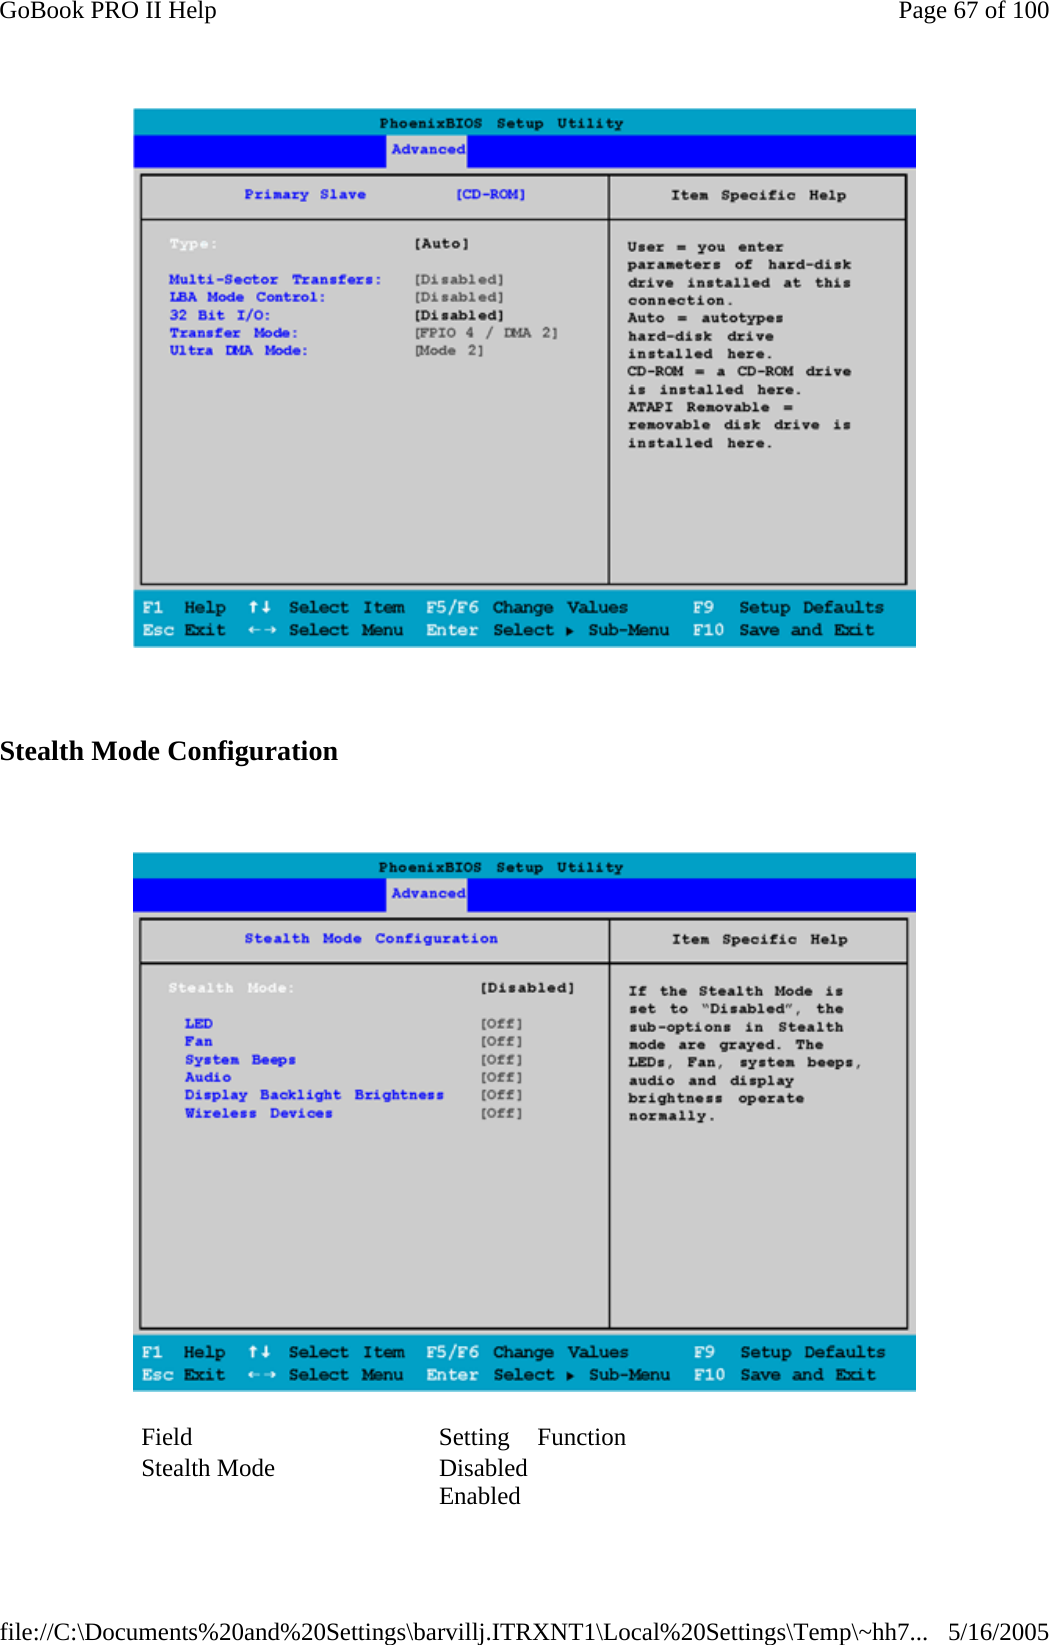
![This information is entered through the FAX application software you have installed. Consult your FAX software documentation for instructions about entering this information. Warnings and Cautions WARNING It is important that only authorized Itronix personnel attempt repairs on Itronix equipment as this might void any maintenance contract with your company. Unauthorized service personnel might be subject to shock hazard on some Itronix equipment if removal of protective covers is attempted. The product you have purchased is powered by a rechargeable battery. The battery is recyclable and, under various state and local laws, it may be illegal to dispose of this battery into the municipal waste stream. Do not crush the battery or place it in a fire. Check with your local solid-waste officials for details on recycling options or proper disposal. CAUTION Internal components of the GoBook PRO II (IX600) computer will be damaged if exposed to contaminants. When dust covers, the PC card door, or the bottom access panel are open on the computer, shield the unit from all contaminants such as liquids, rain, snow, and dust. Internal radio(s) may display an individual FCC Identifier which are not applicable to this configuration. Only the FCC ID(s) shown on the label located on the bottom of the IX600 Laptop PC is/are applicable. The IX600 Laptop PC Radio(s) must notbe co-located or operating in conjunction with any other antenna or transmitter than specified within the FCC ID certification. This device may contain a WWAN radio transmitter, and/or WLAN radio transmitter and/or a PAN radio transmitter. To comply with FCC/IC RF exposure requirements when using the WWAN radio transmitter,a minimum separation distance of 20 cm must be maintained between the back of the display screen and all users/bystanders. When using the WLAN transmitter, a minimum separation distance of 20 cm must be maintained between the back of the display screen and all users/bystanders. The WWAN and WLANradio transmitters should be turned off before carrying the Laptop PC in order to comply with FCC/ICRF exposure requirements."The equipment has been approved to [Commission Decision "CTR21"] for pan-European single terminal connection to the Public Switched Telephone Network (PSTN). However, due to differences between individual PSTNs provided in different countries the approval does not, of itself, give an unconditional assurance of successful operation on every PSTN network termination point. In the event of problems, you should contact your equipment supplier in the first instance. This product is intended to be supplied by a Listed Power Unit and output rated 20 V dc, 3.25 A. CAUTION Always disconnect all telephone lines from the wall outlet before servicing or disassemblingthis equipment. CAUTION To reduce the risk of fire use only a No. 26 AWG or larger telecommunication line cord. Safety Information Enclosed with each IX600 Laptop PC is the radio specific safety information. Do not proceed without reviewing the information provided in that document. Do not proceed beyond a WARNING or CAUTION until the indicated conditions are fully understood and met. Page 99 of 100GoBook PRO II Help5/16/2005file://C:\Documents%20and%20Settings\barvillj.ITRXNT1\Local%20Settings\Temp\~hh7...](https://usermanual.wiki/General-Dynamics-Itronix/IX-NW620.USERS-MANUAL/User-Guide-767946-Page-99.png)