LG Electronics USA C410 Cellular/PCS GSM/EDGE/WCDMA Phone with Bluetooth User Manual LG C410 ATT UG EN 131015
LG Electronics MobileComm USA, Inc. Cellular/PCS GSM/EDGE/WCDMA Phone with Bluetooth LG C410 ATT UG EN 131015
UserManual.wiki
>
LG Electronics USA
>
C410 User Manual
Users Manual
Navigation menu
Upload a User Manual
Namespaces
Wiki Guide
HTML
PDF
Info
Views
User Manual
Discussion / Help
Navigation


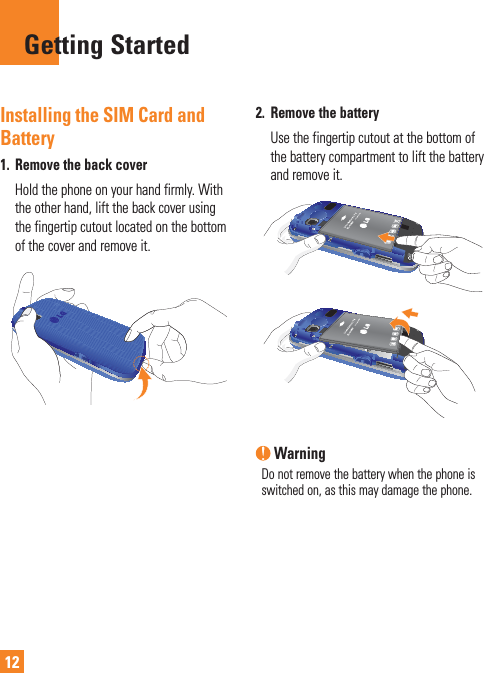
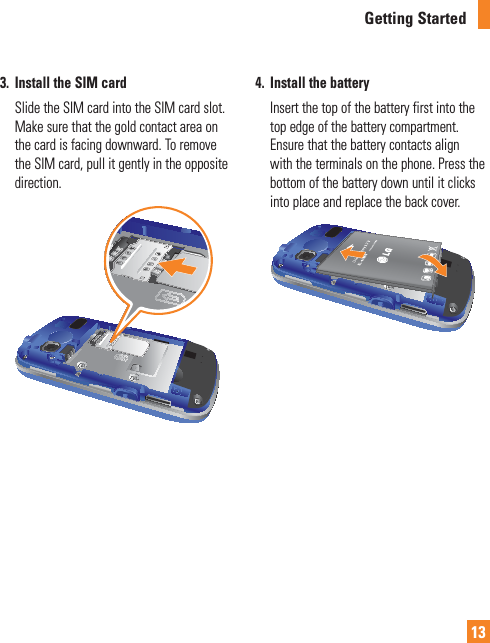
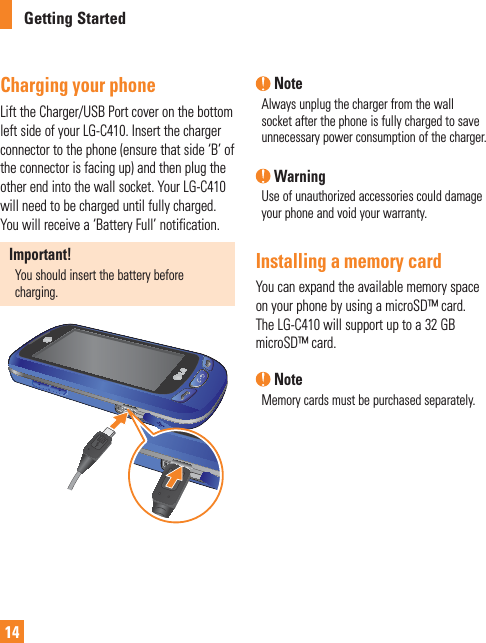
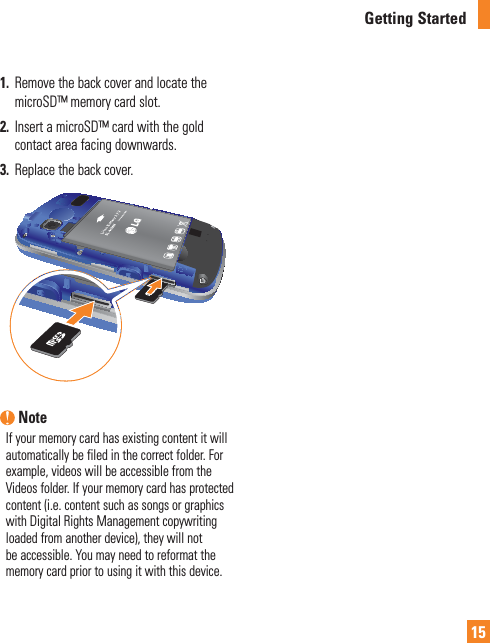
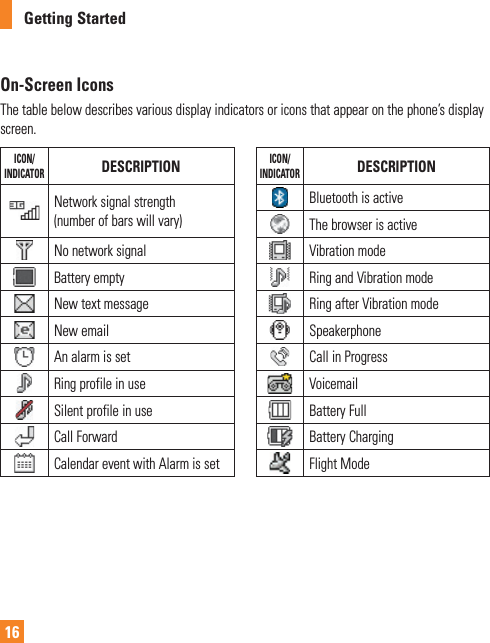


![93For Your SafetySafety InformationRead these simple guidelines. Breaking the rules may be dangerous or illegal. Further detailed information is given in this user guide. ŹDo not disassemble this unit. Take it to a qualified service technician when repair work is required. ŹKeep away from electrical appliances such as TVs, radios, and personal computers. ŹThe unit should be kept away from heat sources such as radiators or cookers. Ź] Do not drop. ŹDo not subject this unit to mechanical vibration or shock. ŹThe coating of the phone may be damaged if covered with wrap or vinyl wrapper. ŹUse dry cloth to clean the exterior of the unit. (Do not use solvent such as benzene, thinner or alcohol.) ŹDo not subject this unit to excessive smoke or dust. ŹDo not keep the phone next to credit cards or transport tickets; it can affect the information on the magnetic strips. ŹDo not tap the screen with a sharp object; otherwise, it may damage the phone. ŹDo not expose the phone to liquid or moisture. ŹUse the accessories like an earphone cautiously. Do not tap the antenna unnecessarily.microSD card information and care ŹThe microSD card cannot be used for recording copyright- protected data. ŹKeep the microSD card out of the small children's reach. Ź Do not leave the microSD card in extremely hot location. ŹDo not disassemble or modify the microSD card.](https://usermanual.wiki/LG-Electronics-USA/C410/User-Guide-2093446-Page-93.png)