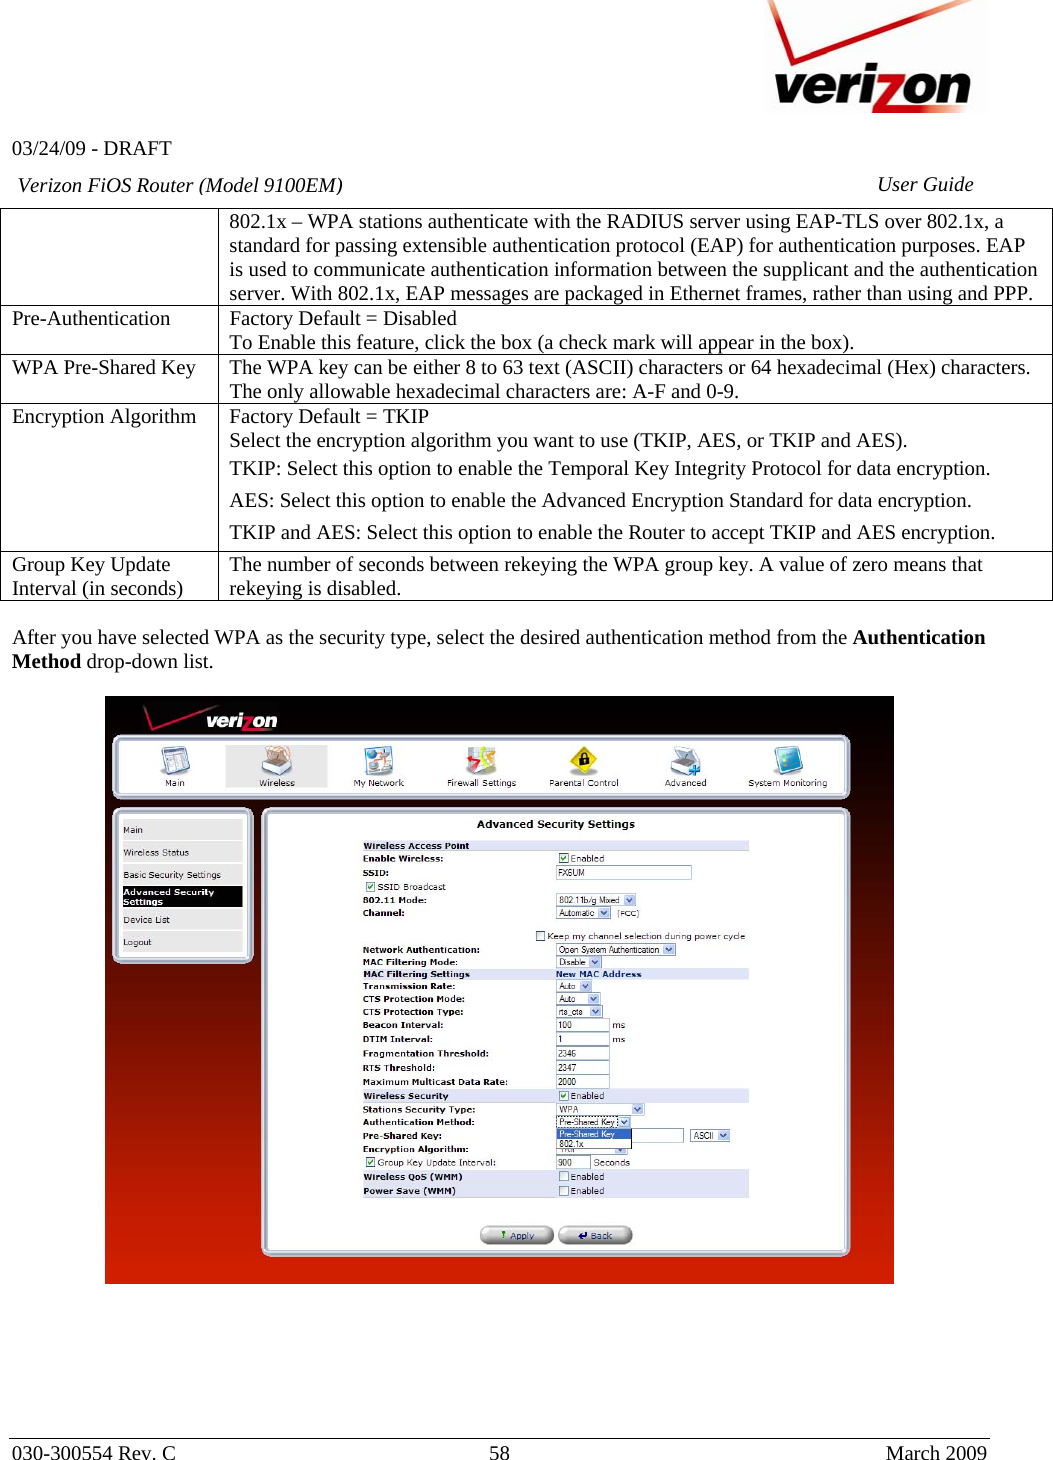
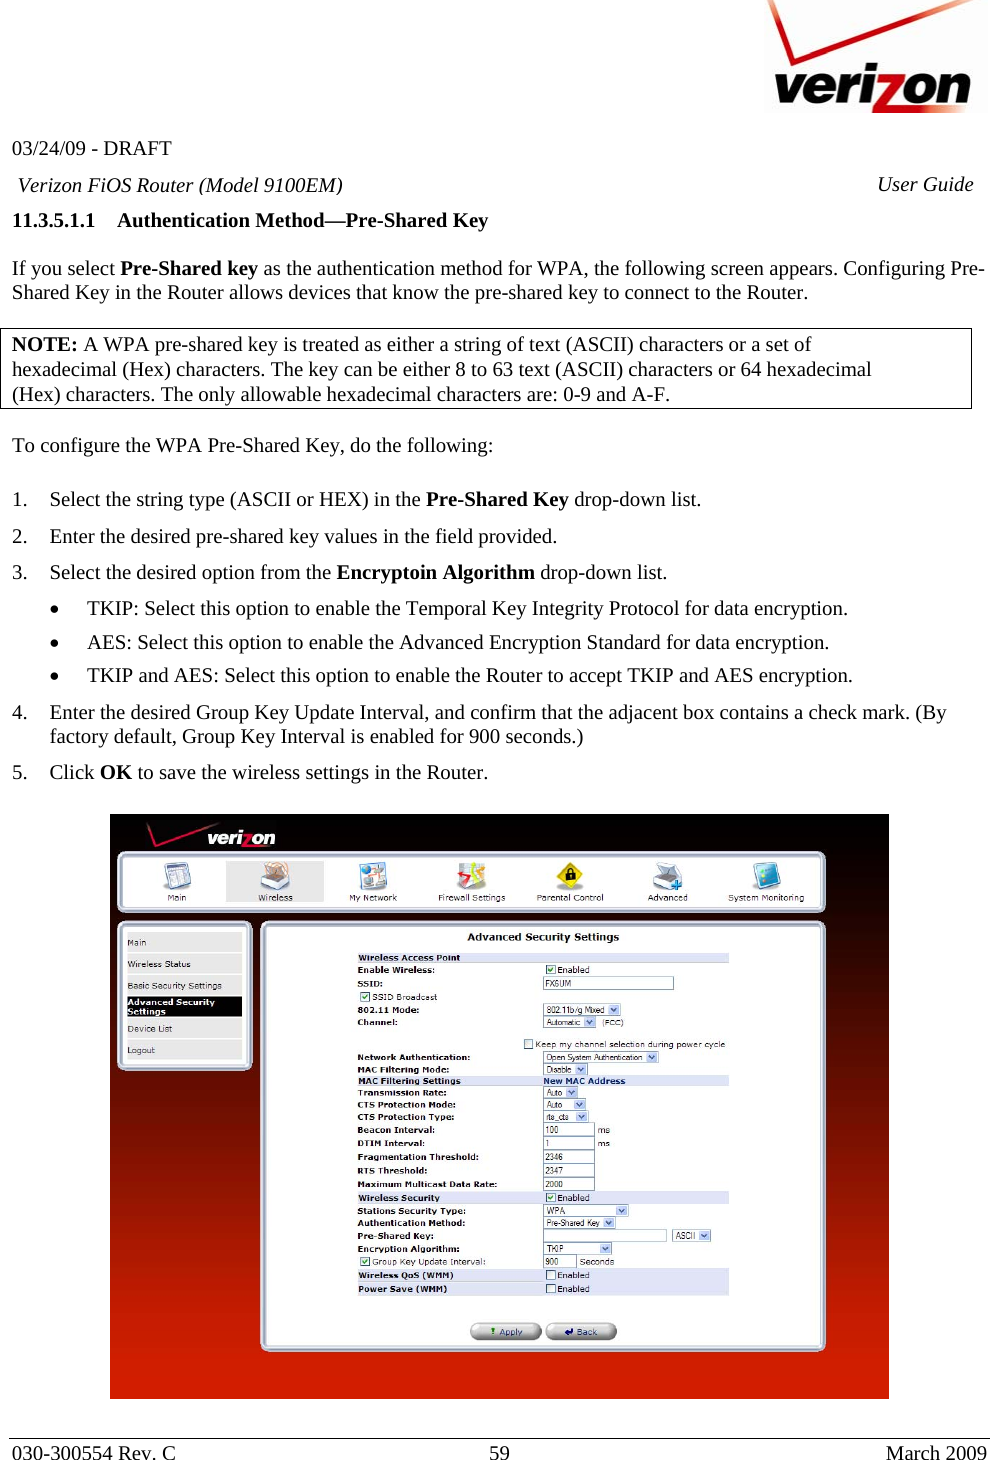
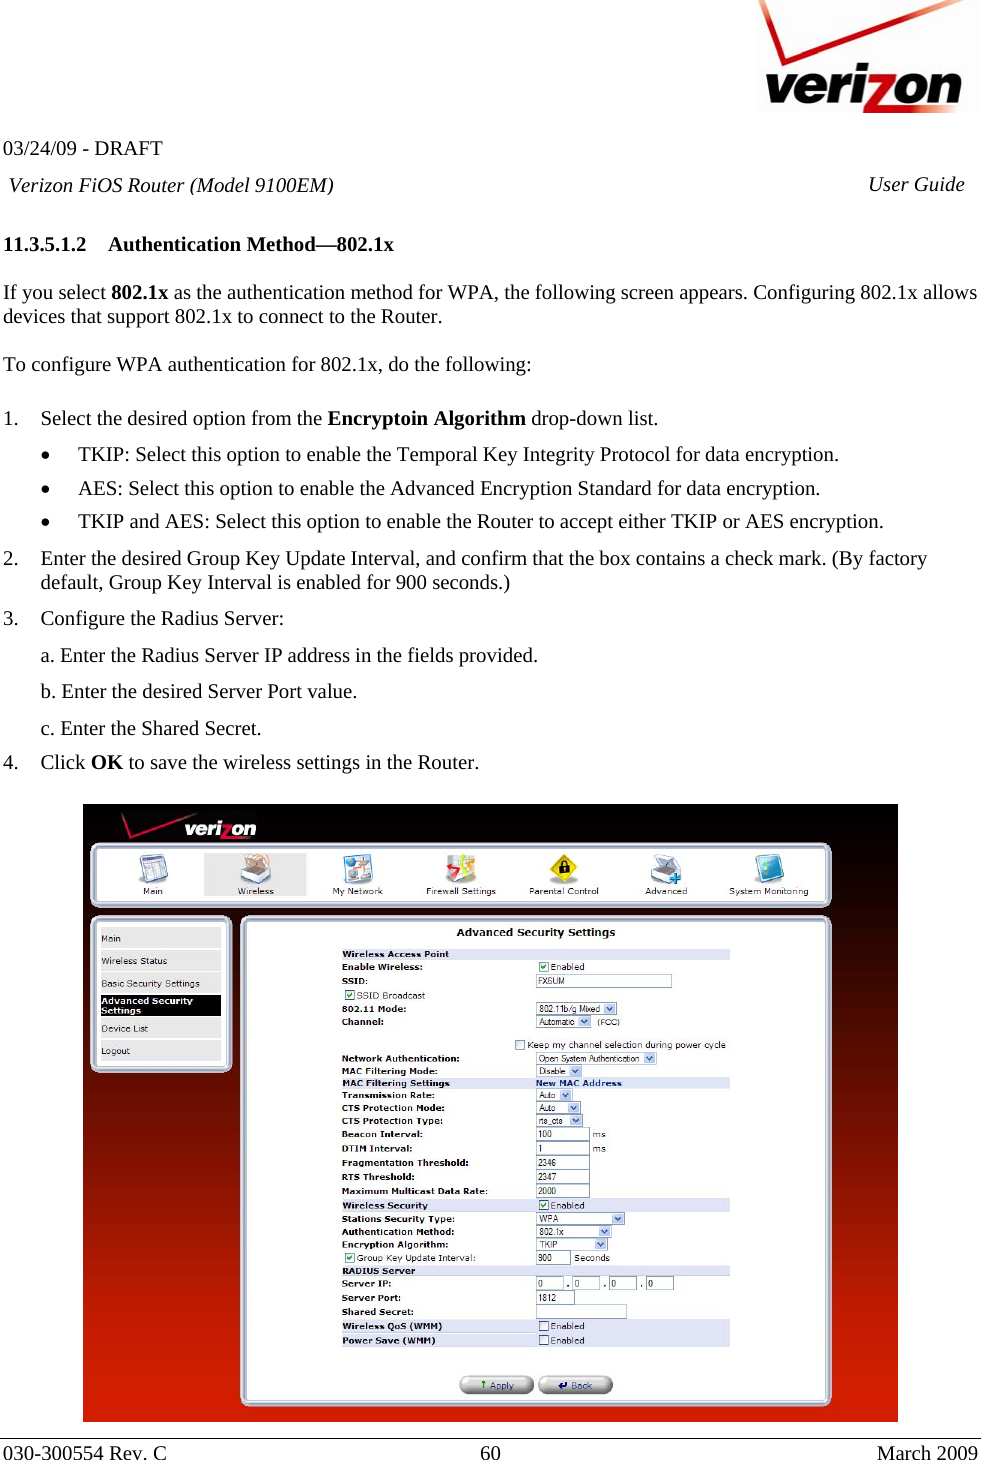
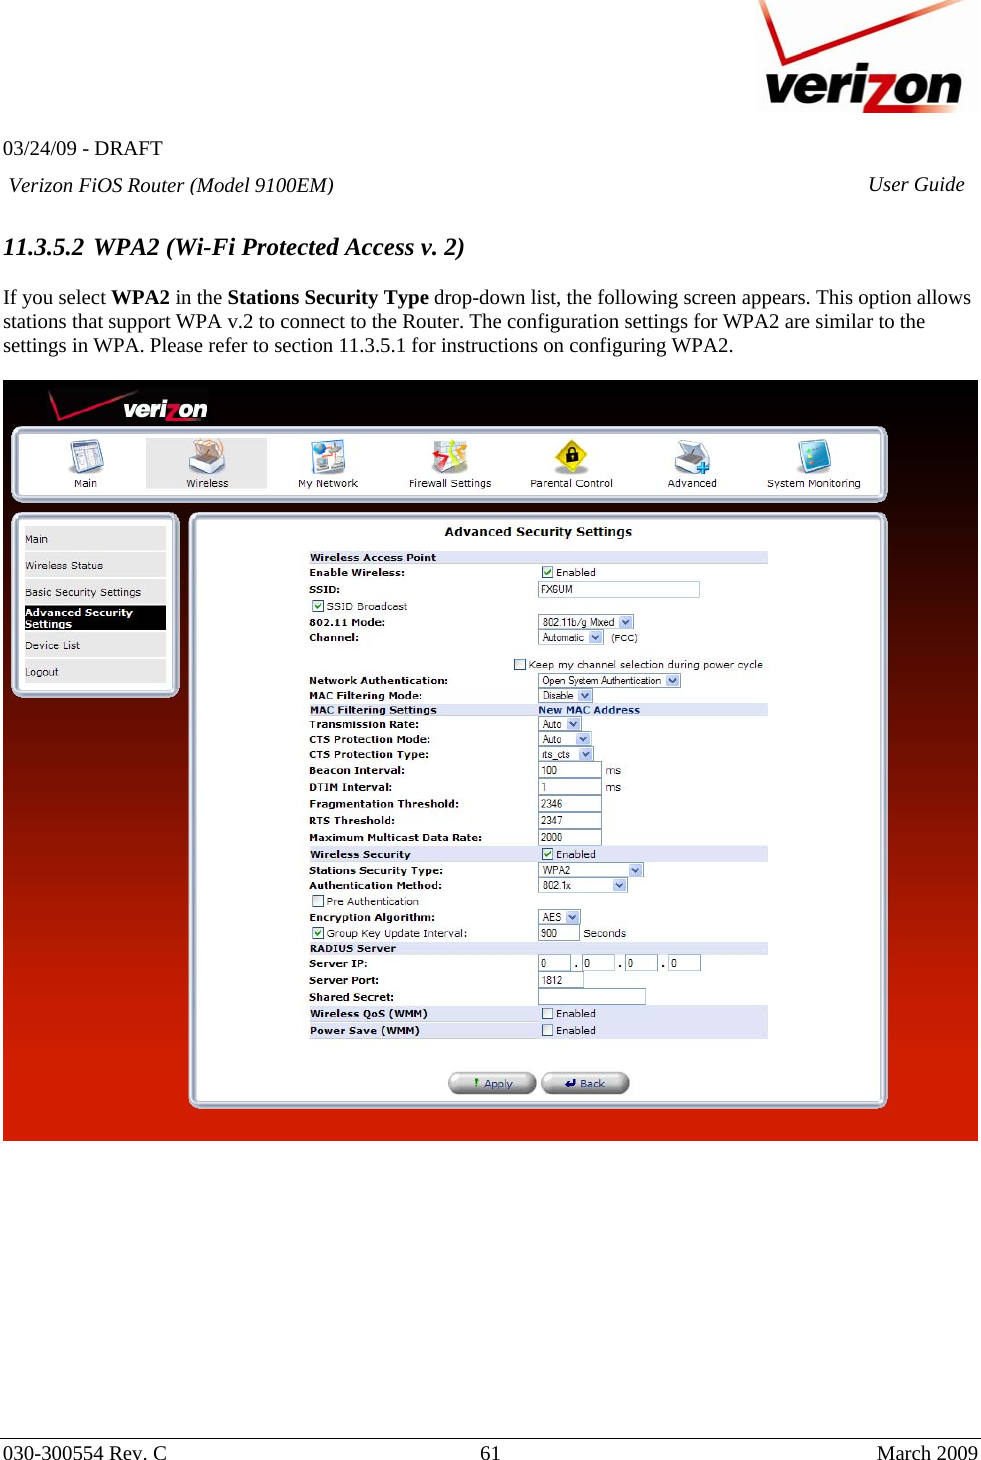
Westell ULS3-C Dual Moca 4-Port Ethernet Wi-Fi Gateway User Manual UltraLine Series 3 User Guide Draft 1
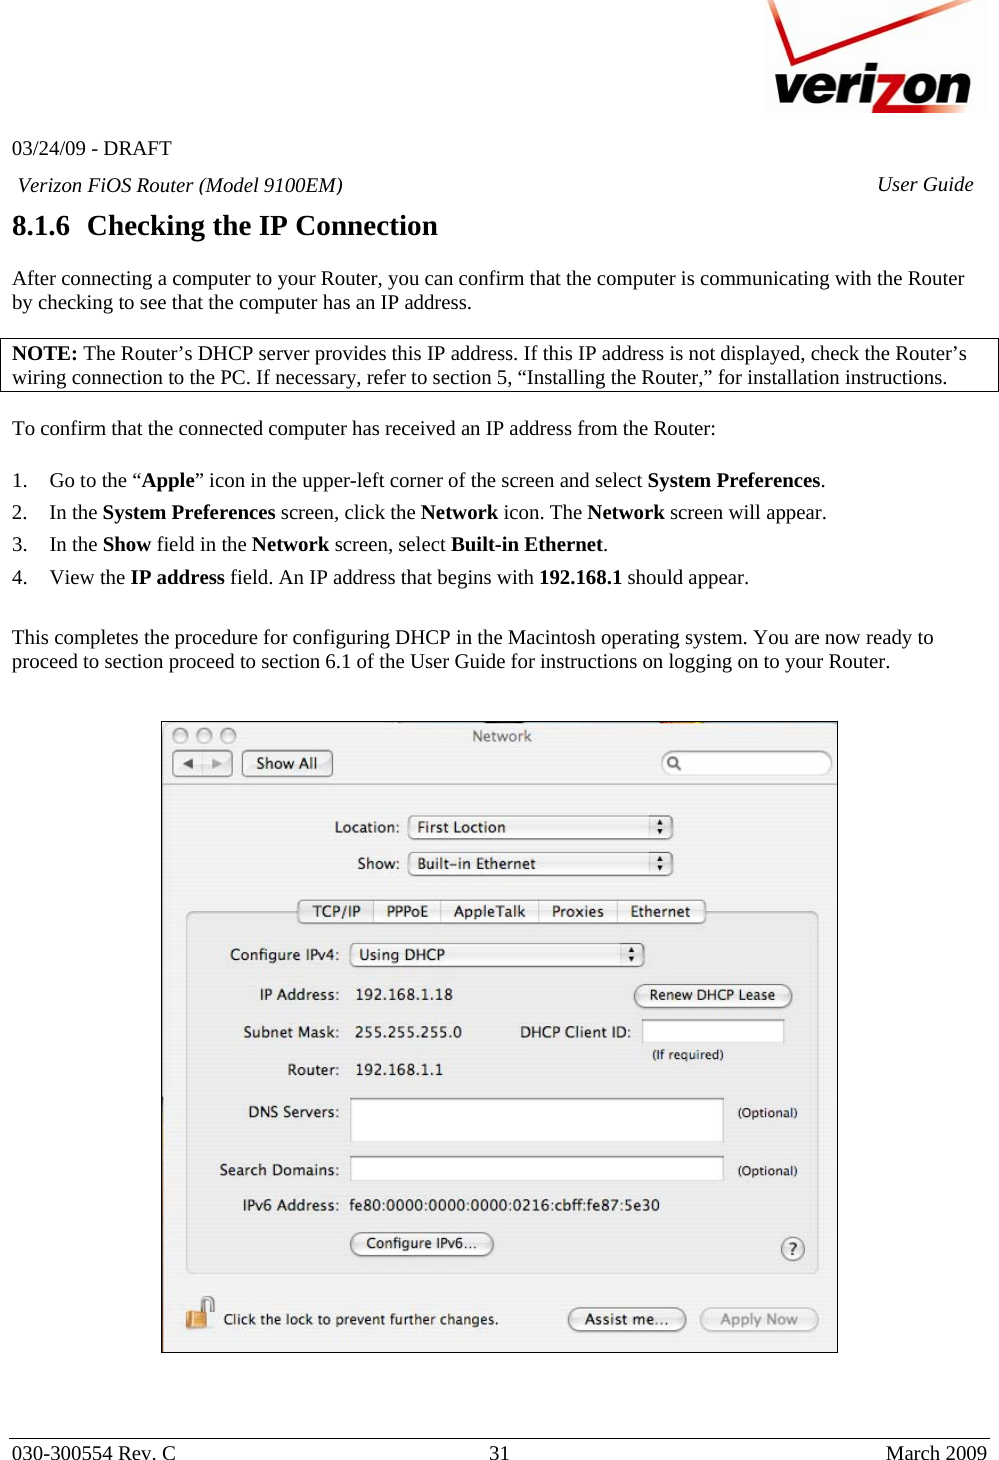
Westell Inc Dual Moca 4-Port Ethernet Wi-Fi Gateway UltraLine Series 3 User Guide Draft 1
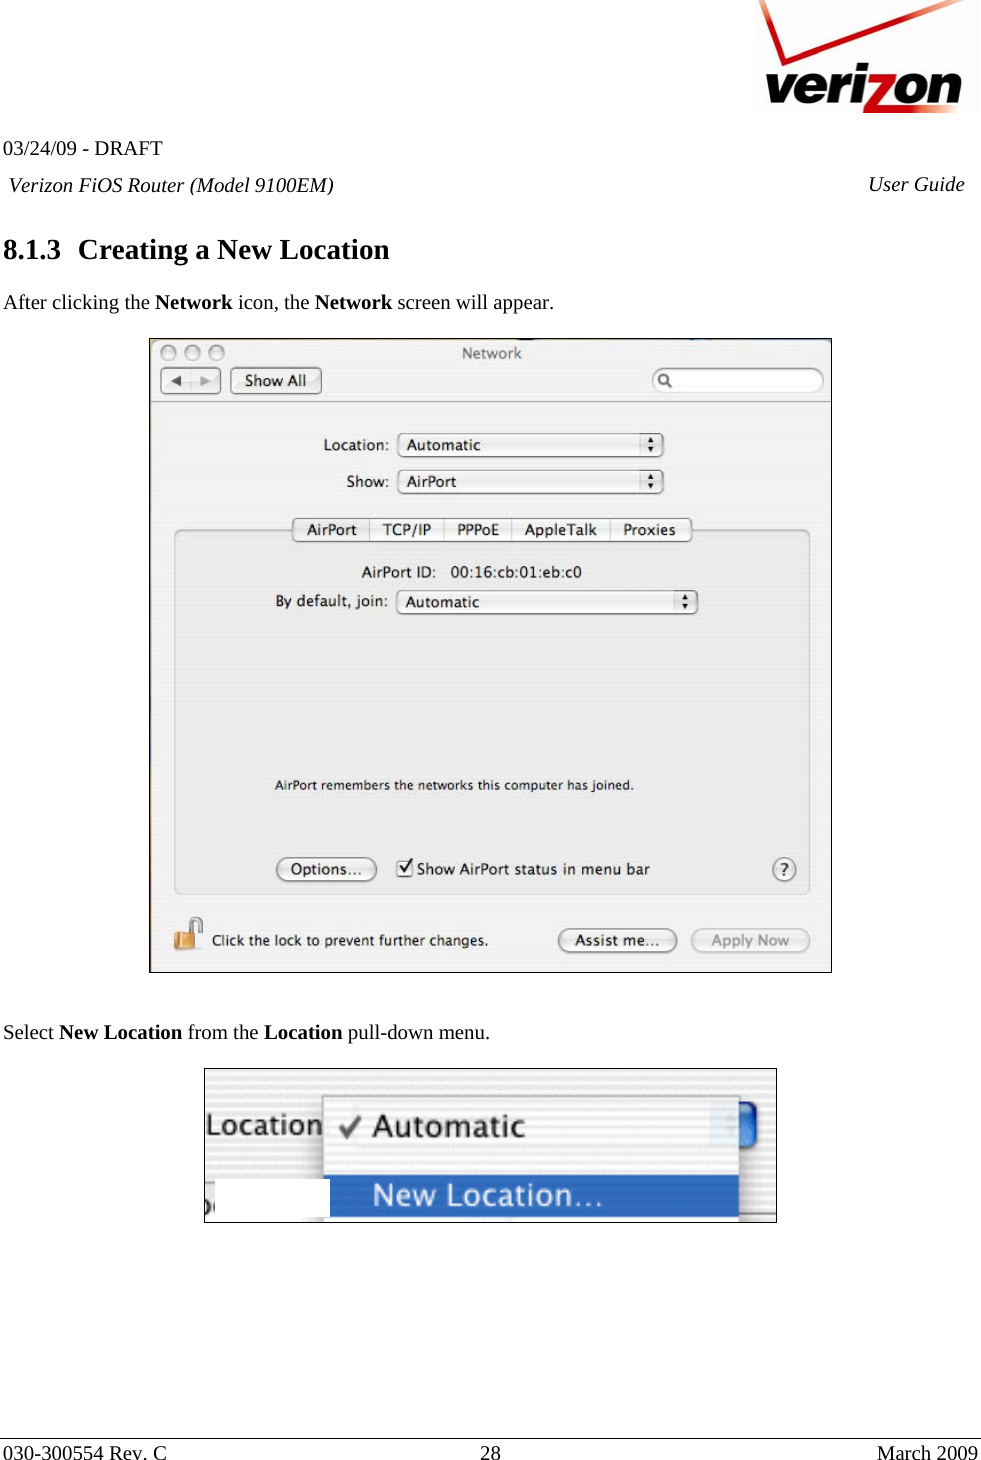
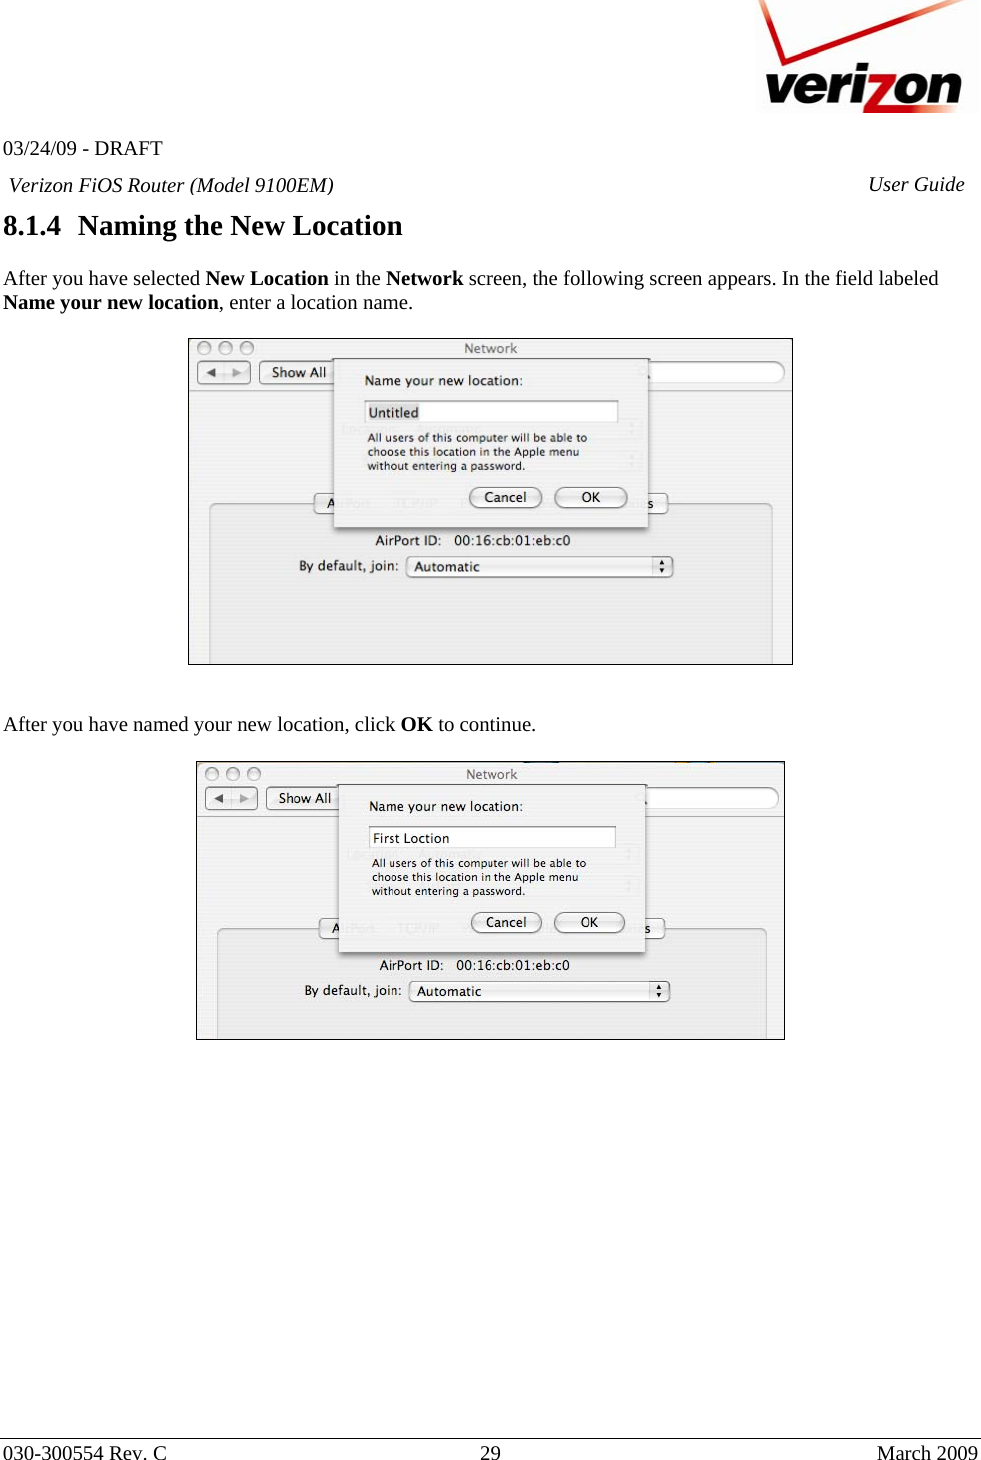
Westell >
Contents
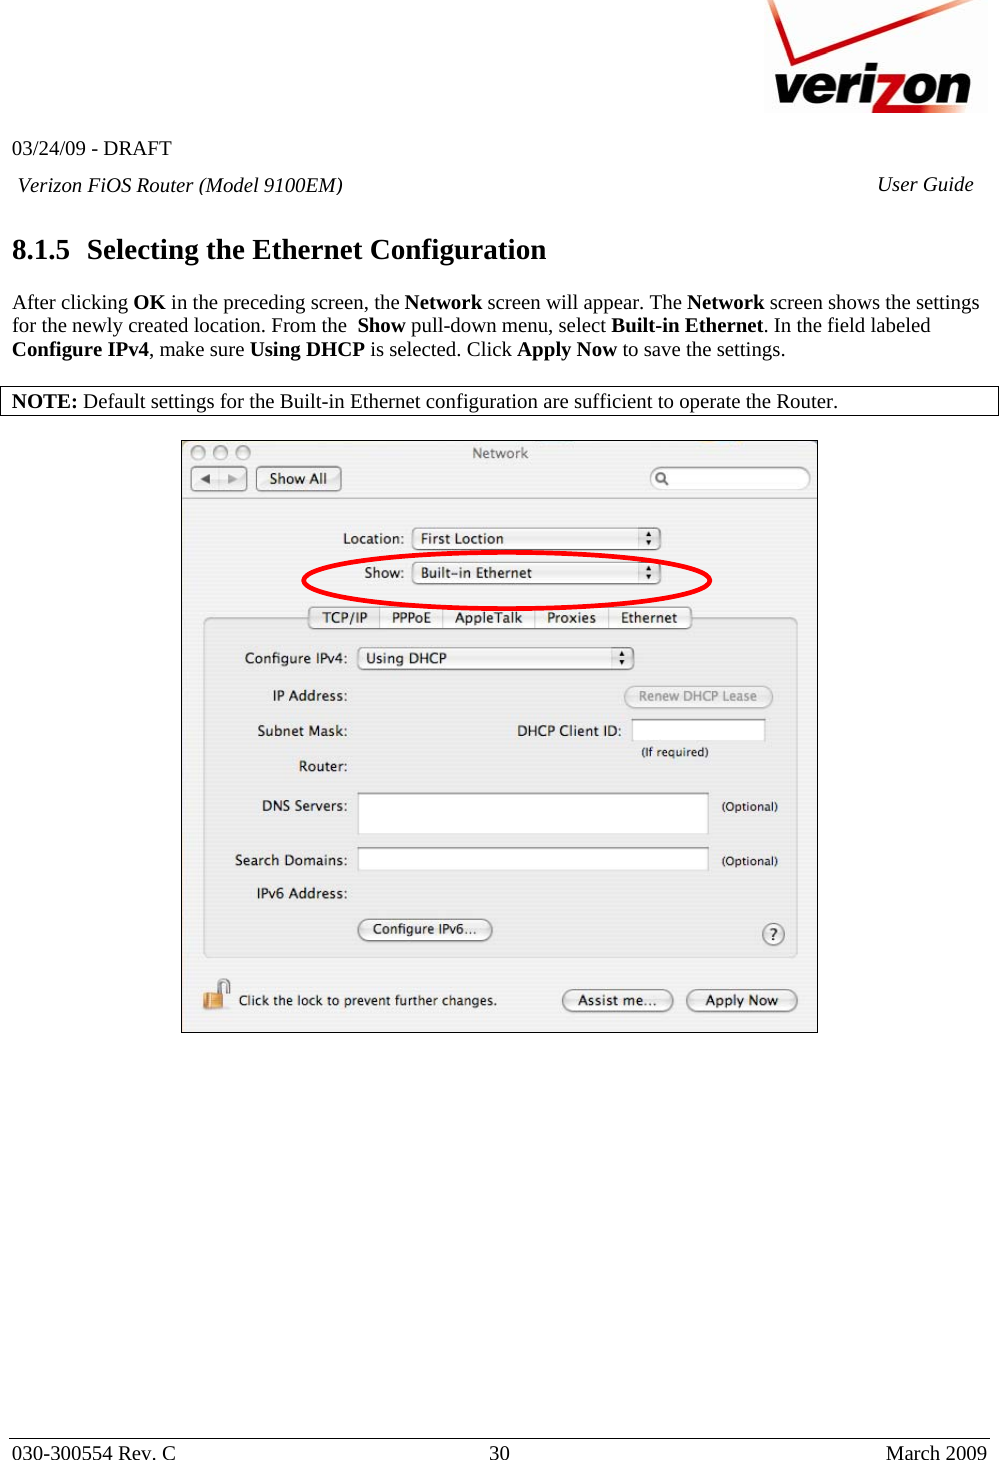
- 1. Users Manual Part One
- 2. Users Manual Part Two
- 3. Users Manual Part Three
Users Manual Part One

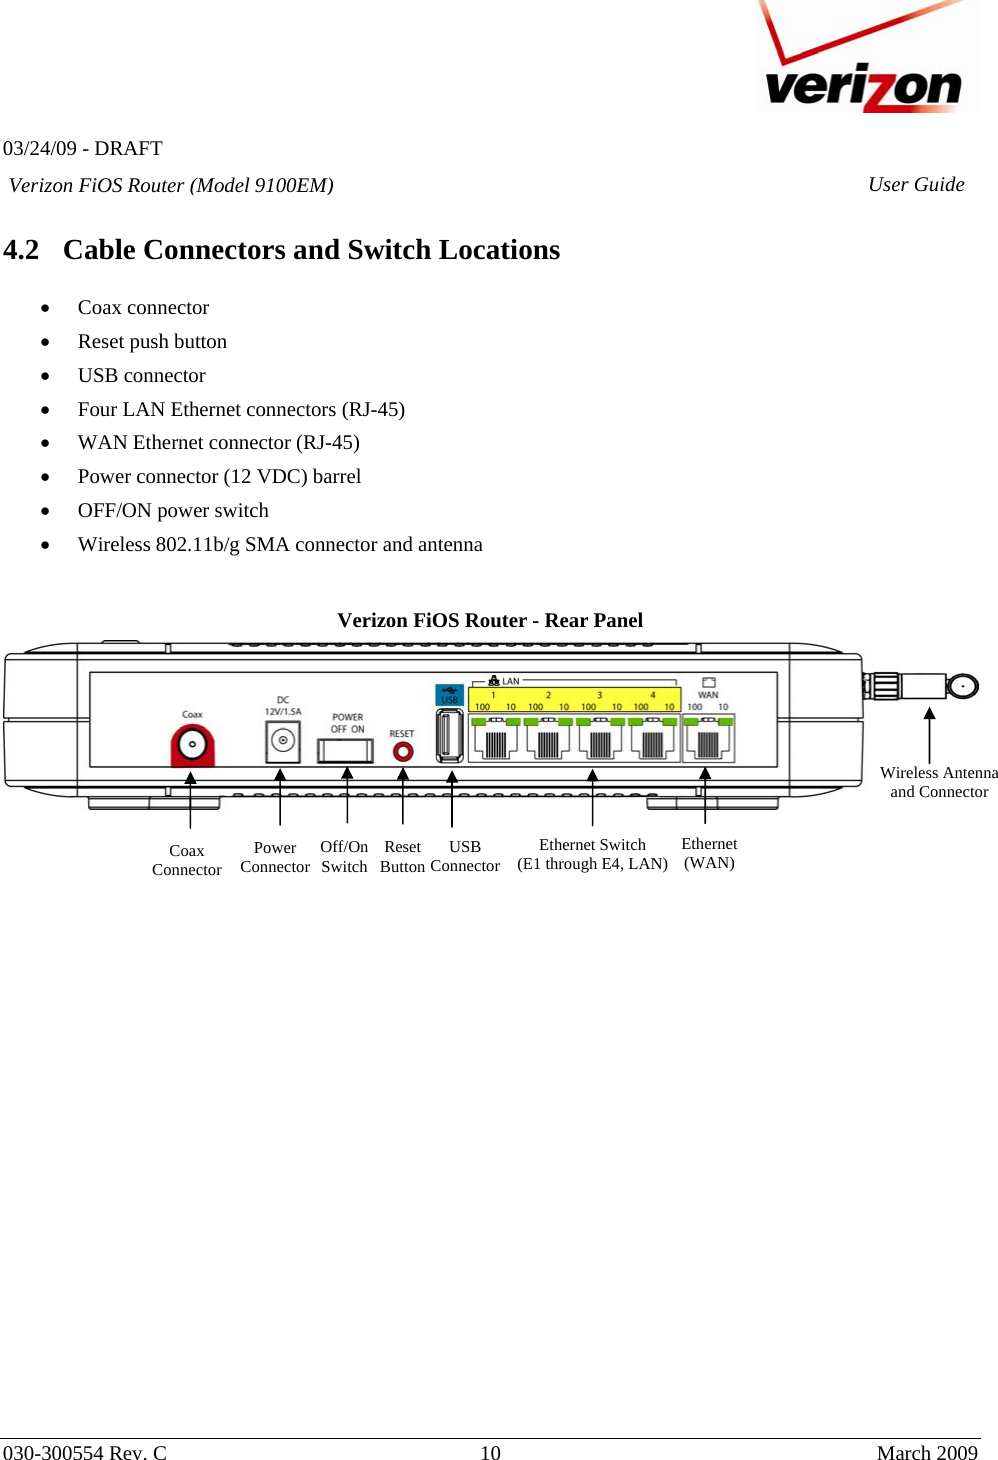
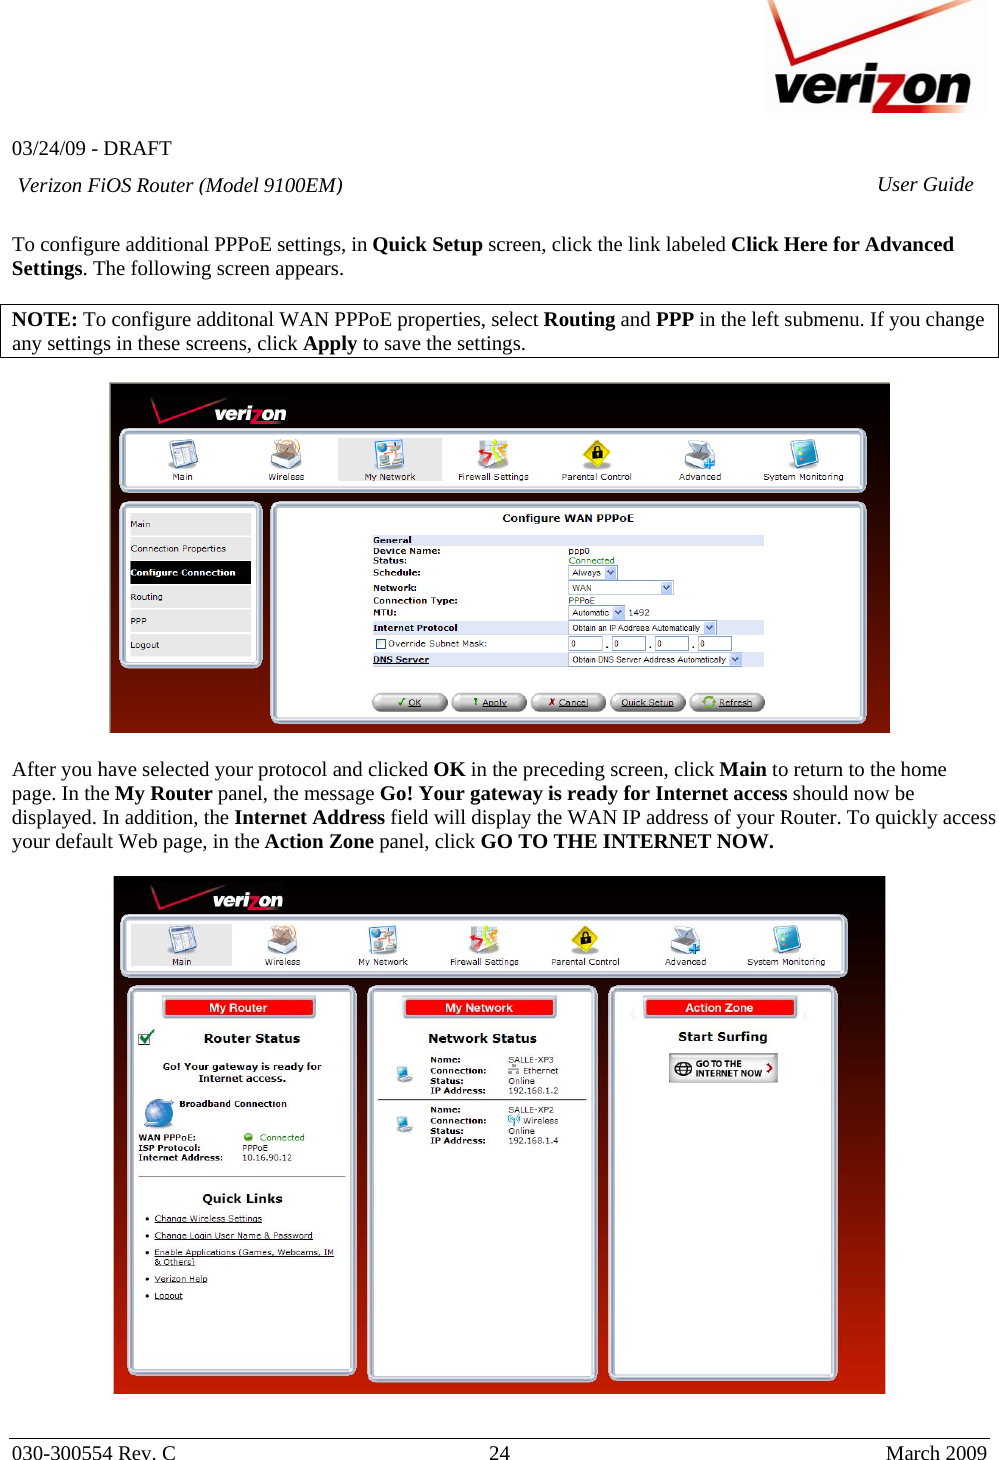
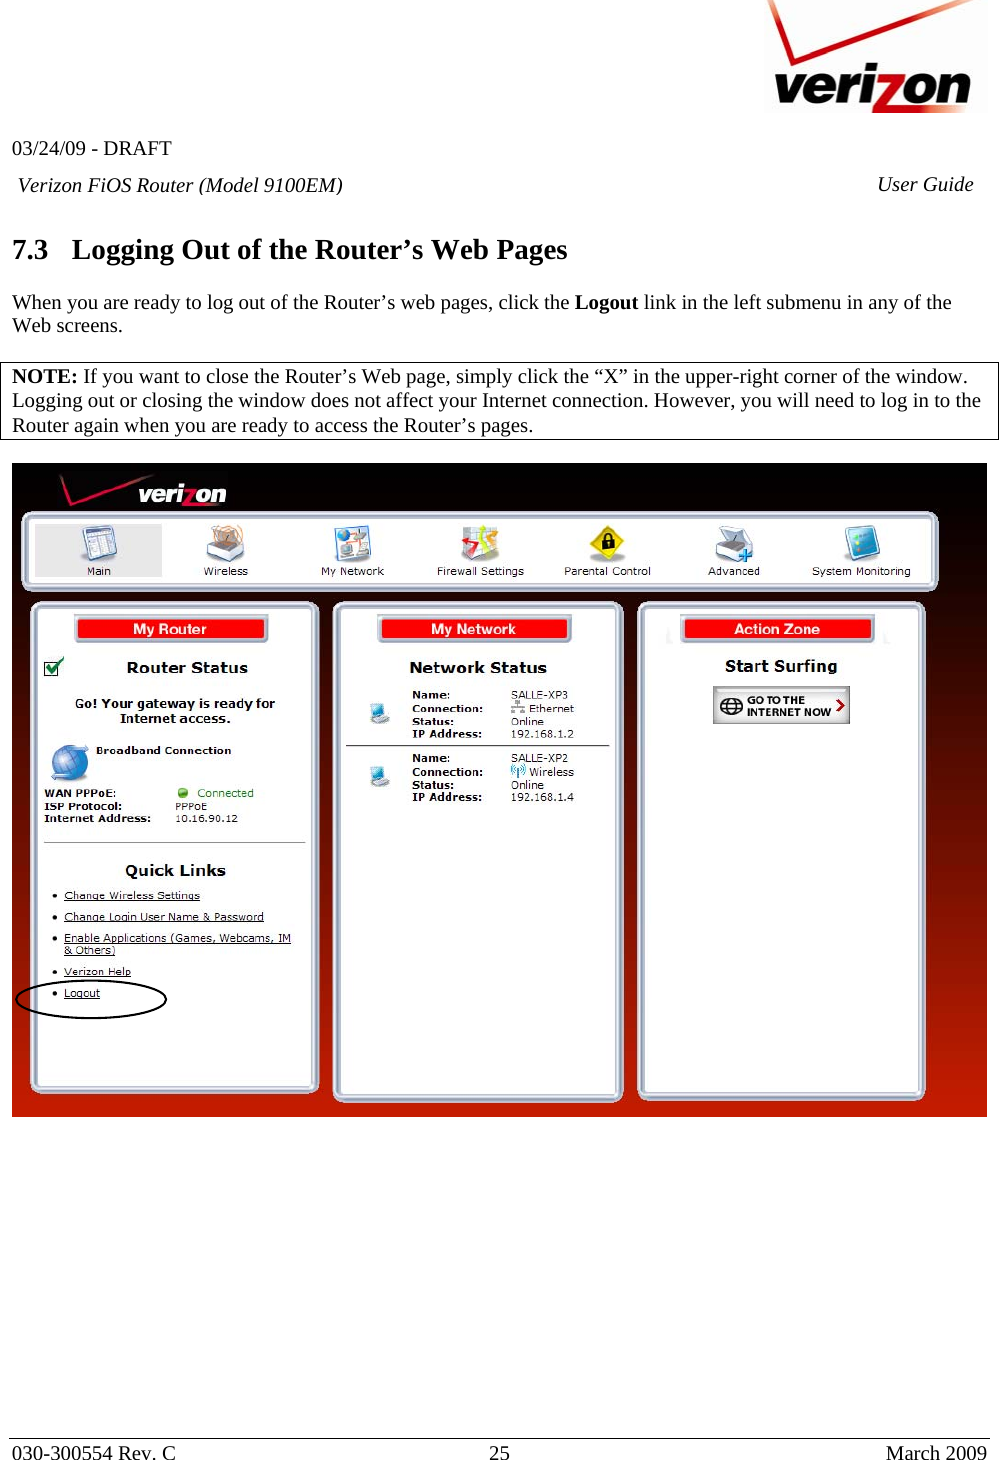
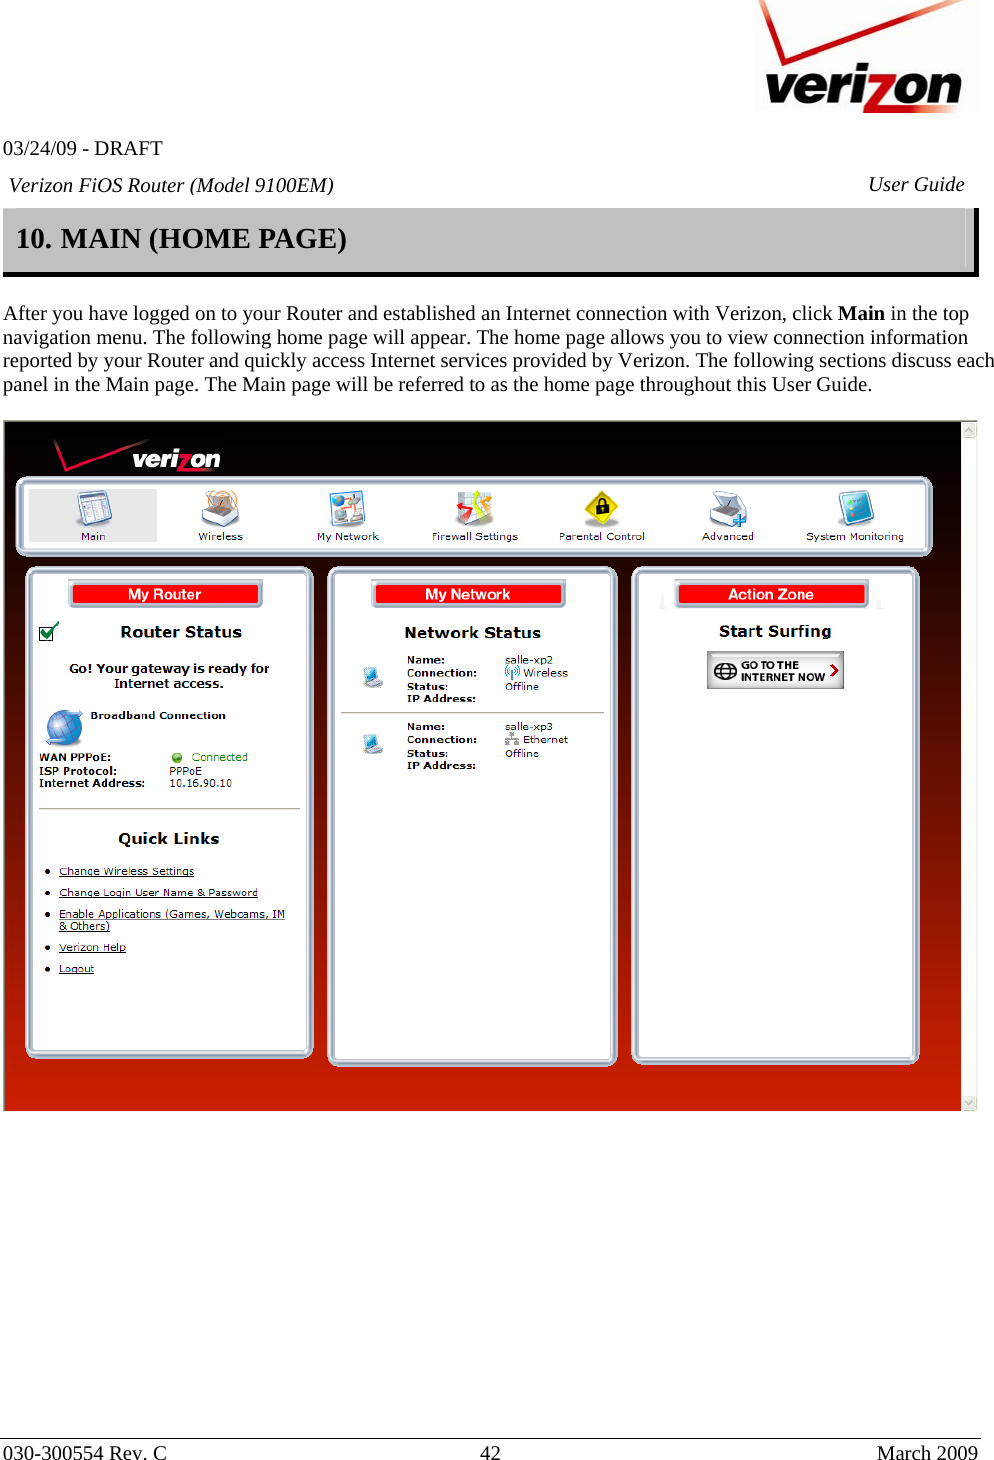
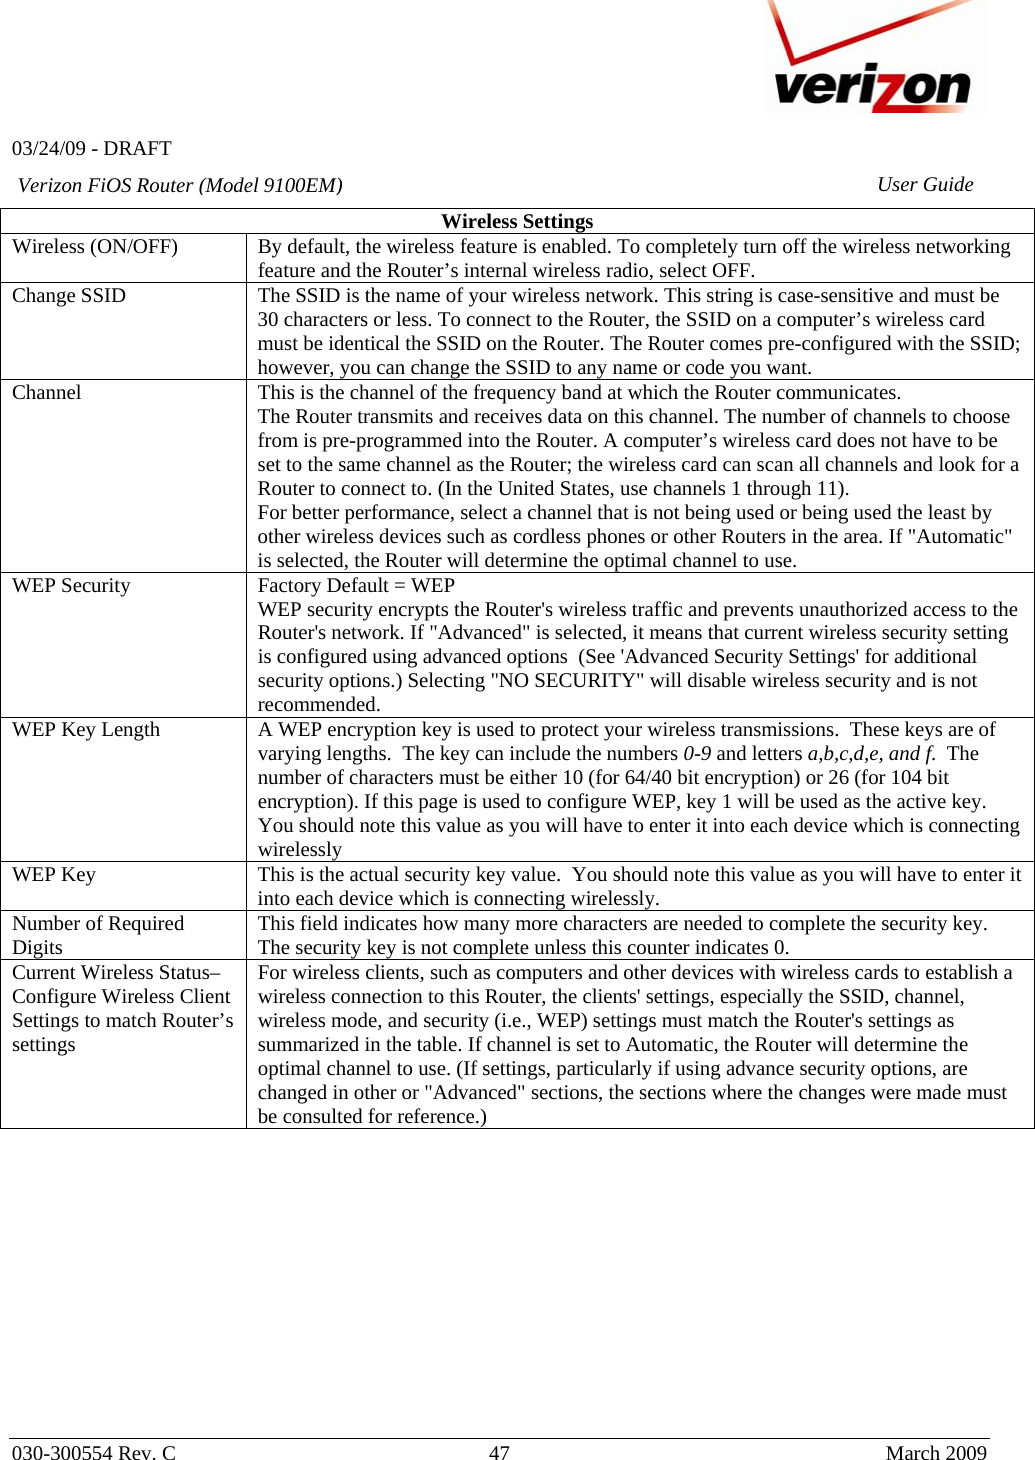
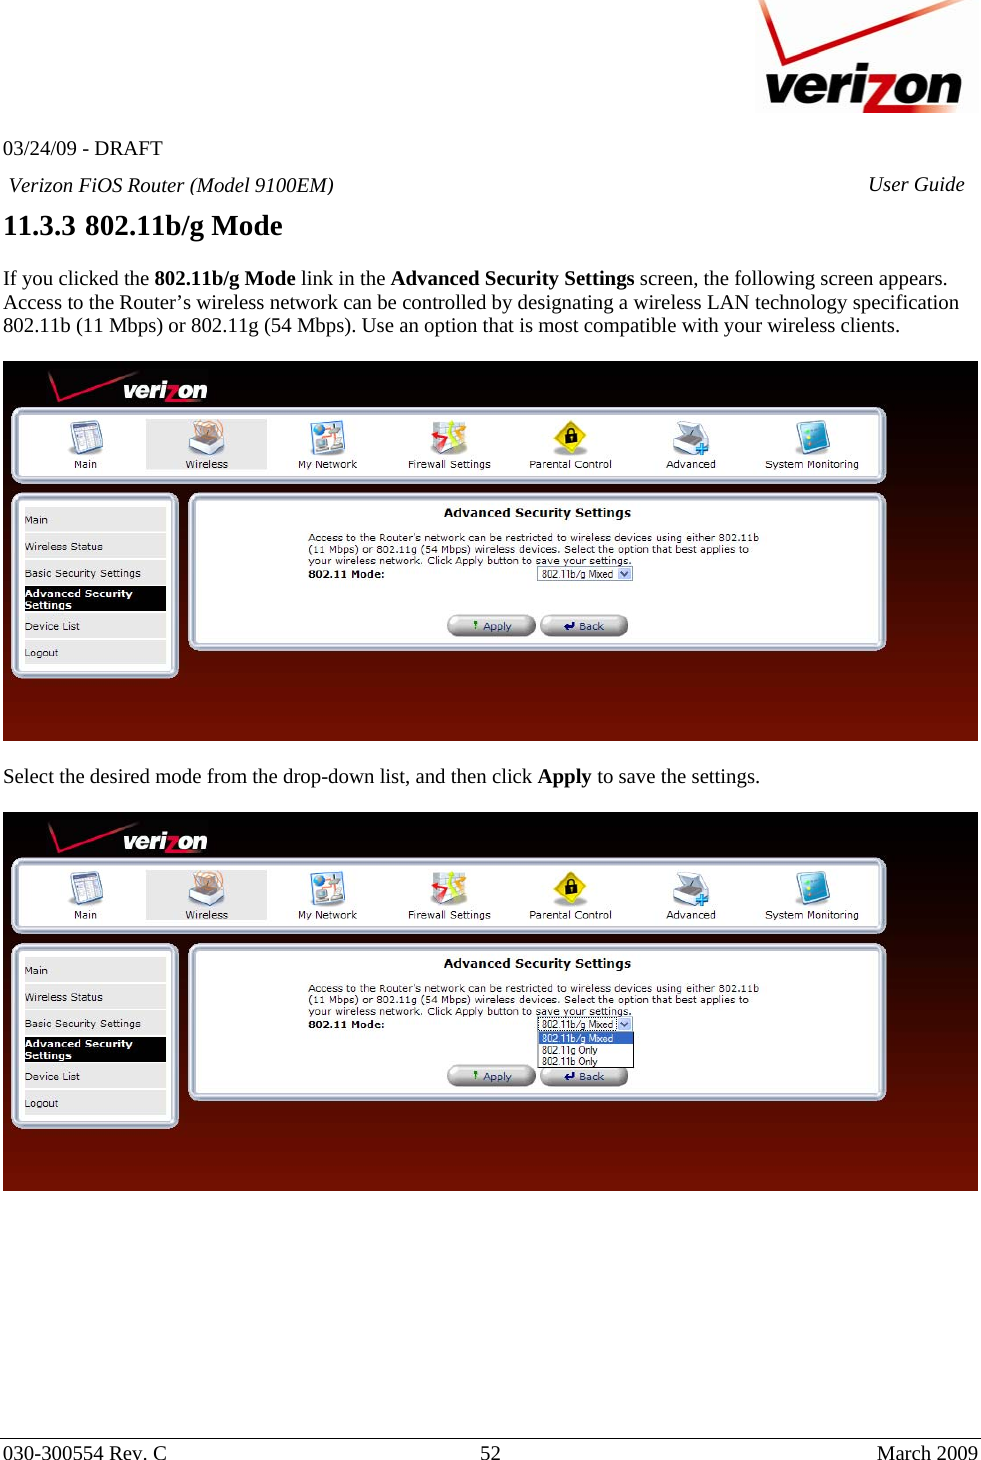
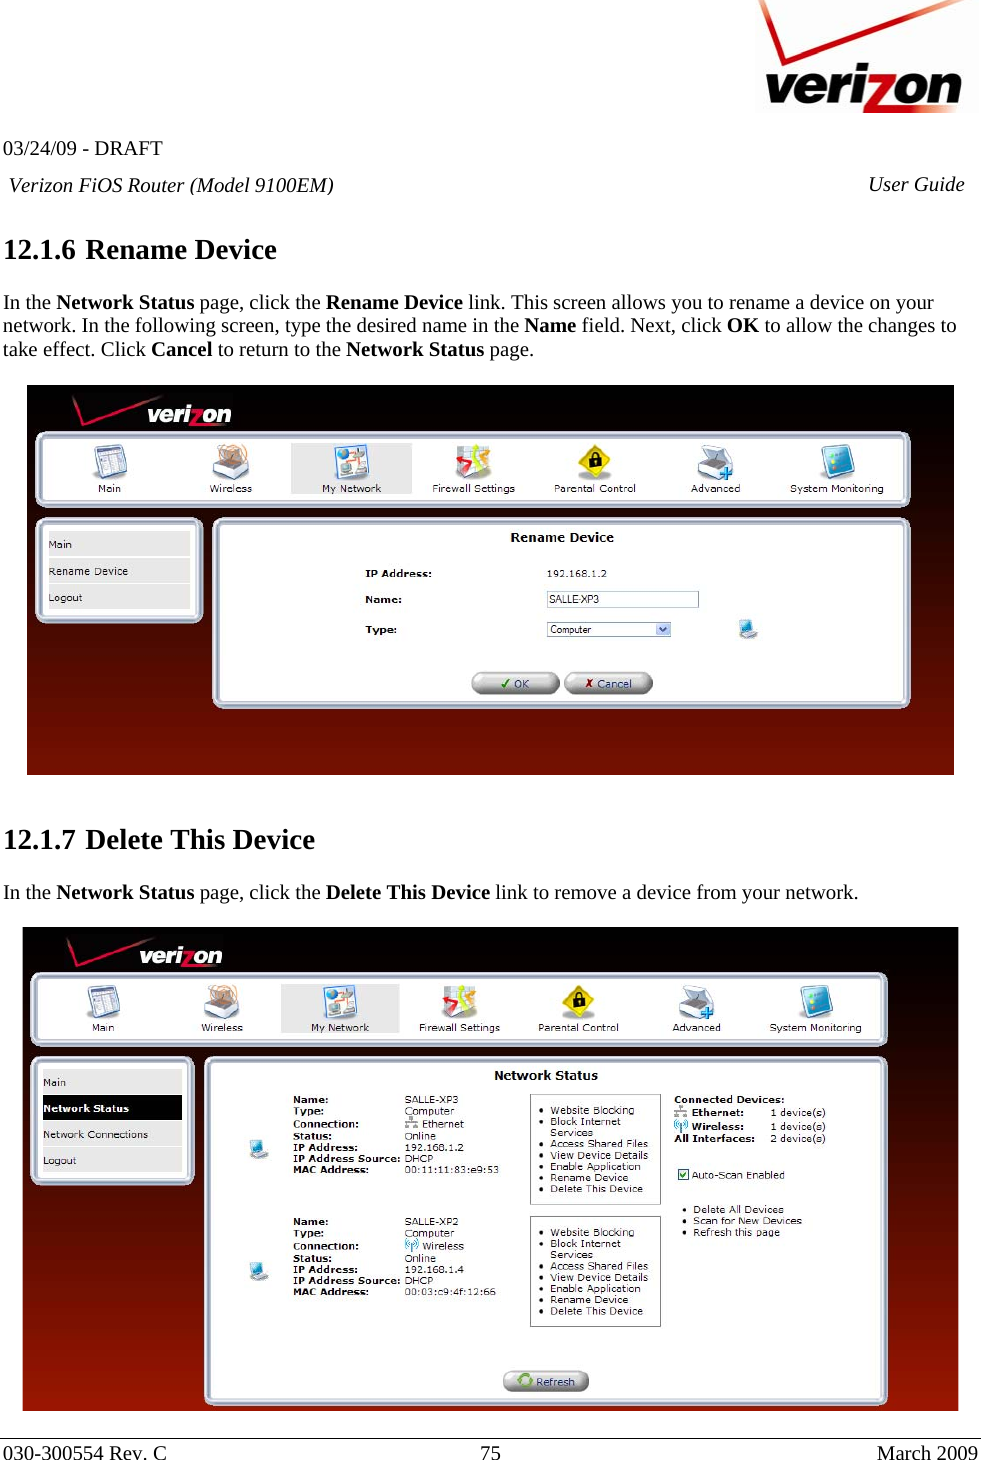
![03/24/09 - DRAFT 030-300554 Rev. C 11 March 2009 Verizon FiOS Router (Model 9100EM) User Guide 4.3 Front Panel LEDs • Power • WAN Coax • WAN Ethernet • Internet • Wi-Fi Protected SETUP (Currently Disabled) • USB • LAN Ethernet (1,2,3,4) • LAN Coax • Wireless [UPCOMING CHANGES TO FRONT PANEL] Verizon FiOS Router - Front Panel LEDs Wireless LAN Ethernet (1 through 4) WAN Coax Power Internet USB LAN CoaxWAN Ethernet Wi-Fi Protected SETUP](https://usermanual.wiki/Westell/ULS3-C.Users-Manual-Part-One/User-Guide-1086443-Page-11.png)