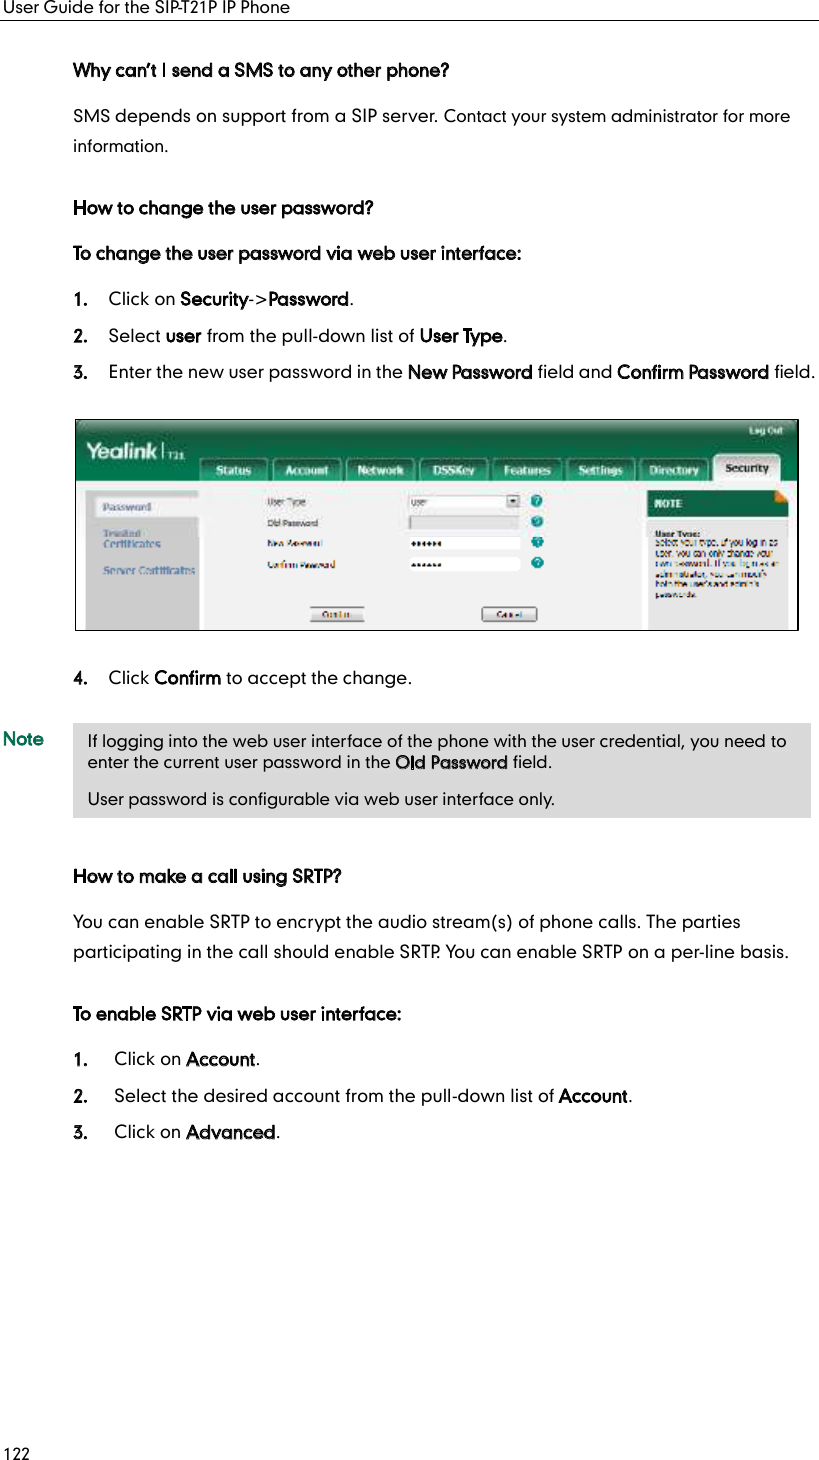
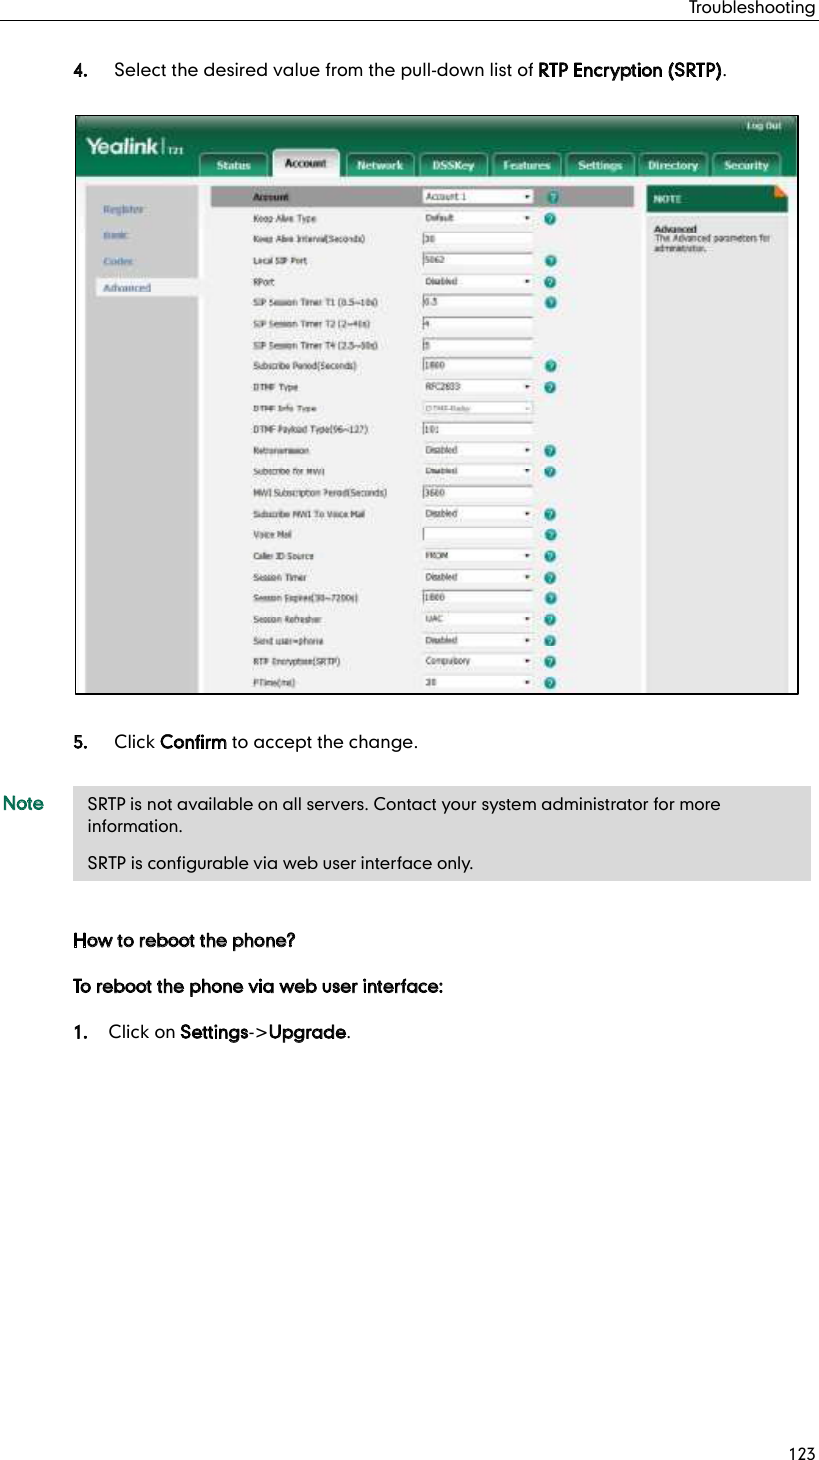
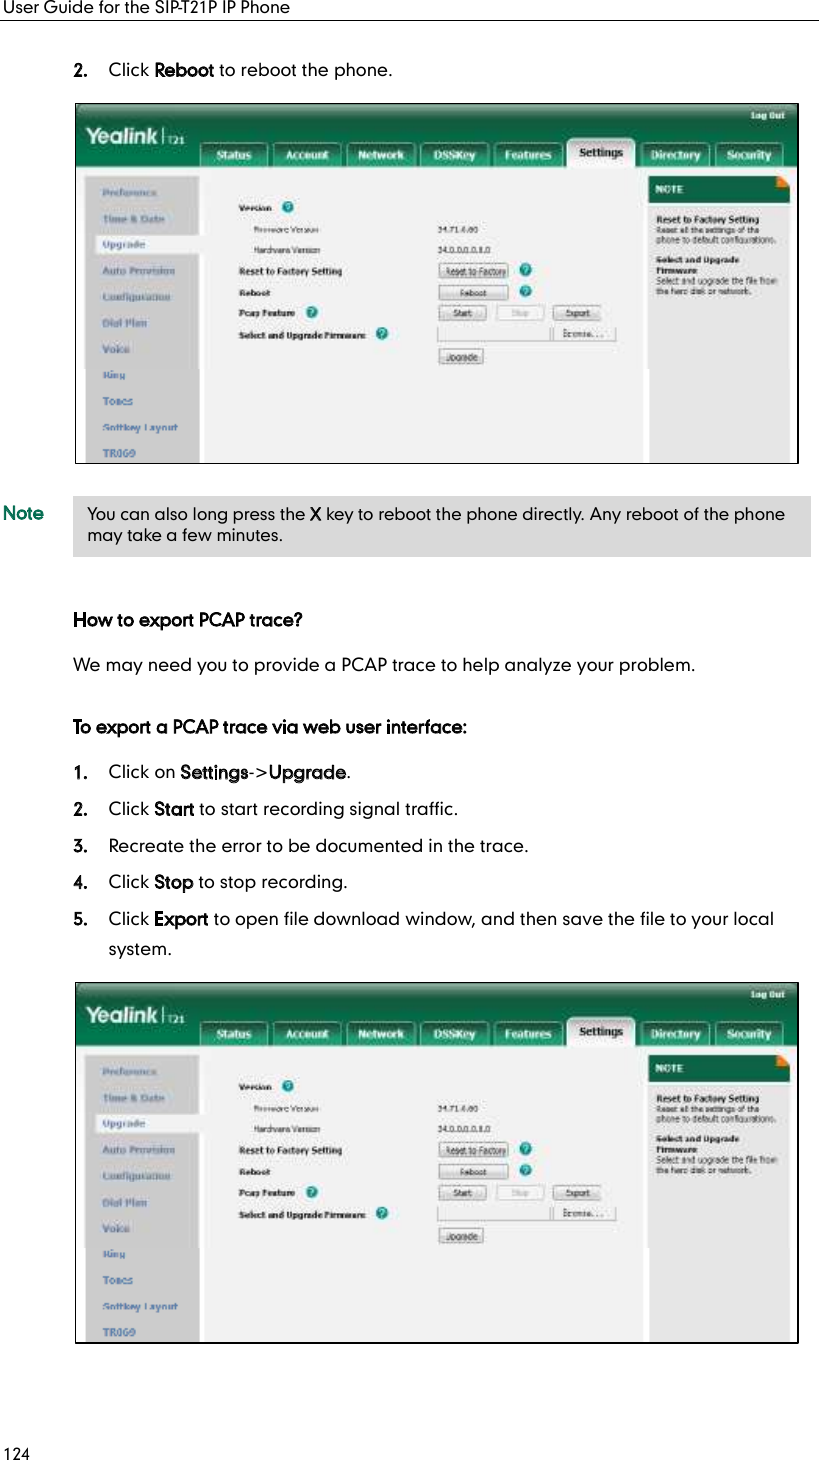
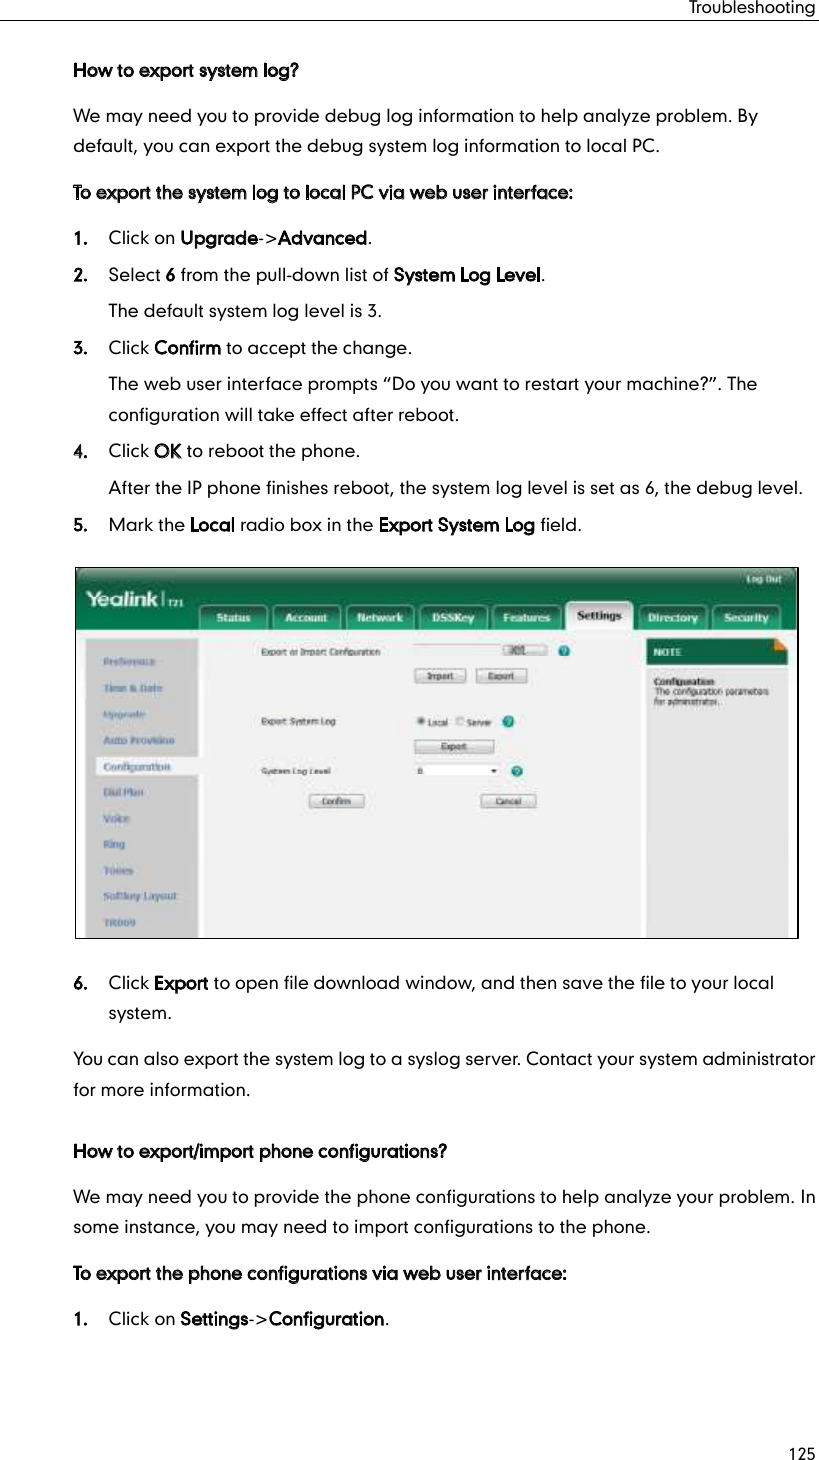
YEALINK T21P IP Phone User Manual
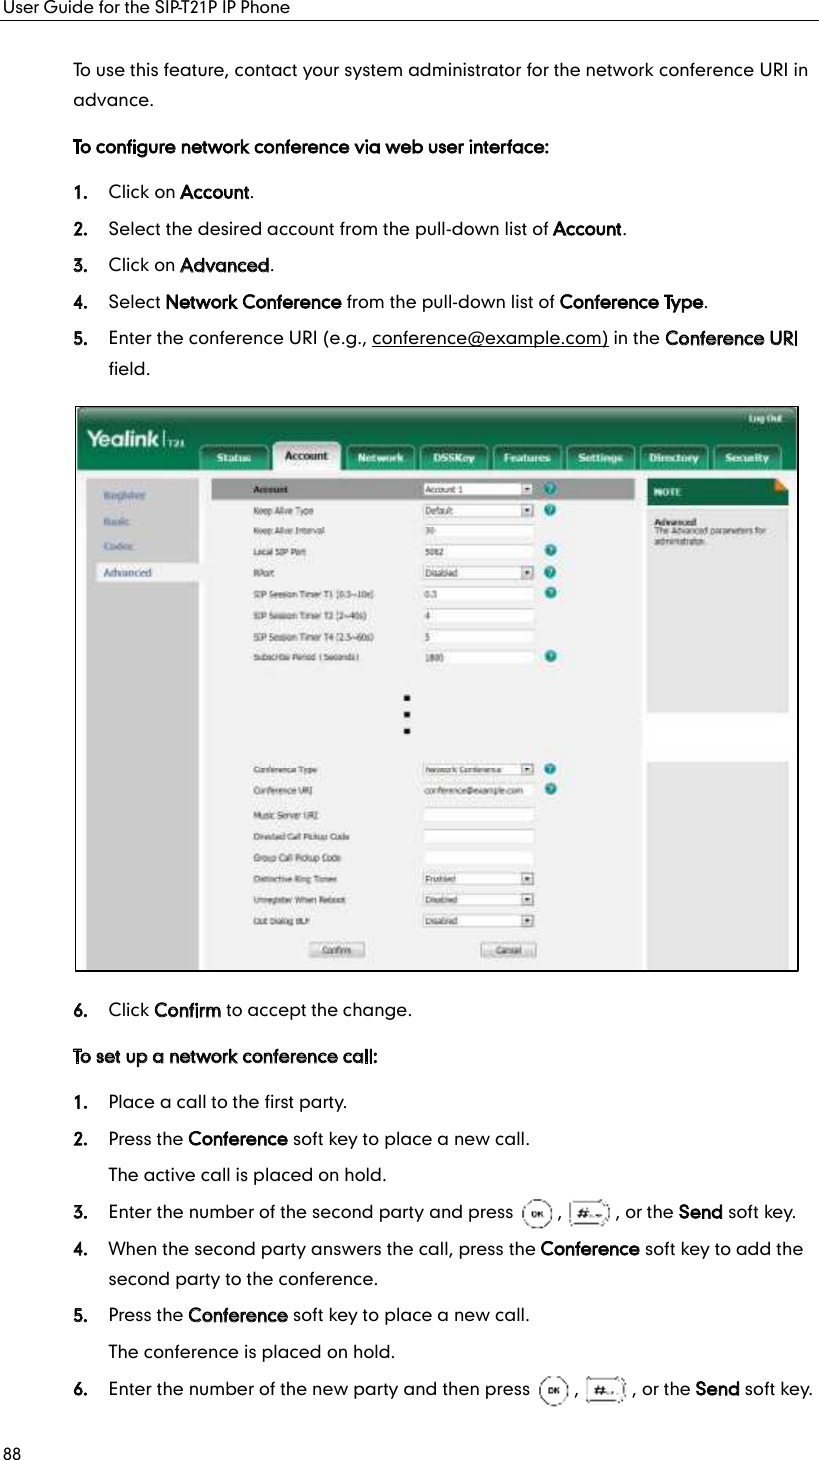
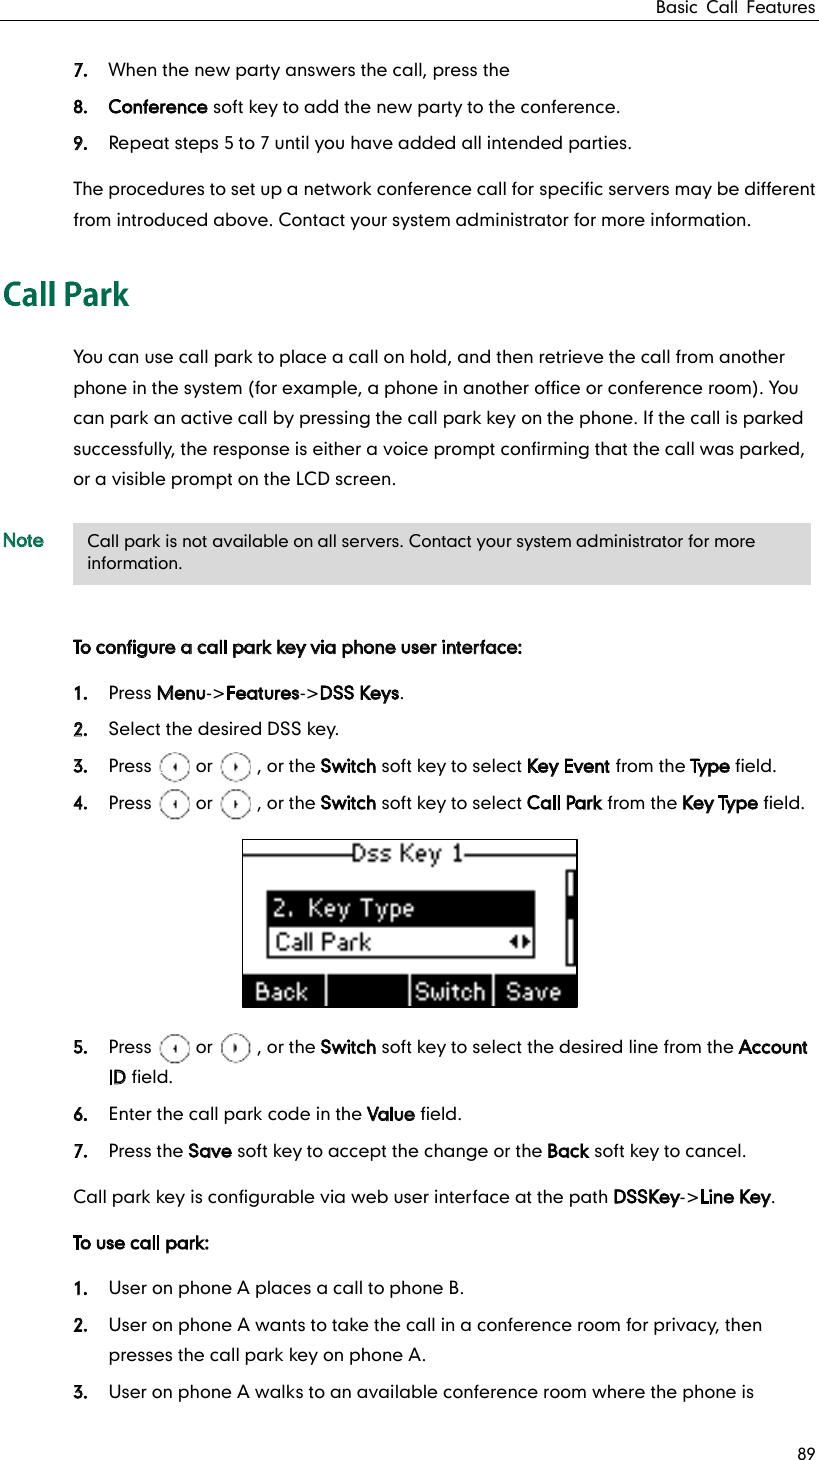
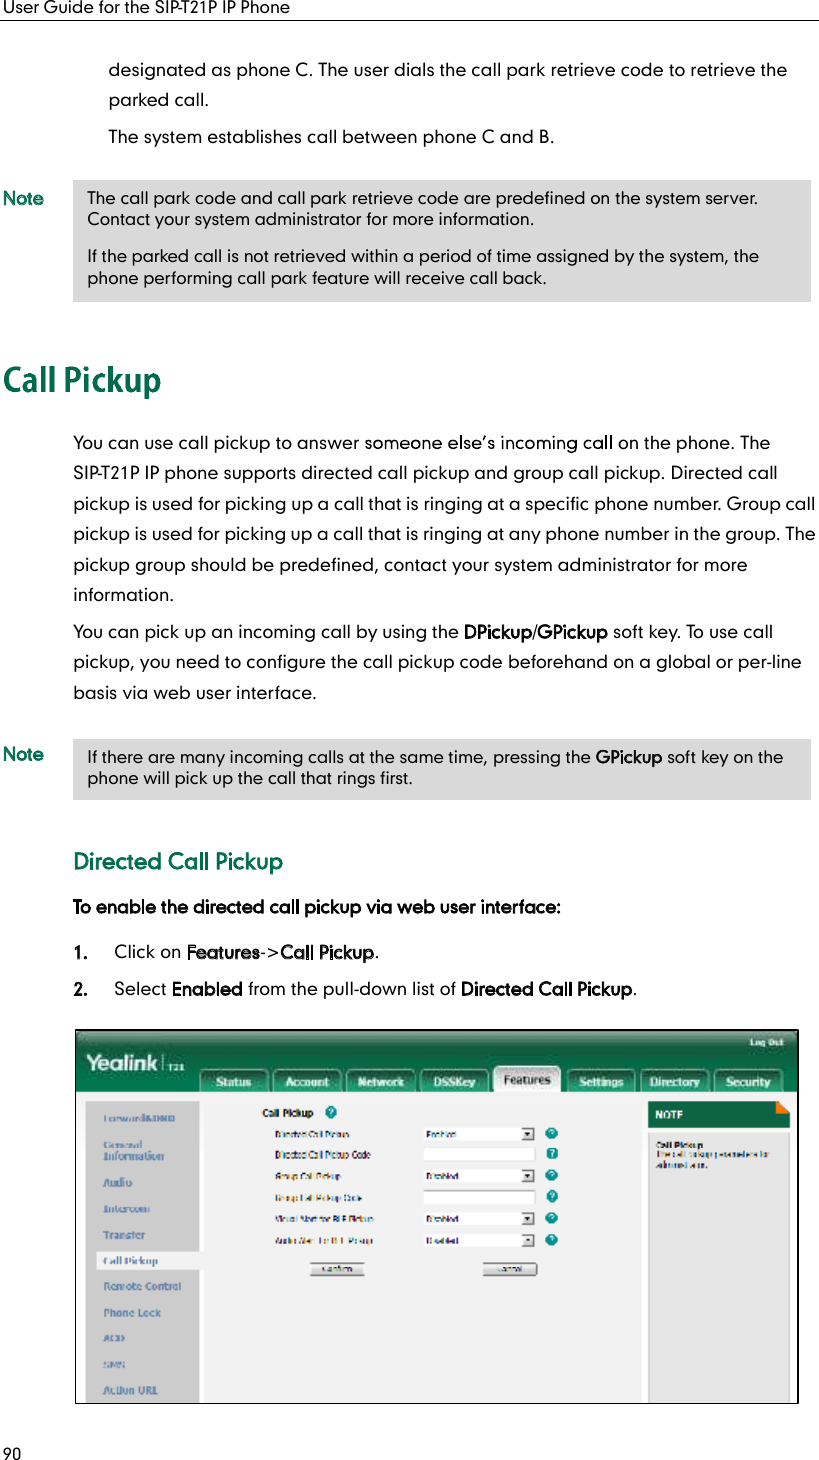
YEALINK (XIAMEN ) NETWORK TECHNOLOGY CO., LTD. IP Phone Users Manual
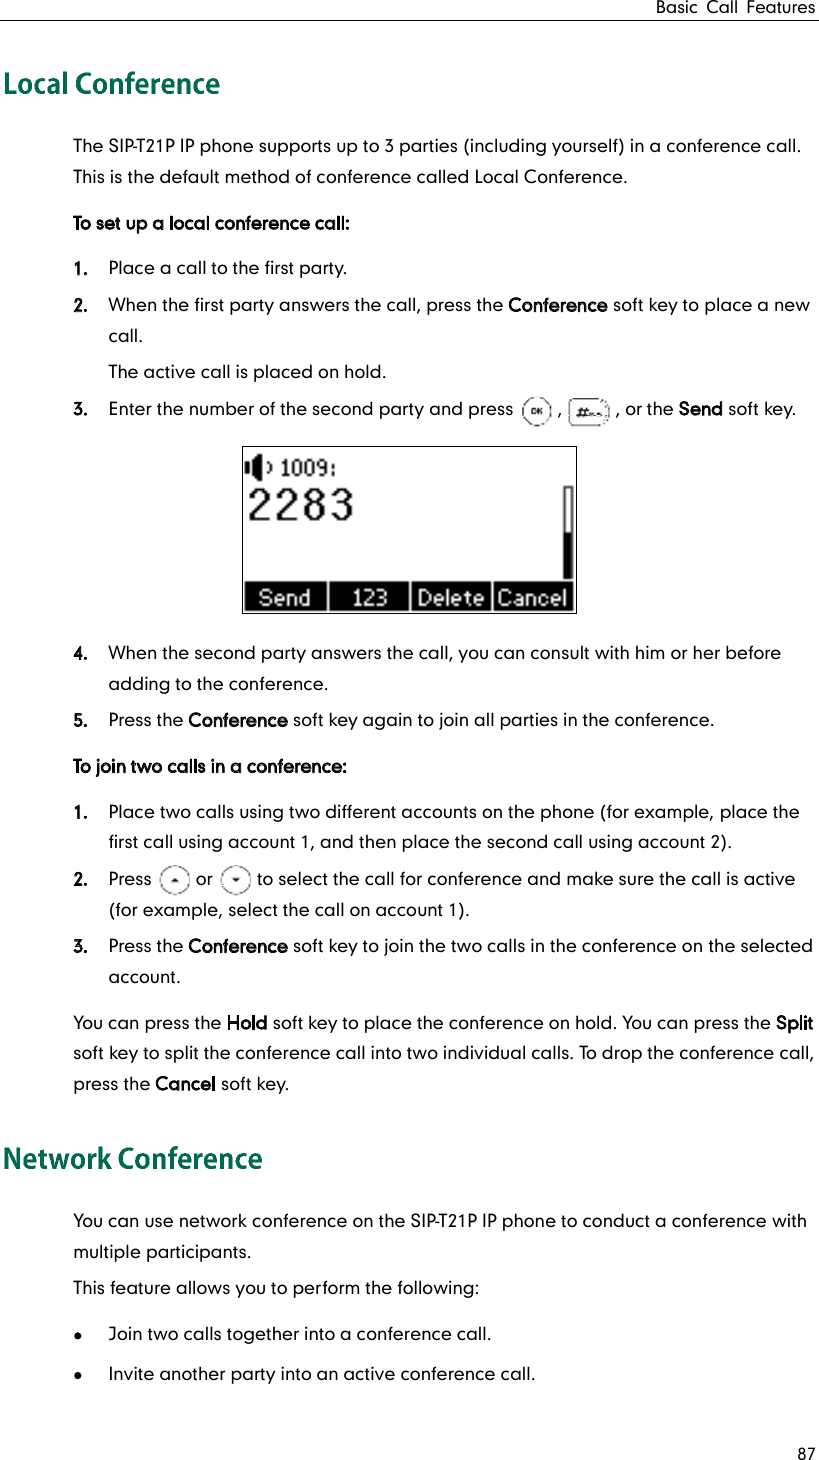
UserManual.wiki
>
YEALINK
>
T21P User Manual
User Manual
Navigation menu
Upload a User Manual
Namespaces
Wiki Guide
HTML
PDF
Info
Views
User Manual
Discussion / Help
Navigation


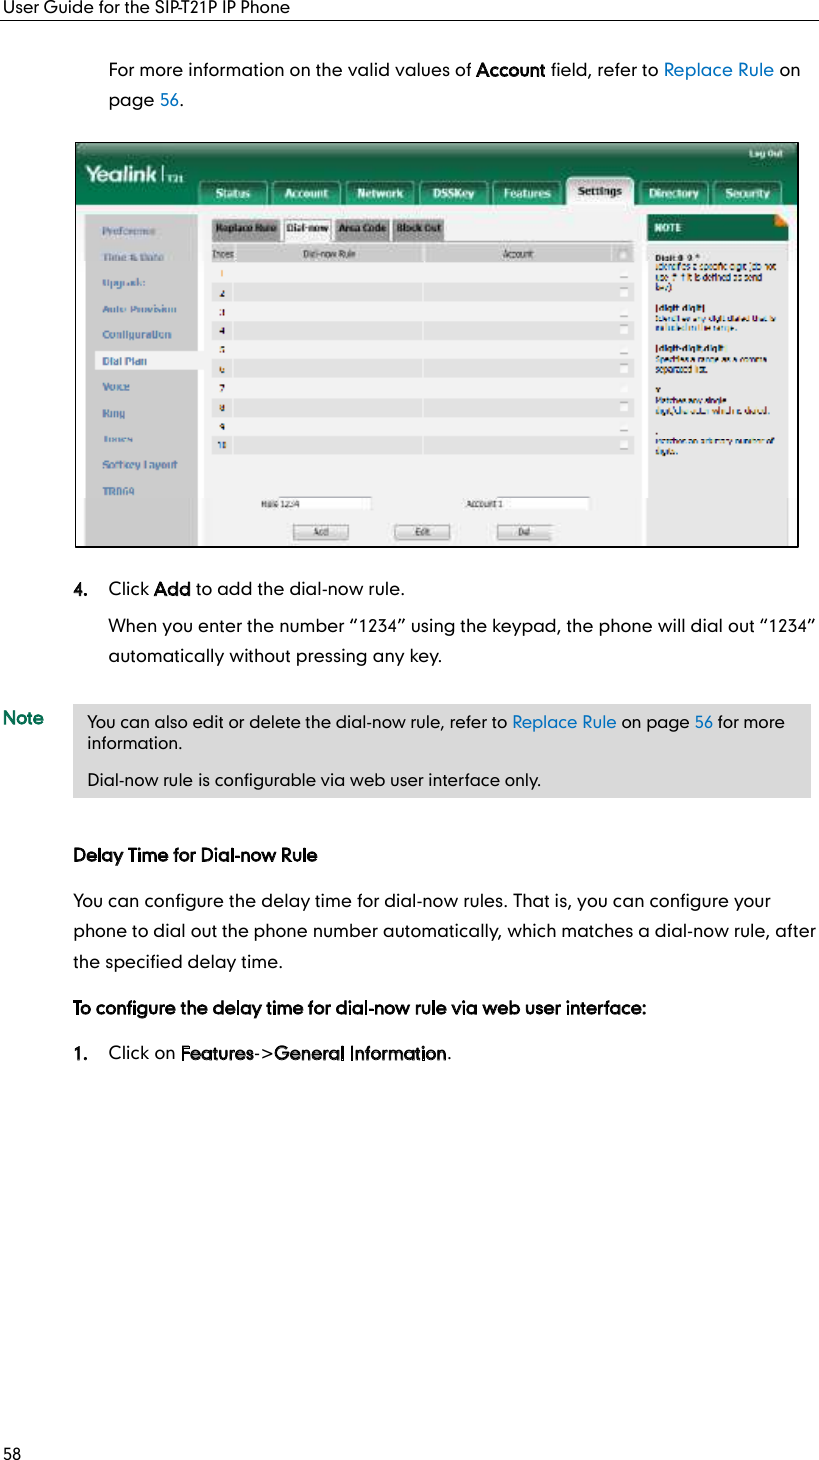
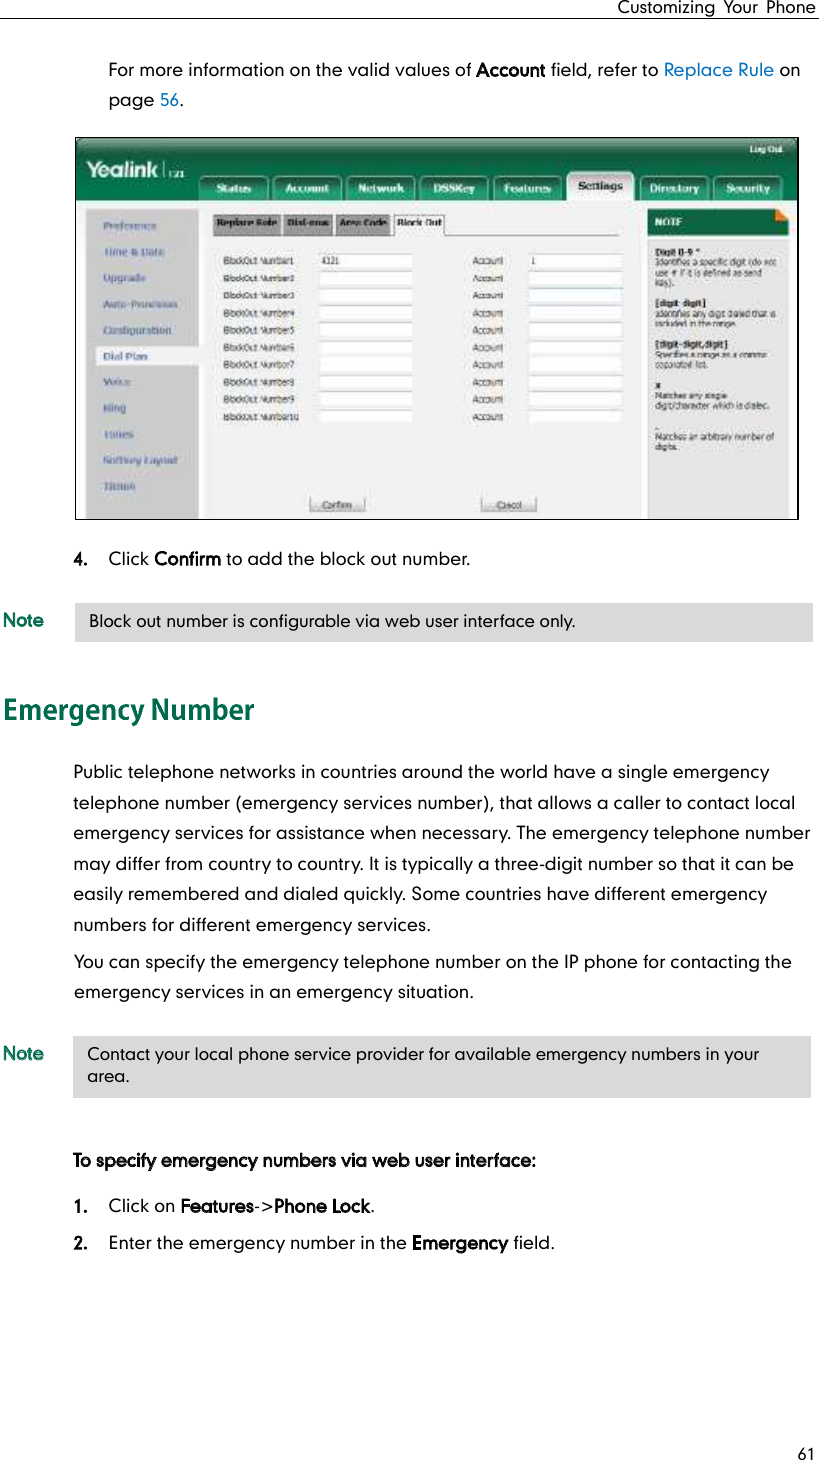
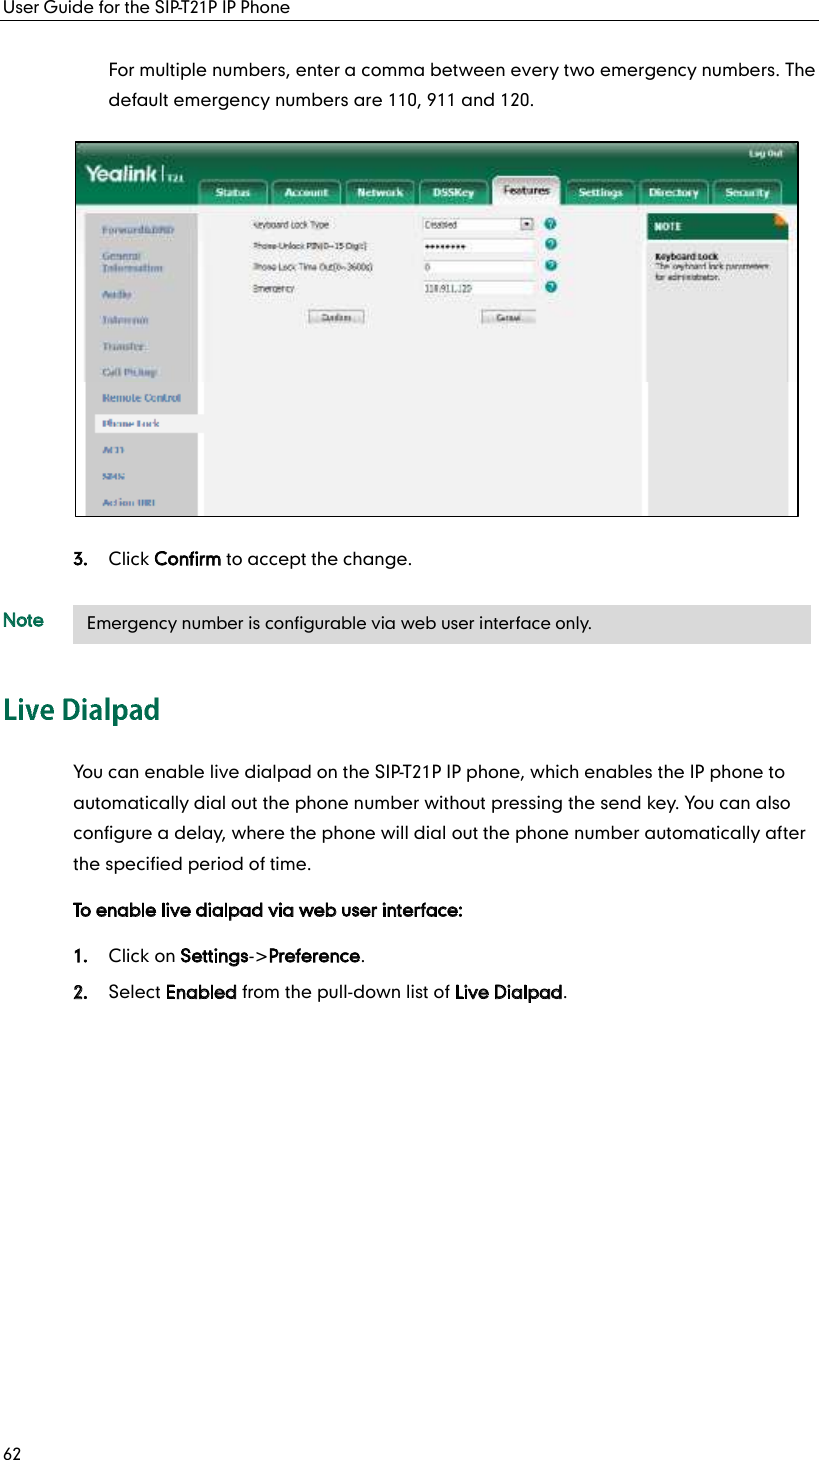
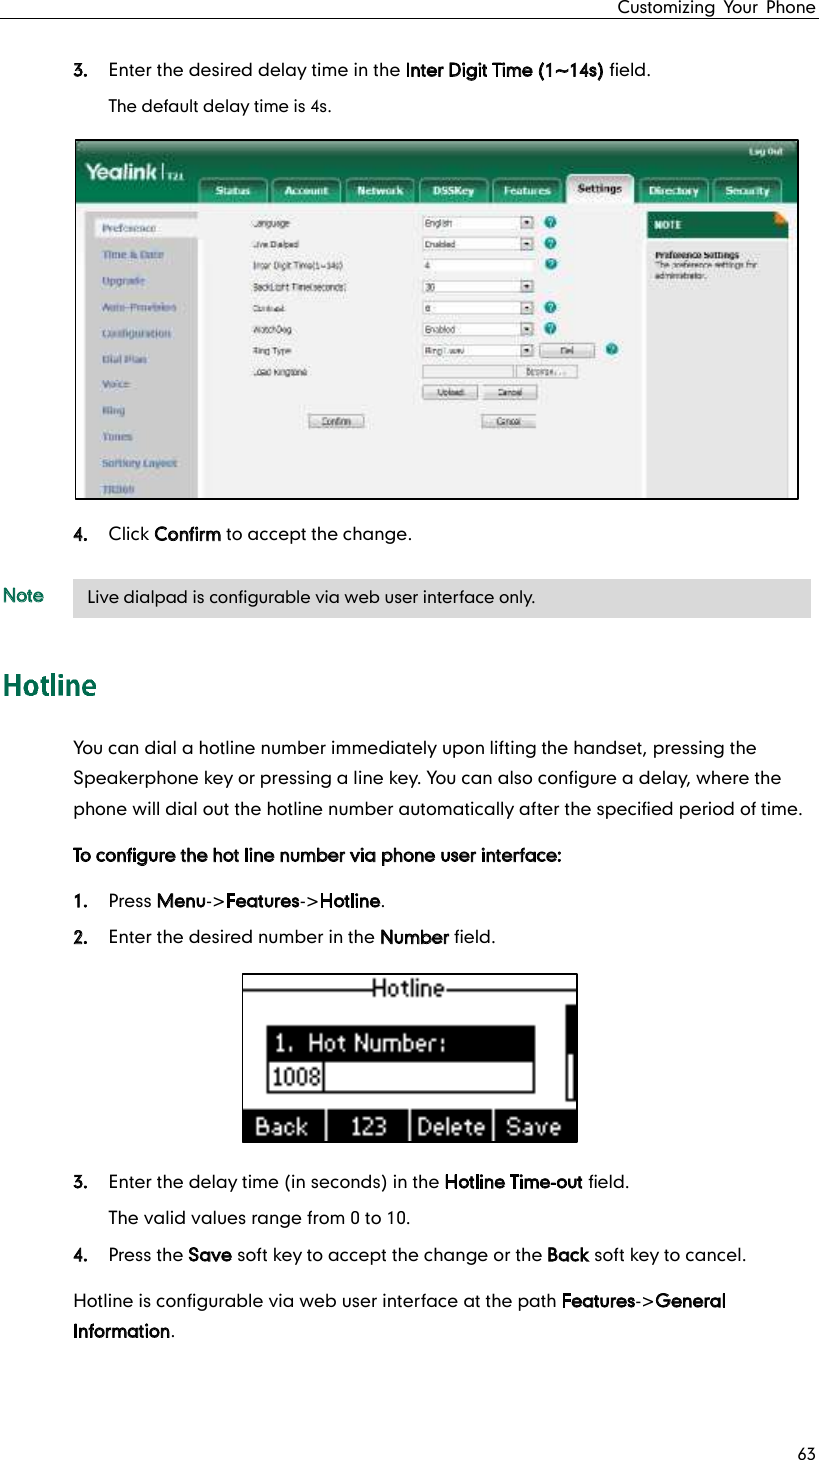
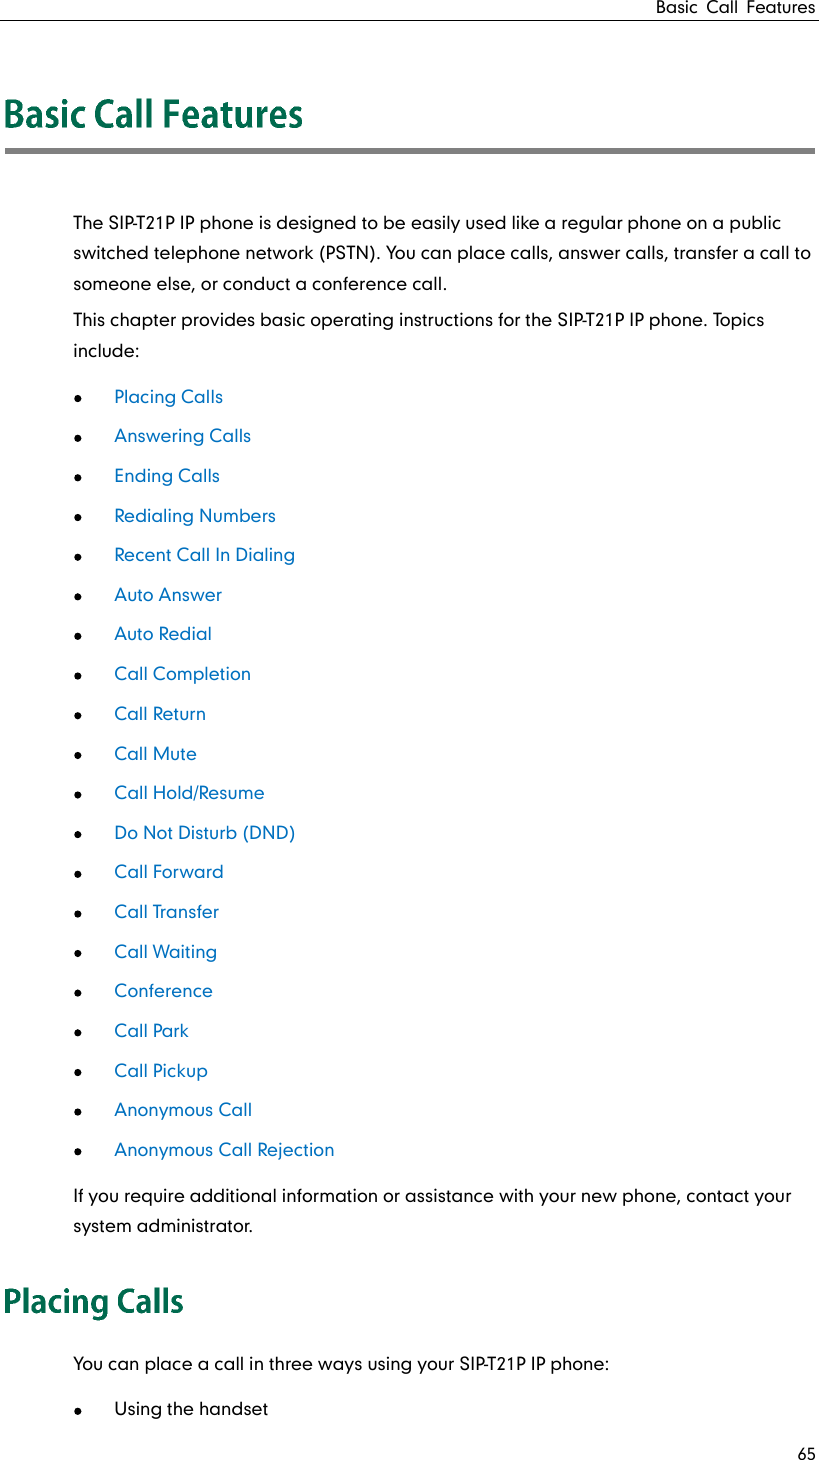
![Customizing Your Phone 55 You can repeat steps 2 to 5 to register more accounts. To disable an account via phone user interface: 1. Press Menu->Settings->Advanced Settings (password: admin) ->Accounts. 2. Select the desired account and then press the Enter soft key. 3. Select Disable from the Activation field to disable the account. 4. Press the Save soft key to accept the change or the Back soft key to cancel. Account registration is configurable via web user interface at the path Account->Register. You can configure multiple line keys to associate with an account. This enhances call visualization and simplifies call handling. Incoming calls to this account will be distributed evenly among the available line keys. Outgoing calls will be distributed similarly. Dial plan is a string of characters that governs the way your SIP-T21P IP phone processes the inputs received from your phone keypad. The SIP-T21P IP phone supports the following dial plan features: Replace Rule Dial-now Area Code Block Out The basic expression syntax you need to know: . The dot multiple placeholders for any character. Example: 12. would match 123 , 1234 , 12345 , "12abc", etc. x An x can be used as a placeholder for any character. Example: 12x would match 121 , 122 , 123 , "12a", etc. [] The square brackets [] can be used as a placeholder for a single character which matches any of a set of characters. Example: 91[5-7]1234 would match 9151234 , 9161234 , 9171234 . () The parentheses ( ) can be used to group together patterns, for instance, to logically combine two or more patterns. Example: 91([5-7])1(x) would match 91511 , 91618 , 91715 , etc. $](https://usermanual.wiki/YEALINK/T21P/User-Guide-2052741-Page-65.png)
![User Guide for the SIP-T21P IP Phone 56 placed in the parenthesis. The number directs to the right parenthesis when there are more than one. Example: A replace rule configuration: Prefix: "9([5-7]) (.)", Replace: "5$2". When you enter "96123" to dial out on your phone, the number will be replaced as "5123" You can configure one or more replace rules (up to 100) to remove the specified string and replace it with another string. You can configure a pattern with wildcards (refer to the expression syntax in the table above), so that any string that matches the pattern will be replaced. This feature is convenient for you to dial out a long number. For example, a replace rule is configured as Prefix: 1 and Replace: 1234567 . When trying to dial out the number 1234567 , you just need to enter 1 on the phone and then press the Send soft key. To add a replace rule via web user interface: 1. Click on Settings->Dial Plan->Replace Rule. 2. Enter the string (e.g., 1) in the Prefix field. 3. Enter the string (e.g., 1234) in the Replace field. 4. Enter the desired line ID in the Account field or leave it blank. 5. Click Add to add the replace rule.](https://usermanual.wiki/YEALINK/T21P/User-Guide-2052741-Page-66.png)