3M Cogent ACD100P-CG Mini-Gate User Manual Mini Gate ACD100P CG
3M Cogent, Inc. Mini-Gate Mini Gate ACD100P CG
Mini-Gate User Manual-ACD100P-CG 12.28

Ethernet
RS485
Power
Wiegand
Relay
Type No Name Color
1
2
3
4
5
6
7
8
9
10
11
12
13
14
17
18
19
20
21
22
23
24
25
26
27
Yellow
Orange
Black
Brown
Purple
Black
White
Green
Yellow&Green
Black
Blue
Gray
Black
Red
Blue
Green
White
Yellow
7 PIN_Female
_Connector
Relay 12V+
Relay-
GND(Relay GND)
Wiegand_In_D1/LED_Input
Wiegand_In_D0
GND(Wiegand GND)
Wiegand_Out_D1
Wiegand_Out_D0
P_GND(Safety GND)
GND(RS485 GND)
RS485+
RS485-
GND(Power GND)
Power_In(12V)
RX-
RX+
TX-
TX+
UART For GPRS Module
13 4 8 9 14
15 20
l :
l :
l Memory:128 MB DDR/ 128MB Flash
l Expansion Memory:Micro SD(2GB for default configuration)
l LCD Display:1.8" TFT Color LCD
l LED Indicator: Multi-color × 3
l Keypad:3 X 5 keypad
l Audio:Beep
l PC Port:USB2.0
l Built-in Relay Control: 1
l Power supply:12V DC/1.5A
l Current:450mA @ 12V
l Operating Temperature:0 ~ 45˚ C
l Storage Temperature:0 ~ 45˚ C
l Fingerprint Sensor:Cogent CSD100,
500dpi Optical Sensor, (FBI Certified)
l Matching Speed:1:1 ≤1.2s,1:N ≤2s (N≤5000)
l FRR:1%
l FAR:0.001%
l Matching Security Grade:Lower, Middle, High (Configurable)
l Acceptable Fingerprint Rotation:+/-15 degree (Default)
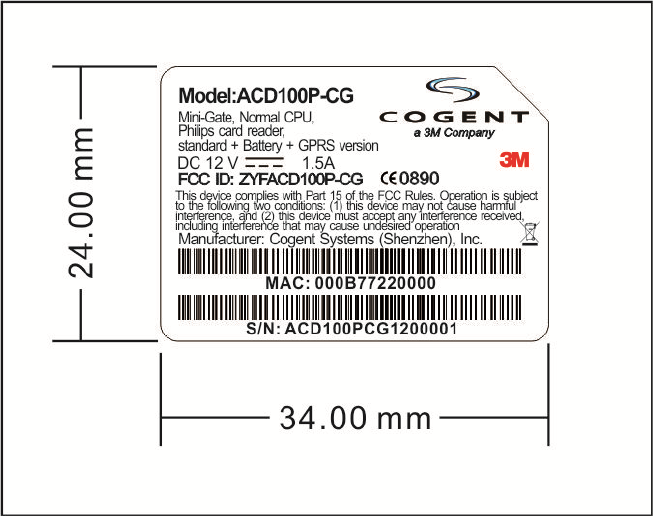
Model ACD100P-CG
Processor SAM9G45@400MHz, Processor
LCD
LED
Key Pad
USB Port
Reset Botton
Speaker
Fingerprint Sensor
Contactless Card Area
( Part is for RF Reading Area)Keypad Card
Introduction for Function and Technical Data
Mini-Gate User Manual
Address : 10/F,Tinwe Industrial Park Phase 2, Liufang Road No.6,
Area No.67, Baoan District, ShenZhen
Tel :+ 86 - 755 - 86013579 Fax:+ 86 - 755 - 86013575
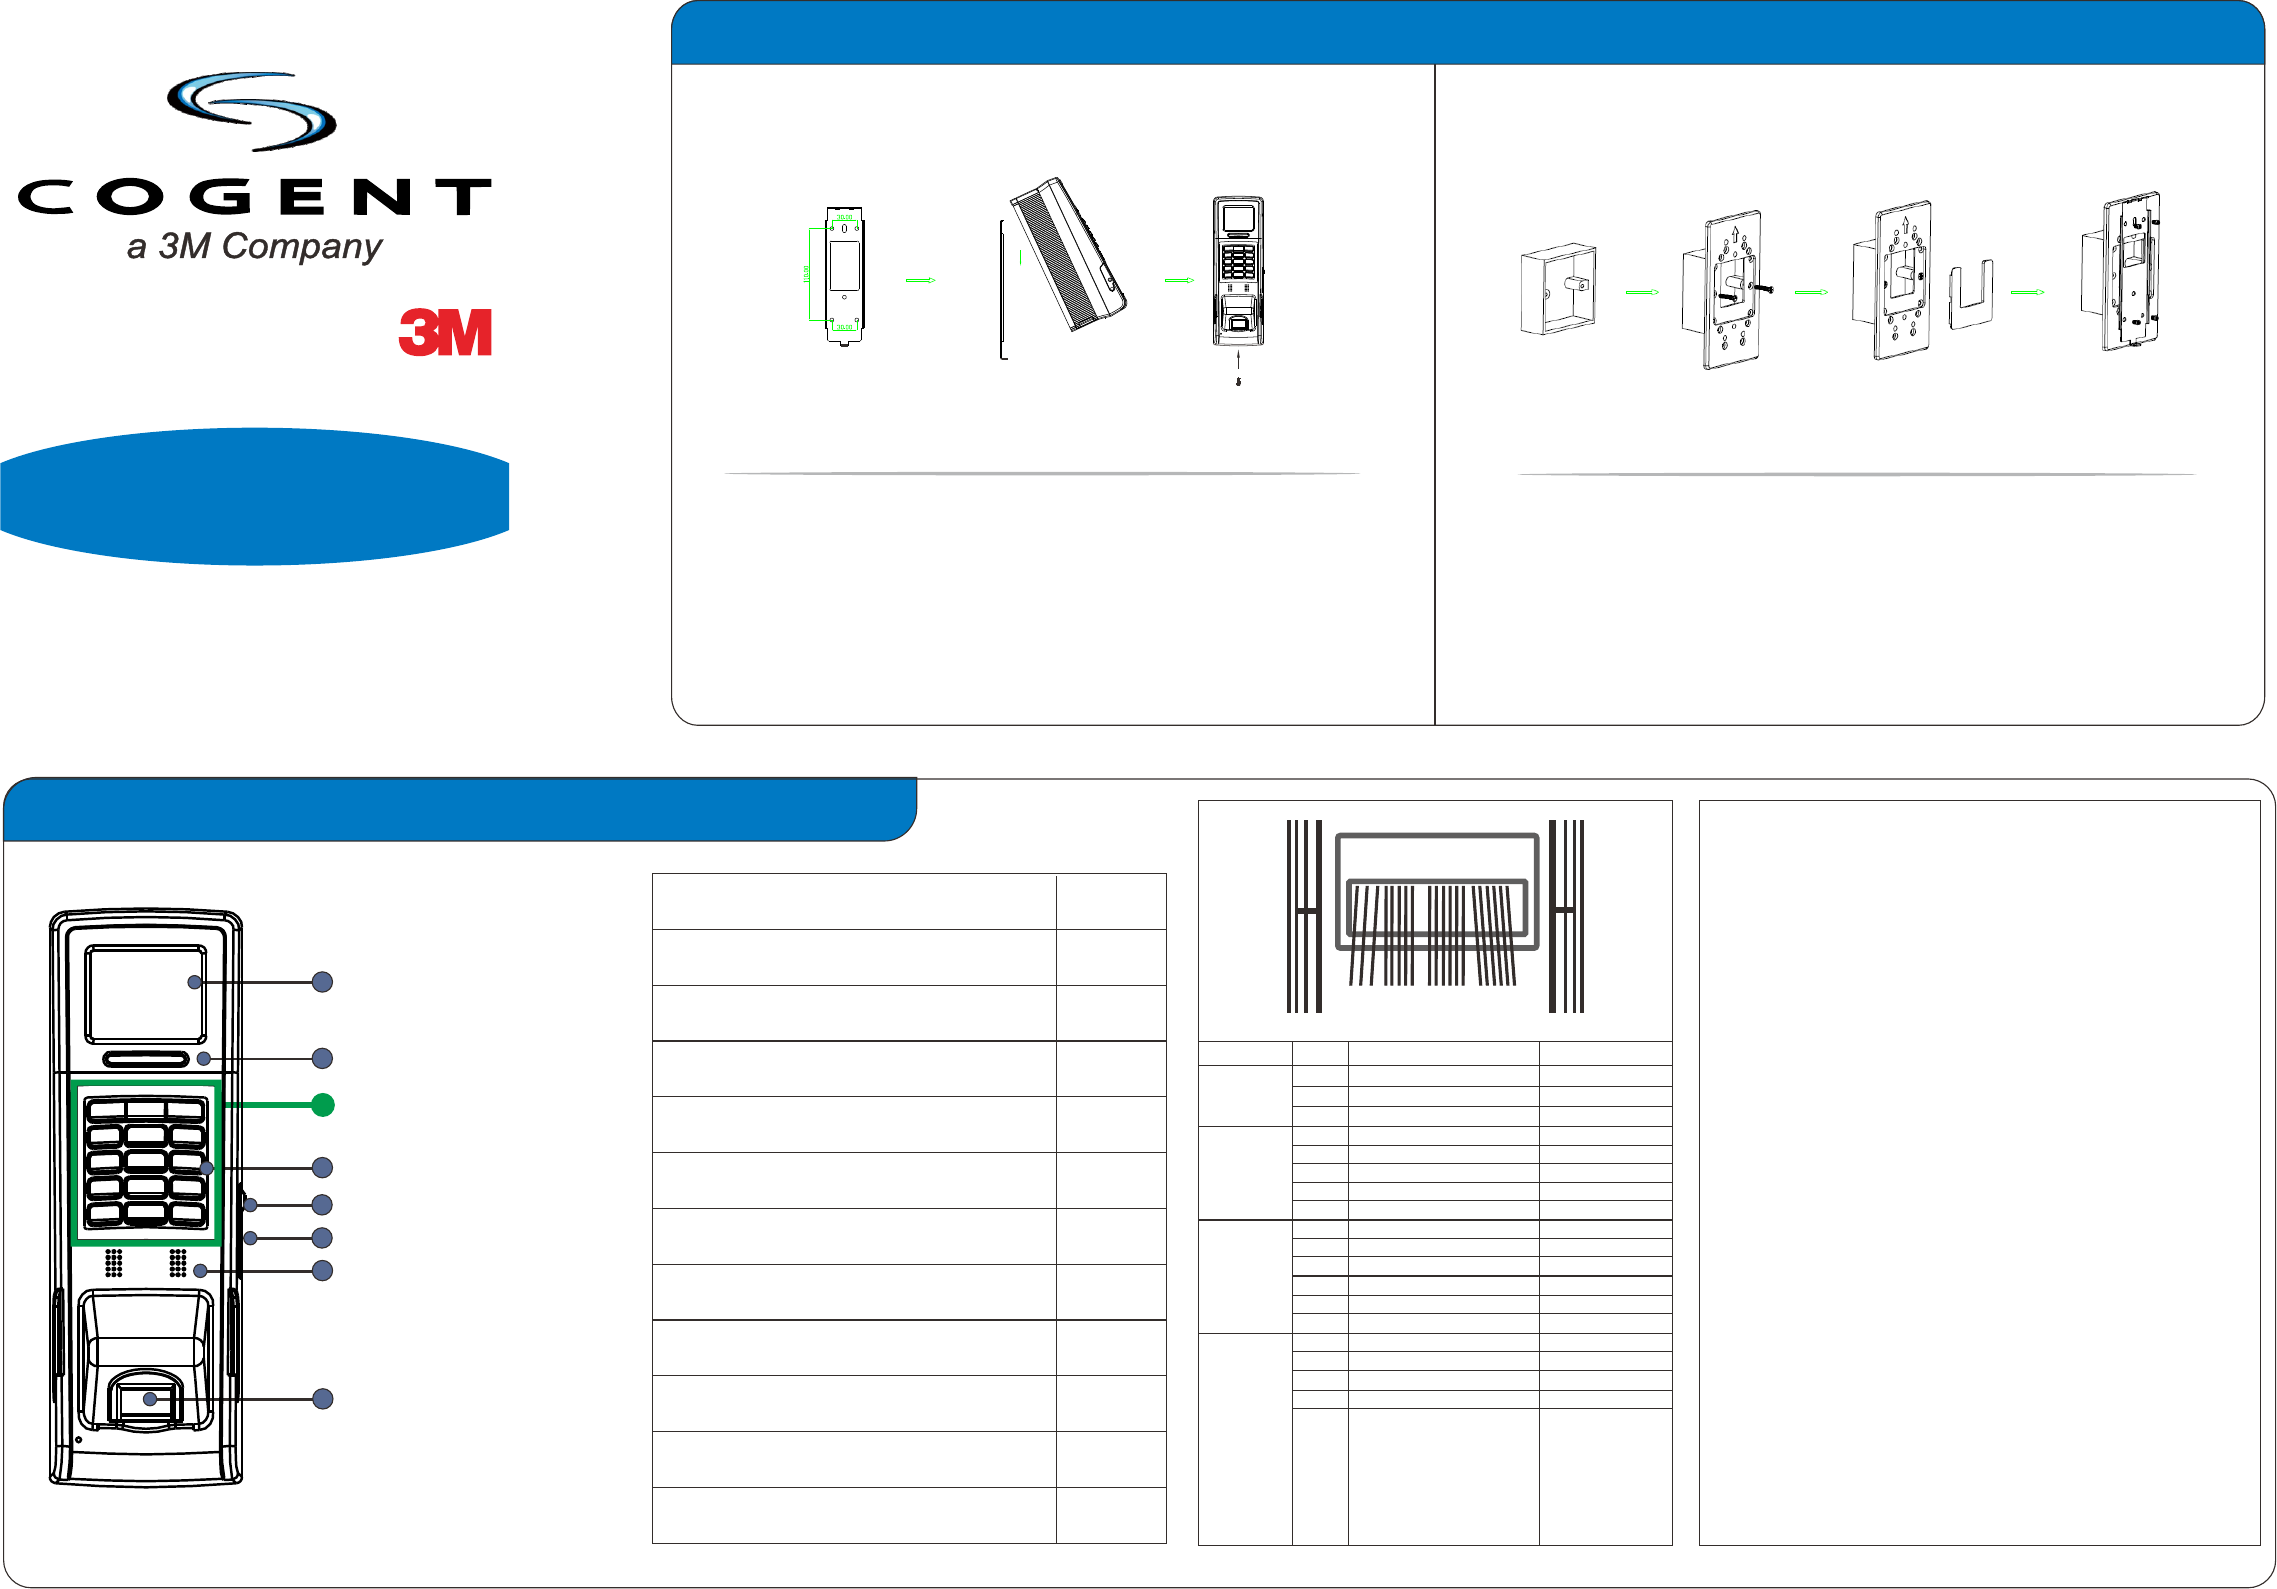
Step 1 Step 2
Step 1:
Step 2:
Step 3:
Screw stainless steel plate according to the 4 holes
marked on the drawing,choose right size of screws by
different walls
Insert installing device aimed to stainless steel plate.
Fasten this screw on the bottom.
Step 3
Step 1: Cassette(86*86)
Step 2: Screw fixing board to cassette, choose the right size of screws by
different cassettes.
Step 3: Cover the fixing board.
Step 4: Screw stainless steel plate to fixing board, then install device on
the stainless steel plate.
Option 1 : On wall directly
Step 1 Step 2 Step 3 Step 4
Option 2 : The cassette (86x86) on wall
Device Installation Guide
L spanner
1
1
List Quantity
1
1
1
4+2
1
1
1
1
Mini-Gate biometric access control
Fixing board A (plastic)
Fixing board B (plastic)
Screw (PM4X5)
Screw(PWM3X5)
DC12V Power Connector
RJ45 Network Port Connector
Mini-Gate User Manual
Power Adapter(DC 12V/1.5A)
2
Screw(FM 2X6)

Module and Function Guide
Time Setting
Lightness Setting
Network Setting
OK
Add
Administrator
模式选择
Fingerprint +
Card + PIN Mode
Fingerprint Mode
Fingerprint +
Card Mode
Card +
PIN Mode
For identify, select this mode.fingerprint + card
For identify, select this mode.card + pin
For fingerprint identify, select this mode.
For identify, select this mode.fingerprint + card + pin
Administrator Setting
and User Setting
Mode Setting
OK
OK
OK
OK
Standard Mode Advanced Mode
Delete User
Add User
Delete
Administrator
Note:
Factory Default: Administrator user ID:"1"; Pin #:"1".
This will be invalid after new admin setup.
"User setting" should be changed to "admin setting"
OK
OK
OK
OK
OK
OK
OK
OK

FCCStatements
changes or modifications not expressly approved by the party responsible for compliance could void the
user’s authority to operate the equipment.
This equipment has been tested and found to comply with the limits for a Class B digital device, pursuant
to Part 15 of the FCC Rules. These limits are designed to provide reasonable protection against harmful
interference in a residential installation. This equipment generates, uses and can radiate radio frequency
energy and, if not installed and used in accordance with the instructions, may cause harmful interference
to radio communications. However, there is no guarantee that interference will not occur in a particular
installation.
If this equipment does cause harmful interference to radio or television reception, which can be
determined by turning the equipment off and on, the user is encouraged to try to correct the interference
by one or more of the following measures:
-- Reorient or relocate the receiving antenna.
-- Increase the separation between the equipment and receiver.
-- Connect the equipment into an outlet on a circuit different from that to which the receiver is connected.
-- Consult the dealer or an experienced radio/TV technician for
Remark:
1. 1USBportisusedtofirmwareupgradepurpose,withoutloading.
2. Thisdeviceisinstalledonthewall.Andthealltheportsareinthewall.Peoplecan’ttouch.
3. CAUTION:
Riskofexplosionifbatteryisreplacedbyanincorrecttype.
Disposeofusedbatteriesaccordingtotheinstructions.
4. Theminimumseparationdistanceis20cmbetweenthedeviceandtheuserwhenthedeviceisbeing
operatedbytheuser.