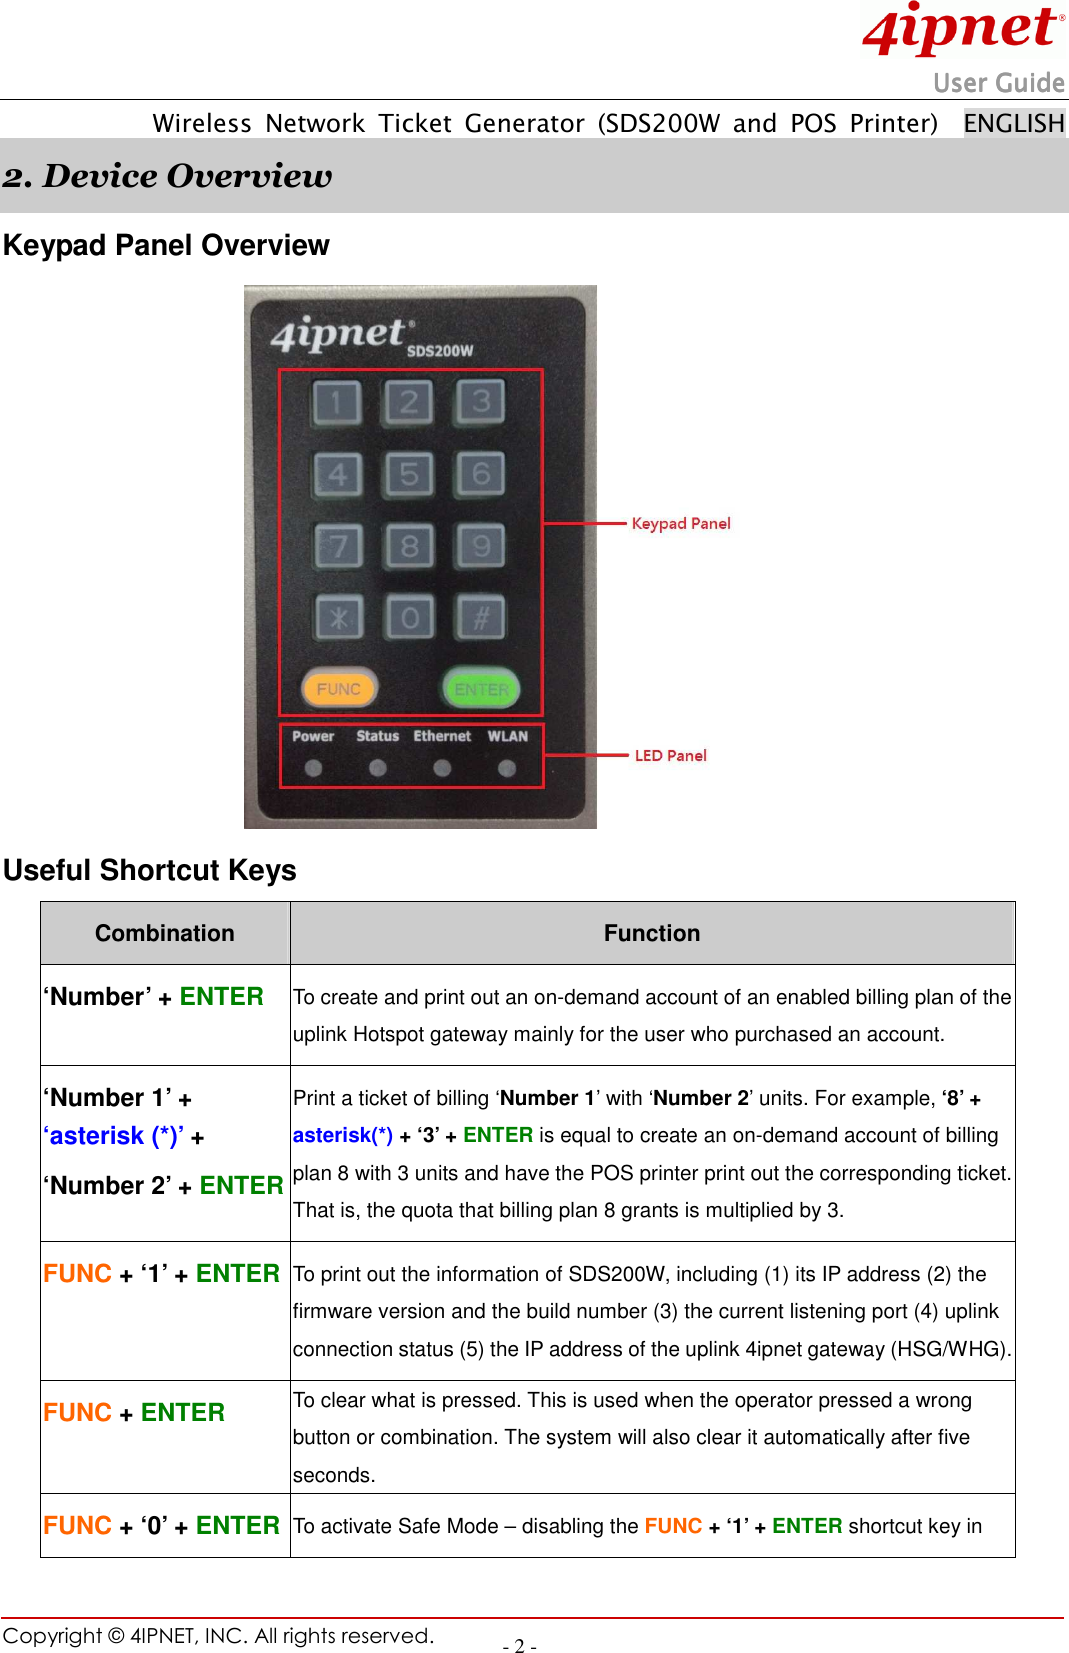
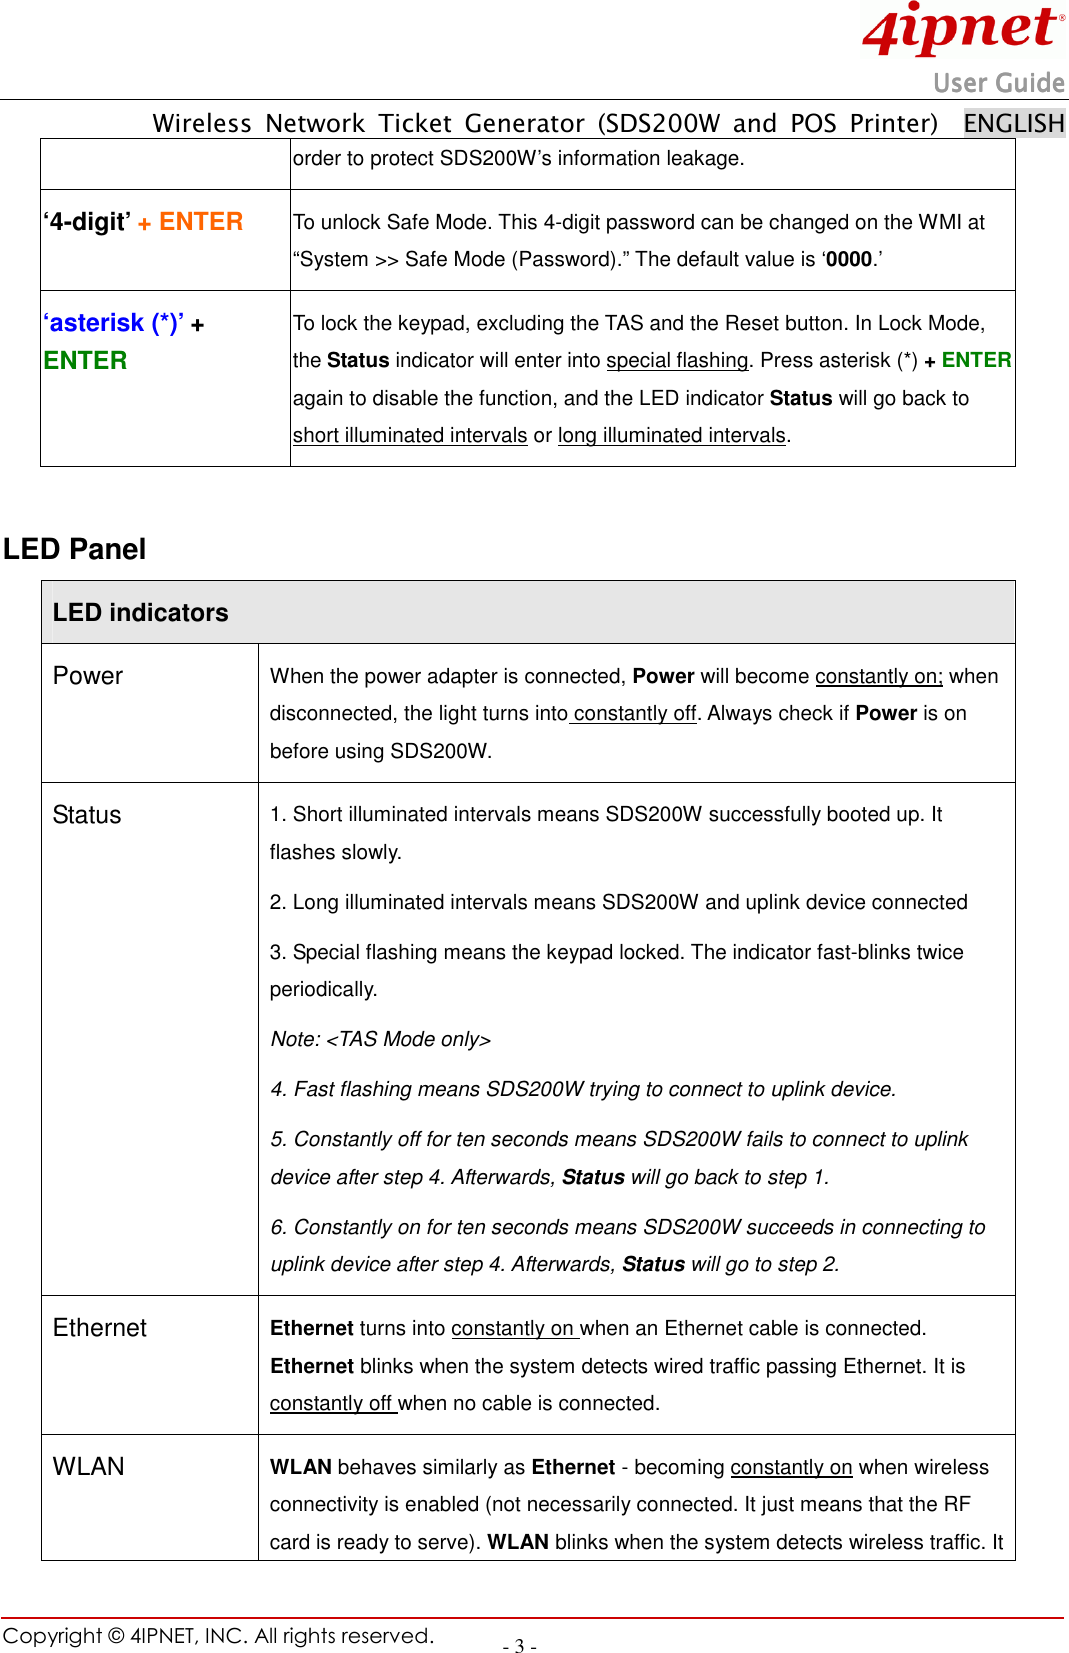
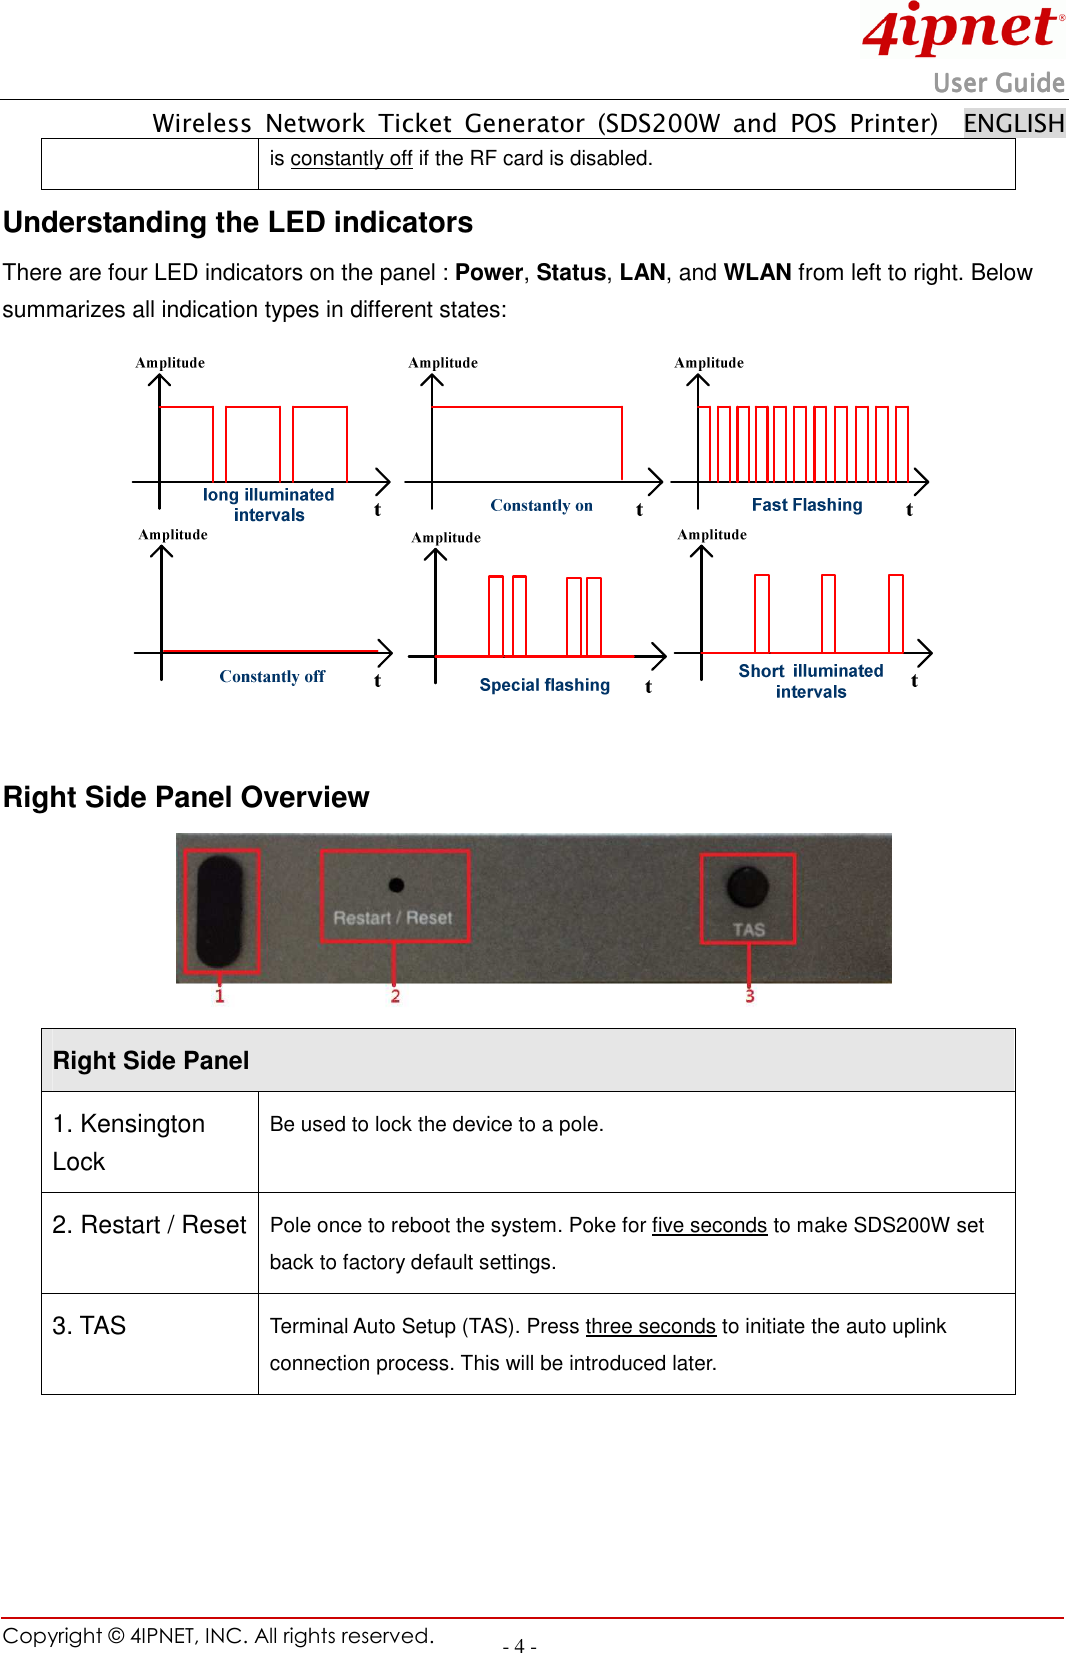
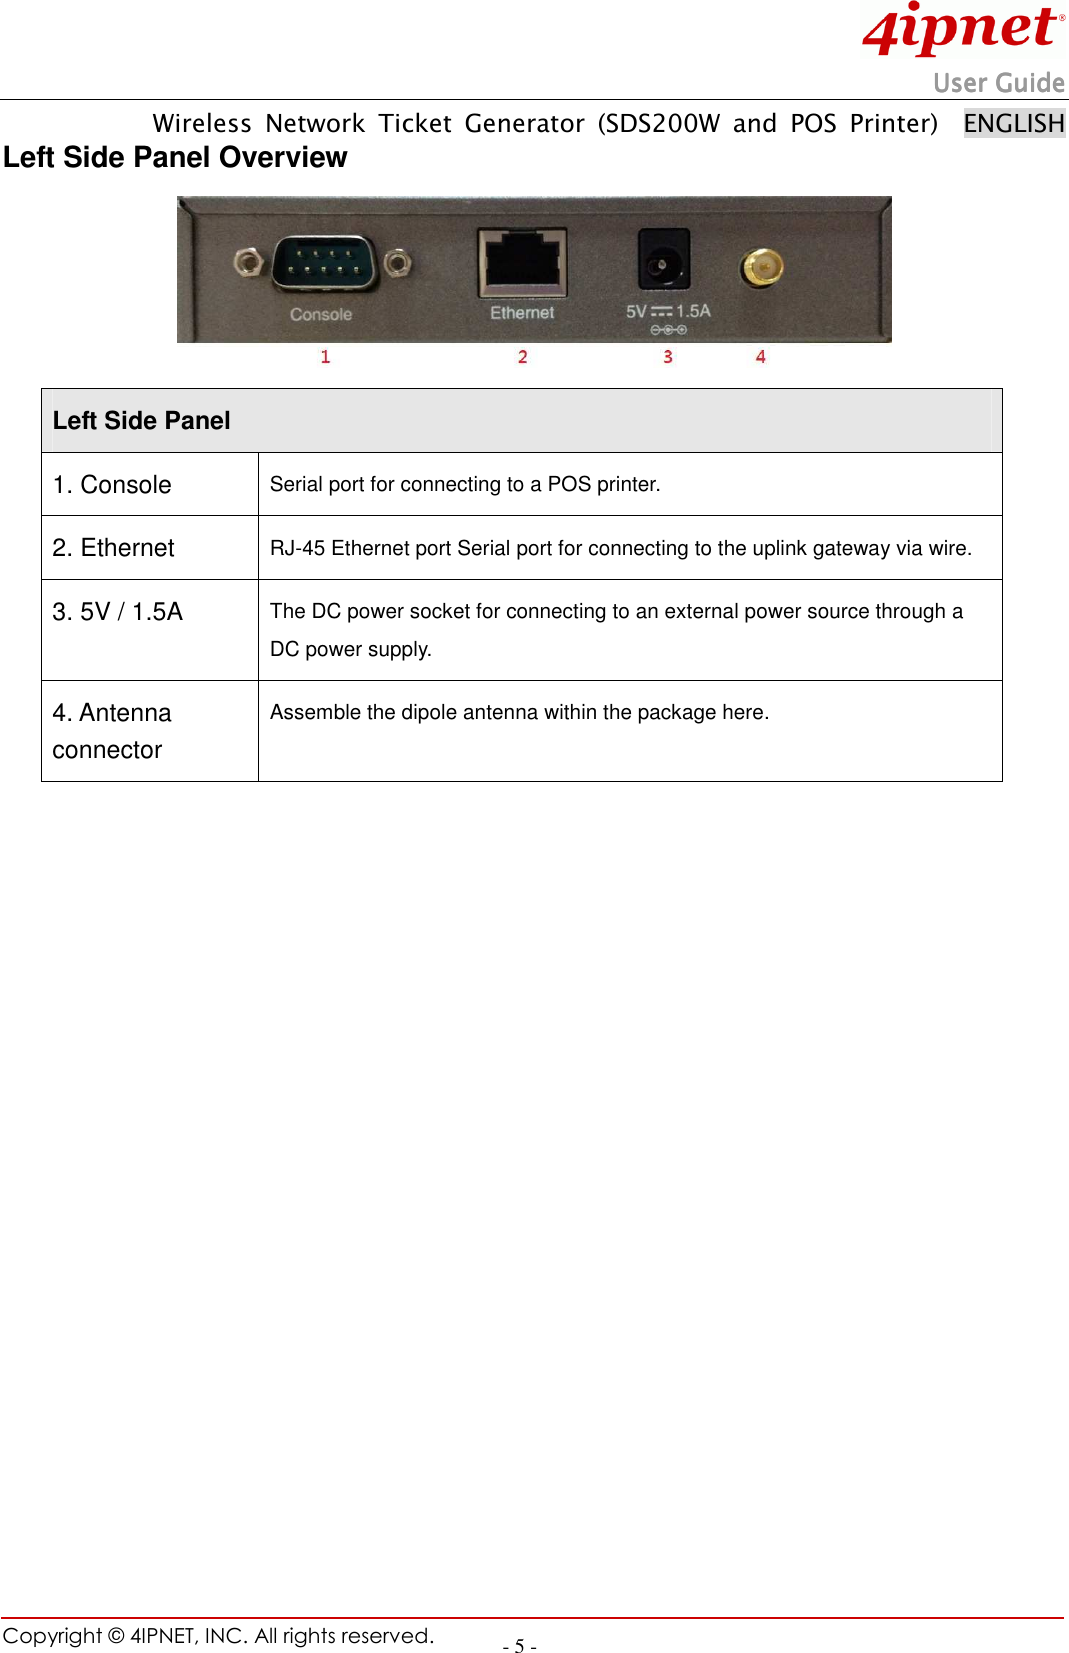
4IPNET 120001 WIRELESS DEVICE SERVER User Manual SDS200W v1 00 Guide EN 20120420
4IPNET, INC. WIRELESS DEVICE SERVER SDS200W v1 00 Guide EN 20120420
UserManual.wiki
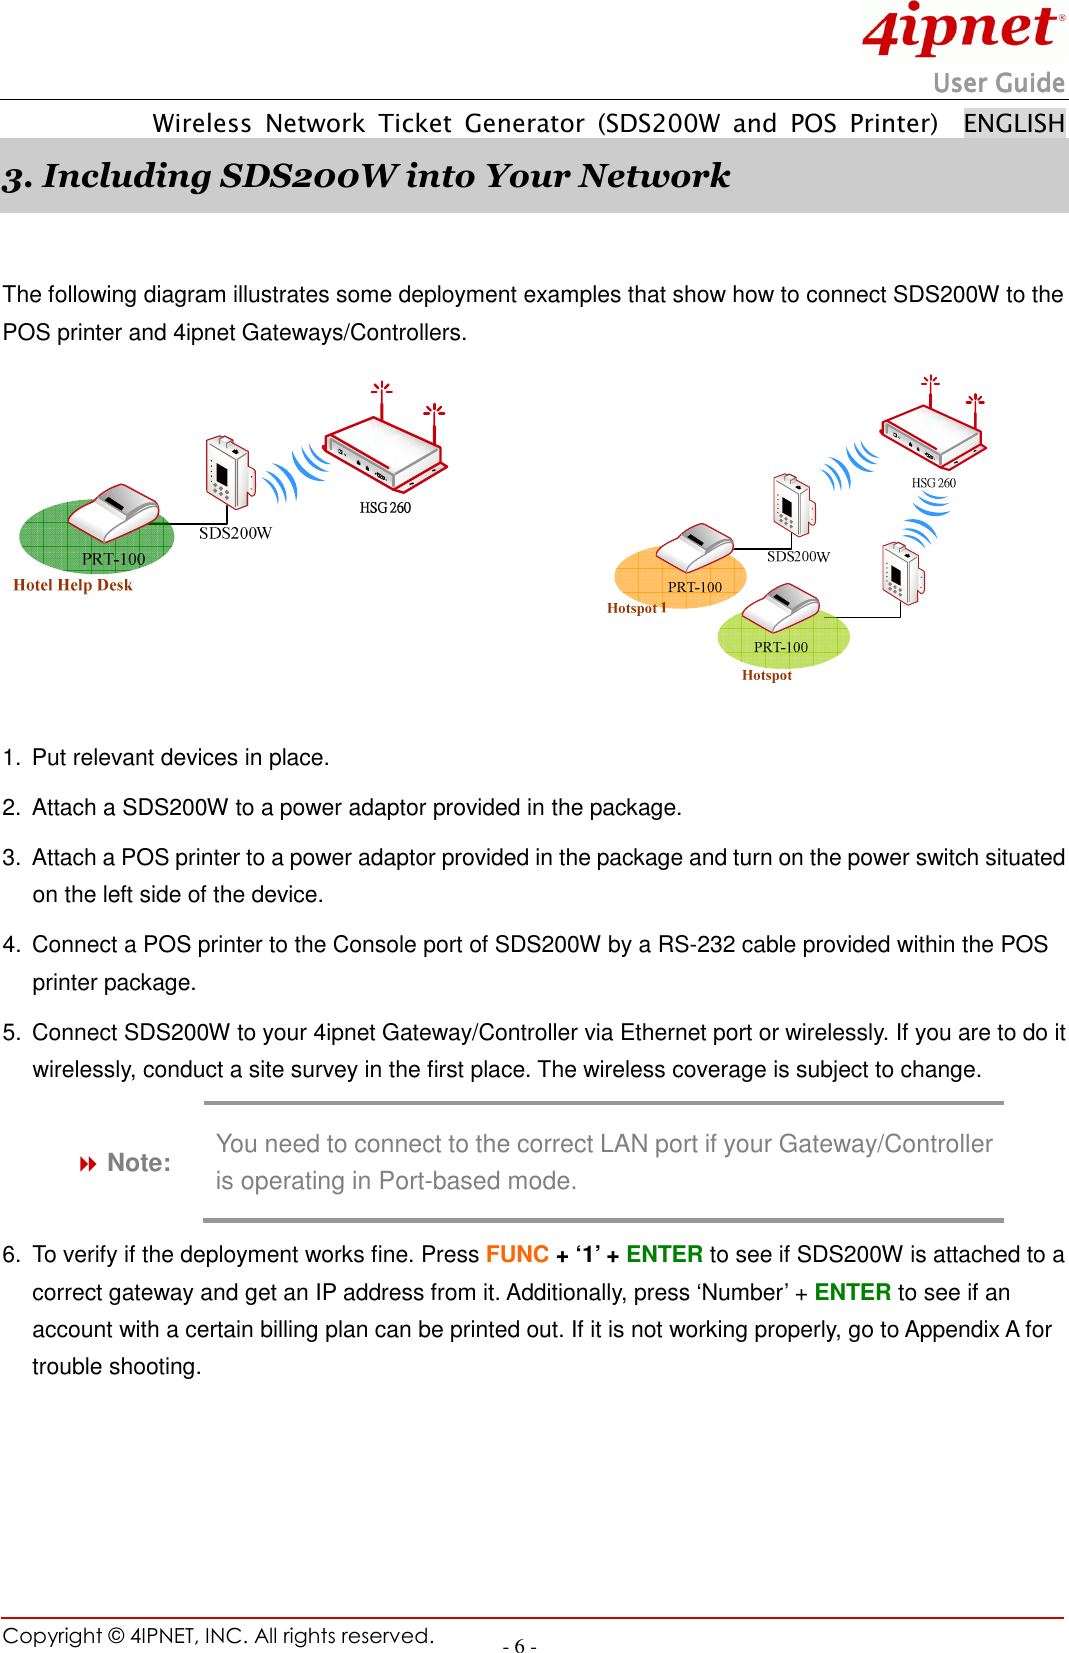
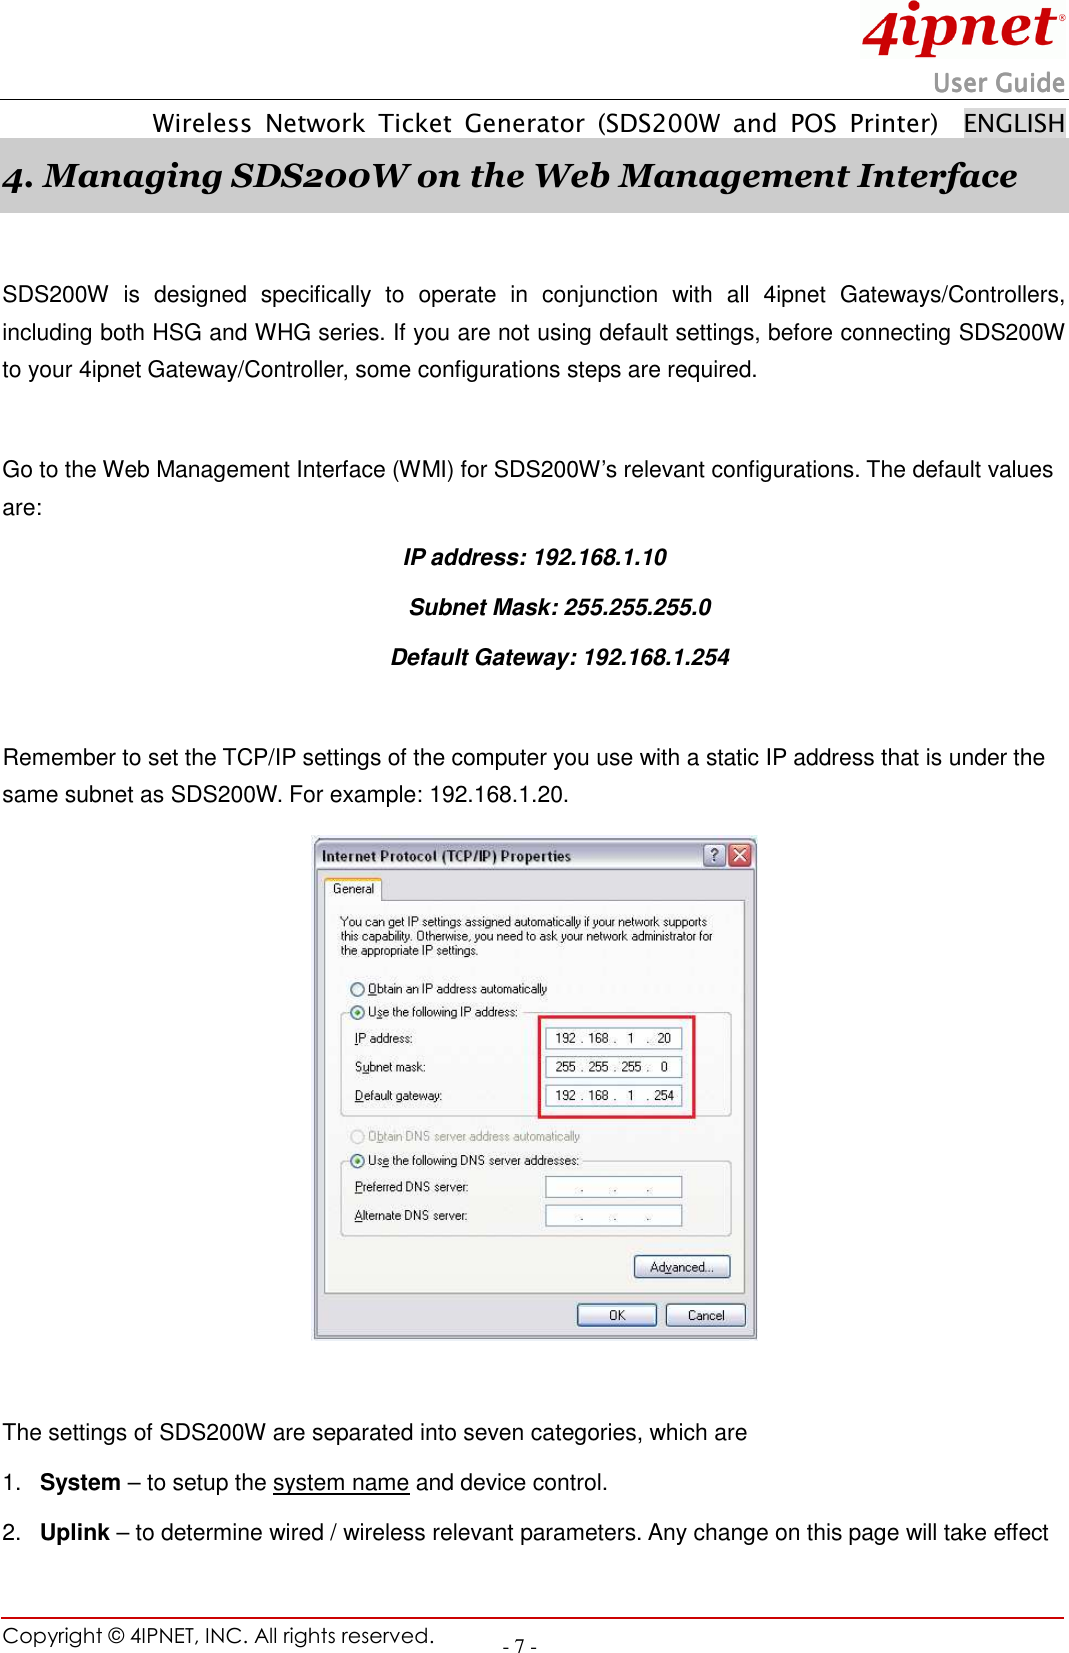
>
4IPNET
>
120001 User Manual
Users Manual
Navigation menu
Upload a User Manual
Namespaces
Wiki Guide
HTML
PDF
Info
Views
User Manual
Discussion / Help
Navigation